Joedirt2239
New Member
Welcome everyone to my first journal and thank you for taking the time to take a look at my garden.
Everyone's welcome! Feedback, suggestions and questions are always appreciated.
I have been growing using organic super soil, tea and numerous additives when resolving nutrient deficiencies. Countless hours reading journals, logs, viewing images and trial and error. What I learned most is that I had a lot more to learn.
I am a DIY person and when I switched/graduated to hydroponics, I could not find a start to finish guide. Lots of gray matter out there on the internet and a million ways to approach a problem. The timing of this journal will allow me to document my re-building a previously running grow environment from seed order to harvest.
I grow medical cannabis for extreme anxiety, sleep and back pain. I just recently closed a business so stress is at an all-time high. Unfortunately I am also being treated with prescription drugs for the anxiety. I will do my best to do a good job in documenting and I am excited to get started. I spend an average of 3 hours each day in my garden following Daily, Weekly and Monthly maintenance check list. I find the building, cleaning and talking to my plants is great therapy. They say I am doing much better….
My first hydro grow (last winter) was very successful and I was able to get in 3 harvest. As summer approached temperatures went up and I started seeing algae in my RO pre-filter and reservoirs. Instead of struggling, I completed the last harvest and shut down for the summer. Now with cooler weather, it’s time to unpack and rebuild my room.
Since I have so much going on I be covering multiple parts of a typical grow journal to include setting up the environment.
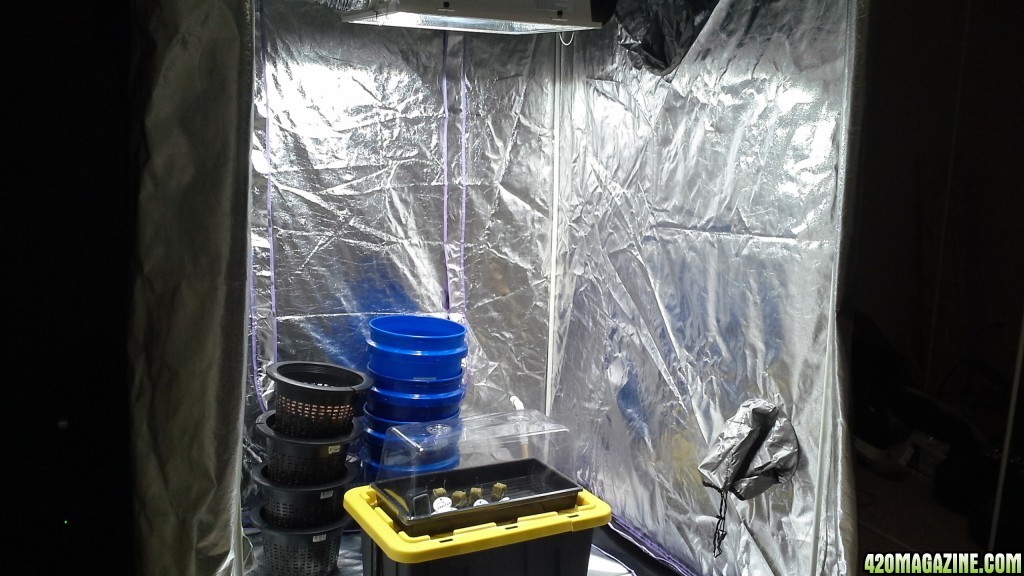
MAIN ROOM / LOCATION
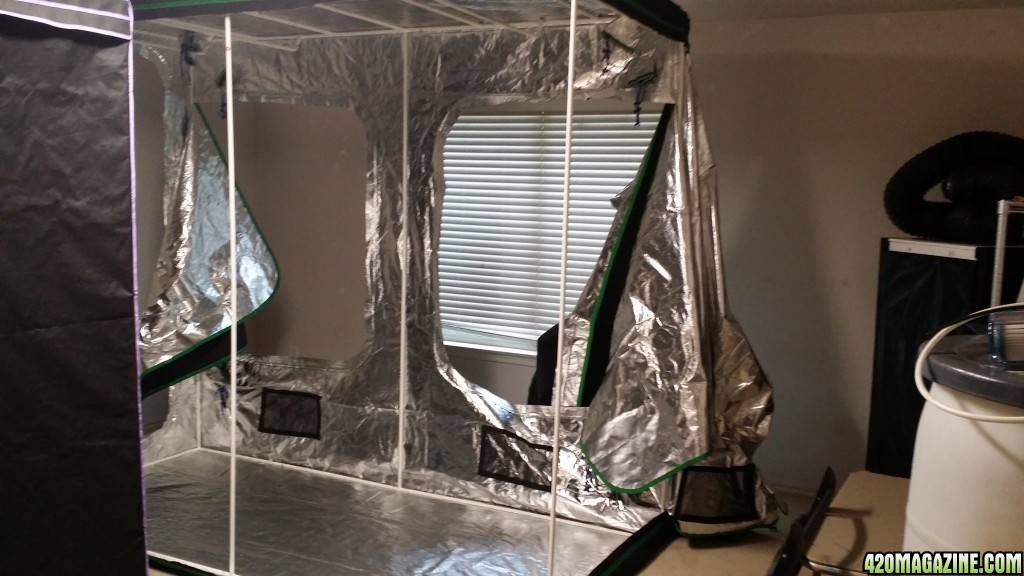
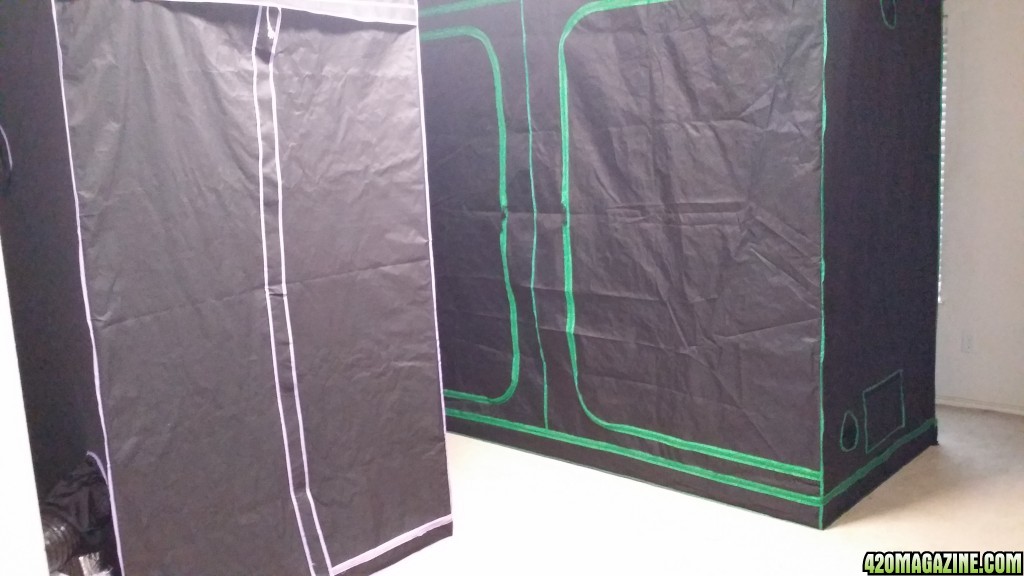
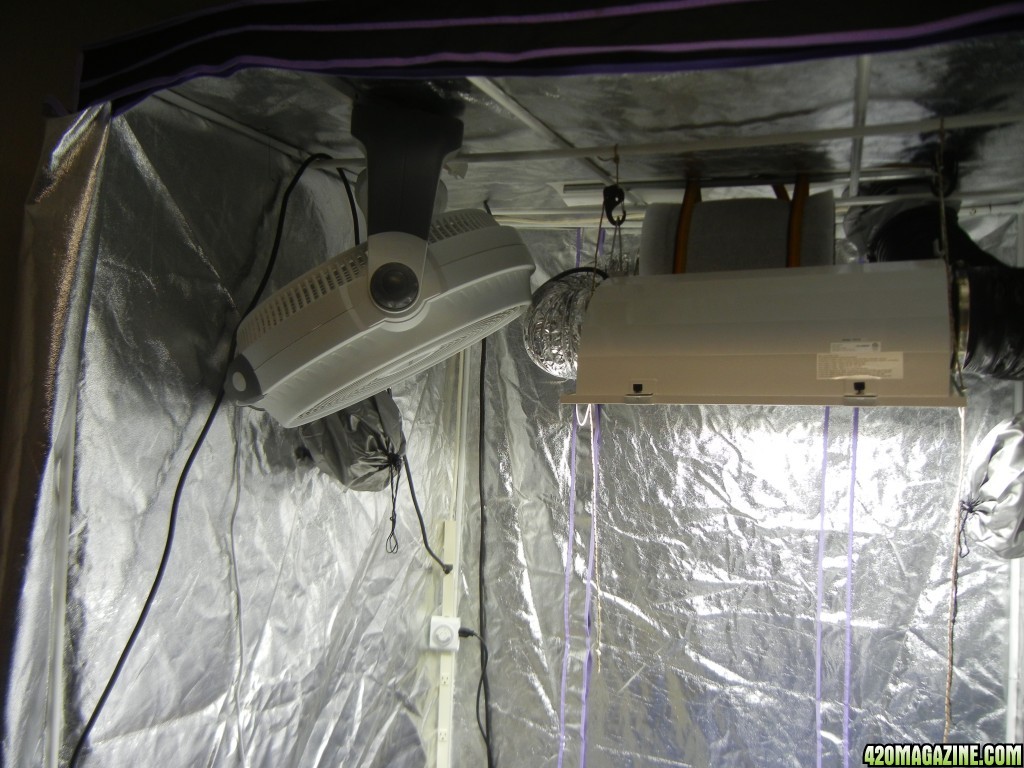
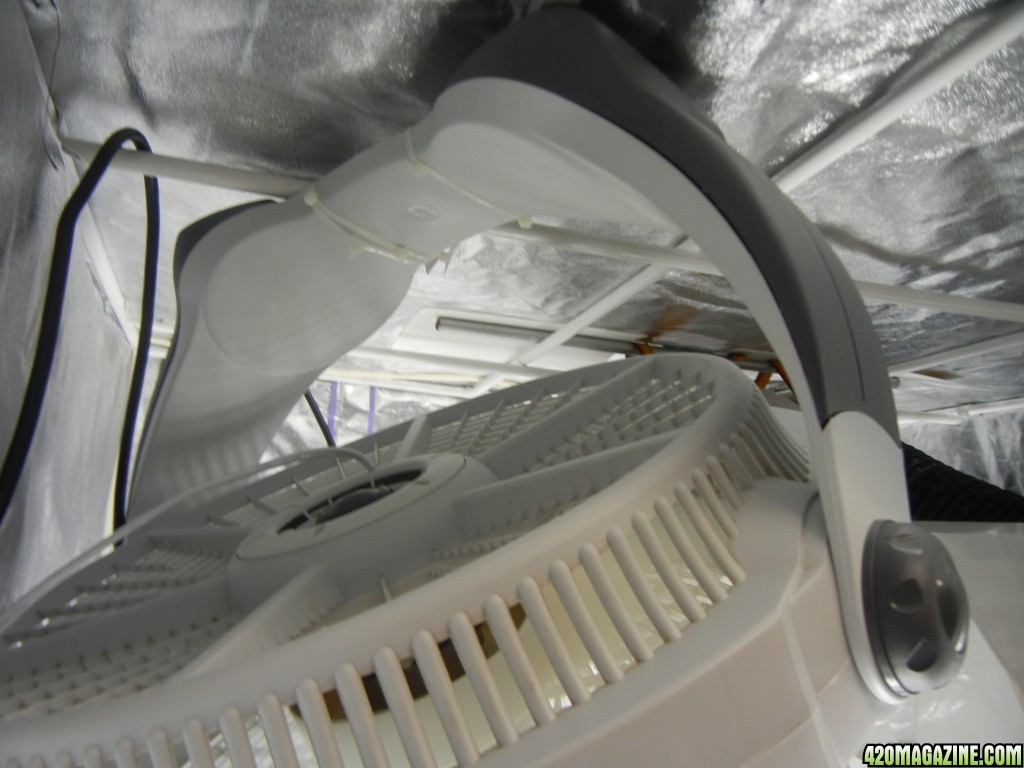
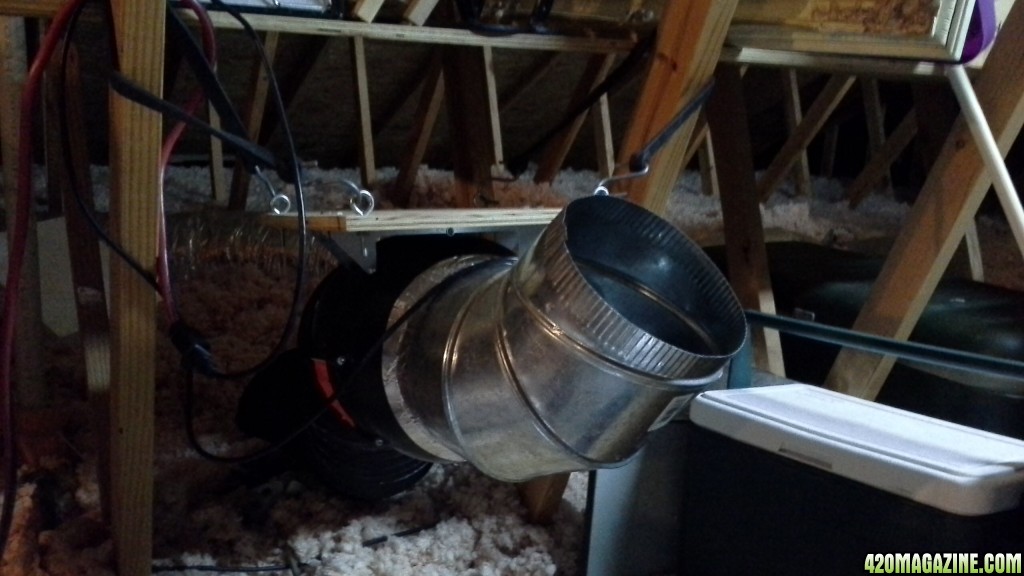
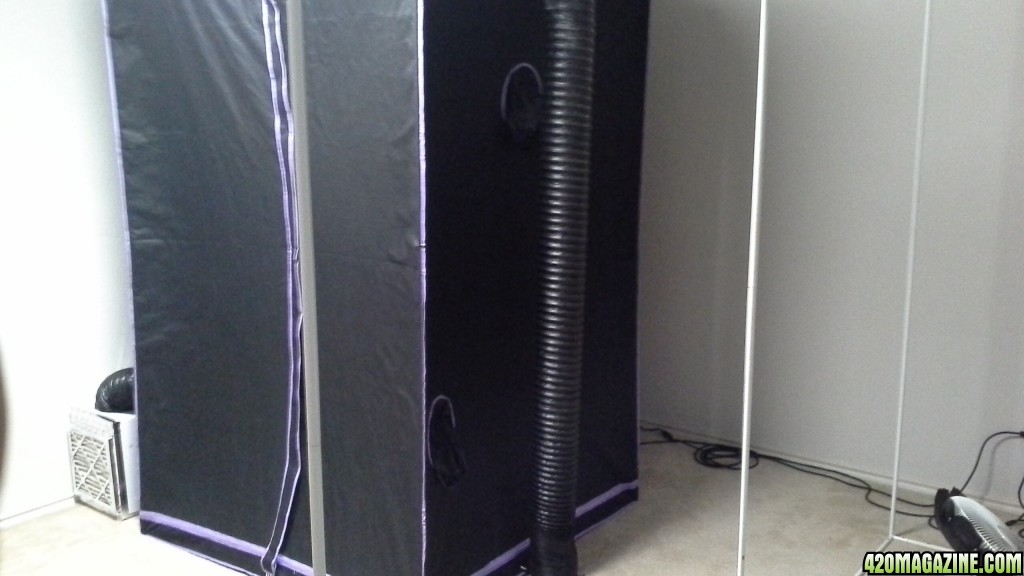
My main room is a second floor 15 x 16 carpeted room with a 4 x 10 walk in closet. This particular room’s power is split across 3 110 20amp circuits allowing us to balance the power load. Even with the CAN Inline Filter located in the attic, this room hums when running (fans, water pumps, air pumps…). Both veg tent, bloom tent and dying rack will be connected to a single Max CAN - 8" Inline Fan rated at 675CFM. This fan will operate the two tents at negative pressure which is required if you want to contain odor. When on, tent walls suck in about 3 inches on all sides stretching the canvas tight.
VEG TENT EQUIPMENT
Our veg tent is a 4 x 4 x 7 grow tent purchased from my local hydroponic store.
1 600 WATT MH air cooled
Magnetic ballasts
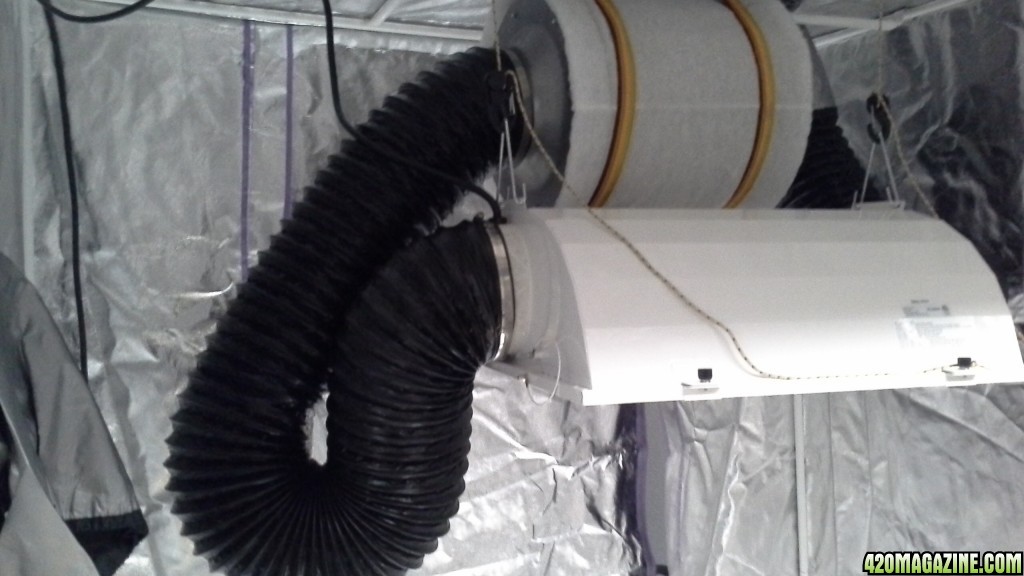
CAN 33 Carbon Filter
Dutch Bucket/Deep Water Culture x 4 plants
15 gal res
Various Air pumps
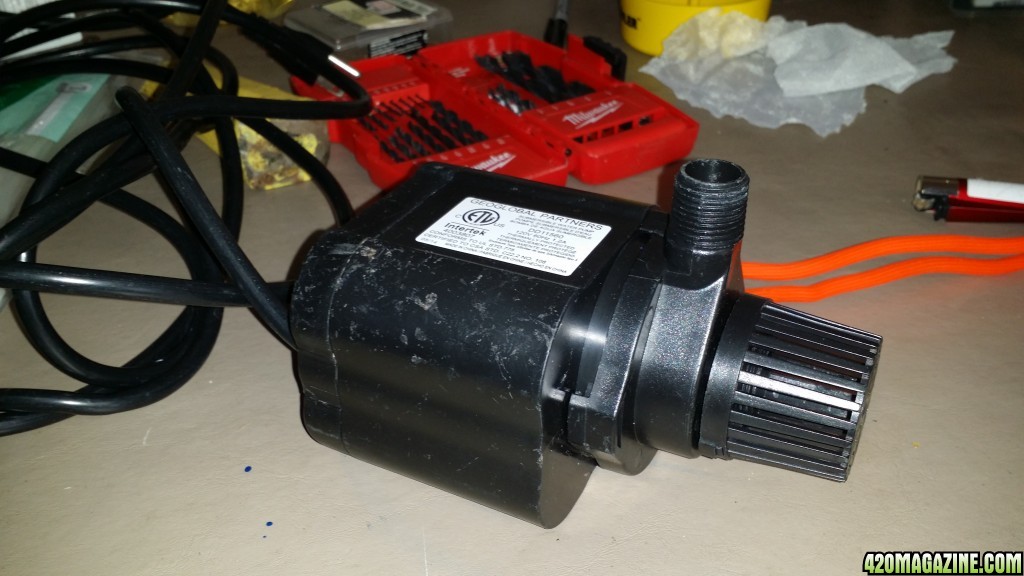
Water pump
Various air stones 2” and 6”
Floor fan
Mother tray for 3 - 4 mothers in soil
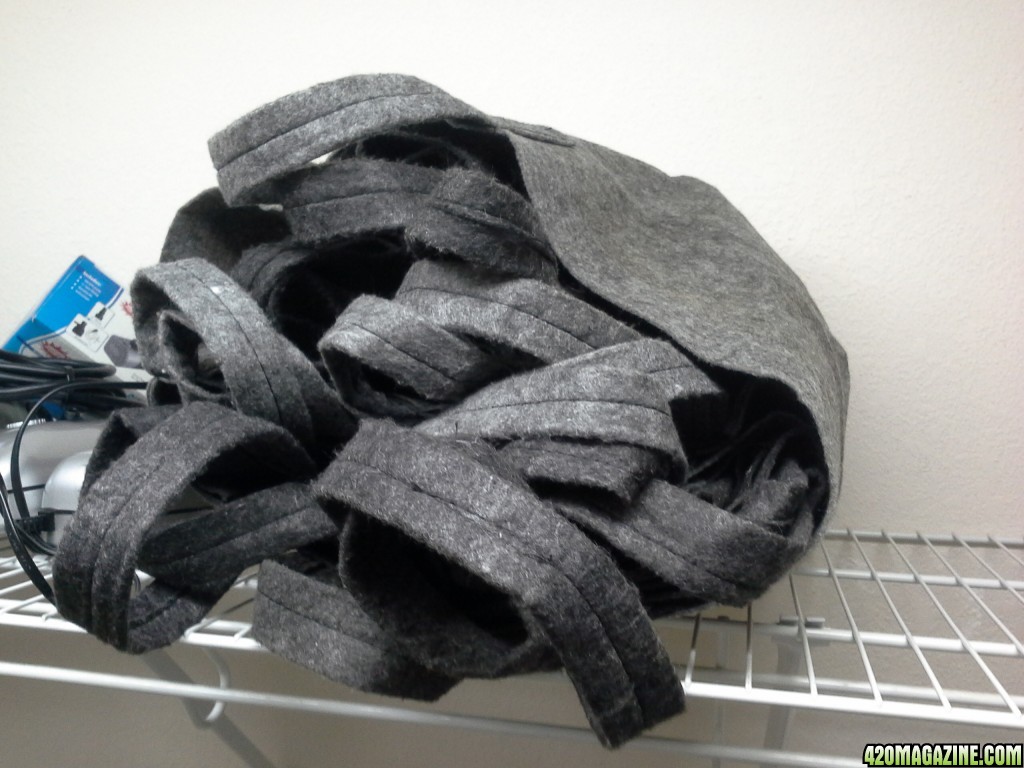
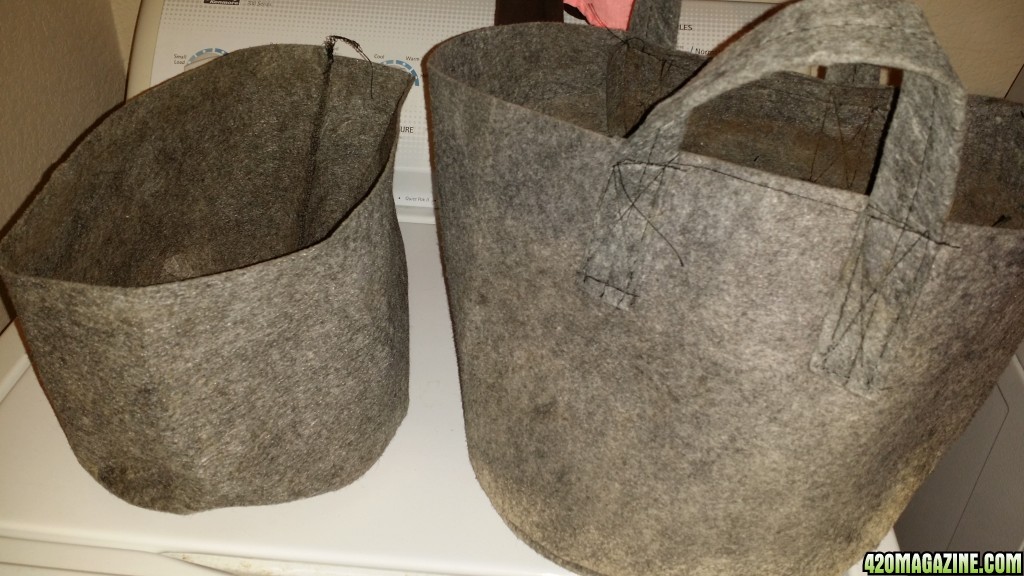
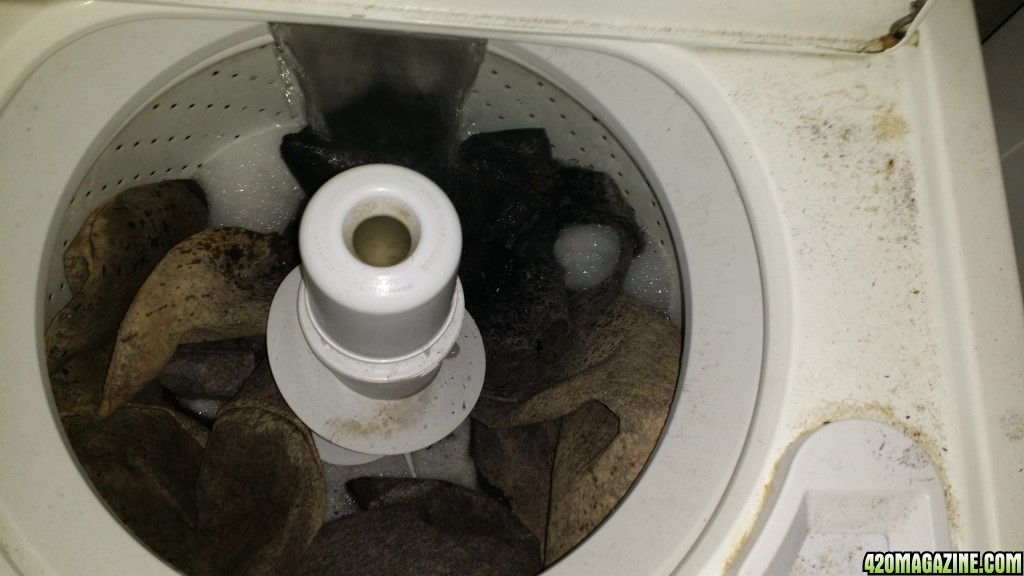
5 gal cloth bags for mothers
Roots Organic Soil for 3 - 4 mothers in soil
Stand
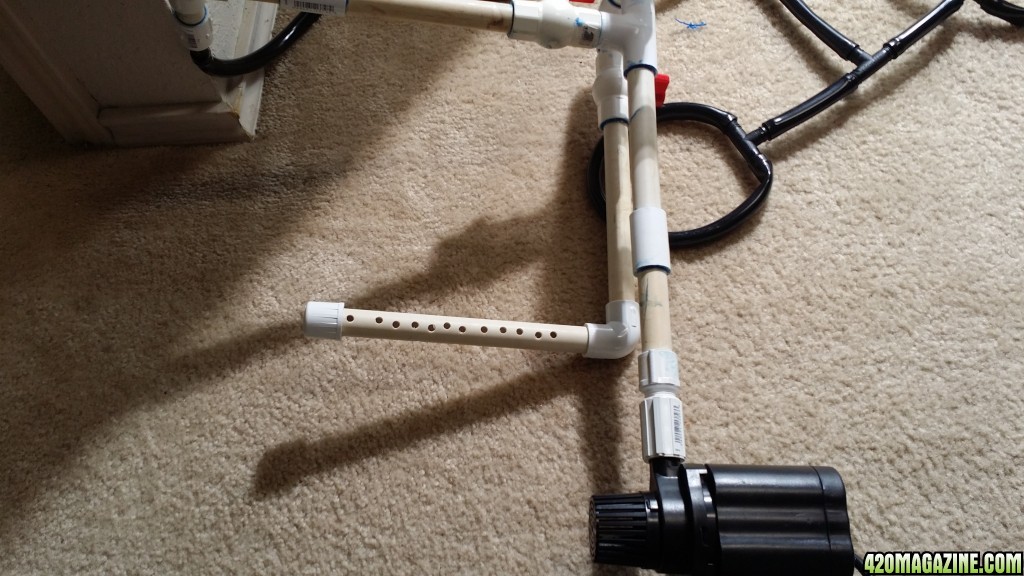
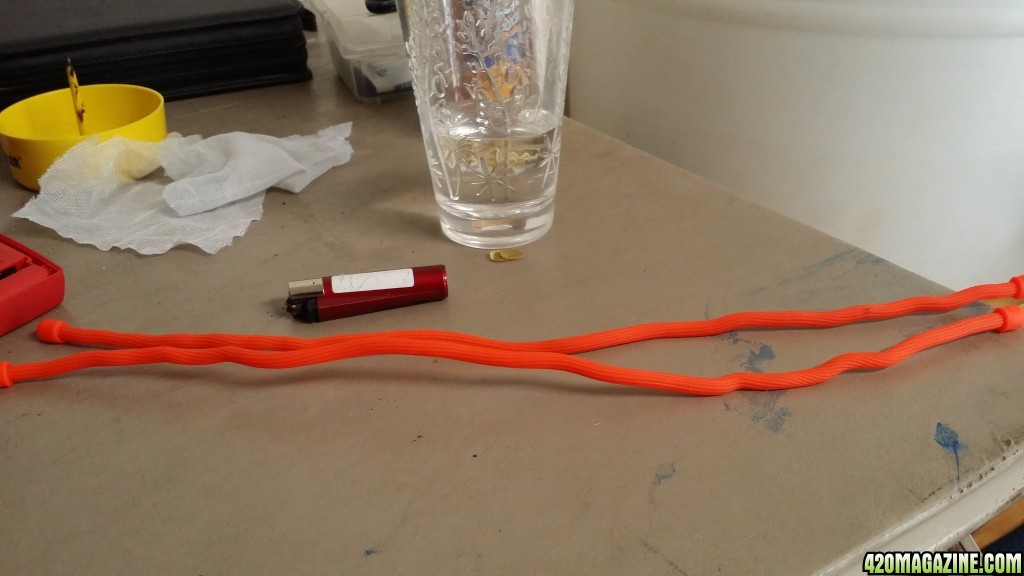
Return water line(s) to reservoir (2in PVC)
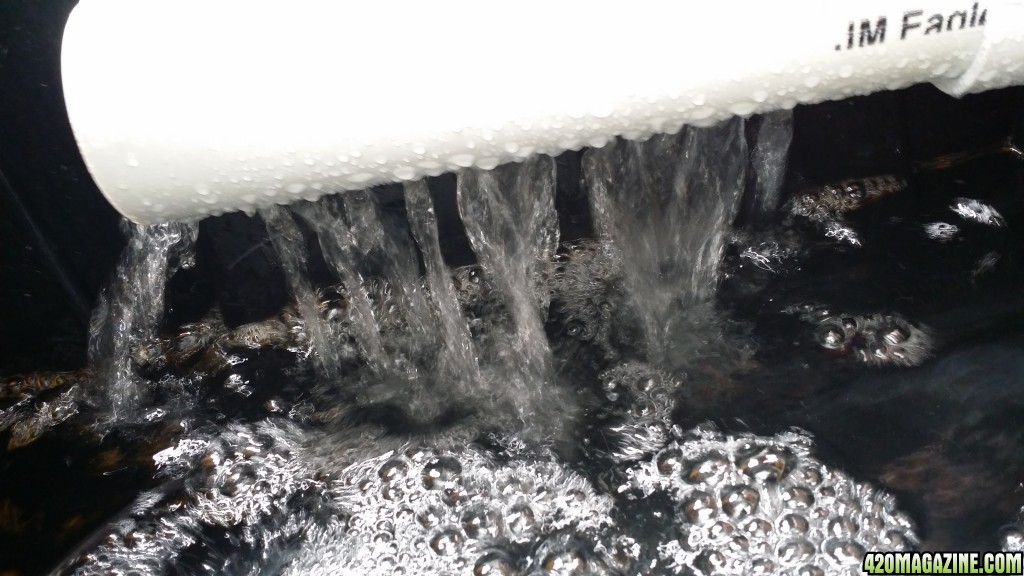
Top drip lines
BLOOM TENT EQUIPMENT
Our bloom tent is a 3 x 9 x 8 grow tent purchased from my local hydroponic store.
1 1000 WATT HPS air cooled
Magnetic Ballast
CAN 50 Carbon Filter
Dutch Bucket/Deep Water Culture 4 plants
15 gal res
Various Air pumps
Various air stones 2” and 6”
Room divider
Water pump
2 wall mount oscillating fans
Stand
Return water line(s) to reservoir (2in PVC)
Top drip lines
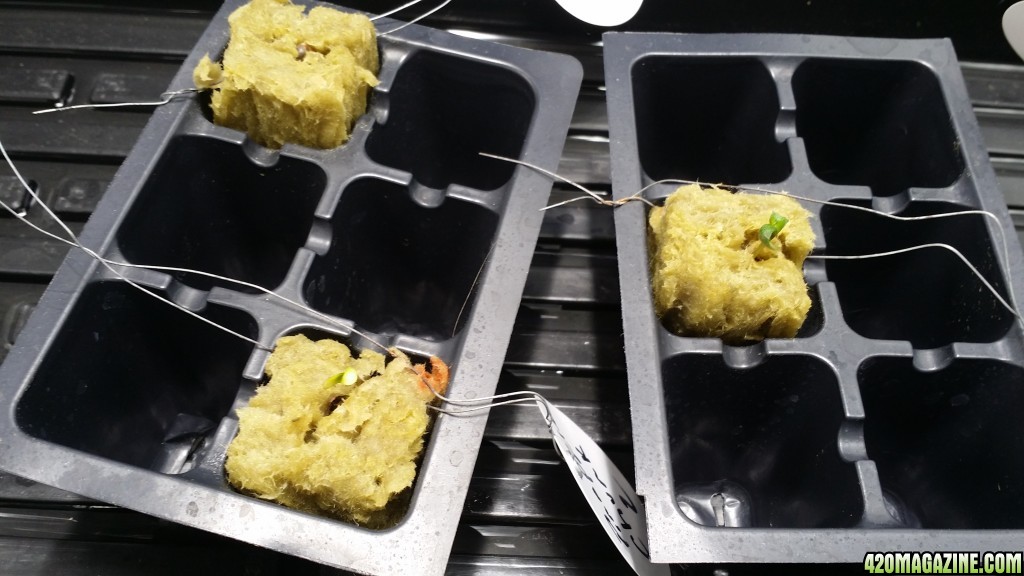
STRAINS
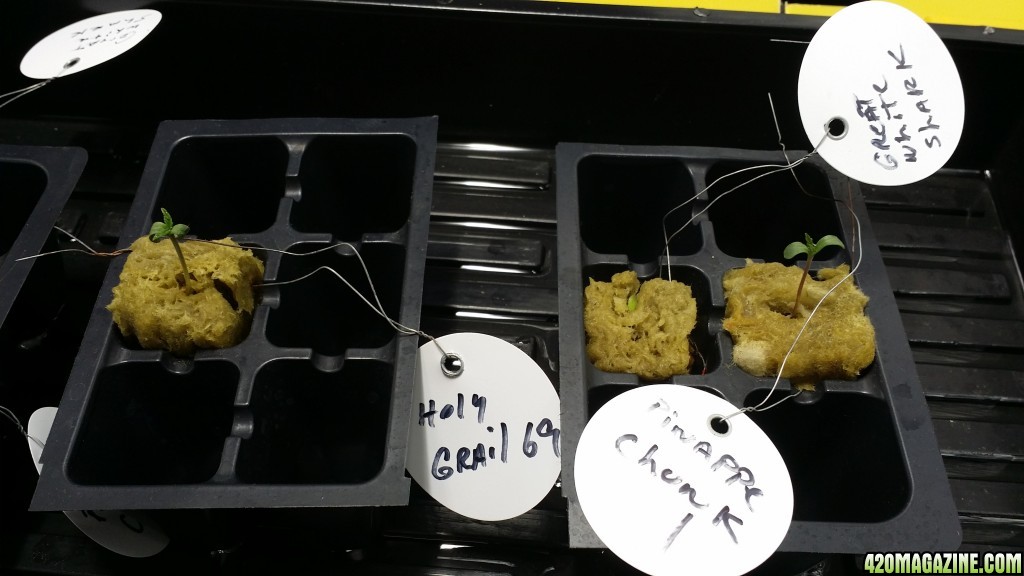
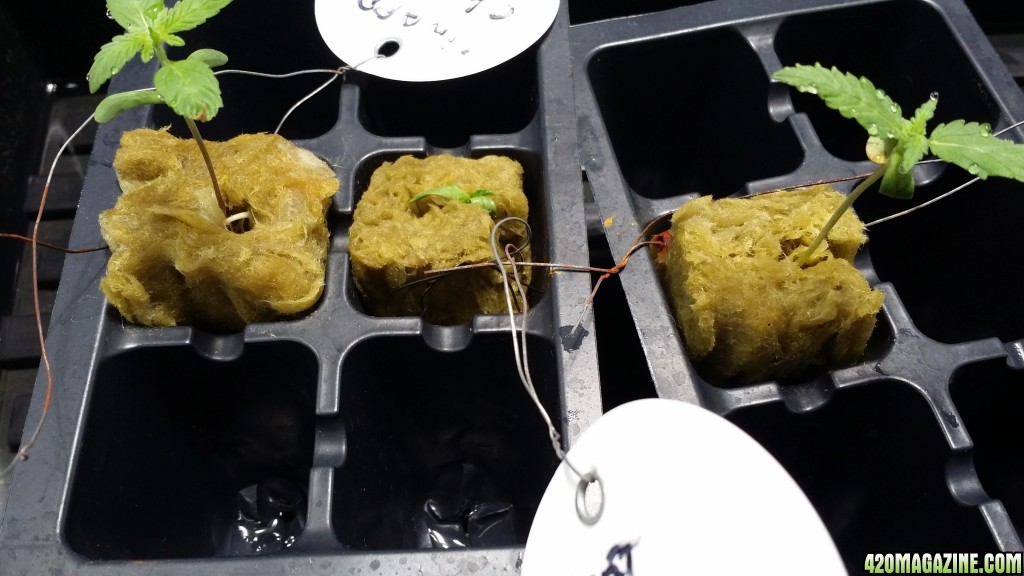
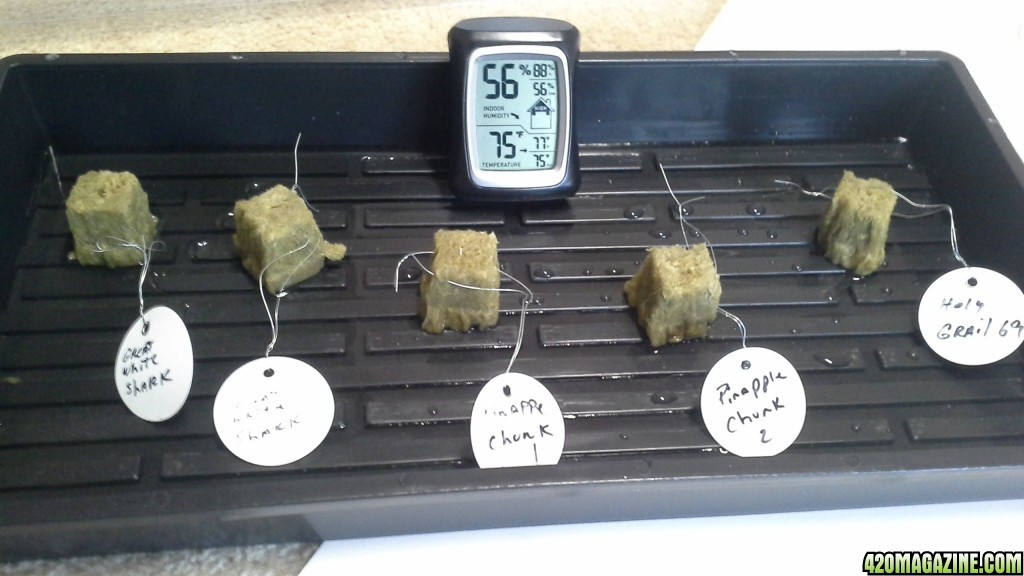
2 Indica dominate and 1 Sativa dominate. Couple of “Old School” strains.
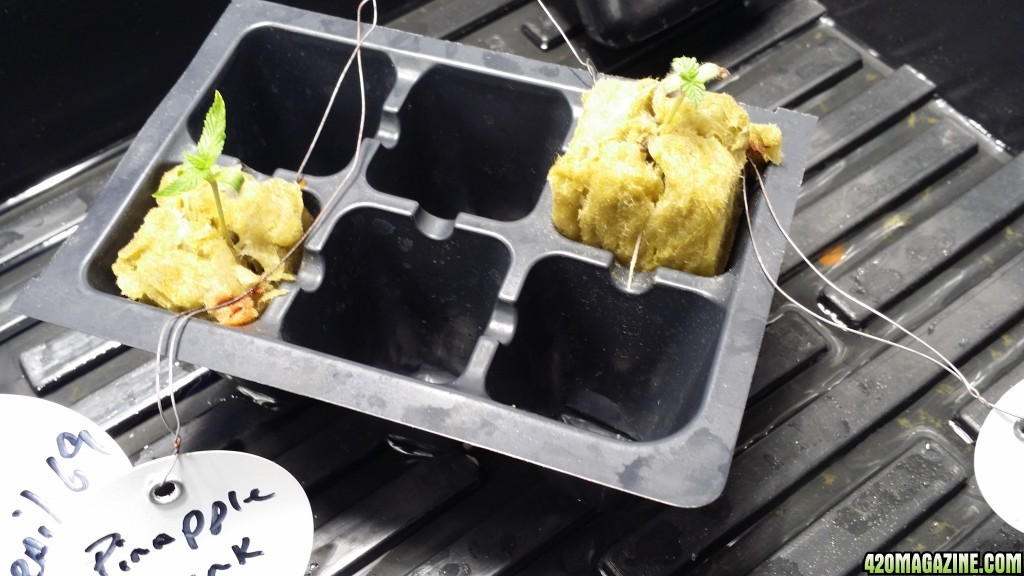
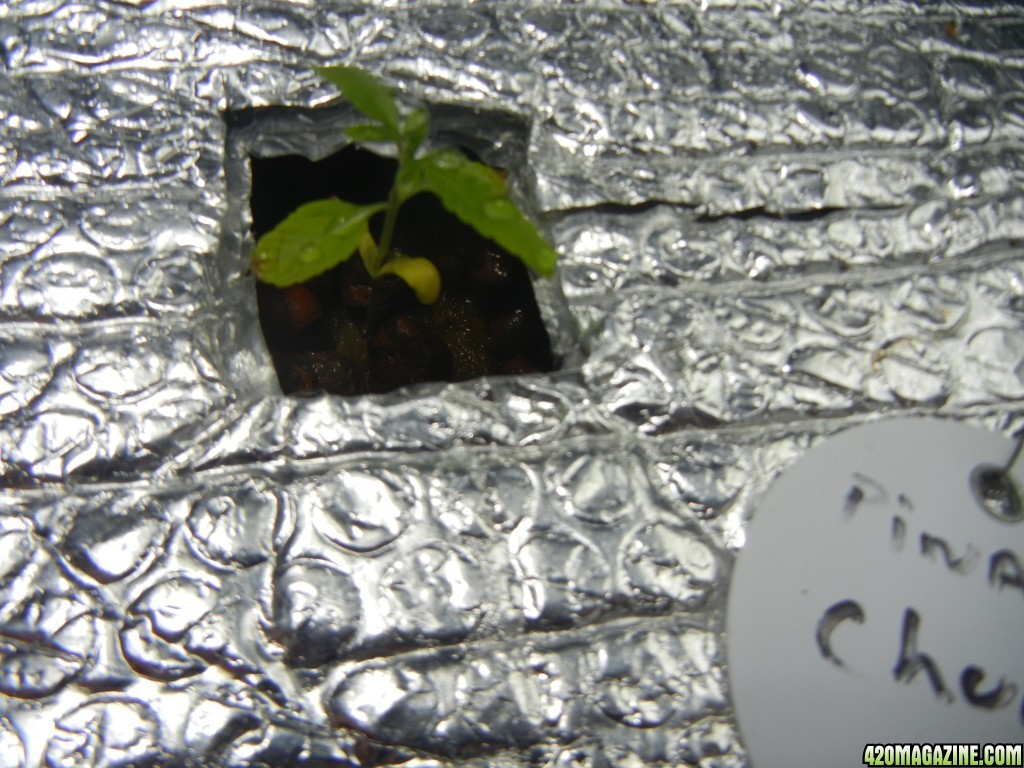
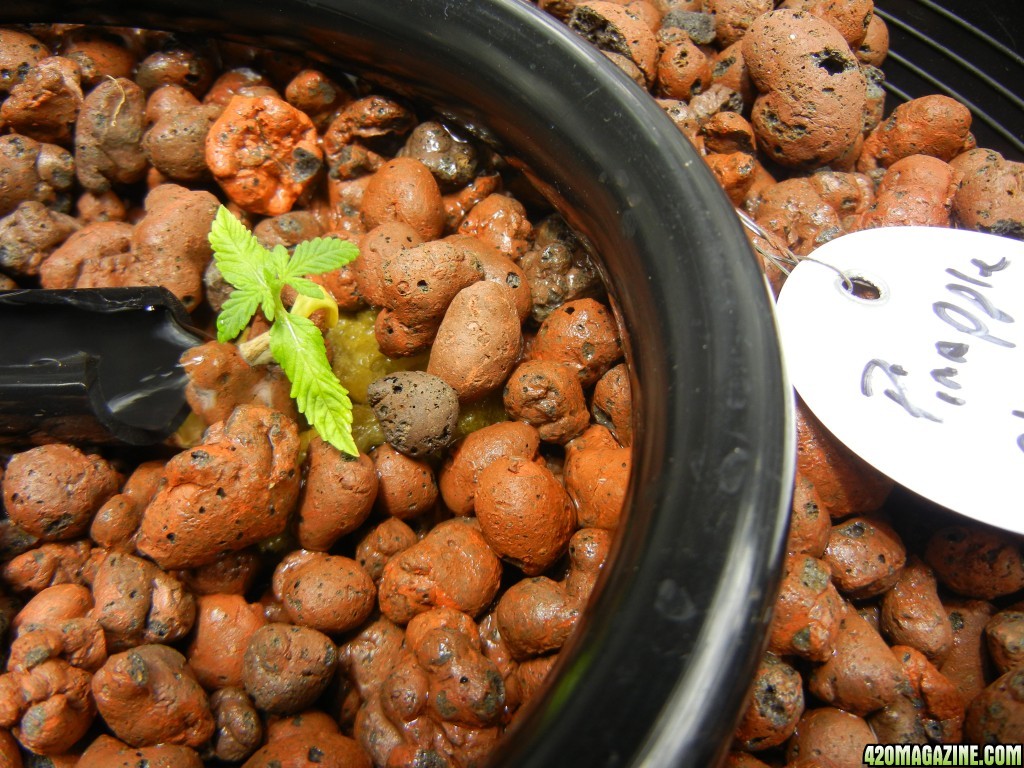
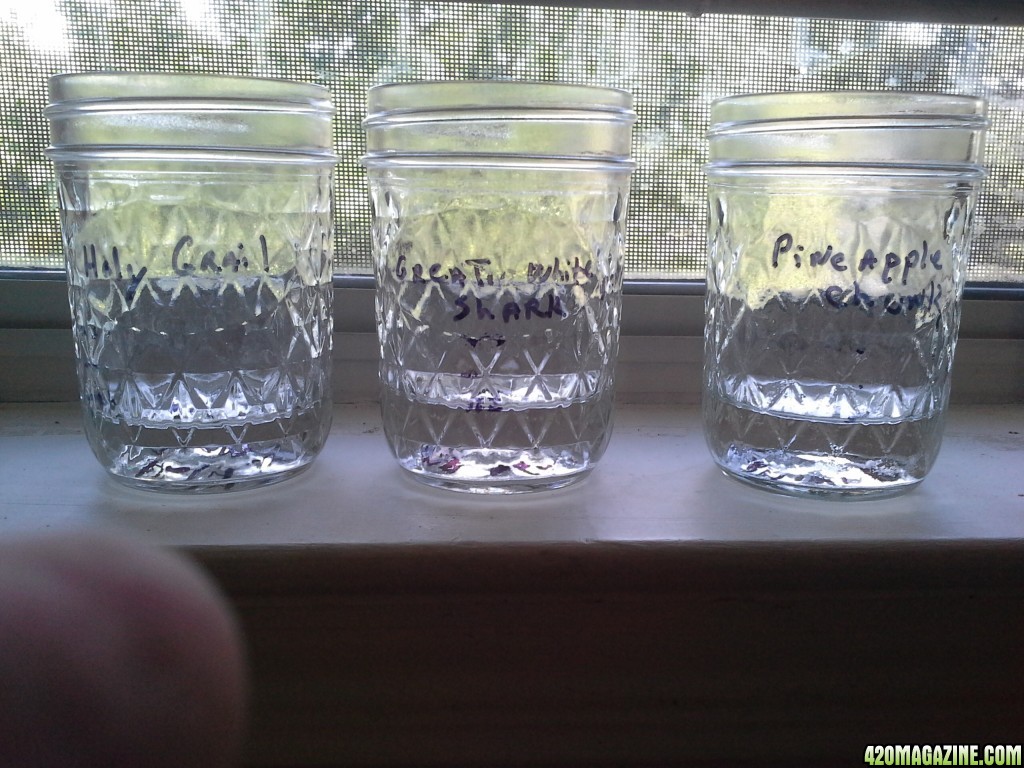
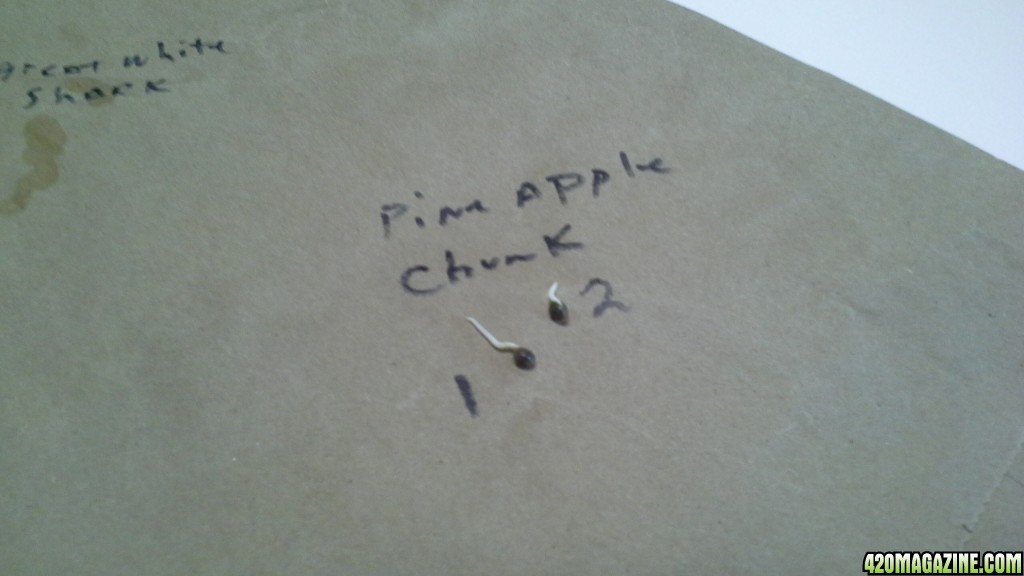
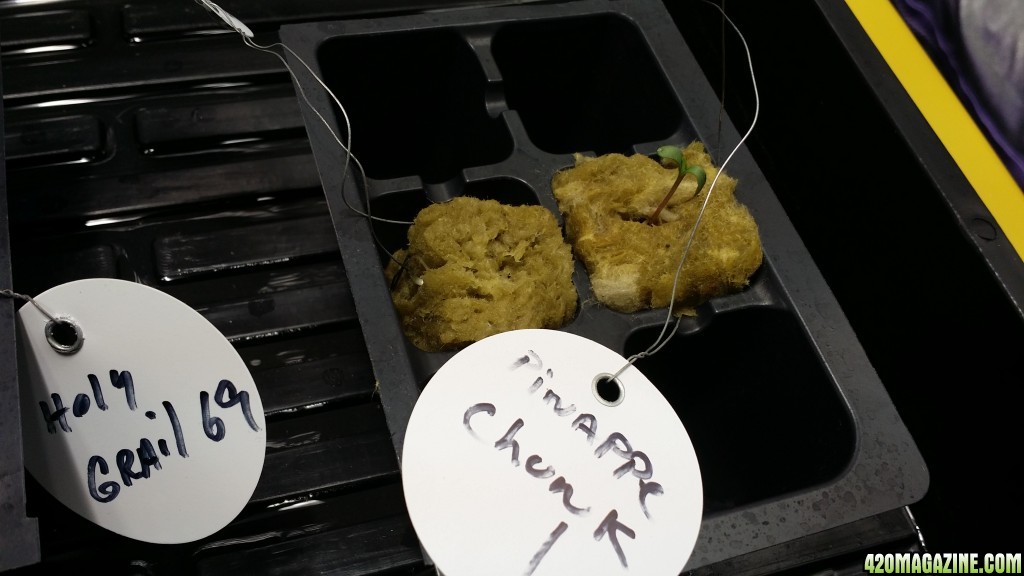
Pineapple Chunk

Indica CUP Winner 2009
type: Indica dominant
yield: 650gr x m2
height: 1.20m
flower time: 55 days
thc: ±21%
cbd: 0.8%
genetics: pineapple/skunk#1/cheese
Green House Great White Shark
Winner Bio HTCC 1997.
Winner HIGHLIFE Super Cup Category 2005.
Winner HIGHLIFE In Seed Co. Hydro Category 2005.
Genetics: Super Skunk x Brazilian x South Indian.
Flower Time: 63 Days
CBN: 0.25%
CBD: 0.18%
THC: 15%
Type: Indica dominant
Height: Short, branchy, bushy plant
Taste and Aroma: Strong, fruity and flowery
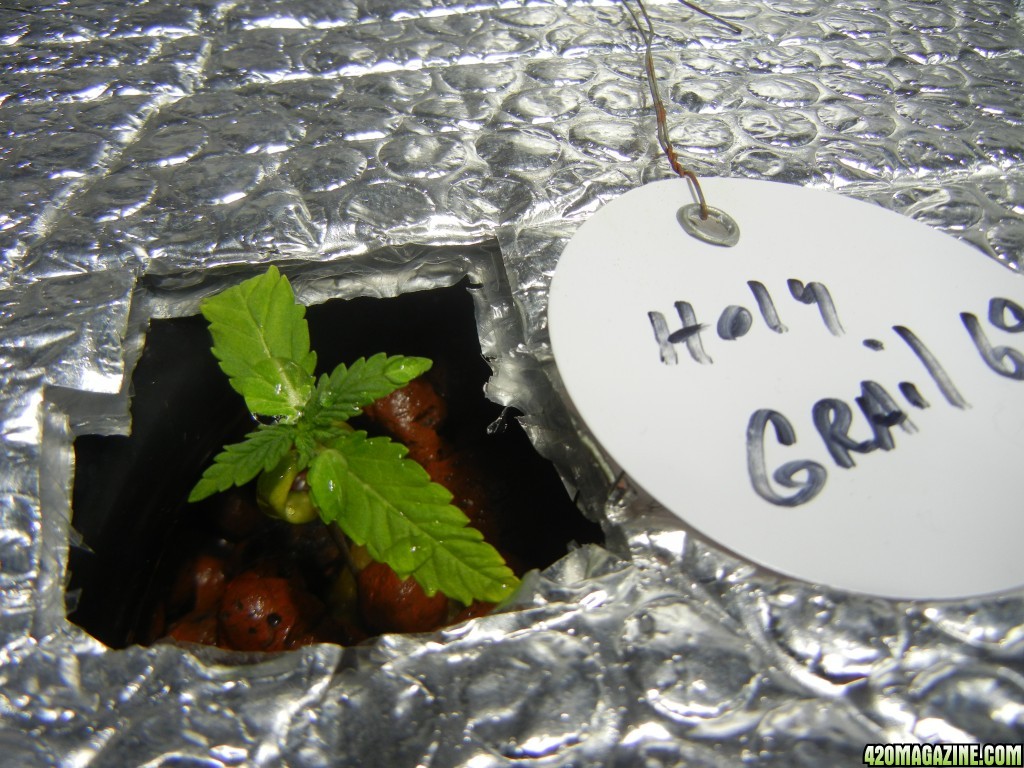
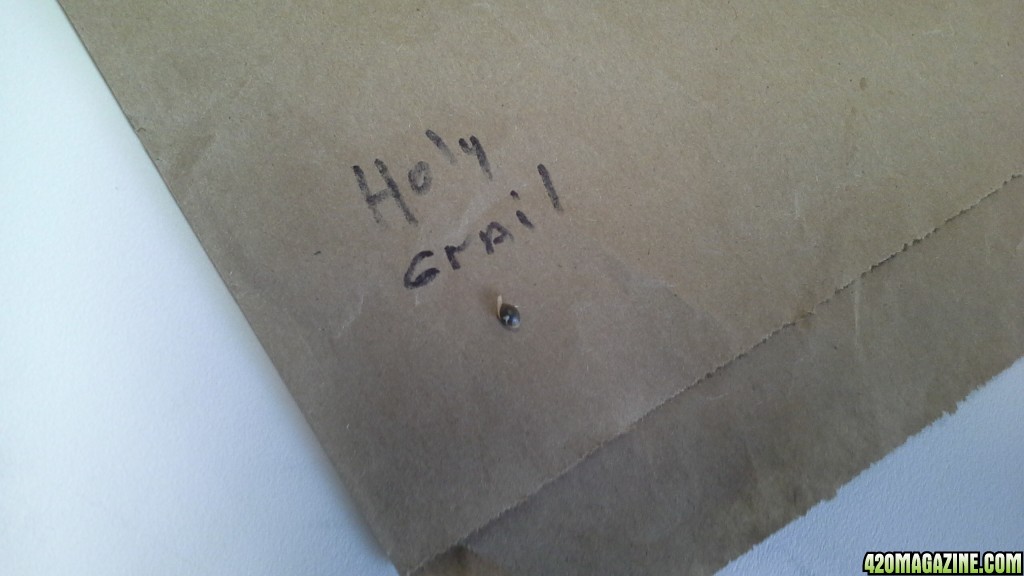
Samsara Holy Grail 69

Genetics: Matanuska Tundra x Chronic x Haze
Indica/Sativa: 35/65
Flowering time indoor: 63 Days
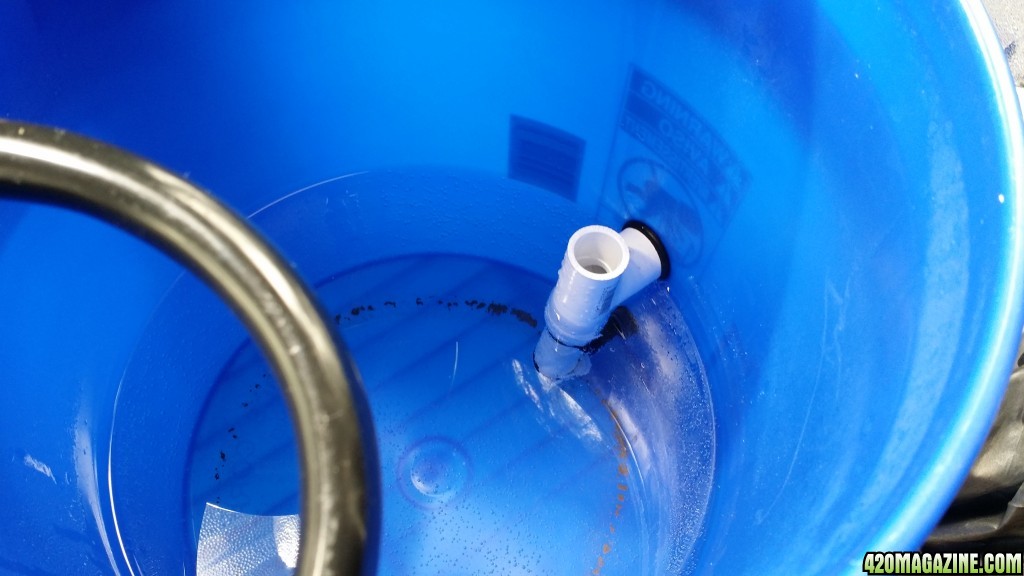
RESIVOUR
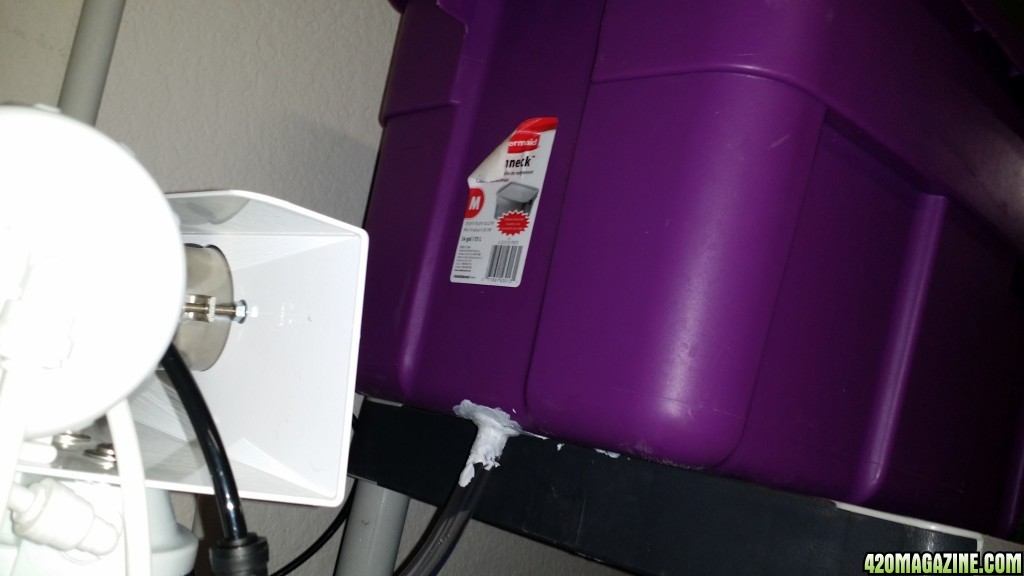
My reservoirs are from Home Depot. Tough Tote 15 gallons.
We will use one in the Veg tent and one in the Bloom tent.
VEG PH
Veg PH is allowed to fluctuate between 5.5 - 6.3
Bloom PH is set at 5.8 and allowed to drift up .2 or so before correcting
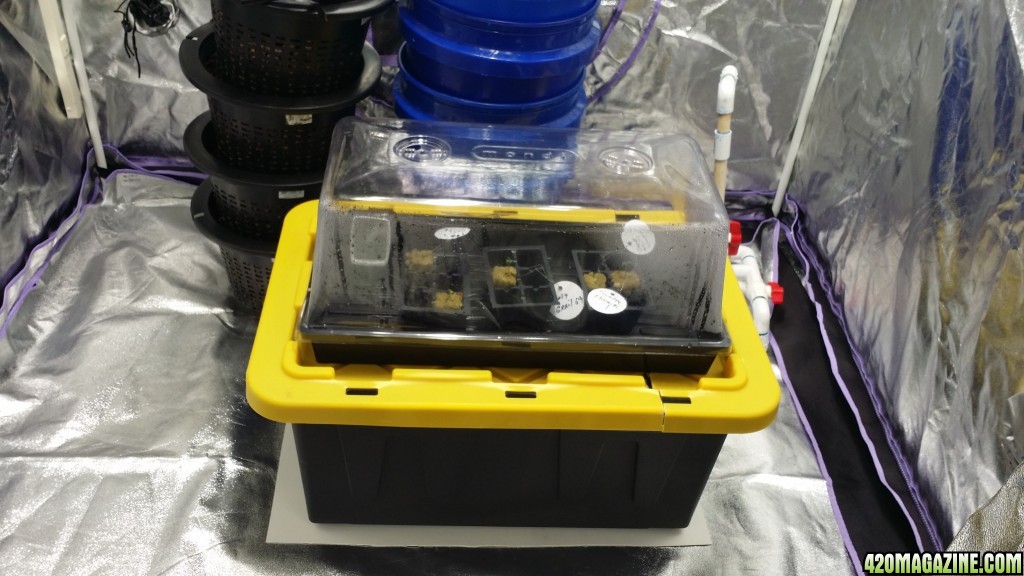
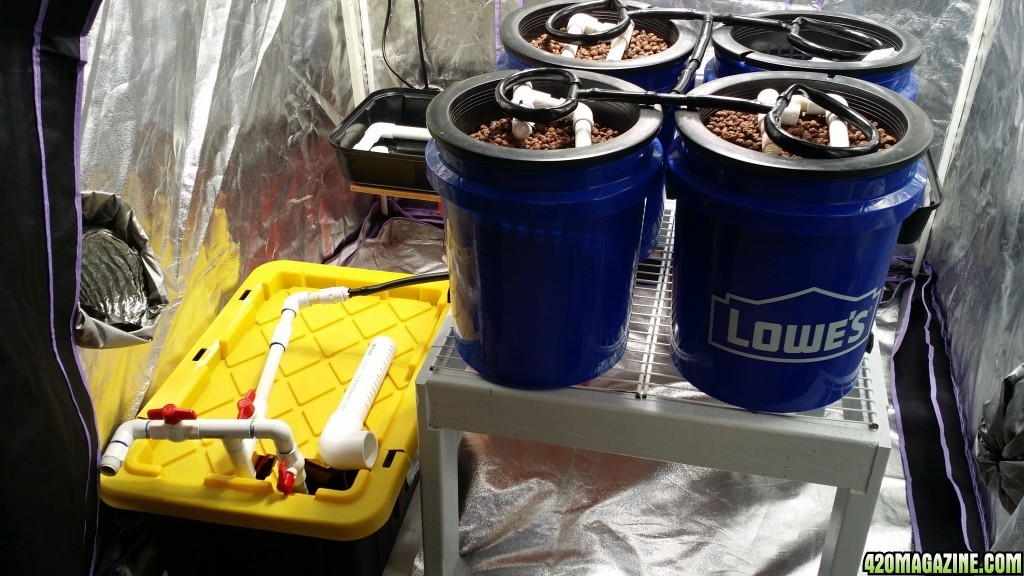
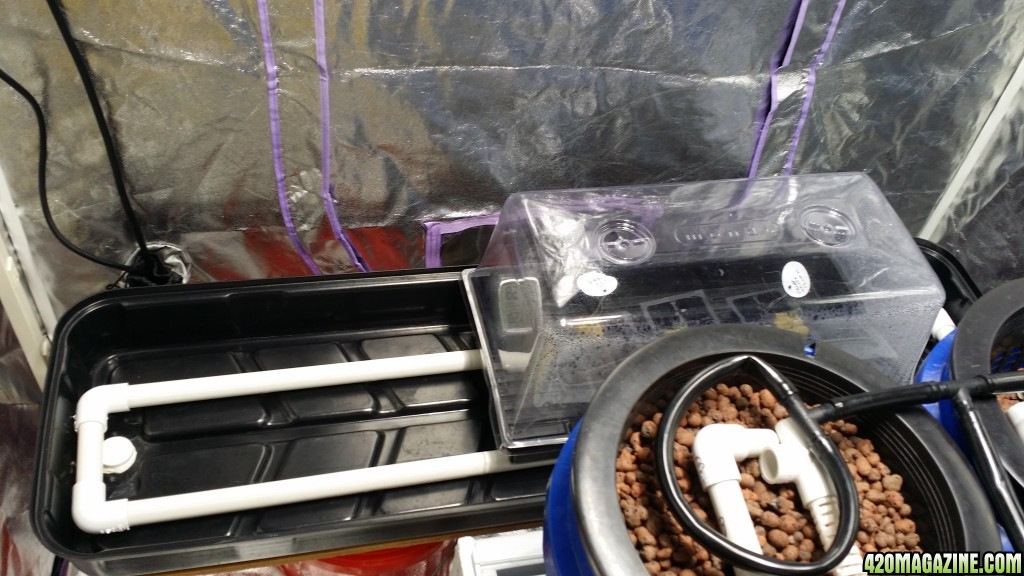
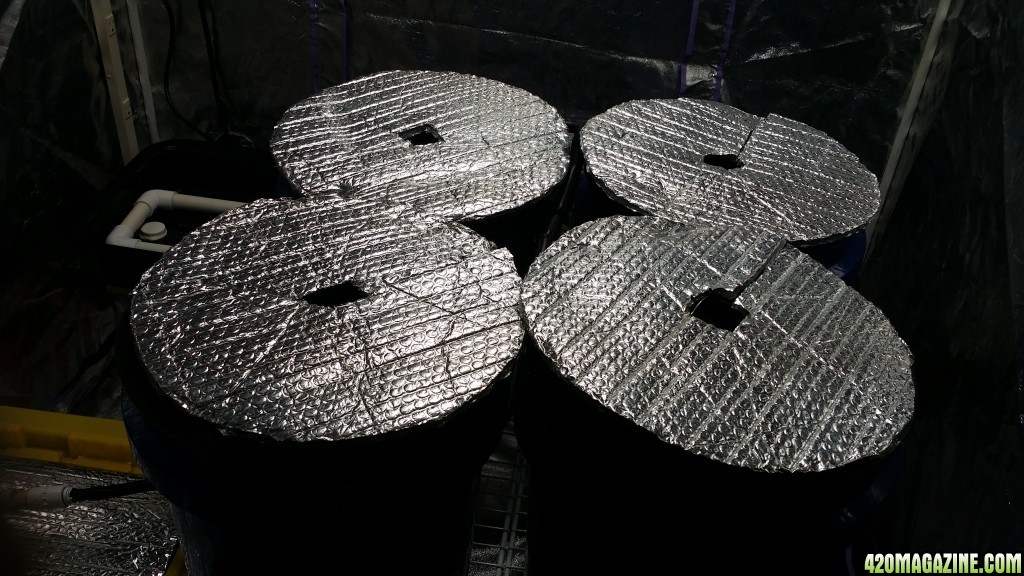
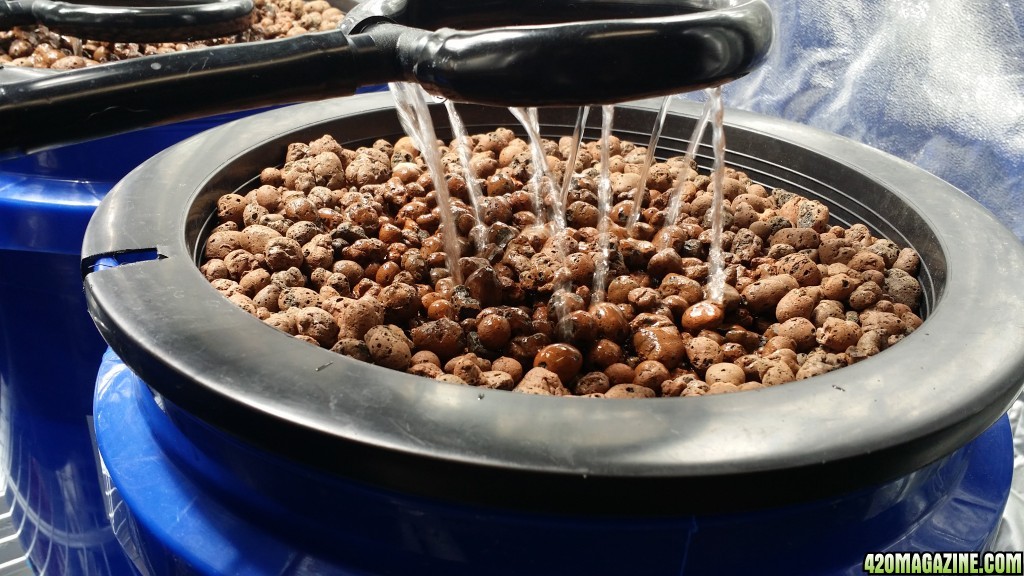
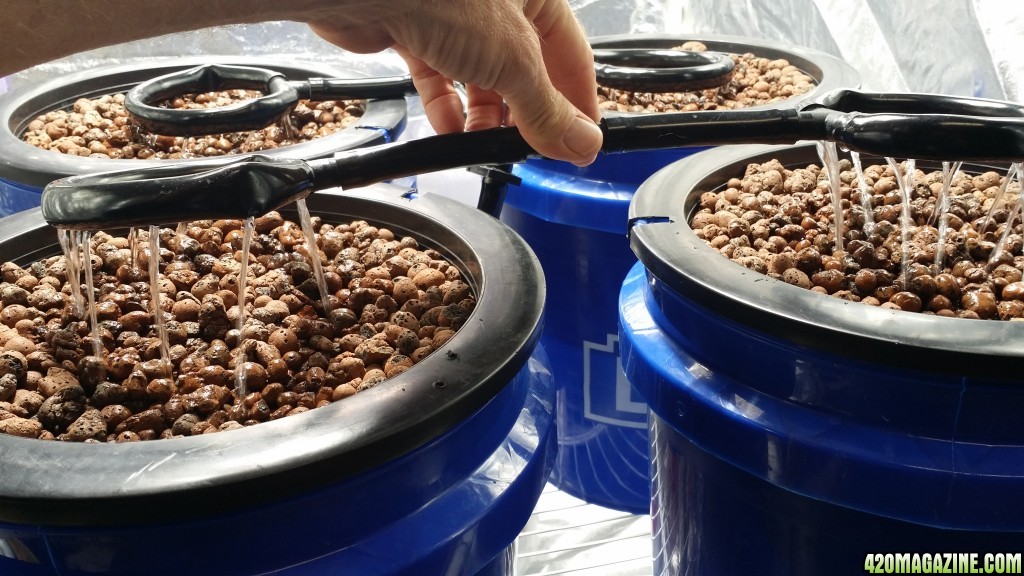
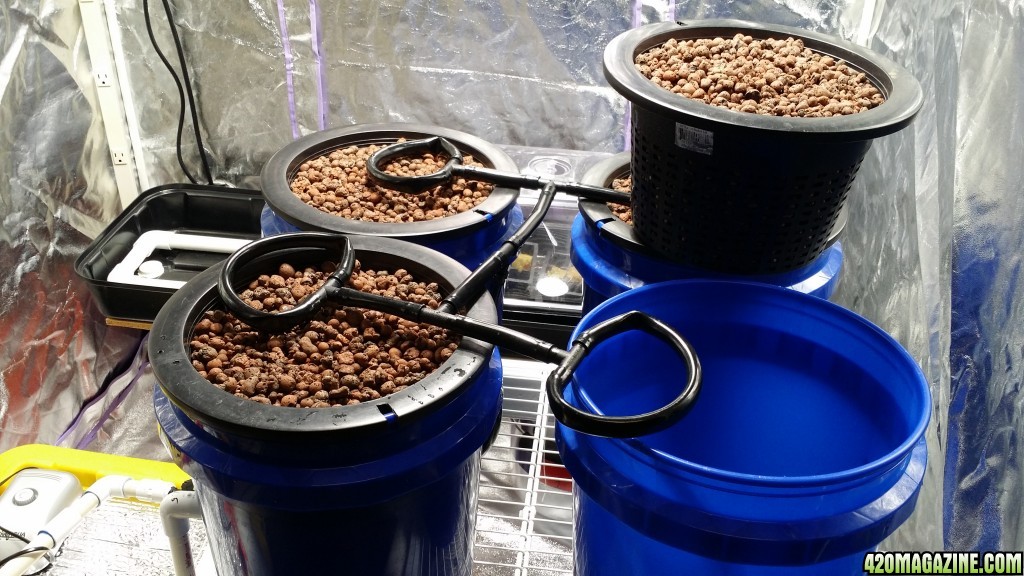
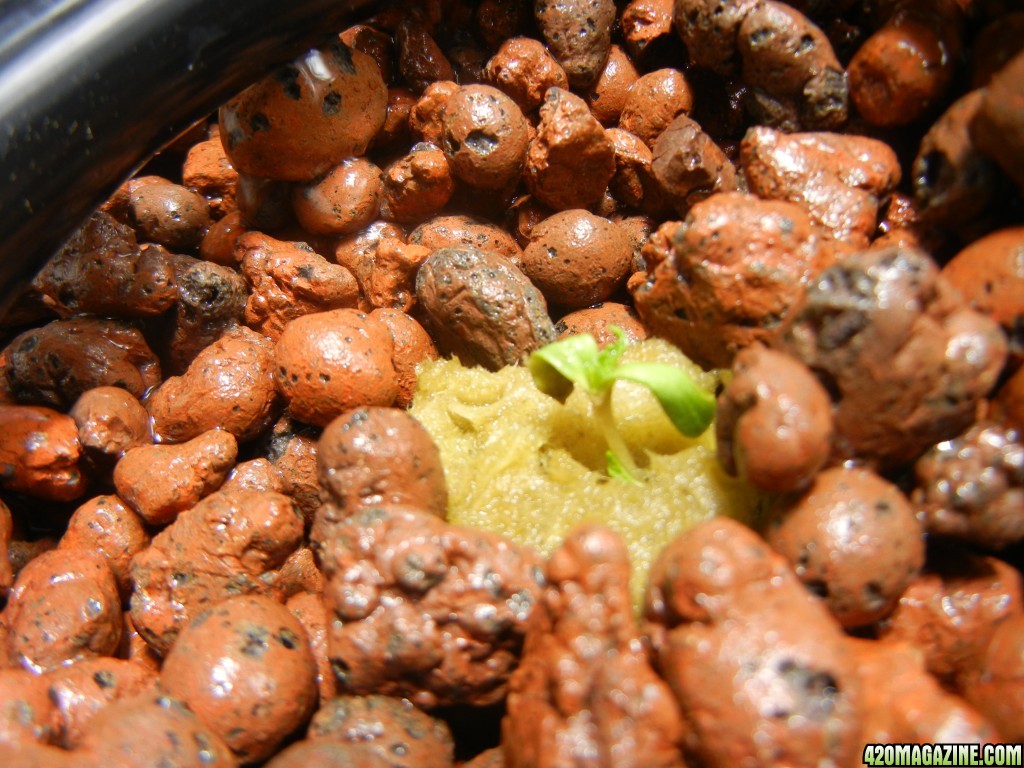
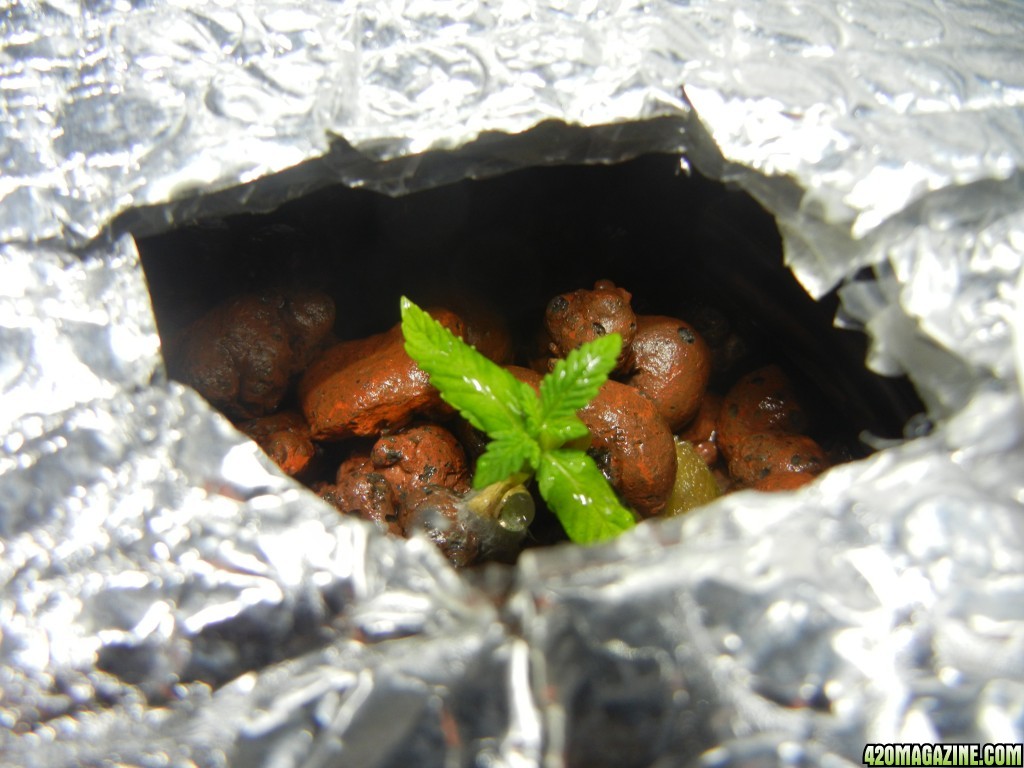
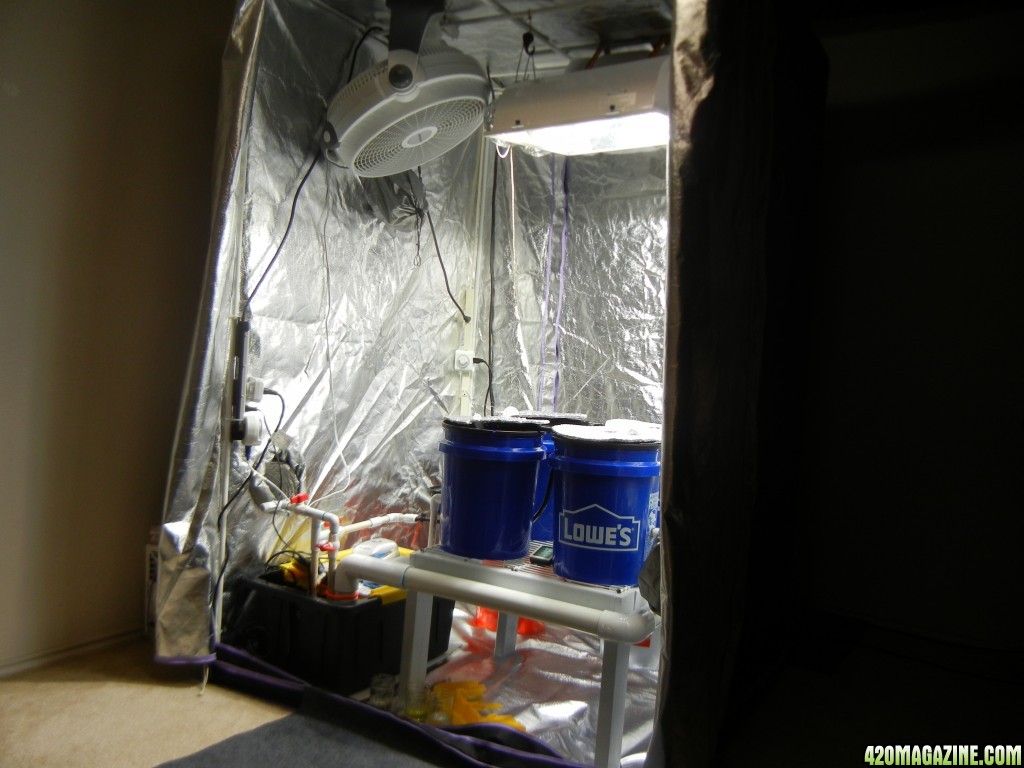
BUCKETS AND MEDIA
5 gallon buckets
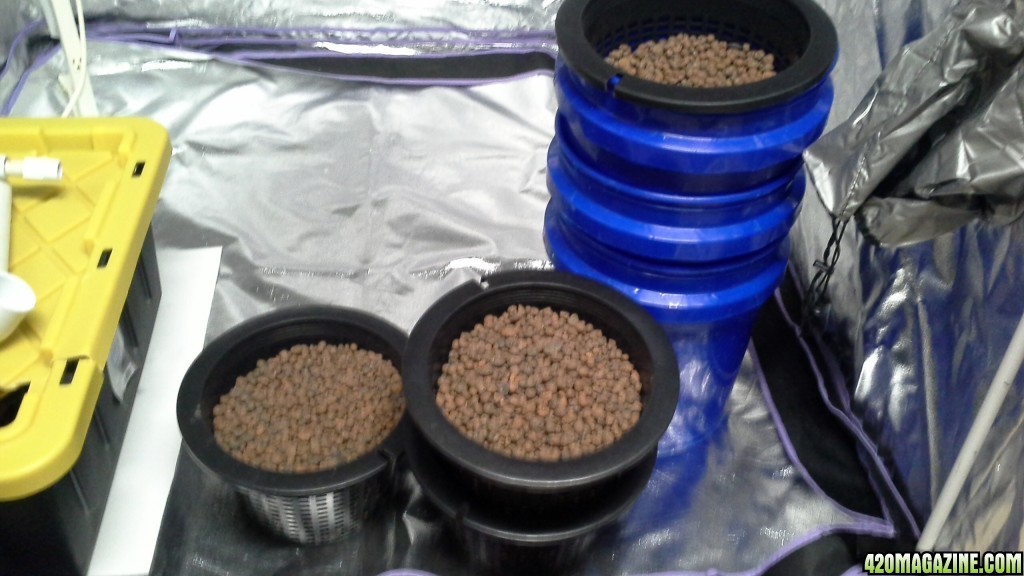
6” net pots
Clay pellets
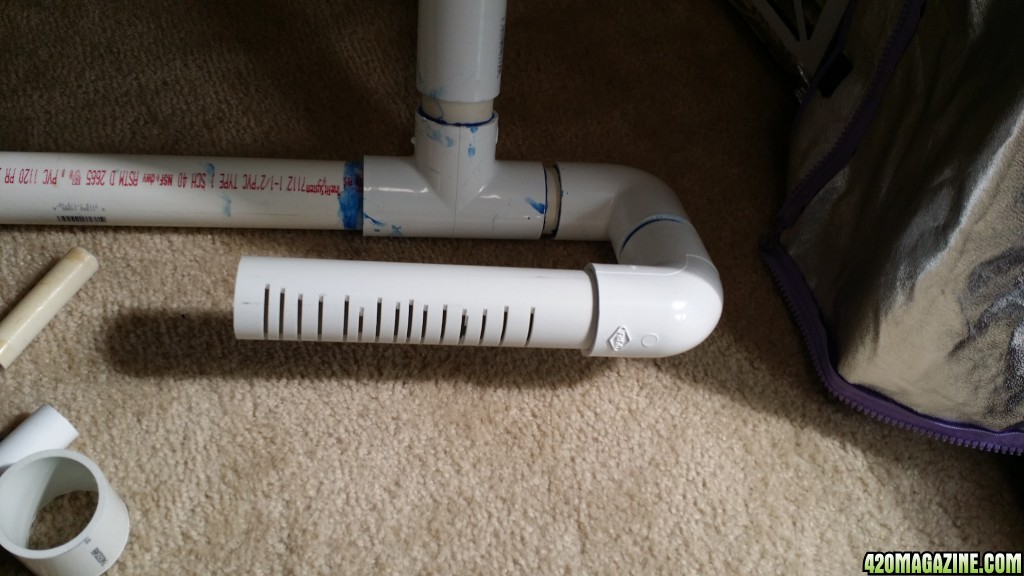
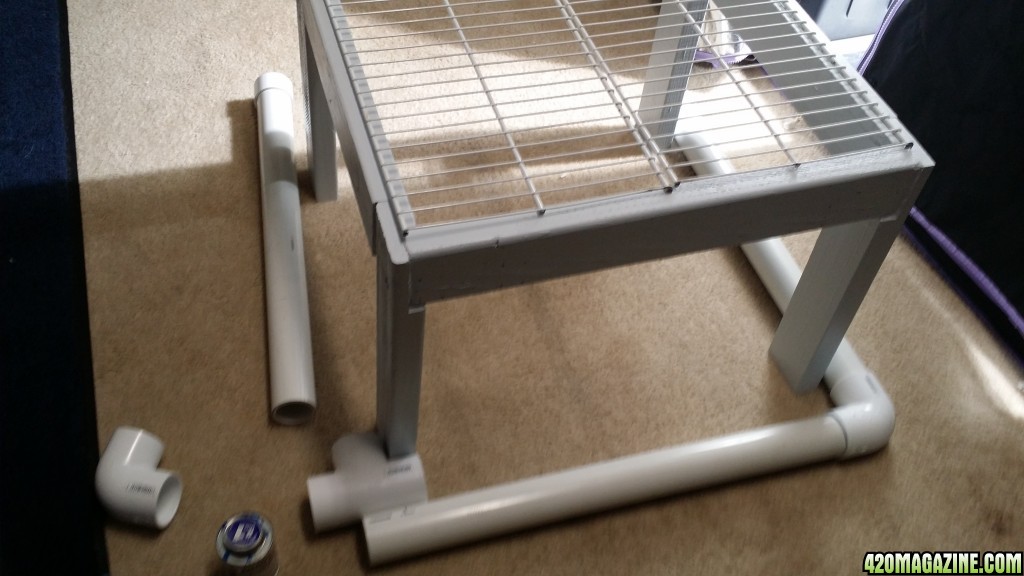
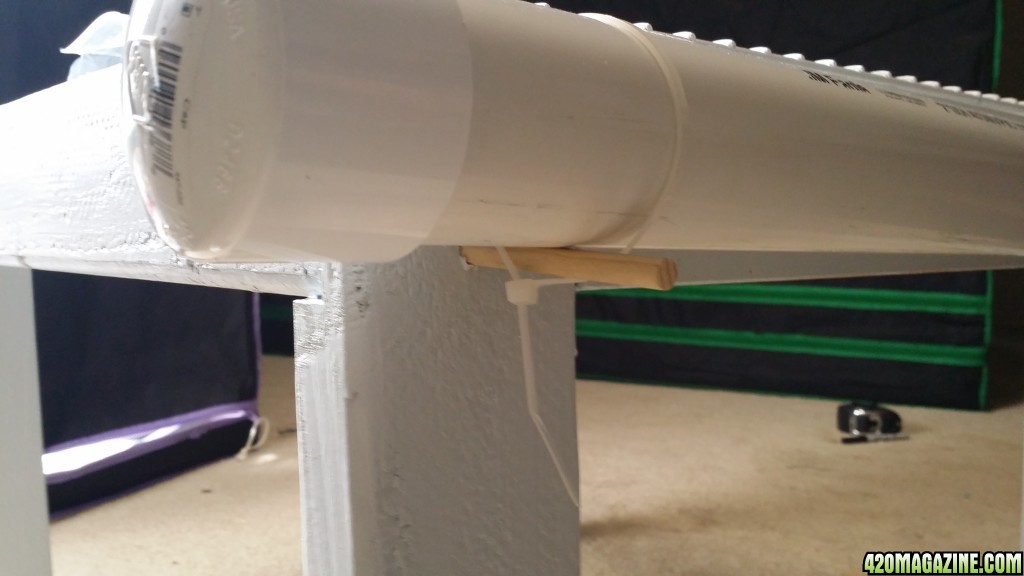
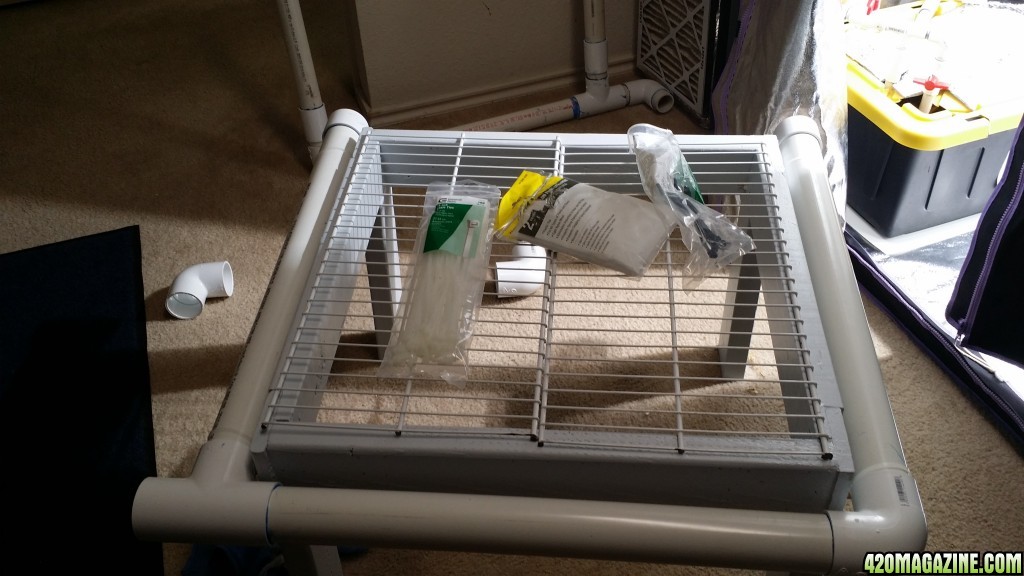
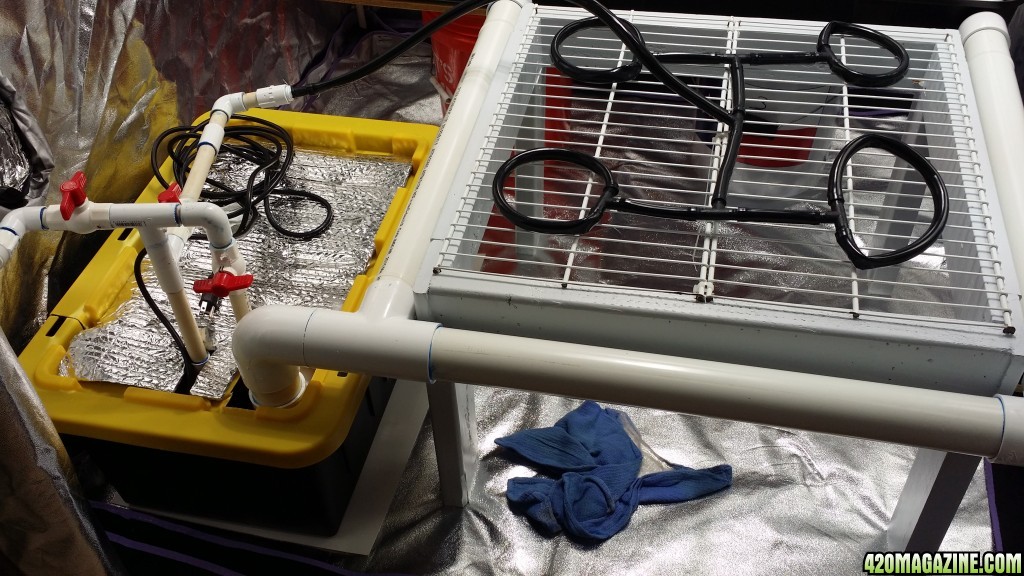
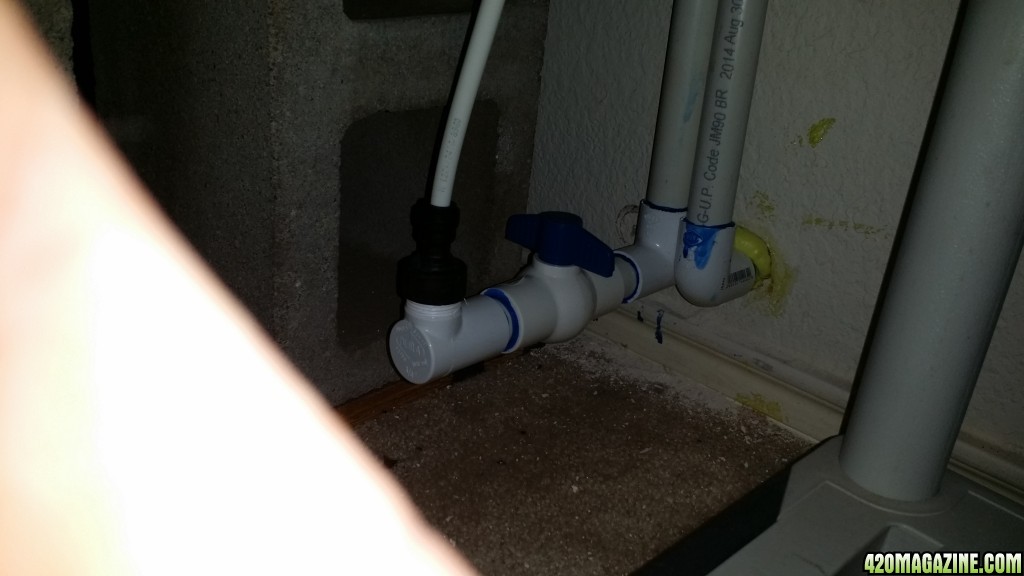
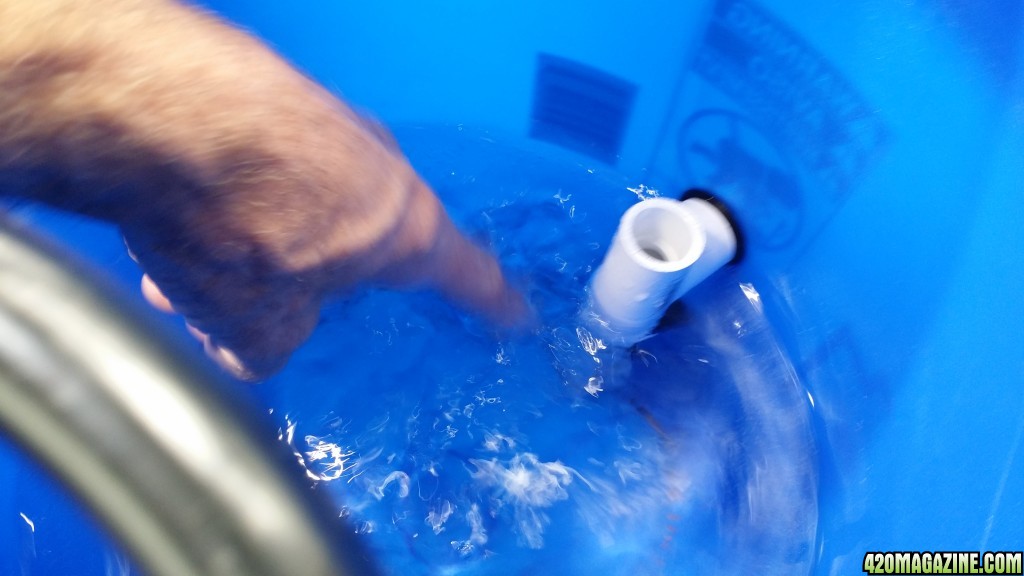
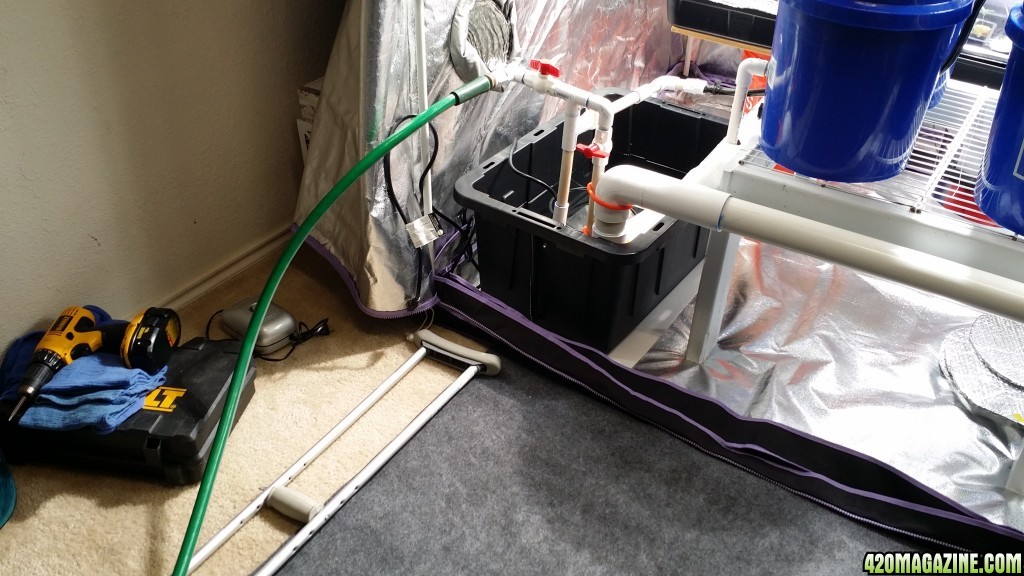
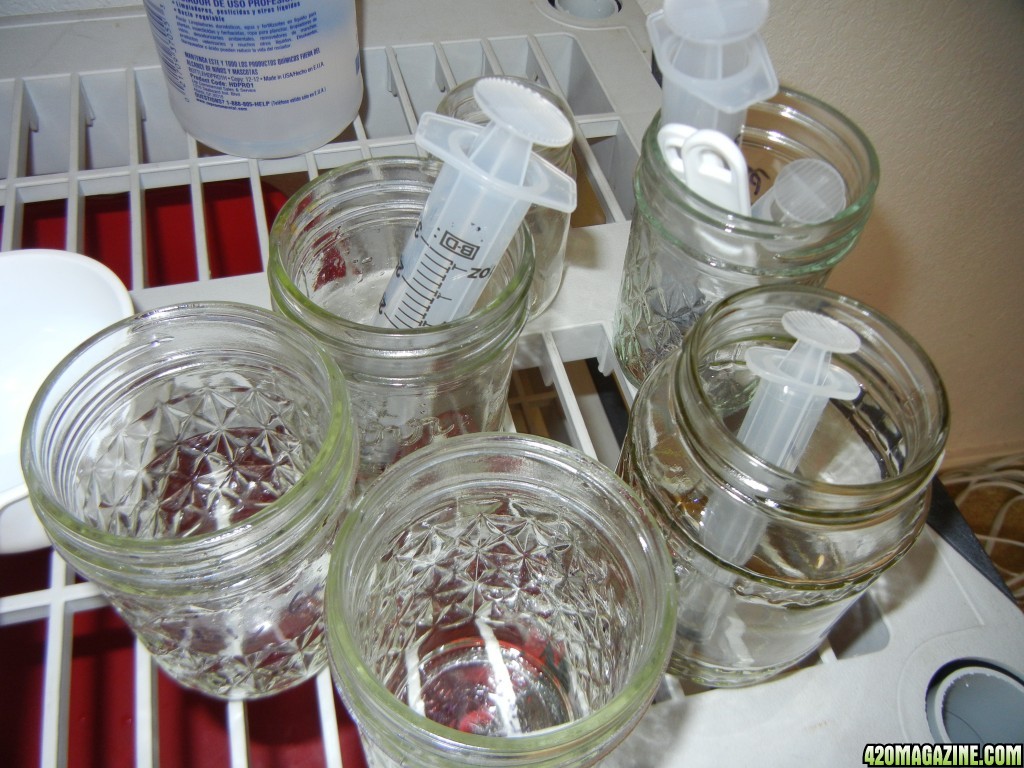
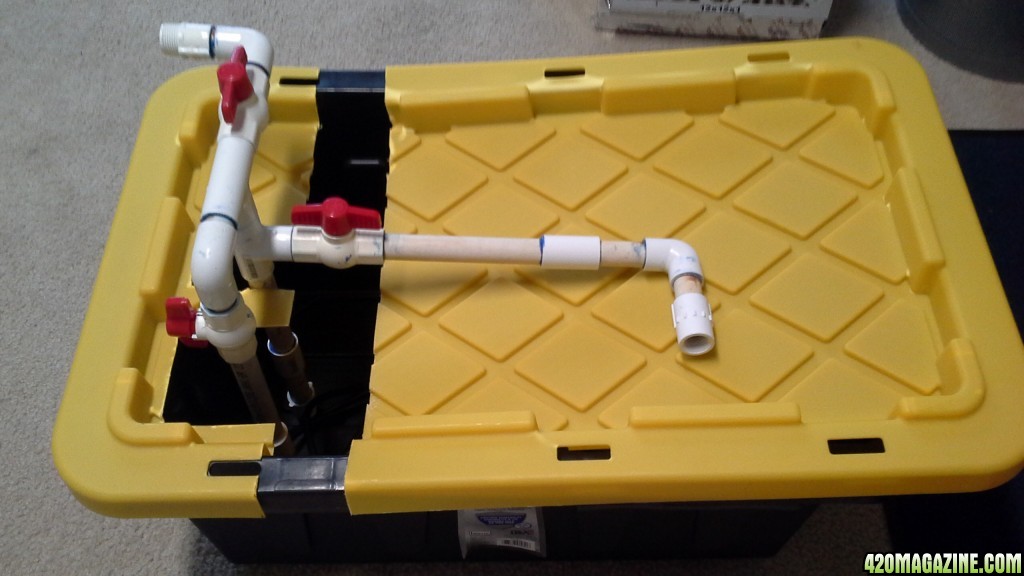
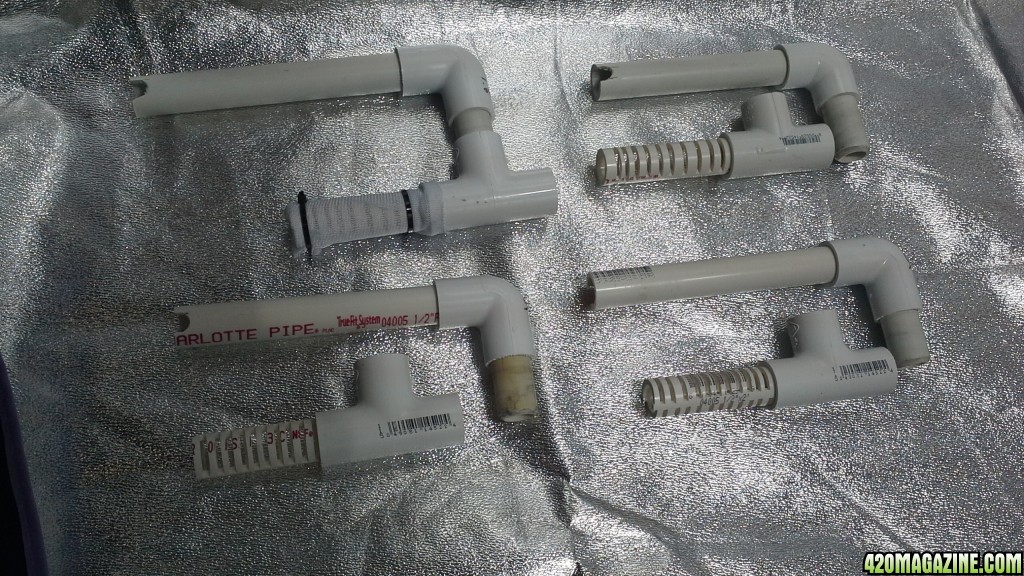
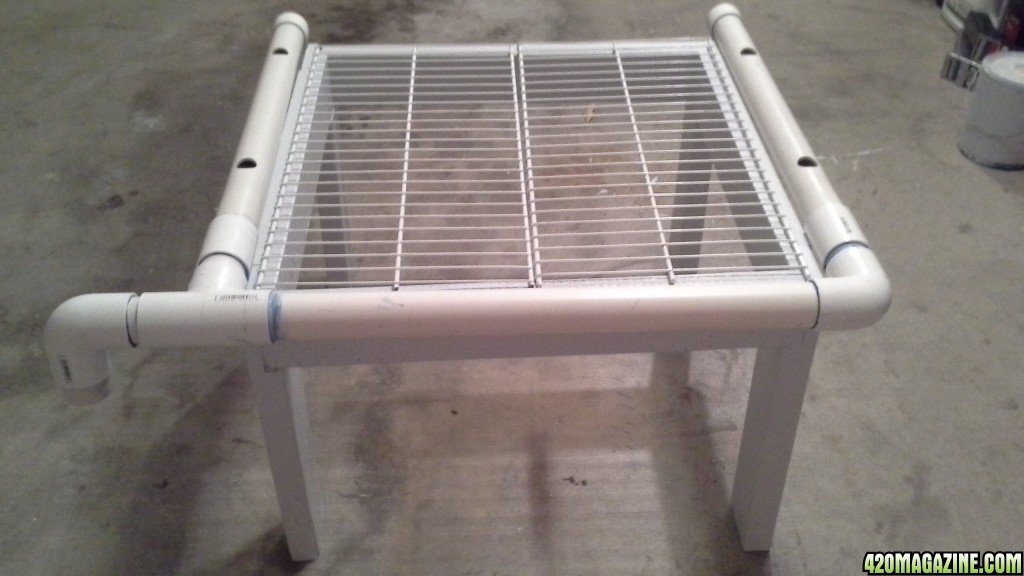
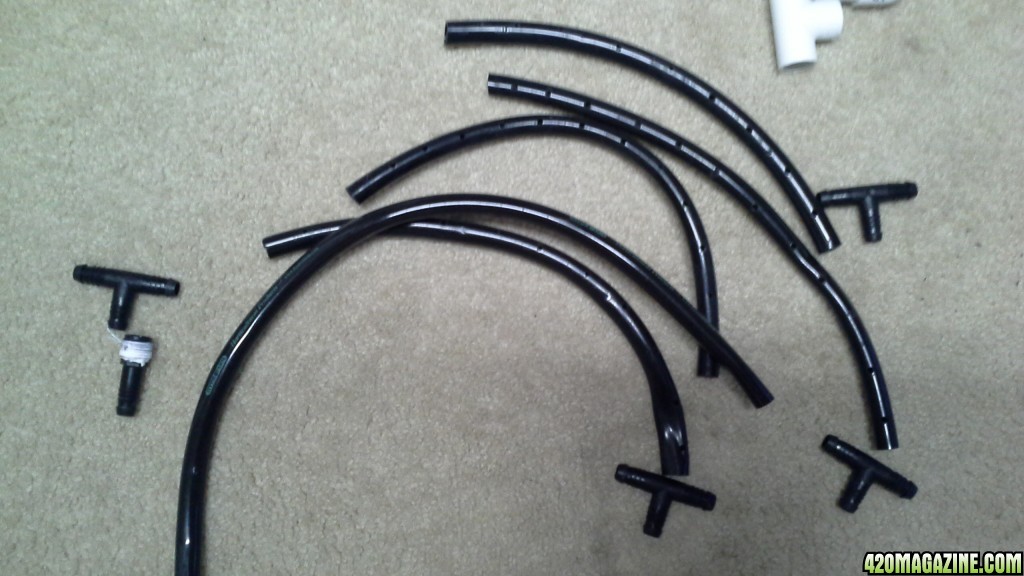
Dutch Bucket drain added to each bucket (DIY project). 3 still need paint strainer material on to prevent roots from getting into the drain system. VERY important. Due to the awesome root ball, I used a T connector inside the bucket instead of an elbow which would just point down. The top of the tee provides a backup over flow in the event the lower paint screen becomes too clogged between weekly cleaning. More photos of the system running once I progress to that stage. I want to rebuild my return lines with 2in PVC. My current system was 1 ½ in PVC and I experienced nutes and silicate build-up where the bucket drain line entered into the PVC drain. See picture below of my new stand with the original drain line sitting on top of it as an example of where we are going.
A great thing about this setup is that you simply move each plant to a spare bucket and you can completely remove it’s grow bucket for cleaning. In veg I run air stones in the res only. Once roots reach the water in the bottom of the buckets, I add a small stone to the bottom of the bucket(s) which the roots quickly surround. Removing the air stone for cleaning is also just as easy.
The Dutch Bucket setup recycles the nutrients back into the reservoir which is changed every 7 days.
Buckets will be top drip feed multiple times a day depending on growth stage and plant requirements.
WATER
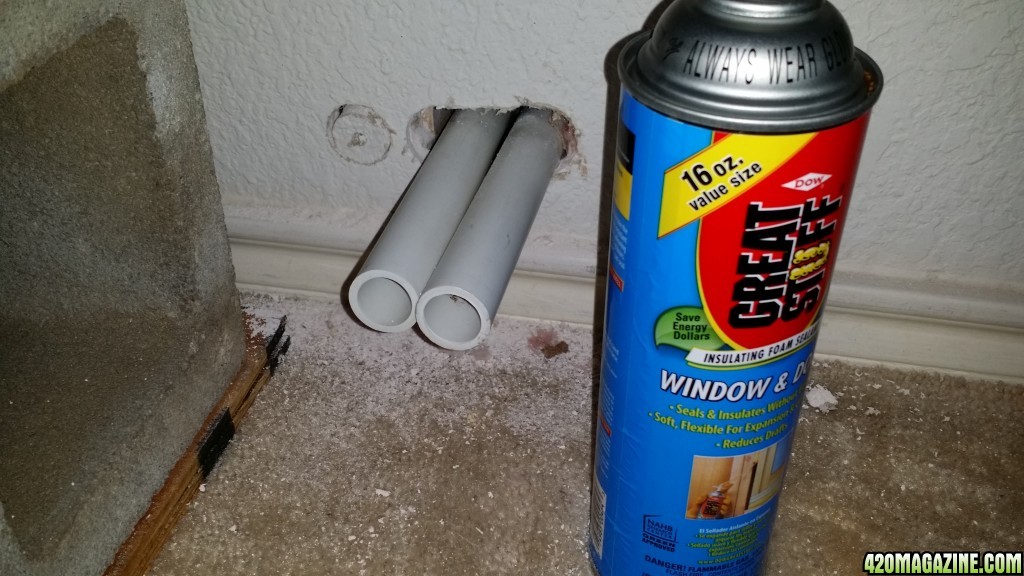
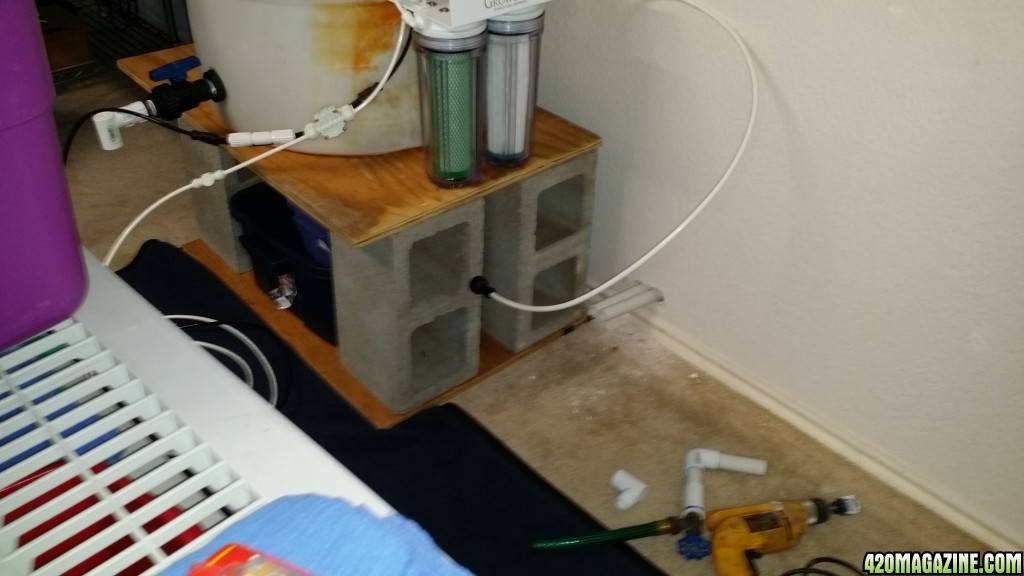
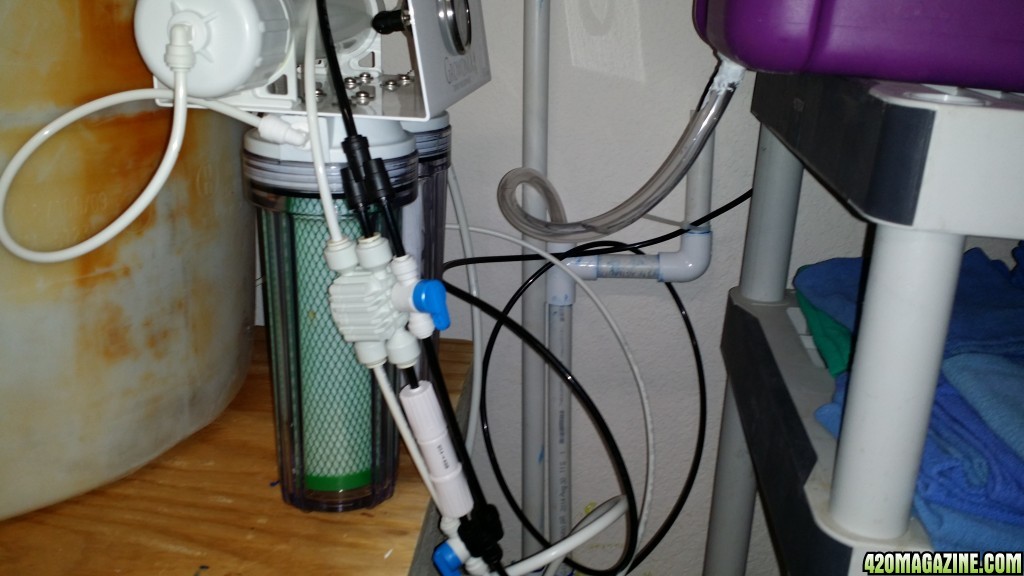
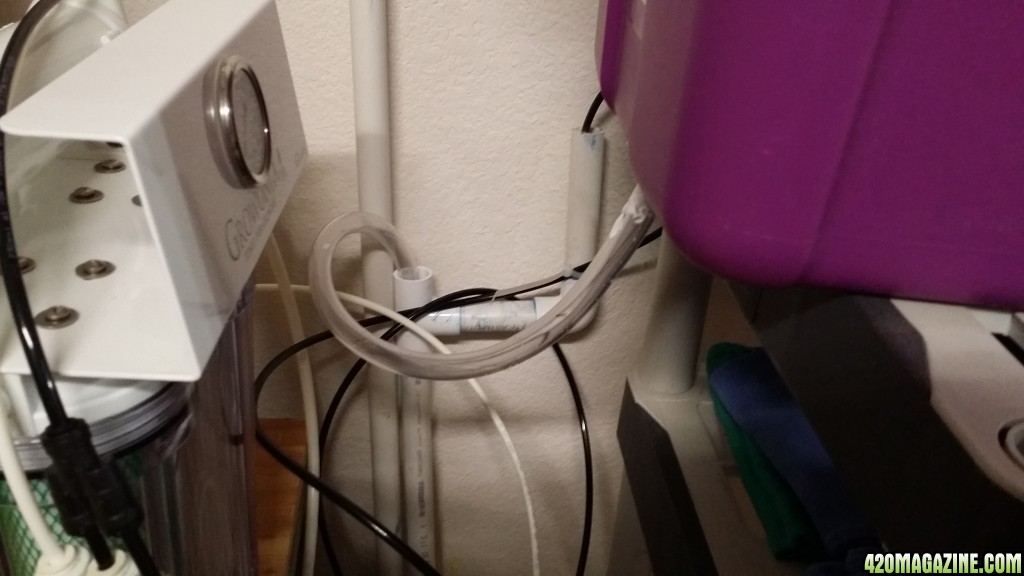
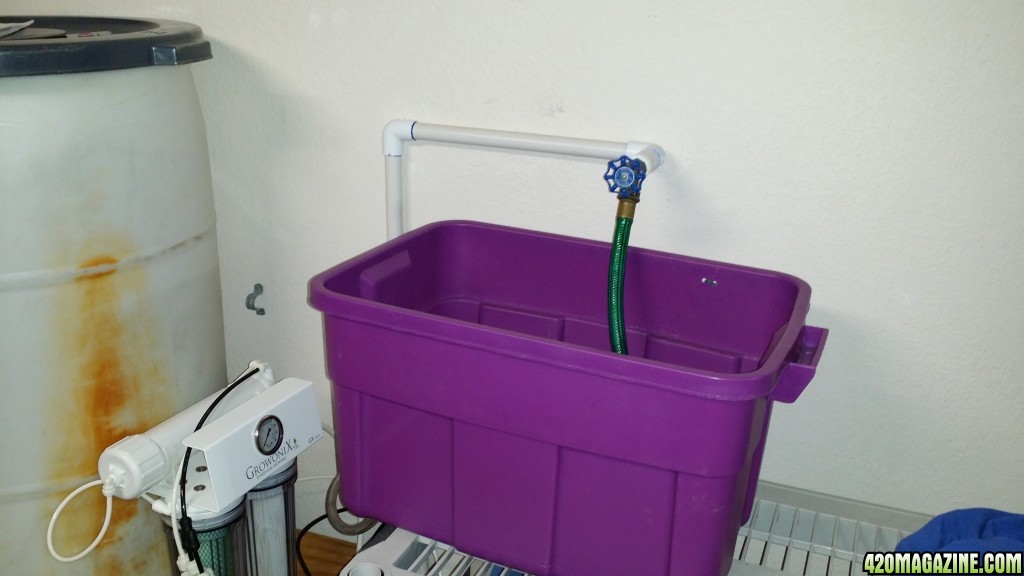
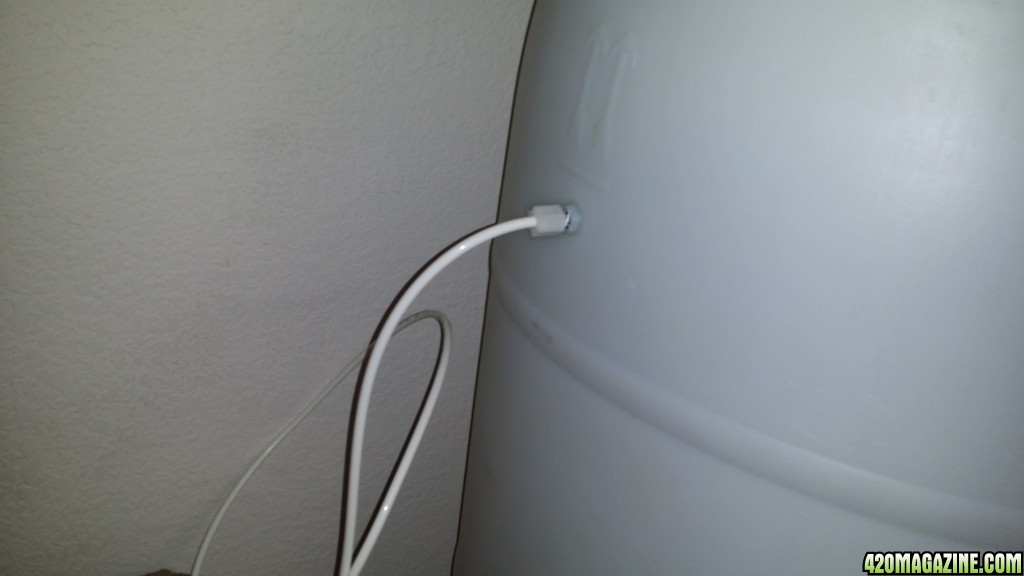
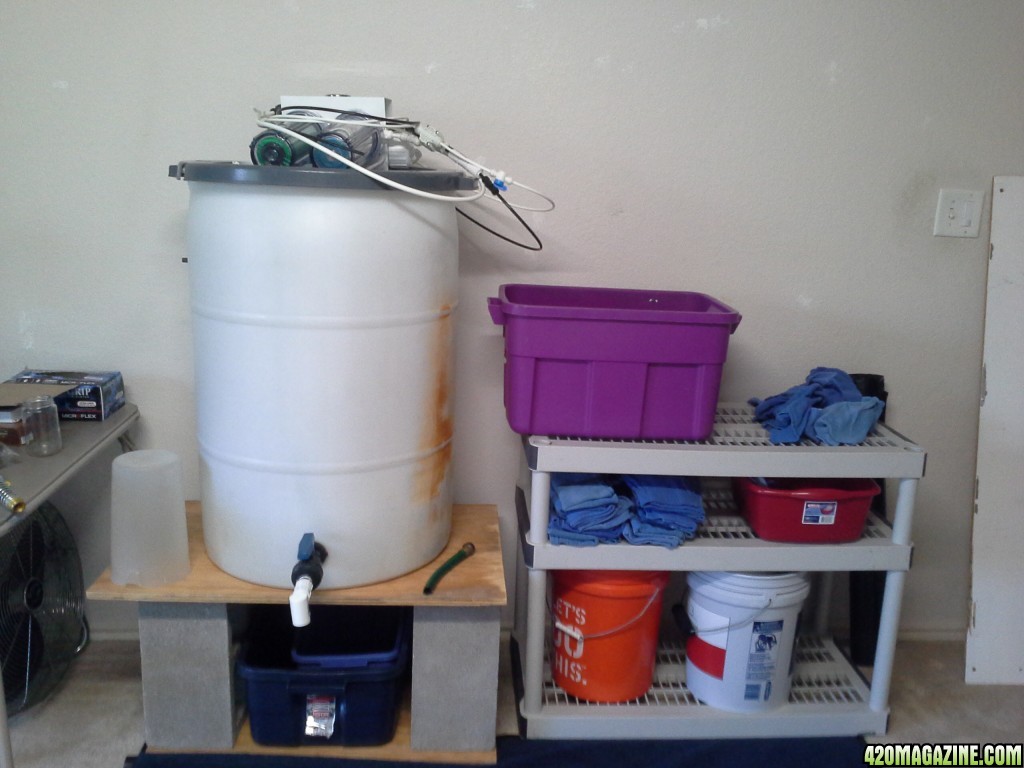
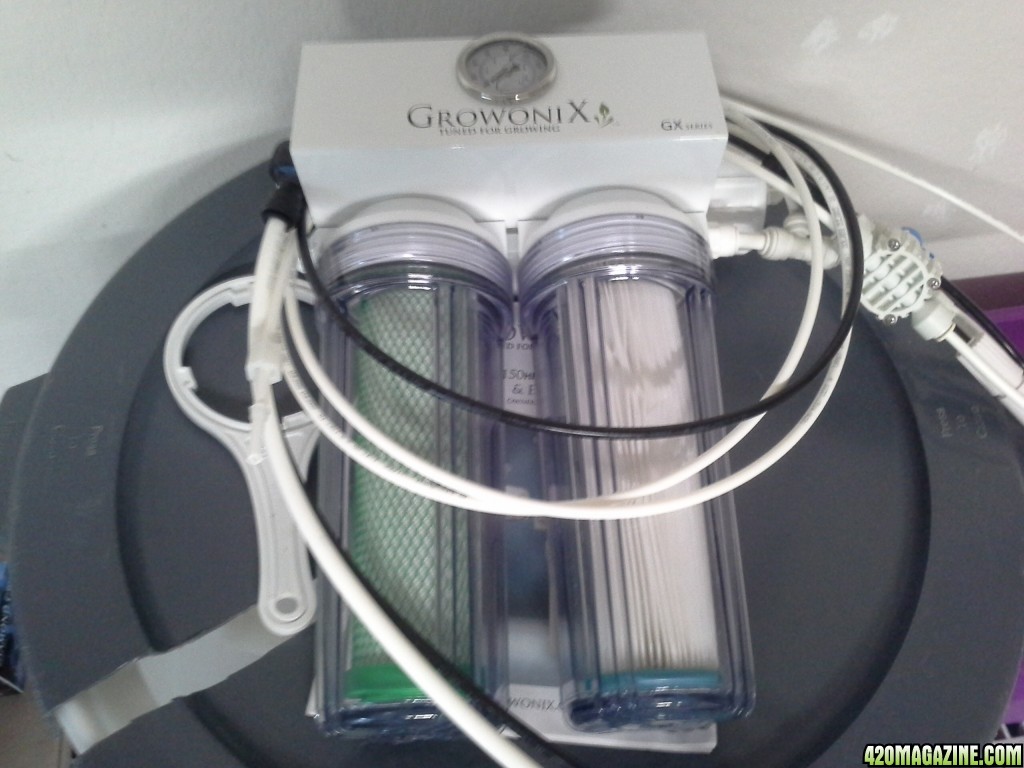
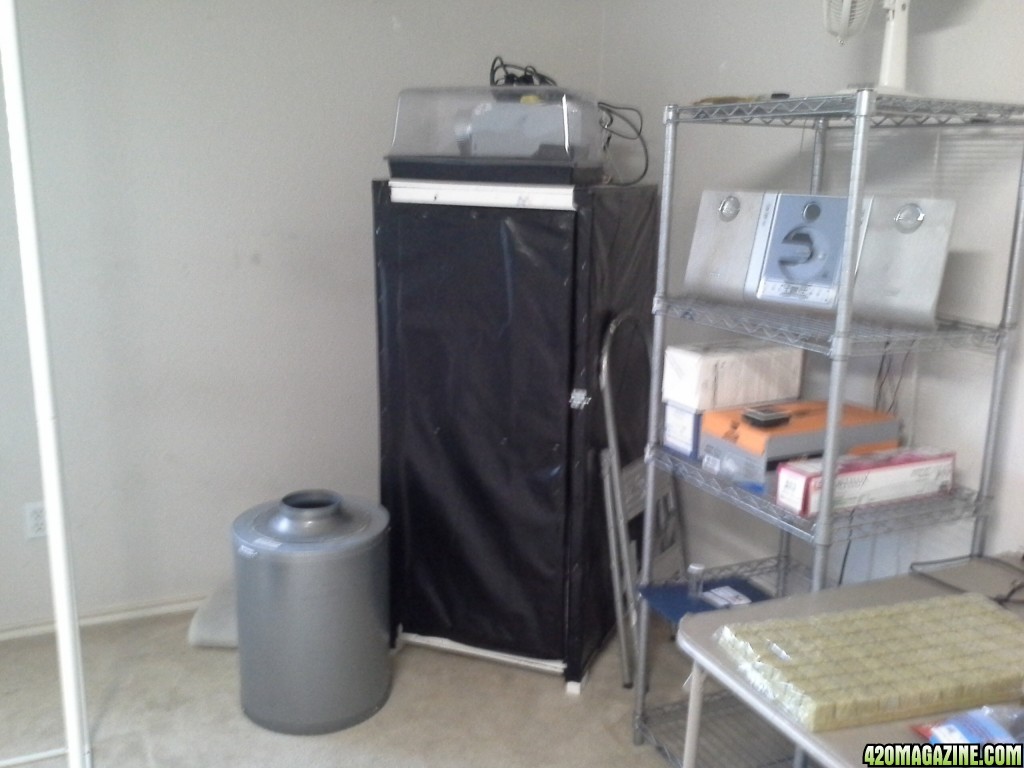
We will be installing a water line and drain line from the exterior water source into our grow room. From there we will filter the water using a RO Filter and store our fresh water in this 50gal drum. I need to get this done pretty quickly.
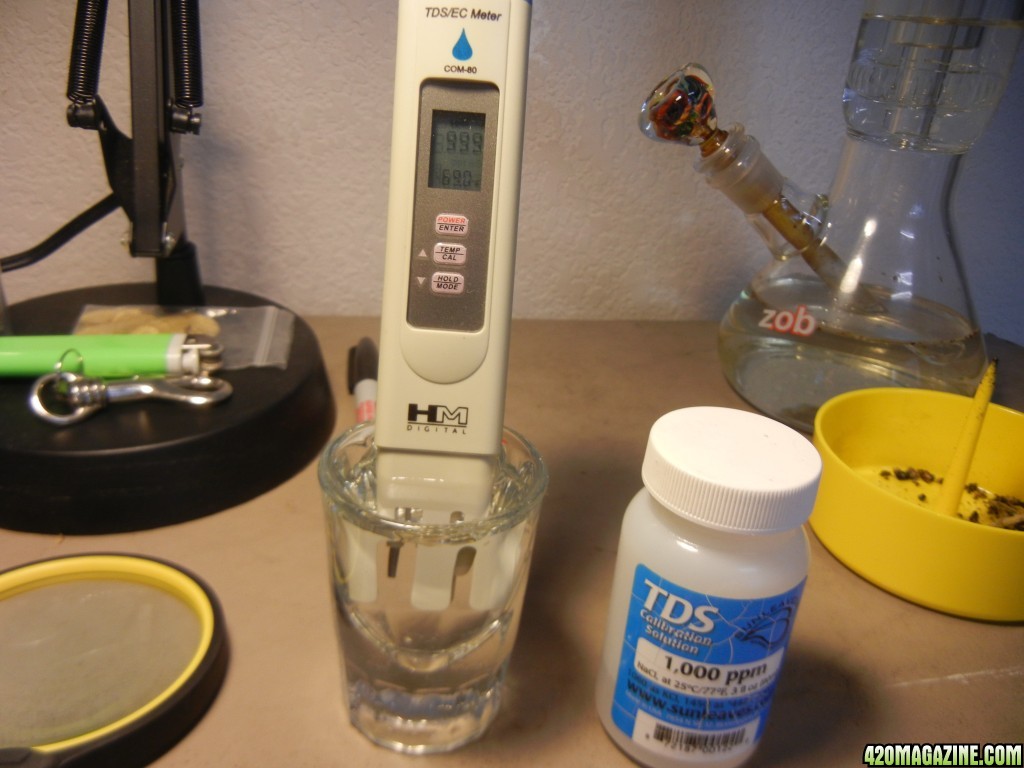
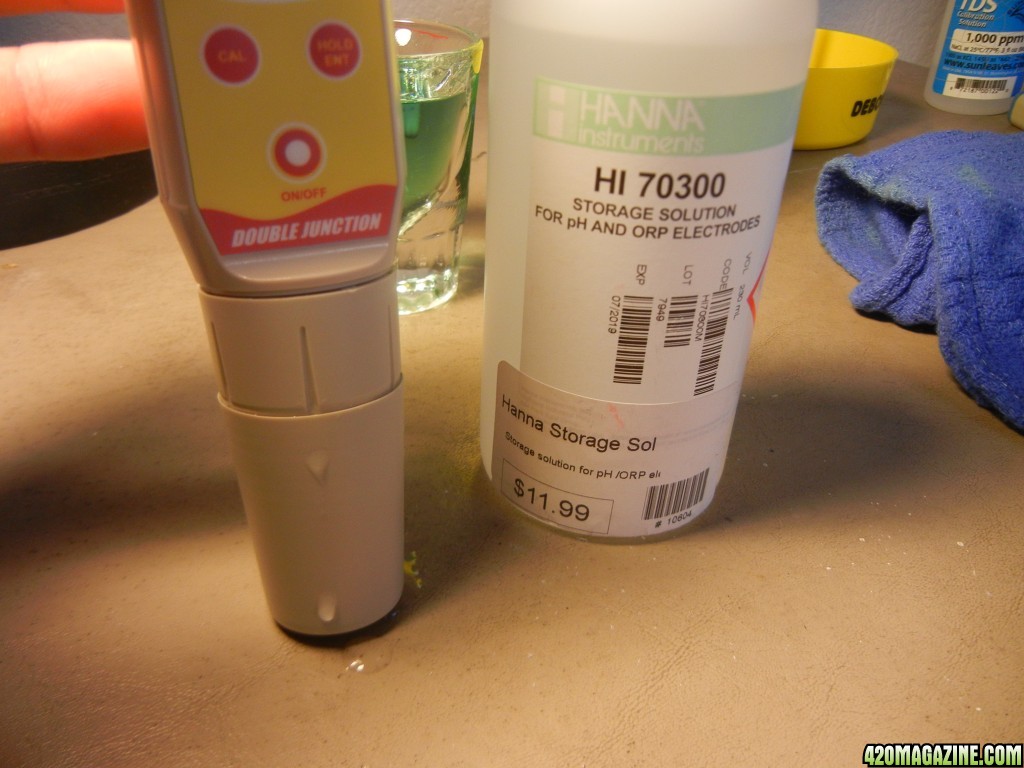
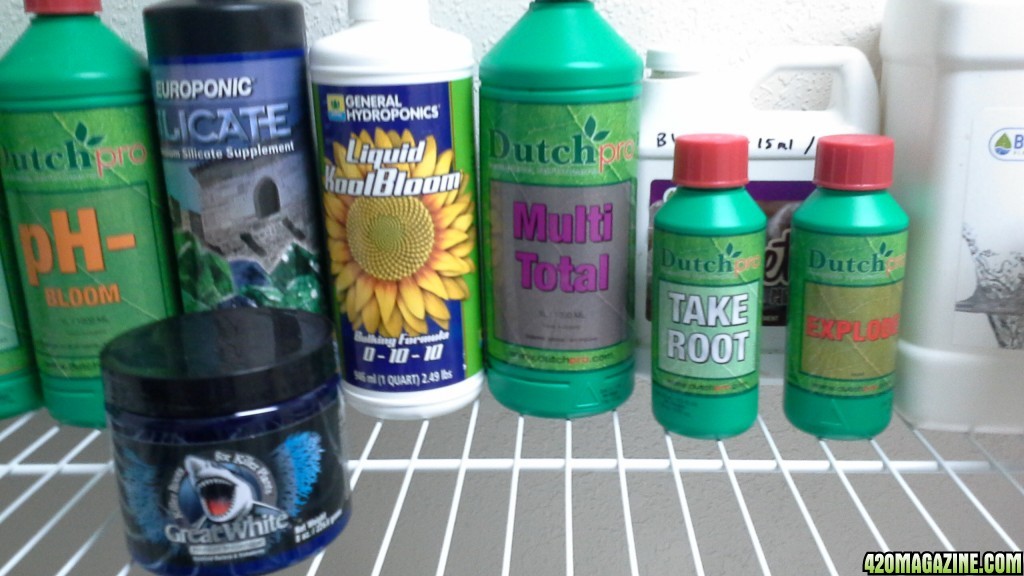
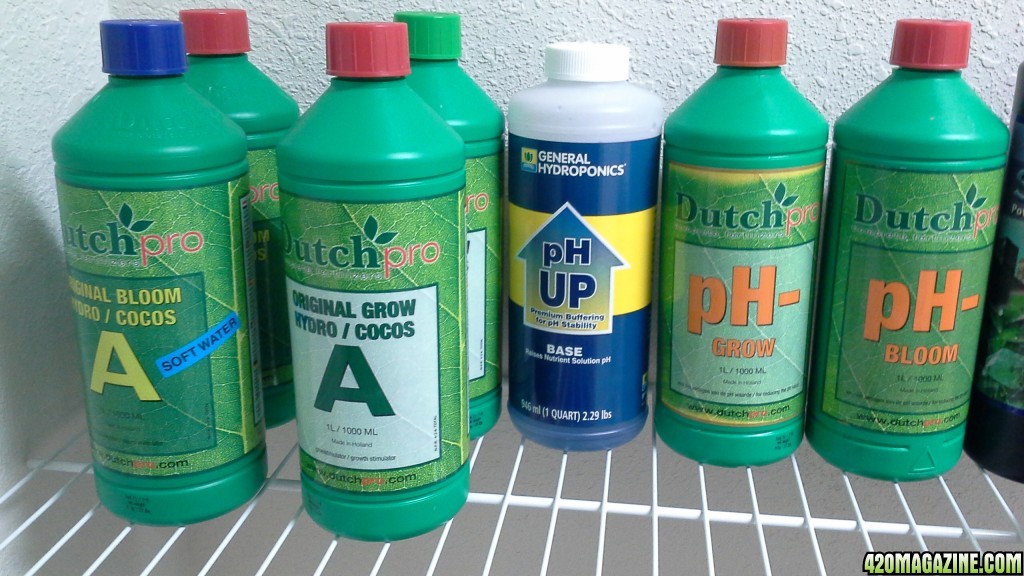
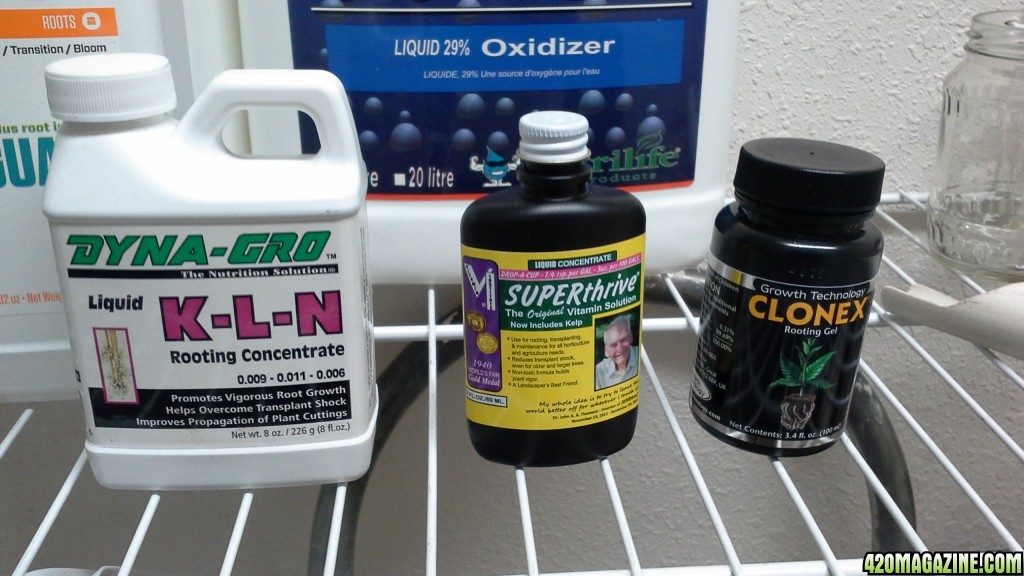
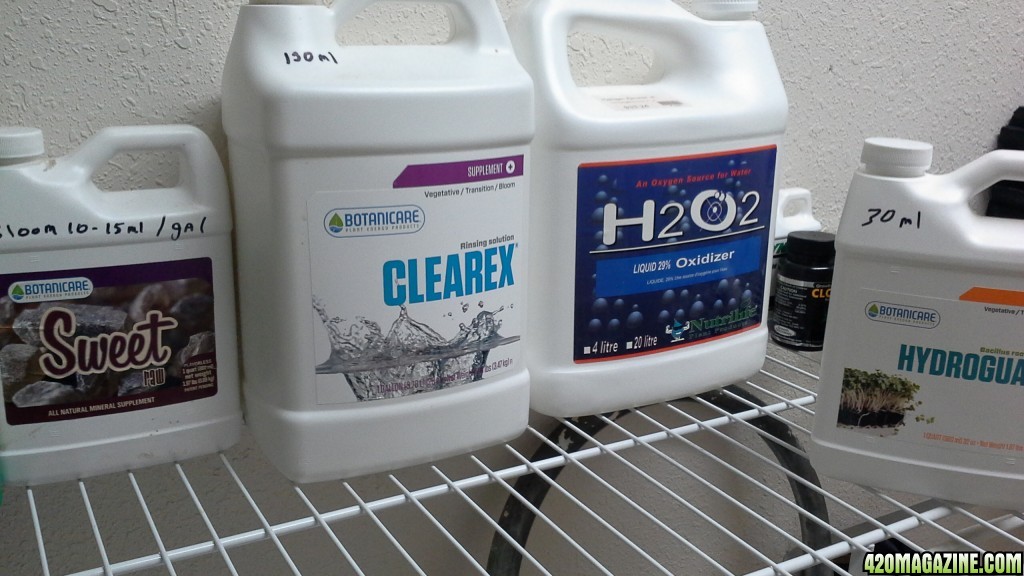
NUTES

This is my daily log sheet.
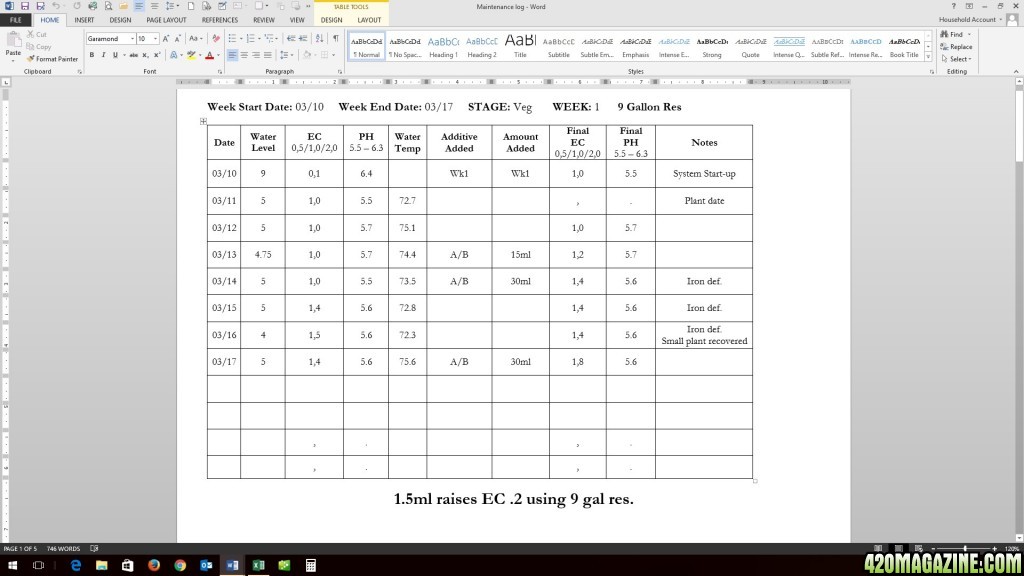
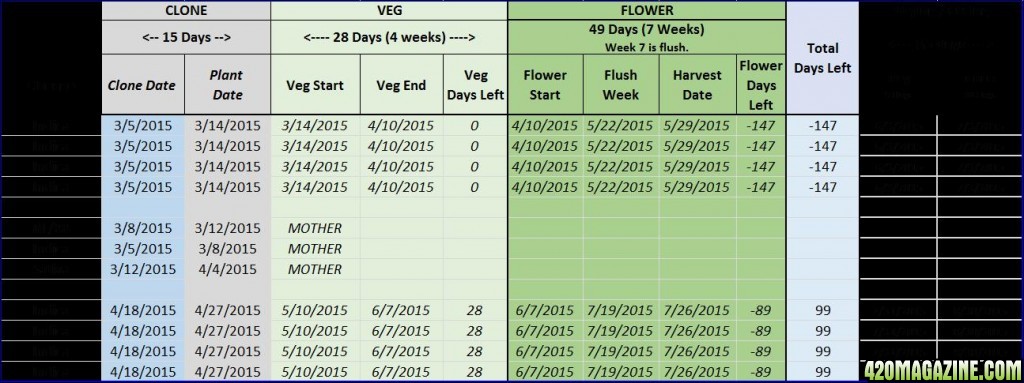
This is an example of my grow schedule.
Custom veg and or bloom durations are setup within the calculation of each strains expected schedule. This allows me to schedule as many grows as I want as far out as I want. I know exactly when to clone and when the Bloom tent will become available. I factor in a week to clean the room before the next veg crop is moved to the bloom tent.
SOIL (MOTHERS ONLY)
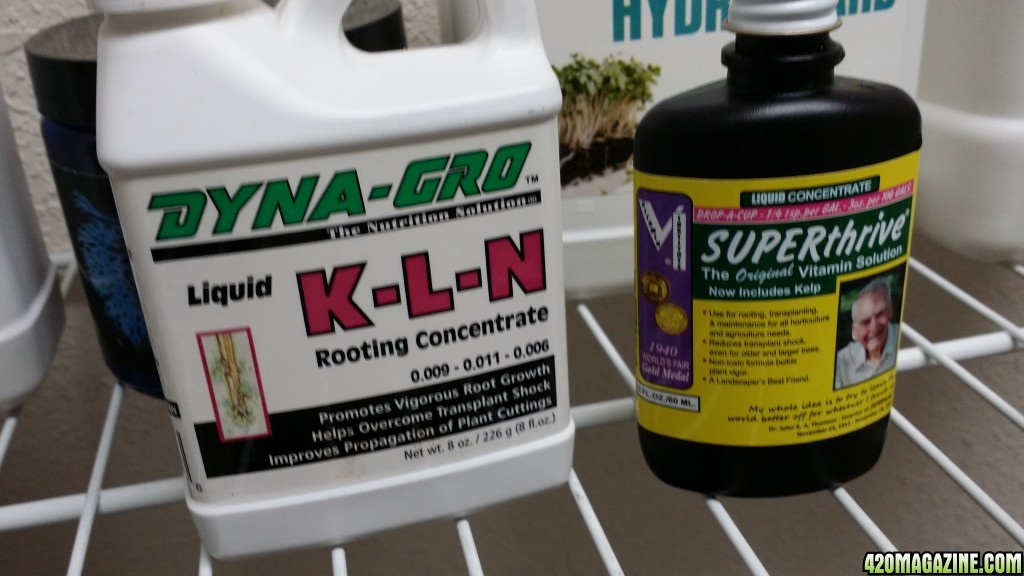
I can't start off my soil description without out mentioning my roots.... I started using a homemade super soil (100% Organic) and had great results. My base soil is Roots Organic Original. One of the major challenges with my organic grow was that I experienced inconsistencies in nutrient levels across soil batches. Along with the soil, I brewed an awesome tea. Thank you to my local hydroponic shop for testing my tea and helping adjust the system for optimal tea production.
Going forward for mothers only, I will use Roots Organic and a yet undetermined off the shelf nutrient regiment. Maybe DutchPro for Soil Veg since I had success with their hydroponic nutrient line this past year.
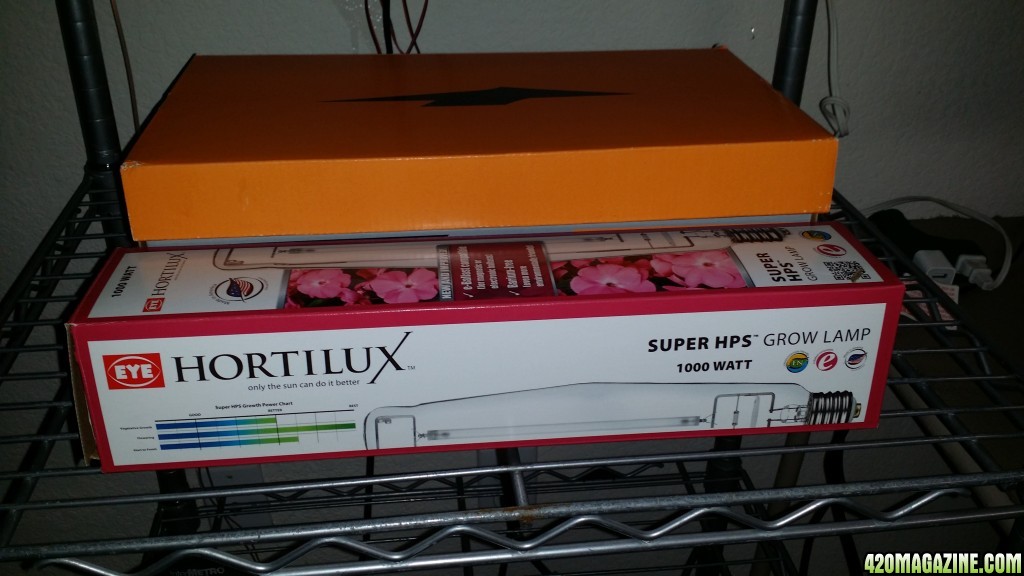
LIGHTS
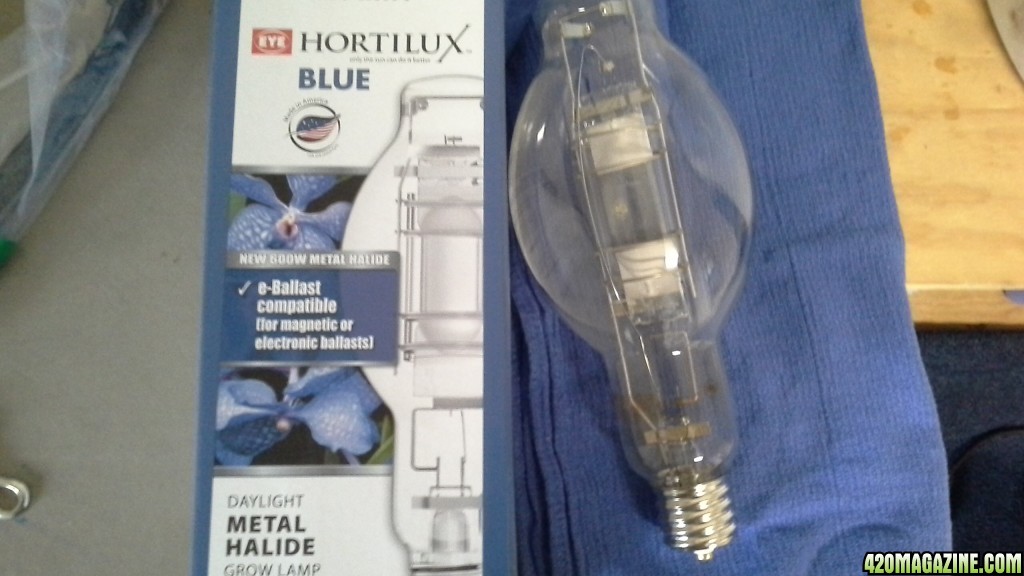
In Veg I will be using a 600watt MH run off of an electronic/digital ballast.
In Bloom we will use a 1000watt HPS on a magnetic ballast.
Both systems will be air cooled using a single high efficiency CAN Inline Fan vented into the attic.
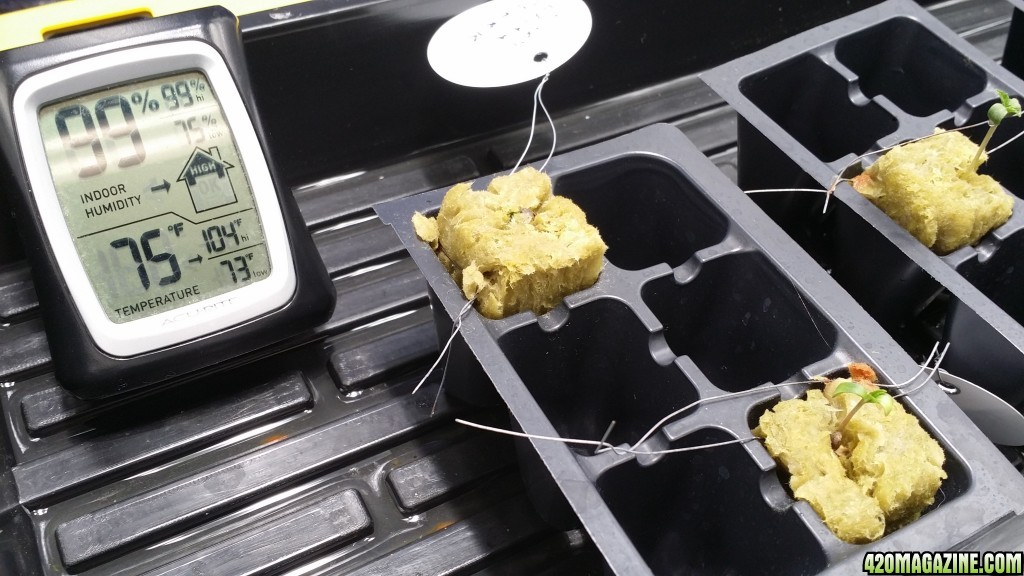
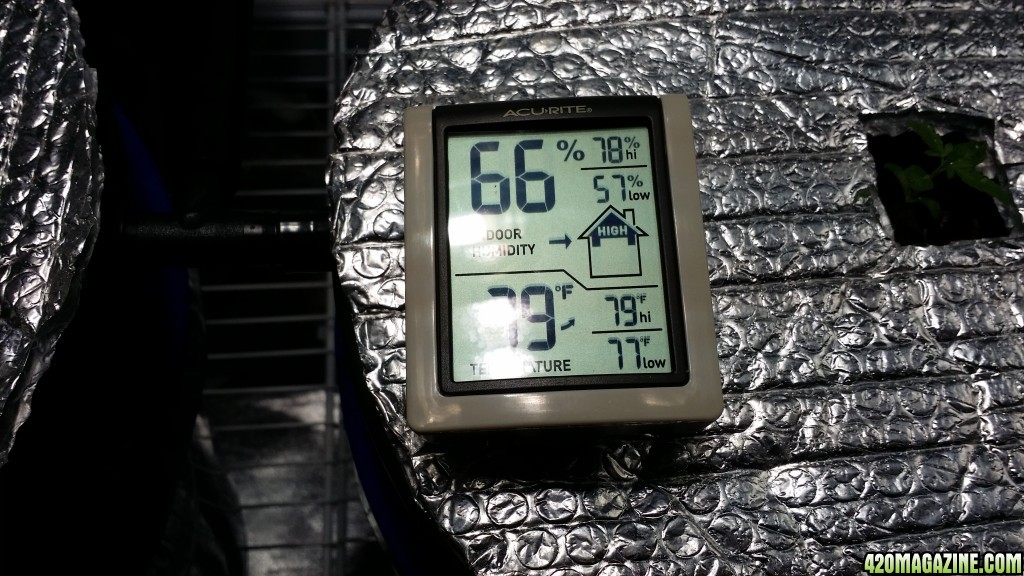
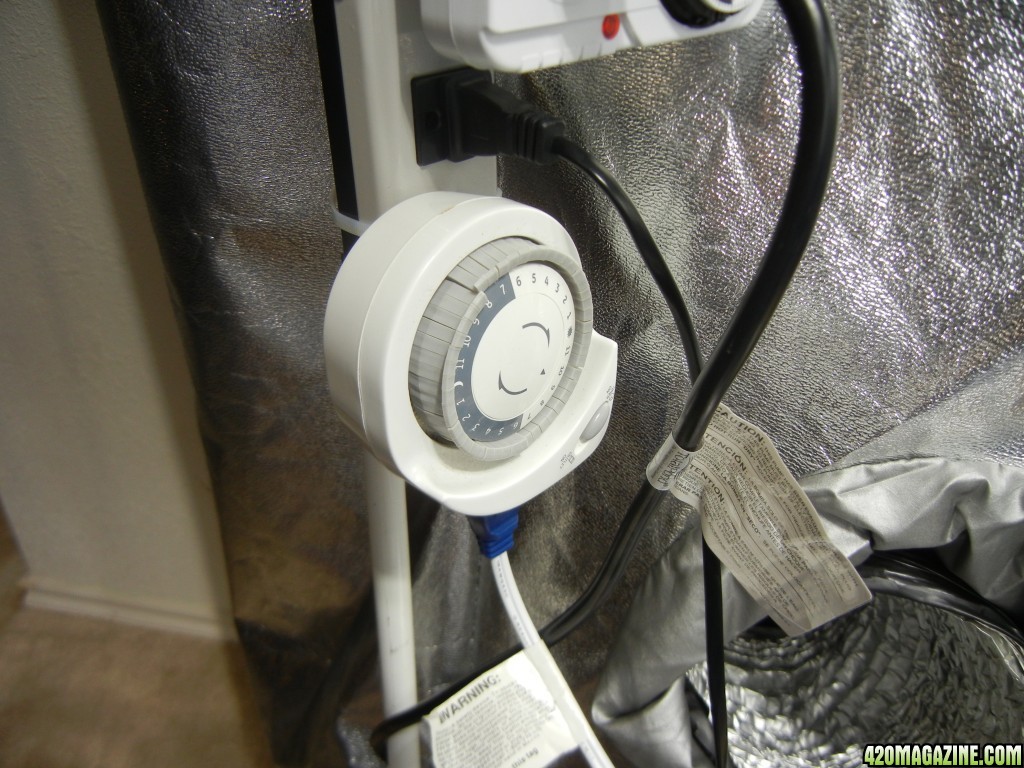
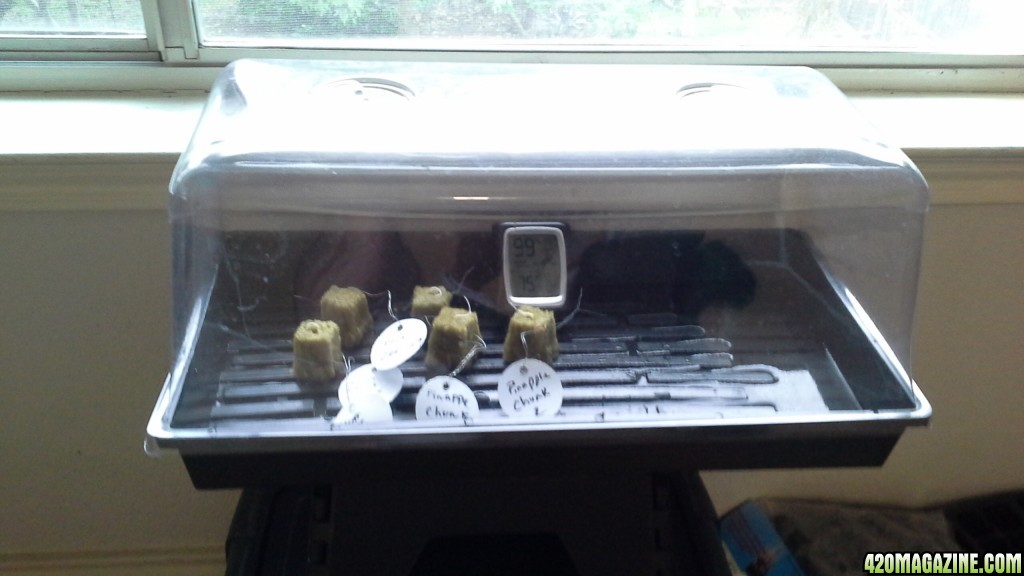
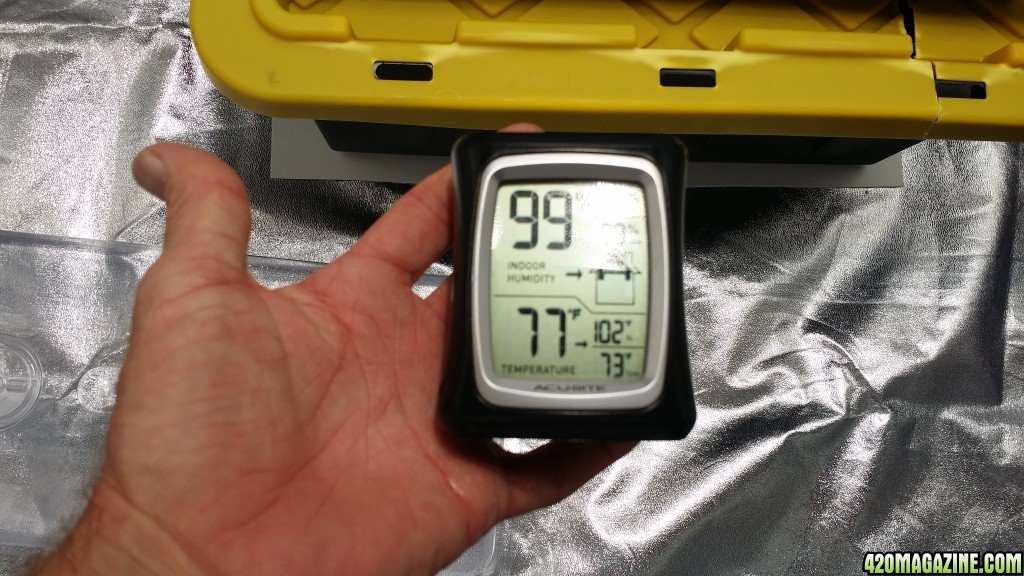
TEMP/RH
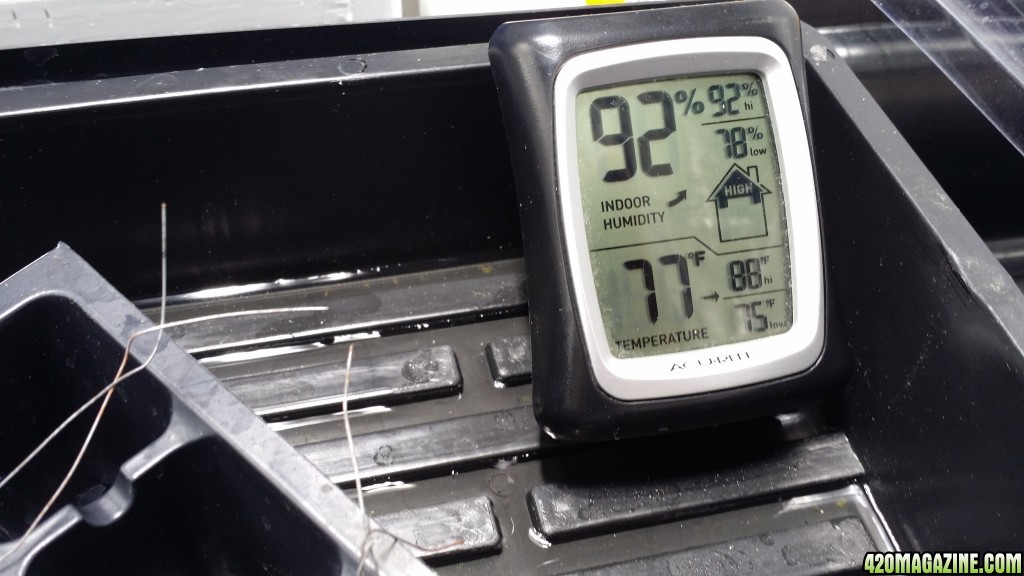
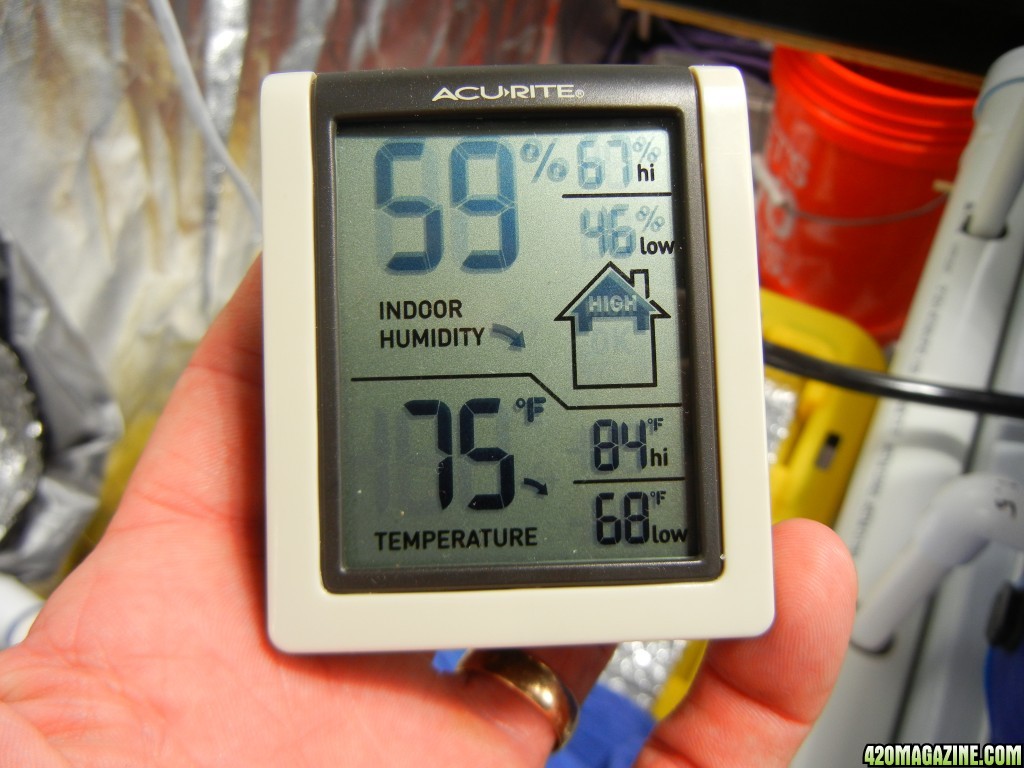
Temperatures in the room range between 65F and 85F and is directly related to exterior weather. During colder months, the household heater helps keeps things in check. Tent air is completely refreshed every 5 min or so with fresh filtered air. Humidity at about 40-50%. I do not use humidifiers or dehumidifiers. Can’t afford them. We do not need chillers during the cooler months and simply shut down for summer to avoid the hassles of heat and give the electric bill a rest.
AIR FILTERS
CAN Carbon Filer 33 in Veg tent
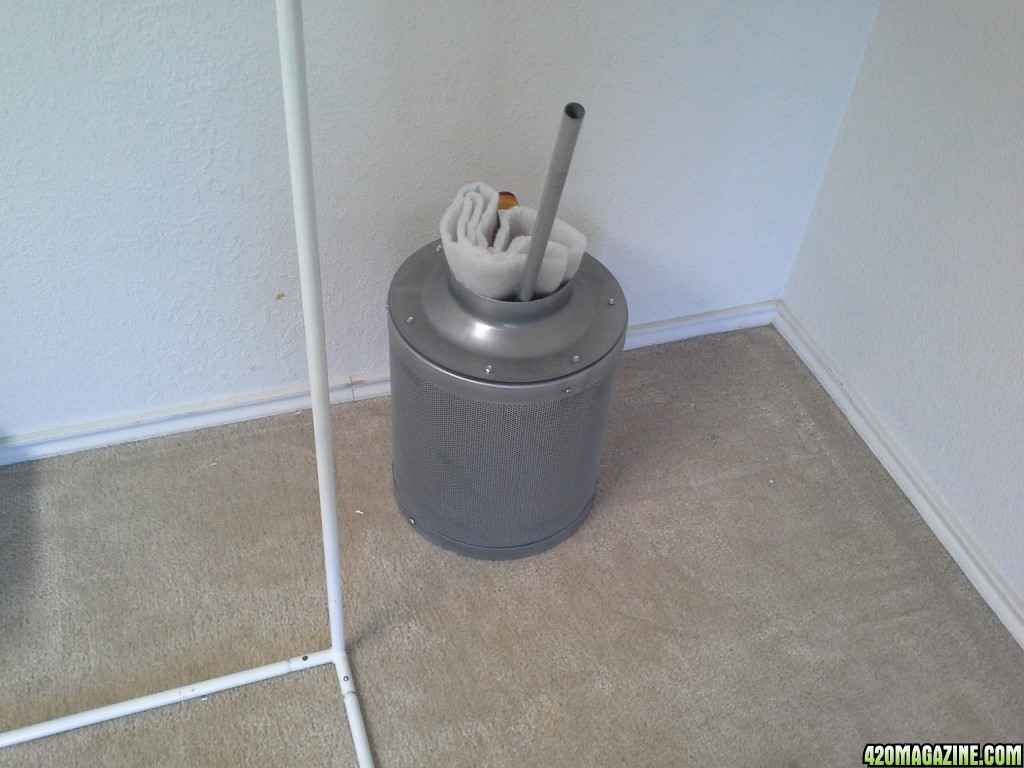
CAN Carbon Filer 50 in Bloom tent (and drying rack.)
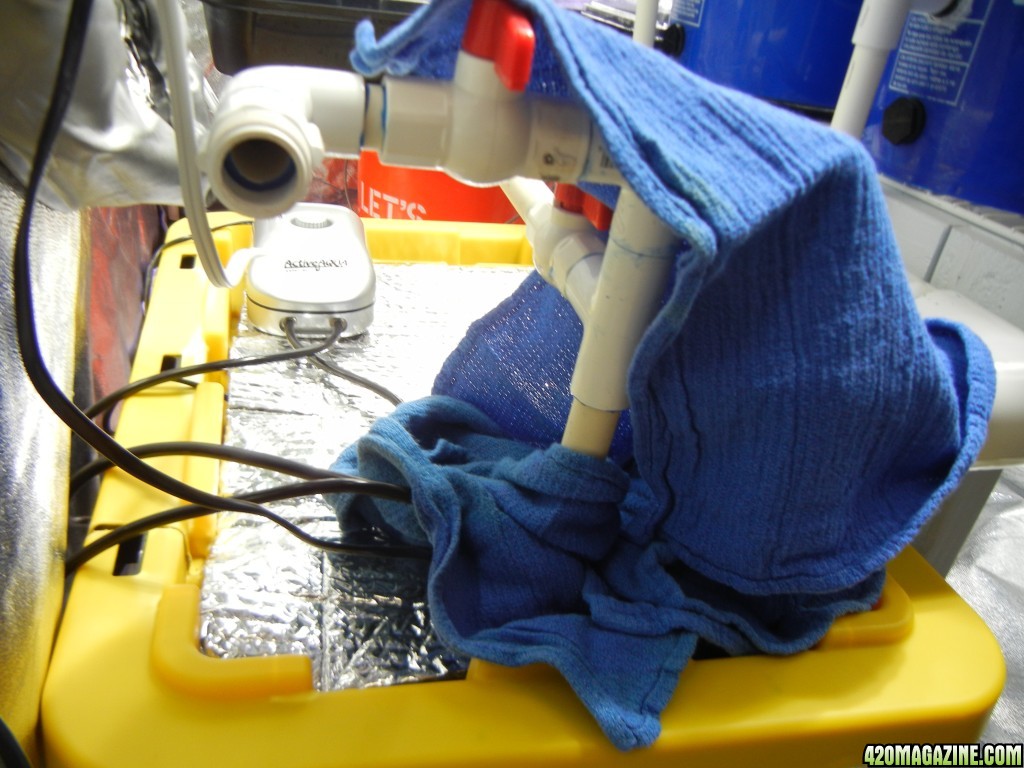
The black drying rack measures 2 x 2 x 5. A bathroom exhaust fan has been placed on top and wired with a dimmer switch. This allow the amount of air flowing across the buds can be managed. The bathroom vent vents directly into the bllom tent to contain odor. I will show more photos when I get the Bloom Tent Built.
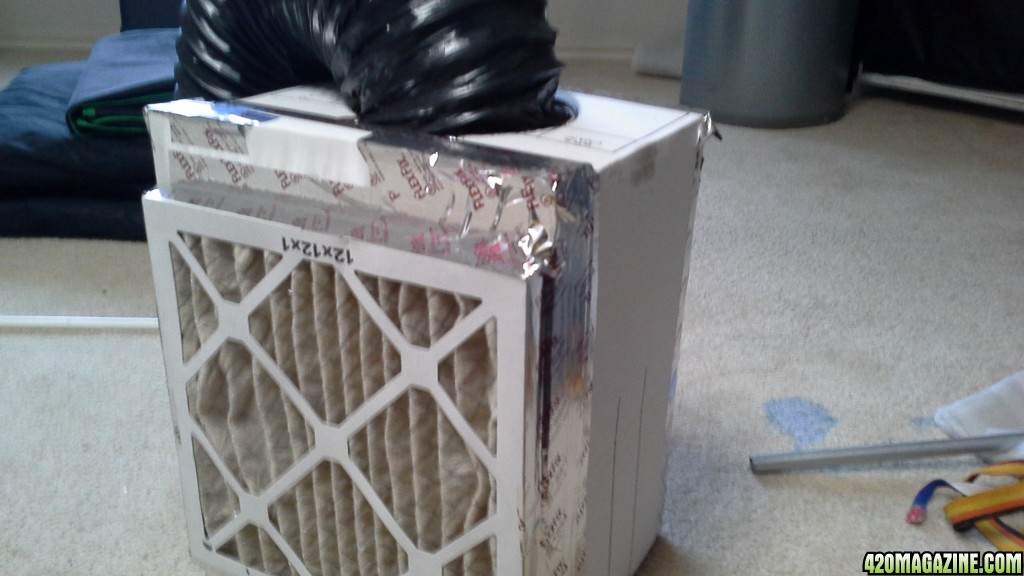
Tent Pre-Filters; DIY. Used an office file box and cut large openings in the sides. Purchased 1 x 1 air filters from Home Depot and taped them to the box. The box sits on the floor next to the tent where it is connected via duct work to the tent. Each tent has a pre-filter.
DRYING RACK
DIY. 4ft tall. Fresh air enters profiteered by a cheap foam filter taped over air supply vent holes. Sitting on top of the drying rack is another home depot filter layered under a home depot bathroom exhaust fan which vents into the bloom tent. I installed a dimmer on the fan which allows me to precisely control the amount of air moving across the drying buds. My drying time takes 5 to 7 days followed by a strict 2 month curing process. I have stuff today that has cured 6 months and longer. Makes a smooth smoke.
SECURITY
Yes. Sound/noise, odor, water and Daily access.
Join me in the next post for the start of my actual grow log.
THANK YOU

Everyone's welcome! Feedback, suggestions and questions are always appreciated.
I have been growing using organic super soil, tea and numerous additives when resolving nutrient deficiencies. Countless hours reading journals, logs, viewing images and trial and error. What I learned most is that I had a lot more to learn.
I am a DIY person and when I switched/graduated to hydroponics, I could not find a start to finish guide. Lots of gray matter out there on the internet and a million ways to approach a problem. The timing of this journal will allow me to document my re-building a previously running grow environment from seed order to harvest.
I grow medical cannabis for extreme anxiety, sleep and back pain. I just recently closed a business so stress is at an all-time high. Unfortunately I am also being treated with prescription drugs for the anxiety. I will do my best to do a good job in documenting and I am excited to get started. I spend an average of 3 hours each day in my garden following Daily, Weekly and Monthly maintenance check list. I find the building, cleaning and talking to my plants is great therapy. They say I am doing much better….
My first hydro grow (last winter) was very successful and I was able to get in 3 harvest. As summer approached temperatures went up and I started seeing algae in my RO pre-filter and reservoirs. Instead of struggling, I completed the last harvest and shut down for the summer. Now with cooler weather, it’s time to unpack and rebuild my room.
Since I have so much going on I be covering multiple parts of a typical grow journal to include setting up the environment.
MAIN ROOM / LOCATION
My main room is a second floor 15 x 16 carpeted room with a 4 x 10 walk in closet. This particular room’s power is split across 3 110 20amp circuits allowing us to balance the power load. Even with the CAN Inline Filter located in the attic, this room hums when running (fans, water pumps, air pumps…). Both veg tent, bloom tent and dying rack will be connected to a single Max CAN - 8" Inline Fan rated at 675CFM. This fan will operate the two tents at negative pressure which is required if you want to contain odor. When on, tent walls suck in about 3 inches on all sides stretching the canvas tight.
VEG TENT EQUIPMENT
Our veg tent is a 4 x 4 x 7 grow tent purchased from my local hydroponic store.
1 600 WATT MH air cooled
Magnetic ballasts
CAN 33 Carbon Filter
Dutch Bucket/Deep Water Culture x 4 plants
15 gal res
Various Air pumps
Water pump
Various air stones 2” and 6”
Floor fan
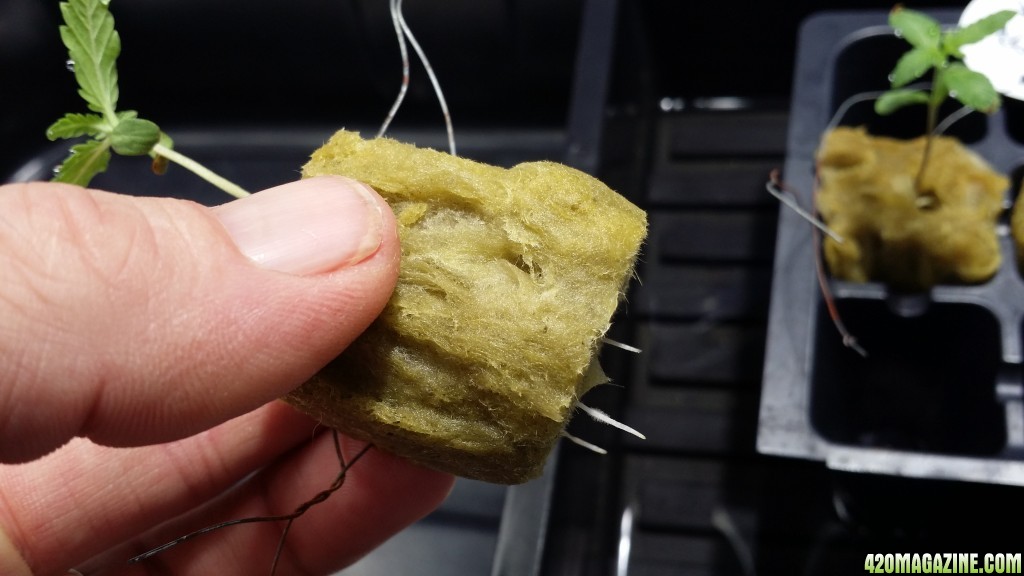
Mother tray for 3 - 4 mothers in soil
5 gal cloth bags for mothers
Roots Organic Soil for 3 - 4 mothers in soil
Stand
Return water line(s) to reservoir (2in PVC)
Top drip lines
BLOOM TENT EQUIPMENT
Our bloom tent is a 3 x 9 x 8 grow tent purchased from my local hydroponic store.
1 1000 WATT HPS air cooled
Magnetic Ballast
CAN 50 Carbon Filter
Dutch Bucket/Deep Water Culture 4 plants
15 gal res
Various Air pumps
Various air stones 2” and 6”
Room divider
Water pump
2 wall mount oscillating fans
Stand
Return water line(s) to reservoir (2in PVC)
Top drip lines
STRAINS
2 Indica dominate and 1 Sativa dominate. Couple of “Old School” strains.
Pineapple Chunk
Indica CUP Winner 2009
type: Indica dominant
yield: 650gr x m2
height: 1.20m
flower time: 55 days
thc: ±21%
cbd: 0.8%
genetics: pineapple/skunk#1/cheese
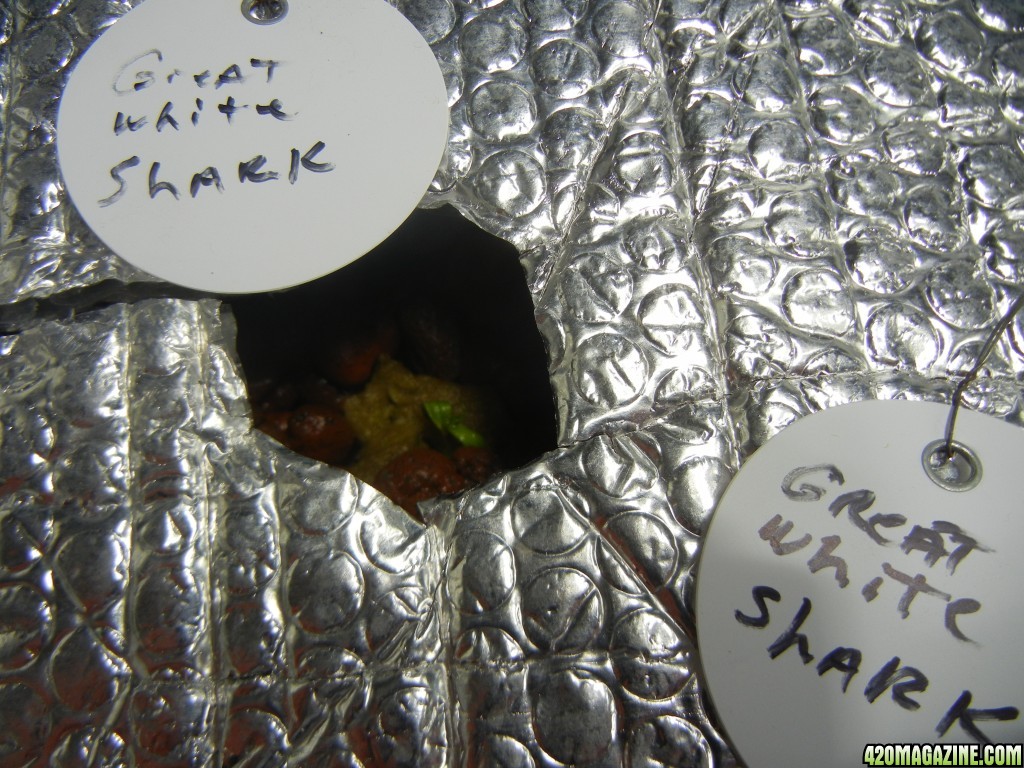
Green House Great White Shark
Winner Bio HTCC 1997.
Winner HIGHLIFE Super Cup Category 2005.
Winner HIGHLIFE In Seed Co. Hydro Category 2005.
Genetics: Super Skunk x Brazilian x South Indian.
Flower Time: 63 Days
CBN: 0.25%
CBD: 0.18%
THC: 15%
Type: Indica dominant
Height: Short, branchy, bushy plant
Taste and Aroma: Strong, fruity and flowery
Samsara Holy Grail 69
Genetics: Matanuska Tundra x Chronic x Haze
Indica/Sativa: 35/65
Flowering time indoor: 63 Days
RESIVOUR
My reservoirs are from Home Depot. Tough Tote 15 gallons.
We will use one in the Veg tent and one in the Bloom tent.
VEG PH
Veg PH is allowed to fluctuate between 5.5 - 6.3
Bloom PH is set at 5.8 and allowed to drift up .2 or so before correcting
BUCKETS AND MEDIA
5 gallon buckets
6” net pots
Clay pellets
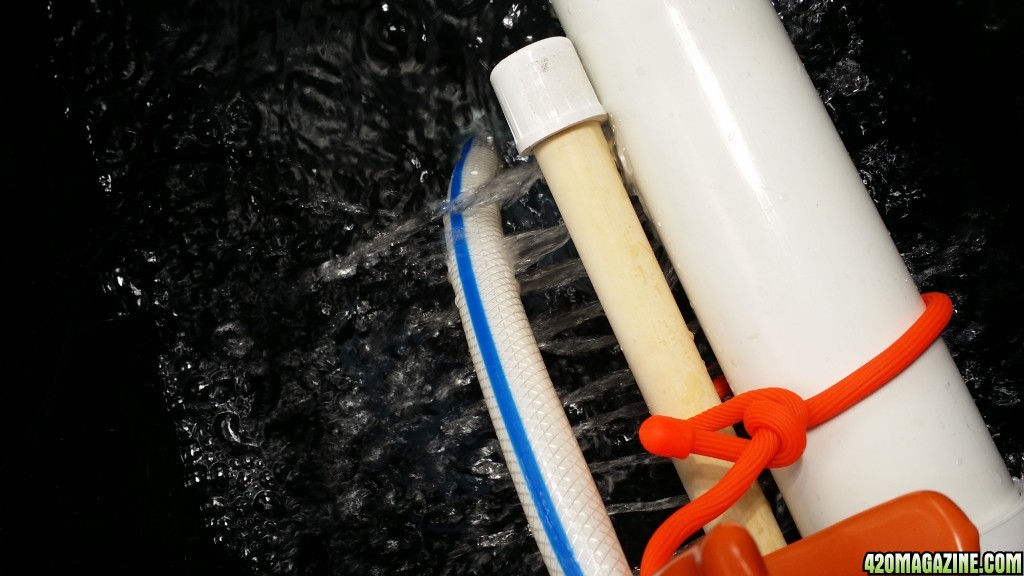
Dutch Bucket drain added to each bucket (DIY project). 3 still need paint strainer material on to prevent roots from getting into the drain system. VERY important. Due to the awesome root ball, I used a T connector inside the bucket instead of an elbow which would just point down. The top of the tee provides a backup over flow in the event the lower paint screen becomes too clogged between weekly cleaning. More photos of the system running once I progress to that stage. I want to rebuild my return lines with 2in PVC. My current system was 1 ½ in PVC and I experienced nutes and silicate build-up where the bucket drain line entered into the PVC drain. See picture below of my new stand with the original drain line sitting on top of it as an example of where we are going.
A great thing about this setup is that you simply move each plant to a spare bucket and you can completely remove it’s grow bucket for cleaning. In veg I run air stones in the res only. Once roots reach the water in the bottom of the buckets, I add a small stone to the bottom of the bucket(s) which the roots quickly surround. Removing the air stone for cleaning is also just as easy.
The Dutch Bucket setup recycles the nutrients back into the reservoir which is changed every 7 days.
Buckets will be top drip feed multiple times a day depending on growth stage and plant requirements.
WATER
We will be installing a water line and drain line from the exterior water source into our grow room. From there we will filter the water using a RO Filter and store our fresh water in this 50gal drum. I need to get this done pretty quickly.
NUTES
This is my daily log sheet.
This is an example of my grow schedule.
Custom veg and or bloom durations are setup within the calculation of each strains expected schedule. This allows me to schedule as many grows as I want as far out as I want. I know exactly when to clone and when the Bloom tent will become available. I factor in a week to clean the room before the next veg crop is moved to the bloom tent.
SOIL (MOTHERS ONLY)
I can't start off my soil description without out mentioning my roots.... I started using a homemade super soil (100% Organic) and had great results. My base soil is Roots Organic Original. One of the major challenges with my organic grow was that I experienced inconsistencies in nutrient levels across soil batches. Along with the soil, I brewed an awesome tea. Thank you to my local hydroponic shop for testing my tea and helping adjust the system for optimal tea production.
Going forward for mothers only, I will use Roots Organic and a yet undetermined off the shelf nutrient regiment. Maybe DutchPro for Soil Veg since I had success with their hydroponic nutrient line this past year.
LIGHTS
In Veg I will be using a 600watt MH run off of an electronic/digital ballast.
In Bloom we will use a 1000watt HPS on a magnetic ballast.
Both systems will be air cooled using a single high efficiency CAN Inline Fan vented into the attic.
TEMP/RH
Temperatures in the room range between 65F and 85F and is directly related to exterior weather. During colder months, the household heater helps keeps things in check. Tent air is completely refreshed every 5 min or so with fresh filtered air. Humidity at about 40-50%. I do not use humidifiers or dehumidifiers. Can’t afford them. We do not need chillers during the cooler months and simply shut down for summer to avoid the hassles of heat and give the electric bill a rest.
AIR FILTERS
CAN Carbon Filer 33 in Veg tent
CAN Carbon Filer 50 in Bloom tent (and drying rack.)
The black drying rack measures 2 x 2 x 5. A bathroom exhaust fan has been placed on top and wired with a dimmer switch. This allow the amount of air flowing across the buds can be managed. The bathroom vent vents directly into the bllom tent to contain odor. I will show more photos when I get the Bloom Tent Built.
Tent Pre-Filters; DIY. Used an office file box and cut large openings in the sides. Purchased 1 x 1 air filters from Home Depot and taped them to the box. The box sits on the floor next to the tent where it is connected via duct work to the tent. Each tent has a pre-filter.
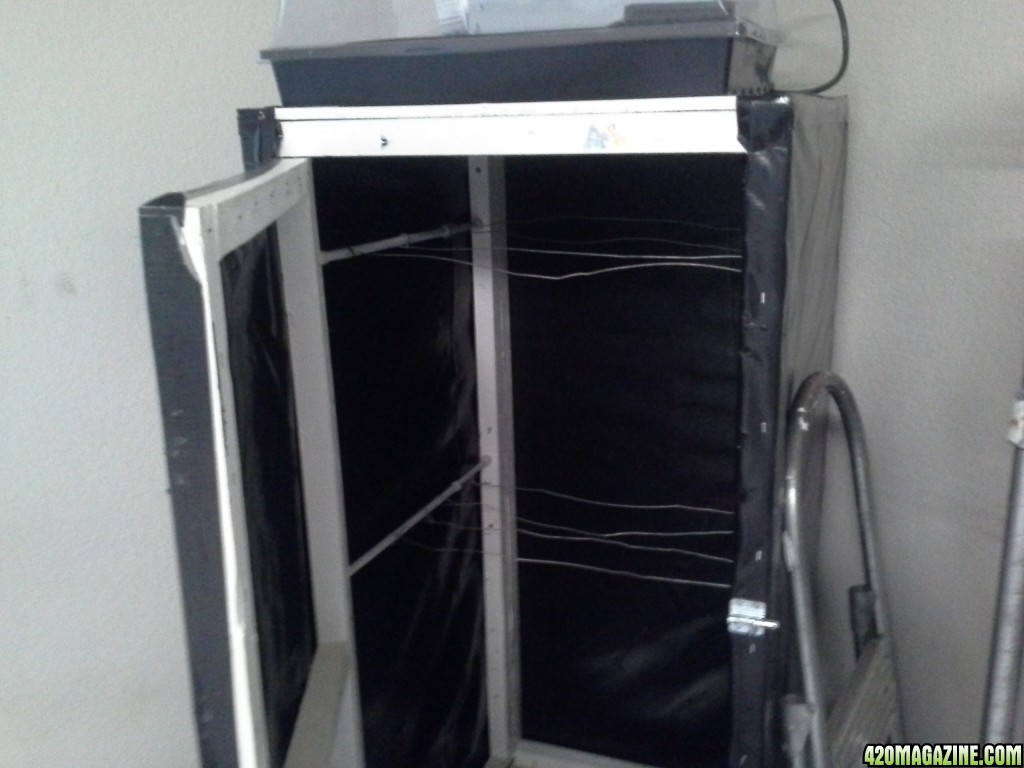
DRYING RACK
DIY. 4ft tall. Fresh air enters profiteered by a cheap foam filter taped over air supply vent holes. Sitting on top of the drying rack is another home depot filter layered under a home depot bathroom exhaust fan which vents into the bloom tent. I installed a dimmer on the fan which allows me to precisely control the amount of air moving across the drying buds. My drying time takes 5 to 7 days followed by a strict 2 month curing process. I have stuff today that has cured 6 months and longer. Makes a smooth smoke.
SECURITY
Yes. Sound/noise, odor, water and Daily access.
Join me in the next post for the start of my actual grow log.
THANK YOU


 The other journal is gone now, everything is OK