dankdragon26
New Member
i will be growing for the first time around the first of the new month, i would really like to know if anyone has plans for a semi cheap stealth grow box build?? i have found several online with plans, but they do not exactly fit what i am looking for.
ideally there would be enough room for one MAYBE two plants, and a small area for curing. any help on lighting, air circ, and detailed layout would be greatly appreciated
ideally there would be enough room for one MAYBE two plants, and a small area for curing. any help on lighting, air circ, and detailed layout would be greatly appreciated
 to
to 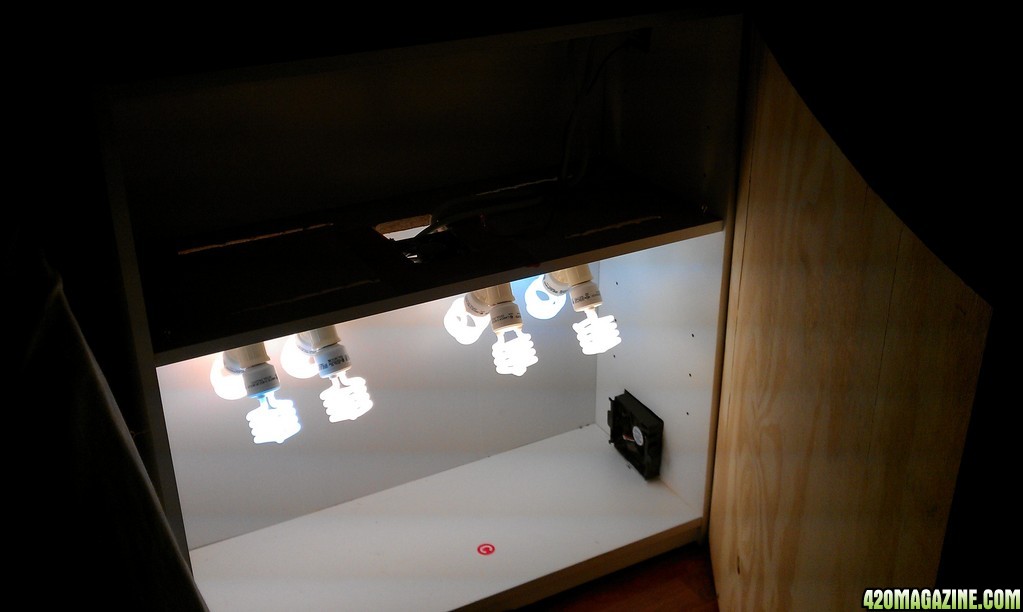
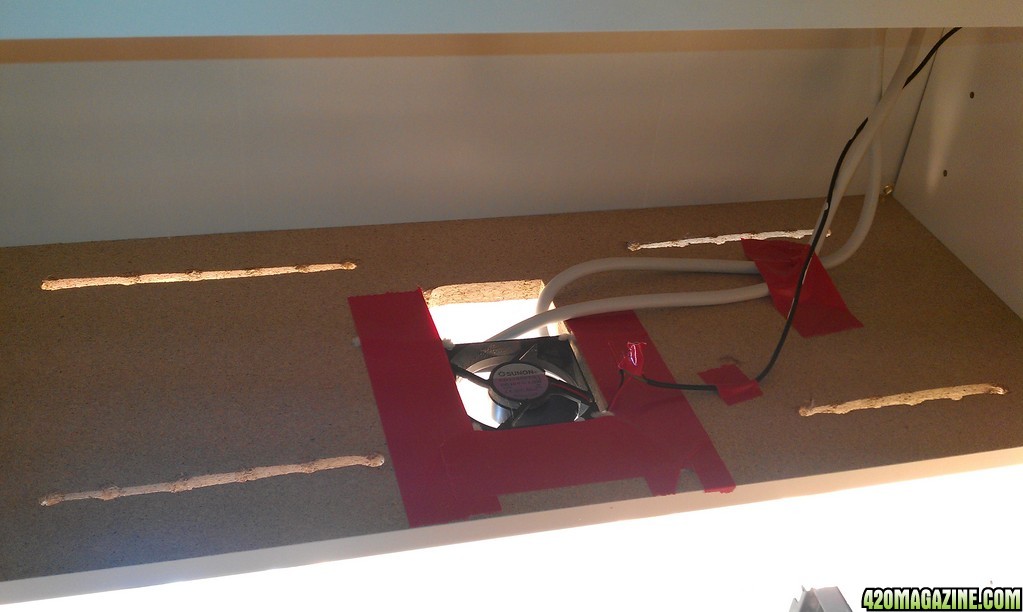
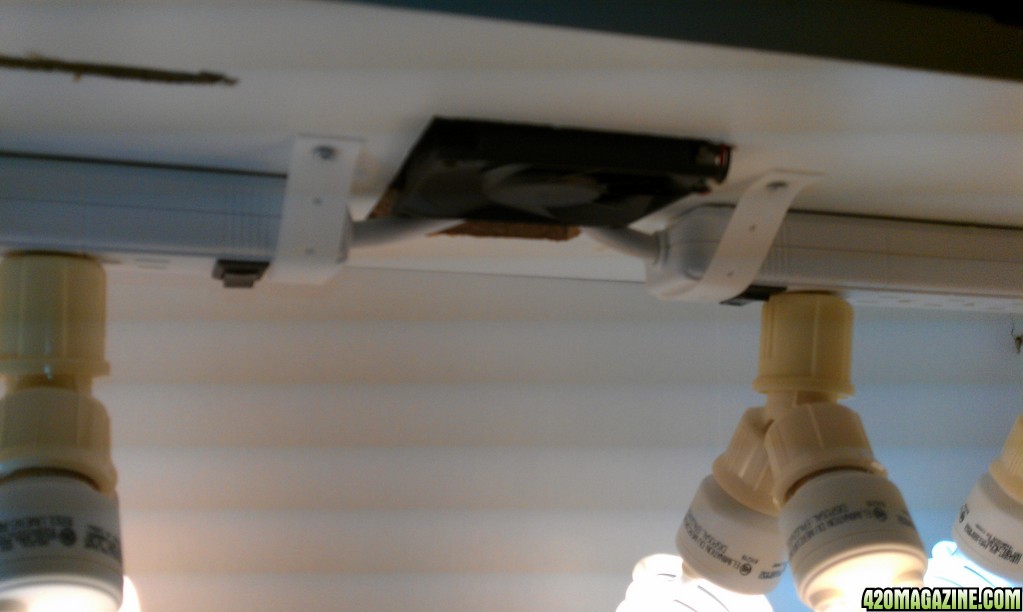
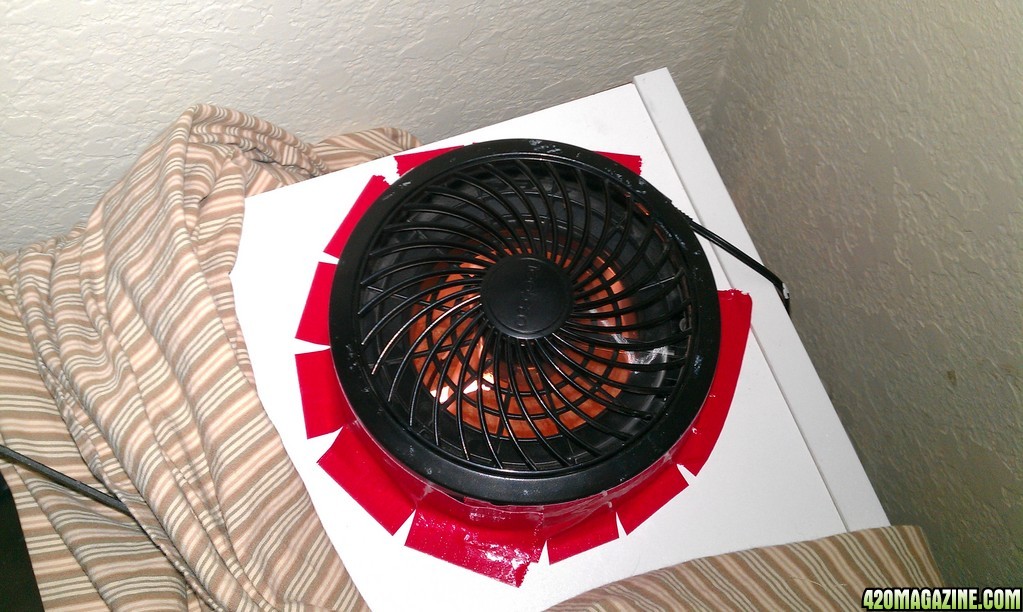
") but Ill try to tell you what I did.
but Ill try to tell you what I did.