

Antics;2498851 said:Alright, here's my step by step guide on how I do my LST.
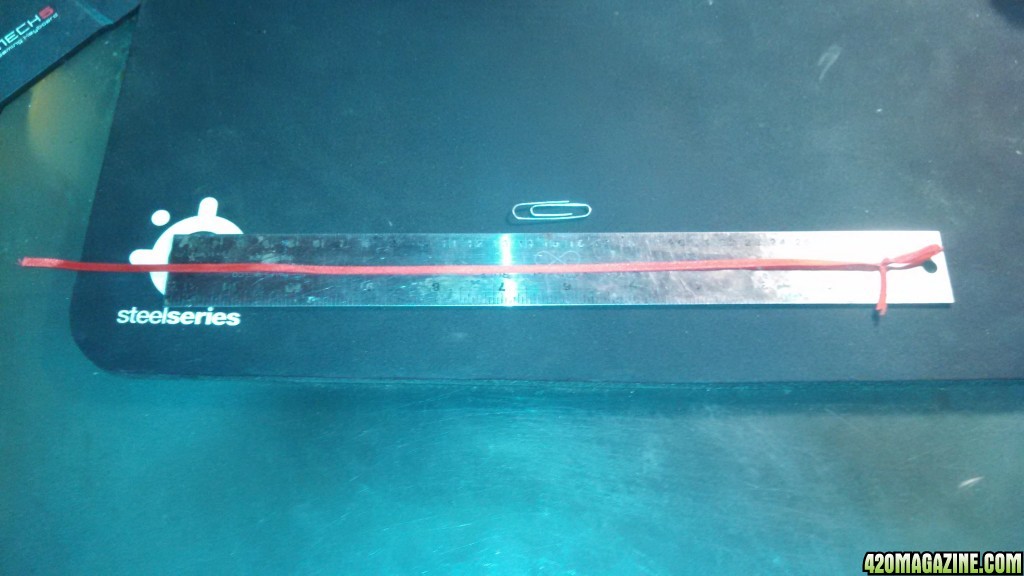
First, I use craft ribbon. It's approximately 1/2 cm wide, or about 1/8"
I cut several different lengths, which typically vary between 8"/20cm to about 18"/40cm. Depending on the type of training you're doing you may need some longer or shorter, so cut them as you go the first time, and the next time you use them you'll usually be able to find the right length.
The particular one I'm using here is about 14"/35cm. I use standard paperclips, in the small and large sizes. The one I'll be using is small.
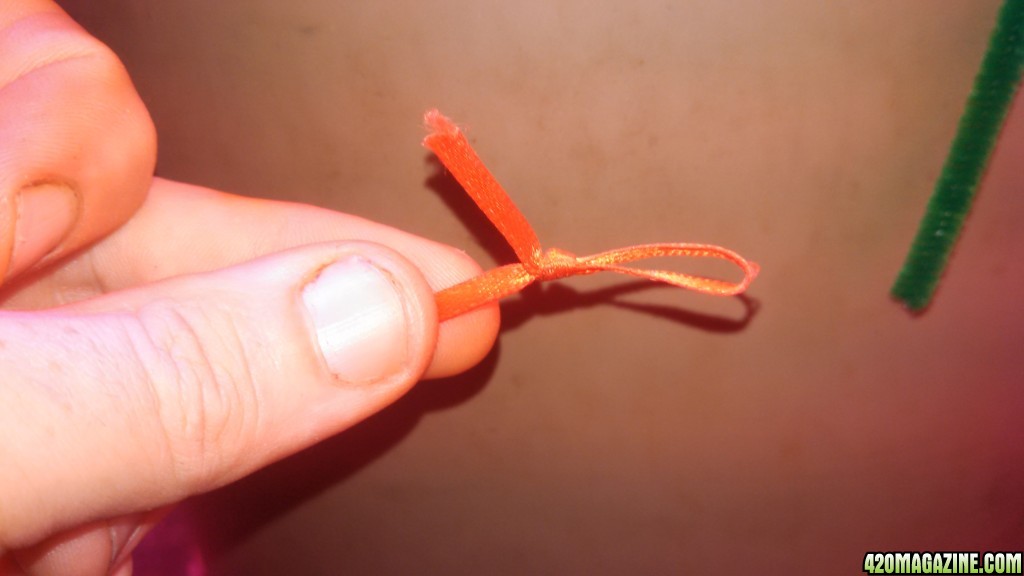
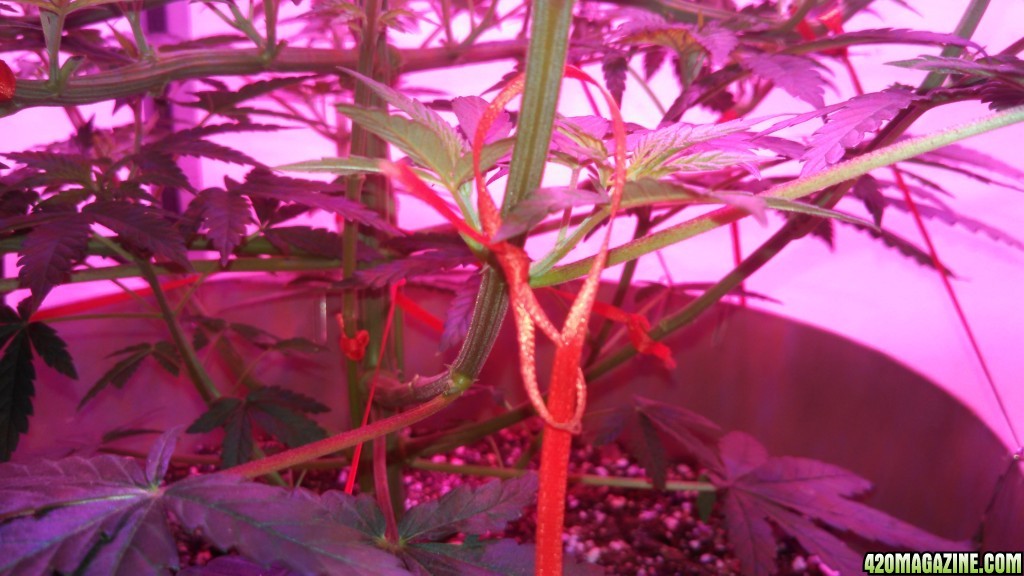
Next, we tie a knot at one end. Tie it tight so the ribbon doesn't slip back and forth in the knot. You'll want to leave a little extra to work with, and you can trim it later, or just leave it like I did. You'll also want to try to keep the loop as flat as possible, so there's more surface area in contact with the branch.
Drape the ribbon over the branch approximately where you want it held down. Everything after the tie down point will grow upwards in an arc naturally.
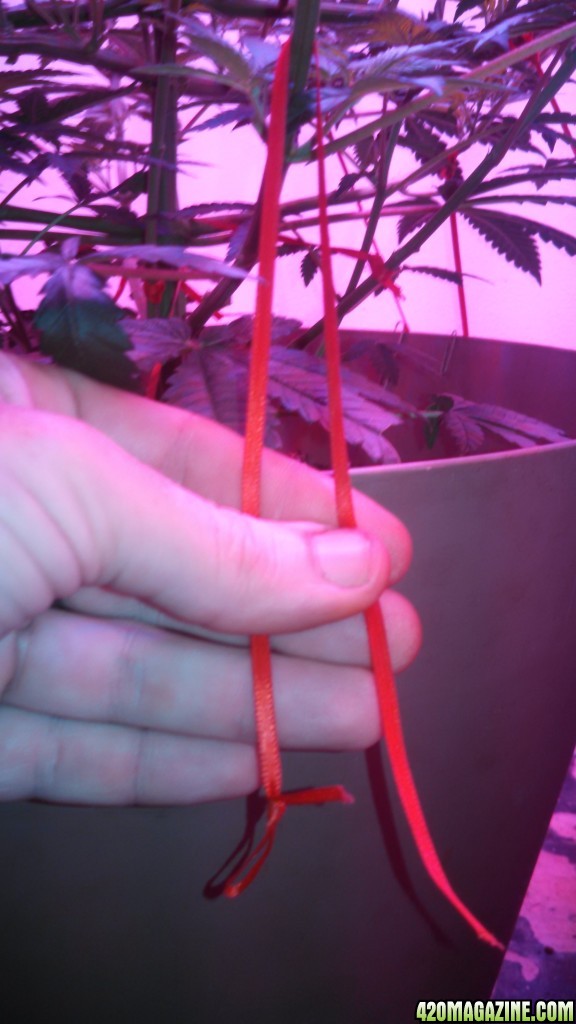
Insert the cut end into the loop like so
Pull gently on the cut end, while holding the loop in place to take up the slack
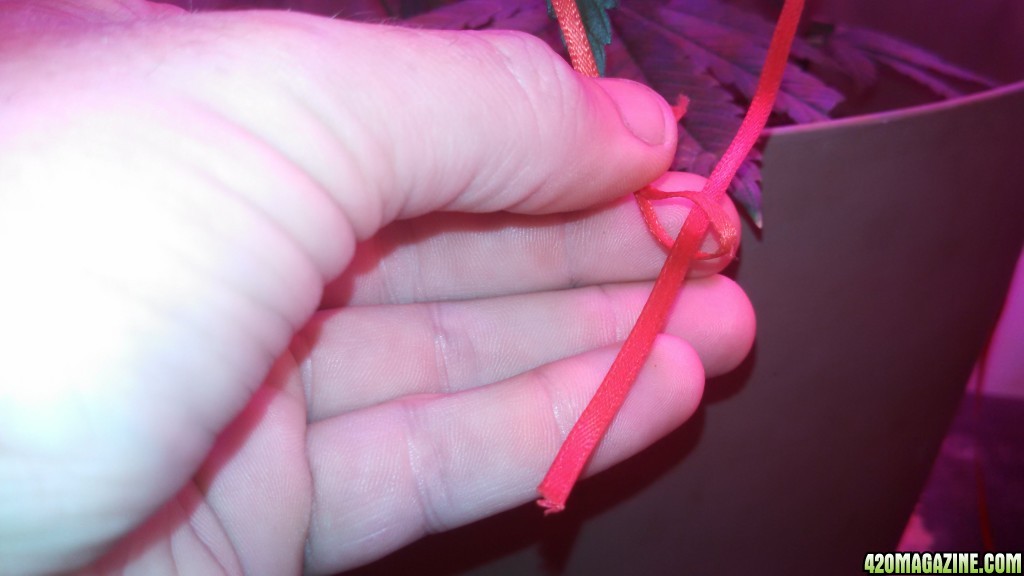
Keep pulling until it's just about snug against the branch, but still has a little space
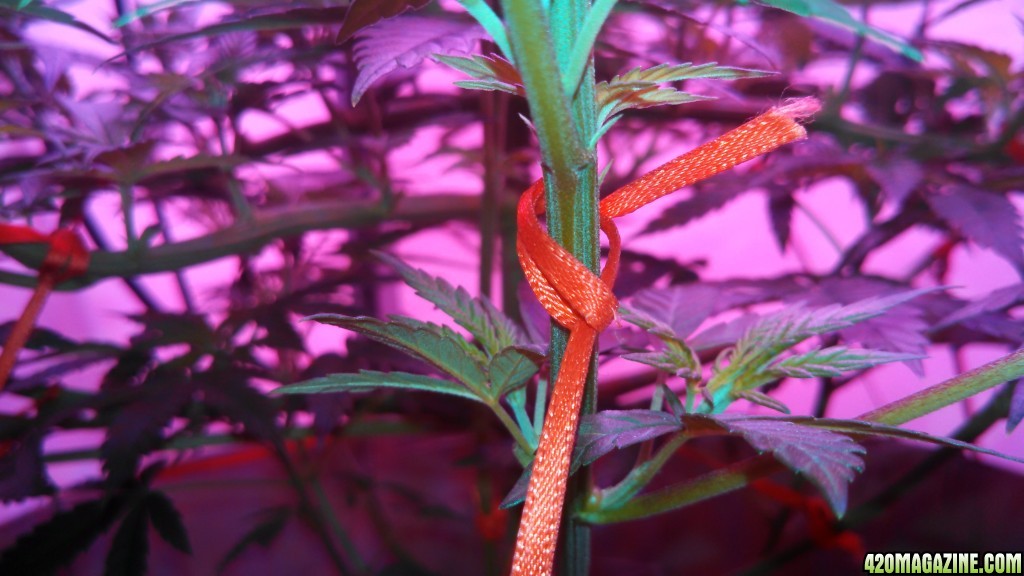
Gently pull downward on the cut end, the rest of the slack in the loop will take care of itself.
At this point you'll see how easy it is to adjust the branch height by just giving the ribbon a gentle pull downward.
Now, grab your paperclip!
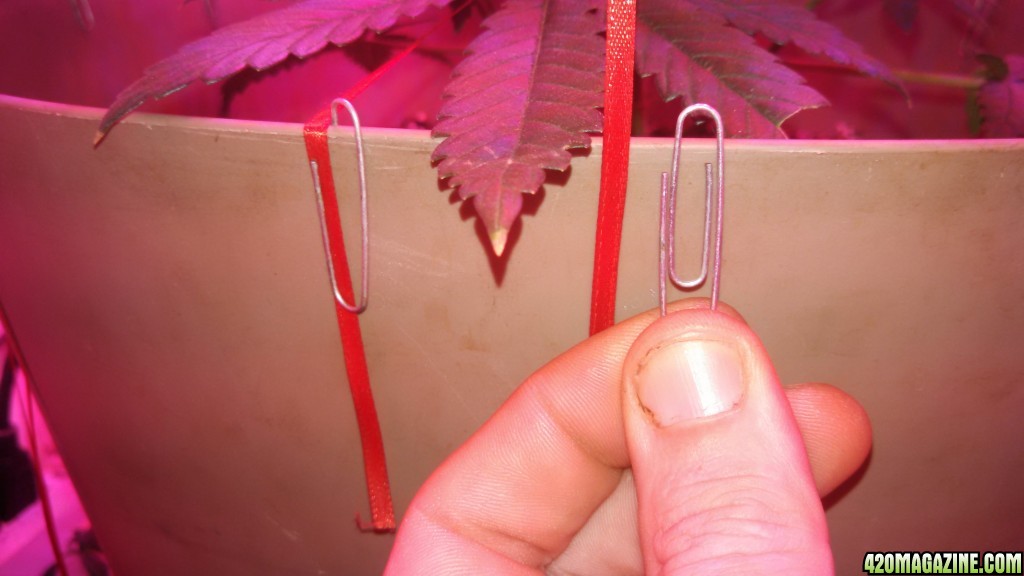
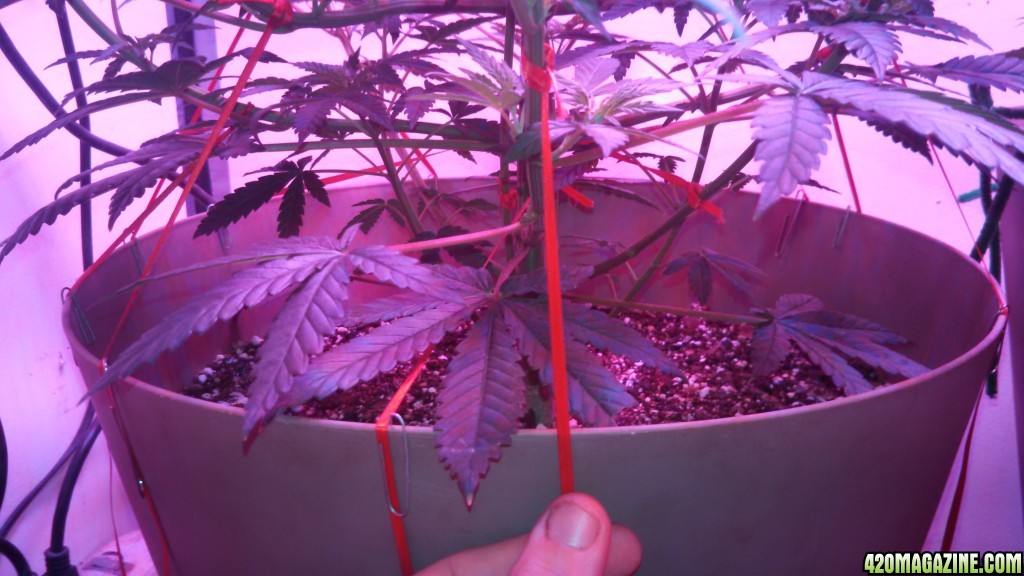
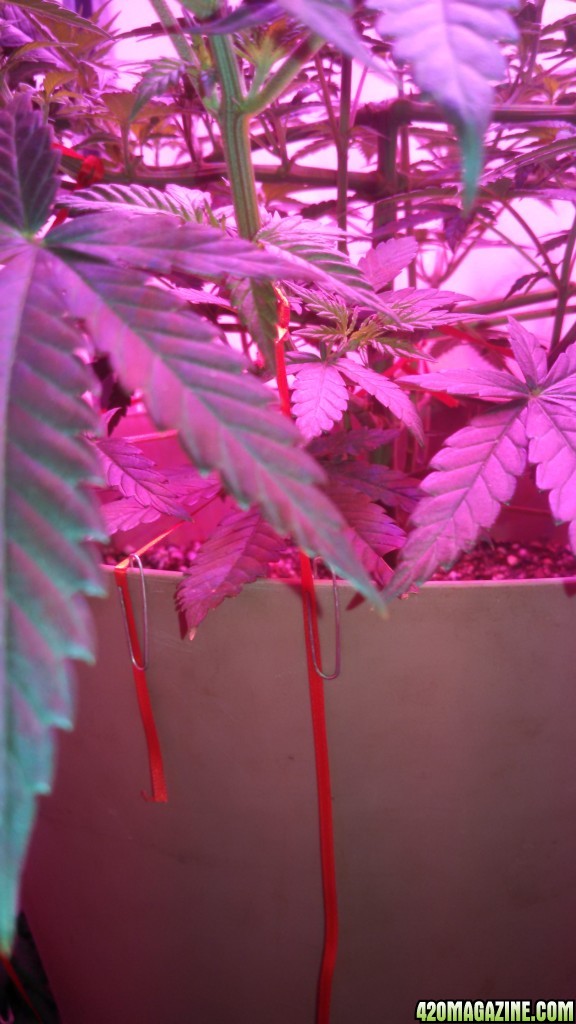
The small part of the paperclip will be on the inside of the pot. The paperclip should be oriented in a way that the ends of the wire both point up.
Now while holding the ribbon against the side of the pot, start sliding the paperclip onto the pot, making sure the ribbon ends up parallel to the paperclip wire.
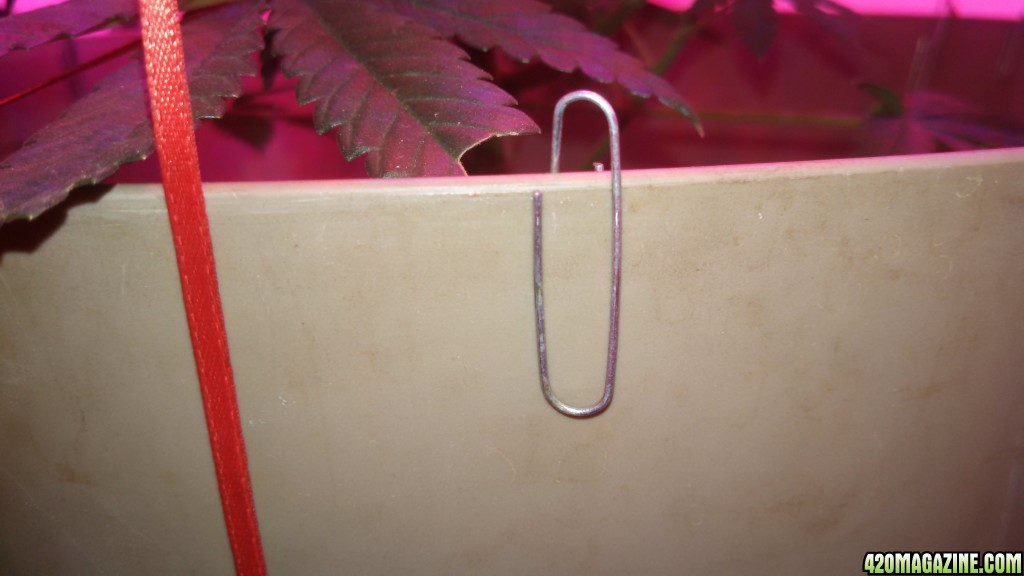
Push the paperclip all the way down, while still holding the ribbon straight and flat against the pot. Then let go.
The natural springyness in the paperclip might cause it to creep up a little, but that's fine.
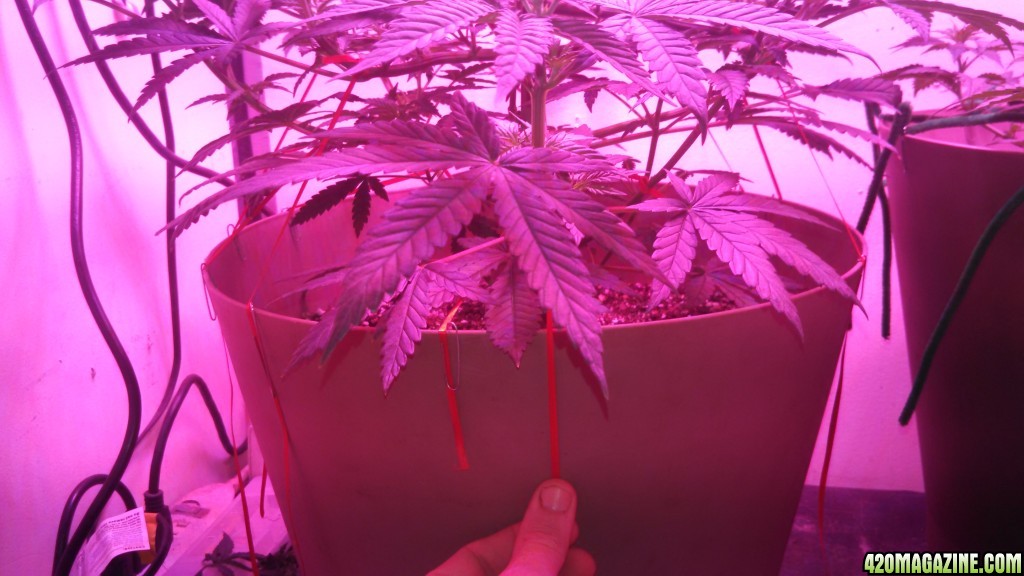
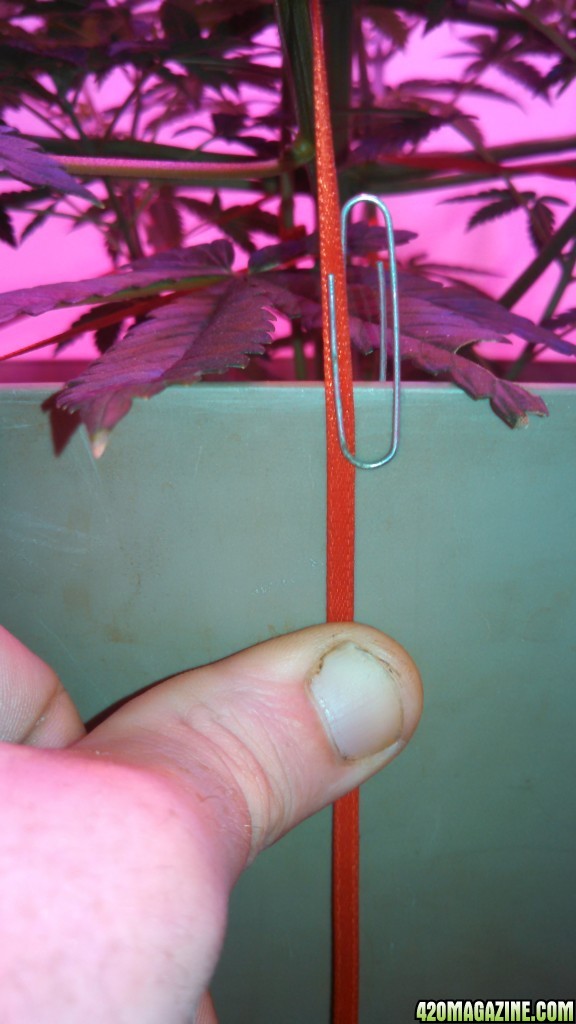
Now all you need to do to make adjustments is grab the cut end of the ribbon, and pull down gently.
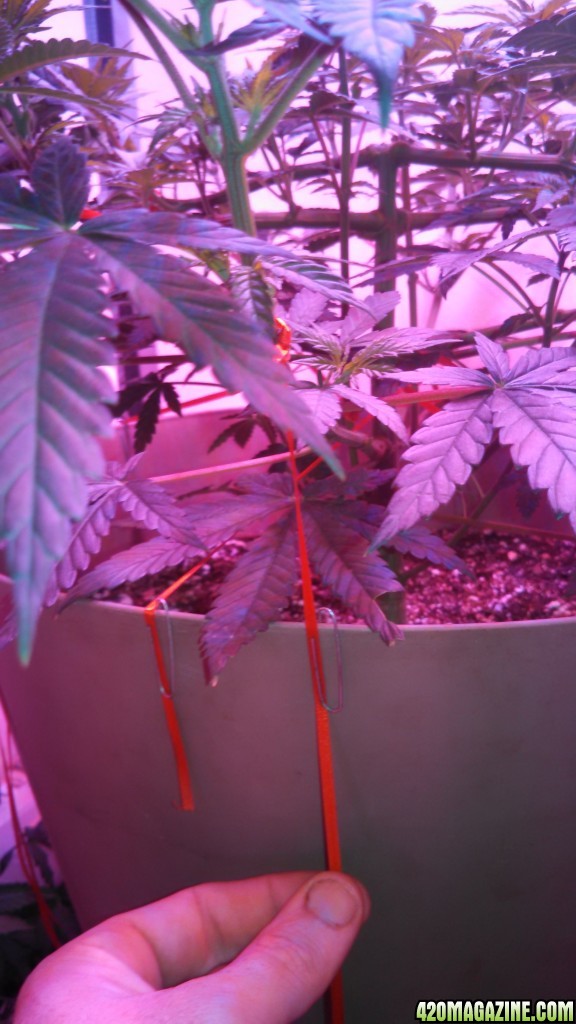
Always gently, and always watch the length of the branch, specifically where it meets the main stem. You don't want to bend the branches too much, too soon.
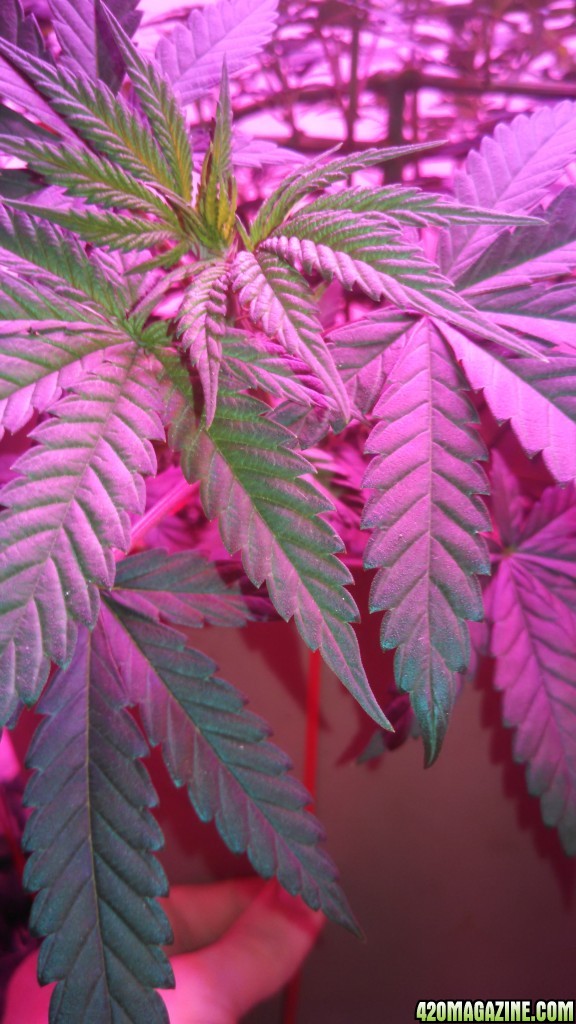
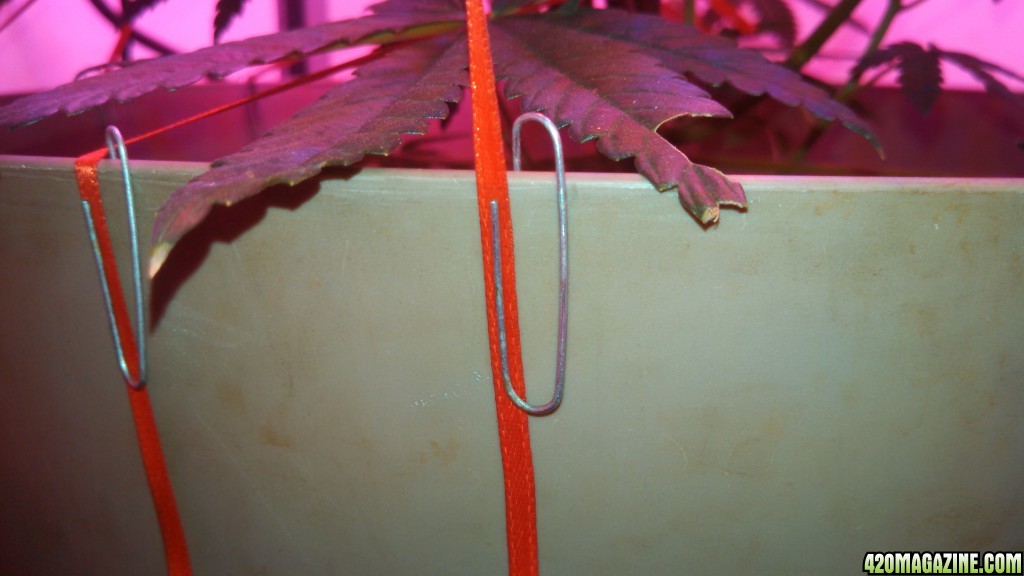
When you have the branch where you want it, release the end of the ribbon, and you're finished.
Providing your branches are still pliable, you'll be able to set up the ribbon once every 5-7 days, and just pull down slightly to make adjustments as needed. You can just as easily pull upward on less dominant branches to bring them closer to the light, and give them a better chance to grow.
If there's a sudden growth spurt, the loop should allow the branch to expand without making any impressions. Instead, the energy of expanding the loop should be absorbed by the branch simply pulling itself down. If too much tension exists, like a branch is too mature, thick, or stiff to be LST'ed this way, it will just spring back into place, and shouldn't damage anything.
The only problem I have experienced using this method, is pulling down too soon on younger branches will break them, but that can happen with any method of LST.
Hope this helps someone!
Any questions?
Antics LSTwith paper clips and plastic pots
- Author Radogast
- Create date
Blog entry information
More entries in Member Blogs
-
 From Dab to Vape: The Evolution of Rosin Consumption HabitsIn recent years, Live Rosin, as a typical product type of solventless cannabis concentrate, has...
 -
Micro Bar: Box-Shaped Cannabis Vape and Their Market AppealMicro Bar, a brand that has quickly risen to the top of the disposable cannabis vape market...
-
How Box-Shaped Disposable Vape Empower Cannabis Vape Brand?The emergence of box-shaped disposable cannabis vape hardware as a preferred choice marks a...
-
 HashGirl's Completed Grow Journals - 2017 to 2024HashGirl's Completed Grow Journals My and Felonious Punk's (my husband) Completed Grow...
 -
DEMO: The Petite Powerhouse in Cannabis VapingIn the ever-evolving world of cannabis consumption, variety and personalization are key, and...