toweliegrows
New Member
Hey all,
First off, "Hi"; this is my first time actually participating in this community although I have been reading all of your suggestions for the last few months. I did a build about 5 weeks ago for my first grow and thought I would share my build as well as the current state of the plants. Any tips or suggestions appreciated!
I am a first time grower and I decided to build a 2'x2'x5' stealth grow box to keep everything hidden and out of view for the most part. This is based off a build in the DYI forums by stratlogic.
Lights:
I started by using a single 125w CFL, but after hearing that I should have at least 3000 lumens per ft2 I decided to add 6 more 26w cfls. Currently I have a total of 281w outputting about 16,000 lumens. I was going to add more, but anything else and I would have trouble keeping the temp down. All of the lights are currently running on 6500k for veg, but I might switch out a few to 2700k after reading some info about mixing spectrums.
Fans:
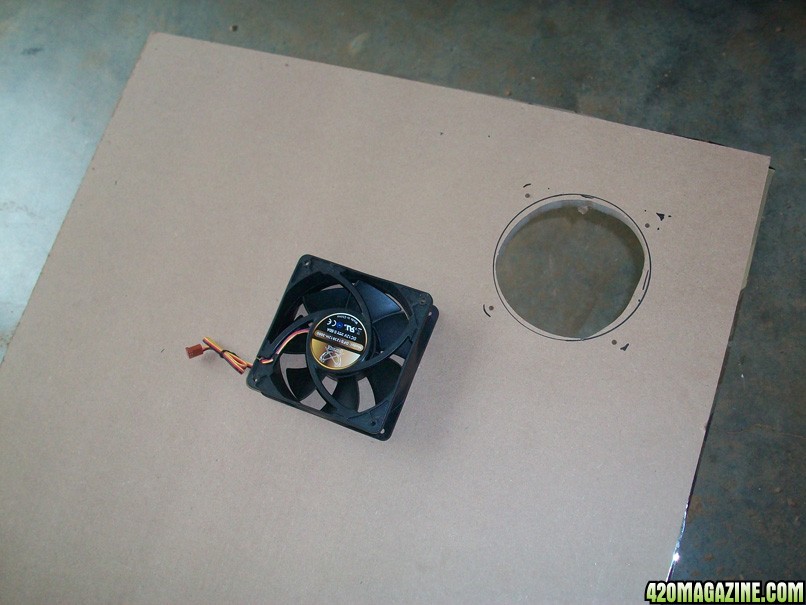
I am using 4x 120mm computer fans which each fan outputs 134 cfm. This should produce enough for almost 27 cycles a minute in this space, so I assumed I was going to be able to run the fans on low, however after ramping up on the lights I have had to run them on full to keep the temp down. The fans are intake on top, outtake on the bottom and are pushed to opposite corners to provide the best flow. It also runs top to bottom to make sure we are grabbing fresh air from the middle of the room.
Humidifier:
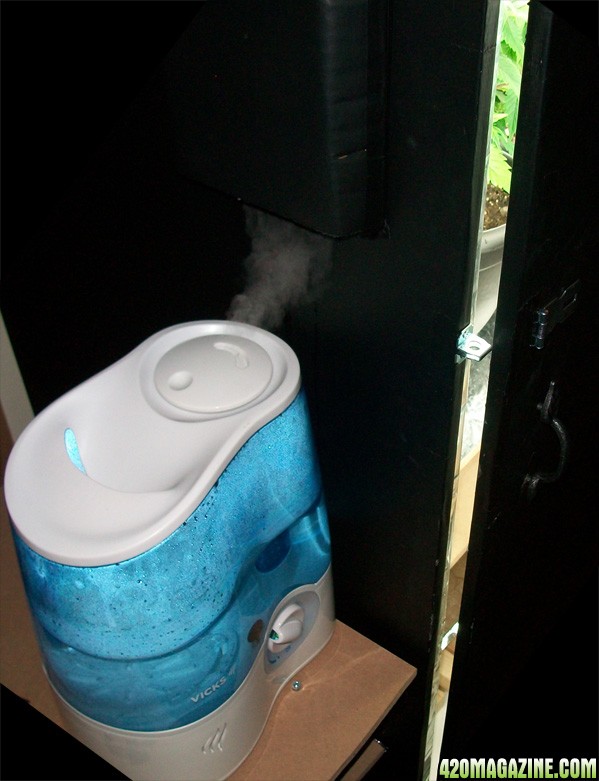
After I did this build, I added a humidifier near the outside vent that will keep up the humidity, but also keep the temp down since its an ultrasonic humidifer. Was about $50 at target. At some point I still need to redo the duct that will be the intake for the humidifier so the wood does not get wet.
Plants:
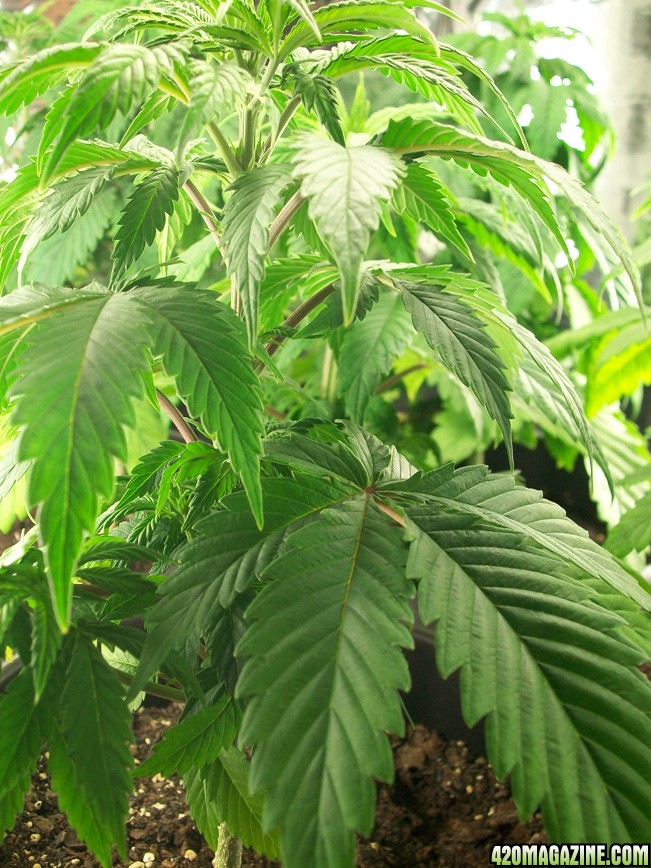
Using bagseed for my first grow of an unknown strain, so it's hard to know the nuances for this specific breed. If anyone can tell by the pics (or future pics during flowering) let me know! The plants as you'll see in this post are about 6 weeks old in their veg phase, going to give it another 2 weeks before we try switching into flowering.
Misc:
The build listed below does not have the materials for the shelves, the humidifer, or the lights besides the main one at the top because those were things I got after I had finished the initial build to improve the environment. I would say this build in total cost me somewhere around $500-600.
---
A list of supplies and tools I needed to build this box:
Raw Materials:
2x - MDF sheets. 4'x8' x 1/2"
7x - wood posts. 2"x2" x 8'
MDF:
2x - 2'x5' [side walls]
2x - 1'11"x5' [door + back wall]
2x - 2'x2' [floor/ceiling]
2x - 1'11" x 1'11" [floor panel/light roof]
Posts:
4x - 5' [vertical frame]
19x - 1'8" [4x top frame, 4x mid frame, 4x bottom frame, 2x base support, 2x extra]
---
NewEgg:
1x - scythe fan controller
1x - power adapter w/ 4pin molex connector
4x - 120mm/134cfm scythe case fans
Amazon:
1x - bright wing grow light fixture
1x - feliz 125 w cfl 6500k
1x - feliz 125 w cfl 2700k
Online Mylar Store:
1x - 55 inch roll of 1 mil mylar
Lowes:
1x - roll white duct tape rolls
2x - rolls heat resistant duct tape
2x - rolls electrical tape
2x - boxes of 1.5" wood screws
4x - 3" bolt/screws combo package of 4
4x - roller casters with screws
2x - door hinges with screws
1x - 1/2 pint can white primer
1x - 1 pint can flat black paint
1x - master lock and door lock hing with screws
1x - door handle
1x - heavy duty extension coord + power strip
1x - heavy duty power timer
1x - can 3m spray adhesive
1x - 3/4" hole cutter drill attachment
2x - 3/4" wall grommet for cables/wires
2x - fine sand paper blocks
1x - small tub spackle
1x - paint roller
Radio Shack:
1x - thermometer + humidity sensor
1x - roll standard rosin-core solder
1x - cable coax nail-in clips (white)
1x - 22awg wire (3 rolls of 3 colors)
---
Tools Used:
- tape measure
- jig saw
- power drill
- soldering iron
- socket set
- hammer
---
I went to lowes to get all the wood cut and for a majority of the supplies. Their cutting can be off, so make sure you have something at home to even out the lengths.
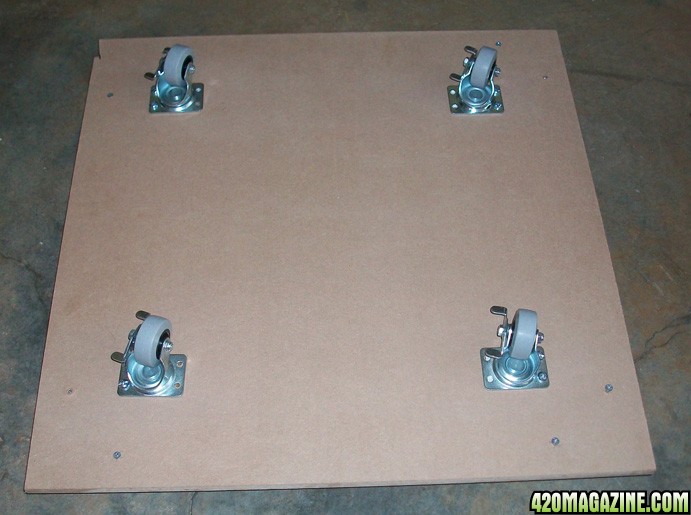
Started off by putting casters on the floor board piece:
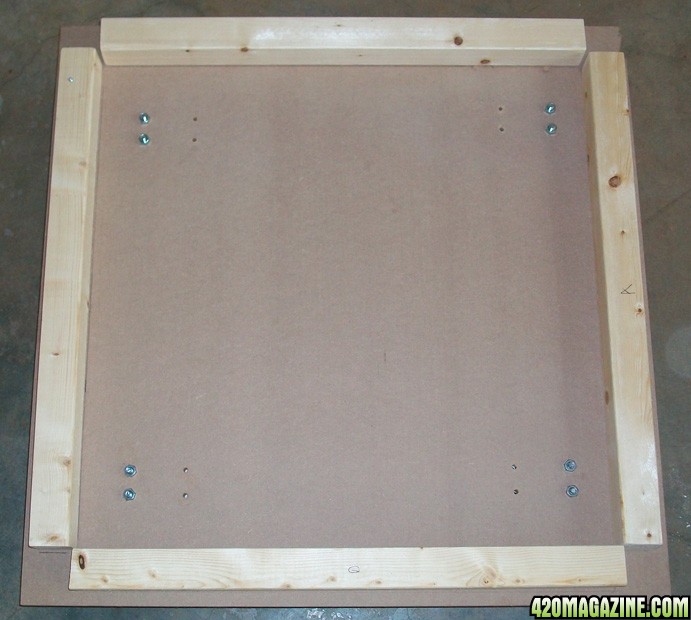
Then measure and screw in the bottom frame, there should be a 1/2" on all the sides where the walls will fit:
Added in 2 posts for support for the floor:
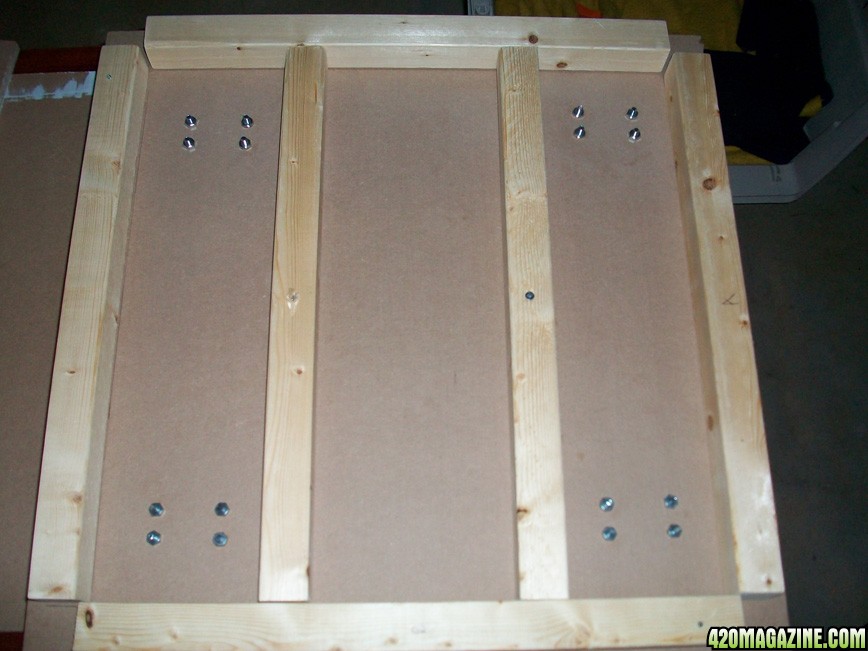
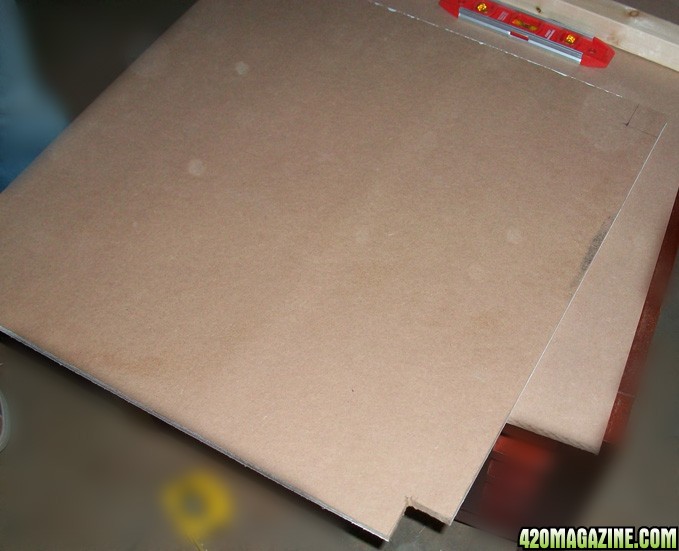
For the top shelf and the floor we need to cut out 1.5" boxes of the corners so that the 4 posts will fit:
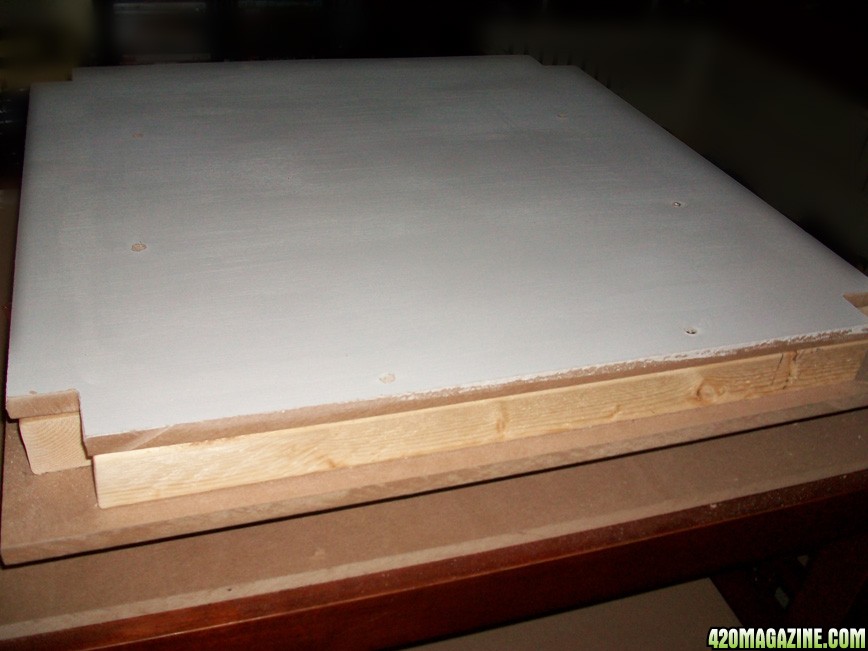
Attach the floor to the base and paint the floor white:
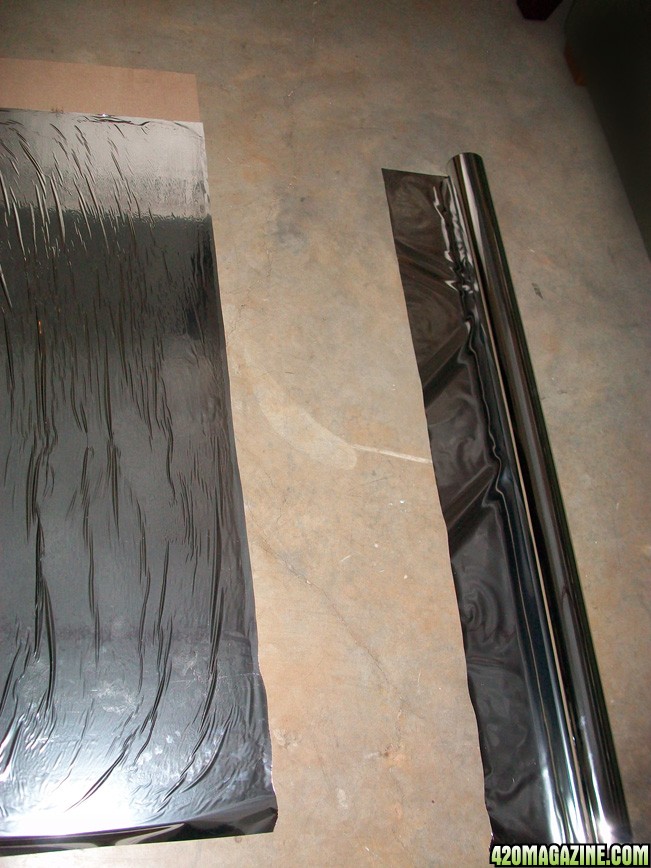
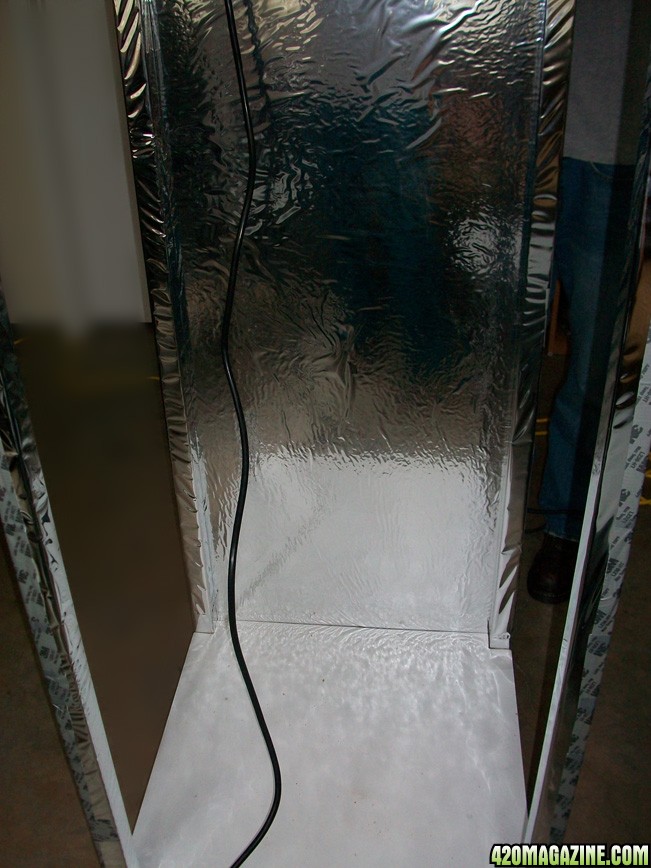
Cover the walls with mylar using the 3m adhesive:
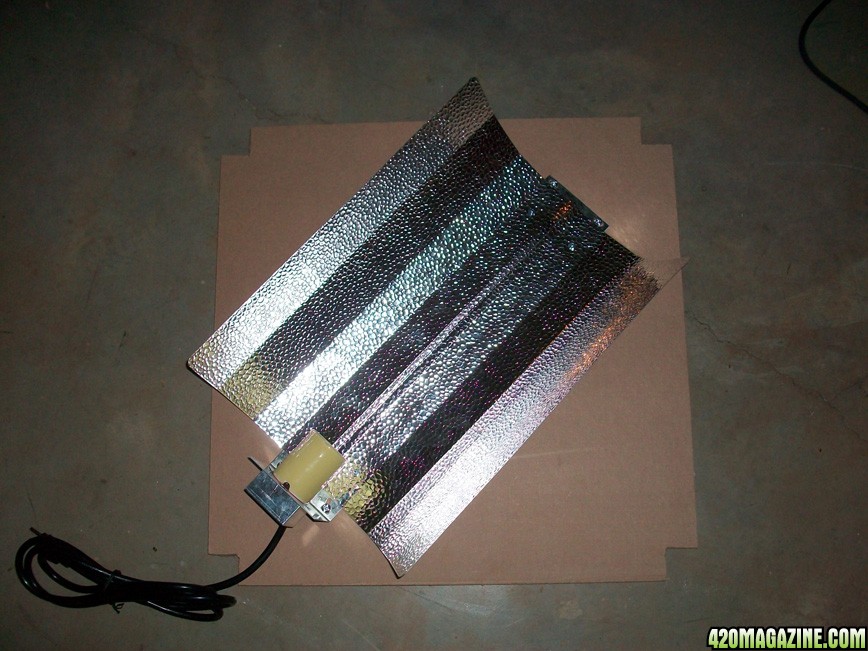
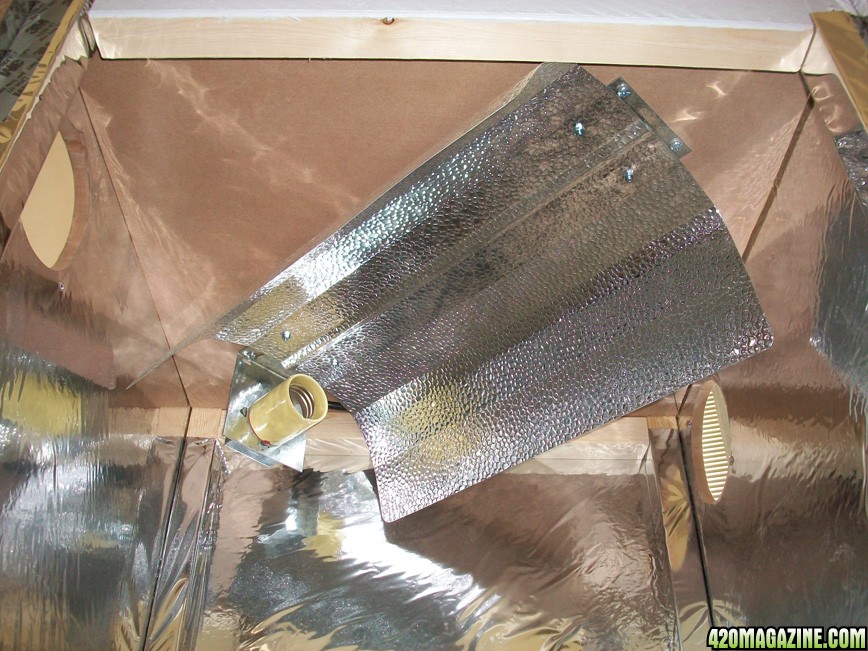
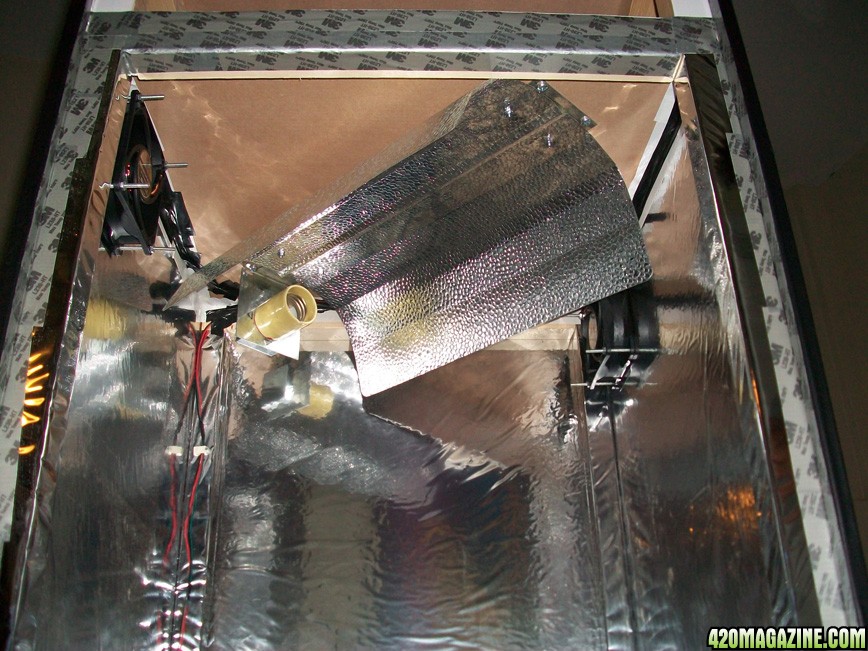
Attach the bright wing grow light fixture to the shelf:
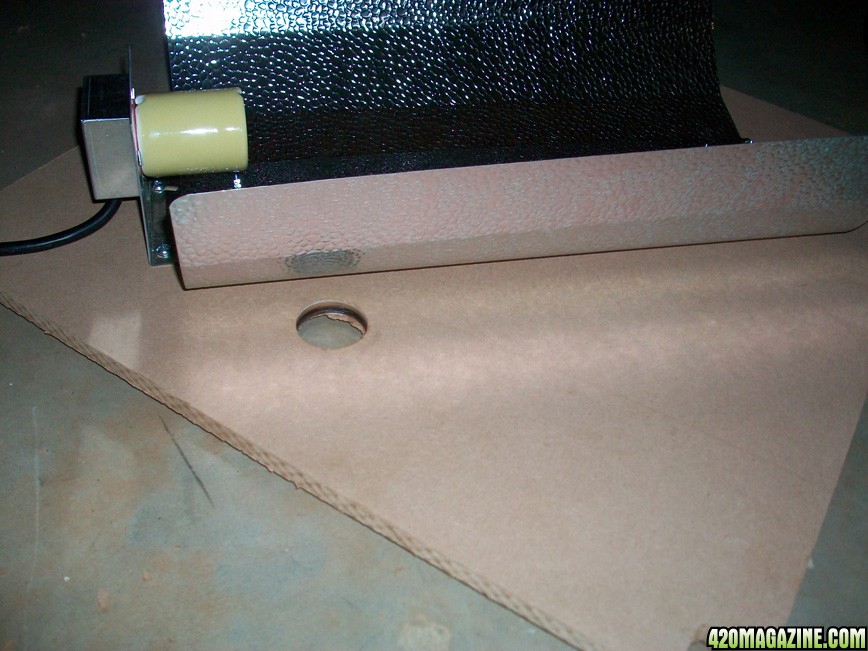
Drill a 3/4" hole in the shelf for the cords to fit:
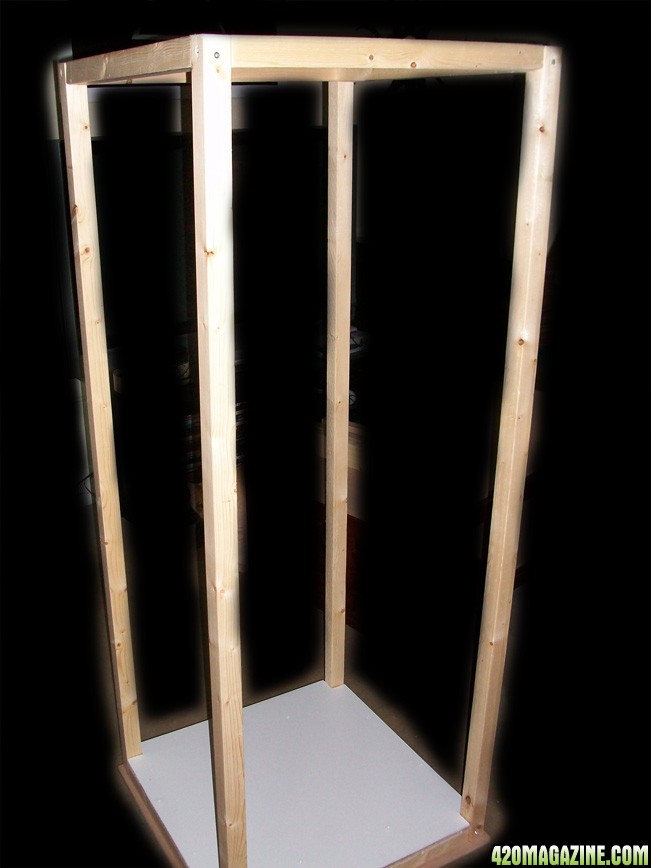
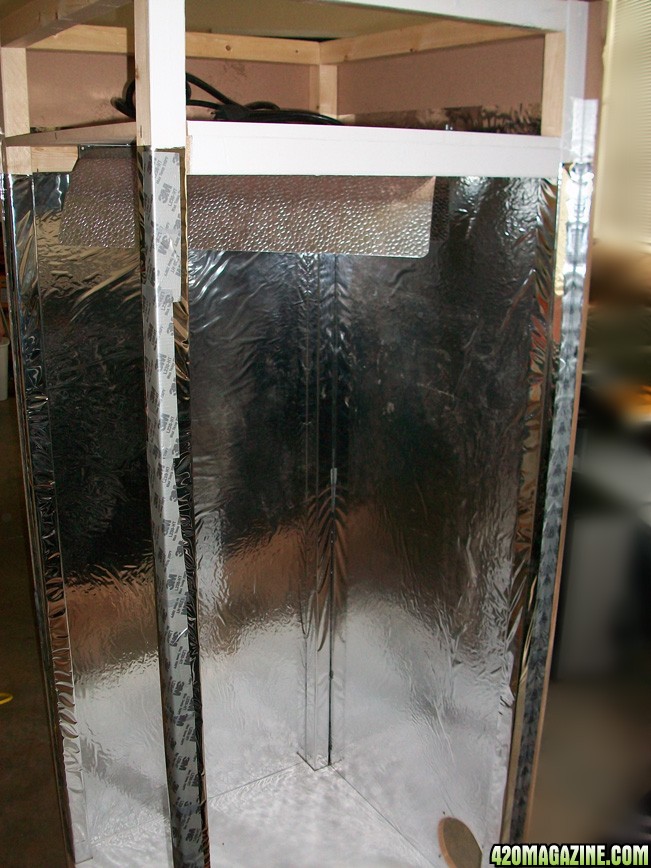
Attach the top frame and posts to the base:
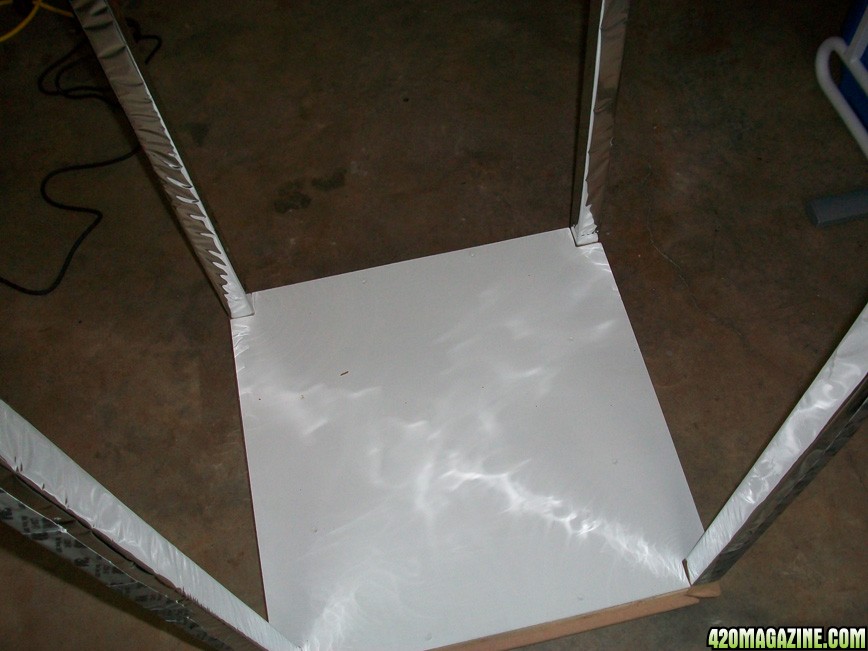
Wrap the posts with mylar:
Attach the back panel:
On the sides cut out holes big enough for the fans with the jig saw, drill holes for the screws.
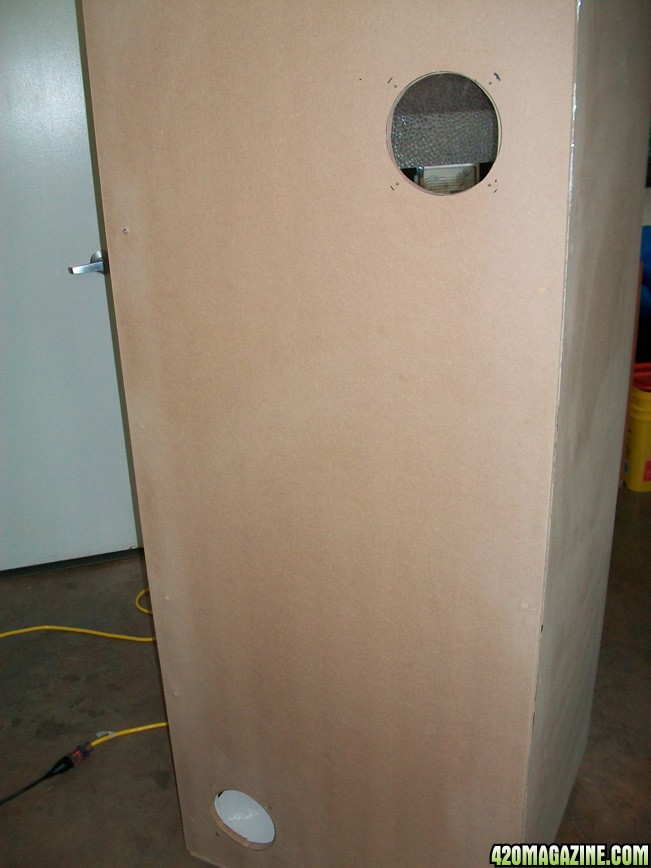
Create holes on the upper right and lower left on both side panels:
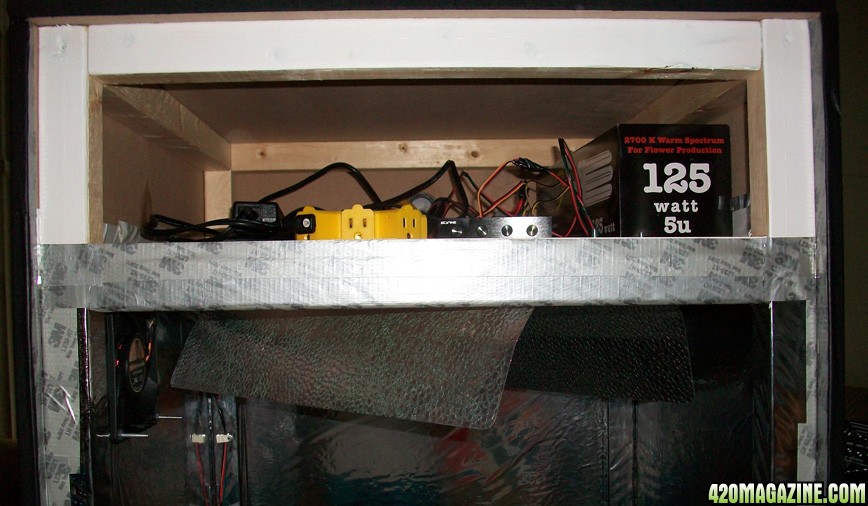
Install shelf large enough to store supplies and equipment; paint front:
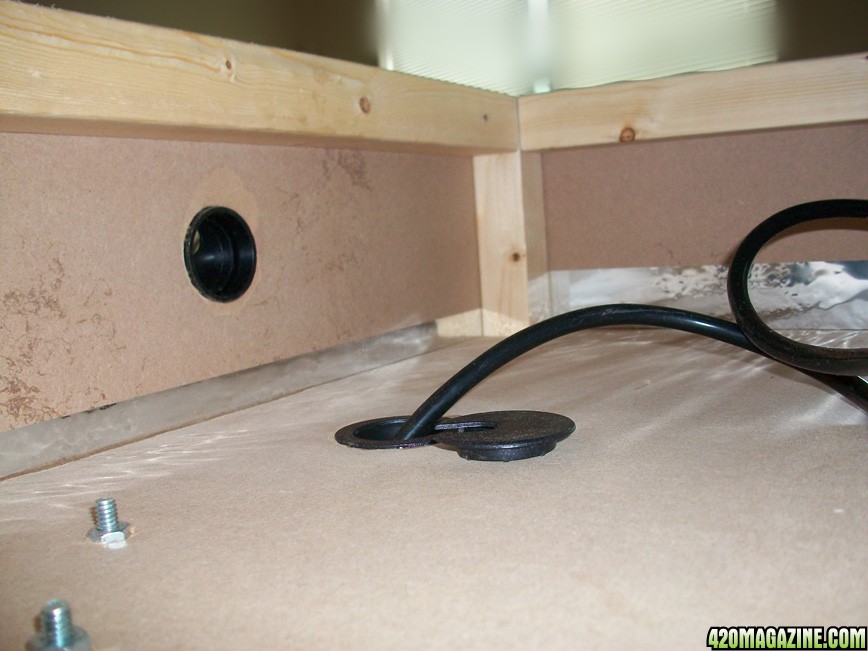
Glue in grommets for shelf and back panel:
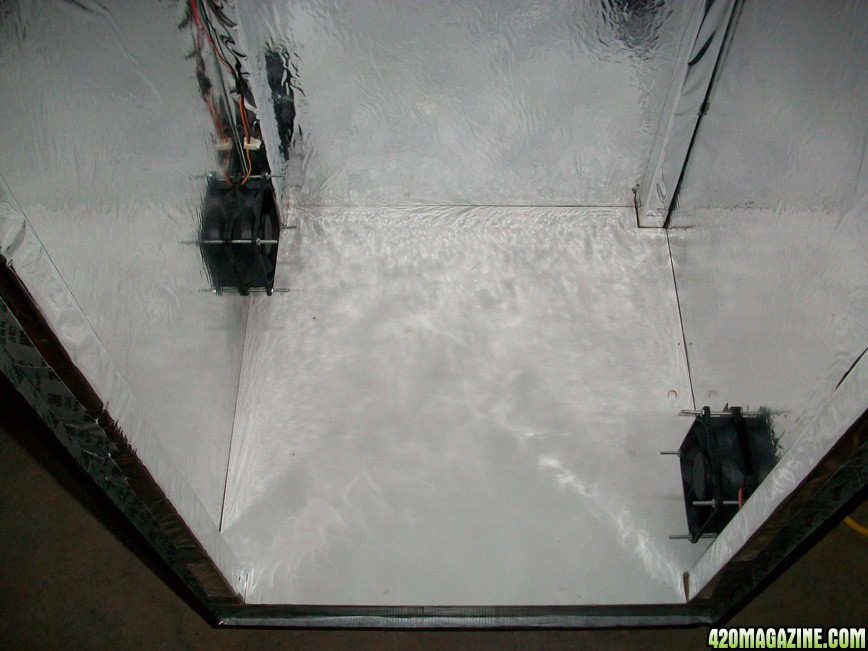
Bottom view with both side panels on:

Top view with both side panels on:
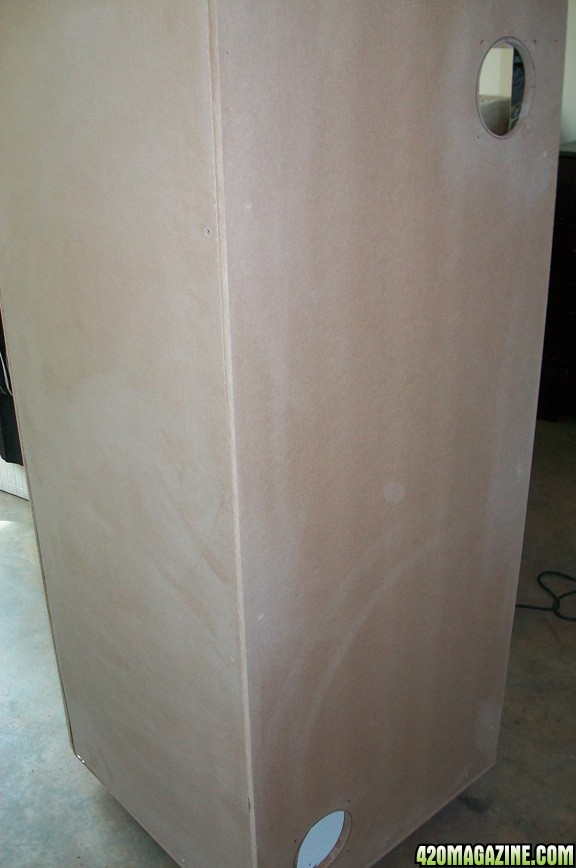
Sand down the outside:
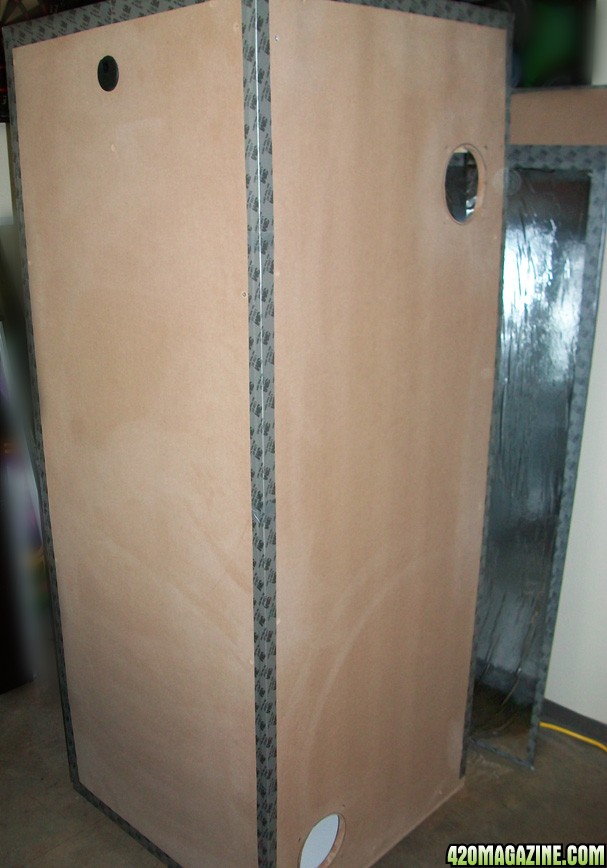
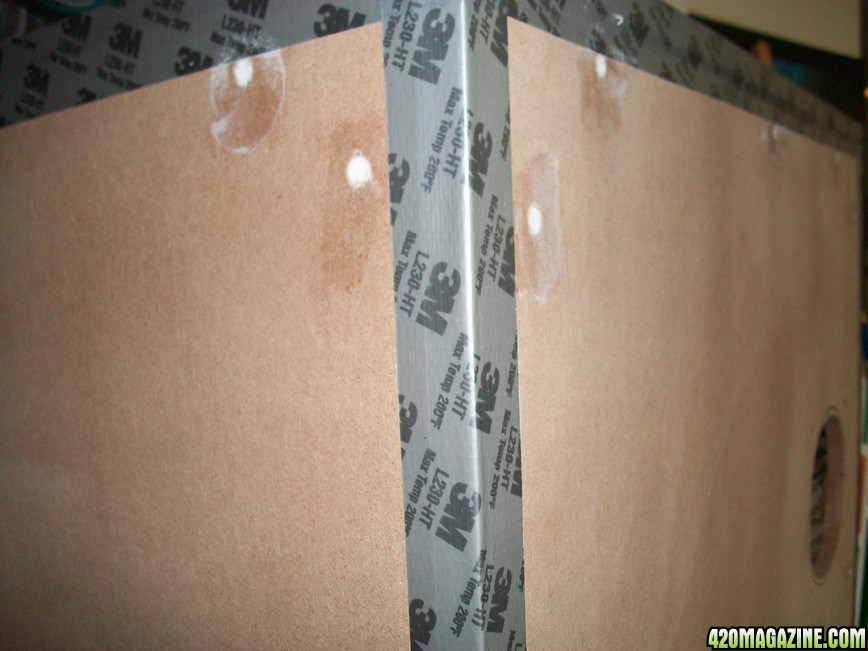
Cover edges with duct tape:
Fill in holes with spackle and sand after drying:
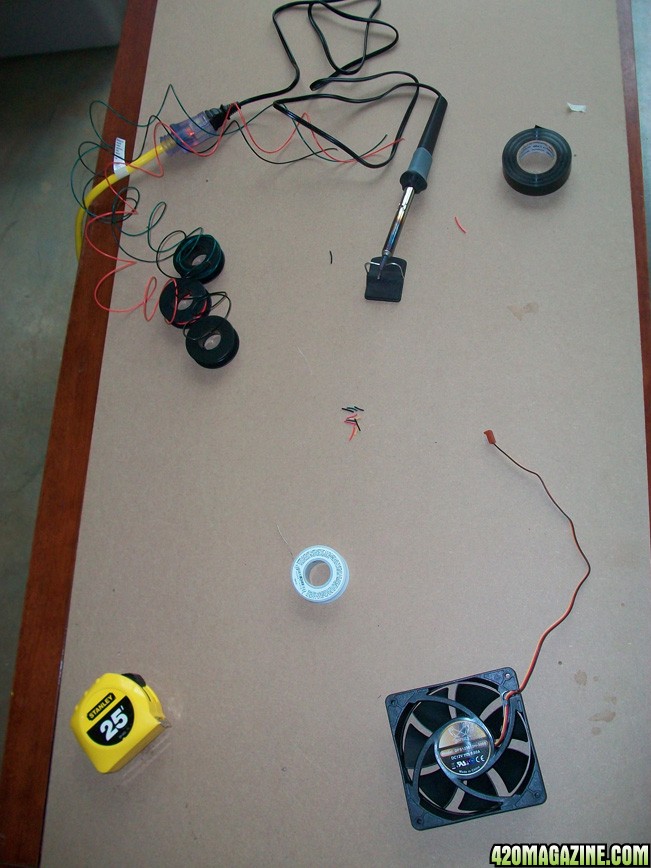
Extend fan wires to reach to the shelf:
Paint the box black:
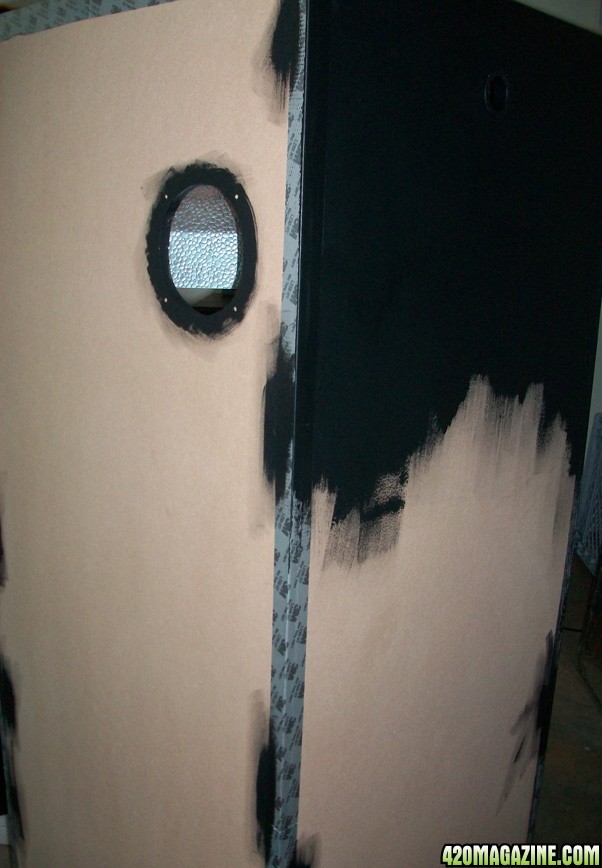
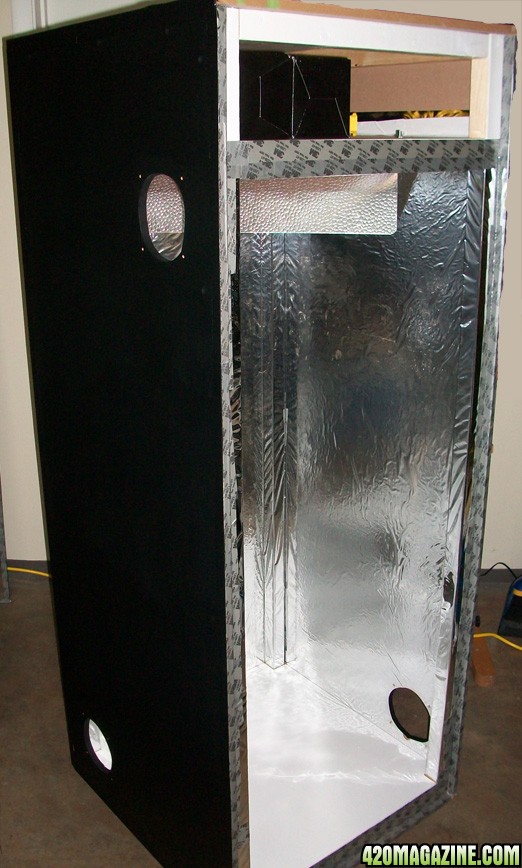
Before door is attached:
Installing the bottom fans, pushing air out, use clips to secure wires:
Install top fans, pulling air in:
View of the shelf with fan control and power strip:
Attach door using hinges:
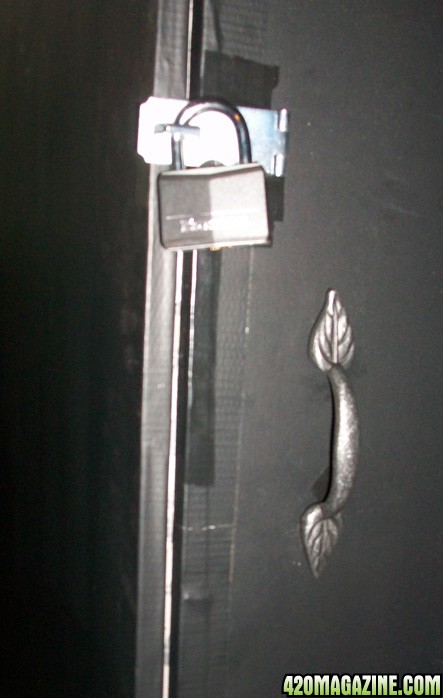
Install lock and door handle:
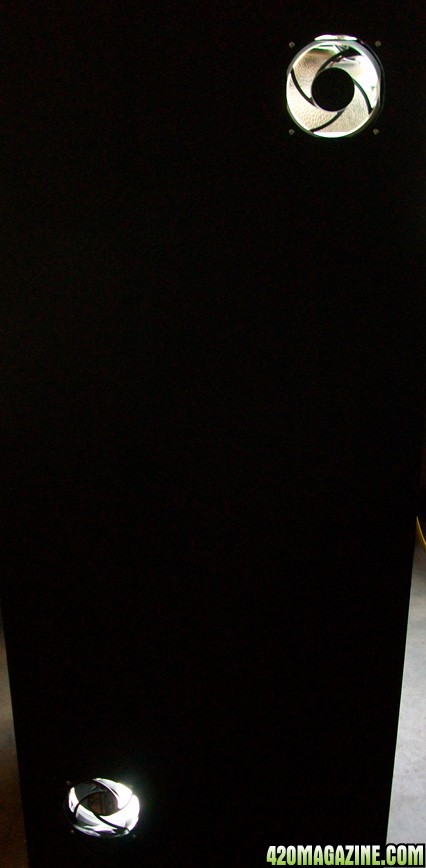
Outside view of box with light on:
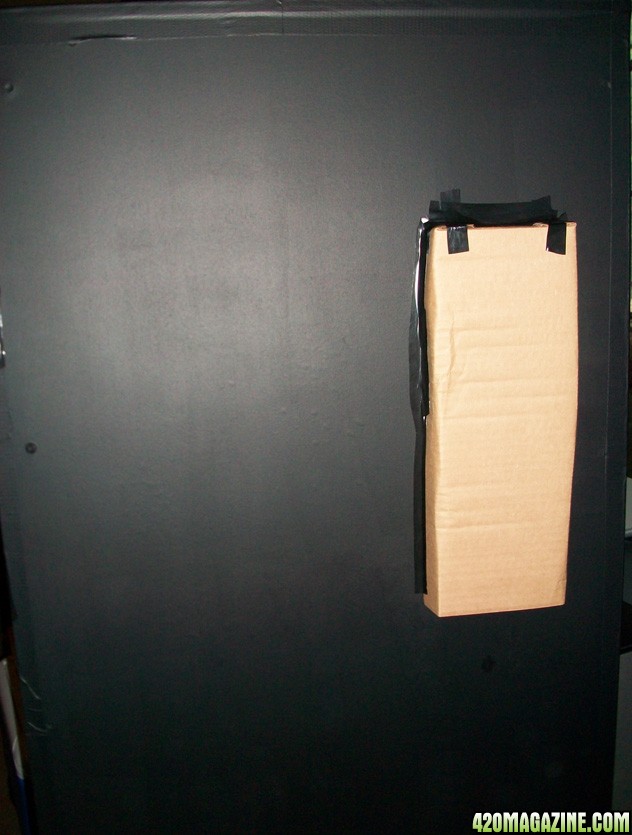
Make air duct out of spare cardboard, attach with tape:
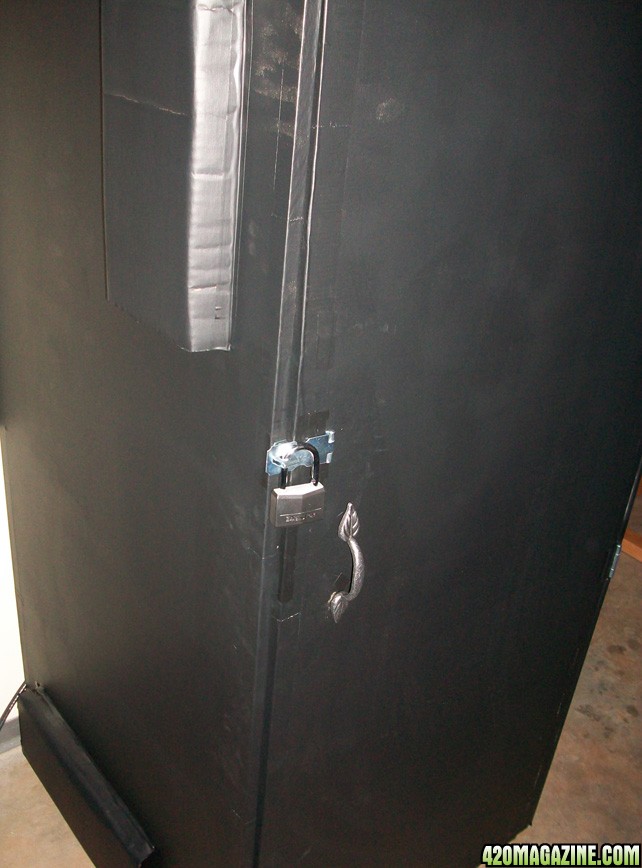
Finished view with painted air ducts:
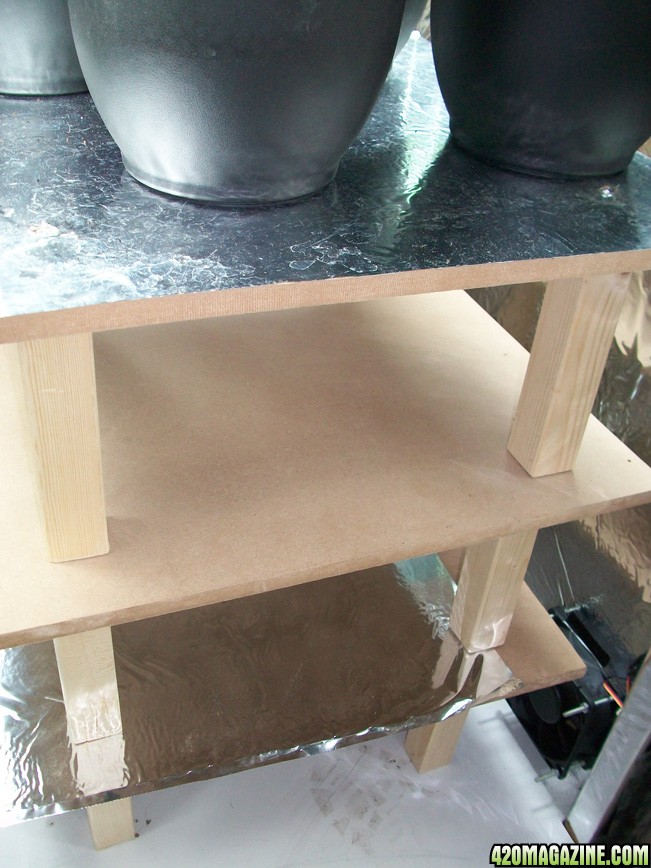
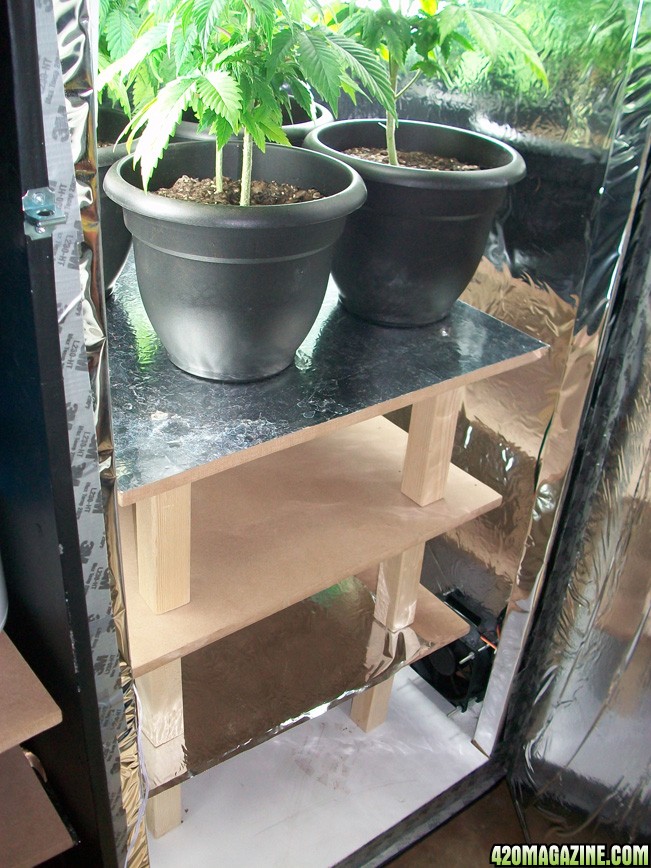
[Extra] made some shelves to raise/lower plants:
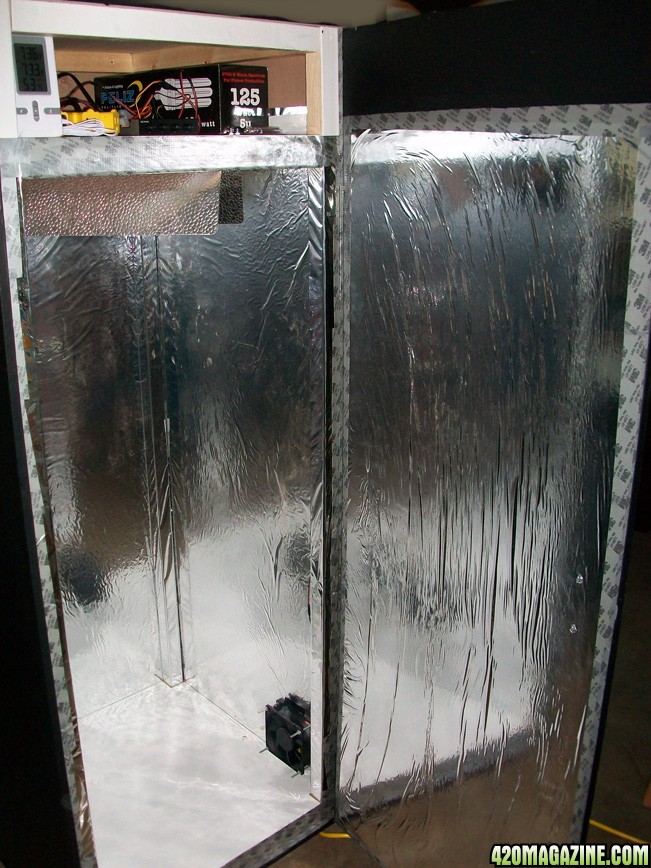
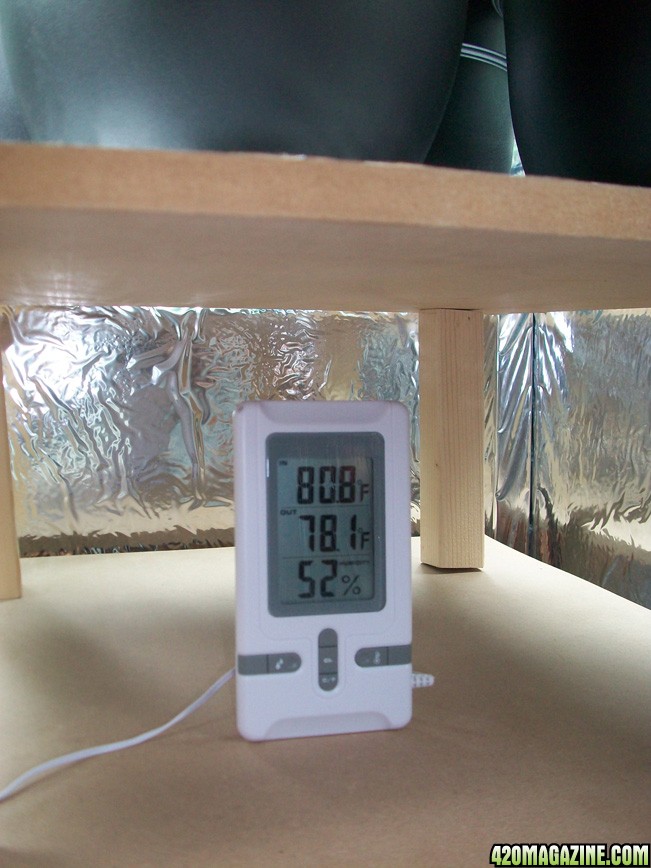
temp/humidity gauge:
[Extra] added ultrasonic humidifer to keep temps down and add humidity:
door open with shelves and plants:
[Extra] added more cfl's on the sides:
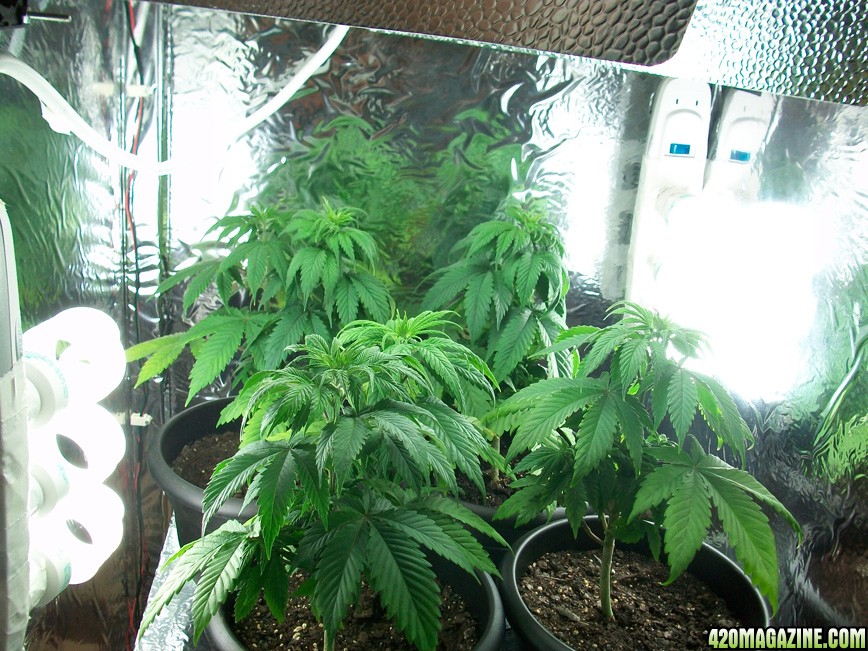
another view of the lights:
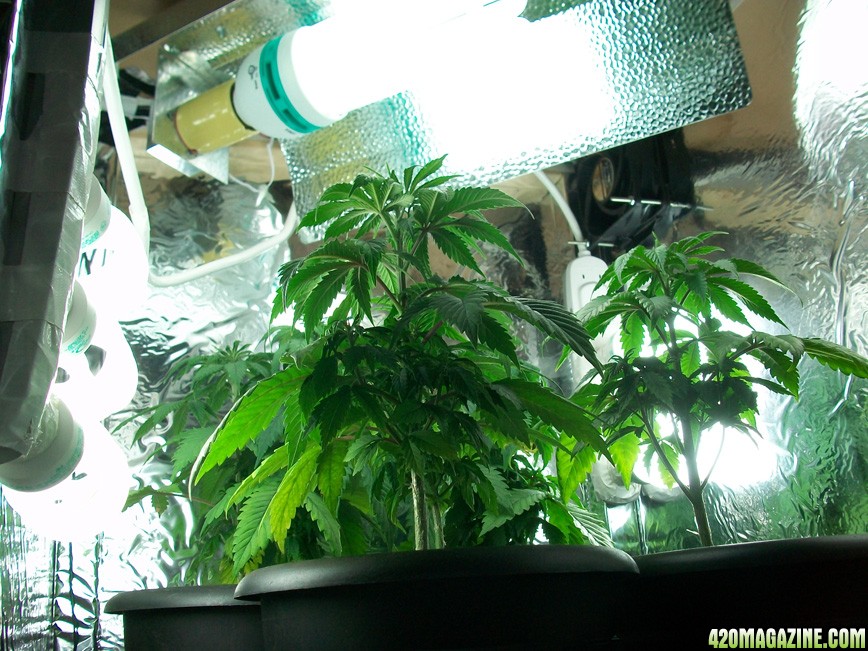
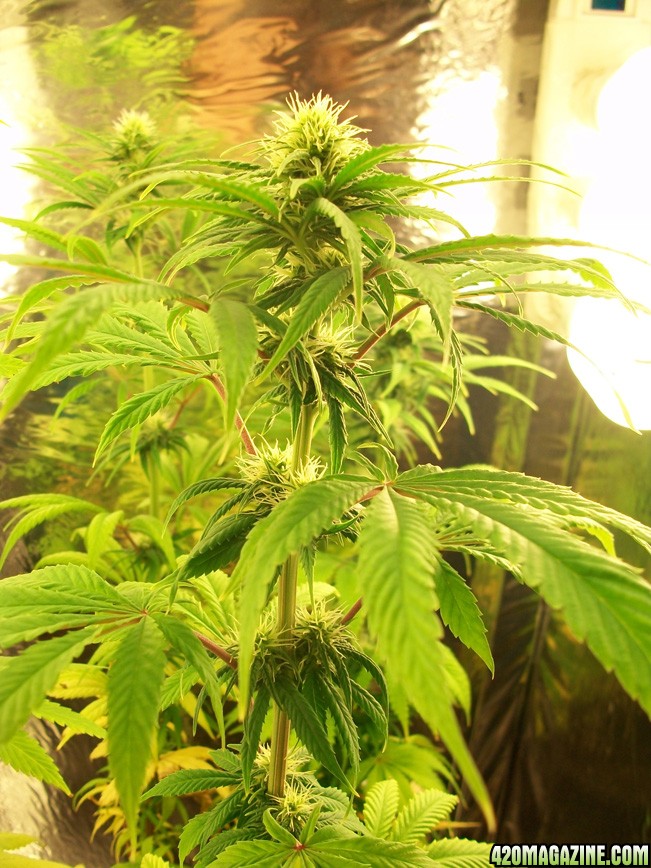
side view of veg, this is 6 weeks in:
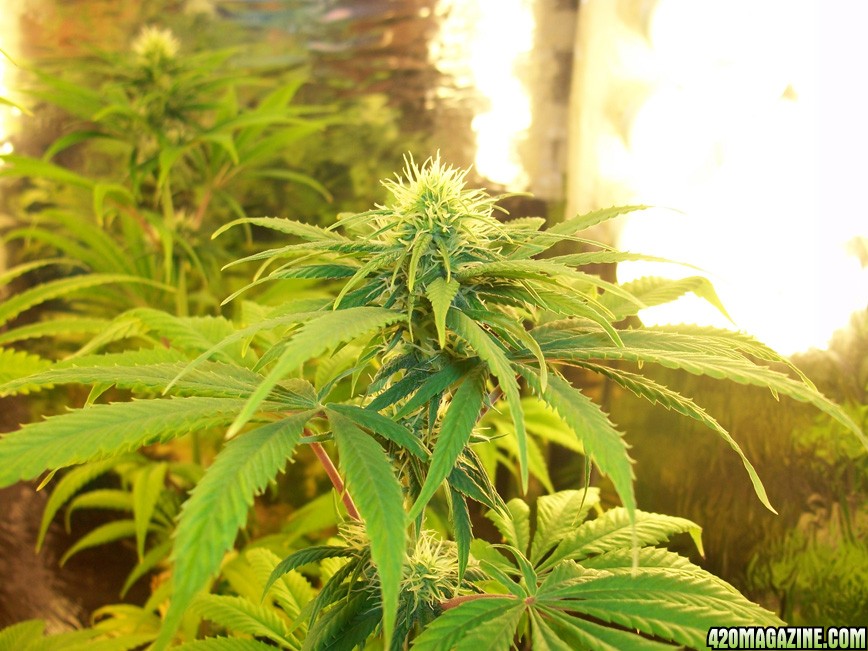
top view of current plants:

Thanks!
Towelie
First off, "Hi"; this is my first time actually participating in this community although I have been reading all of your suggestions for the last few months. I did a build about 5 weeks ago for my first grow and thought I would share my build as well as the current state of the plants. Any tips or suggestions appreciated!
I am a first time grower and I decided to build a 2'x2'x5' stealth grow box to keep everything hidden and out of view for the most part. This is based off a build in the DYI forums by stratlogic.
Lights:
I started by using a single 125w CFL, but after hearing that I should have at least 3000 lumens per ft2 I decided to add 6 more 26w cfls. Currently I have a total of 281w outputting about 16,000 lumens. I was going to add more, but anything else and I would have trouble keeping the temp down. All of the lights are currently running on 6500k for veg, but I might switch out a few to 2700k after reading some info about mixing spectrums.
Fans:
I am using 4x 120mm computer fans which each fan outputs 134 cfm. This should produce enough for almost 27 cycles a minute in this space, so I assumed I was going to be able to run the fans on low, however after ramping up on the lights I have had to run them on full to keep the temp down. The fans are intake on top, outtake on the bottom and are pushed to opposite corners to provide the best flow. It also runs top to bottom to make sure we are grabbing fresh air from the middle of the room.
Humidifier:
After I did this build, I added a humidifier near the outside vent that will keep up the humidity, but also keep the temp down since its an ultrasonic humidifer. Was about $50 at target. At some point I still need to redo the duct that will be the intake for the humidifier so the wood does not get wet.
Plants:
Using bagseed for my first grow of an unknown strain, so it's hard to know the nuances for this specific breed. If anyone can tell by the pics (or future pics during flowering) let me know! The plants as you'll see in this post are about 6 weeks old in their veg phase, going to give it another 2 weeks before we try switching into flowering.
Misc:
The build listed below does not have the materials for the shelves, the humidifer, or the lights besides the main one at the top because those were things I got after I had finished the initial build to improve the environment. I would say this build in total cost me somewhere around $500-600.
---
A list of supplies and tools I needed to build this box:
Raw Materials:
2x - MDF sheets. 4'x8' x 1/2"
7x - wood posts. 2"x2" x 8'
MDF:
2x - 2'x5' [side walls]
2x - 1'11"x5' [door + back wall]
2x - 2'x2' [floor/ceiling]
2x - 1'11" x 1'11" [floor panel/light roof]
Posts:
4x - 5' [vertical frame]
19x - 1'8" [4x top frame, 4x mid frame, 4x bottom frame, 2x base support, 2x extra]
---
NewEgg:
1x - scythe fan controller
1x - power adapter w/ 4pin molex connector
4x - 120mm/134cfm scythe case fans
Amazon:
1x - bright wing grow light fixture
1x - feliz 125 w cfl 6500k
1x - feliz 125 w cfl 2700k
Online Mylar Store:
1x - 55 inch roll of 1 mil mylar
Lowes:
1x - roll white duct tape rolls
2x - rolls heat resistant duct tape
2x - rolls electrical tape
2x - boxes of 1.5" wood screws
4x - 3" bolt/screws combo package of 4
4x - roller casters with screws
2x - door hinges with screws
1x - 1/2 pint can white primer
1x - 1 pint can flat black paint
1x - master lock and door lock hing with screws
1x - door handle
1x - heavy duty extension coord + power strip
1x - heavy duty power timer
1x - can 3m spray adhesive
1x - 3/4" hole cutter drill attachment
2x - 3/4" wall grommet for cables/wires
2x - fine sand paper blocks
1x - small tub spackle
1x - paint roller
Radio Shack:
1x - thermometer + humidity sensor
1x - roll standard rosin-core solder
1x - cable coax nail-in clips (white)
1x - 22awg wire (3 rolls of 3 colors)
---
Tools Used:
- tape measure
- jig saw
- power drill
- soldering iron
- socket set
- hammer
---
I went to lowes to get all the wood cut and for a majority of the supplies. Their cutting can be off, so make sure you have something at home to even out the lengths.
Started off by putting casters on the floor board piece:
Then measure and screw in the bottom frame, there should be a 1/2" on all the sides where the walls will fit:
Added in 2 posts for support for the floor:
For the top shelf and the floor we need to cut out 1.5" boxes of the corners so that the 4 posts will fit:
Attach the floor to the base and paint the floor white:
Cover the walls with mylar using the 3m adhesive:
Attach the bright wing grow light fixture to the shelf:
Drill a 3/4" hole in the shelf for the cords to fit:
Attach the top frame and posts to the base:
Wrap the posts with mylar:
Attach the back panel:
On the sides cut out holes big enough for the fans with the jig saw, drill holes for the screws.
Create holes on the upper right and lower left on both side panels:
Install shelf large enough to store supplies and equipment; paint front:
Glue in grommets for shelf and back panel:
Bottom view with both side panels on:
Top view with both side panels on:
Sand down the outside:
Cover edges with duct tape:
Fill in holes with spackle and sand after drying:
Extend fan wires to reach to the shelf:
Paint the box black:
Before door is attached:
Installing the bottom fans, pushing air out, use clips to secure wires:
Install top fans, pulling air in:
View of the shelf with fan control and power strip:
Attach door using hinges:
Install lock and door handle:
Outside view of box with light on:
Make air duct out of spare cardboard, attach with tape:
Finished view with painted air ducts:
[Extra] made some shelves to raise/lower plants:
temp/humidity gauge:
[Extra] added ultrasonic humidifer to keep temps down and add humidity:
door open with shelves and plants:
[Extra] added more cfl's on the sides:
another view of the lights:
side view of veg, this is 6 weeks in:
top view of current plants:
Thanks!
Towelie


 Good job !!!! KEEP UP THE GOOD WORK
")