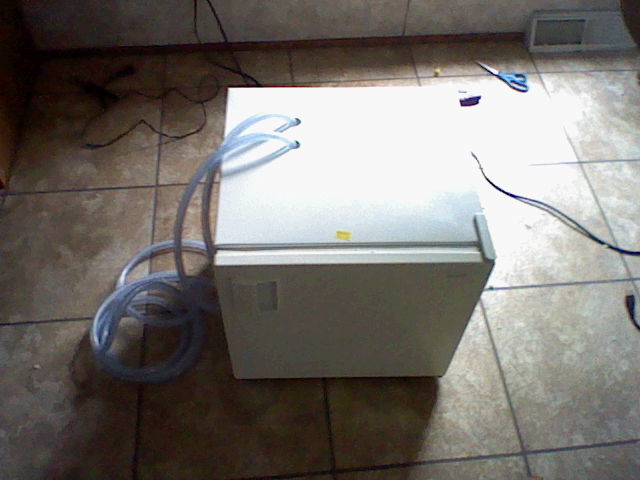
hi,well after looking at the prices of a digital water thermo and water chillers me and fpf may have come up with a cheaper and more durable solution,at the time the water chiller project is being tinkerd with,but this thread will cover the home made thermo probe you will use later on.
here is what i used and tools you will need--
phillips screwdriver
soldiering iron
soldier
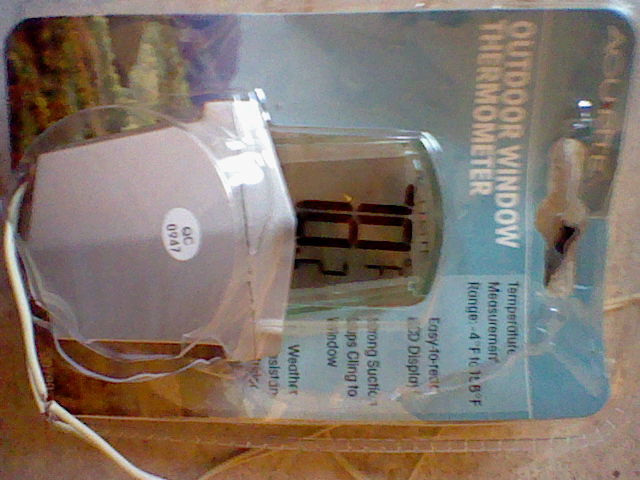
1 - Acu-Rite Digital Window Thermometer(pick it up at k-mart)
length of wire at least 2 ft (depends on how far you need to reach)
aquarium sealant
caulk gun
piece of air tubing (ill explain length in the thread)
electrical tape
volt multimeter
--------------------------------------------------------------
step 1-(i started taking pics a lil late so bear with me)ill be hapy to answer any questions)
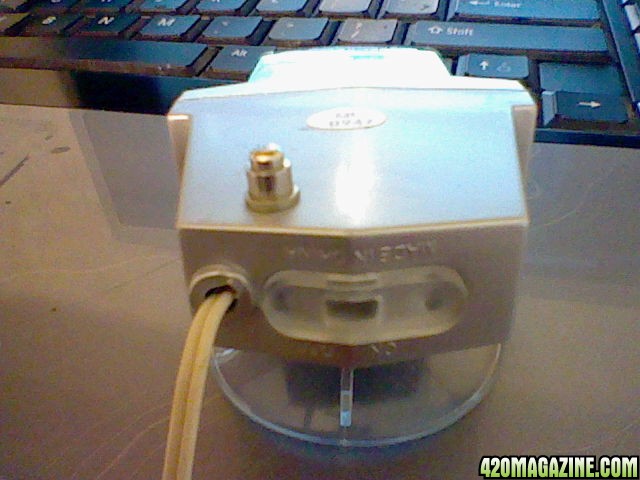
take the thermometer ,
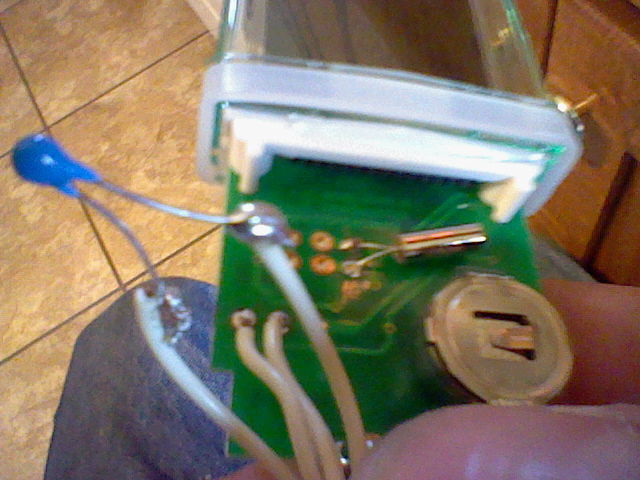
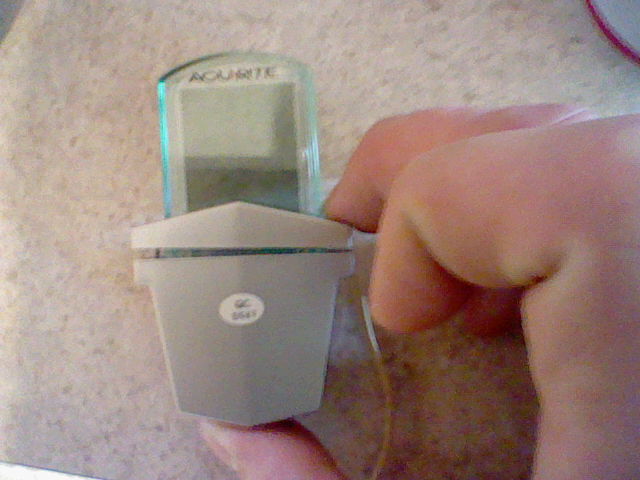 ,and take the 2 screws out of the top,take off the top(cap) and pull out the thermo part,(ok when you pull the thermo out that little blue thing will be soldiered to the bored where the 2 white wires are coming out of in the pic below,~~((caution))~~ after plugging your iron in let it sit and get to full temp before you try heating up the soldier to loosen the piece from the bored because if you hold it on to long TOO MUCH heat will fry the piece,if needed have someone GENTLY pull on the peice as the soldier pools(melts) it should come loose easily and if your lucky the holes might close up with the excess soldier meaning it will be a bit easier to soldier you length of wire back in
step 2--making the probe case
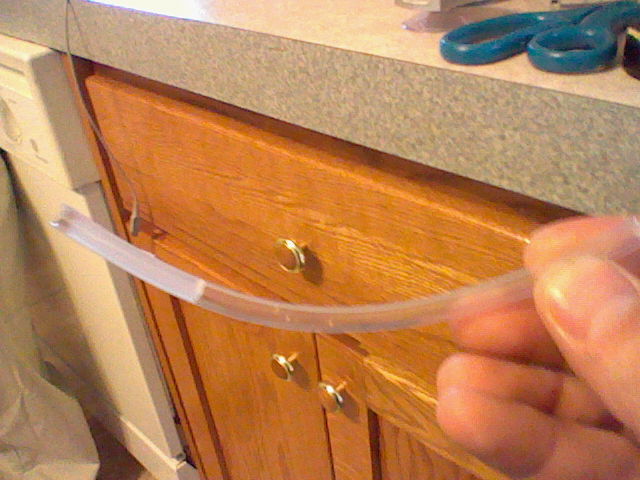
ok this step needs started the night before you decide to make this,take your air tubing and cut a 3 1/4 inch piece off,
take your aquarium sealent
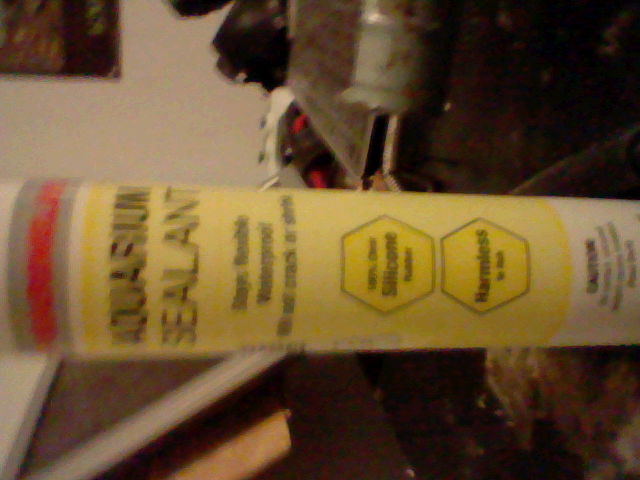 and put the tip in the tube,squeeze in sealent about 1 1/4 inches in and let dry overnight,
step 3--making the probe
!caution! after you solder the length of wire to the board bust the little metal dot off the bottom of the thermo Case and put the other end through the hole on bottom
 ok now time for the little blue piece from earlier that you unsoldierd off the board ,get you multimeter and turn on the thermo,touch the black probe to the neg side of the the thermo battery and touch the red to each of the length wires(which ever number shows highest is your positive) now that you found out which one is posi turn off the thermo and connect the posi to one side of the blue piece and the neg to the other,now turn on the thermo with the blue piece connected to the wires ,if it doesent give a temp but instead a diff screen turn off the thermo and switch the wires around,when you get it to turn on and sense temp(take it into you grow room and match it with your thermo in there to make sure) you dont have to soldier the blue piece onto the length of wire unless you want to,you can wrap the pos and neg from the length of wire around either end of the blue piece like so.
 and tape it(try to get as much bare wire taped as possible but DONT get tape on the blue head ,now that your sealent has cured you can make the probe,take the blue headed piece and cram it in the tube but keep it at least 1/4 inch away from the sealent,after put in the tube the probe measured 1 3/4 inch in the tube
 now that the blue headed piece is in the tube it is time to test again.take it back to your grow room and compare again if it works its time to water proof it.take the sealent and shove the tip in the bottom and squeeze some in until it looks good(you might have to squeeze a lil on each side of the wire to get it good and packed but i dident have to,
let the packed sealant dry while you put the thermo board back into the case and put the screws back in,let sealant sit for at least 2 days minimum,ok i hope im not forgeting anything,but if you have any questions just ask,,,
for the next part of this thread me and fpf will show you how to make a res cooler..stay tuned
here is what i used and tools you will need--
phillips screwdriver
soldiering iron
soldier
1 - Acu-Rite Digital Window Thermometer(pick it up at k-mart)
length of wire at least 2 ft (depends on how far you need to reach)
aquarium sealant
caulk gun
piece of air tubing (ill explain length in the thread)
electrical tape
volt multimeter
--------------------------------------------------------------
step 1-(i started taking pics a lil late so bear with me)ill be hapy to answer any questions)
take the thermometer ,
step 2--making the probe case
ok this step needs started the night before you decide to make this,take your air tubing and cut a 3 1/4 inch piece off,
take your aquarium sealent
step 3--making the probe
!caution! after you solder the length of wire to the board bust the little metal dot off the bottom of the thermo Case and put the other end through the hole on bottom
let the packed sealant dry while you put the thermo board back into the case and put the screws back in,let sealant sit for at least 2 days minimum,ok i hope im not forgeting anything,but if you have any questions just ask,,,
for the next part of this thread me and fpf will show you how to make a res cooler..stay tuned
 peace
peace")