

GoogleGenie's Recirculating Deep Water Culture System
My setup is currently using 2 buckets, however this system could easily accommodate 4 buckets. You are only limited by space and the size of your return pump.For a 2 bucket system you'll need the following:
3 x 20L Buckets (I highly recommend the PlantIt DWC Buckets)

5 x 19mm Barbed Elbow

5 x 19mm Barbed Straight (aka Joiner)

1 x 19mm to 13mm barbed reducing tee

1 x 19mm to 13mm barbed straight reducer

1 x 13mm inline filter

4 x 19mm endplug (just in case)

7 x 19mm top hat grommet (buy plenty of spares, these are CRUCIAL!)

2 metres of 19mm Flexible tubing (19mm ID)

2 metres of 19mm Supply tube (19mm ID)

2 metres of 13mm flexible thick tubing (13mm ID, 19mm OD)

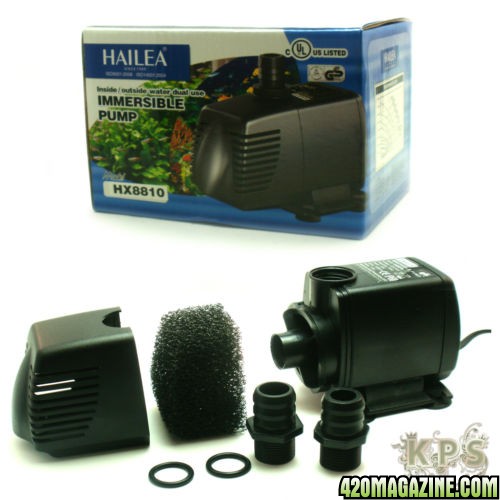
1 x Submersible/Inline pump (I use a : Hailea HX-8810 Water Pump 1050L/H Inline Submersible Pump)
2 x 19mm Inline Value/Tap

1 x 13mm Inline Value/Tap

1 x Roll of PTFE tape
15cm x 15cm sheet of stainless steel mesh (2mm squares)
1 x 22mm Wood Drill bit (And a drill obviously)
All of this will cost you about £80 ($120). I got all of my pipework and fittings from an online hydroponics shop. I'm not sure if i'm allowed to post the exact one but just google and find one that suits you, most of the fun was shopping for parts")
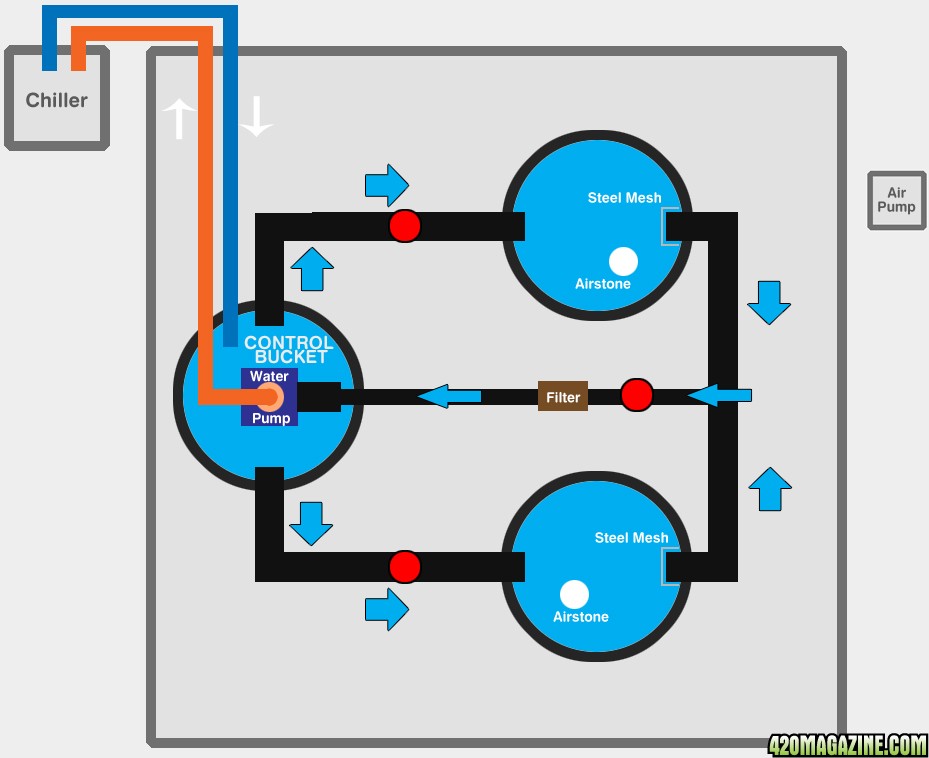
Here is a picture that i put together of my setup. If you want 4 buckets, then add 2x buckets, 4x barbed straight connectors and 4x tophat grommets(+spares) to your shopping list above.
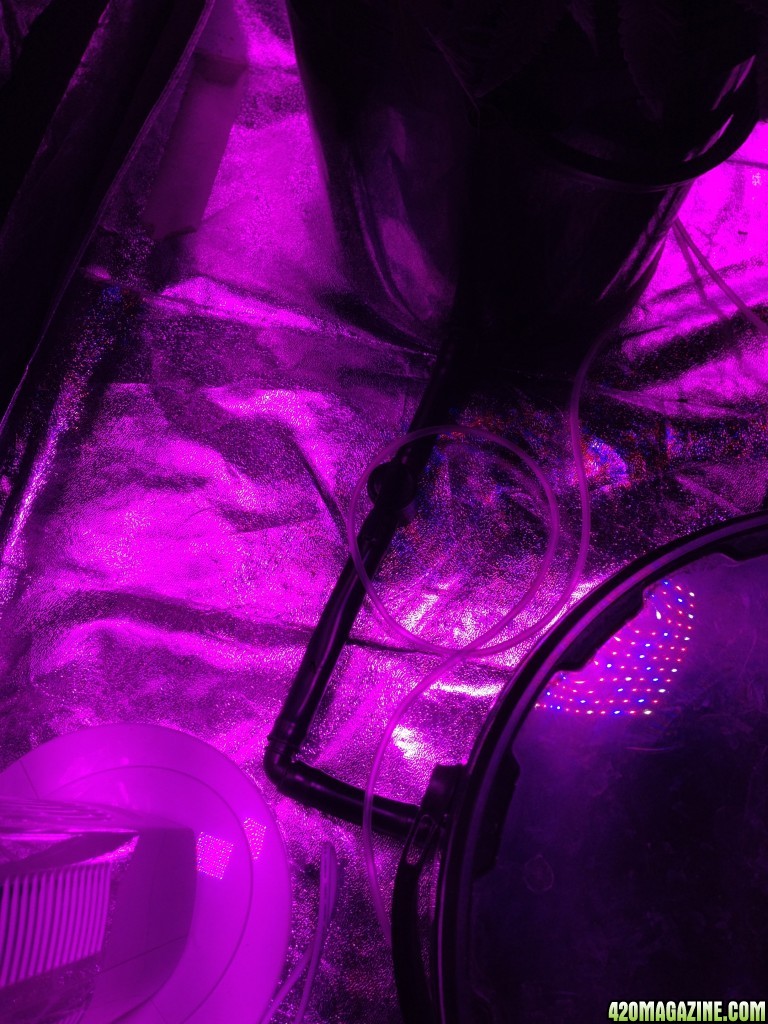
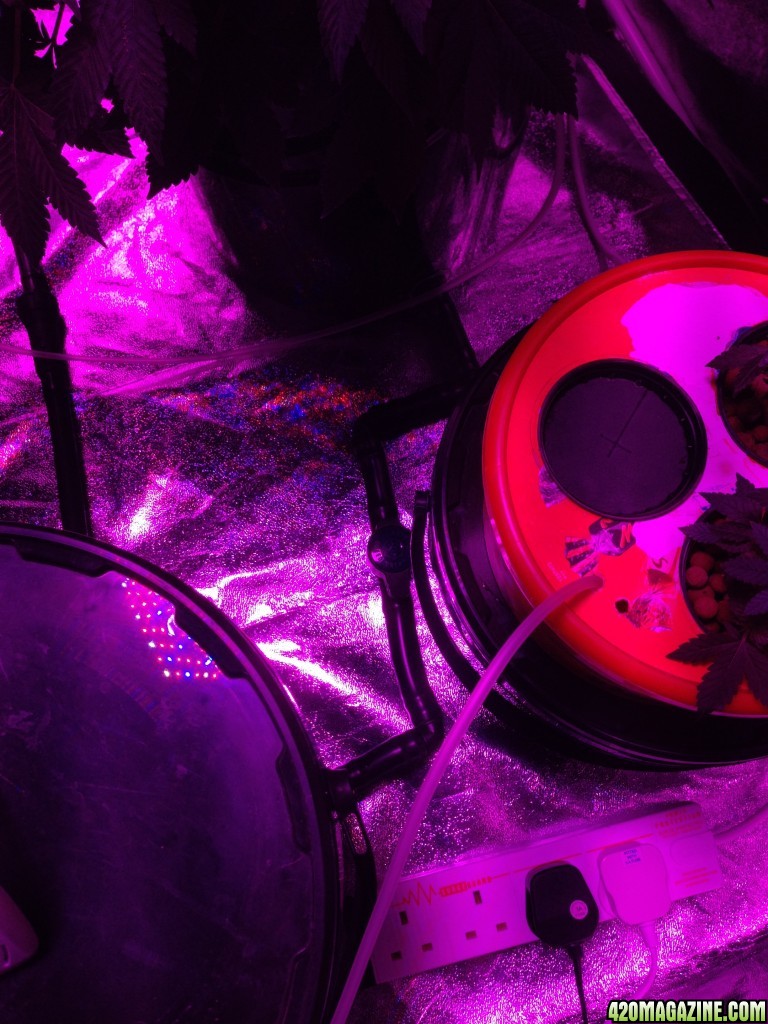
Here is the control bucket with the in/out to the chiller

Here is the connection tot he left feeding bucket
Here is the connection to the return line which is connected to the pump inside the control bucket
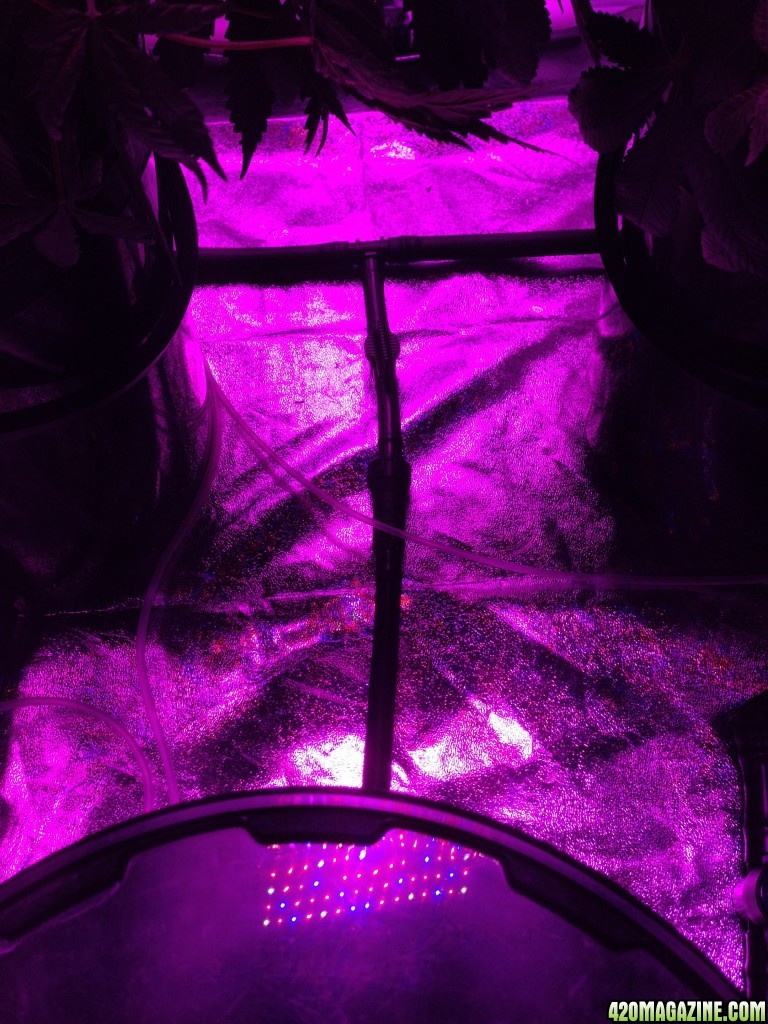
And here is the connection to the right feeding bucket, this is modified slightly so i could put a standalone bucket in also.
The next time i stop my system to clean it i will post more detailed pictures.
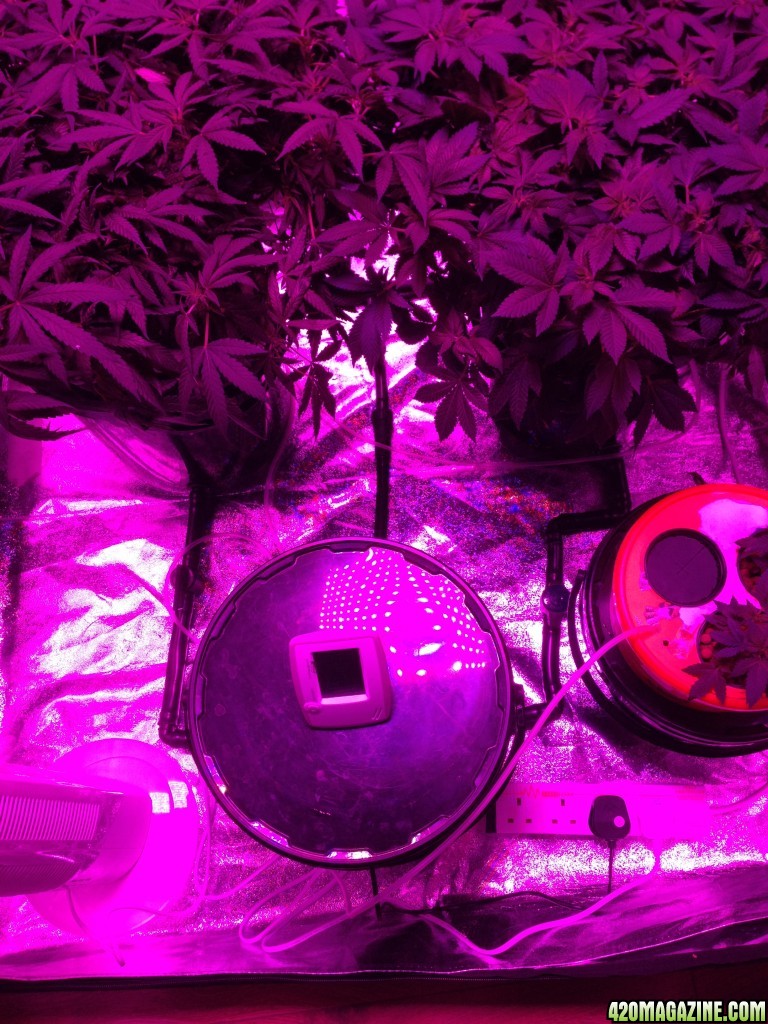
And here is a cheeky snap of the ladies in this system

To set up your control bucket, you want to drill three 22mm holes, two of which will act as outlets and one which is your return. These holes should be about 10mm from the bottom (the the point of the drill should actually be at 21mm from the ground). And you want them at 9, 12 and 3 on the clock if you were looking from above, 12 being your return hole. Then in each of your holes you want to put a 19mm grommet, and you want to put a straight connector into each of your outlets (9 and 3 o'clock), do not put anything in your return hole yet (12 o'clock).
Note : You should wrap your top hat grommets properly with PTFE tape before you put any of them into your holes in your buckets. Google it if you need to, this is definitely worth doing well, it will avoid leaks in the future.
Now, to setup your 2 feeding buckets, you want to drill 2 holes this time in each bucket at 12 and 6 o'clock, and you want to put a 19mm grommet in each of these. In one of the holes you want to put an 19mm Elbow (12 o'clock), in the other (6 o'clock) you want to put a straight (repeat for the other bucket). now you want to connect about 20cm (or your desired amount) of 19mm supply tube to your elbows. Then you want to connect the other end to your 19mm to 13mm reducing tee. Your two buckets should now be connected at that back.
Now connect a length of supply tubing of about 10cm and connect that to your straight tee hanging out of the other end of your feeding bucket, and connect the other end of that tubing to you 19mm tap, then connect your tap to an elbow, and finally connect the elbow to your control bucket with some supply pipe also. Sooo, that was
Straight (Control Bucket) to tube
tube to tap
tap to tube
tube to elbow
elbow tube
tube to straight (control bucket)
You can also connect your feeding buckets to your control bucket using 19mm flexible tubing, personal preference. Flexible tubing gives you exactly that, flexibility, but you sacrifice some stability, the same goes with Supply tubing, more robust and a lot tougher bind to the barbs, but much less flexible. Either way, its up to you, you should have both if you bought everything i suggested")
Now you should have your feeding buckets connected to each other and those should now be connected to your control bucket.
Now to connect your return line. Take a length of about 10cm of 13mm flex, and connect that to your 19mm to 13mm reducing tee. Connect the other end of that tubing to your 13mm tap, then take about 5cm of tubing and connect that to your 13mm inline filter. And finally take a length of about 50cm or so and connect one end to your 13mm filter, and the other end, feed through the hole in your control bucket provided by your grommet, this should be a nice fit if you got the right tubing.
If you have problems with this fitting i would suggest you buy some 19mm waterproof glands instead. They will require a larger drill bit but work to fit around your tubing, instead of your tubing fitting around something else (your barbed fittings in this case)
Now that you have your 13mm tubing connected to your filter at one end, and is hanging into your bucket, through the 19mm grommet hole the other, you want to connect your 13mm to 19mm straight reducer to this tube inside your bucket, then connect a length of about 5-6cm of 19mm supply tubing to that reducer.
So it goes:
13mm to 19mm reducing tee to tube
tube to 13mm tap
13mm tap to 5cm tubing
tubing to 13mm filter
filter to 13mm tubing
tubing through the hole in the bucket (12 o'clock)
tubing to 13mm to 19mm straight reducer
reducer to 5-6cm supply tube
supply tube to pump
Still with me, good!
Now place your submersible inline pump inside your control bucket, and connect that 19mm supply tubing to the inlet of your pump.
And finally take some 19mm supply tubing, connect one end to an elbow, and the other end to the outlet of your pump and wham bam thank you mam, there is your RDWC!
If you get a chiller in the future it's extremely easy to fit it to this system, instead of your return pump pumping water directly back into your control bucket, your just connect that as your input into your chiller, and feed the return from the chiller into the bucket. Doing it this way means you can check any bucket in your system at any time and they should all be the same temperature (and the same everything else for that matter, the beauty and curse of recirculation)
Now, a VERY IMPORTANT part of this system involves your stainless steel mesh. Take a square measuring about 4-5cm for each feeding bucket in your system and you want to place it around the outlets of the feeding buckets on the inside (as shown in the diagram above). This is VERY important, otherwise you will be continuously having to stop your system to unblock it. However, if your system does happen to block, just turn the pump off and let natural pressure fill up each of the buckets naturally. I left mine for 2 weeks before fixing it and it was fine (i couldn't use the chiller obviously, but i still had the convenience of a control bucket to top the plants up)
Good luck, and i hope you enjoy building it as much as i did.
If i've missed anything out or if you have any questions feel free to ask and i'll do my best to help
Genie
My setup is currently using 2 buckets, however this system could easily accommodate 4 buckets. You are only limited by space and the size of your return pump.For a 2 bucket system you'll need the following:
3 x 20L Buckets (I highly recommend the PlantIt DWC Buckets)
5 x 19mm Barbed Elbow
5 x 19mm Barbed Straight (aka Joiner)
1 x 19mm to 13mm barbed reducing tee
1 x 19mm to 13mm barbed straight reducer
1 x 13mm inline filter
4 x 19mm endplug (just in case)
7 x 19mm top hat grommet (buy plenty of spares, these are CRUCIAL!)
2 metres of 19mm Flexible tubing (19mm ID)
2 metres of 19mm Supply tube (19mm ID)
2 metres of 13mm flexible thick tubing (13mm ID, 19mm OD)
1 x Submersible/Inline pump (I use a : Hailea HX-8810 Water Pump 1050L/H Inline Submersible Pump)
2 x 19mm Inline Value/Tap
1 x 13mm Inline Value/Tap
1 x Roll of PTFE tape
15cm x 15cm sheet of stainless steel mesh (2mm squares)
1 x 22mm Wood Drill bit (And a drill obviously)
All of this will cost you about £80 ($120). I got all of my pipework and fittings from an online hydroponics shop. I'm not sure if i'm allowed to post the exact one but just google and find one that suits you, most of the fun was shopping for parts
Here is a picture that i put together of my setup. If you want 4 buckets, then add 2x buckets, 4x barbed straight connectors and 4x tophat grommets(+spares) to your shopping list above.
Here is the control bucket with the in/out to the chiller
Here is the connection tot he left feeding bucket
Here is the connection to the return line which is connected to the pump inside the control bucket
And here is the connection to the right feeding bucket, this is modified slightly so i could put a standalone bucket in also.
The next time i stop my system to clean it i will post more detailed pictures.
And here is a cheeky snap of the ladies in this system
To set up your control bucket, you want to drill three 22mm holes, two of which will act as outlets and one which is your return. These holes should be about 10mm from the bottom (the the point of the drill should actually be at 21mm from the ground). And you want them at 9, 12 and 3 on the clock if you were looking from above, 12 being your return hole. Then in each of your holes you want to put a 19mm grommet, and you want to put a straight connector into each of your outlets (9 and 3 o'clock), do not put anything in your return hole yet (12 o'clock).
Note : You should wrap your top hat grommets properly with PTFE tape before you put any of them into your holes in your buckets. Google it if you need to, this is definitely worth doing well, it will avoid leaks in the future.
Now, to setup your 2 feeding buckets, you want to drill 2 holes this time in each bucket at 12 and 6 o'clock, and you want to put a 19mm grommet in each of these. In one of the holes you want to put an 19mm Elbow (12 o'clock), in the other (6 o'clock) you want to put a straight (repeat for the other bucket). now you want to connect about 20cm (or your desired amount) of 19mm supply tube to your elbows. Then you want to connect the other end to your 19mm to 13mm reducing tee. Your two buckets should now be connected at that back.
Now connect a length of supply tubing of about 10cm and connect that to your straight tee hanging out of the other end of your feeding bucket, and connect the other end of that tubing to you 19mm tap, then connect your tap to an elbow, and finally connect the elbow to your control bucket with some supply pipe also. Sooo, that was
Straight (Control Bucket) to tube
tube to tap
tap to tube
tube to elbow
elbow tube
tube to straight (control bucket)
You can also connect your feeding buckets to your control bucket using 19mm flexible tubing, personal preference. Flexible tubing gives you exactly that, flexibility, but you sacrifice some stability, the same goes with Supply tubing, more robust and a lot tougher bind to the barbs, but much less flexible. Either way, its up to you, you should have both if you bought everything i suggested
Now you should have your feeding buckets connected to each other and those should now be connected to your control bucket.
Now to connect your return line. Take a length of about 10cm of 13mm flex, and connect that to your 19mm to 13mm reducing tee. Connect the other end of that tubing to your 13mm tap, then take about 5cm of tubing and connect that to your 13mm inline filter. And finally take a length of about 50cm or so and connect one end to your 13mm filter, and the other end, feed through the hole in your control bucket provided by your grommet, this should be a nice fit if you got the right tubing.
If you have problems with this fitting i would suggest you buy some 19mm waterproof glands instead. They will require a larger drill bit but work to fit around your tubing, instead of your tubing fitting around something else (your barbed fittings in this case)
Now that you have your 13mm tubing connected to your filter at one end, and is hanging into your bucket, through the 19mm grommet hole the other, you want to connect your 13mm to 19mm straight reducer to this tube inside your bucket, then connect a length of about 5-6cm of 19mm supply tubing to that reducer.
So it goes:
13mm to 19mm reducing tee to tube
tube to 13mm tap
13mm tap to 5cm tubing
tubing to 13mm filter
filter to 13mm tubing
tubing through the hole in the bucket (12 o'clock)
tubing to 13mm to 19mm straight reducer
reducer to 5-6cm supply tube
supply tube to pump
Still with me, good!
Now place your submersible inline pump inside your control bucket, and connect that 19mm supply tubing to the inlet of your pump.
And finally take some 19mm supply tubing, connect one end to an elbow, and the other end to the outlet of your pump and wham bam thank you mam, there is your RDWC!
If you get a chiller in the future it's extremely easy to fit it to this system, instead of your return pump pumping water directly back into your control bucket, your just connect that as your input into your chiller, and feed the return from the chiller into the bucket. Doing it this way means you can check any bucket in your system at any time and they should all be the same temperature (and the same everything else for that matter, the beauty and curse of recirculation)
Now, a VERY IMPORTANT part of this system involves your stainless steel mesh. Take a square measuring about 4-5cm for each feeding bucket in your system and you want to place it around the outlets of the feeding buckets on the inside (as shown in the diagram above). This is VERY important, otherwise you will be continuously having to stop your system to unblock it. However, if your system does happen to block, just turn the pump off and let natural pressure fill up each of the buckets naturally. I left mine for 2 weeks before fixing it and it was fine (i couldn't use the chiller obviously, but i still had the convenience of a control bucket to top the plants up)
Good luck, and i hope you enjoy building it as much as i did.
If i've missed anything out or if you have any questions feel free to ask and i'll do my best to help
Genie