

Hey all, new around here and wanted to share this with my new found friends.
A little background on this. I stepped into hydroponics about 3 weeks ago after seeing great results and reading great threads that made it sound like something I could do.
Bought a Waterfarm from my local hydro shop for a great deal. Also bought a tetra whisper air pump and air stone to make it a true Deep Water Culture set up.
My problem after I set it all up was I had 1 know female AK 48 and one bagseed germinated and ready to plant. I thought if the bagseed is male I would have a mess trying to get it out of the Waterfarm without disturbing the AK.
So off to Home Depot I went to see what I could put together for the AK.
Bought a container $1.88
Plastic paint for the container $4.98
6" pot liner on sale 11 cents
Traced a circle and cut it a little smaller with my Dremel
Checked for fit
And after a lot of coats and the whole can of paint
Here is where the cost can vary, I bought a Tetra Whisper for a 60 gallon tank with a round air stone. Pump was $30 at petsmart and the stone was $6. In hindsight I would have done this a little differently. The air pump is great and quiet but I found better ones at my hydro shop with a 1 year warranty and there are a few more I have read about since, so its worth shopping around. Also the round air stone works good but after a few weeks it has started making bigger bubbles from a little clogging. Cleaned it with no luck. I found some ceramic air stones at Petsmart and love them, lots of fine bubbles.
Bubbles!!
I had some hydroton and grodan on hand so that will affect cost slightly also.
Everything soaking in 5.4 ph water
Holes poked in the pot liner. A black mesh pot would have worked better but for 11 cents...
Since I am not running a water pump I need the water level high enough to keep things damp until roots hit the good stuff.
Filled up and ready to go
And finally nestled in her new home
The res holds 2 gallons at the level I need to keep some splash on the bottom of the pot. Everything is working good as of today.
Here she is on the December 20th, a little cutie
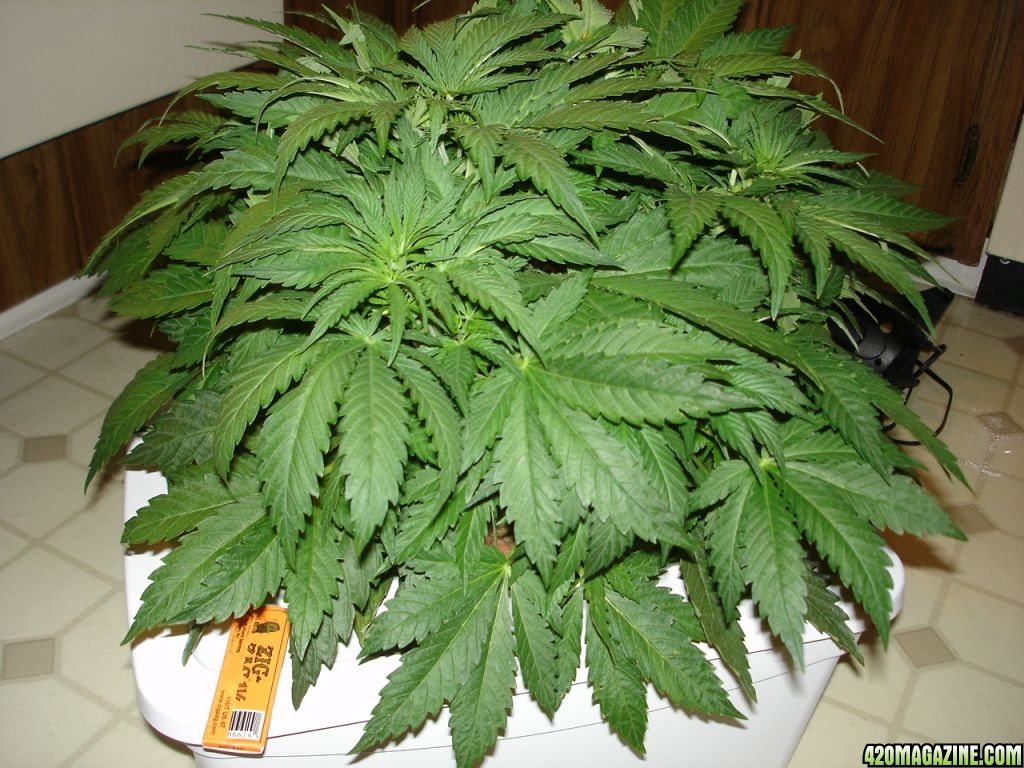
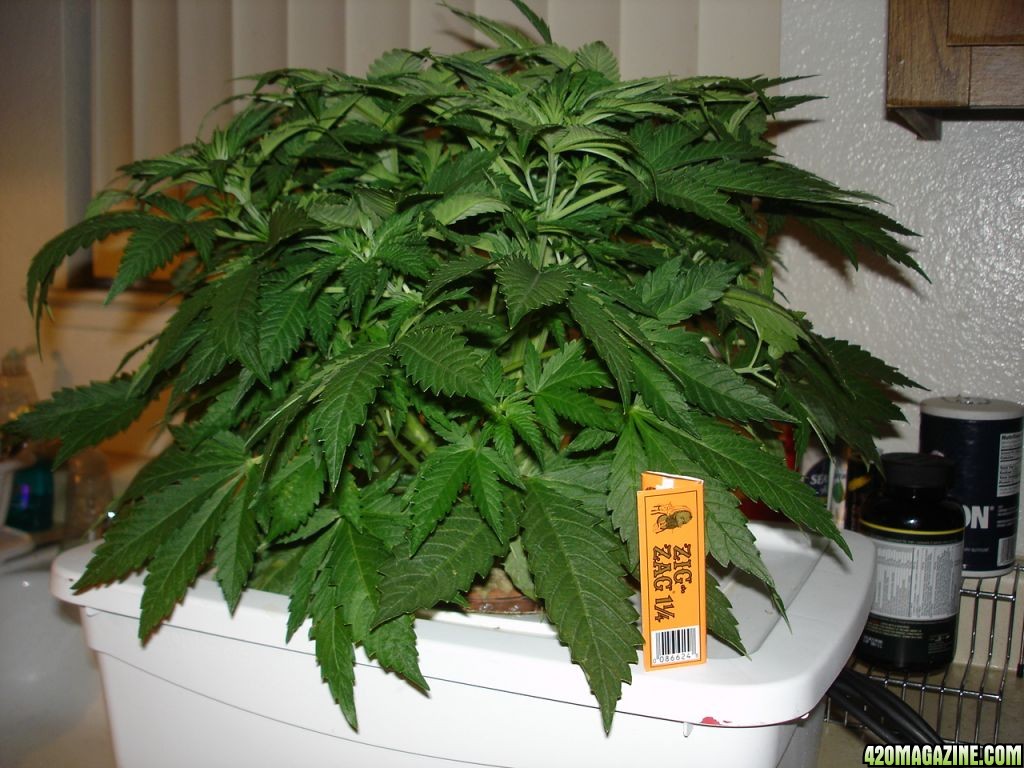
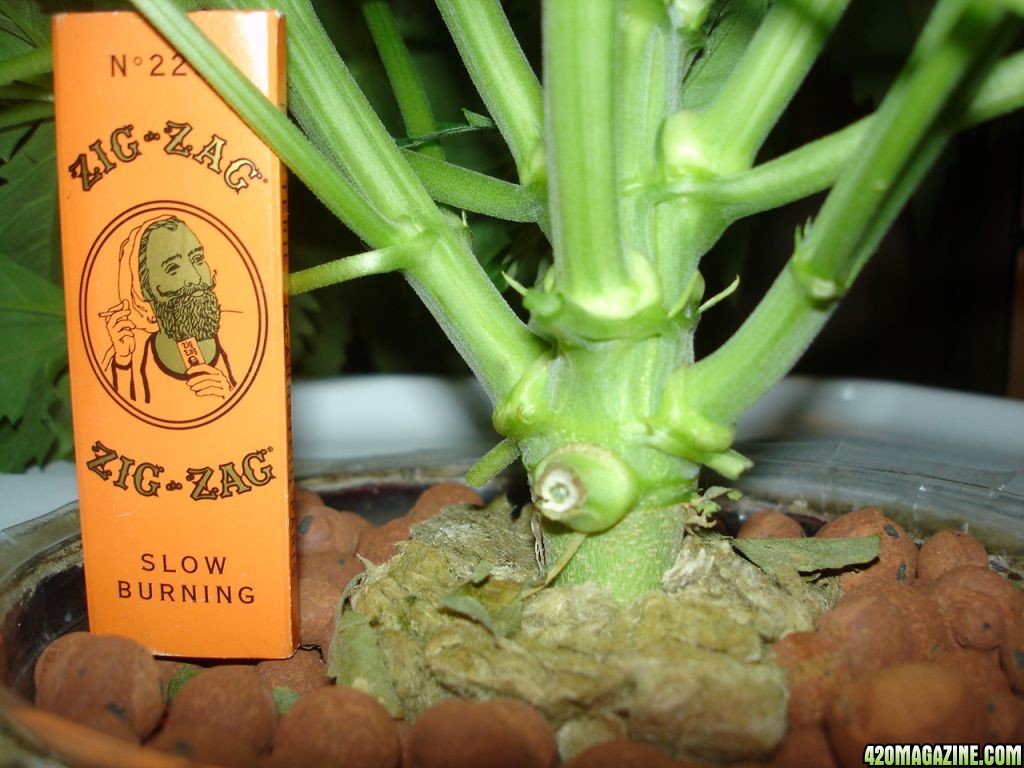
And as of today 15 days later
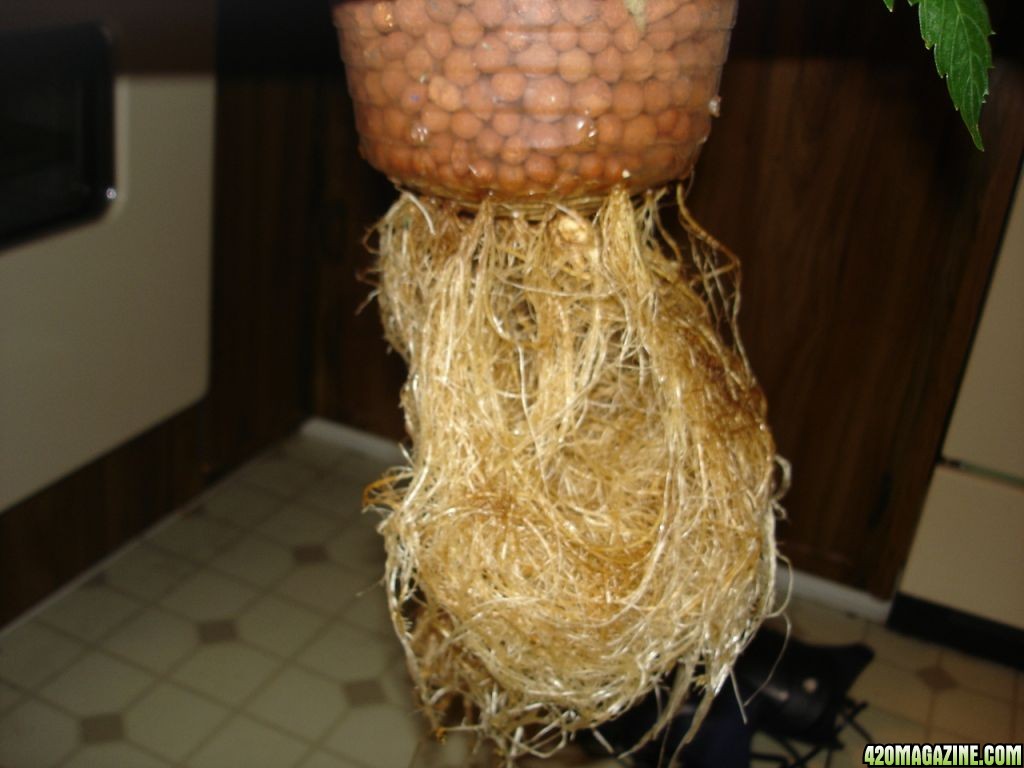
She is starting to smell great! And a little bit of root porn for all you pervs haha
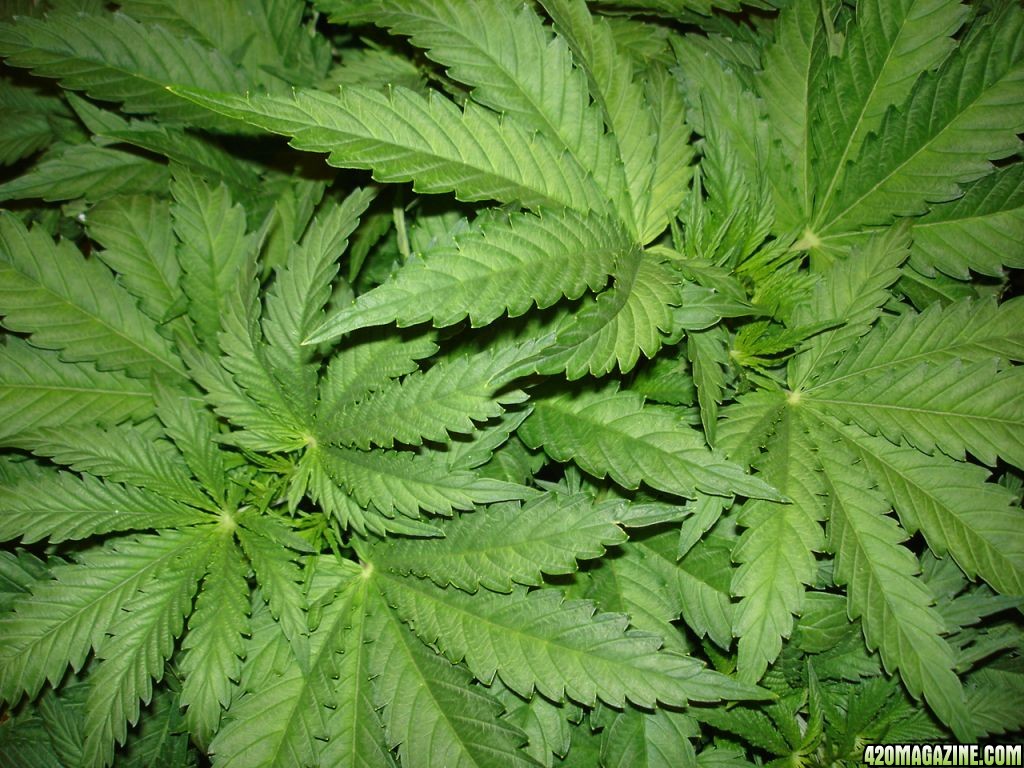
I love growing with bubbles, growth is awesome
Thanks for checking out my DIY everyone, it is simple to do and does not cost too much.
Later, YD
A little background on this. I stepped into hydroponics about 3 weeks ago after seeing great results and reading great threads that made it sound like something I could do.
Bought a Waterfarm from my local hydro shop for a great deal. Also bought a tetra whisper air pump and air stone to make it a true Deep Water Culture set up.
My problem after I set it all up was I had 1 know female AK 48 and one bagseed germinated and ready to plant. I thought if the bagseed is male I would have a mess trying to get it out of the Waterfarm without disturbing the AK.
So off to Home Depot I went to see what I could put together for the AK.
Bought a container $1.88
Plastic paint for the container $4.98
6" pot liner on sale 11 cents
Traced a circle and cut it a little smaller with my Dremel
Checked for fit
And after a lot of coats and the whole can of paint
Here is where the cost can vary, I bought a Tetra Whisper for a 60 gallon tank with a round air stone. Pump was $30 at petsmart and the stone was $6. In hindsight I would have done this a little differently. The air pump is great and quiet but I found better ones at my hydro shop with a 1 year warranty and there are a few more I have read about since, so its worth shopping around. Also the round air stone works good but after a few weeks it has started making bigger bubbles from a little clogging. Cleaned it with no luck. I found some ceramic air stones at Petsmart and love them, lots of fine bubbles.
Bubbles!!
I had some hydroton and grodan on hand so that will affect cost slightly also.
Everything soaking in 5.4 ph water
Holes poked in the pot liner. A black mesh pot would have worked better but for 11 cents...
Since I am not running a water pump I need the water level high enough to keep things damp until roots hit the good stuff.
Filled up and ready to go
And finally nestled in her new home
The res holds 2 gallons at the level I need to keep some splash on the bottom of the pot. Everything is working good as of today.
Here she is on the December 20th, a little cutie
And as of today 15 days later
She is starting to smell great! And a little bit of root porn for all you pervs haha
I love growing with bubbles, growth is awesome
Thanks for checking out my DIY everyone, it is simple to do and does not cost too much.
Later, YD


 YD
YD