Chase Winterfield And His First Growdeo - Diesel - Top Feed Hydro - Coco - HPS 150

hurban420

New Member
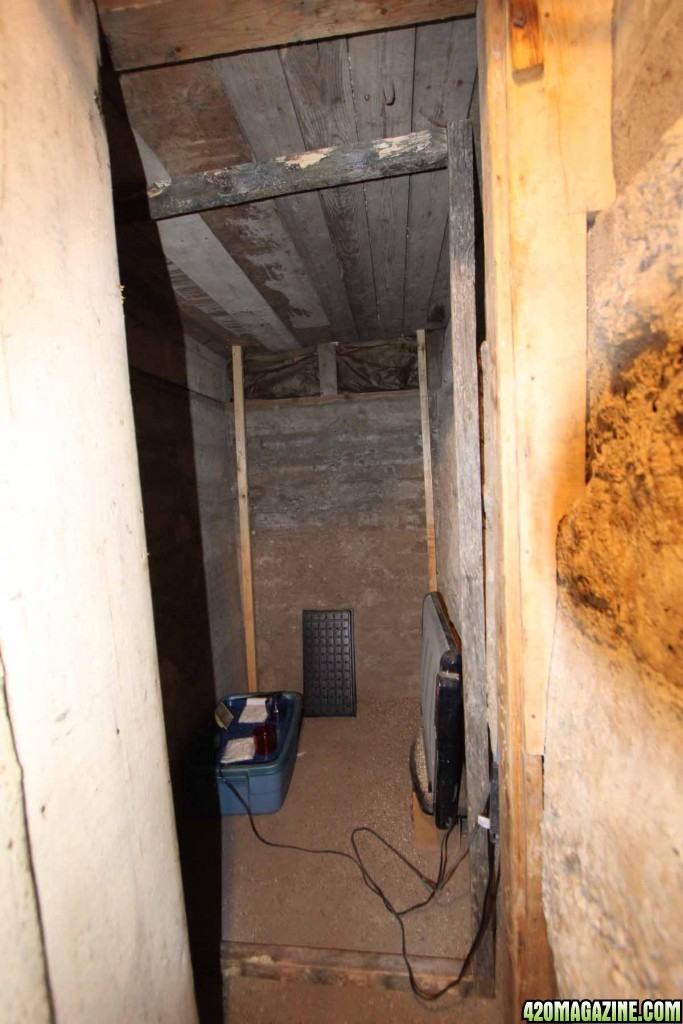
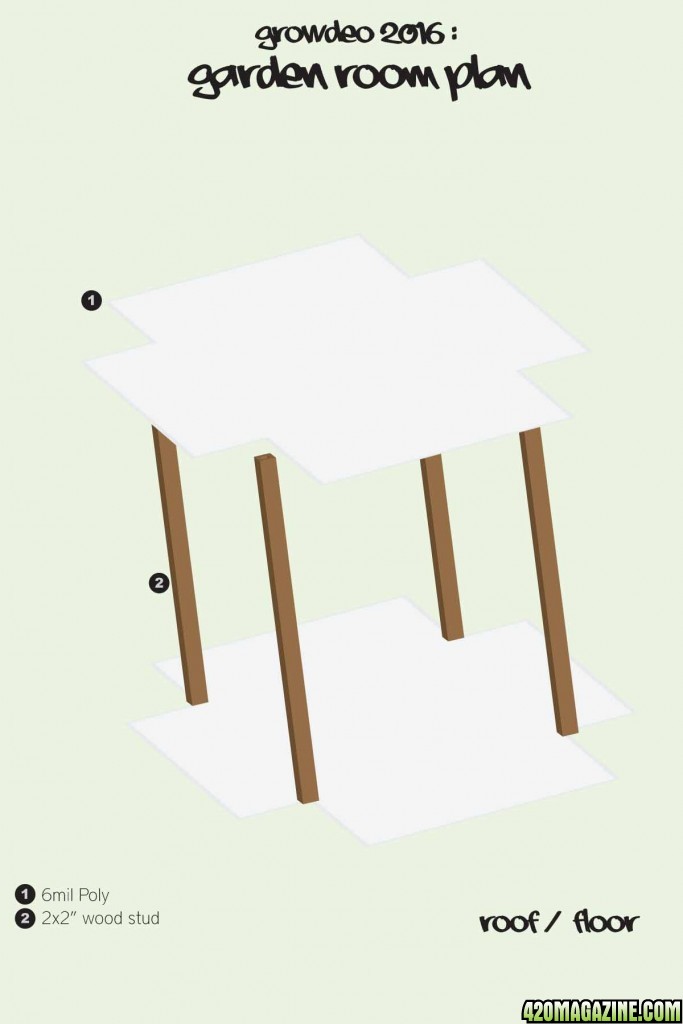
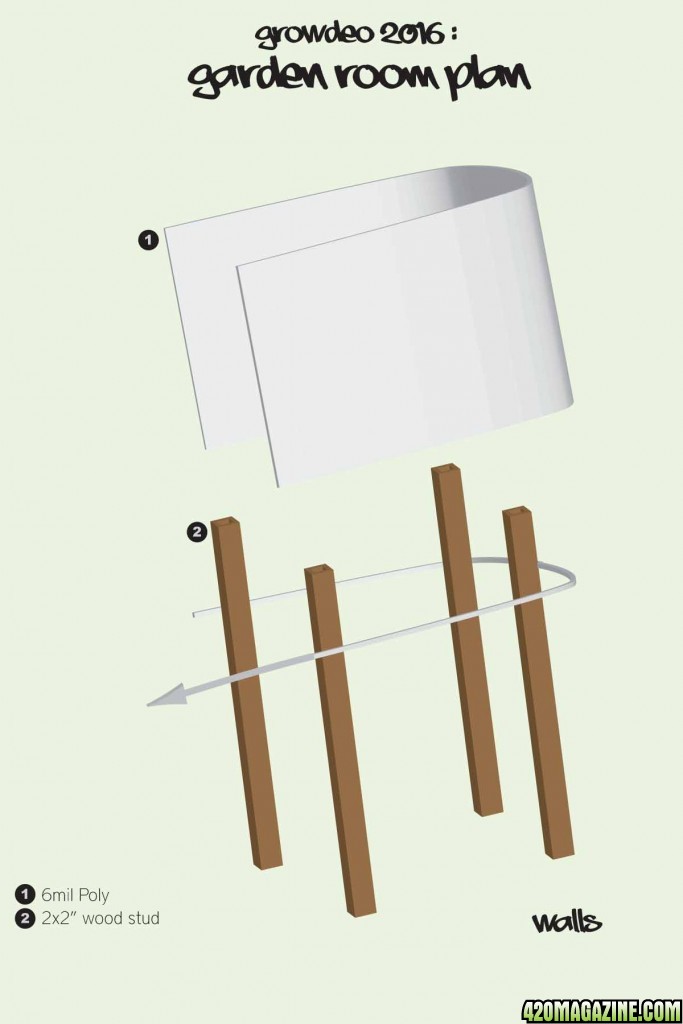
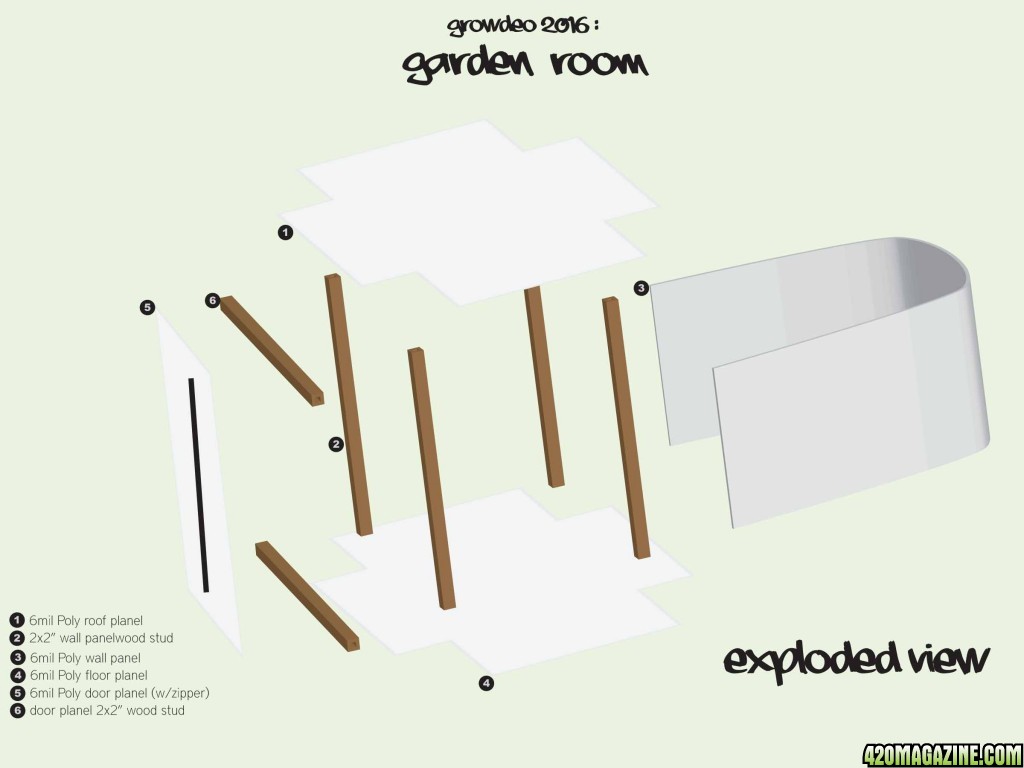
Hi out there. Chase Winterfield and this is my first Growdeo so I have a lot to learn and welcome your experience and advice in regards to my garden project.

here are the specs:

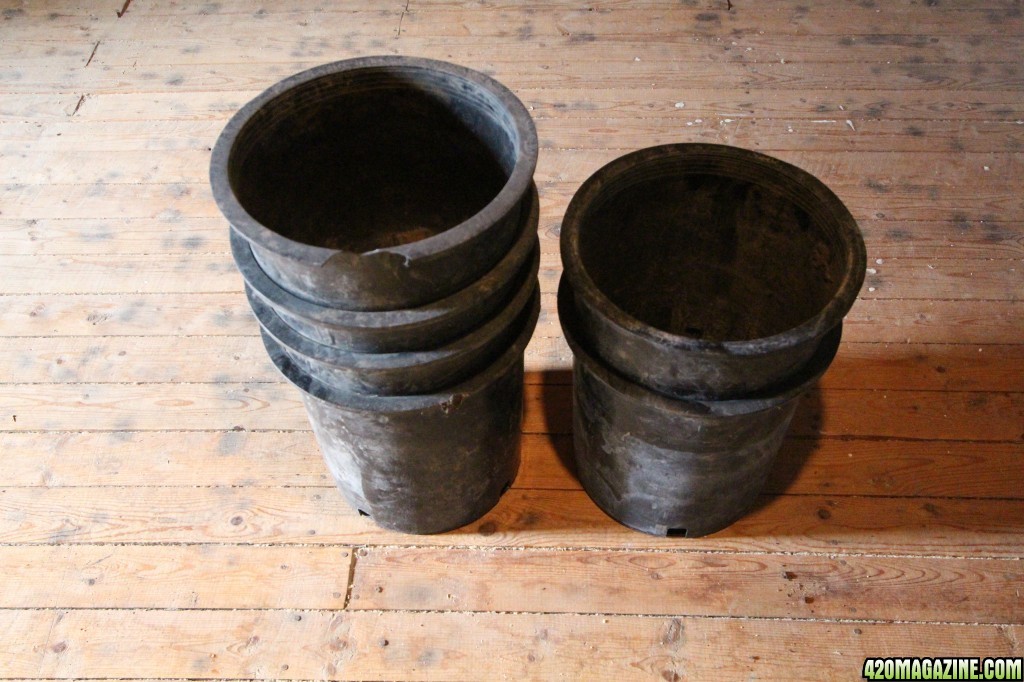
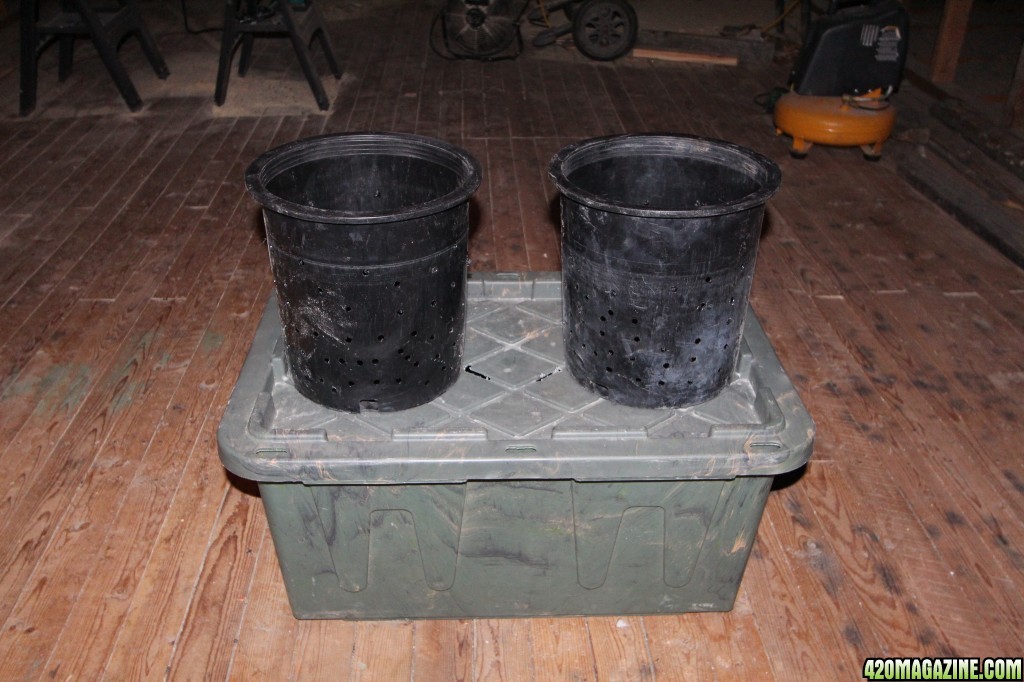
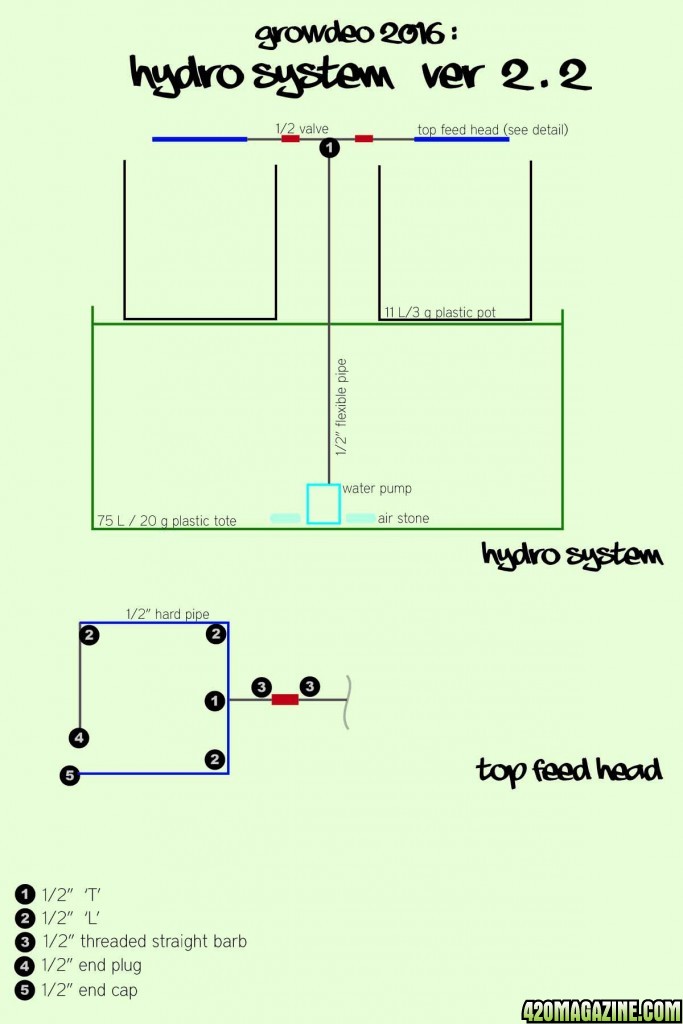
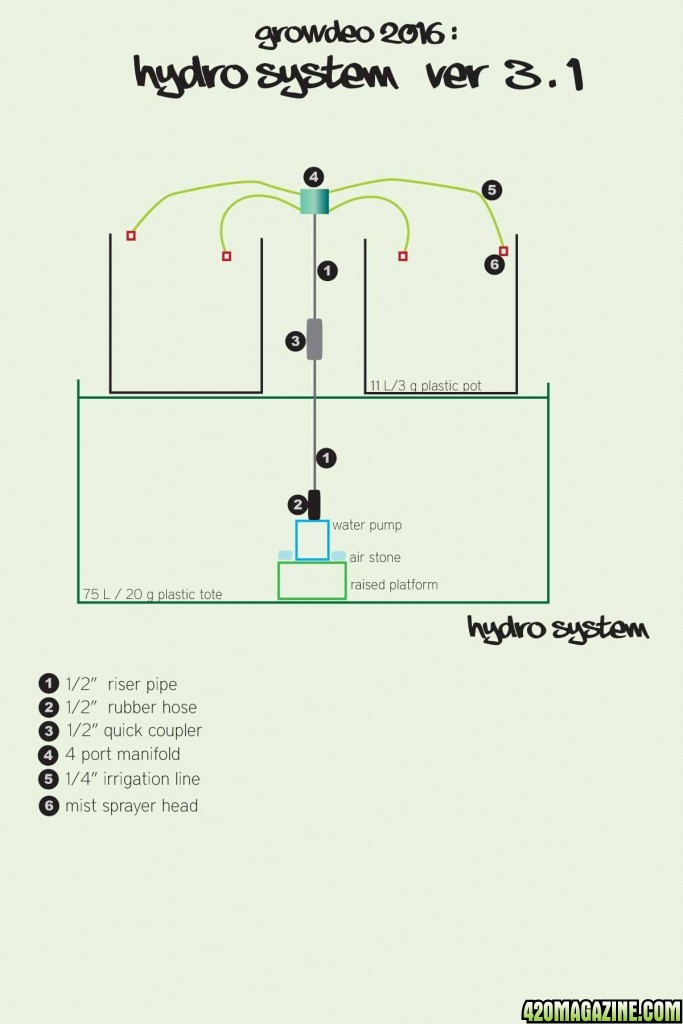
Bucket Size - 11 L / 3 gallon
System - Top feed Hydroponic
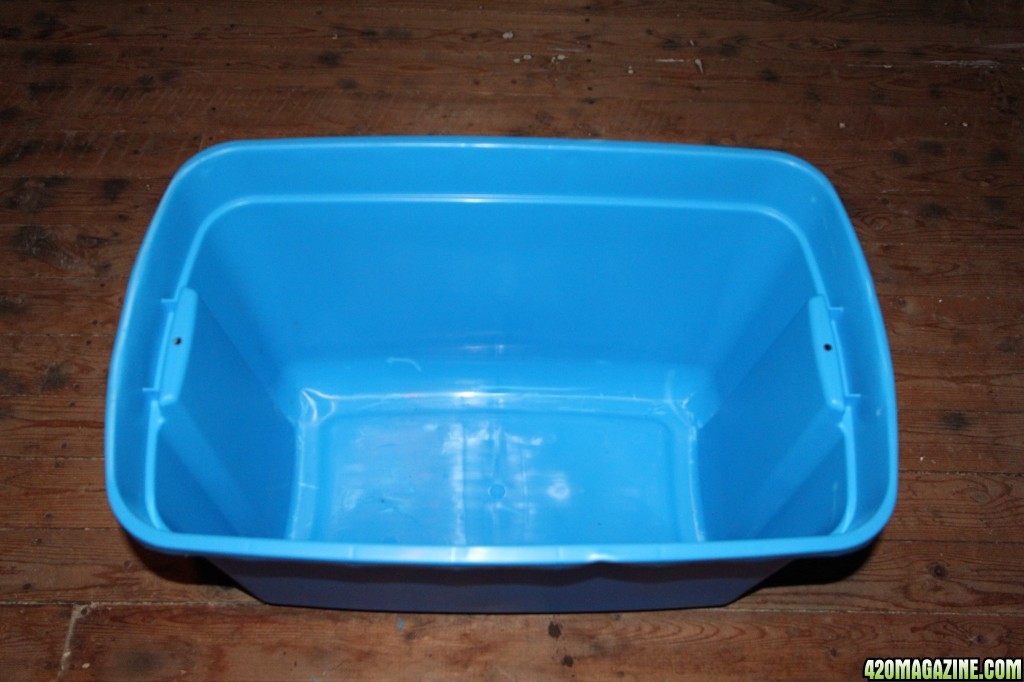
Reservoir - 75 L /20 g
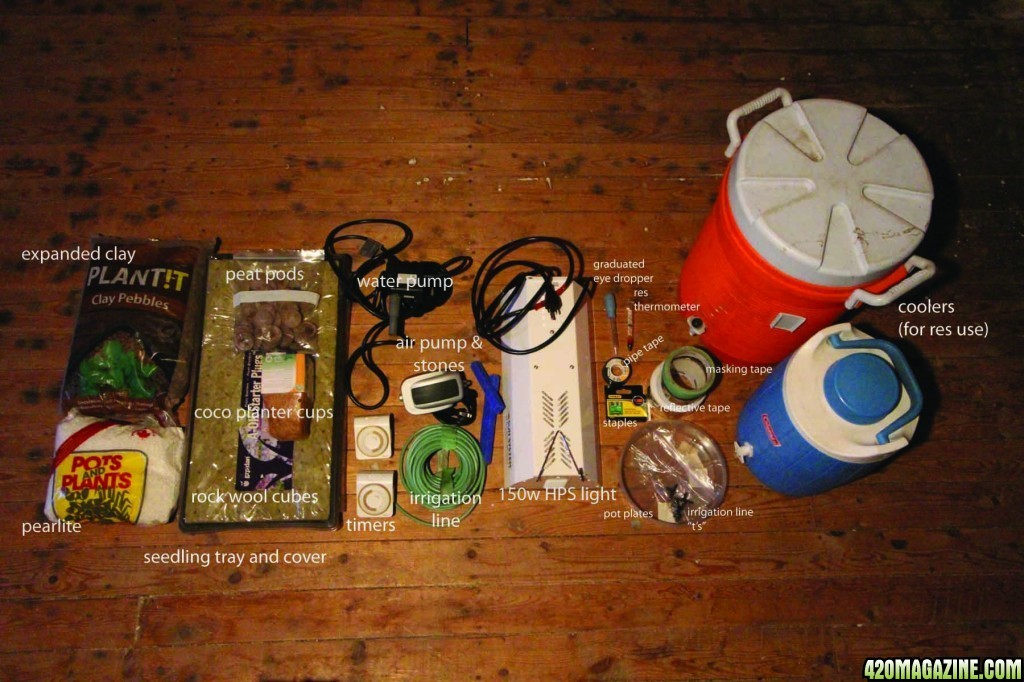
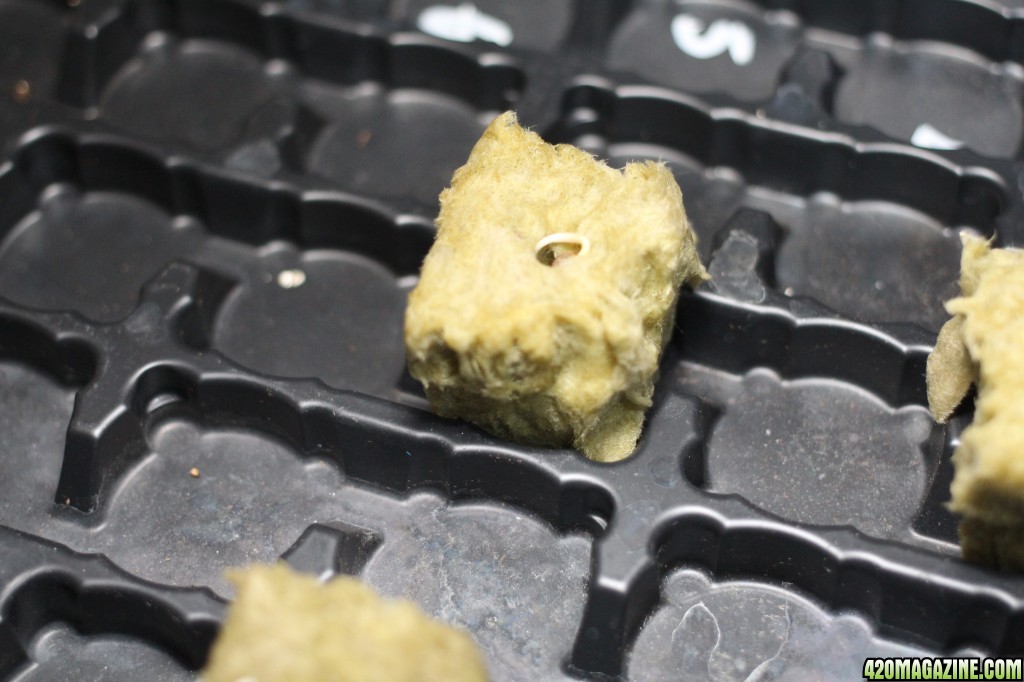
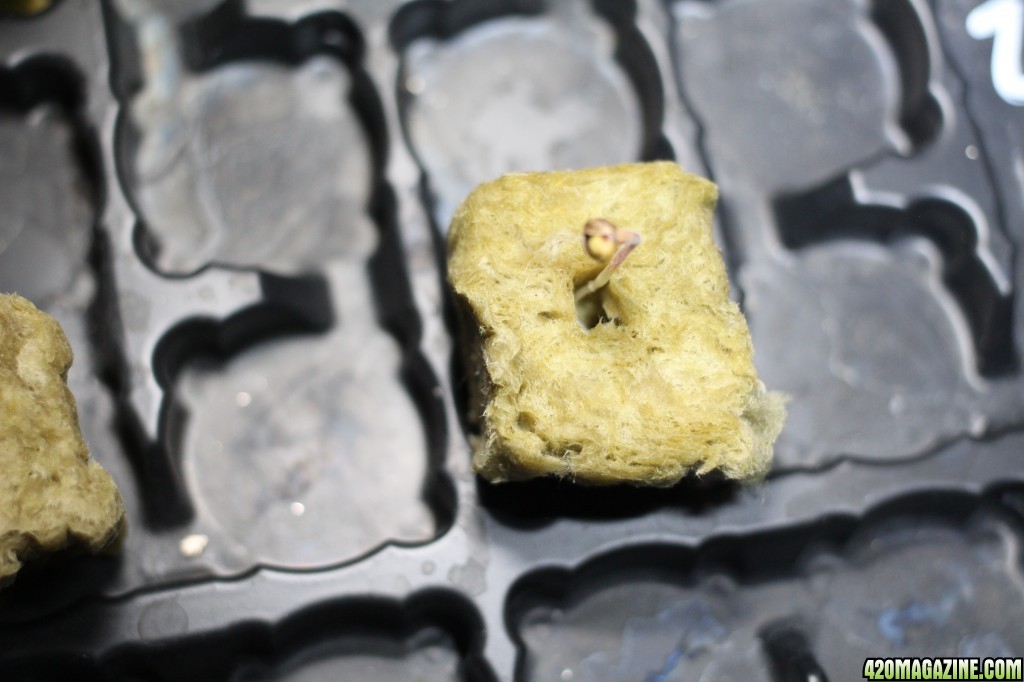
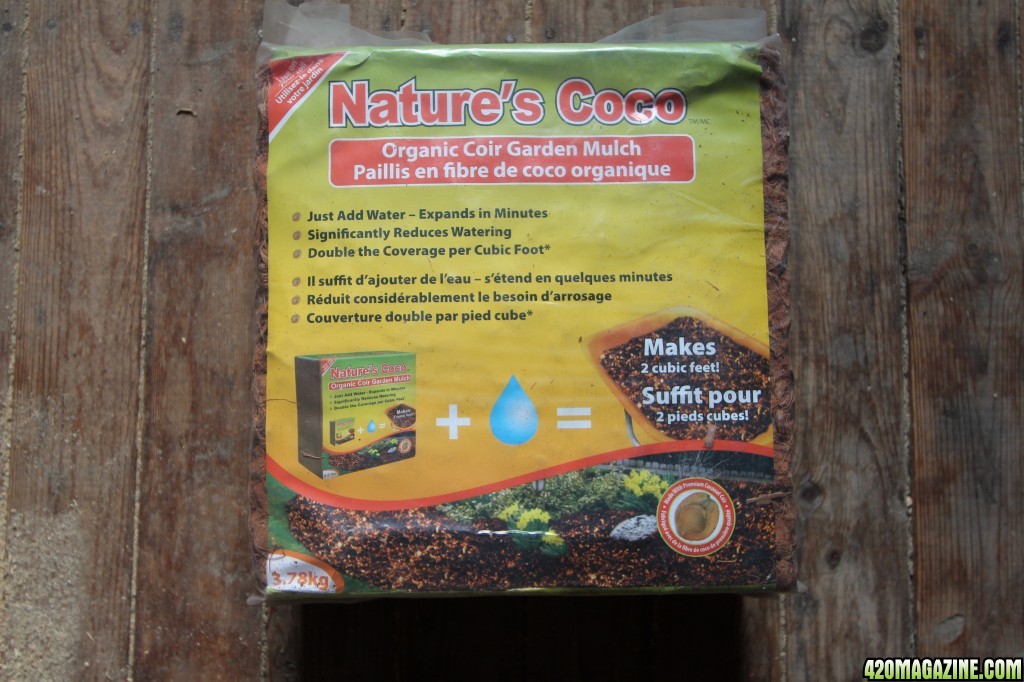
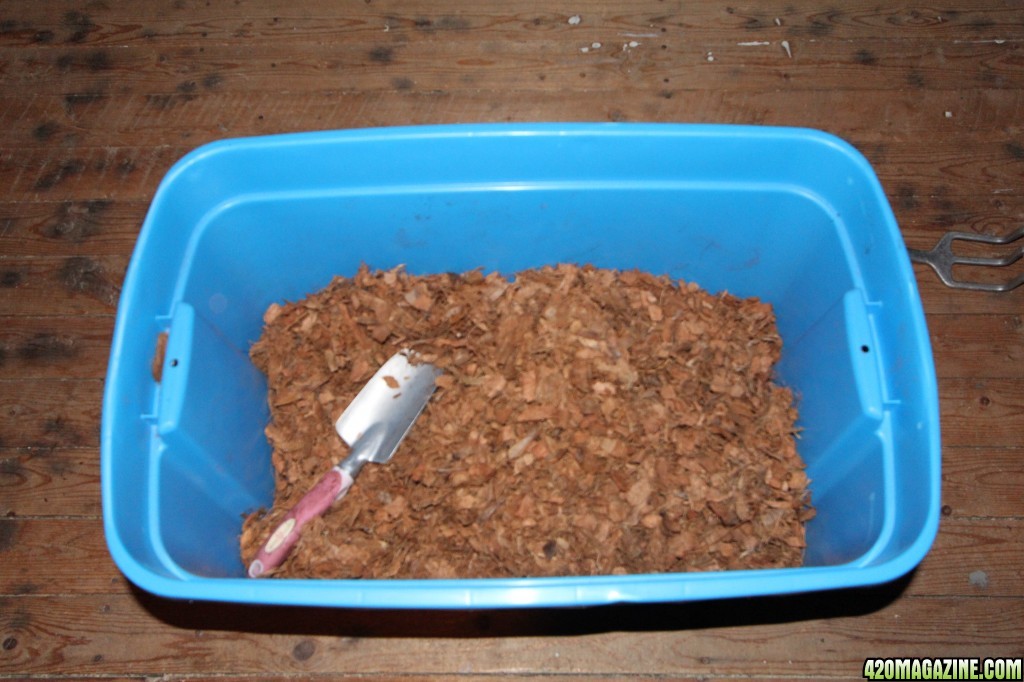
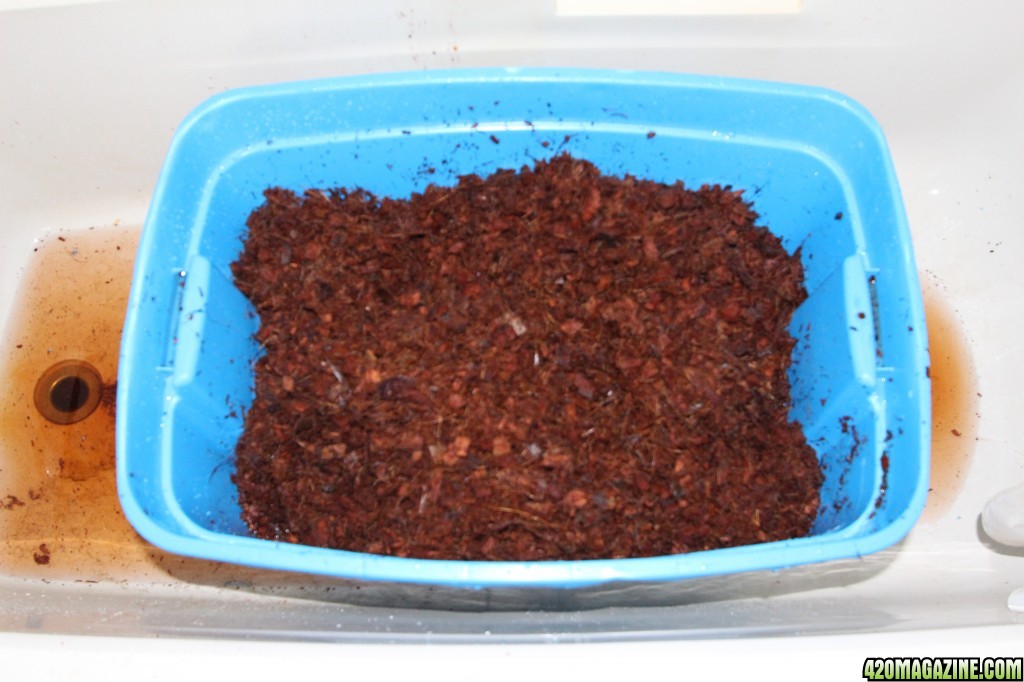
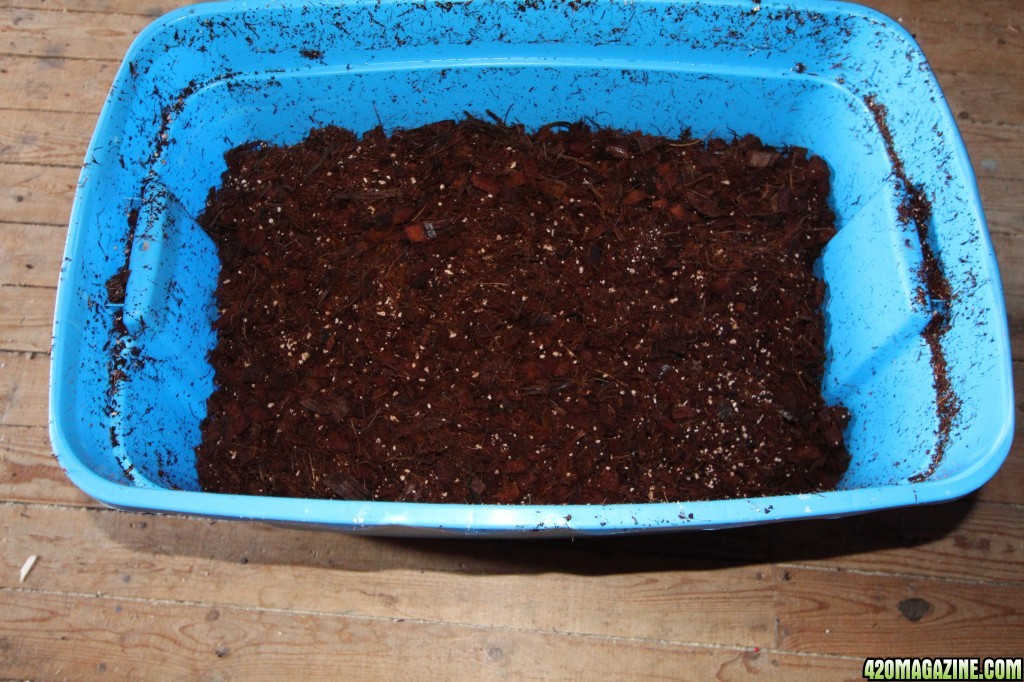
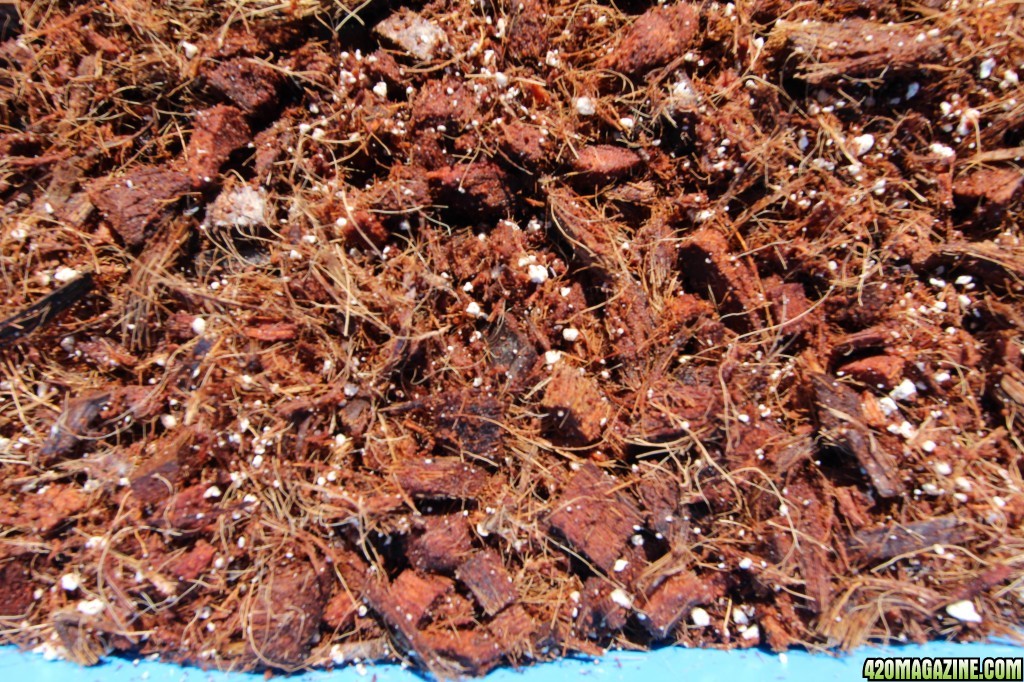
Medium - 95% CoCo coir 5% perlite.
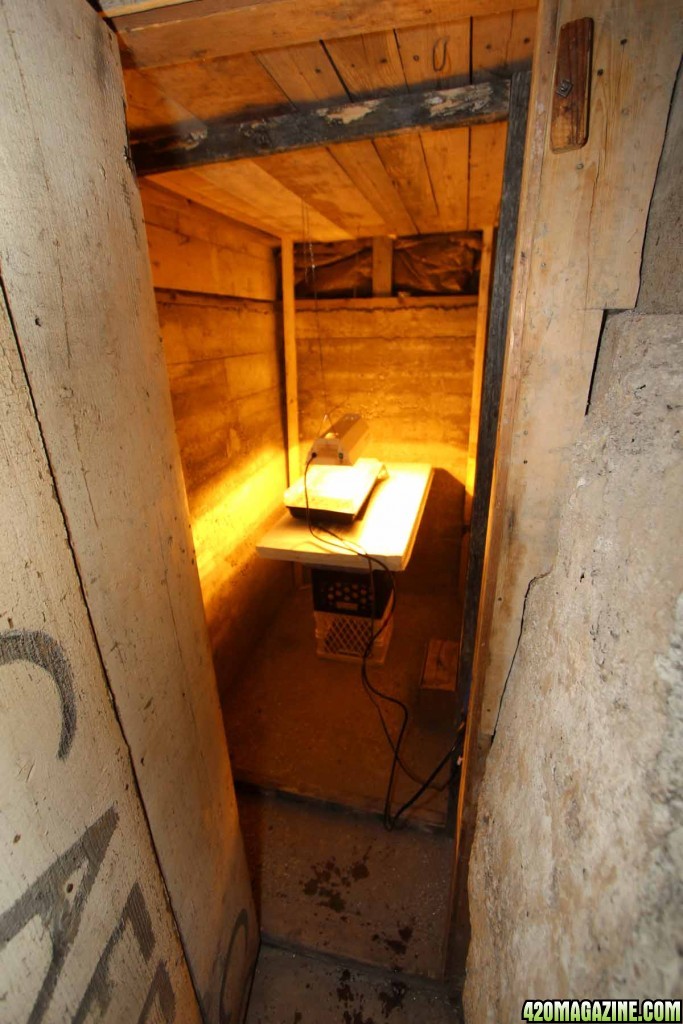
Lights - (1) 150w HPS
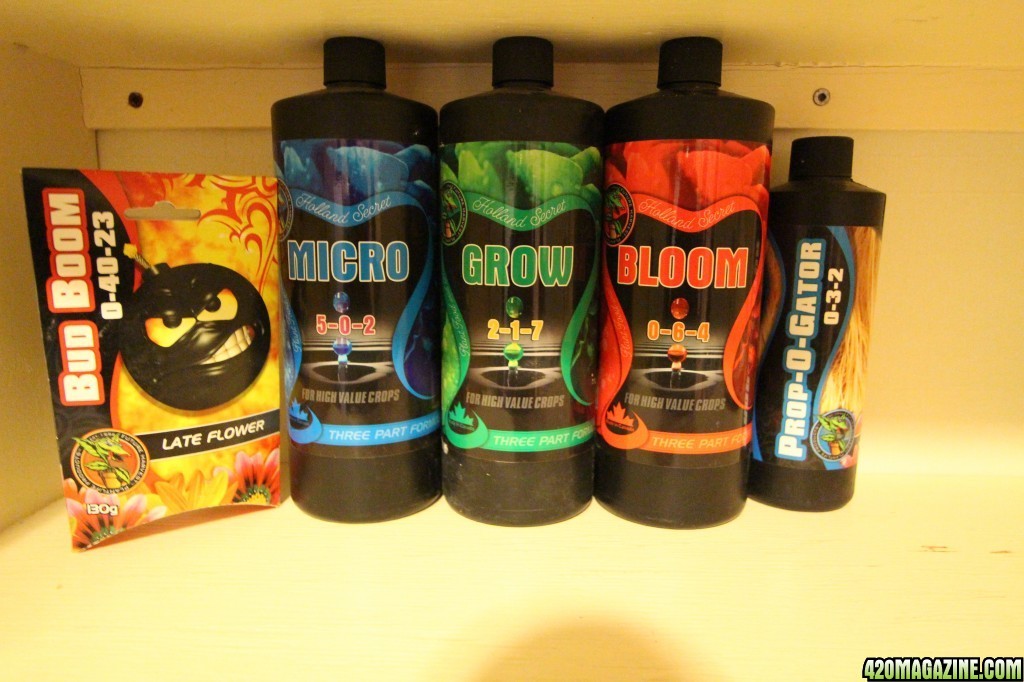
Nutrients - Holland secret: Micro, Bloom, Grow, Prop-o-gator ,Bud boom
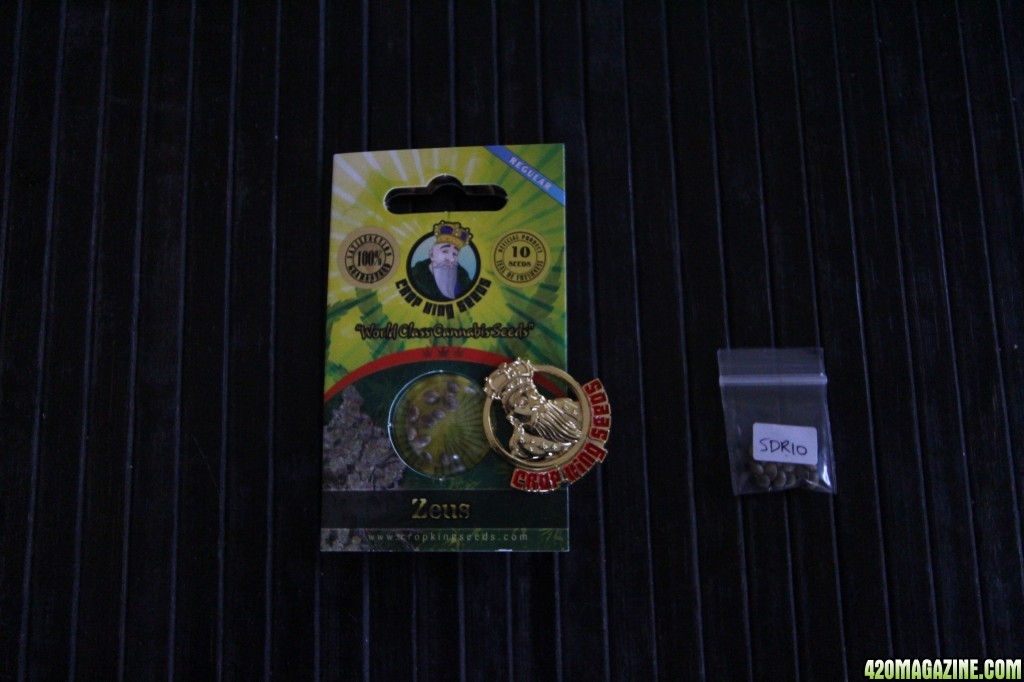
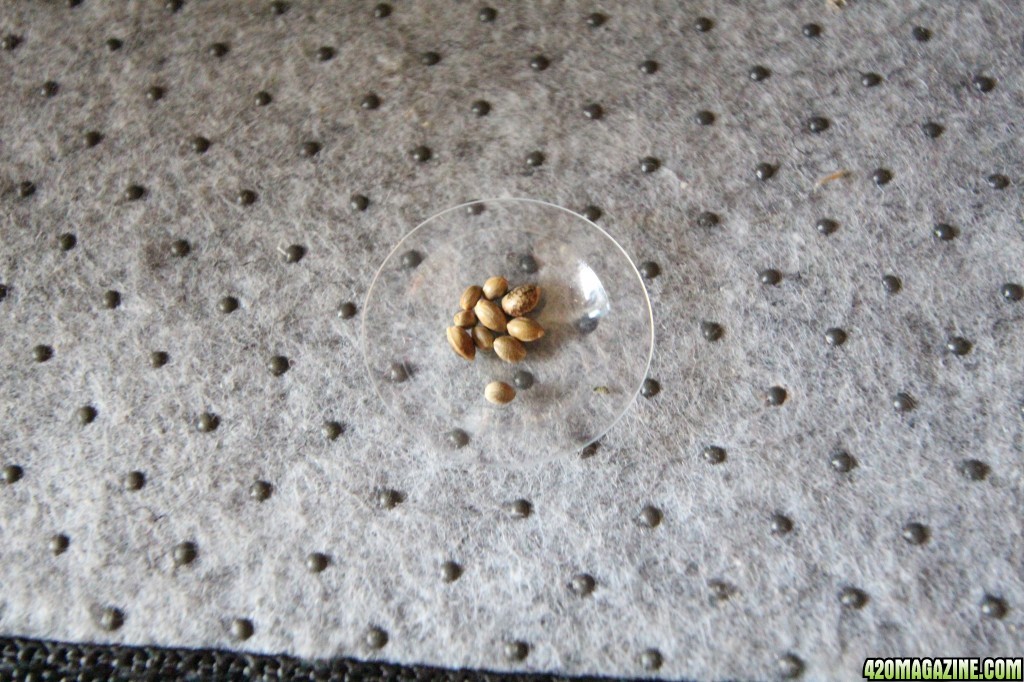
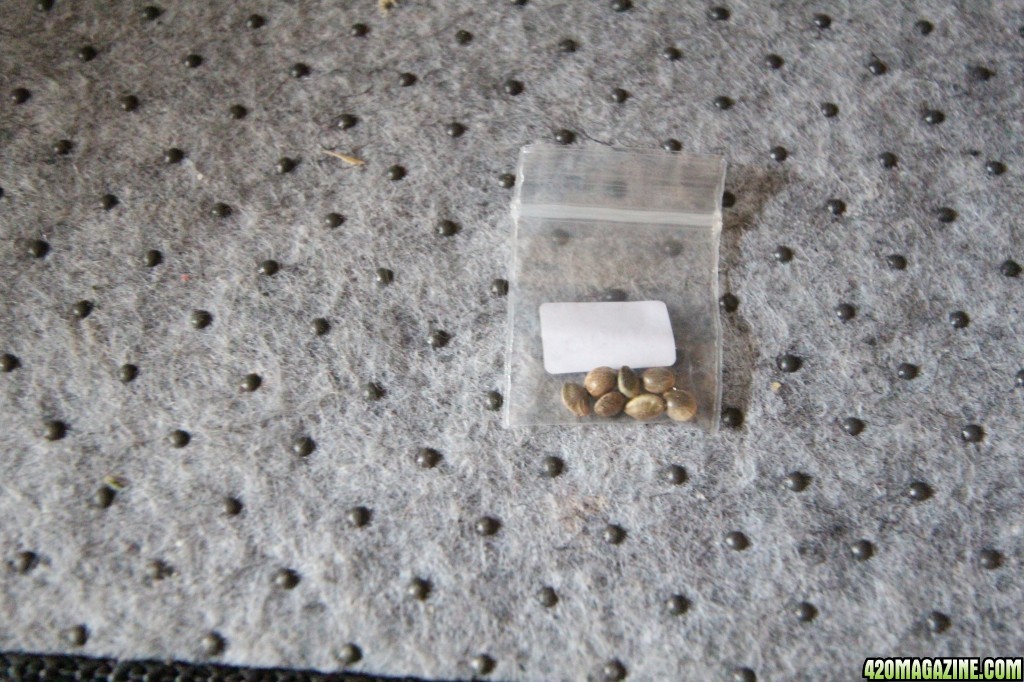
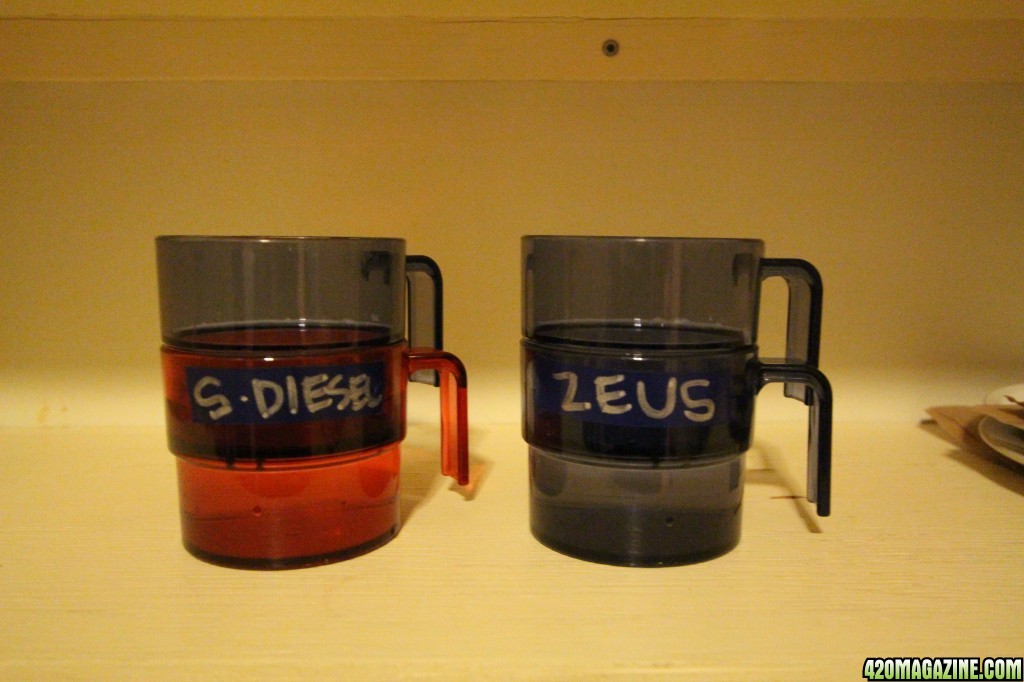
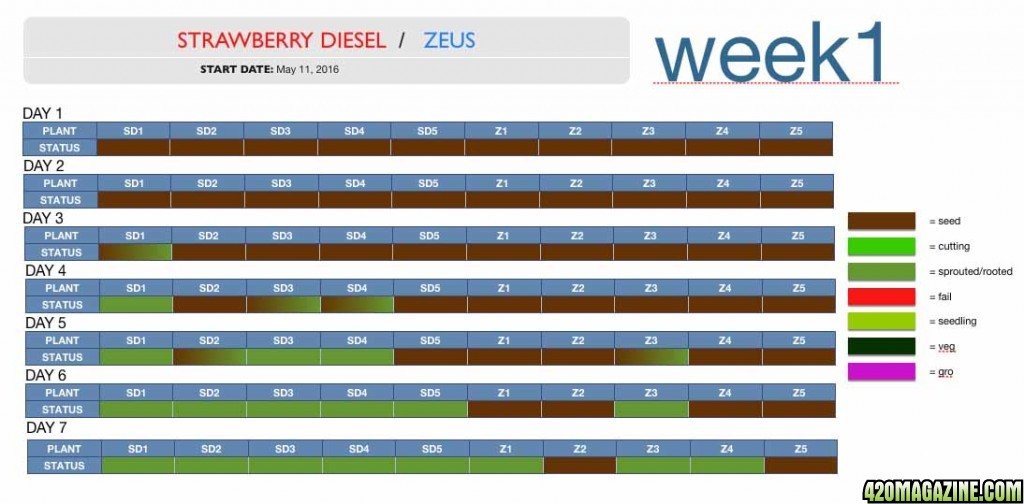
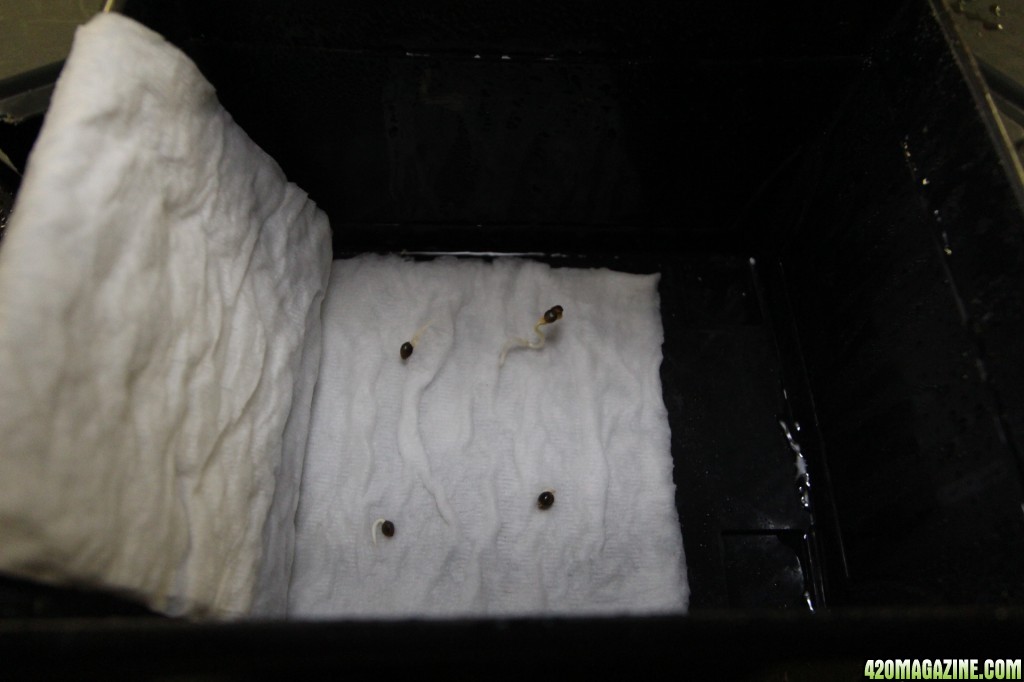
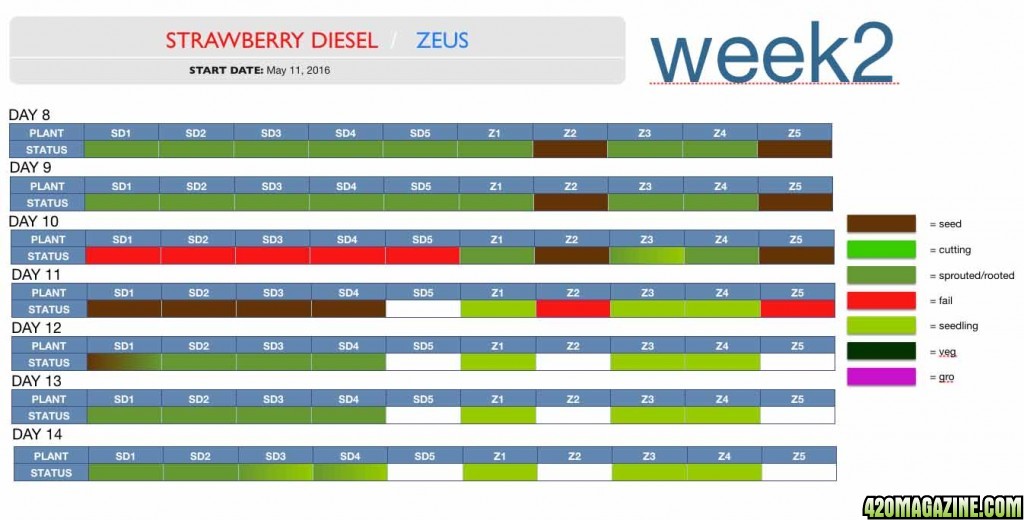
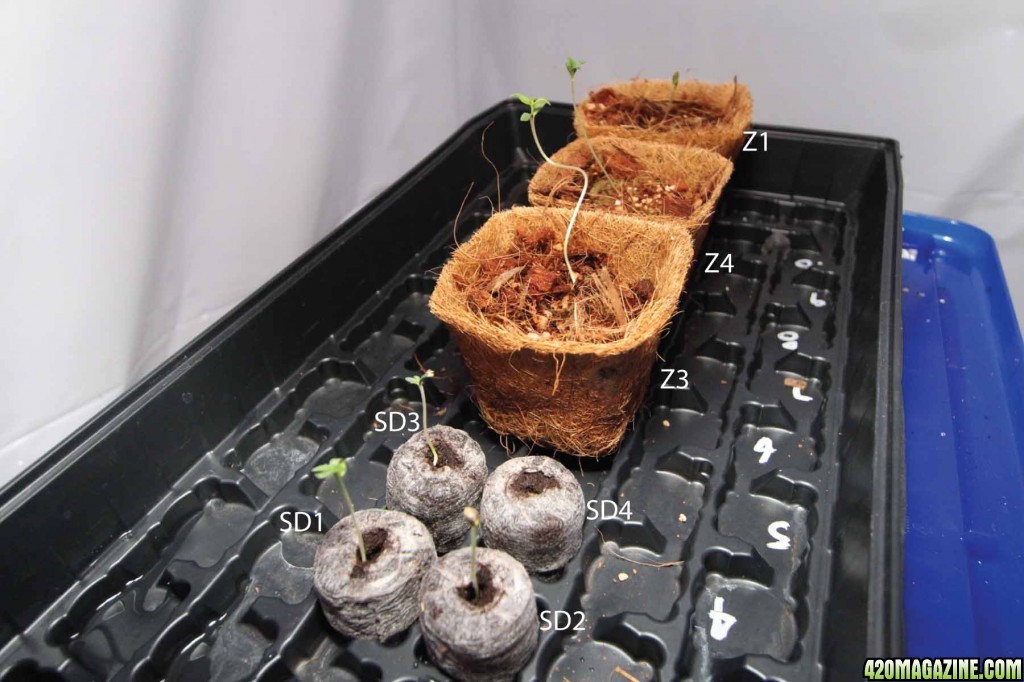
Strain(s) - Strawberry Diesel(Sativa dominant), Zeus(100%Sativa)
# of Plants: 2
Yield : Stay tuned
 
Re: Chase Winterfield And His First Growdeo - Diesel - Top Feed Hydro - Coco - HPS 15

I had just pulled the trigger on ordering some seeds (Strawberry Diesel Regular) from beaverseeds in Vancouver,

Strawberry-Diesel.jpg


when it hit me

(S-word) just got real..


My house is is old as the railway, off in a corner of a town too small to have a gas station. It has two great character features that naturally lend themselves to indoor horticulture, an attic that comes compete with a set of death trap steep stairs that lead up to it and a super creepy root cellar in a basement crawlspace behind the foundation. Without getting too ranty about why, I'm going to use the root cellar to set up my Growdeo because I am taking the DIY approach to the situation. My mum is quite the gardenista so i figure she would have some things I could use kicking around so I went over to the farm and had a looky look.

found_supplies-1.jpg

nutrients16.JPG


Not a terrible start to the garden supplies! but I was still short a few things and being that I'm in a rural location they were kinda hard to come by and I had to wait until I next went to the city to pick up some supplies. Now that the seeds were inbound the next task is to design and build my garden. Thinking it would be superfluous to my endeavors to simply order a store bought set up, I looked closely at the individual components of the different systems I was interested in and also read many different threads about how other people were going about things.

Different Design thoughts:

I had found some coolers in a shed at the farm that I thought would be slick to use in a DWC setup but quickly discovered that they would not "do the job". So after all the researching, plotting and more looking around the house and farm for things I could use, I decided on a top feed style hydro garden system. So these are my two final thoughts on how to go about that..
 
Re: Chase Winterfield And His First Growdeo - Diesel - Top Feed Hydro - Coco - HPS 15

The number one thing people use around here for a homemade dwc is a simple rubbermaid tote box. You can get smaller ones or a big one. They're only like 10 bucks... Those work very well, and I'm keen on building one myself.

Sounds like you've got most of your grow planned out, I'll wish you luck and happy growing! I'll be along for the adventure. :ciao:

KiG :green_heart:cheers
 
Re: Chase Winterfield And His First Growdeo - Diesel - Top Feed Hydro - Coco - HPS 15

With a clear thought as to the system I wanted to design I narrowed my search to find more components I could modify and use rather than purchasing new stuff. First thing I found was a big plastic tote with a lid that is strong enough to stand on. I was only storing my paintball gear in it so I dumped it all the gear out into another one and then I had a reservoir..
res11.JPG

res_top.JPG


Next thing I needed were some pots. I had intended on using 5 gallon units but could not find any (black ones) in town to buy so I headed over to the nursery to see if they had grow bags or pots that big. They did not but were kind enough to give me some old 11 L / 3 g pots they were tossing out. Score!
pots7.JPG


Using the pots as a template, I used the dremel with a routing type bit to cut some holes and slots in the lid to allow for drainage back into it from the pots,
res_lid_cut.JPG


To allow more oxygen into the root area and also for better drainage, I drilled holes in the base and bottom 2/3rds of the buckets using a drill and a 3/8" drill bit
pot_side_drilled.JPG

base_wdrill.JPG


Now I had the base elements of the overall design mocked up
system_mockp.JPG
 
Re: Chase Winterfield And His First Growdeo - Diesel - Top Feed Hydro - Coco - HPS 15

The number one thing people use around here for a homemade dwc is a simple rubbermaid tote box. You can get smaller ones or a big one. They're only like 10 bucks... Those work very well, and I'm keen on building one myself.

Sounds like you've got most of your grow planned out, I'll wish you luck and happy growing! I'll be along for the adventure. :ciao:

KiG :green_heart:cheers


Hey thank you Snidrajsed, I only arrived at the same conclusion after seeing one in another users post and realized "heeey I have totes like that around the house.." Any other tips from your experience are very welcome as this is my first Growdeo so Im sure ill over look something.
 
Re: Chase Winterfield And His First Growdeo - Diesel - Top Feed Hydro - Coco - HPS 15

system_ver2.jpg


This design of top feed system uses flexible 1/2" pipe between the pump and 1/2" valves, then from the valves to the top feed heads. The valves would allow the nutrient flow to be shut off from one side of the system should the need arise. The top feed heads are made out of several sections of hard pipe and 1/2" fittings. The section of flexible pipe on the head allows it to be maneuvered around the base of the plant when placing or removing a pot. Not having any of the components needed for this I would need to buy them(trip to town). The flexible and hard pipe for the most part only come in minimum lengths of 10' although I am hoping to find a place that has the flexible pipe in bulk by the foot. This design uses 18 fittings = 18 places that it can leak from = 18 places that will need monitoring. This design would be fixed in that its not easily modified to fit different size buckets or additional buckets. To "adjust" the system to fit other elements, sections would have to be replaced and or modified and these replaced sections would either be put aside for future use or otherwise recycled. All in the components for the feed system would be around $60 in my area.
 
Re: Chase Winterfield And His First Growdeo - Diesel - Top Feed Hydro - Coco - HPS 15

growdeo_hydro_system_ver3.jpg


This design minimizes the amt of hardware required and the number of connections = less places a leak could occur. The flexible irrigation lines are easily moved and likewise modified. In this system, a 1/2" section connects the water pump to a section of 1/2" hard riser pipe that then goes up through a hole in the reservoir lid to a 1/2" coupler. This quick disconnect coupler will allow the upper section of the feed system to be removed so a hose can be connected in place. This hose will be used to drain the reservoir to a manageable point where it can be taken out of the garden and cleaned between nutrient changes. The other section of the riser pipe goes up to a 4way manifold from which extend flexible irrigation lines that have adjustable flow sprinklers at the ends. The pump and air stones are also raised off the bottom of the reservoir to minimize the chances of debris from the coco runoff clogging the pump or sucking in particles that could possibly clog the sprinklers. About $21 in components from the hardware store..
 
Re: Chase Winterfield And His First Growdeo - Diesel - Top Feed Hydro - Coco - HPS 15

Got my seeds in the mail today and was pleasantly surprised that I received some extra seeds (Zeus strain) from cropking seeds free!!
seeds_dk.JPG


this is the supplier image of their Zeus strain
Zeus1.jpg


Zeus seeds
Zeus_seeds.JPG


Strawberry Diesel Regular seeds
diesel_seeds.JPG


The seeds came with very detailed germination so I grabbed some distilled water and followed the instructions to the letter. I first labled two cups with the respective strain names and filled them half way with room temp distilled water. I tried for a while to sink the seeds to the bottom but they kept floating back up so I placed another cup inside the cup with seeds to keep them submerged.
distilled_h20.jpg

seeds_cups.JPG

IMG_9189_copy.JPG


after about 16 hrs in the water the seeds had sunk to the bottom
seeds_sunk.JPG


except two from the Zeus cup. These seeds didn't look as "ready" as the other ones (they were smaller,darker and looking very dud like) but I decided to try them anyway. I poured the seeds onto paper towel on a cafeteria tray as the per the instructions to start the germination action. I set the tray on a germination mat in the cellar with a small heater in the room to bring up the ambient air temperature to an acceptable level for germination
germinate_setup1.jpg

and now the waiting game....
 
Re: Chase Winterfield And His First Growdeo - Diesel - Top Feed Hydro - Coco - HPS 15

The cellar


With the seeds on the go the garden room needed building. After a 500+ km / 300 mile round trip to the city i finally had got my hands on some polyhttps://www.420magazine.com/forums/images/smilies/slide.gif I'm glad i did cause I was having some pretty wild ideas on what materials I could use to create the growing environment and reflect the light as much as possible because there was no white sided poly to be found around town. I have seem many a garden that are simply in a room some where or have exposed drywall or insulation on the walls or any other description matching 'non specialized indoor growing environment' and it seemed to work perfectly fine for them judging by the pictures. In my opinion, this seems the same as a guerrilla grow outdoors.. You are rolling a few different dice with respects to things you can closely control. As the Growdeo goes on I may even throw a plant or two out side as a side bar of interest just to see what happens.

Lets take a look at the cellar:

This is the door that leads to the cellar in the crawl space behind the foundation wall
cellar_door1.jpg

cellar_door_open1.jpg

cellar_inside1.jpg

cellar_out1.jpg

cellar_pipe1.jpg

seems to be a steady air current at the opening of the pipe. I am not 100%sure where it goes but I think it meets up with the culvert under the house where the well lines come up to the pump

frame test fit
frame_in1.jpg


Every time I open the door of the cellar, i don't know what falls from the gaps in the wood planks of the ceiling so there's that. There is evidence of insects (spiders, flying things etc cellar type bugs) that I am sure would love to nestle up in some warm sticky colas and get their insect on.. then I would have to spray stuff on the plants and stuff then I would wind up smoking dead spider larvae and pest killer... OK maybe a little dramatic lol still I m hoping to keep the anti pesting activities to a minimum. If the walls were not mostly concrete I could probably get away with putting the poly up with some creative stapling. Alas they are so enter the challenge!!!


Wanting to keep good form for the growing environment I decided to use a frame to attach the poly to. Keeping this frame simple was top priority as I dont want to to make it quick to install/remove because its a "just-for-now" thing so a bunch of time and money don't need to put into it. to this end, none of the frame elements are going to be screwed/nailed in. the frame elements are going to be interference fit (essentially wedged in) with the room and the other frame elements, for example, one of the room corners is 190.5 cm /~75" in height so for this corner I would cut the 2x2" slightly longer and tap it into the corner wedging it between the roof and the floor until it can hold it self up. The pieces for the door frame would be wedged between the two floor to ceiling 2x2's.


The first thing to do was cut some frame sections. I cut a piece of an old fence and I 2x4 that was laying around in half to make the four frame corners
frame20.JPG

frame_split.JPG

The floor inside the cellar is not even so each corner section had to be measured and trimmed individually to fit into the room. Once this was done I put all the pieces into the room and did some measuring for how much poly I would need to enclose the frame. I wanted to use as few pieces of poly as possible and figured 4 sections would be manageable.

After some thought on how best to get the poly into the room behind the frame(behind the frame gives maximum grow area), I think I am going to place the poly sections (except the door panel) into the room first and lightly tack them into place. Once this is dome I'll install each frame section with the poly sandwiched between the cellar walls and the 2x2 frame sections carefully as not to tear the poly and create holes.

(note: I am not the greatest with the drawing program but my sketches by hand are even worse so please bear with me)


roof_floor.jpg

room_walls.jpg

exploded_room.jpg
 
Re: Chase Winterfield And His First Growdeo - Diesel - Top Feed Hydro - Coco - HPS 15

OH (s-word)

After transplanting all the sprouted Strawberry Diesel (SD) seeds [ Strawberry Diesel Regular >> Blog Archive >> Buy Cannabis Seeds For Sale Online In Canada – Weed Seeds ] to rock wool a few of days ago I went to continue the construction and saw this when I opened the door..
planted_room1.jpg


The HPS was on!!!! I was like "Nooooooooooooooooooo"
I had set up the light I see if I had enough chain and test the hooks to see if they could hold up the light. I left it plugged into a timer I was was testing and I guess i didn't pay close enough attention to the settings so the light was on at least for 10 hrs. I'm not sure if this is going to kill the seeds or what. I am of the understanding that you only use light once leaves have showed and you don't use HID on the plants that early (which is why I have the fluoro's at the ready. This only happened to the SD seeds tho and I left them to see it they would be ok. I put the Zeus seeds that had sprouted into rock wool cubes and put them in the tray with the SD's and only they have showed any signs of change in the last two days. So I started 4 more SD seeds just in case these ones don't make it.

Tap root from the first seed to show signs of life SD1
sd_1_taproot.JPG


SD5&4 since the HPS was on them
sd_1_2.JPG


SD3&2 since the HPS was on them
sd_3_4.JPG


SD1 since the HPS was on it
sd_5.JPG


Z3 3 days after sprouting
z_3.JPG

Z4 2 days after sprouting
z_4.JPG

Z1 3 days after sprouting
z_1.JPG
 
Re: Chase Winterfield And His First Growdeo - Diesel - Top Feed Hydro - Coco - HPS 15

Very impressive setup report Hurban, I like that cellar very much. Only concern is with the possible pests like you have mentioned. Hope everything is OK after the Hid malfunction, things like that happen... I once left mine in the dark for two days of 20h before I realized my timer was set backwards. Oops! If they didn't get dried up, they'll be sprouting soon. Good luck on the rest of the seeds, a great start to the journal.

KiG :green_heart:cheers

Thanks for the encouragement Snidrajsed. Those sprouts never dried out ans the tap roots still look pretty white today so hopefully they get going
 
Re: Chase Winterfield And His First Growdeo - Diesel - Top Feed Hydro - Coco - HPS 15

According to information my seeds failed due to overwatering and possibly damping off. The seeds I recently started to germinate are doing pretty good and I made a little germination box that seems to be working so i will share this in an up coming post.
 
Re: Chase Winterfield And His First Growdeo - Diesel - Top Feed Hydro - Coco - HPS 15

While all the germination action was going on I had started to prep the medium. In may case I went with coco coir as that what was around town and from what I've been reading , easier on the roots and good at keeping the plant hydrated without drowning it. The first thing to do was add water to the solid dry brick the coco came in. I used a large plastic tub (drilled a few (12) holes in the bottom of it) and put it in my tub and added some almost hot water. As the brick expanded I broke it up and mixed in more almost hot water into the tub as the coco absorbed it. I started out using garden tools for this but soon found rolling up my sleeves and getting my hands dirty was the best way to go about this. Once totally mixed and saturated I drained off most of the water then filled the tub up with hot water completely drowning the coco mix until it was floating and stirred it around, let it sit and drain out, occasionally stirring up the mix. This immediately clogged the f out of my tub drain! so I moved the operation outside. I did this several times over the course of an evening and the following day. I let the tub drain naturally outside but feared contamination from seeds in the air or insects so I kept the tub covered when I was not adding water and mixing. When I was satisfied the mix was well washed (light color brown run off) I placed the tub in the attic where it gets fairly warm during the day to further dry out and put a towel over it to allow for more evaporation than keeping the plastic lid on would have but likewise keeps the insects out.

The coco I'm using
coco8.JPG


25L plastic tote used for the coco coir
coco_tub.JPG


before adding water
coco_dry.JPG

hahahaha Highly recommended to do this outside as the debris from the coco run off WILL clog your drains!
coco_water.JPG

close up of the holes in the tub allowing drainage
coco_drain_2.JPG


coco_drain.JPG


The Coco coir I am using is coarse enough on its own to allow for good drainage but I had this partly used bag of plite so I figure why not trow it in there. Couldn't be more than 5% of the overall composition
coco_fluffed.JPG

Close up of the prepped coco mix
coco_upclose.JPG
 
Re: Chase Winterfield And His First Growdeo - Diesel - Top Feed Hydro - Coco - HPS 15

Germination and Humidity Boxes


Had to plant new SD seeds because I killed my other ones with the #classic nube mistake, OVERWATERING, I found myself with new issues to solve. How was I going to use one heat mat with both the seedlings and to germinate the next SD seeds? Also how to make a humidity dome tall enough for the seedlings to grow in as the seedling tray I procured only had a dome height of about 2” which the Zeus seeds are already stretching to in the dark so I want to get a light on them asaprocky. For the first couple weeks I am just going to use the fluros off my aquarium then go to a veg specific CFL job once the new SD seeds are up. I had had a brain wave to use a clear tote upside down as a humidity dome that would be tall enough to allow the plants to grow as they will. I put the Zeus seedlings into coco coir mini pots filled with the coco/plite medium I had prepared before in the tray under this setup. I still needed to germinate the SD seeds too and they need darkness to do so. More tote action.. I spray painted a smaller tote black with several coats to get it light tight and placed the paper towel with seeds in this tote then put that inside the larger one in the seedling tray. This was a good move as the next day when I checked the paper towel It was still moist from the humidity inside the tote. The inside of the small painted tote looked and felt like a better environment for seed germination and the seeds sprouted and grew their taproots waay faster (+2x) than they had before with the paper towel on a tray in the open air. Z1,3,4 seedlings also looked stronger (more upright) than they had just the day before so I guess they are also happy with their new environment.
I had had a brain wave to use a clear tote upside down as a humidity dome that would be tall enough to allow the plants to grow as they will. But I still needed to germinate the seeds too and they need darkness to do so. I spray painted a smaller tote black with several coats to get it light tight and placed the paper towel with seeds in this tote then put that inside the larger one in the seedling tray. This was a good move as the next day when I checked the paper towel It was still moist from the humidity inside the tote. The inside of the small painted tote looked and felt like a better environment for seed germination and the seeds sprouted and grew their taproots waay faster (+2x) than they had before with the paper towel on a tray in the open air. The Z1 seedling also looked stronger (more upright) than just the day before so I guess also happy with their new environment.

coco_pots.JPG


SEVERAL light coats were needed to make this tote light proof
sprayed.JPG


After 48 hrs in the black box the tap roots were coming out strong
SD_taps.JPG


coco/peat plugs
SD_2plant.JPG

SD_planted_cocop.JPG


black box, potted Z seedlings in tray w/heat mat on tote lid
tray_in_dome.JPG


This is with the humidity dome made using an upside down clear tote
h_dome.JPG
 
Re: Chase Winterfield And His First Growdeo - Diesel - Top Feed Hydro - Coco - HPS 15

Hope all is well in your world.

Is this grow still alive?

We would love to be updated with some pictures and info.

How about posting a 420 Strain Review?

If you need any help with posting photos, please read our Photo Gallery Tutorial.

I am moving this to Abandoned Journals until we get updates.

Sending you lots of love and positive energy.

:Namaste:
 
Back
Top Bottom