Taxx's Super Lemon Haze Bubble SCROG CFL Cab Grow, 2010

Taxx

New Member
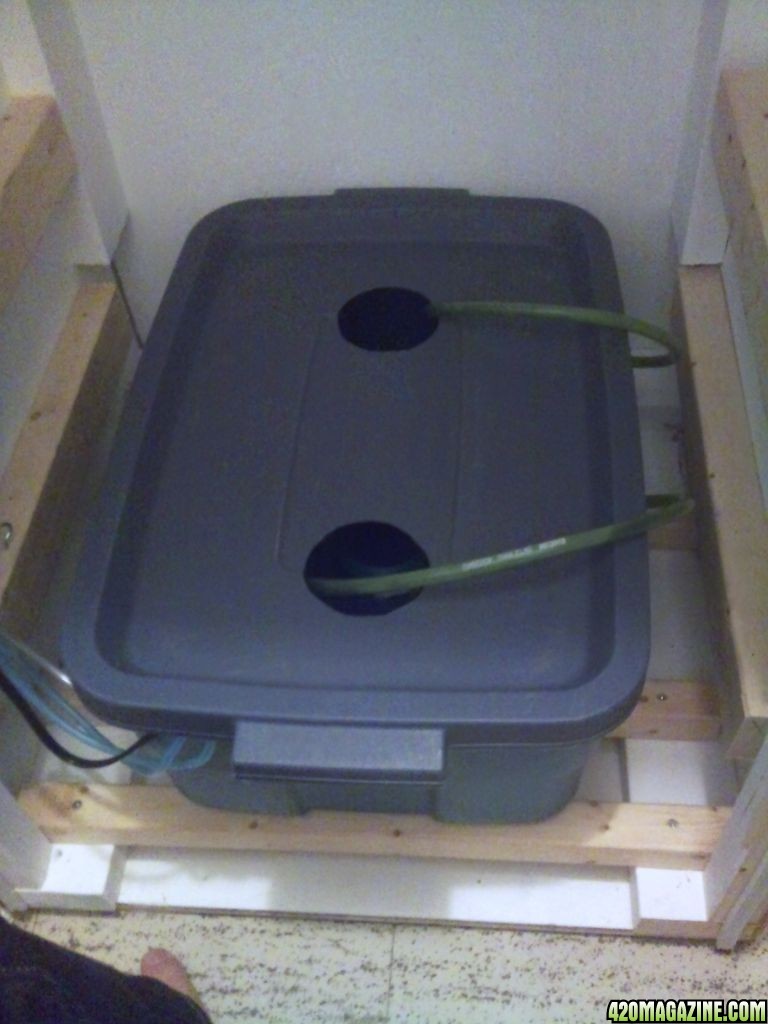
After a lot of reading, and a lot of prep, I'm ready to launch my cabinet bubble SCROG grow with CFL lights.

Picture of parts

DSC_00514.jpg


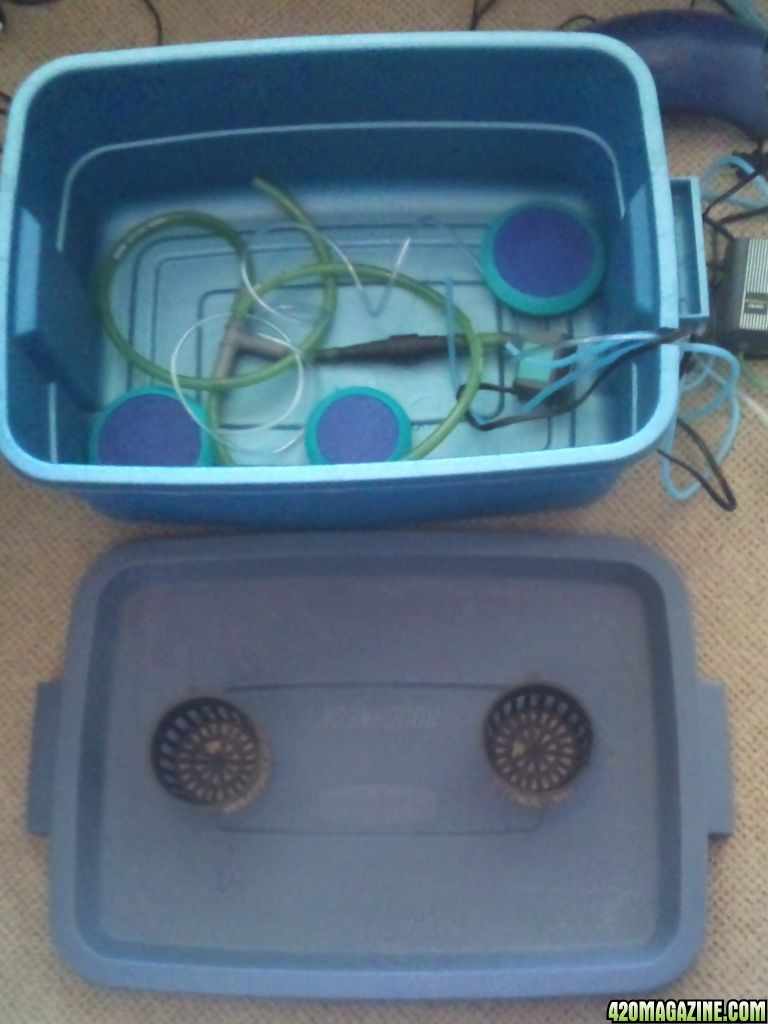
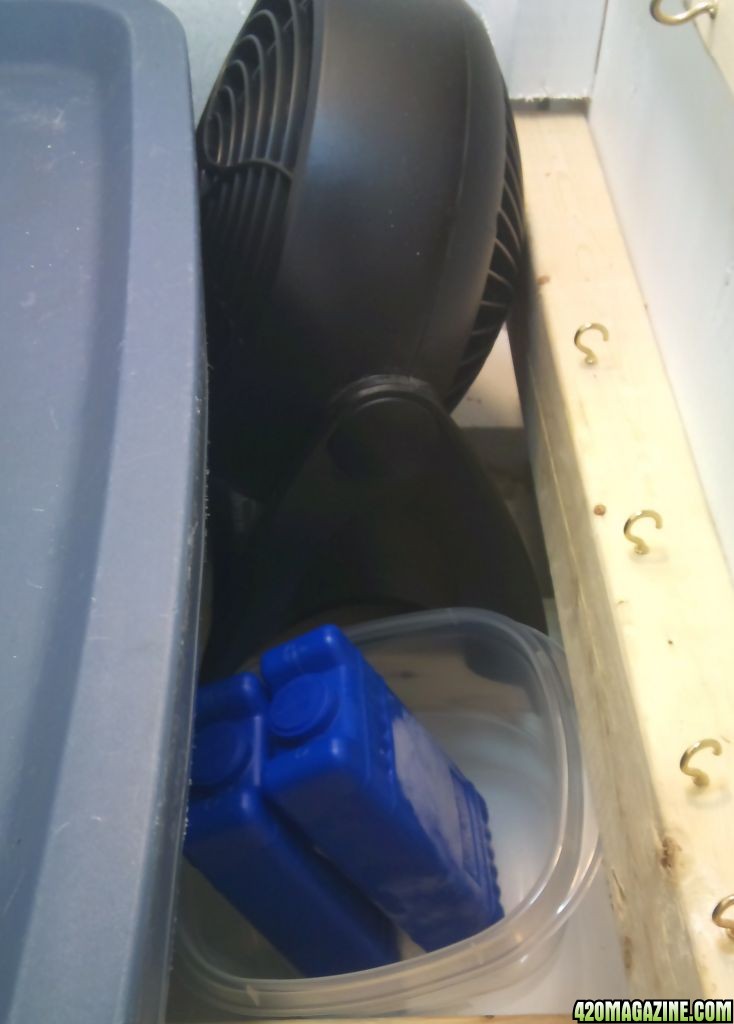
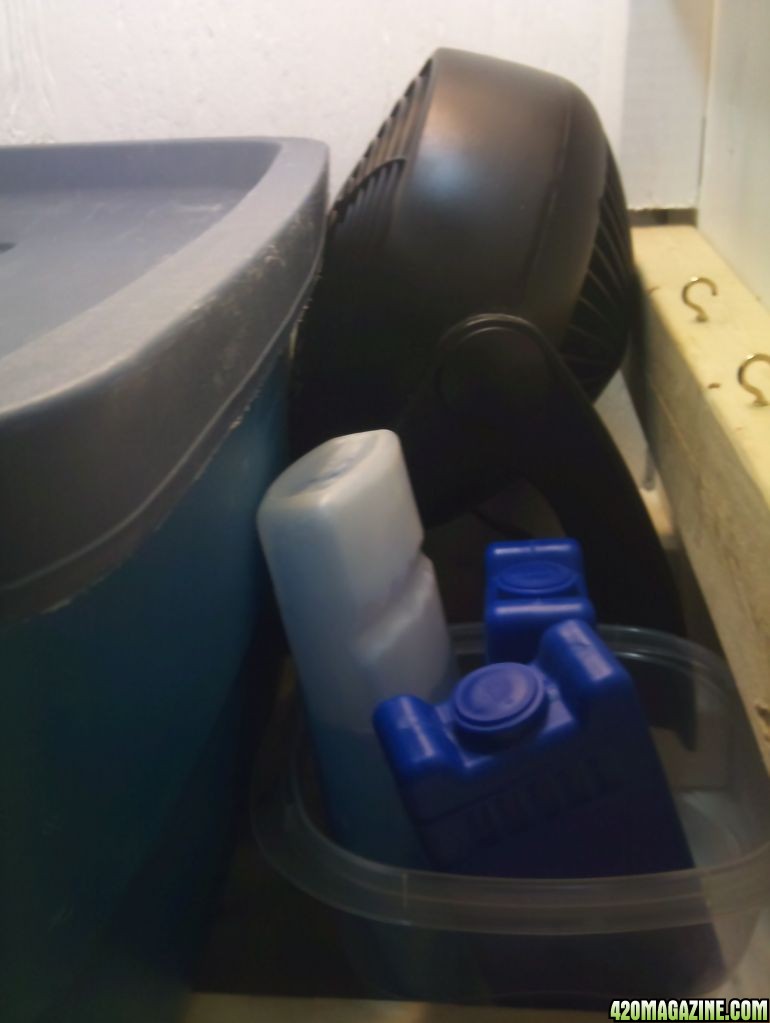
There's all the items I picked up.

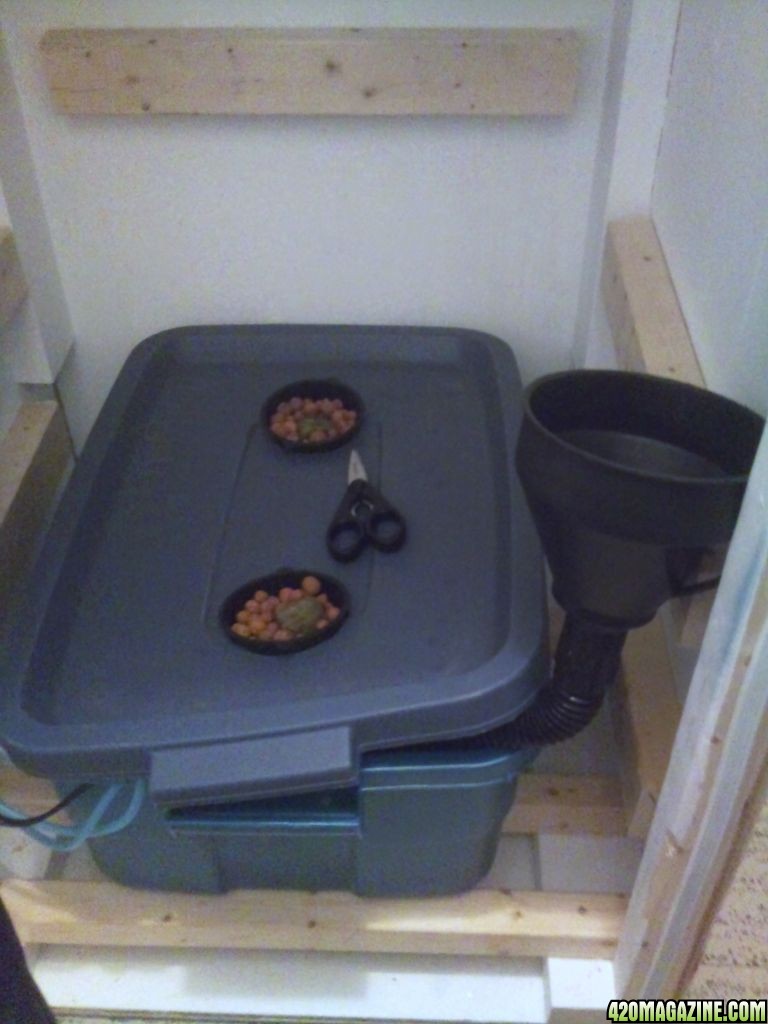
A small rubbermaid container
2 5" Air Stone
1 4" Airstone
1 60 Gal Air Pump
1 20 Gal Air Pump
1 Water Pump (weakest I could get was 10 gph that was adjustable)
A bunch of connectors to make my water pump do exactly what I wanted it to

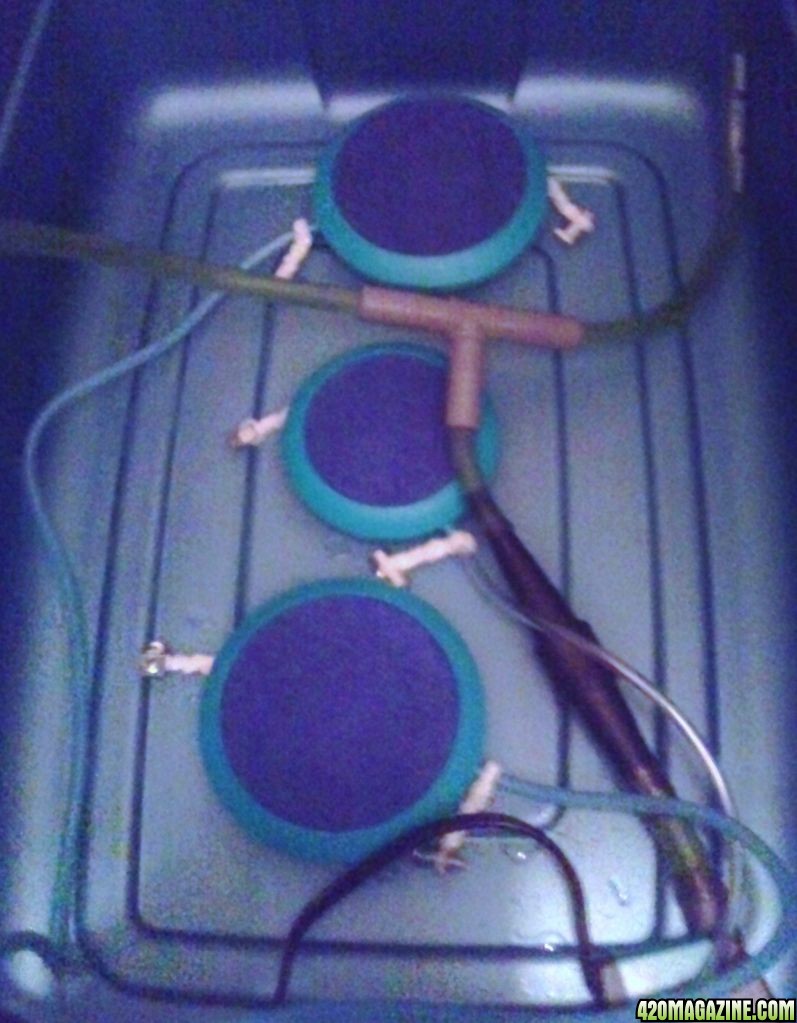
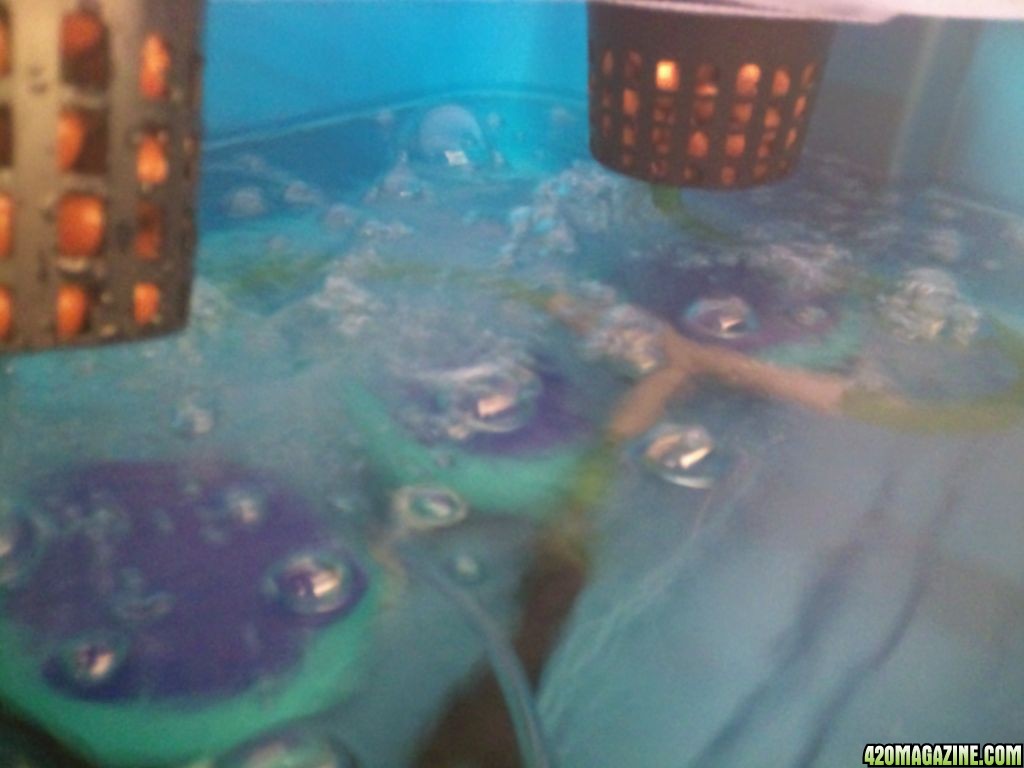
During my experimenting with these parts I noticed my air pumps didn't like sitting on the bottom of the reservoir. So I got creative.

DSC_00476.jpg

DSC_00557.jpg


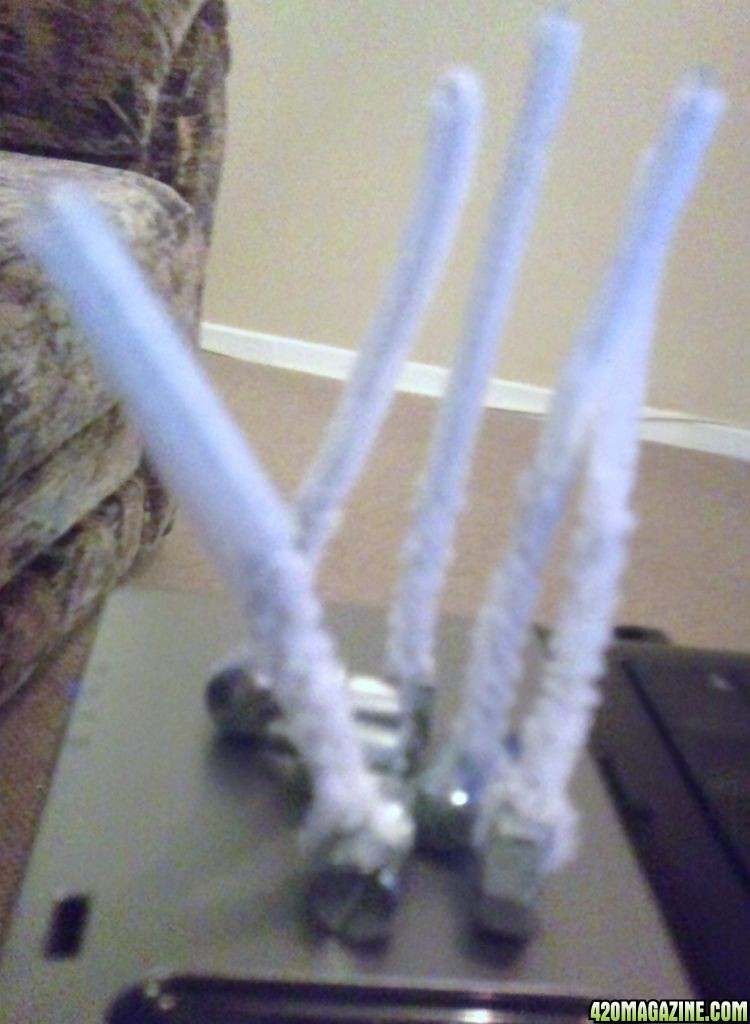
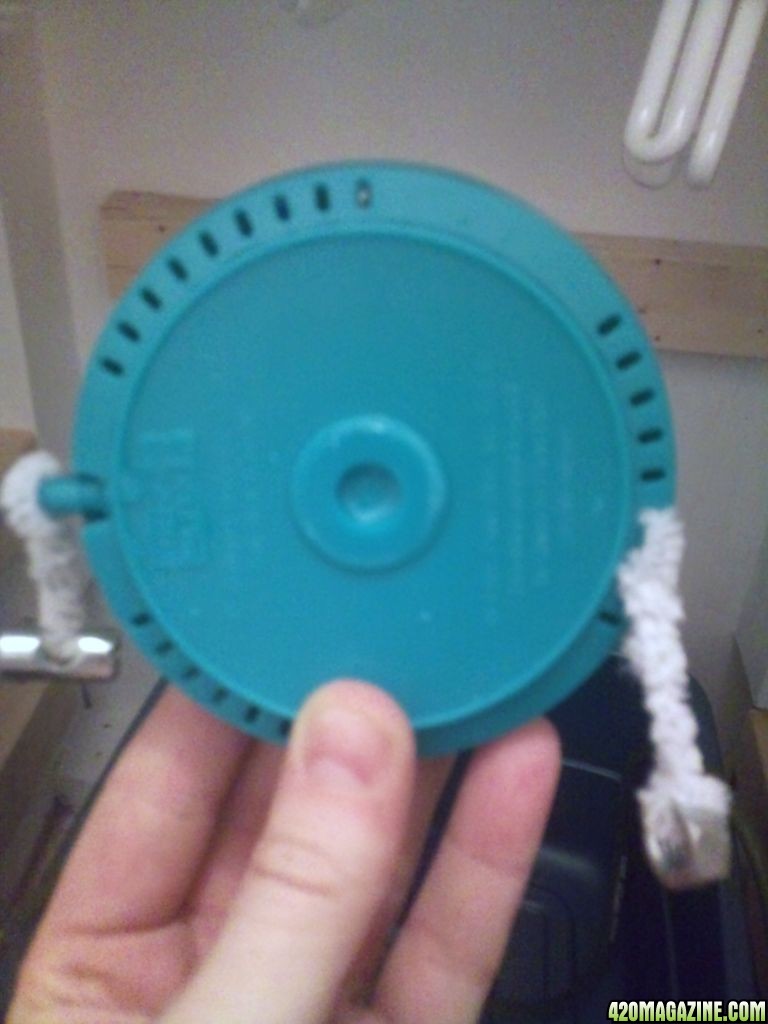
I attached some nuts and bolts (and odd Ikea bolts I had laying around) to pipe cleaners. I then attached one pipe cleaner to the airhose where it connects to the stone, and then threaded one in the little holes on the back of the airstone. This holds the stones down on the bottom of the tray, just fine.
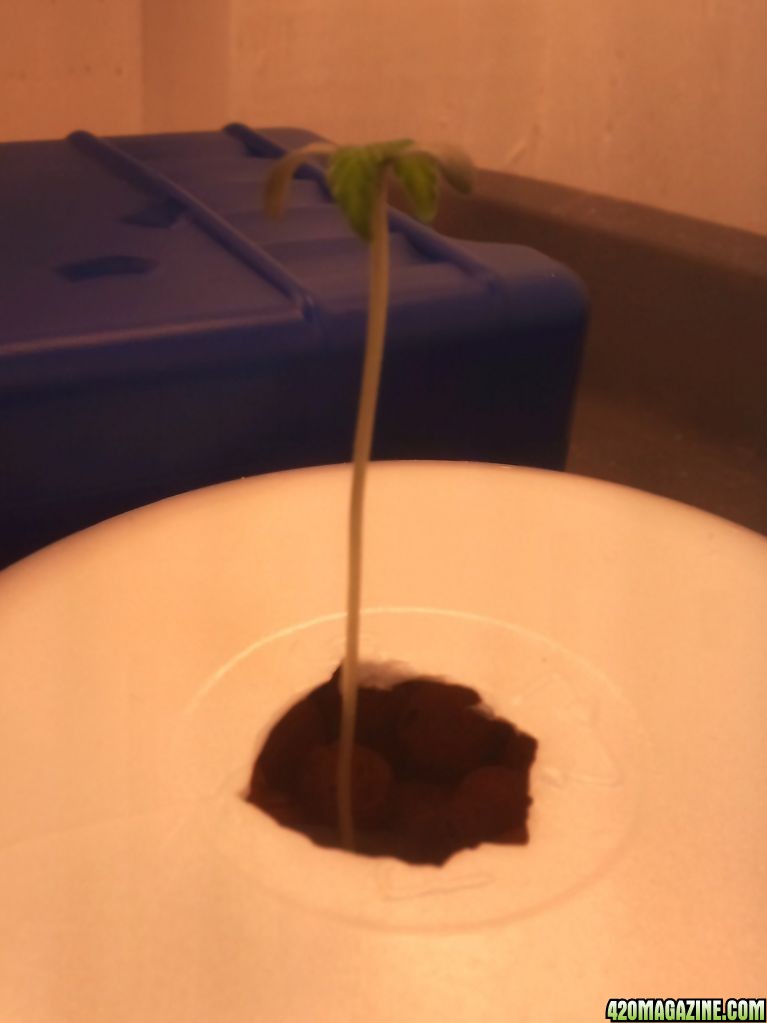
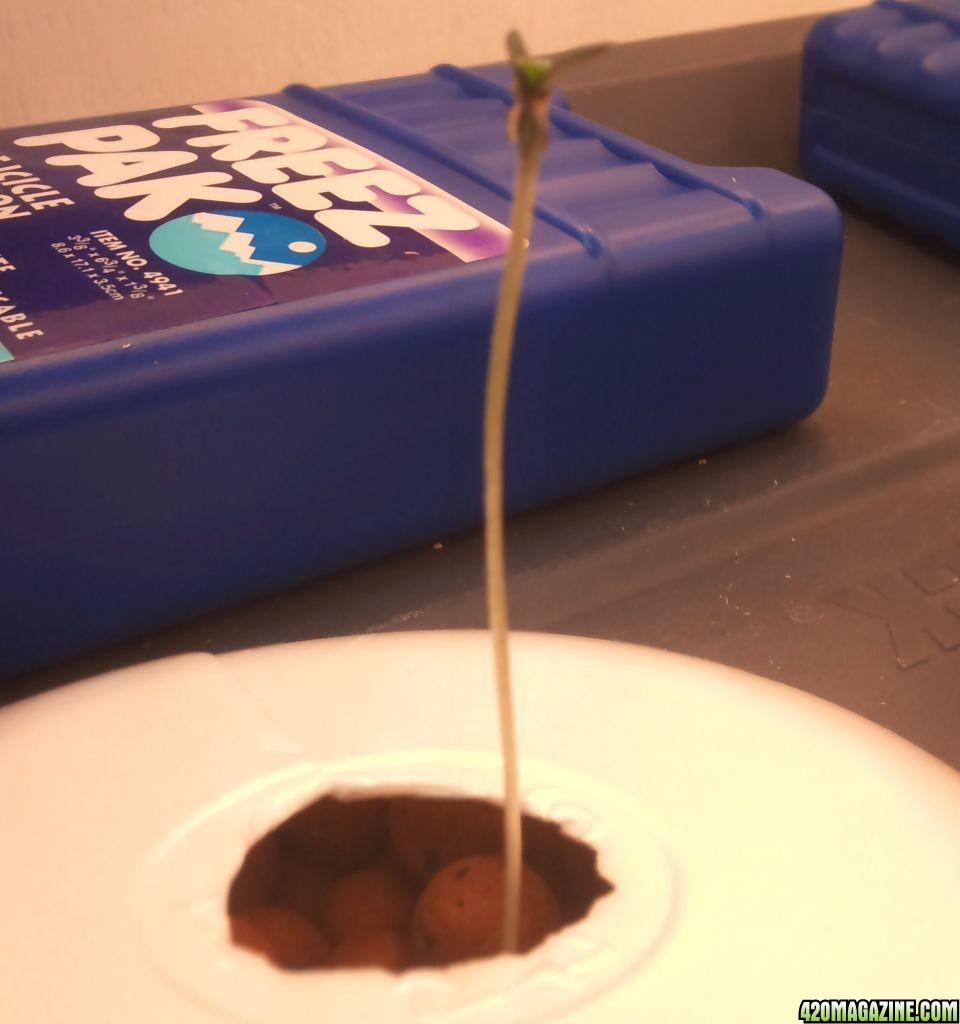
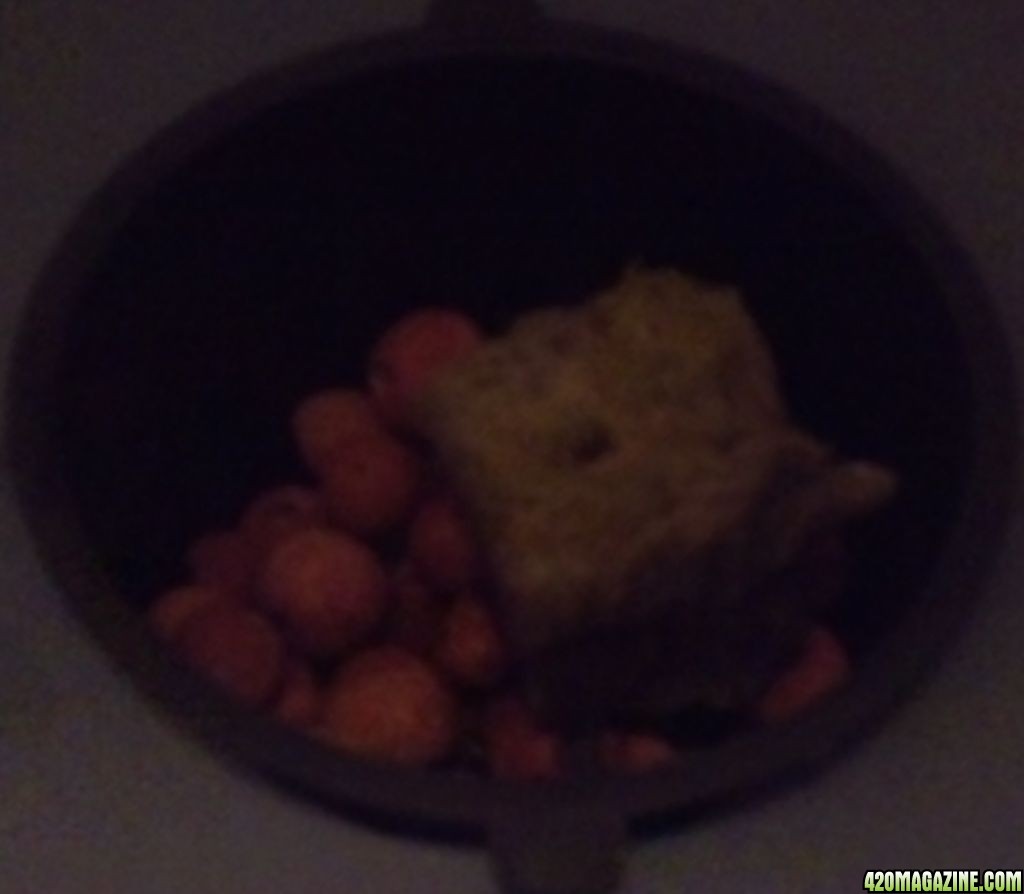
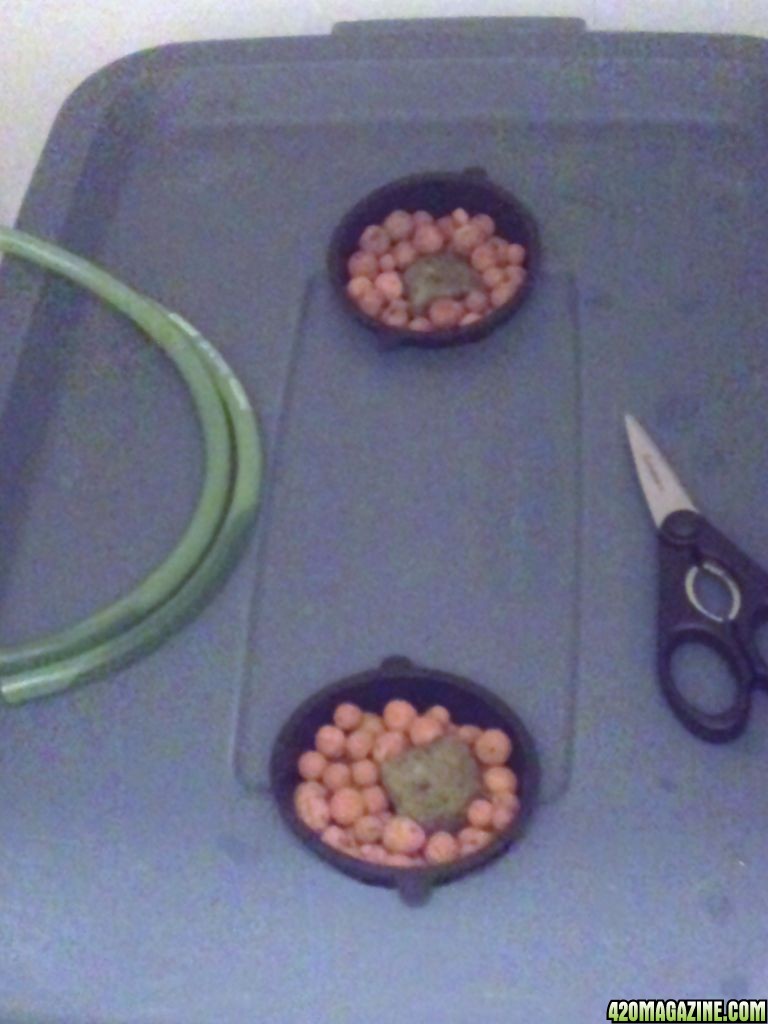
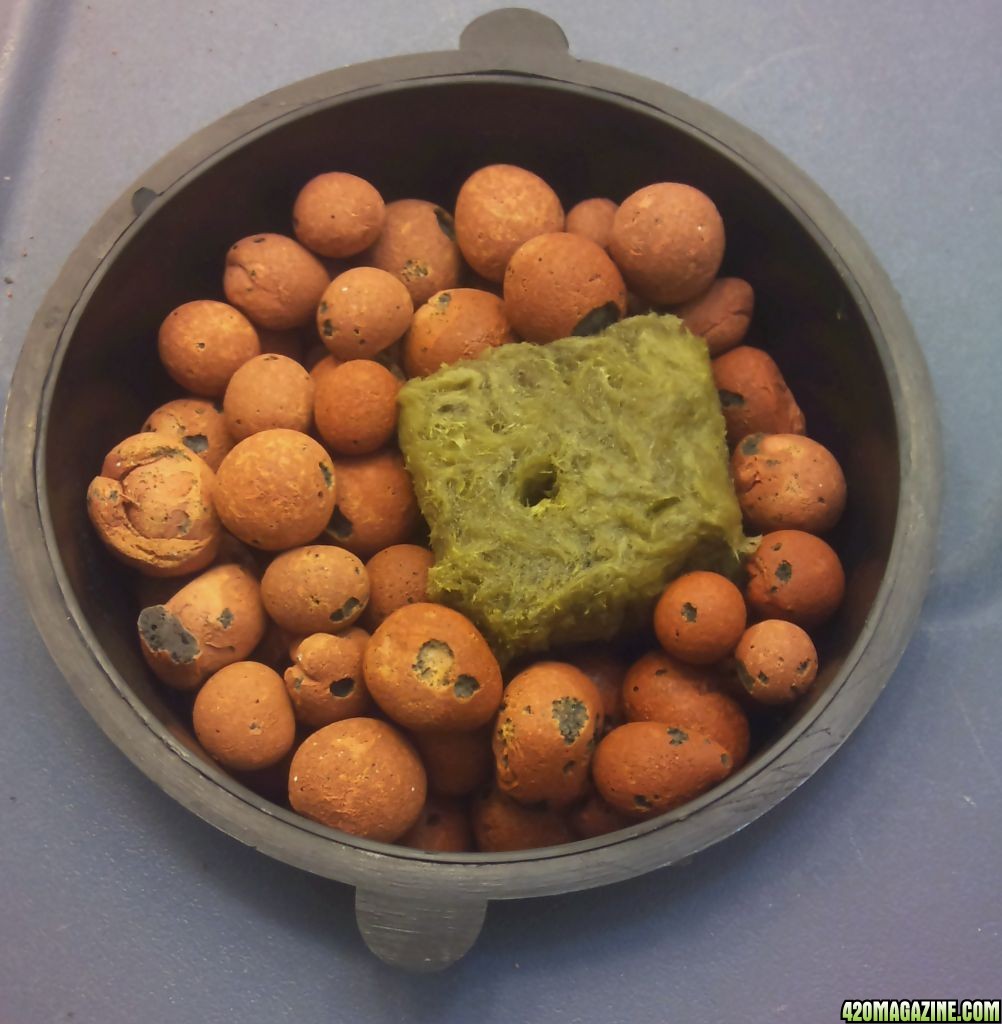
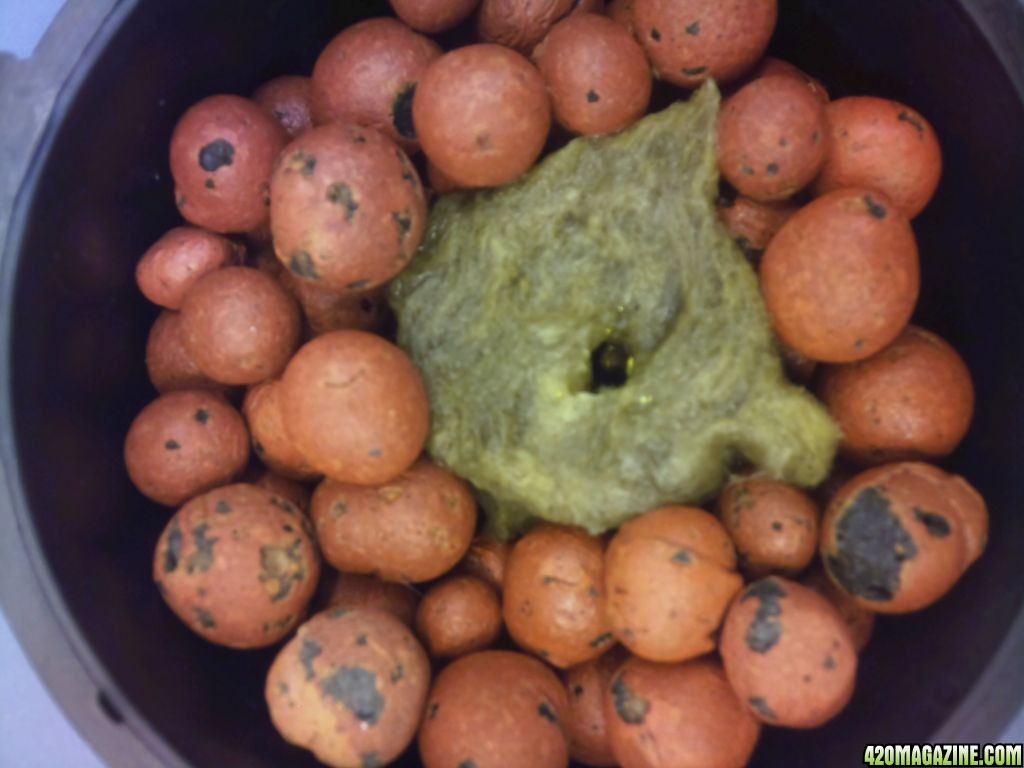
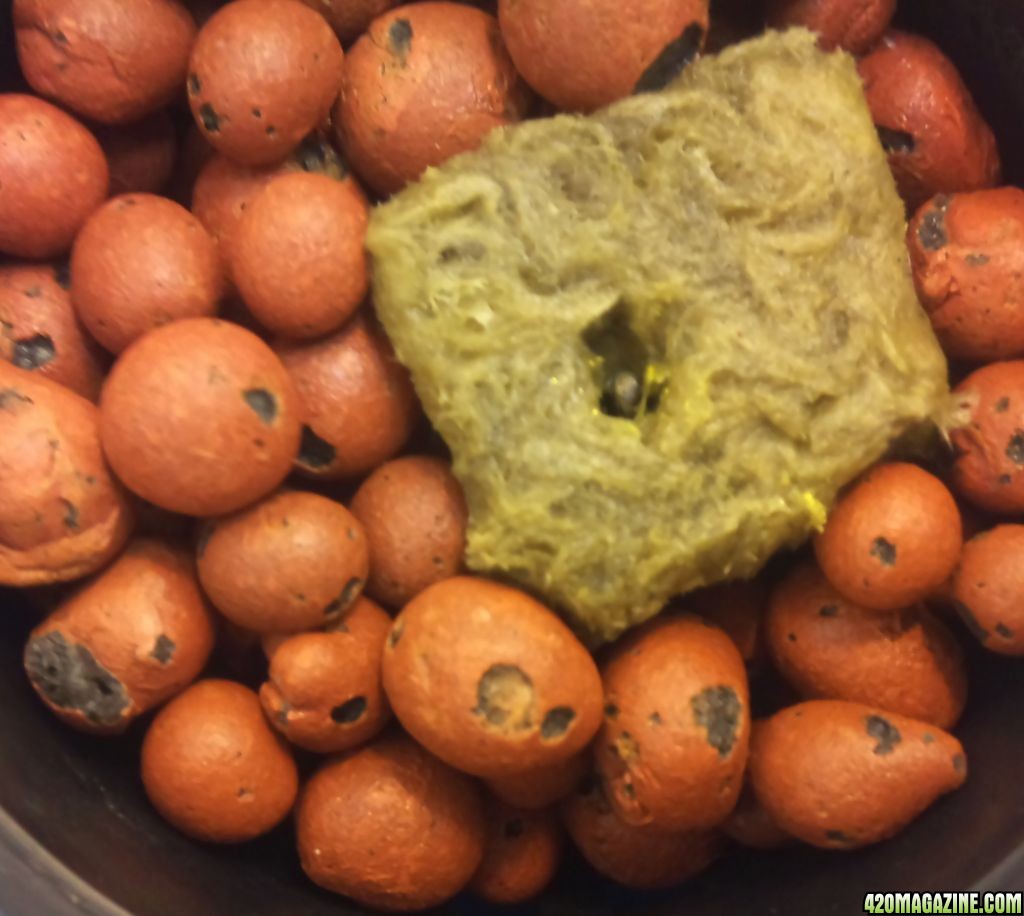
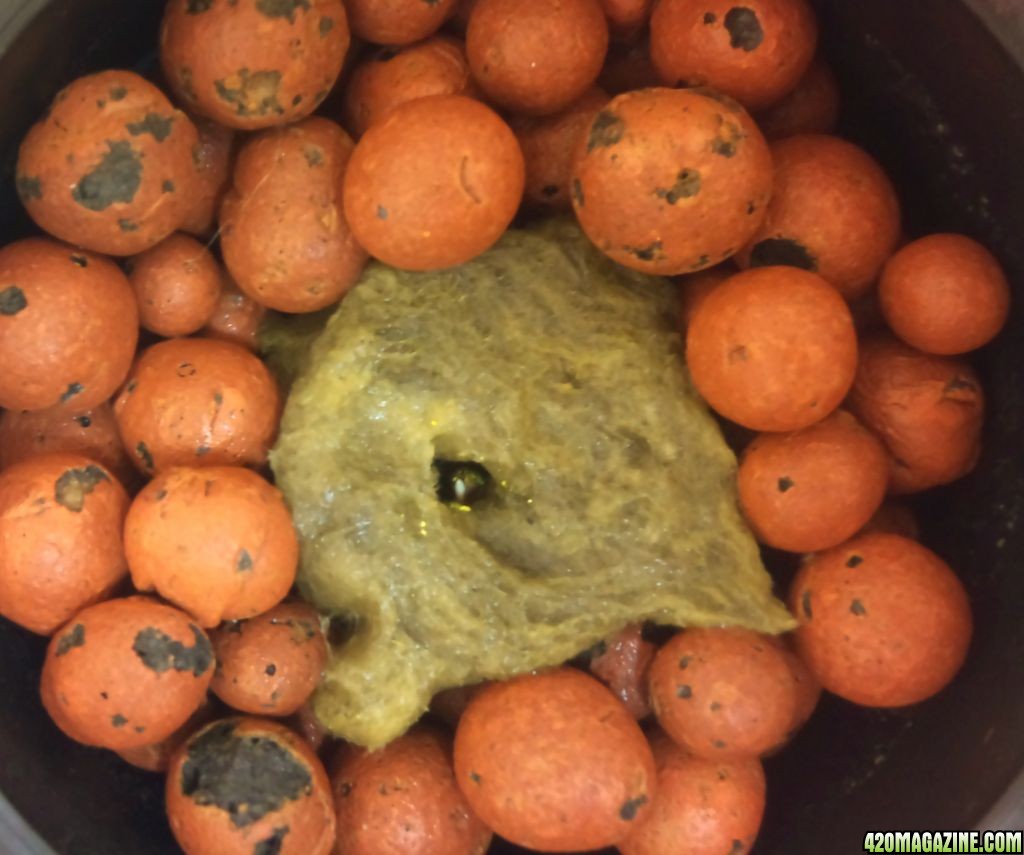
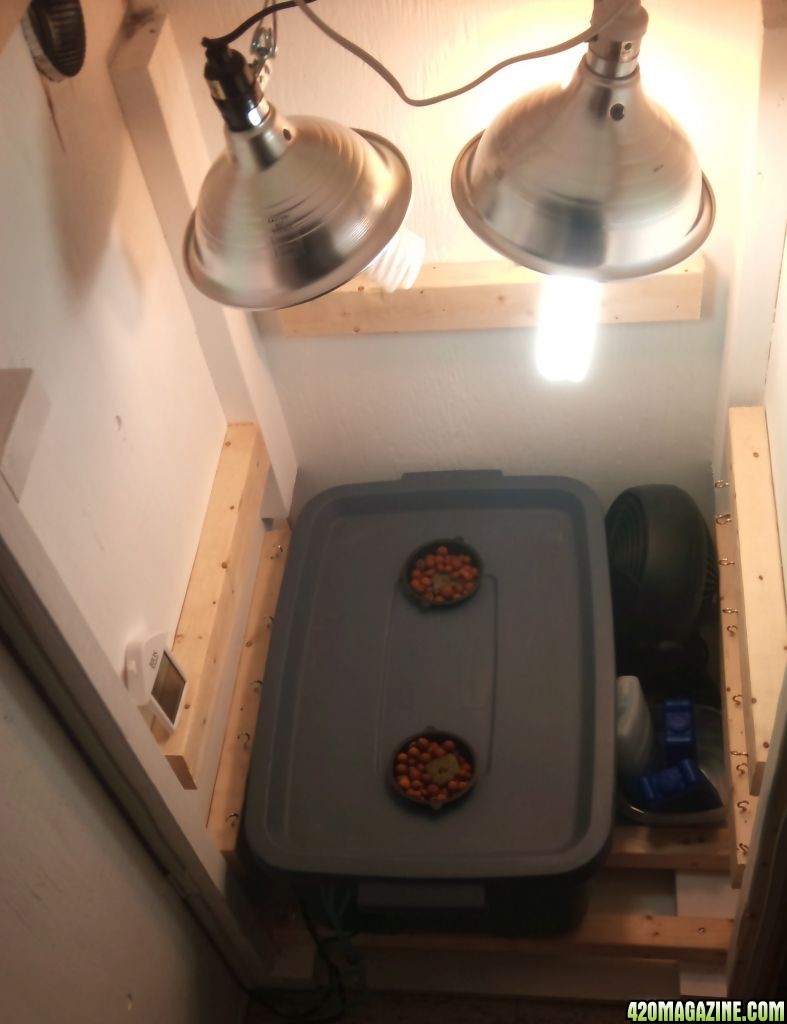
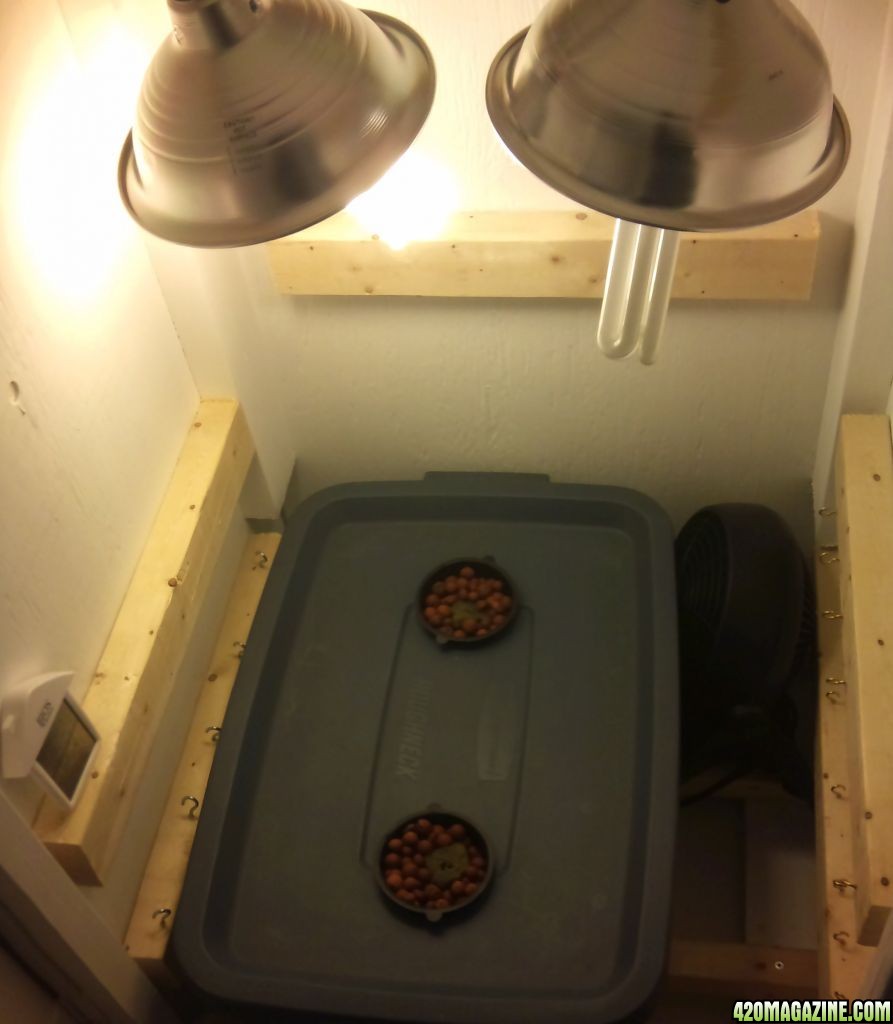
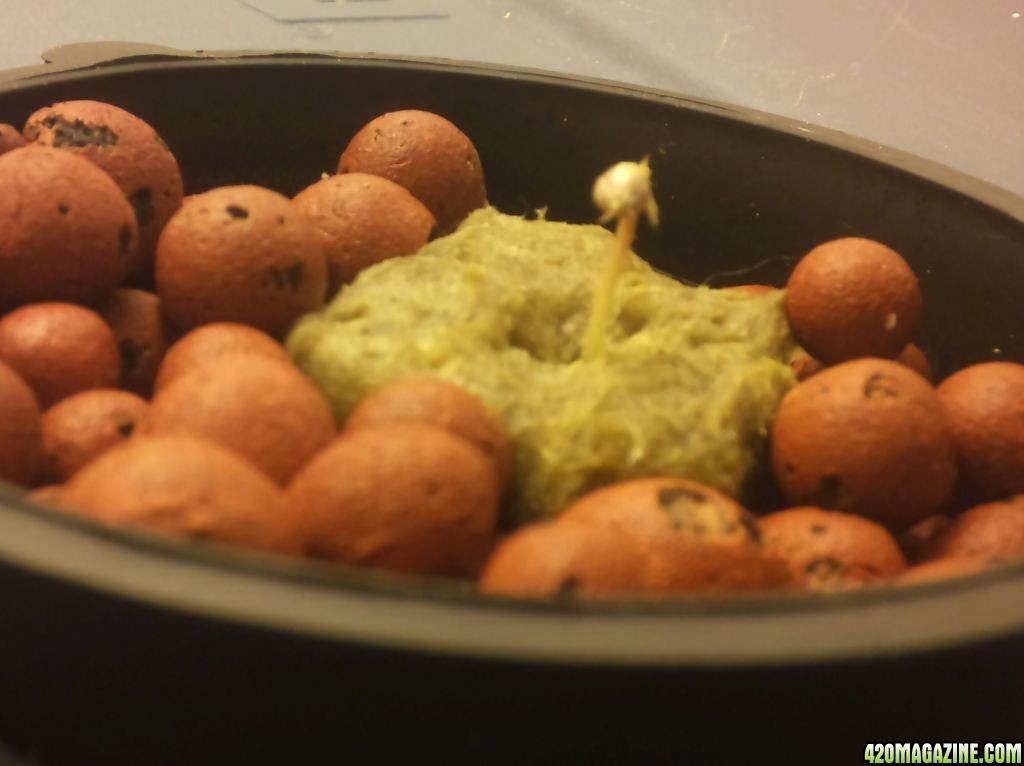
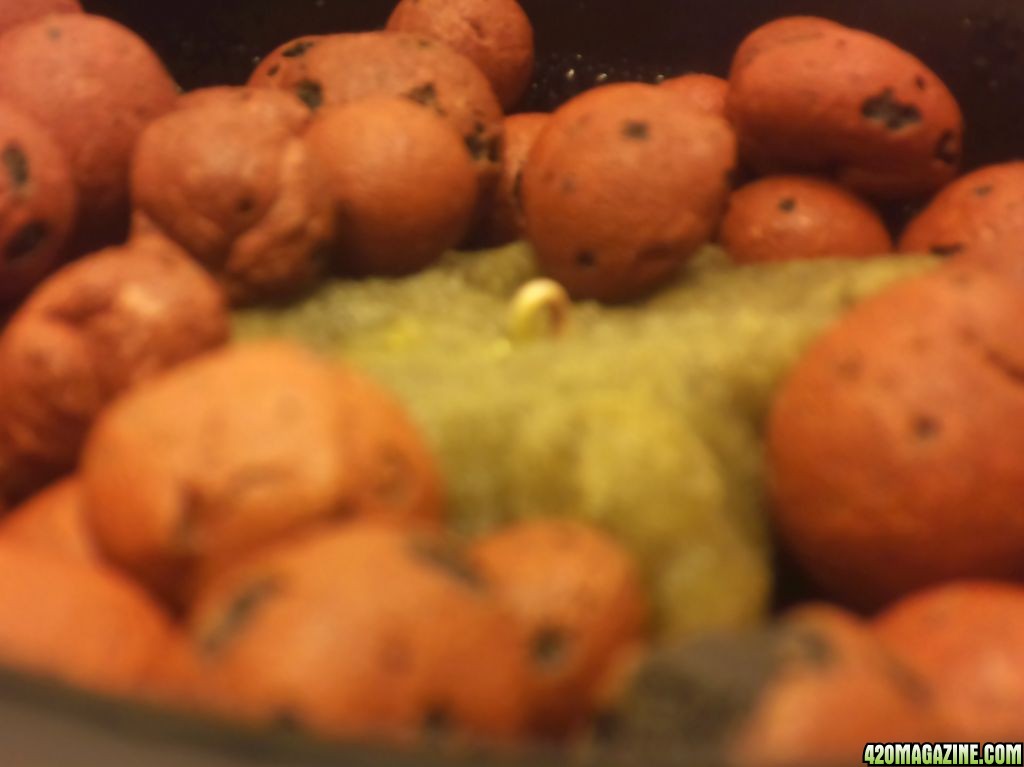
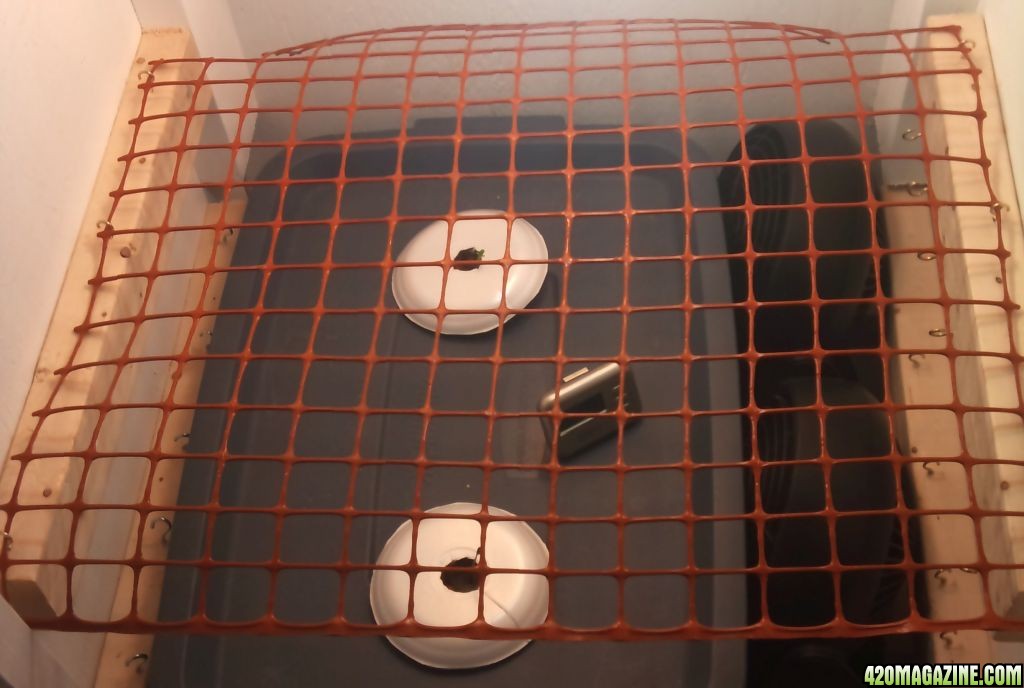
 
The Cab

I soaked my seeds for 16 hours, and now have them germinating and hope to introduce them to the system tomorrow, or later tonight depending how late I stay up. Before I can do that I need to finish putting all my stuff together and place it into the cabinet I built.

DSC_00525.jpg


The cab is 4' high with a 2'x2' base. This cab will be converted to my mother and cloning cab once this grow is complete. I'm using it for this grow to see the characteristics of the strain I've picked up so I know what dimensions to use for the larger cabinet that will be used in my next grow.

DSC_00533.jpg


The boards attached to the side at the bottom will have hooks attached so I'll have something to tie the plants to as I train them. The 2nd board from the bottom will hold my screen when it's time to add it.
 
Putting the bin together

I've got the parts, I've got the bin, now to assemble it all.

DSC_00567.jpg


I've put the bin into the cab, attached the stones to the air pumps.

DSC_00606.jpg


I then put the lid on and pulled out the feeding tubes. I know they're way too long, but I'll be cutting them back :) I put the tubes through the netpots, and put about 1" of clay rocks in the bottom.
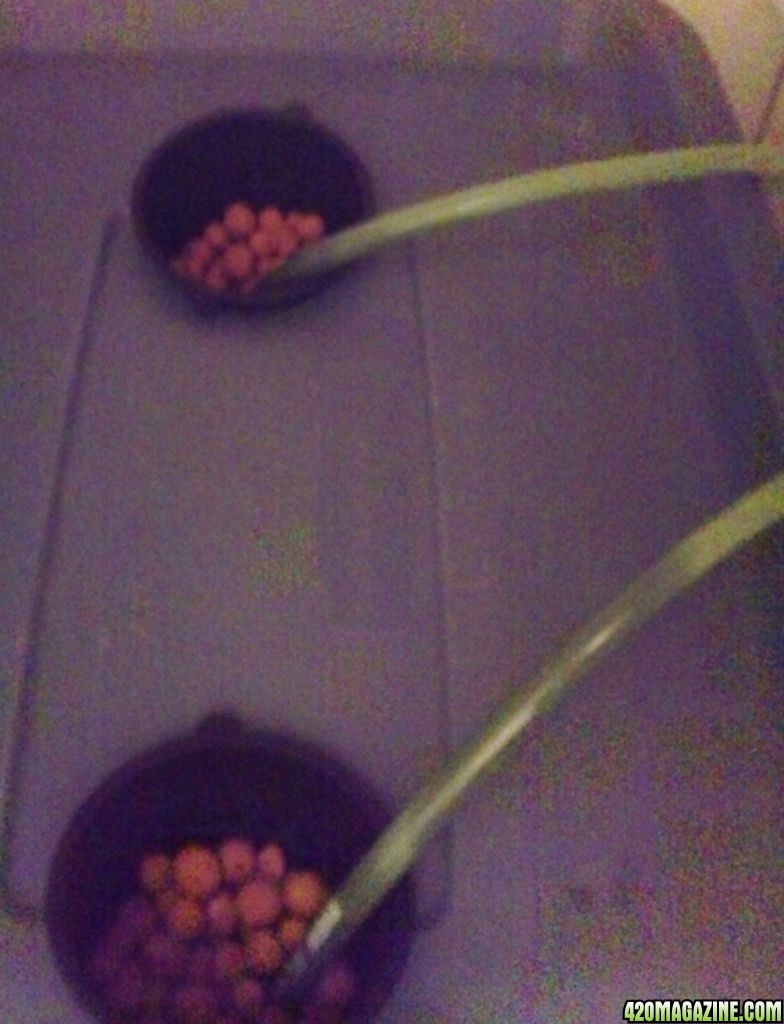
DSC_00625.jpg


Then I cut back the tubes and butted them into the Rockwool (soaked for 24 hours in ph6.0 water), and filled the rest of the cup with clay rocks (I forget what they're called at the moment - sorry)

DSC_00642.jpg


DSC_00654.jpg
 
Putting it together

And here's a shot of the pot full of clay rocks, with the feeding tube butted into the Rockwool

DSC_00703.jpg


Doing this method with a SCROG I was wondering how I was going to be able to fill the bin with the screen holding everything down. So I picked up funnel with an extension on the end. Then I only have to lift up a corner of the lid to be able to fill it.

DSC_00662.jpg


I filled the bin with ph6.0 water. I was (am still am a little) concerned that I'm not generating enough bubbles - thoughts?

DSC_00671.jpg


And here's a shot of the carbon filter I made, with a 4" inline fan.

DSC_00731.jpg
 
Just picked up some (yea, I know) Miracle Grow All Purpose Liquid Houseplant Food (8-7-6) with 0.10% Chelated Iron. I'm going to add a splash to the res now and test the ph later to see if it screws with it too badly.

I figured it was a light dose and in liquid form, and the price was right. If it kills my sprouts I guess this will be a short journal. ;)
 
The seeds have landed

So after doing some additional reading, I'm not going to wait for the seed to bust open before introducing it to the system. The system keeps the area very moist, and I've read that you can drop seeds to cuttings into this type of system. Soo... here goes.

The seeds from Greenhouse come painted. Don't ask me why, but once they've been soaking the paint comes right off if you roll it around on the wet paper towel.

DSC_00751.jpg


So once that was done I dropped them into their new homes. I sure hope they like it.

DSC_00761.jpg


You can see in the picture above that I first inserted a seed into this one before realizing the paint easily came off. I gently removed it and cleaned it off by rolling it on the paper towel, then put it back in.

DSC_00772.jpg
 
Too Hot

So I went and got a simple thermometer today and put it in the box about an hour ago. I went back to see and it maxed at 84F - too hot.

DSC_00801.jpg


I took the thermometer around the pad and it's about that hot everywhere. There's no reason for my place to be that hot, and it explains why the box is so hot. But, I figured I may as well start to get ready in case this problem persists.

I was at a big discount store about 2 months ago and they were selling those mini freeze packs for 80 cents or something silly, so I picked up four of them thinking I may need it later. Well, I added a fan the best I could and dropped two of them into a small Tupperware container and placed it on the bottom of the cab, leaning on the res. I also added a fan to the back corner - I knew I would need it eventually, and there's no time like the present!

DSC_00812.jpg

(You can also see the hooks I added for training)

I also needed to get some air coming into the unit. There was a small 1.5" x 1" (approx) hole at the top of the unit that I run the light's power cords out of. My plan was to seal it up once I put all 4 of the lamps in there, but I sealed it up now so I can correct the airflow.

Once it was plugged up I took a fairly large drill bit and made 2 rows of holes along the bottom of the sidewall opposite my exhaust fan.

Room lights off
DSC_0082.jpg


Room lights on
DSC_00833.jpg


I still have negative pressure in the cab so no air will escape without being scrubbed. I tested the pressure by holding 1 square of double ply toilet paper up to a couple of the holes that were drilled, and the pressure holds the TP in place.

I also went and opened a lot of windows throughout the place, since it's much, much cooler than 84F outside. The fresh air will do me (and them) good. I'll go check on the temps in a couple hours to see how it worked out.

BTW - the seed that popped earlier has it's tap root going into the rockwool now, and the other one appears to have popped as well, but I can't see it very well due to the position of the seed.
 
Better, but not good

Thanks for the kind words Valhalla88 - here's hoping it works out. =)

Well, the temps are still riding high @ 83F after adding the fan, intake holes, and the ice packs.

DSC_00891.jpg


DSC_00882.jpg


I think I have a solution to this problem, and I'll go about implementing it in the next day or so. We'll see how it works out. For now I decided that the seeds don't need that much light, so I turned off the 1x45w and 1x23w CFLs that were in one of the lamps, and instead turned on 1x23w. I'm hoping this will drop the temps and be suitable until I add the extra venting.

DSC_00903.jpg
 
I cut out the inside ring of a Styrofoam plate, then cut a small hole in the middle of that. The intent is to cover up the pots to protect the baby roots from the light, while leaving some light coming through the top (not hitting the roots) so the plant has somewhere to be drawn to.

The cab was still running hot in my opinion, so I'm leaving the door open today with 2x23w CFLs going. I also placed a large ice pack in the middle of the lid, between the pots.

The root on the first one that popped (further from the door) has a good root that's grown into the Rockwool. The 2nd one appears to have taken hold, but from the way its sitting inside the Rockwool I can't be 100% certain.

The pH rose a bit overnight, so I dropped it down a little bit and added another cap of Miracle Grow.

I called one of the hydro stores in town to ask them about nutes for veg. They recommended Let's Grow A + B. Anyone know of anything good or bad about these nutes? The price seemed alright, now I'm looking for any opinions before I pick'em up.
 
Yep

I placed some square Tupperware containers over the pots and turned off the lights about 6 hours ago. I also placed 2 large freeze packs on the top of res in hopes of dropping the water temp. Since there's no roots in the res yet I also dropped in a handful of ice cubes to help fight off the high temps that were running today (this isn't a long term solution, just a quick adjustment). They're liking it very much, so far. The late popper looks to be sending it's initial leaves upward now, and the guy in the back is hasn't shown any signs of greenery yet - but everyone can't be an over achiever ;)

When there's something to look at, I'll post pics.

I haven't really talked about the lighting I'll be using yet, so I'll start now.

I've picked up 4 reflectors, 4 Y sockets, and 4 extenders. Putting them all together gives me 8 sockets with a reflector to keep the light going in the right direction.

Initially I've picked up 6x 23w Soft White bulbs and 2x 27w 6200K bulbs.

I don't expect that the above lighting will be enough (192W @ ~ 65l/w / 4sq ft = ~3120 lumen / sq ft.) The lights I have now will be fine to start as I want them to stretch at the start so I can spread the growth underneath the screen. When that's done i'll be upgrading my bulbs to get more lumen per sq ft for the rest of the grow. Ideally I want to come close to doubling my current lumen output, but there's no immediate rush.
 
2 1/2 Days - Boing

Returned this morning to find the tops of some friends.

DSC_00922.jpg


DSC_00933.jpg


I pH of the tank was about 6.4, so I dropped it a little bit and added another splash of MG. I'll be running 2x23w today at the top of the cab, and will kill the lights again this evening.

Here's a shot with the Tupperware and Styrofoam coverings.

DSC_00942.jpg


I know.. the covers are made by Rubbermaid, but I'll always call that style of container Tupperware. I dunno why. :smokin:
 
There was a good amount of growth overnight and I'm confident that these are here to stay. They both popped out their 2nd set of leaves.

DSC_00982.jpg


DSC_00991.jpg


This morning I cut a hole into the bottom right of the cab to put a fan. Once the hole was cut I did the TP test and there is still a good amount of negative pressure. I'll add the fan shortly.

When that was done I cut out the screen and secured it into place using the same hooks I attached to the sides for training. I found a bundle of plastic yard fencing at a bargain bin at one of the hardware stores, so I got a good deal on a large amount - I should be set for a while.

DSC_01001.jpg


I'll be leaving the lights on 24x7 now, and adding more as they need it. I added another fan inside to keep the air moving, and the temps are around 82F.

Here we grow.
 
Lowered Lights

I removed the clamps from the reflectors I picked up, and added some hooks to the top of the cab. I put the lamp wire through the hook, and used some super-strength paper clips to make sure they don't slip. The pressure of the wire through the hook holds the lamps well by themselves - the lamps aren't heavy or anything - but better safe than sorry.

DSC_01073.jpg


And some shots of the plants. One of them has their 3rd set of leaves (counting the first ones that don't really count :p).

DSC_01066.jpg


DSC_01056.jpg


So last 24 hours the intake fan was added, the lights were lowered, and some proper veg nutes were aquired and applied ever so gently.
 
Hot!

I grew very concerned with the temp within the cab, and even more so the res. The cab got over 90F last night, and I don't have nearly half of the total wattage that'll eventually be used . Because of this, I decided to look into aquarium chillers - holy crappers they're expensive! So I got creative and voila! Me and a friend made a DIY chiller.

Basically it's 9ft. of 3/8s steel gas line from a local mechanic shop. It came in a coil so I left it that way, and attached 5ft. of tubing to both ends of the coil. One piece is connected to a water pump, and the other doesn't connect to anything and will be used as a drain. I placed the water pump and the drain line into a cooler with ~ 2gal. of water in it, and placed ice blocks into the water to keep it cool. Basically the cold water flows through the steel tube which sits in the nute reservoir to lower the temp, and gets dumped back into the cooler to be recycled.

I know steel isn't the best material for this, but it'll do for now. I was also thinking that I could make a similar contraption out of copper and place it into the cab to help lower the air temperature. This isn't an immediate concern at the moment, but something I'm going to think about, but it's definitely something I'm going to experiment with later.

All in all I'm hoping to drop the reservoir temp by about 10-15 degrees. It feels like it's working so far. If I'm not happy with the temperature it settles on I'll be picking up some Aluminum tubing instead since it has a higher thermal conductivity.
 
wow the things we can do when we put our minds to it thats a great lil setup there bud.have you considered more holes maybe another row or three wouldnt hurt.i dont know your situation if light is a problem then freeze some 2 liter pop bottles and set em in there that has worked for me also if your res temps get to high they work in there also.just trying to help !!!!!
good luck and things look fine ....... wonder why they painted the seeds that does seem odd ????????????????
 
Thanks for the feedback fluroman, really appreciated.

I placed about 4 2L jugs in the freezer now. I need to jump start the cooler, so I'm going to buy a bag of ice and drop it in. Once it's cold using the ice packs and 2L frozen pop containers should suffice. I didn't think about placing them into the cab, but I'll give it a go if the temps don't start to relax a little.

Regarding the air holes and light - I open up the area between a couple of the holes and added a CPU fan to blow in fresh air. Light isn't a problem at this point as the cab is placed in it's own room, and I lights out the room when I leave. Partially to save power, and partly to the lights doesn't add to the ambient temp of the room.

Thanks again - I'll post the new temp reading in the morning.
 
Taxx,
Man looks like u got the right idea, I was using frozen milk jugs in my Rez to keep the temp down, it works awesome! I like your make shift chiller you have, an improvement to that Idea would be adding a mini fridge instead the of the cooler, put pump in water in a 3 gal bucket in the fridge pump through coil. Just a suggestion, another would be adding a window unit ac to the room your cabinet is in, look on craigslist for either item. I have had that problem before, if it gets too hot it will stunt growth. I like your design and this should be a good grow to watch. Hope u don't mind me grabbing the lazy boy to watch this one unfold. Good luck and can't wait to see what u do next!

Peace!
 
Back
Top Bottom