Closet & File Cabinet Ideas

EsotericGrows

New Member
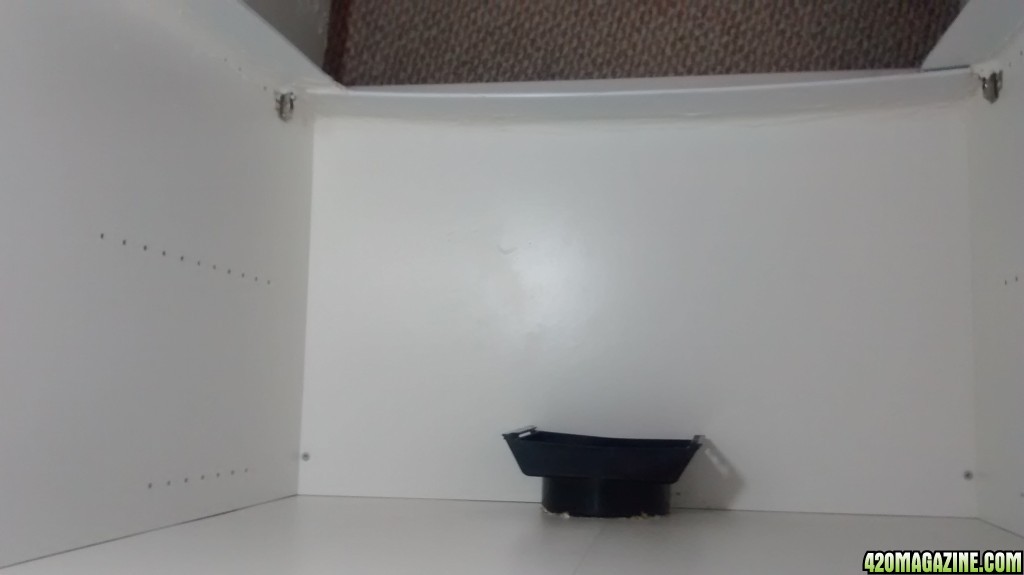
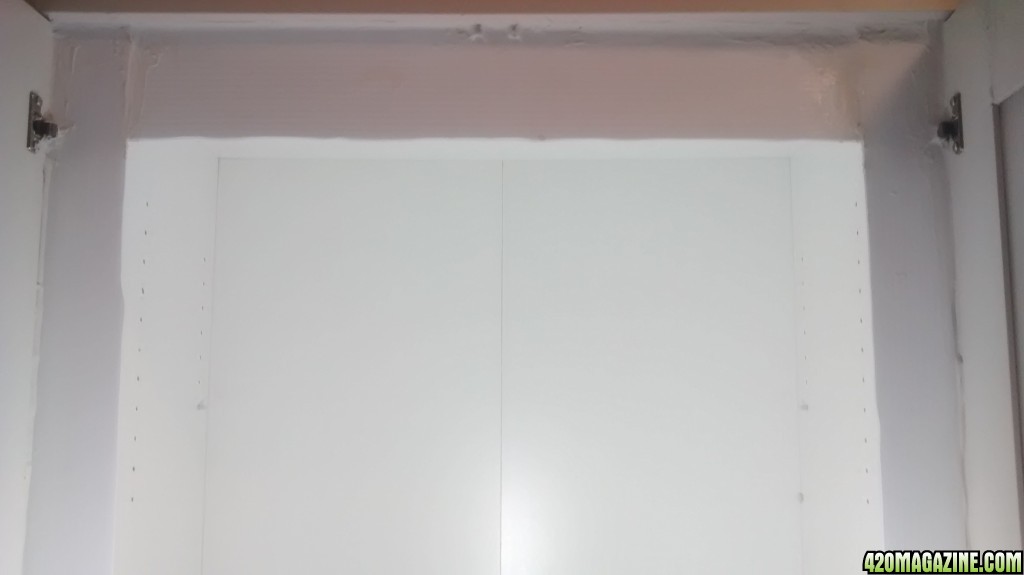
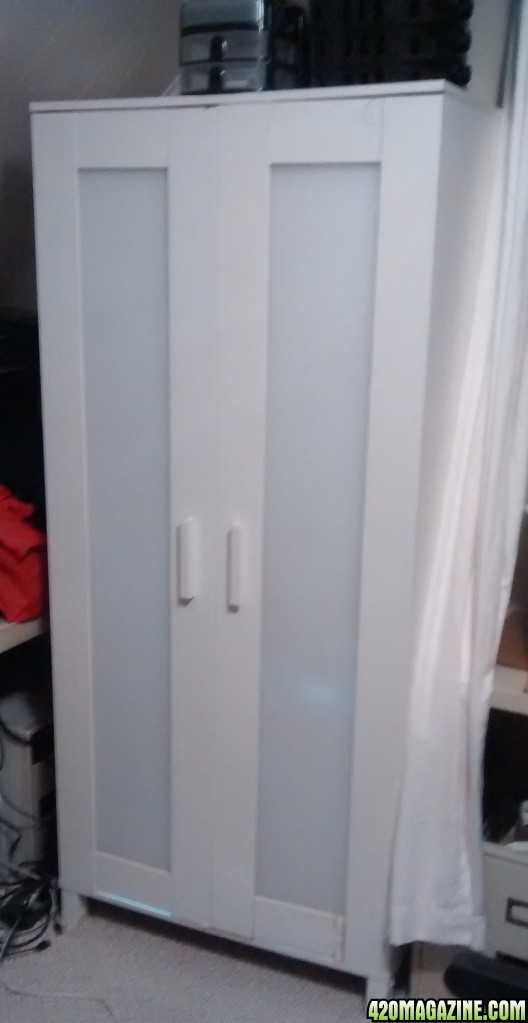
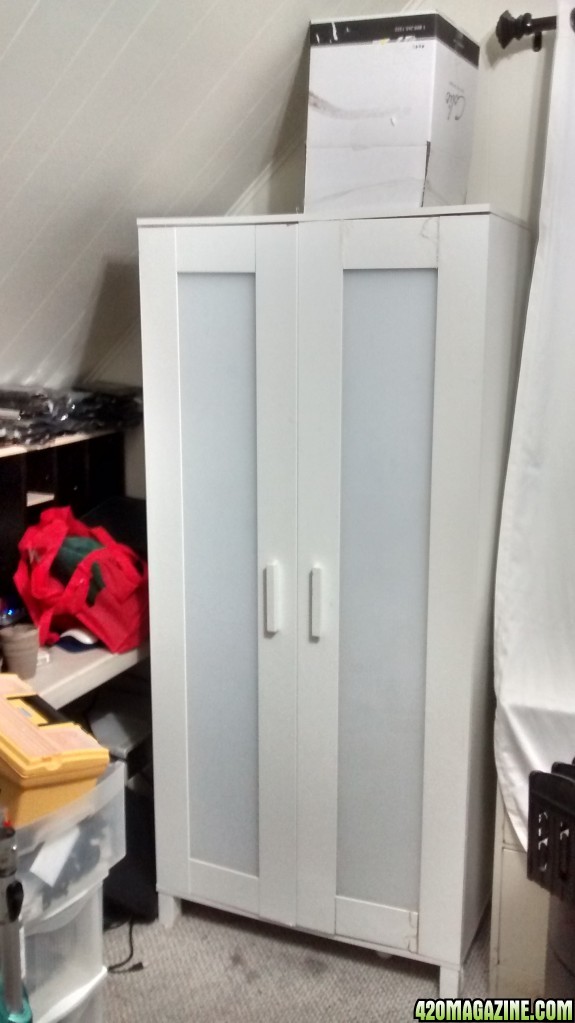
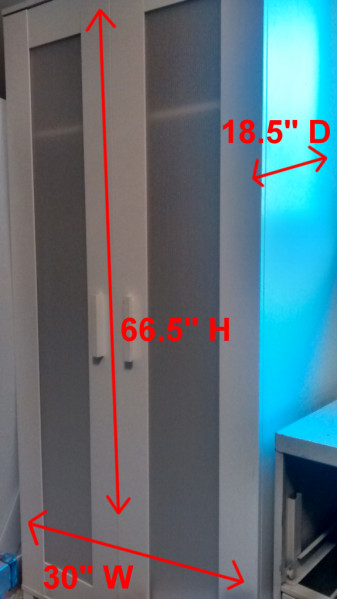
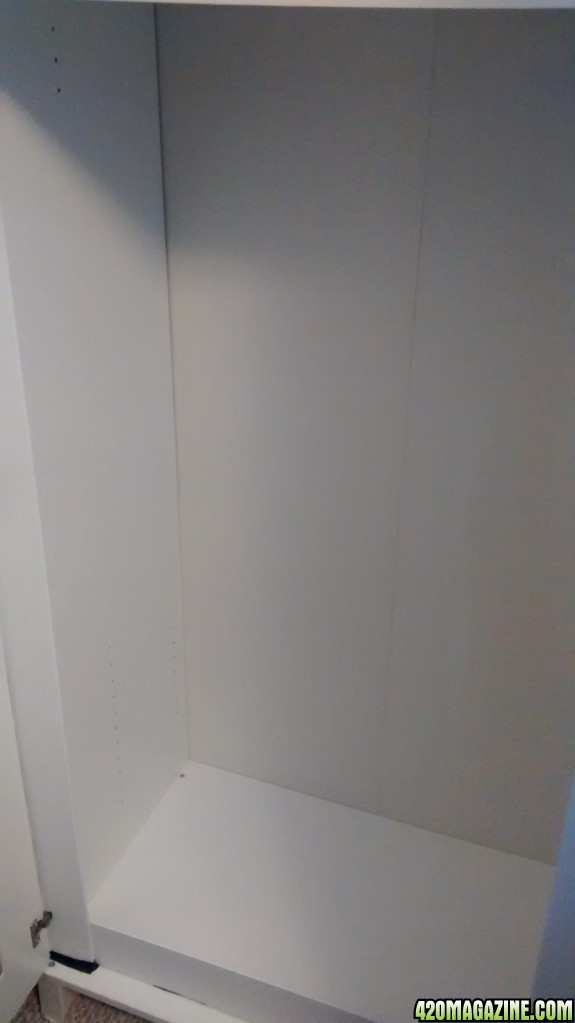
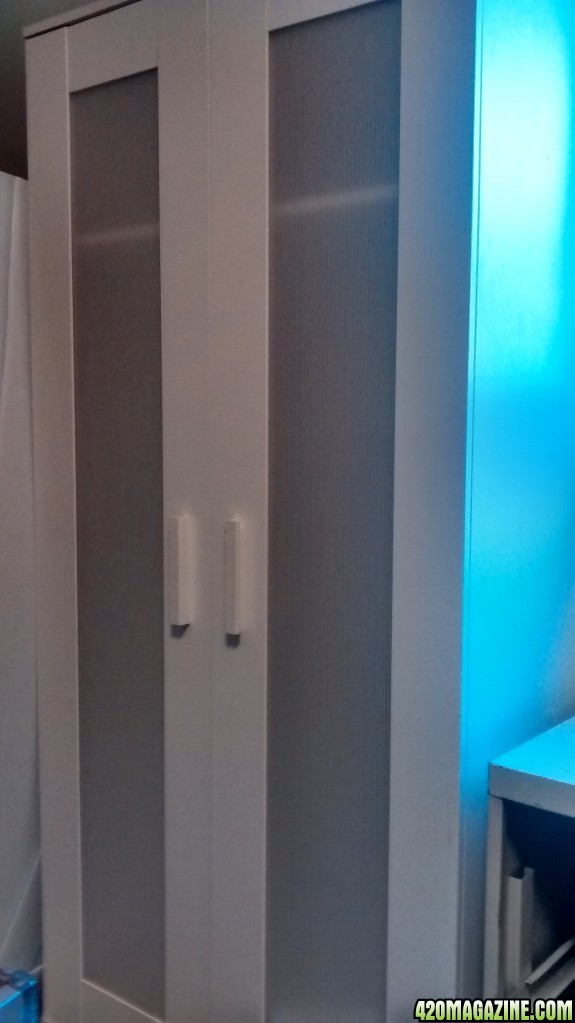
Here's the dimensions of the closet and a view from the outside of the front side of the closet with the doors shut.

closet-dimensions.png


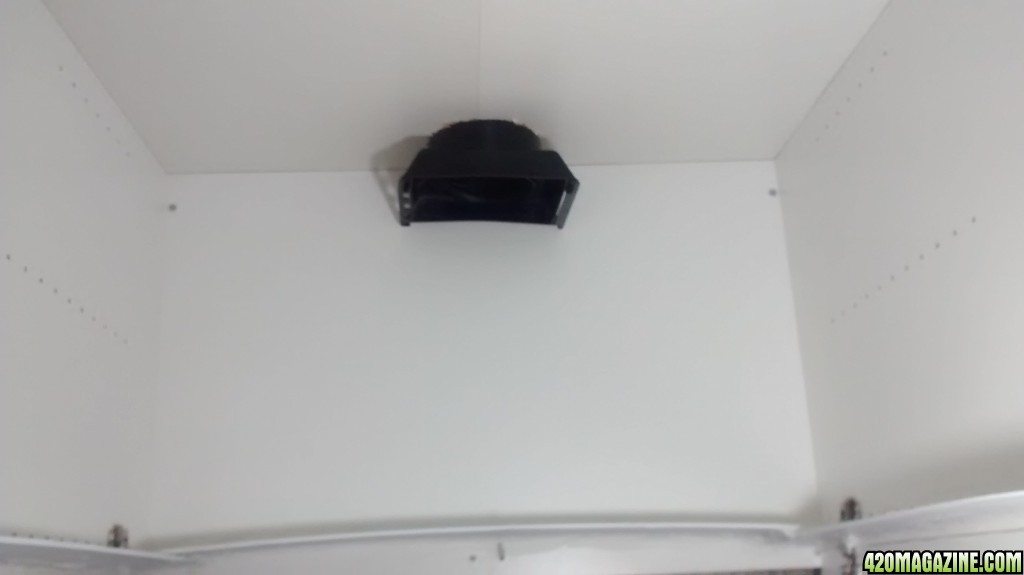
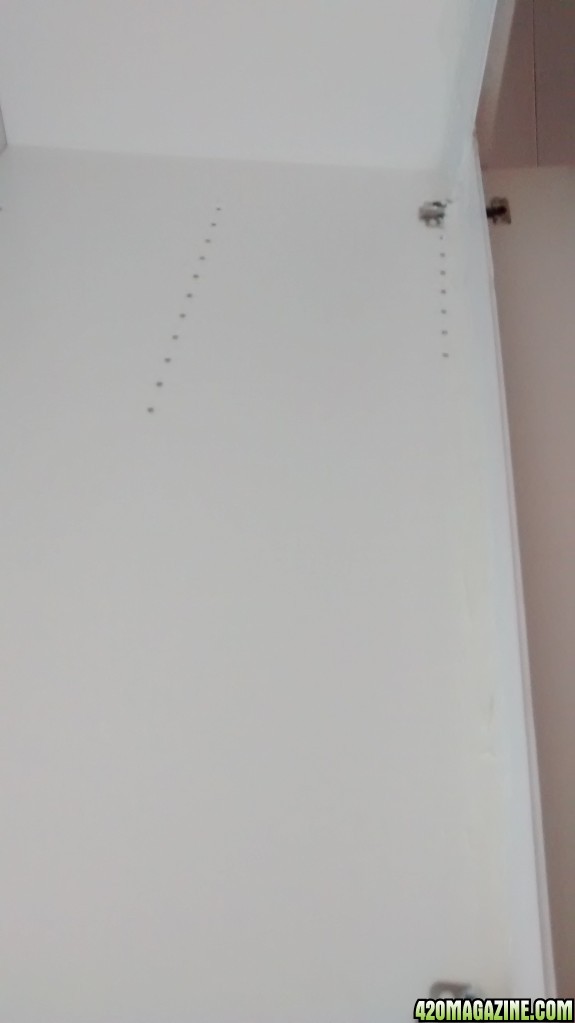
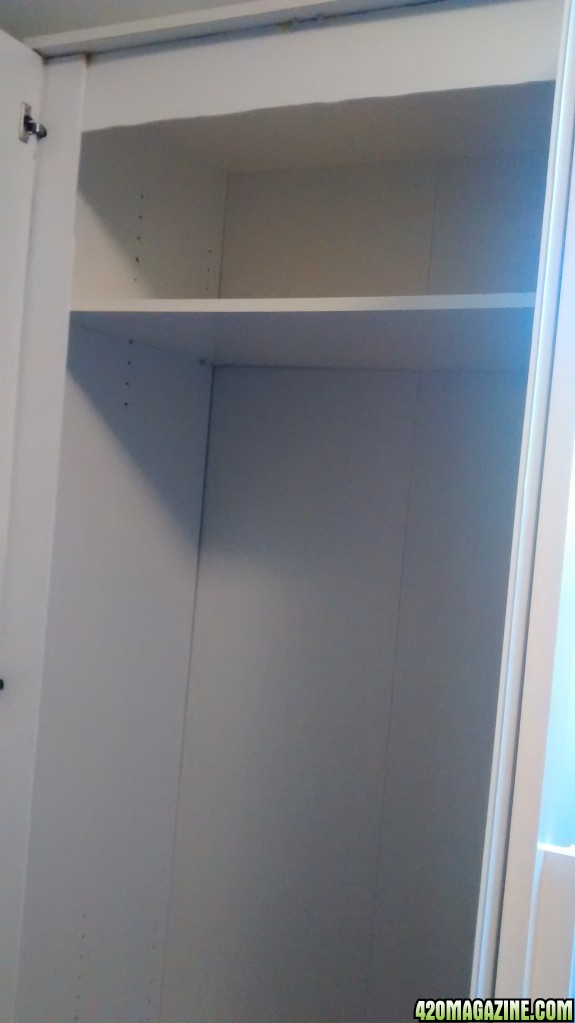
It does have an adjustable shelf for the top half but holes could be drilled anywhere to move the shelf 1/2 way down for example to make 2 even sized compartments.

closet-opened-top.jpg


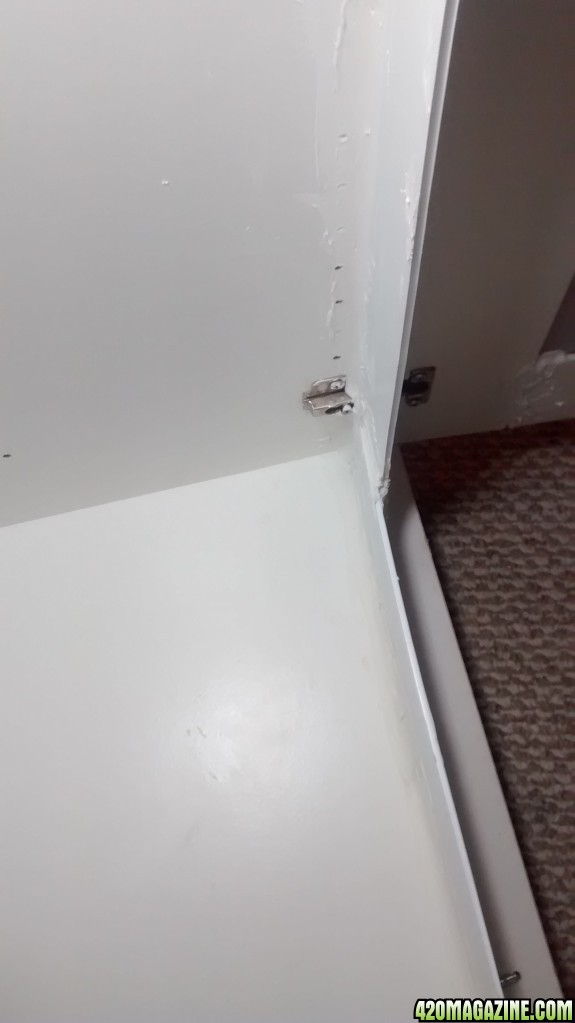
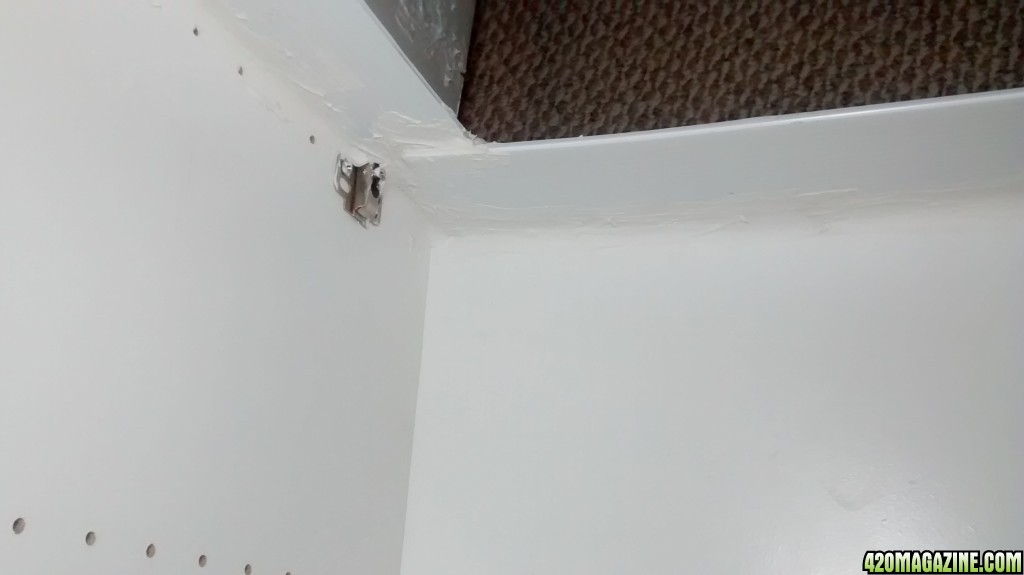
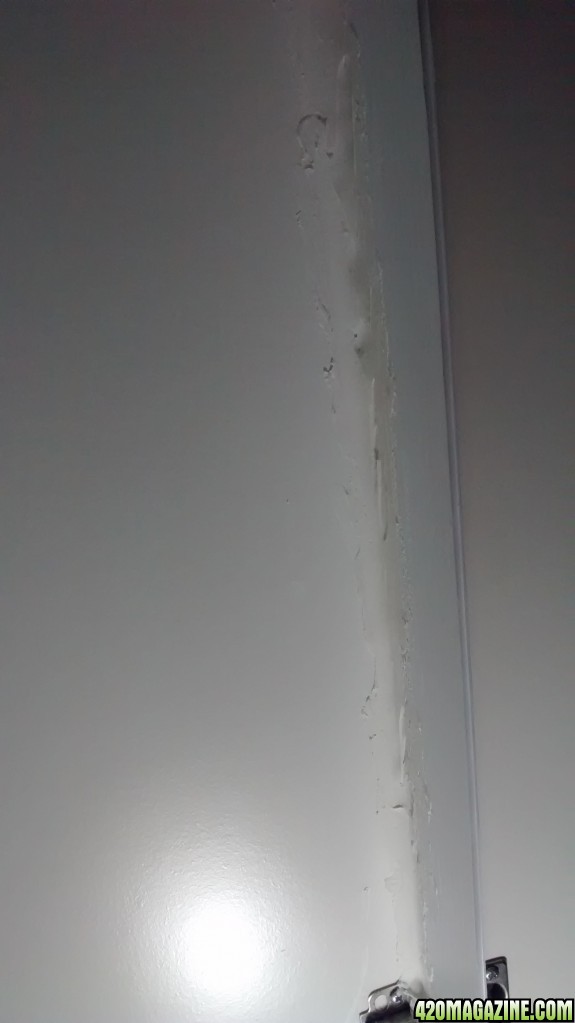
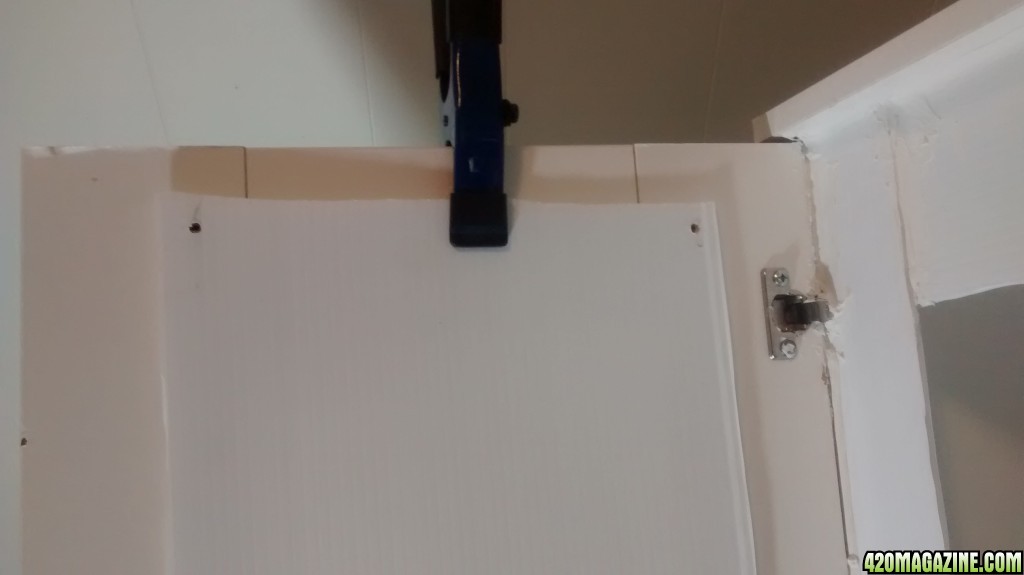
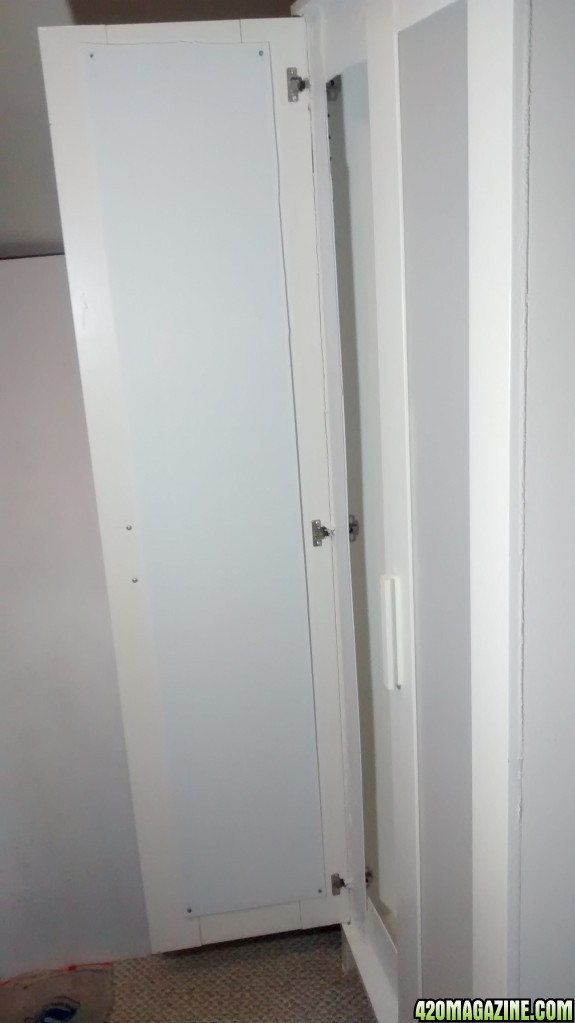
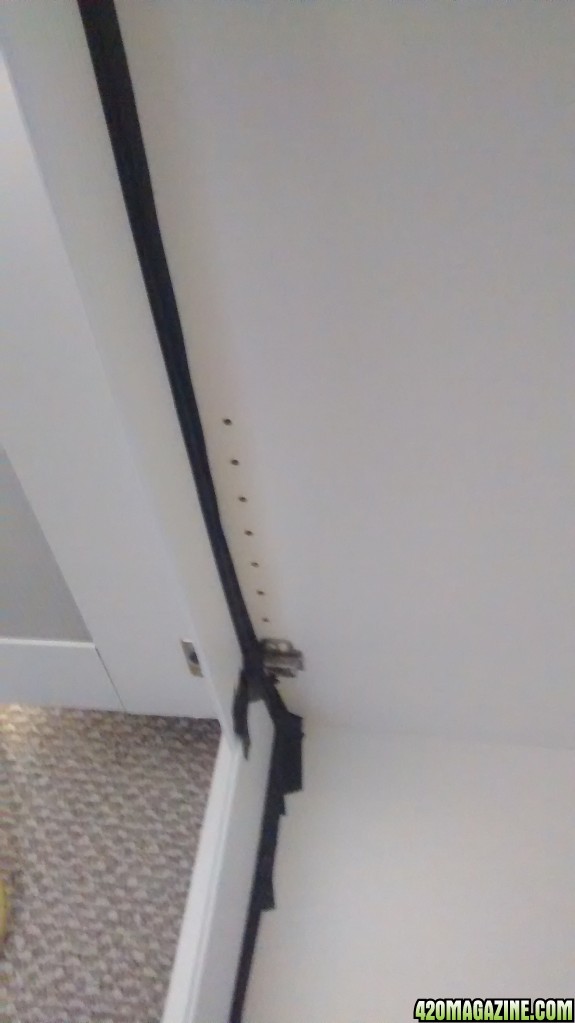
I cut and attached some white plastic strips along the edges inside the door to keep the light from escaping the closet.

closet-opened-bottom.jpg


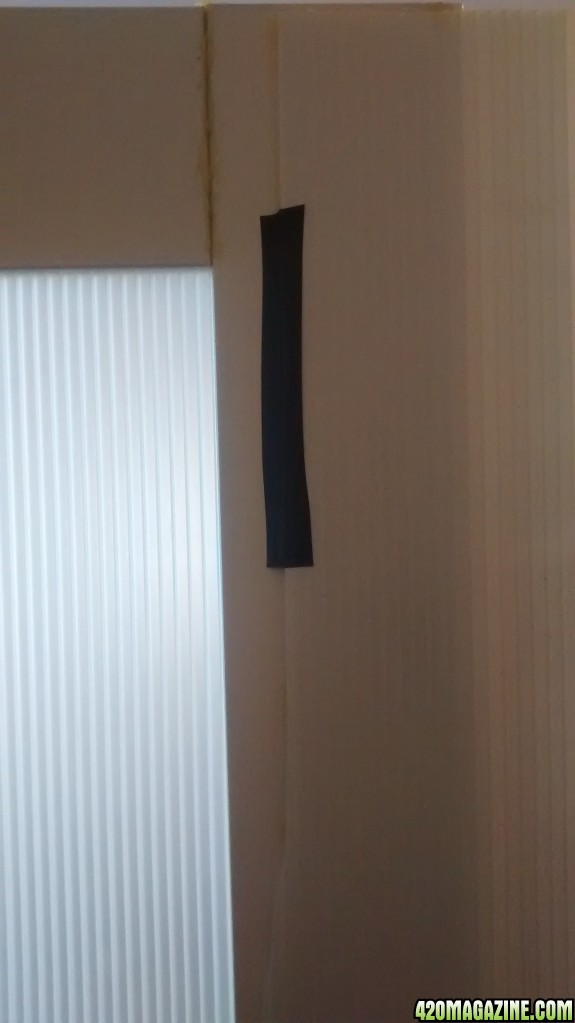
I used some black electric tape along the edges to fill in any gaps between the plastic and the outside of the closet.

closet-inside-light-stopper.jpg


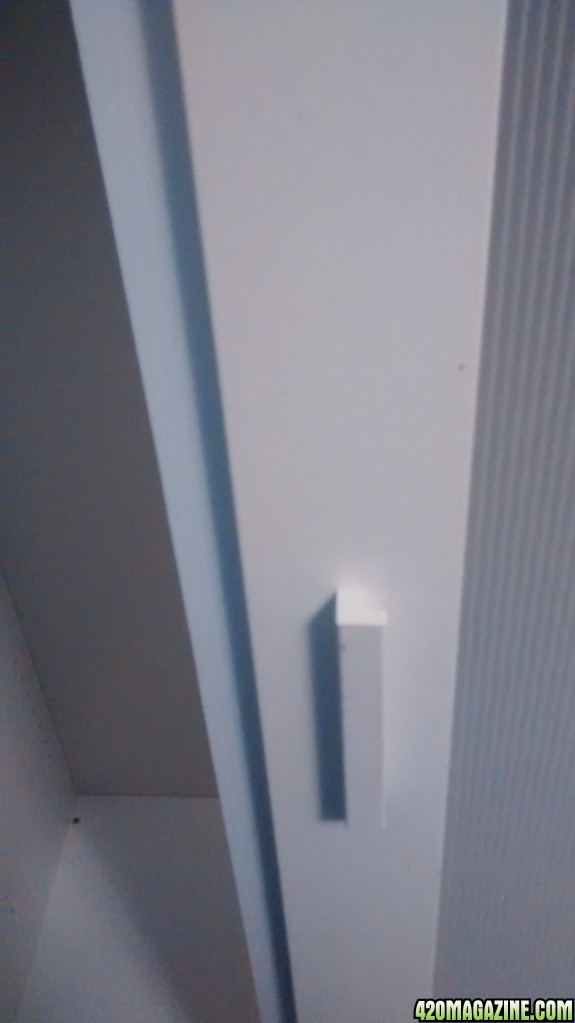
I also attached a platic strip to the inside of the right door to keep light from shining out between the doors.

closet-door-light-block-outside.jpg


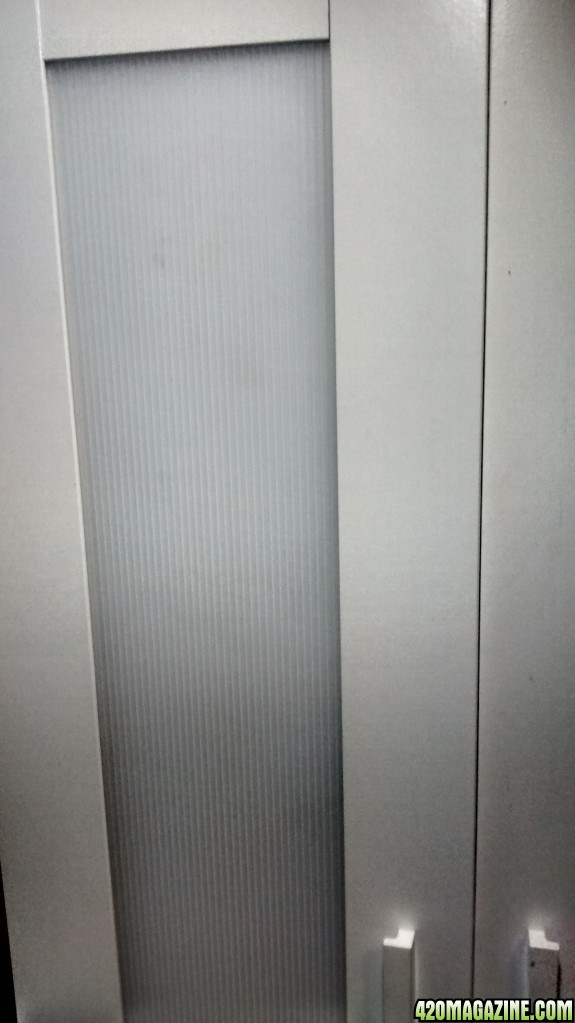
I'm going to need to cover the translucent front panels with something opaque.

closet-door-light-block-inside.jpg


This is the dimensions of the file cabinet.

IMG_20150523_242347460.png


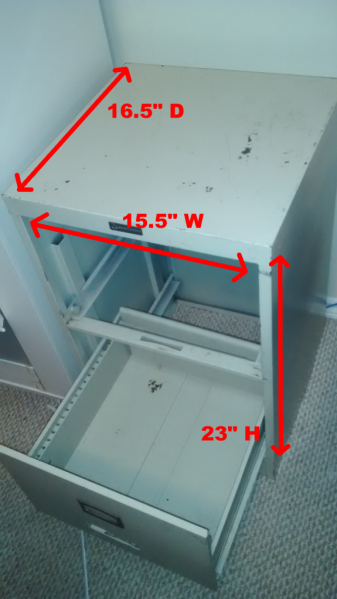
This is how much larger the closet is over the file cabinet. The file cabinet is at the bottom right.

closet-next-to-file-cabinet.jpg


Any suggestions on what you would do with the grow space?
 
Progress of closet build

I cut an intake fan at the back bottom side of the closet
IMG_20150529_175256760.jpg


I switched out the duct with a black one since it should absorb the light better and I don't want light escaping the closet.
IMG_20150529_183236634.jpg


This is the duct on the inside of the closet. I just recycled the black ducts from components taken from an old portable air conditioner unit.
IMG_20150529_183446996_HDR.jpg


This is the top down view of the inside of the closet so far.
IMG_20150529_183703774.jpg


This is a view of the inside of the closet after I removed the electric tape and replaced it with silicone to hold the cut plastic sheets I put inside the closet to block the light from escaping the cracks on the front door.
IMG_20150529_183720802.jpg


Redundant to the last photo.
IMG_20150529_183728786.jpg

Side wall of the silicone job
IMG_20150529_183739277.jpg


Inside closet showing opened doors, plastic lining inside the doors and intake duct.
IMG_20150529_183803071.jpg


Holes to adjust optional top shelf
IMG_20150529_183820070.jpg


Front view of top of closet with doors open showing the light blocking liner I installed.
IMG_20150529_183859253.jpg
 
The doors had clear plastic translucent sheets in the middle of them which made it look fashionable but for the purpose of a grow closet wasn't going to work. The last thing I wanted was a closet with doors glowing and lighting up the room every night.

I cut some white plastic sheets to cover up the clear translucent sheets on the doors to keep the light from escaping the closet. I used a clamp to hold it in place so I could drill holes and screw the plastic cover onto the door.
IMG_20150529_184415231.jpg


Here's the inside view of the door with the white plastic sheet attached.
IMG_20150529_185014253.jpg


Here's what the door looks like with the white plastic sheet attached to the inside.
IMG_20150529_185057832_HDR.jpg


Here's a comparison of the doors. The left door has the white plastic sheet attached to the inside and the right door is how it came from the factory with the translucent "window" already on the door and no white sheet attached to the inside. Basically I want both doors to look like the one on the left and keep all the light inside the closet.
IMG_20150529_185107169.jpg
 
Next I positioned my exhaust duct where I wanted it to go.
IMG_20150531_140833529.jpg


I then traced out an outline of where I wanted to cut a hole for the exhaust.
IMG_20150531_140811094_HDR.jpg


I'm not much of a handy man and wasn't sure what the best tool for the job was to cut the hole so I used what I had at my disposal....a drill. I drilled holes all the way around the hole I had drawn. I then sort of wiggled the drill back and forth in the holes to cut away any material until I could pop the hole out.
IMG_20150531_141405123.jpg


And finally, the hole was removed so I could fit the exhaust duct into the top of the closet.
IMG_20150531_141721141_HDR.jpg
 
View of the top exhaust with the duct mounted in the hole.
IMG_20150531_145411253.jpg


I also found and used this type of aluminum foil tape for air ducts that I used for sealing any cracks or holes. It's not supposed to be affected by moisture or heat - they use it for dryer vent ducts quite often. I suspect this type of tape will likely work better than electric tape or regular duct tape in a grow closet because of the heat and humidity it will create.

Here's a look into the duct of the top exhaust duct.
IMG_20150531_145421306.jpg


The top exhaust duct from the perspective inside the closet looking at the exhaust duct.
IMG_20150531_145521408_HDR.jpg


After testing the closet I determined that the rear exhaust wouldn't work. It left far too much of a gap between the back of the closet and the wall I wanted it against. It just wasted a lot of space and didn't look right sitting so far away from the wall, a full 6". After a couple days of use I decided to move the intake from the rear of the closet to the side of the closet.
IMG_20150531_141904866.jpg


I screwed up creating the hole on the intake hole on the side. The position seemed like a good spot but I wasn't thinking about the screws that were securing the bottom of the closet to the sides. As a result I totally screwed up the side support of the closet by making a hole around the screw that secured the bottom to the side. I didn't take pictures but what I did to fix this mistake was tilt the closet on it's side and put fresh new screws in the bottom of the cabinet on each side of the intake hole to re-secure and reinforce the bottom and side of the cabinet.
IMG_20150531_150404721_HDR.jpg


Here's the 2 types of material left over from 2 of the holes I cut in the closet. The left is the back of the closet and the right is the type of material on the top and sides.
IMG_20150531_142345415.jpg


Here's a sideview to compare the 2 types of material and difference in thickness
IMG_20150531_142406842.jpg


I also screwed up the side intake hole by drilling too low to the bottom and scuffing up drilling out chunks of the bottom board of the closet. I'm definitely not a handy man. To the left of the hole you can see a mark from where one of the extra support screws I added came out the inside because it didn't go in straight. It was a messy job but a learning experience. I also cut a little hole in the back for the powerbar to come into the closet.
IMG_20150531_151607011_HDR.jpg


I cut and secured a cover over the rear intake hole I decided I wasn't going to use. I also lined the bottom of the closet with a tarp so any water spills don't prematurely start rotting the wood (particle board).
IMG_20150531_203418465.jpg
 
Next I mounted a fan to the top of the closet at the exhaust duct hole to push the hot air out of the closet.
IMG_20150603_051209339.jpg


My light check in full darkness shows that I still need to troubleshoot what needs to be done to keep the light from escaping. Clearly what I've done isn't working well enough.
IMG_20150603_044347626.jpg


Closet view from the outside in light. Even with lights on you can clearly see the light escaping the bottom left side of the closet and on the middle right of the closet. I've since fixed the problem on the middle right but still need to work on a solution for the light escaping from the cracks around the edges of the doors.
IMG_20150603_051516825.jpg
 
Turned out nice

Thanks man. It still isn't complete but I'm just figuring out what I want to do with it. A grow tent would've been easier but it's too obvious what it is if anyone sees it. I'm wondering if I can find a grow tent that will fit inside a closet for the next closet I get. I'm thinking I'd like to have a second and/or third grow area.

Updates:

For now I've got an exhaust fan attached to the top inside blowing air out the top:

IMG_20150627_212118142.jpg


I've put a box on top for now and taped some active carbon filters onto the boxes for now because I could start to smell the buds. This might affect heat so I'm going to keep a close eye on it.

IMG_20150627_212158479_HDR.jpg


This is what the closet looks like with the box on top of it.

IMG_20150627_212610320_HDR.jpg


And I managed to fix the light leaks. Here's the the same pick as the last one seconds later but with the lights turned out. Alls the light leaks seem to be addressed except on the back where the power bar comes in, I haven't filled it in yet.

IMG_20150627_212614697.jpg
 
Back
Top Bottom