- Thread starter
- #21
trigger-420
New Member
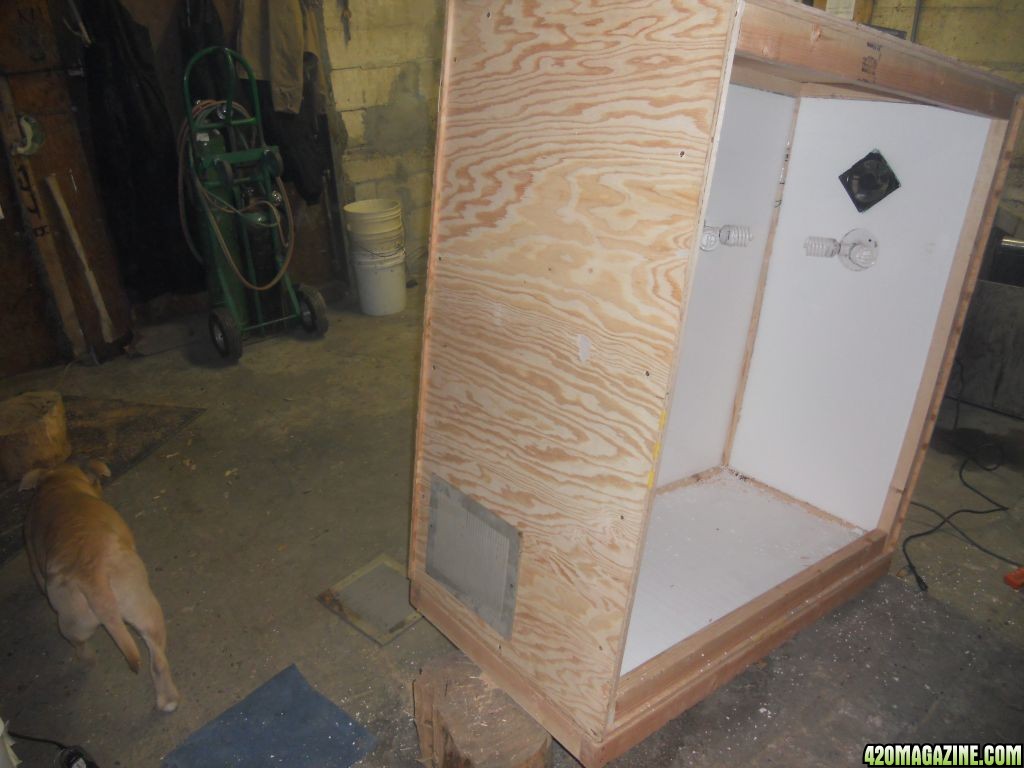
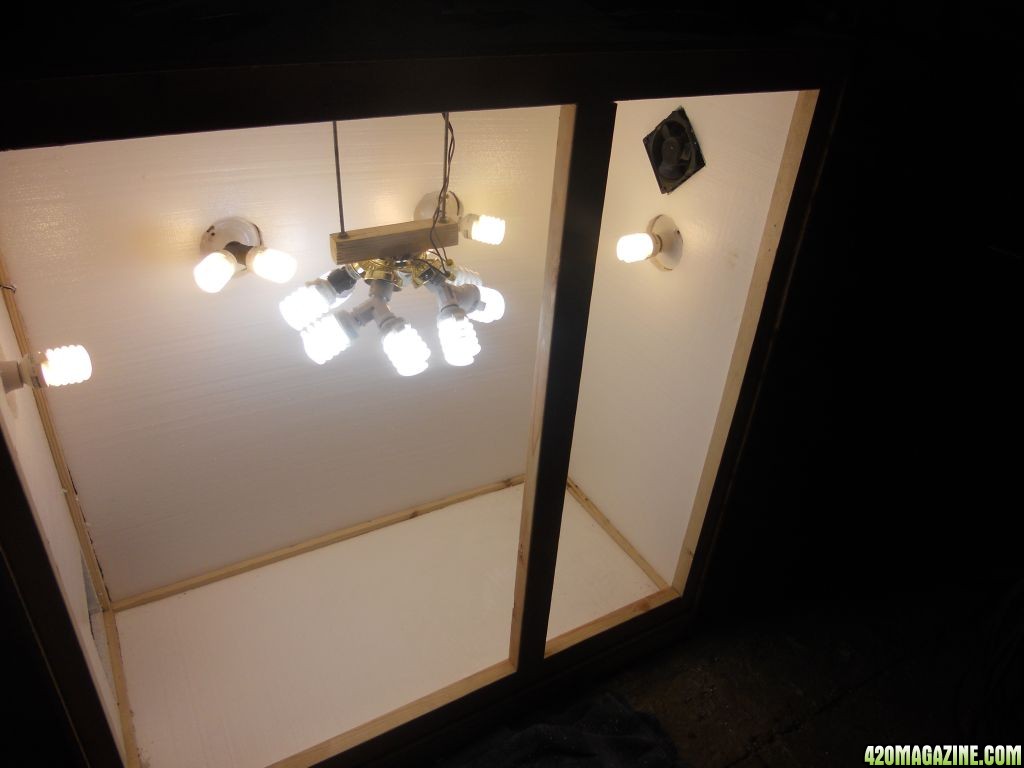
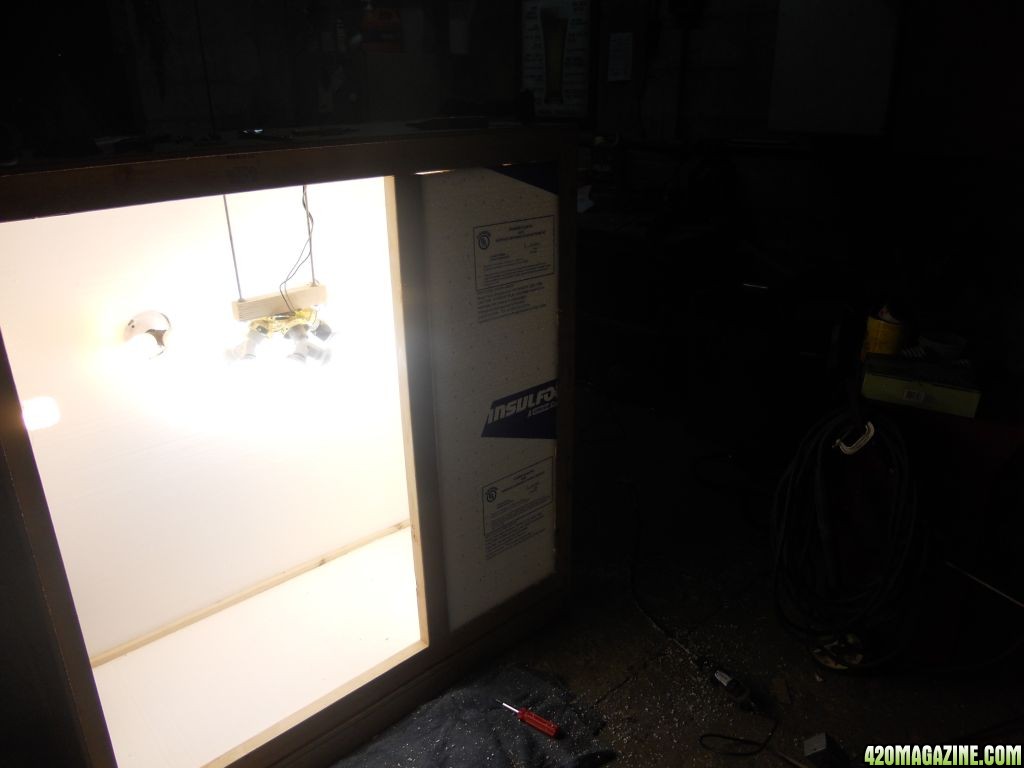
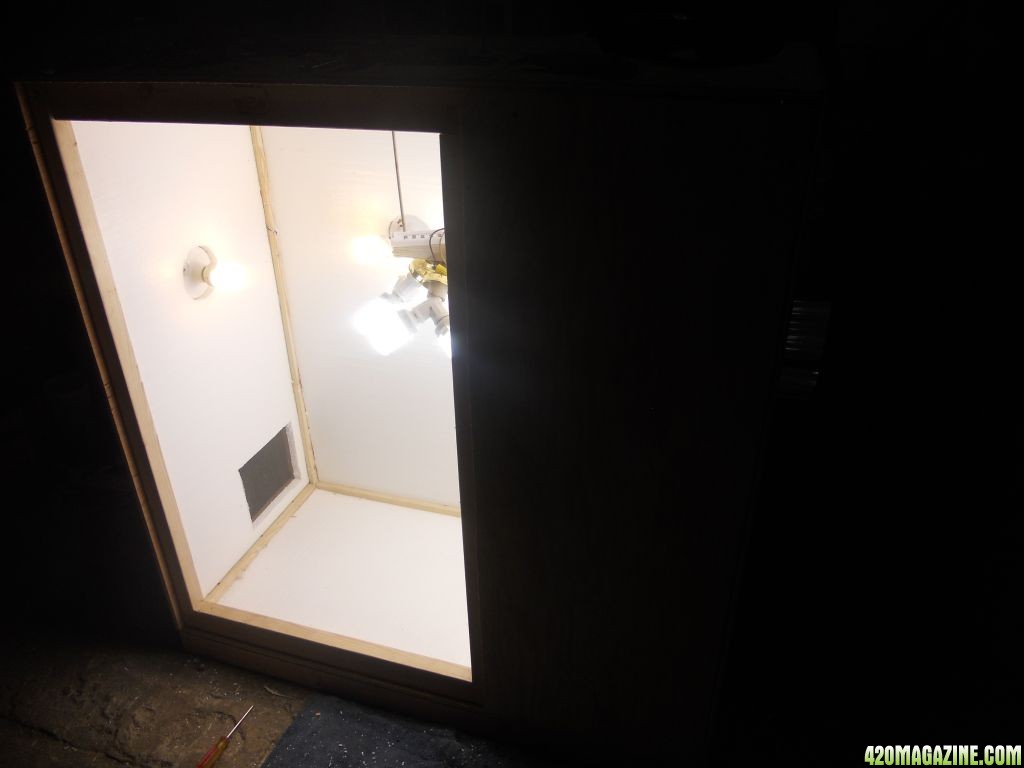
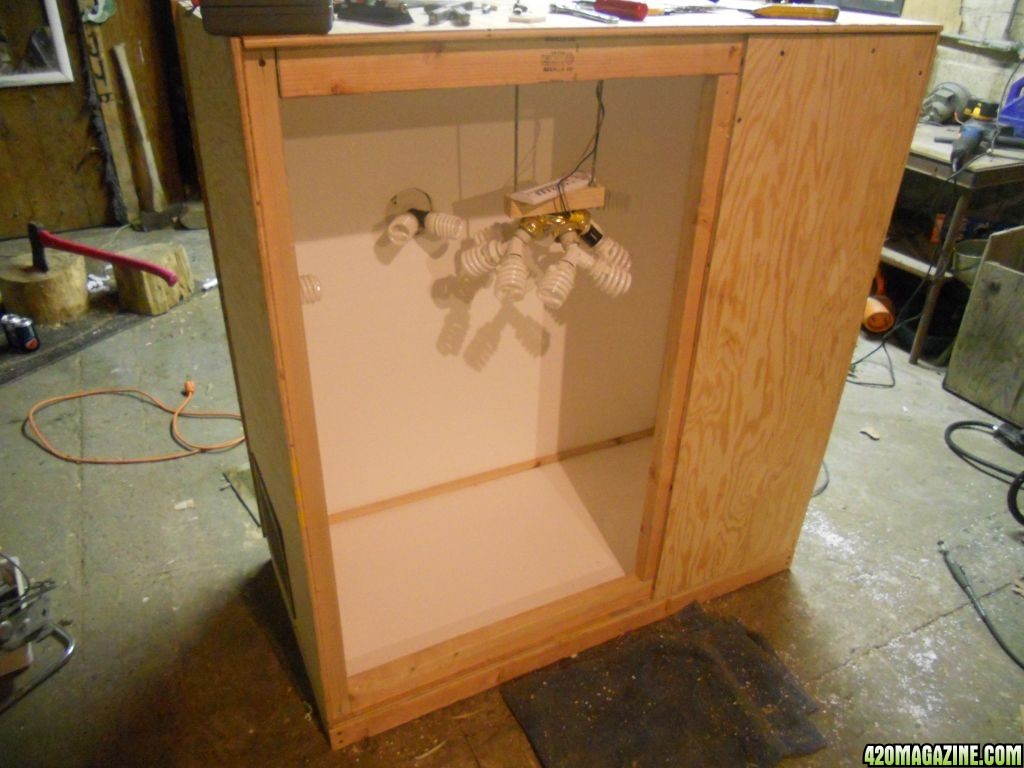
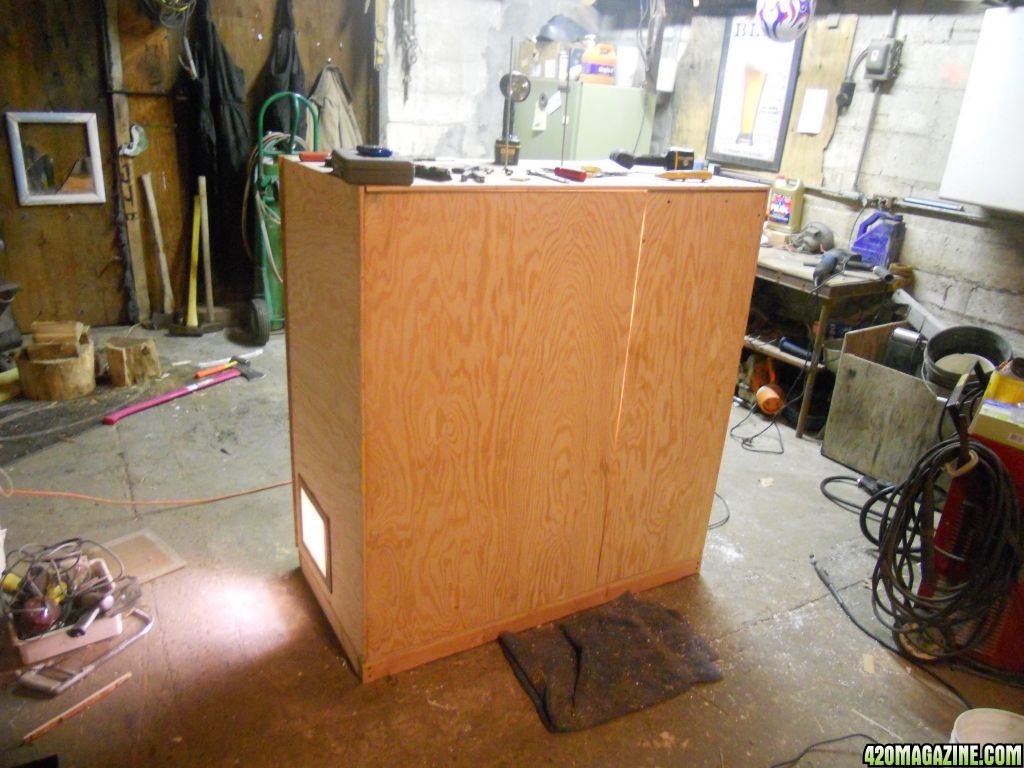
Nice cabinet.
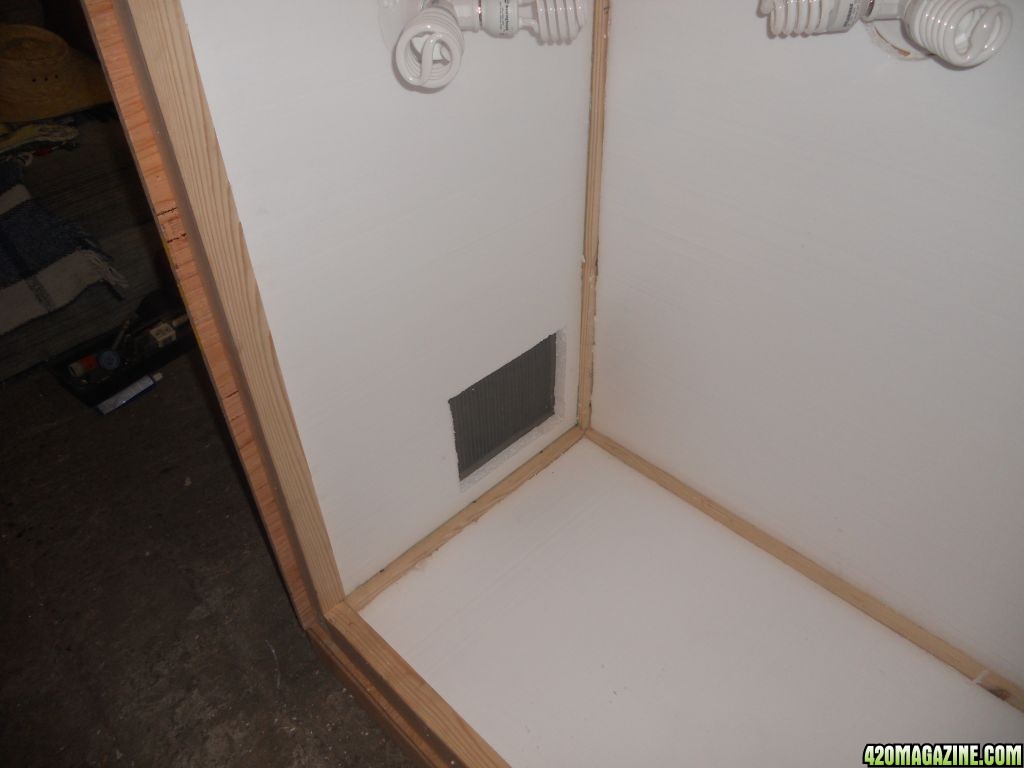
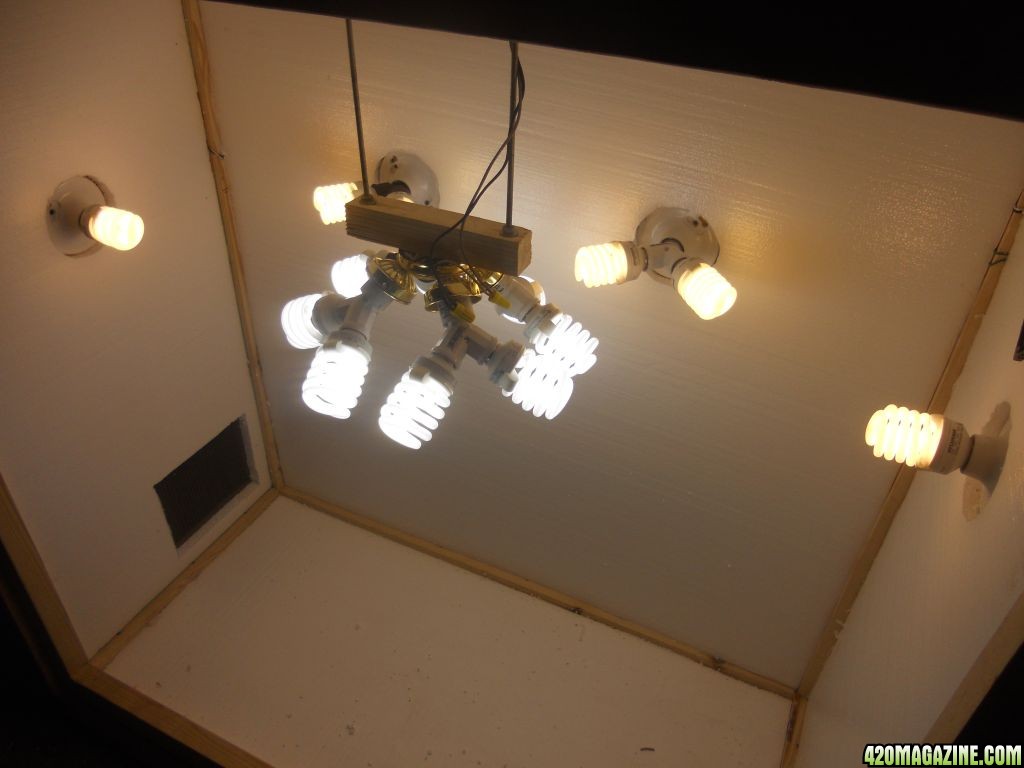
Things to consider, reflectors for you CFL when ever possible. The more wattage you put in the more heat. I doubt the one fan will even come close to getting it under full grow. Concentrate of creating and controlling an environment. It is the single most important thing you can do for success in your garden.
Lighting distance or penetration is not good with CFL, so plan carefully. Will you raise and lower the light or the plant? You will need to stay within 4" to be most effective.
I luv this DIY stuff
very good points. I appreciate the line of thoughts. First off, based off of the size and mounting positioning of my CFL's. I think i will probably make some reflectors outta pepsi cans.
Although the fan looks small in the pic, i do believe it will get the job done. Its a 115V fan and winds up like a jet engine lol (sound may be an issue though)
I agree with your point on creating the environment and understand that temperature, humidity, ph, air are all contributing factors in doing so.

As far as the penetration goes, I think i will probably raise the plants. although i do have the ability to keep the CFL's where they are, and making a drop down of a different type. would i get good penetration if i placed some mylar or other reflective material on the floor or the medicine cabinet?
thanks again SmokzAlot, i appreciate the input and thank you in advance for answering my questions.