jojo677
Well-Known Member
Hey all!
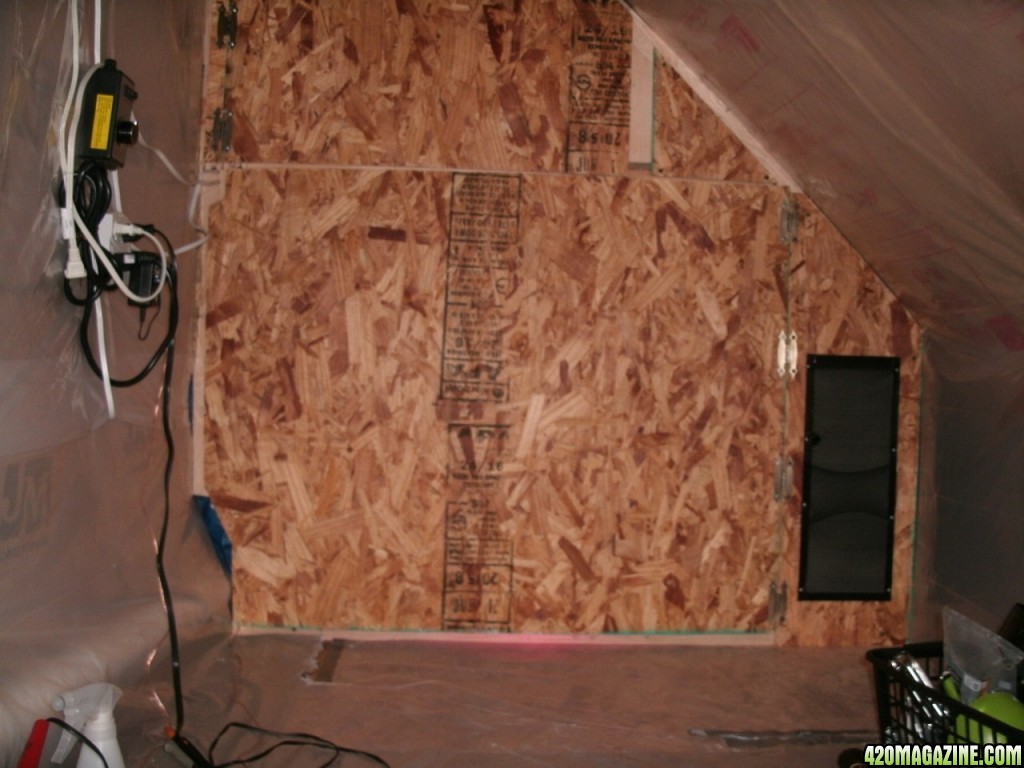
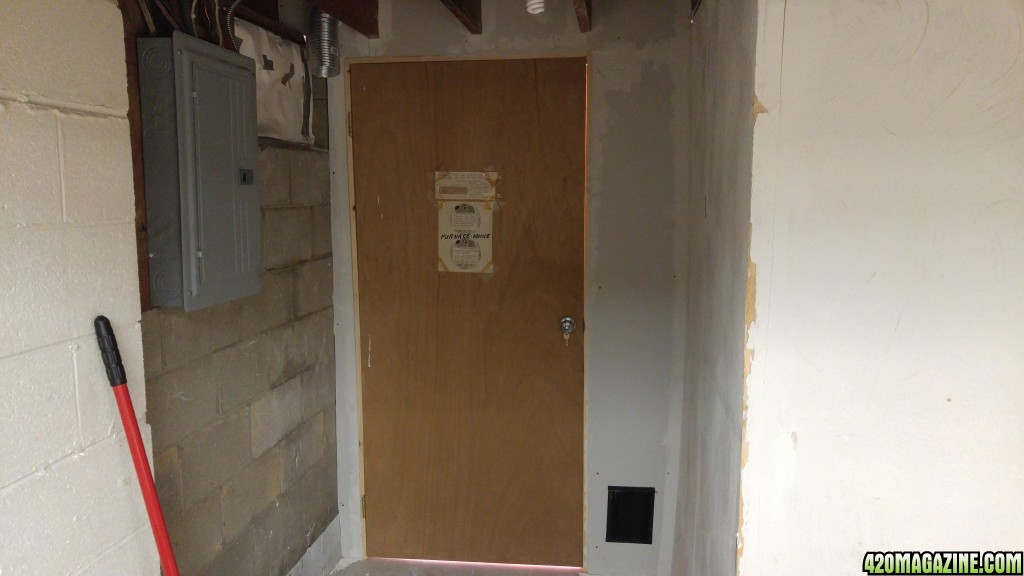
I've made a few "light louvers" in the past, and needed to make another one recently, so I thought I'd share! I've seen several people mention them, but they shared no pictures. Essentially what they do is allow air to travel through, but not light. This is useful if you want to allow air to travel from your veg area to your flower area, or if you have an intake/exhaust fan and don't want light escaping for stealth reasons.
You can buy them, but they are EXPENSIVE (~$40 USD for a small one). I made one today, which measures 6" x 18", and it cost me $10 USD.
Here's what you'll need:
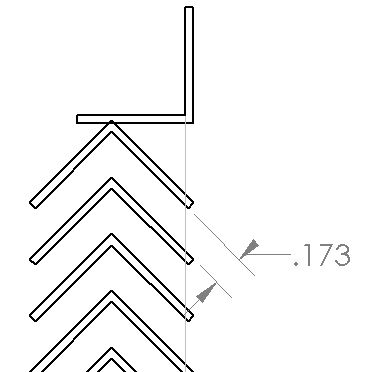
The basic concept of this type of device is to allow a way for air to pass through, but obscure the path for light to get through. I needed some type of cheap "L-shaped" material, and I found corner guard worked perfectly for me. Here's a cross-sectional view of what my design looks like.
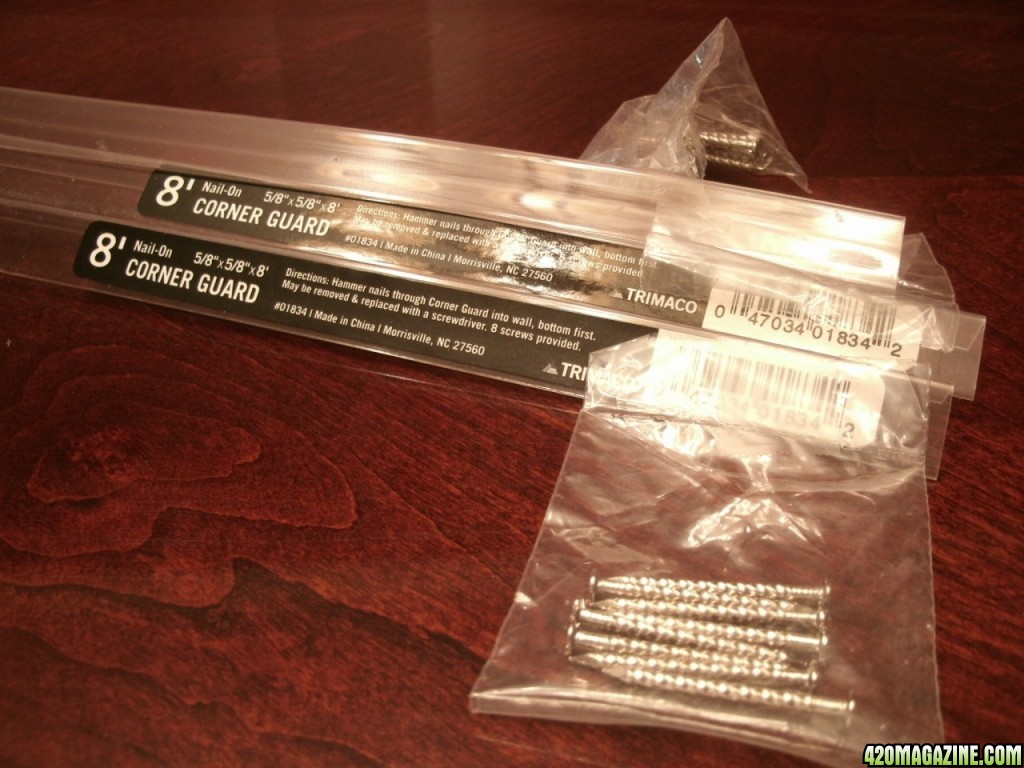
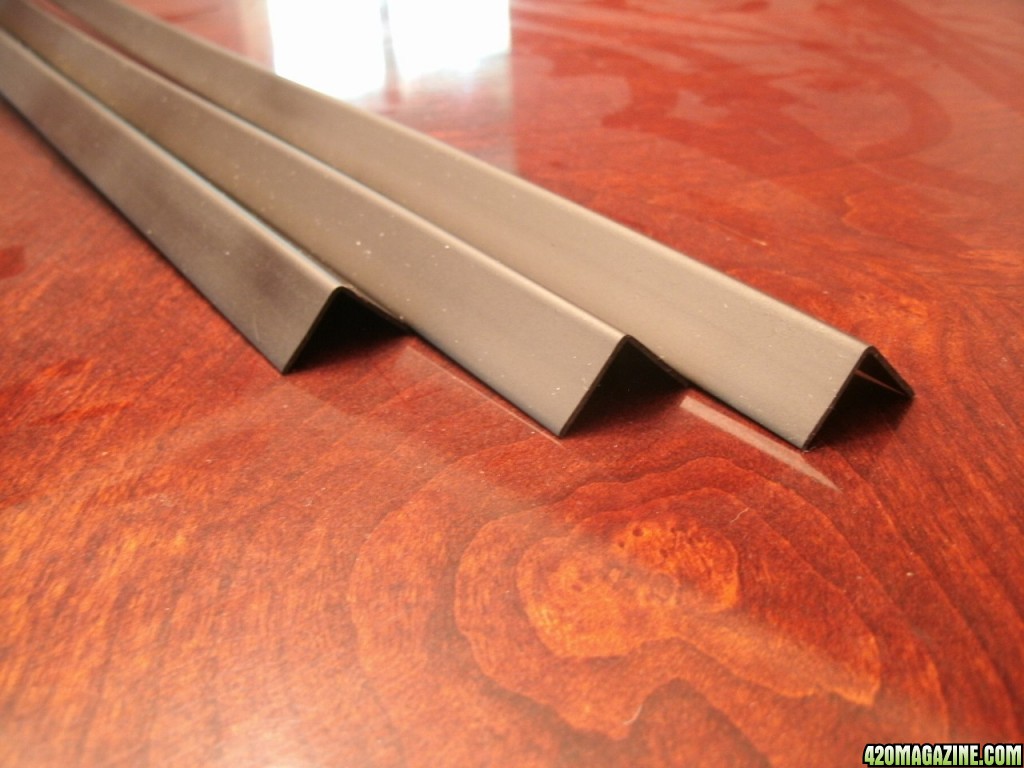
This project is based on 5/8" plastic corner guard, as seen below. It is pretty flexible stuff, but perfect for this project, and it comes in 8 foot lengths.
The first step is to paint both sides of the material black. You want to use a flat black so that as much of the light is absorbed by the material as possible.
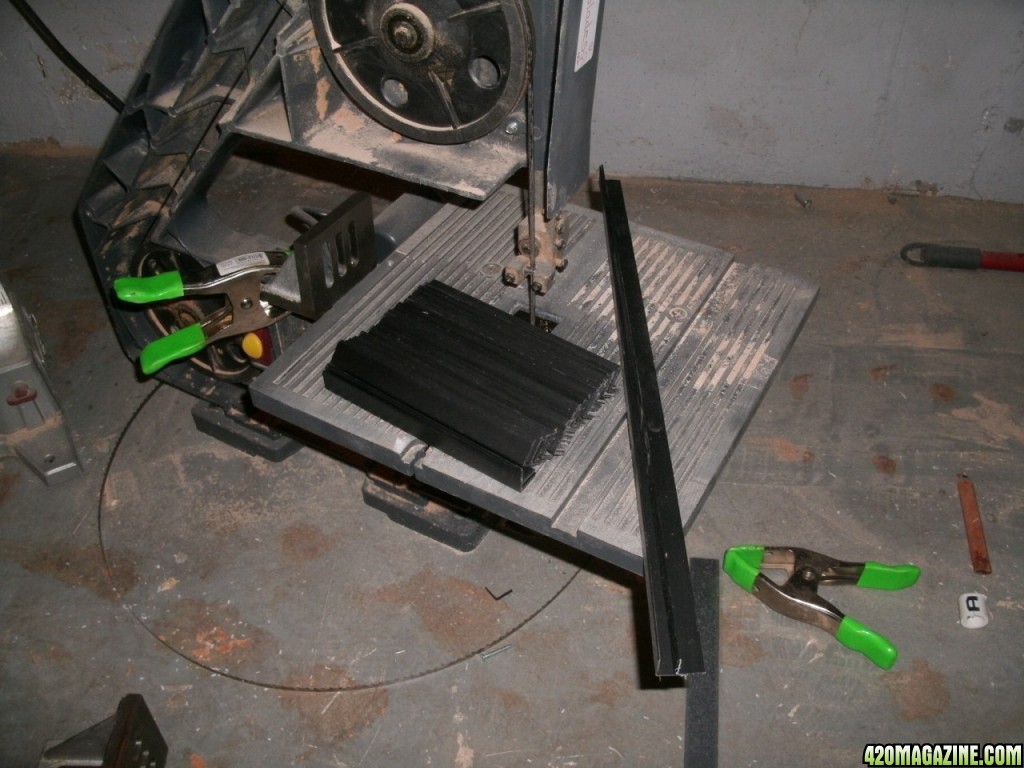
Next, you need to cut your desired lengths. This material is somewhat flimsy, so the longest I'd make each fin is 6". I ended up cutting 2x pieces 18" long, and the rest 6" long (like 43 pieces). I set up a stop on a bandsaw to cut them, but you could find another way to cut them. They may be a little fragile to cut with scissors, but I've done it.
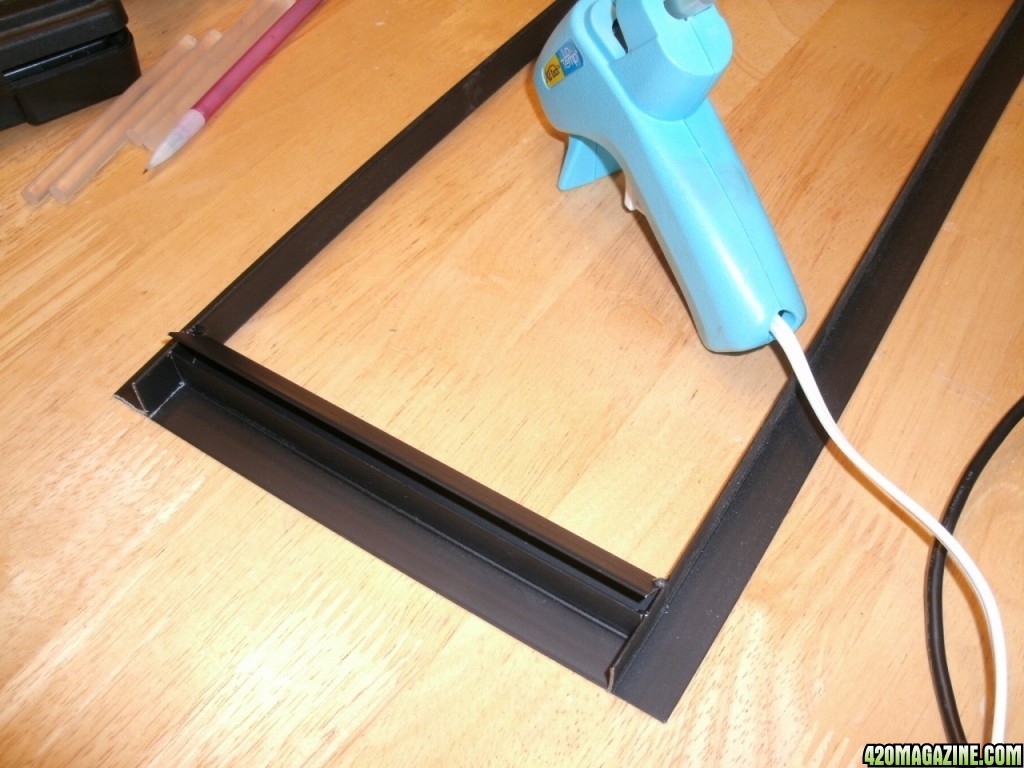
Now that the pieces are cut, fire up the hot glue gun, and set the end piece with some small beads of glue, and try to keep the frame square.
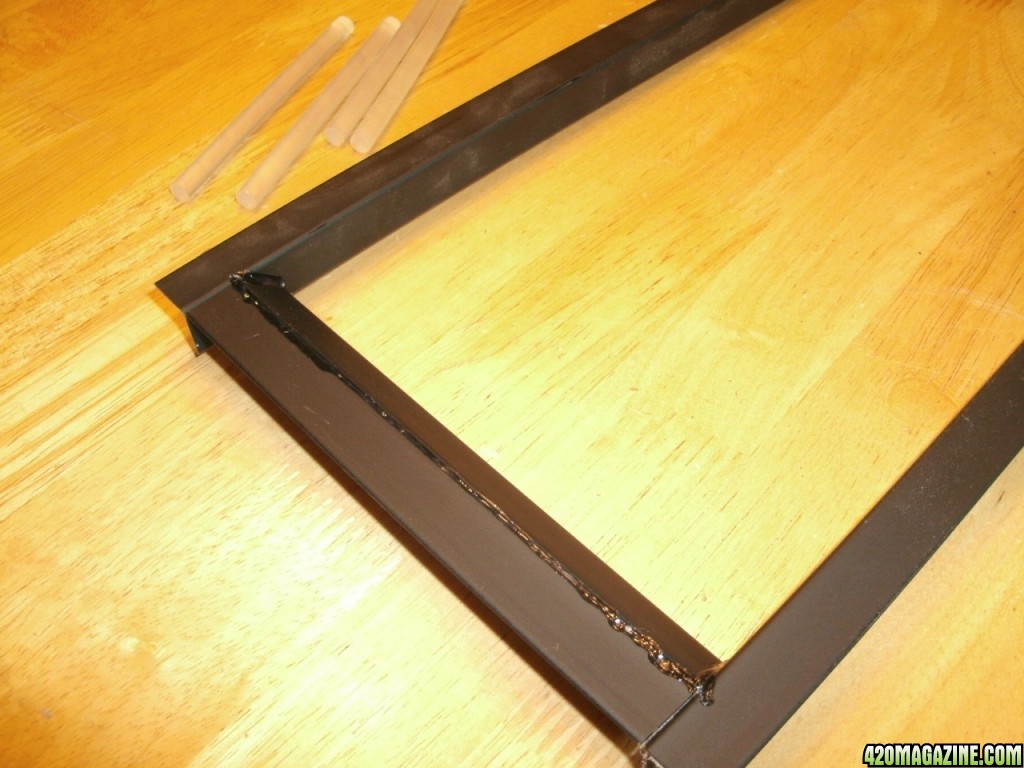
Once the glue has cooled, you're ready to set the first piece. Make sure it is set level, and glue across the top of the ^. Then flip it over and glue along the entire seam, which would otherwise let light through. Don't worry, we'll paint the glue later!
Now you need some shims the correct height (0.173" in my case). I just taped some sheets of thin cardboard to some pieces of metal that I had, until I got close to the correct thickness. This thickness isn't very critical, so just play with it and get a thickness which won't let light through, but will let plenty of air through. Start stacking and gluing each piece only at the edges, on the ^.
I should mention that you will need 2 shims - one for each side of the fin. This is because you will have to pull them out from each side when the glue cools.
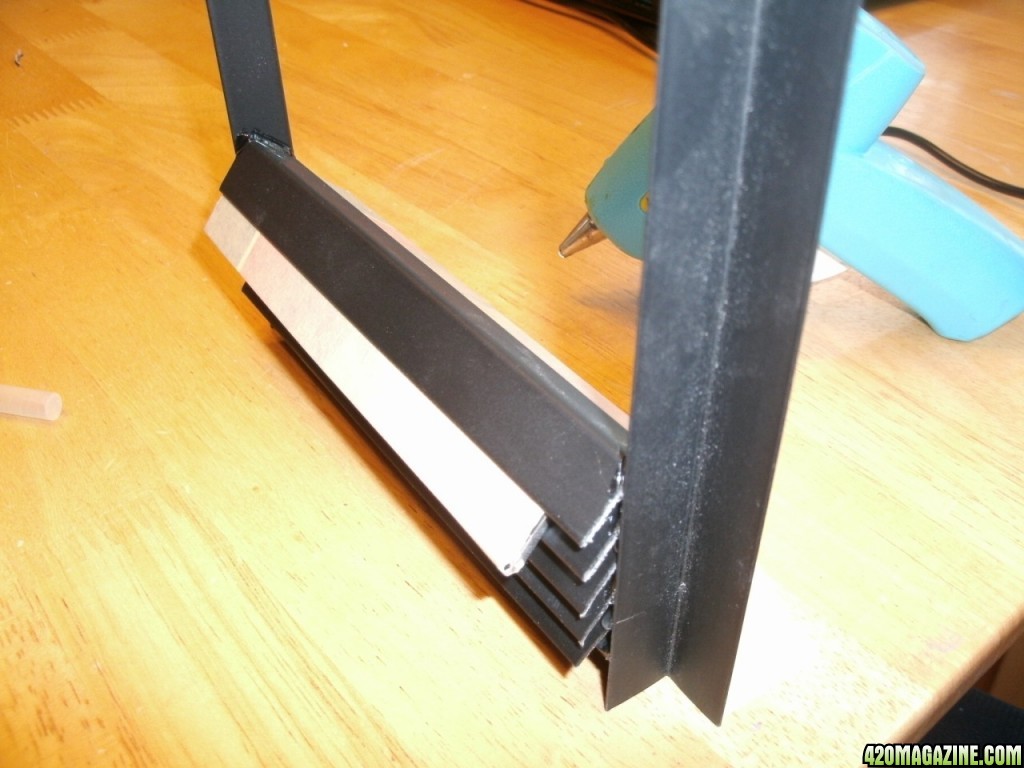
Continue until you reach the top, or run out of fins. Then glue on your end piece, flush with the other outer pieces.
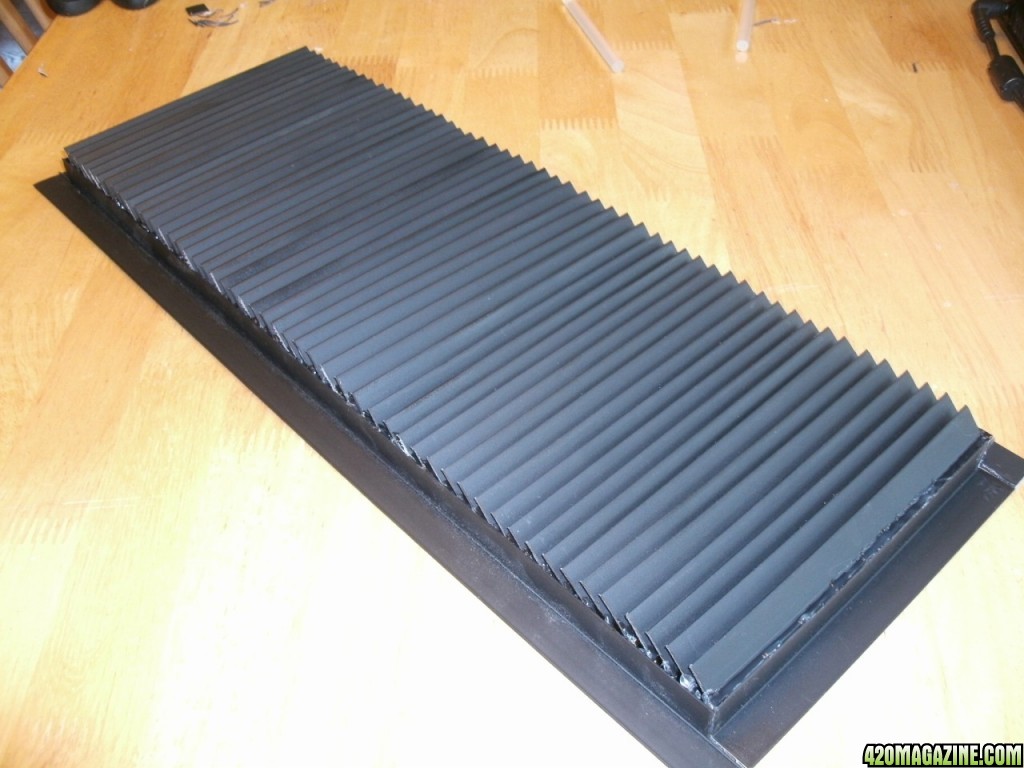
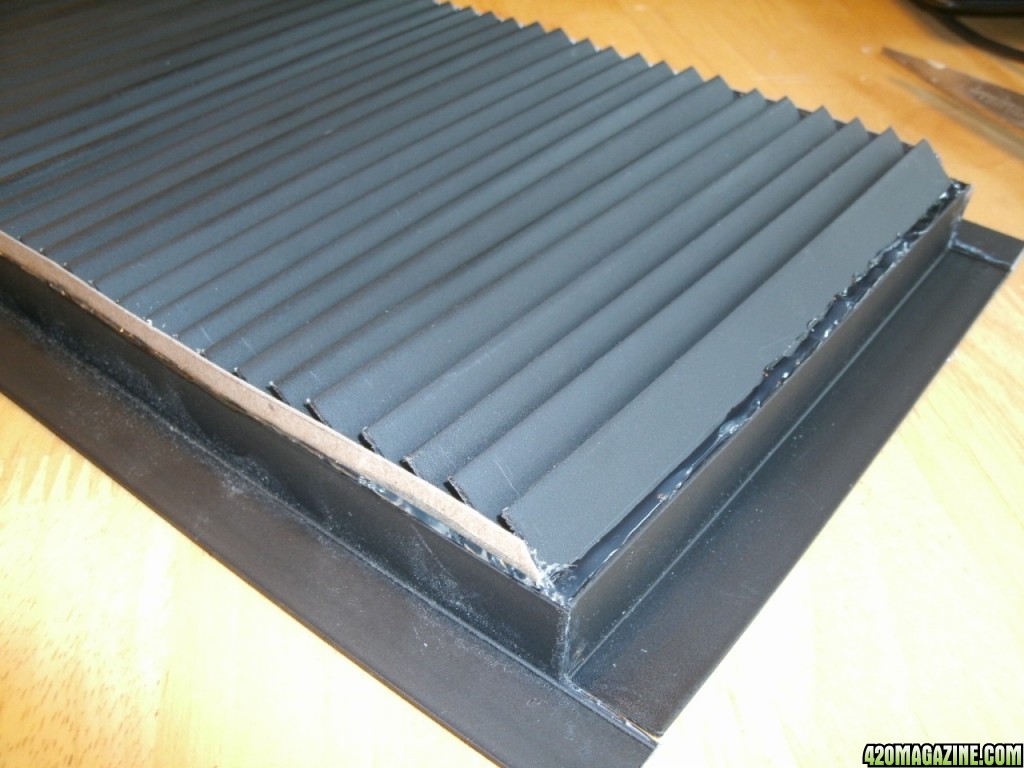
Since the outer angles don't cover the entire side, I glued some strips of cardboard along the length since a little of light was able to get through. It'll get painted anyway!
You could also use larger corner guard for the outside pieces. I believe there is also a 1" model.
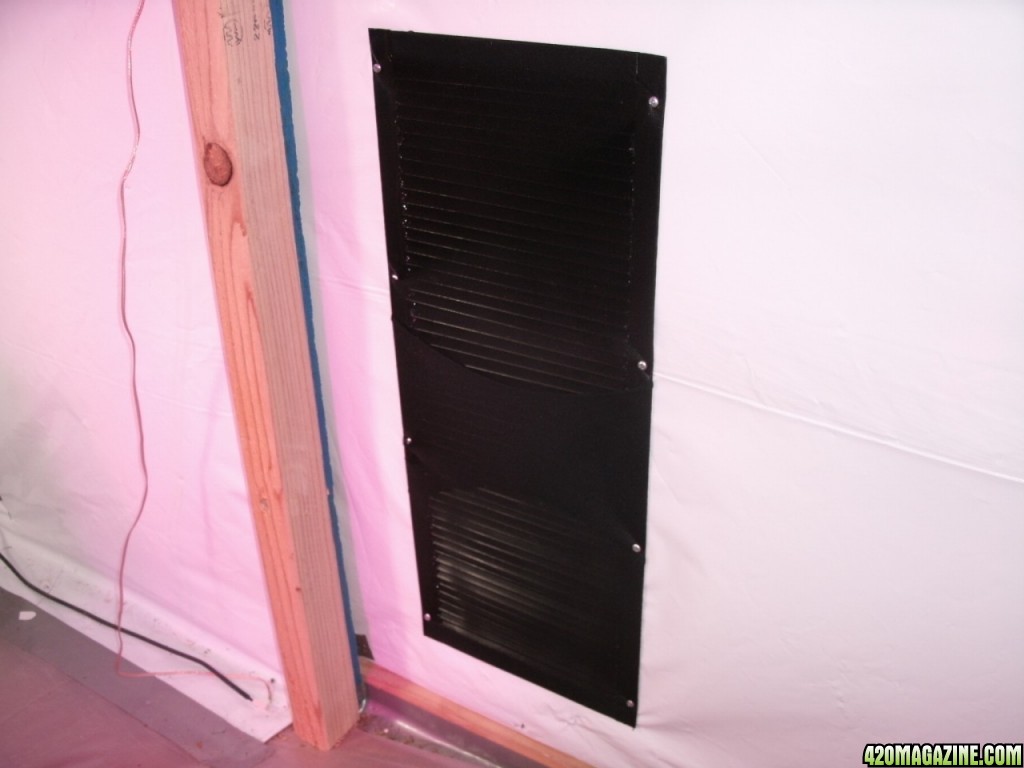
Now you just need to give the whole thing a coat or two of paint, making sure to paint all of the glue joints since it was filling some gaps and the glue can let light through. I then drilled a few holes around the perimeter and put some pantyhose over it, to act as a filter. Installed!
This can be scaled up as well. Some people have used 2" angle iron, and there's no reason you couldn't make all of this out of cardboard or plastic. Get creative!
If you have any suggestions or improvements, be sure to share!
Happy growing!
I've made a few "light louvers" in the past, and needed to make another one recently, so I thought I'd share! I've seen several people mention them, but they shared no pictures. Essentially what they do is allow air to travel through, but not light. This is useful if you want to allow air to travel from your veg area to your flower area, or if you have an intake/exhaust fan and don't want light escaping for stealth reasons.
You can buy them, but they are EXPENSIVE (~$40 USD for a small one). I made one today, which measures 6" x 18", and it cost me $10 USD.
Here's what you'll need:
- Corner Guard (this is used for protecting wall corners in your home. It sells at Lowes/Home Depot for $3/stick. I used 3.5 sticks in my louver).
- Flat black spray paint. You can use a cheap bottle ($1).
- Hot glue gun (and glue sticks).
- A saw/scissors?
- An afternoon
The basic concept of this type of device is to allow a way for air to pass through, but obscure the path for light to get through. I needed some type of cheap "L-shaped" material, and I found corner guard worked perfectly for me. Here's a cross-sectional view of what my design looks like.
This project is based on 5/8" plastic corner guard, as seen below. It is pretty flexible stuff, but perfect for this project, and it comes in 8 foot lengths.
The first step is to paint both sides of the material black. You want to use a flat black so that as much of the light is absorbed by the material as possible.
Next, you need to cut your desired lengths. This material is somewhat flimsy, so the longest I'd make each fin is 6". I ended up cutting 2x pieces 18" long, and the rest 6" long (like 43 pieces). I set up a stop on a bandsaw to cut them, but you could find another way to cut them. They may be a little fragile to cut with scissors, but I've done it.
Now that the pieces are cut, fire up the hot glue gun, and set the end piece with some small beads of glue, and try to keep the frame square.
Once the glue has cooled, you're ready to set the first piece. Make sure it is set level, and glue across the top of the ^. Then flip it over and glue along the entire seam, which would otherwise let light through. Don't worry, we'll paint the glue later!
Now you need some shims the correct height (0.173" in my case). I just taped some sheets of thin cardboard to some pieces of metal that I had, until I got close to the correct thickness. This thickness isn't very critical, so just play with it and get a thickness which won't let light through, but will let plenty of air through. Start stacking and gluing each piece only at the edges, on the ^.
I should mention that you will need 2 shims - one for each side of the fin. This is because you will have to pull them out from each side when the glue cools.
Continue until you reach the top, or run out of fins. Then glue on your end piece, flush with the other outer pieces.
Since the outer angles don't cover the entire side, I glued some strips of cardboard along the length since a little of light was able to get through. It'll get painted anyway!
You could also use larger corner guard for the outside pieces. I believe there is also a 1" model.
Now you just need to give the whole thing a coat or two of paint, making sure to paint all of the glue joints since it was filling some gaps and the glue can let light through. I then drilled a few holes around the perimeter and put some pantyhose over it, to act as a filter. Installed!
This can be scaled up as well. Some people have used 2" angle iron, and there's no reason you couldn't make all of this out of cardboard or plastic. Get creative!
If you have any suggestions or improvements, be sure to share!
Happy growing!

")