GRAVEYARDTOM
New Member

How To Use Progressive Web App aka PWA On 420 Magazine Forum
Note: This feature may not be available in some browsers.
First of all, that thing is badass. I want one.
Second, some questions for Pres or Rafedial1:
1. Where did you purchase your lights?
2. I priced some lights online that were 23W and 27W. Is the 26W significant in some way or can it just be close?
3. How much should I spend per bulb?
4. Do you suggest any brands?
 . just got back here and I'm kinda overwhelmed by the response.
  everyone.
Hey, very cool thread. but i just wanted to add something, you can use hot melt glue to insulate the electrical connections. i just heat the sticks with a lighter to get them hotter than a glue gun makes them and drip/smear it on.Re: DIY veg CFL reflector permalink
--------------------------------------------------------------------------------
I thought I would add a disclaimer. The exposed ring terminals leave the live circuits open to shorting. Please....your dealing with 120v and enough amps to kill you.
1. never have the reflector plugged in while your hands or tools are near it.
2. my setup is not grounded. if your DIYing any CFL setup, grounds are highly rec.
3. Always wire grow lights into a GFCI rated outlet, so if something like a bubble cloner res flood happens, it cuts power. These are the ones like in your bathroom at home(for ladies hair dryers and such). I believe it's easy to replace any regular outlet with a GFCI. THIS ELIMINATES ALL POSSIBILITY OF ELECTRICAL SHOCK!
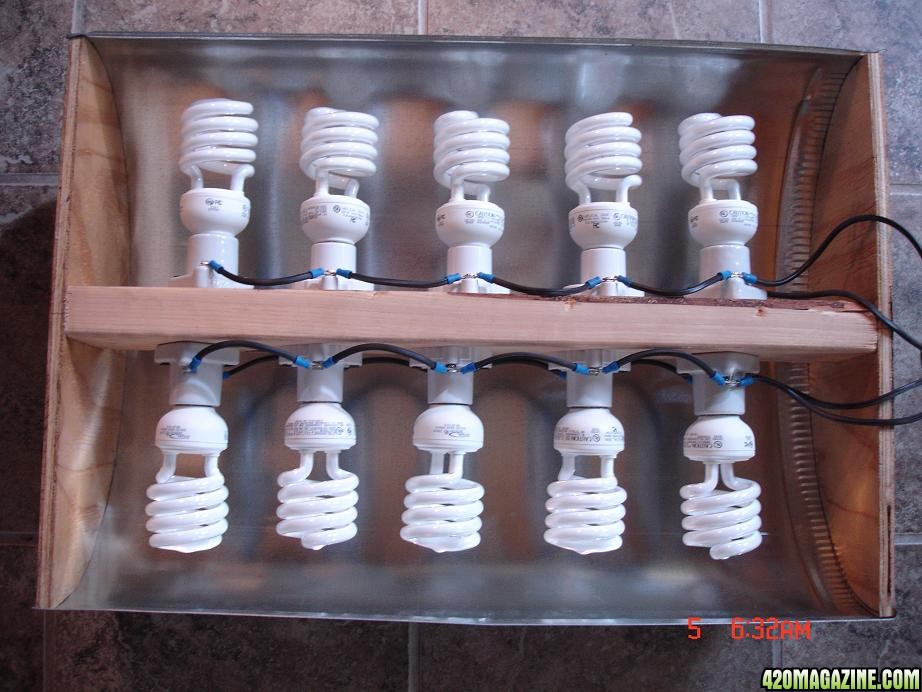
4. The reason my CFL reflector looks so symmetrical, is because it IS. Simple, and very unlikely to fail. it was purpose built and does create heat.
5. DO NOT try to stuff this thing into a closet without proper ventilation.
6. The black 2-wire lamp cord is was meticulously curved in the several connections between lamps, keeps circuits aay from eachother. if one gets out of place from a loose connection, I can identify it right away.
7. Stagger the lamp sockets on each side and do not use longer than 2" screws, should use 1 3/4" to prevent going through the 2X4 beam and into a socket/electrical terminal on the other side.
8. I recommend if you build this reflector to contain the wires and minimize the electrical connection points. maybe get it down to 1 main power source, with a common point and the ability to seal/black tape/solder/etc it, maybe sealed in a small electrical box. this way all e-connections are internal.
9. I have used this reflector untouched from the original pics for 3 veg cycles(5 months) without a single worry. but that is because I am Careful! I have messed with alot of AC and DC projects over the years and I consider my work as safe, as do other who trust me with their projects. SO! electrical newbs, have someone you know help you with AC power projects until you are comfortable.
my Kali Dream got me rambling
I thought I would add a disclaimer. The exposed ring terminals leave the live circuits open to shorting. Please....your dealing with 120v and enough amps to kill you.
1. never have the reflector plugged in while your hands or tools are near it.
2. my setup is not grounded. if your DIYing any CFL setup, grounds are highly rec.
3. Always wire grow lights into a GFCI rated outlet, so if something like a bubble cloner res flood happens, it cuts power. These are the ones like in your bathroom at home(for ladies hair dryers and such). I believe it's easy to replace any regular outlet with a GFCI. THIS ELIMINATES ALL POSSIBILITY OF ELECTRICAL SHOCK!
4. The reason my CFL reflector looks so symmetrical, is because it IS. Simple, and very unlikely to fail. it was purpose built and does create heat.
5. DO NOT try to stuff this thing into a closet without proper ventilation.
6. The black 2-wire lamp cord is was meticulously curved in the several connections between lamps, keeps circuits aay from eachother. if one gets out of place from a loose connection, I can identify it right away.
7. Stagger the lamp sockets on each side and do not use longer than 2" screws, should use 1 3/4" to prevent going through the 2X4 beam and into a socket/electrical terminal on the other side.
8. I recommend if you build this reflector to contain the wires and minimize the electrical connection points. maybe get it down to 1 main power source, with a common point and the ability to seal/black tape/solder/etc it, maybe sealed in a small electrical box. this way all e-connections are internal.
9. I have used this reflector untouched from the original pics for 3 veg cycles(5 months) without a single worry. but that is because I am Careful! I have messed with alot of AC and DC projects over the years and I consider my work as safe, as do other who trust me with their projects. SO! electrical newbs, have someone you know help you with AC power projects until you are comfortable.
my Kali Dream got me rambling
First, this creation wouldn't be possible without member Pres and his diy cfl thread. Also I have to thank my girl for helping with the design. Thank you!
I've been looking for a good veg light for my setup and didn't want to buy one. I have heard so many good things from 420 members about CFLs I went ahead and tried it.
here we go.....
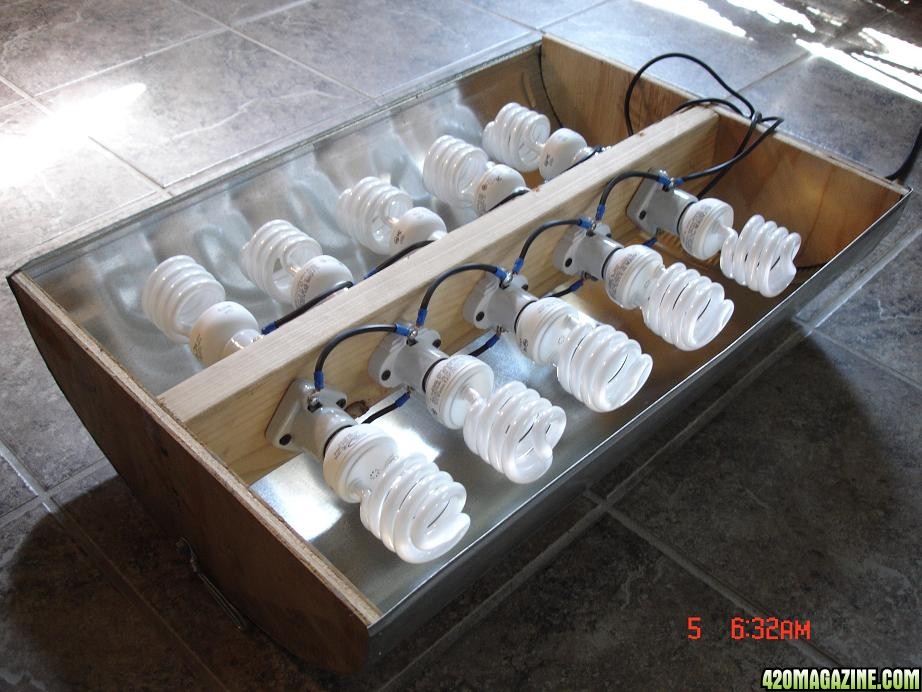
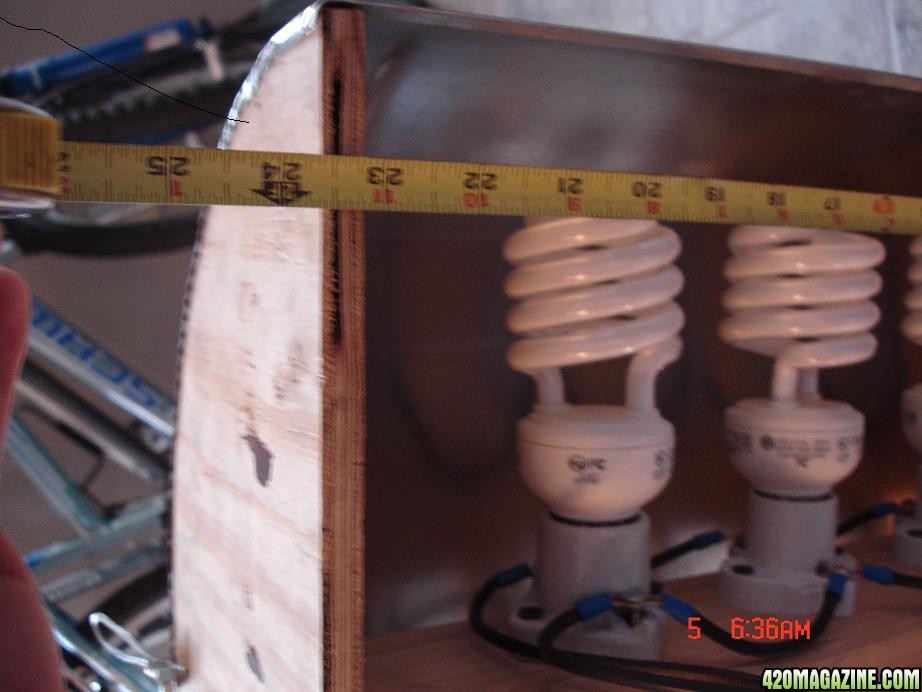
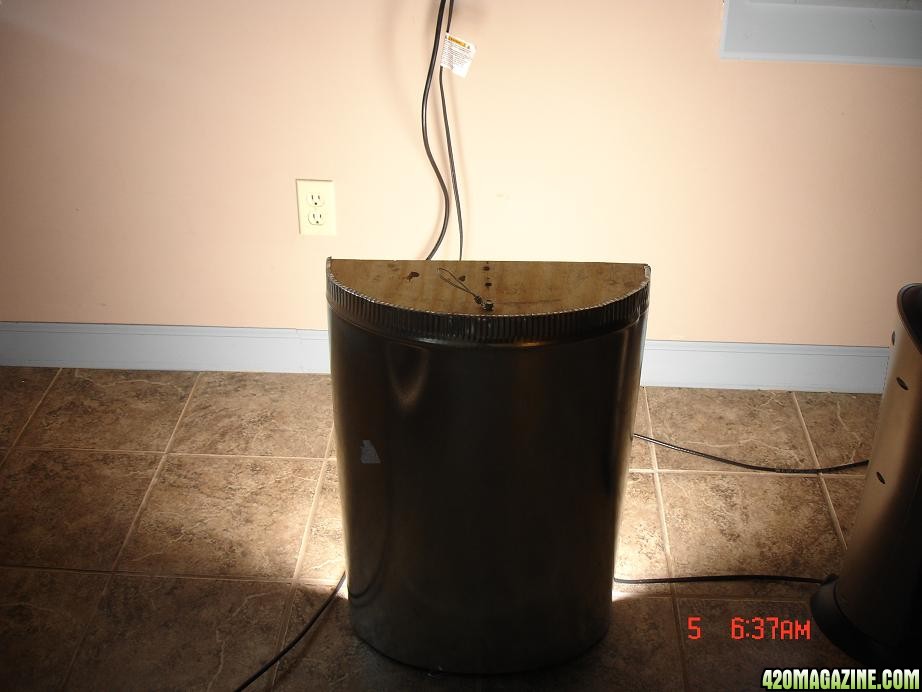
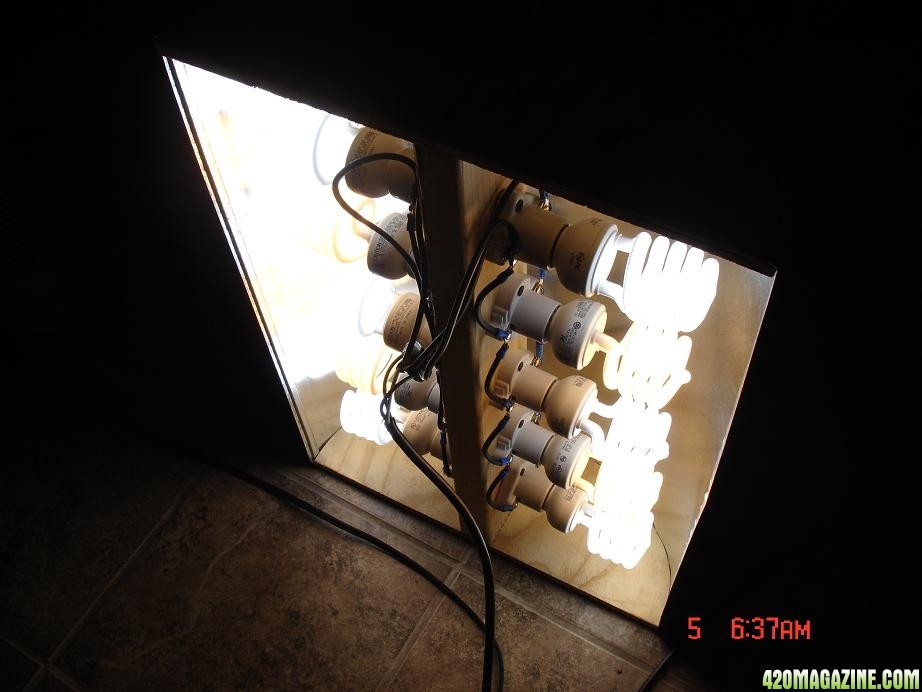
My 10 bulb CFL Hood
Dimensions:
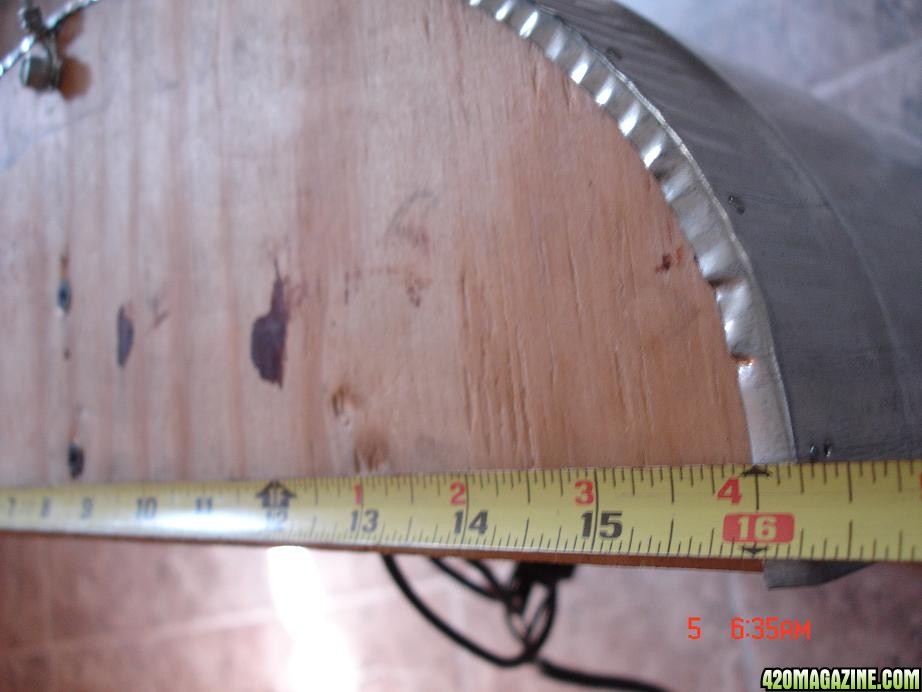
16.25" Width X 23.5" Long X 6.0" Tall at it's peak, weight 7lbs.
Materials:
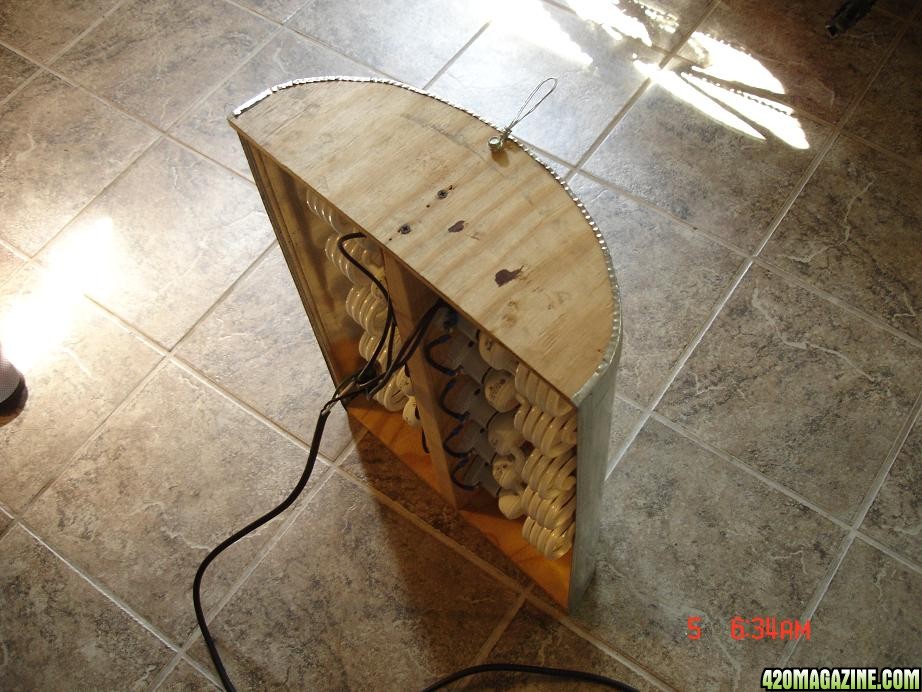
(1) 16.25" Plywood circle UNTREATED wood
(4) 2" Screws
(1) 22.75" 2x4 piece of UNTREATED wood
(1) 8X24 Vent(sheet steel)
(10) Lamp sockets
(10) 26w CFLs (any K value)
(1) box of small brads/headed nails
(10ft) of 14/2 lamp cord
(20) blue ring terminals
Wiring is just 14/2 lamp cord daisy chained together with blue ring terminal connectors, setup is grounded.
Had lots of the materials around my house, so my total cost @$71.20 for 260 true watts. This thing GROWS!
Without further delay, PICS!