- Thread starter
- #61
Frenchy672
Well-Known Member
re: First Ever Indoor Grow - Soil & DWC Bucket -Super Silver Haze - Jack Herer - Bag Seed
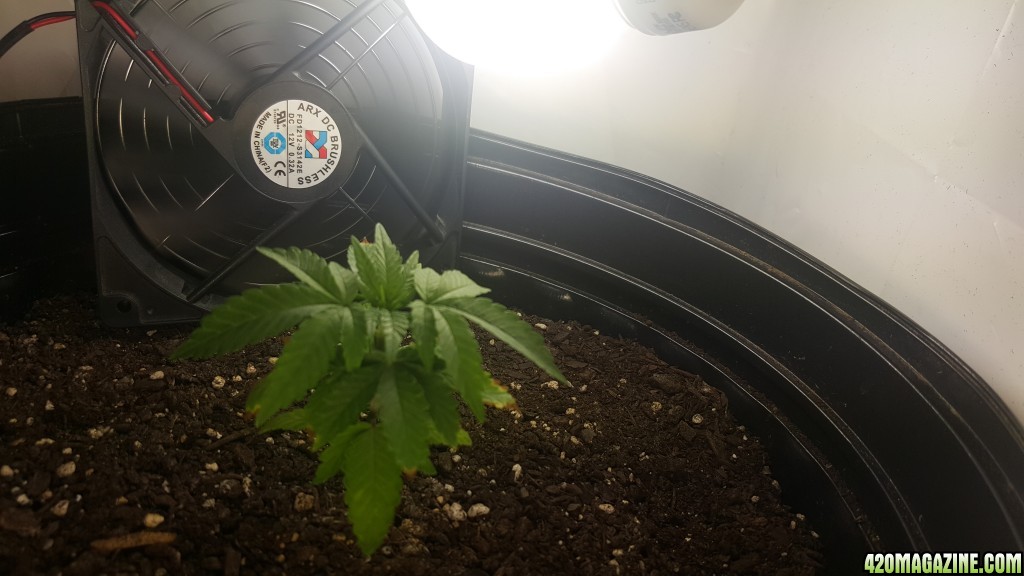
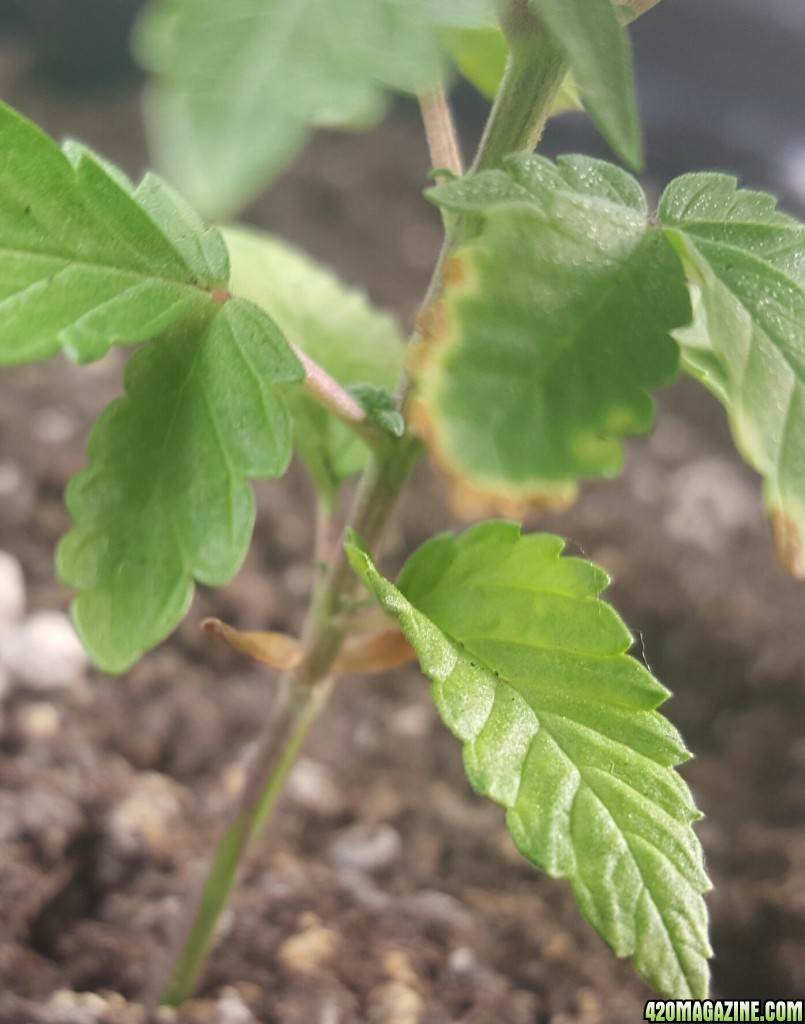
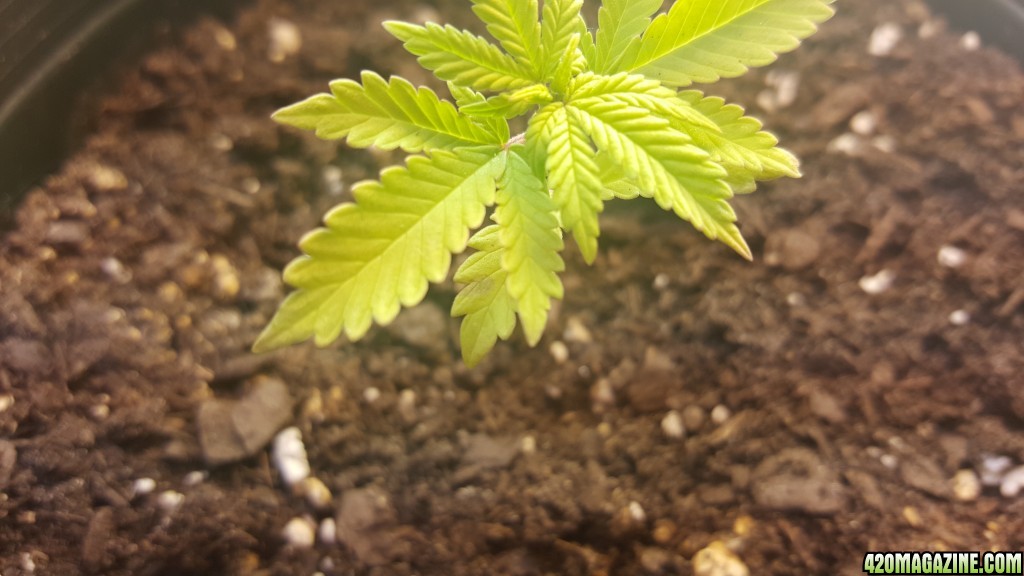
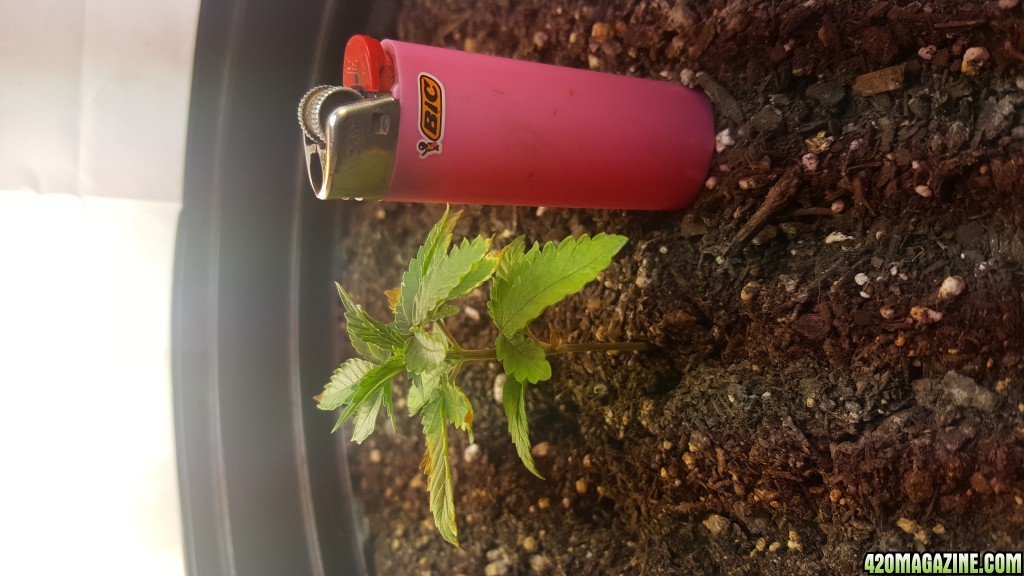
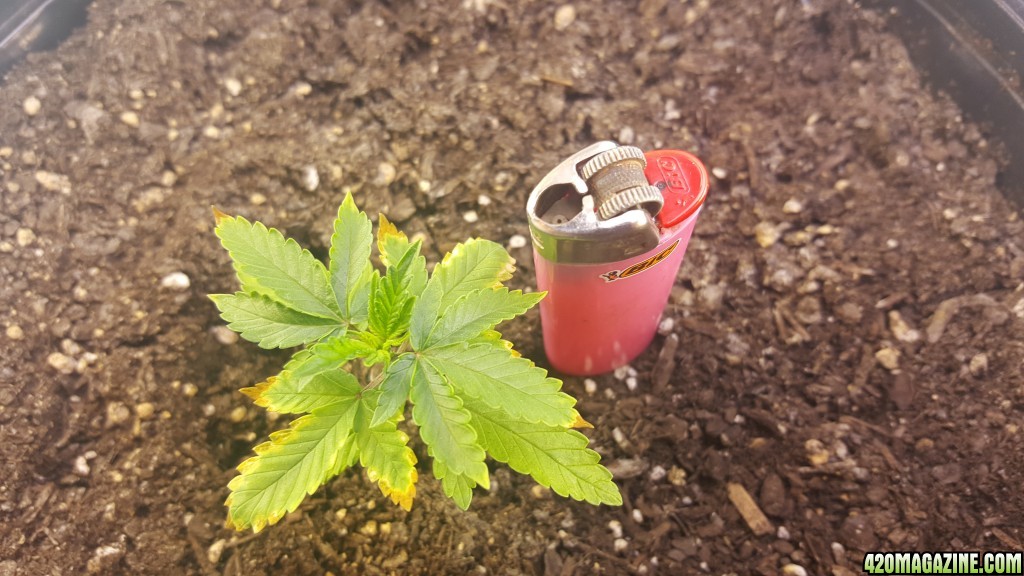
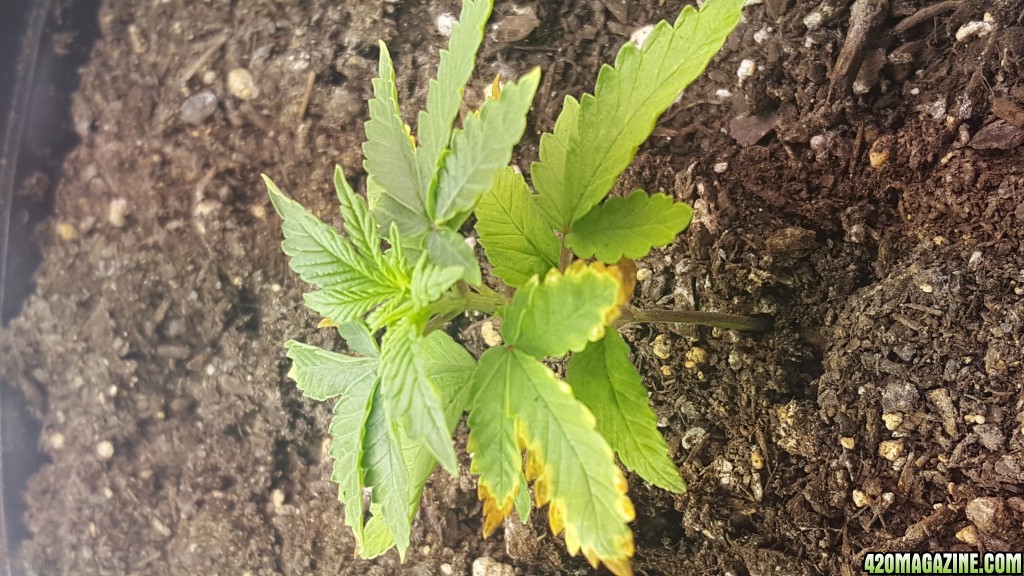
that's what I figured, but to be this small and over a month old?...
the soil was used like week 2.....doesn't make sense to me, why they be so small then......?
that's what I figured, but to be this small and over a month old?...
the soil was used like week 2.....doesn't make sense to me, why they be so small then......?
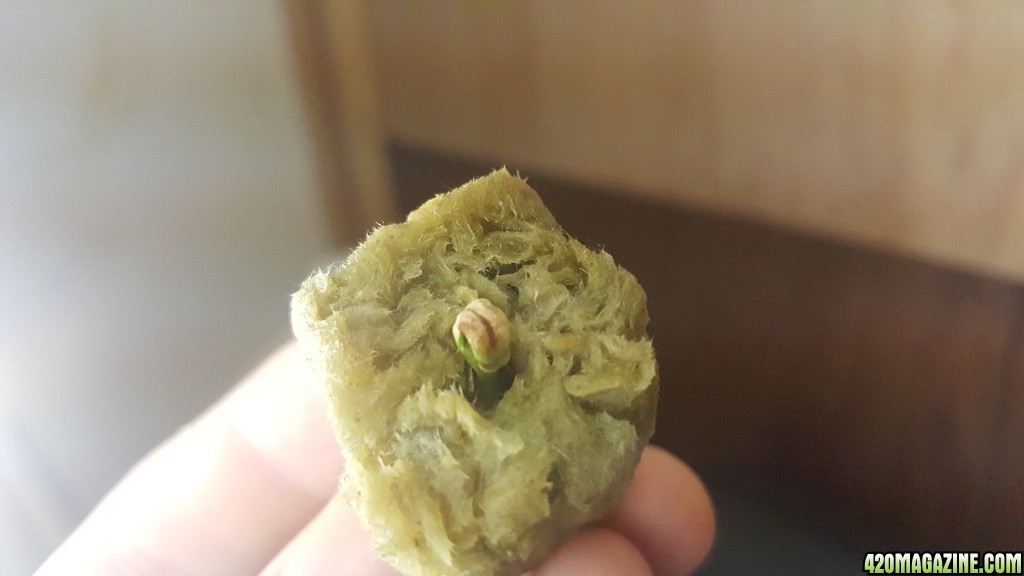


 I already have those 2 that popped the other day in rockwool still. and so we wait
")