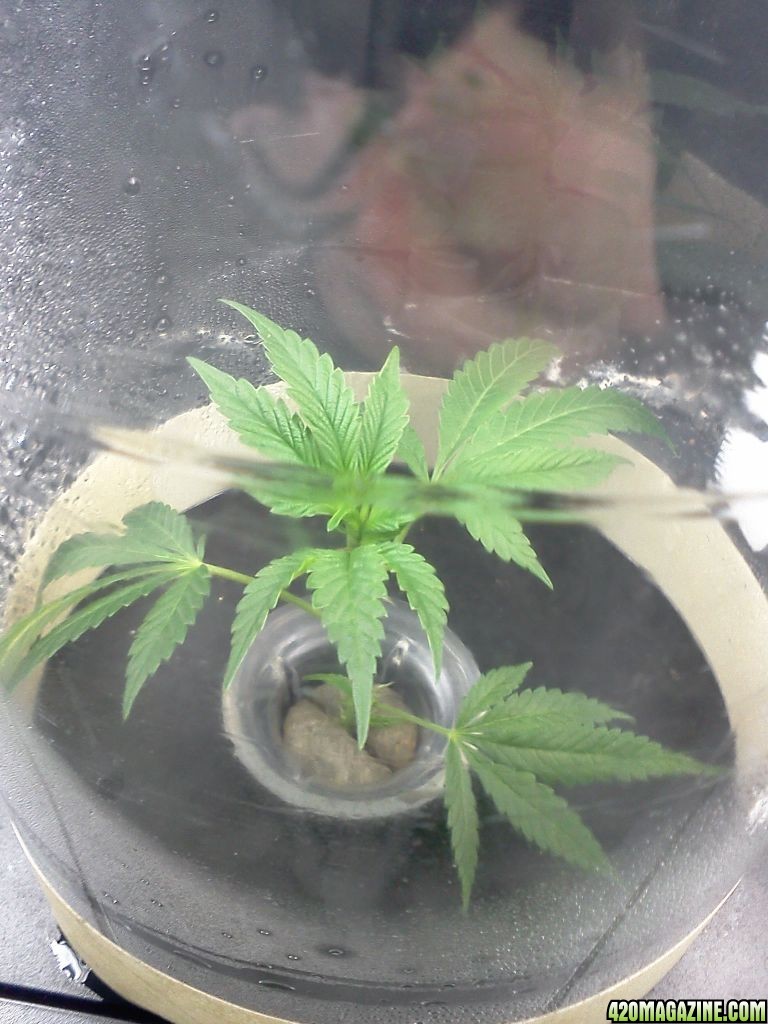
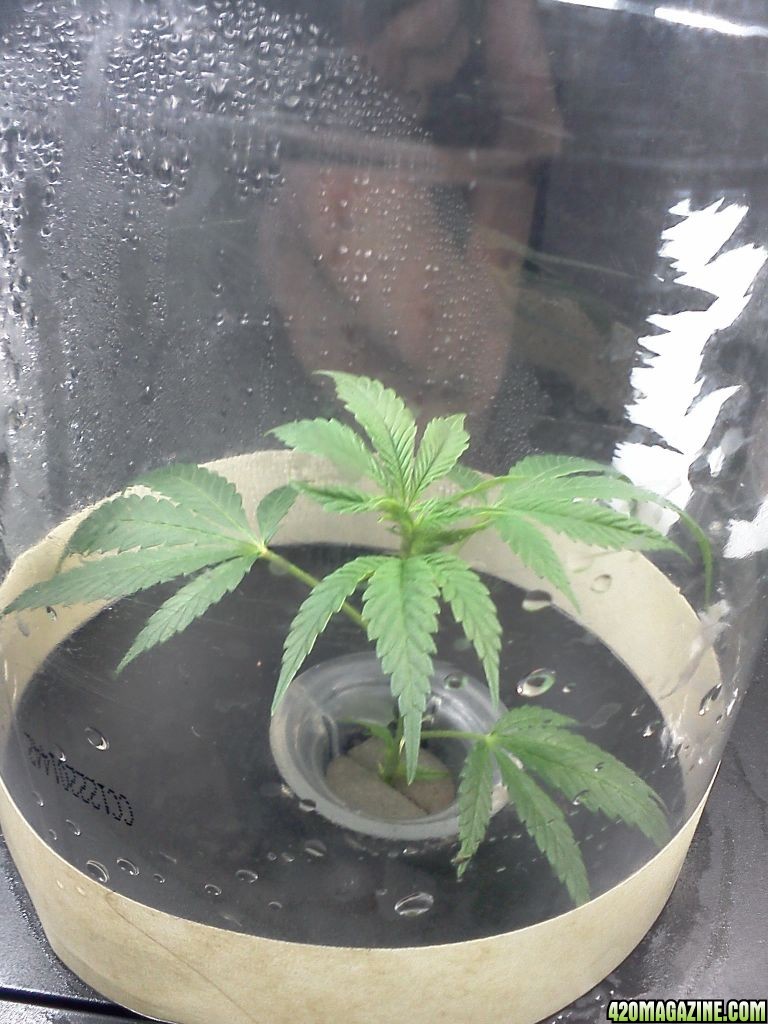
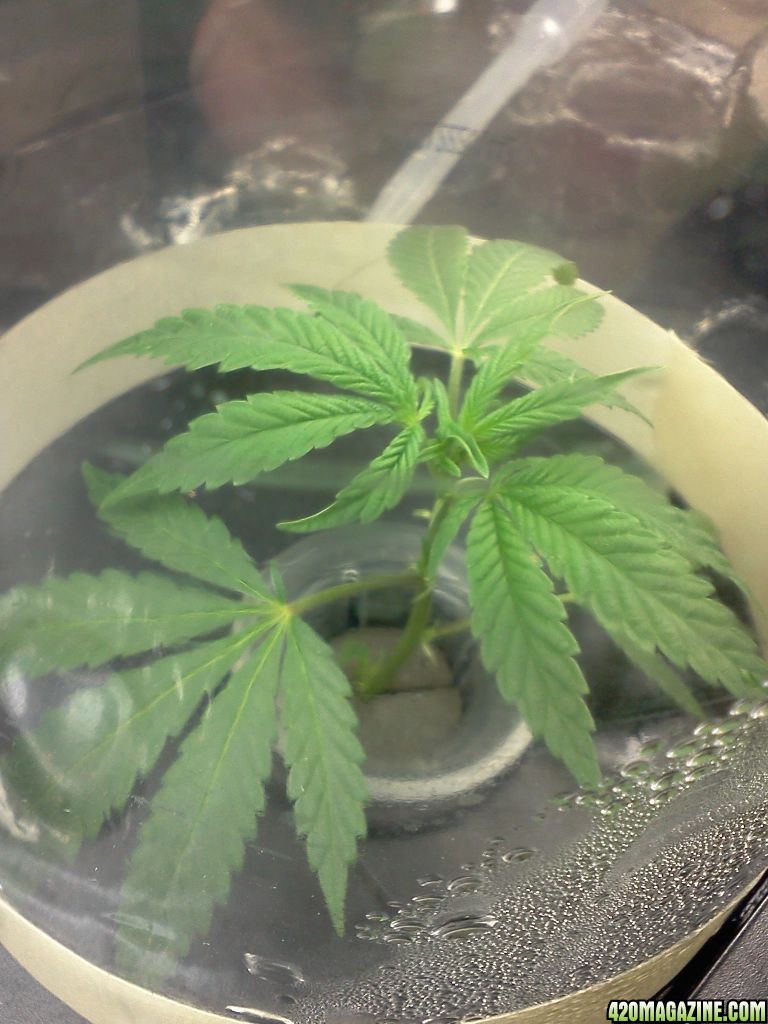
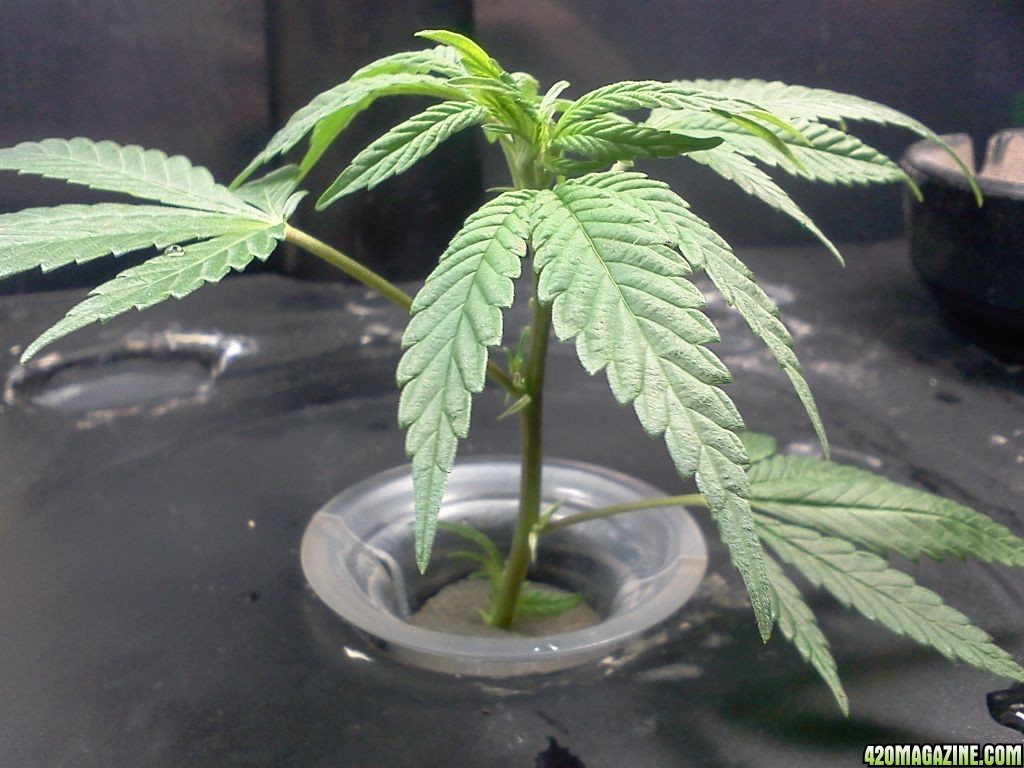
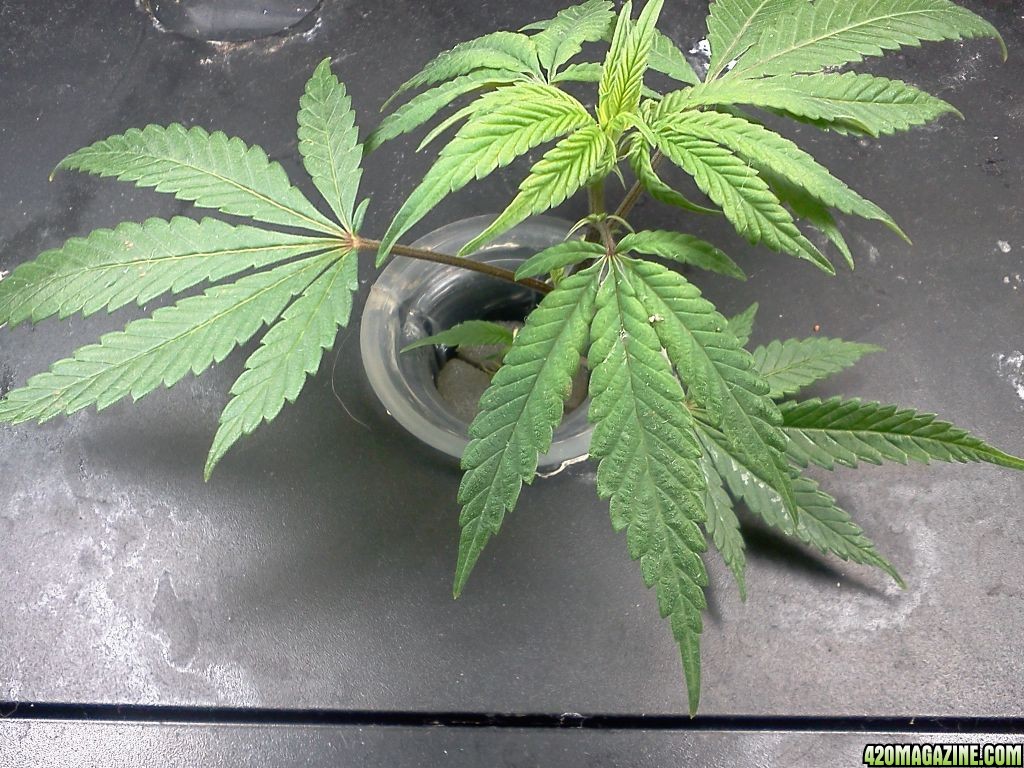
Granddaddy Purple CLONE #1
For those trying to find out about cloning and how it is done, there will be a how-to at the end of this post.
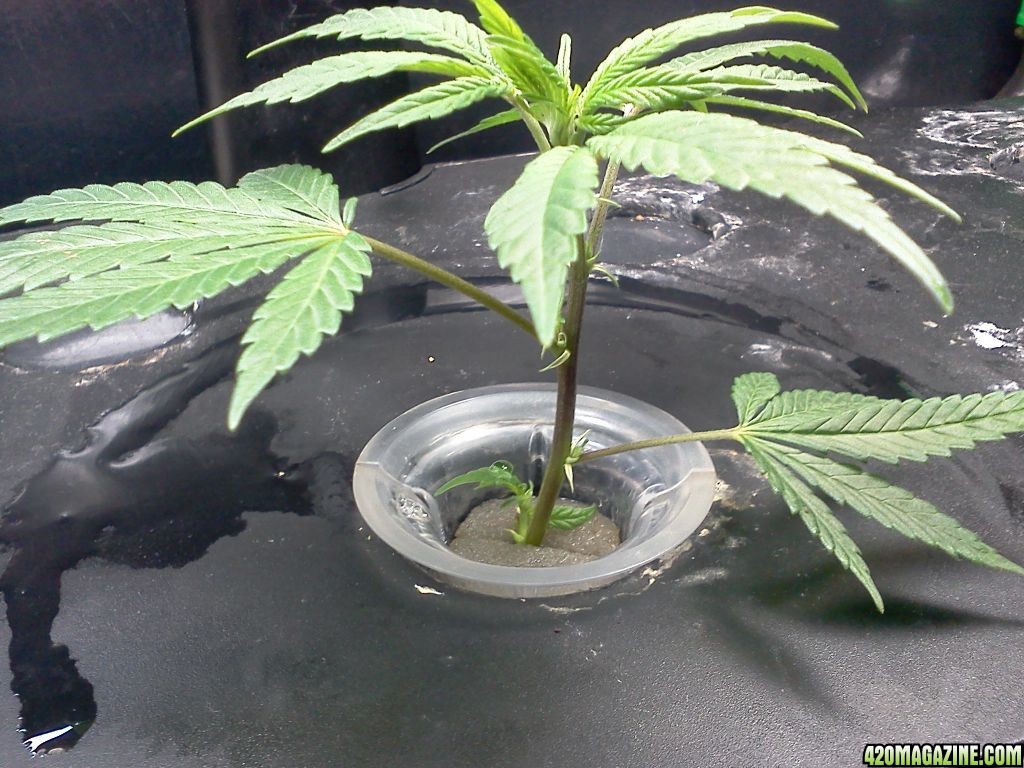
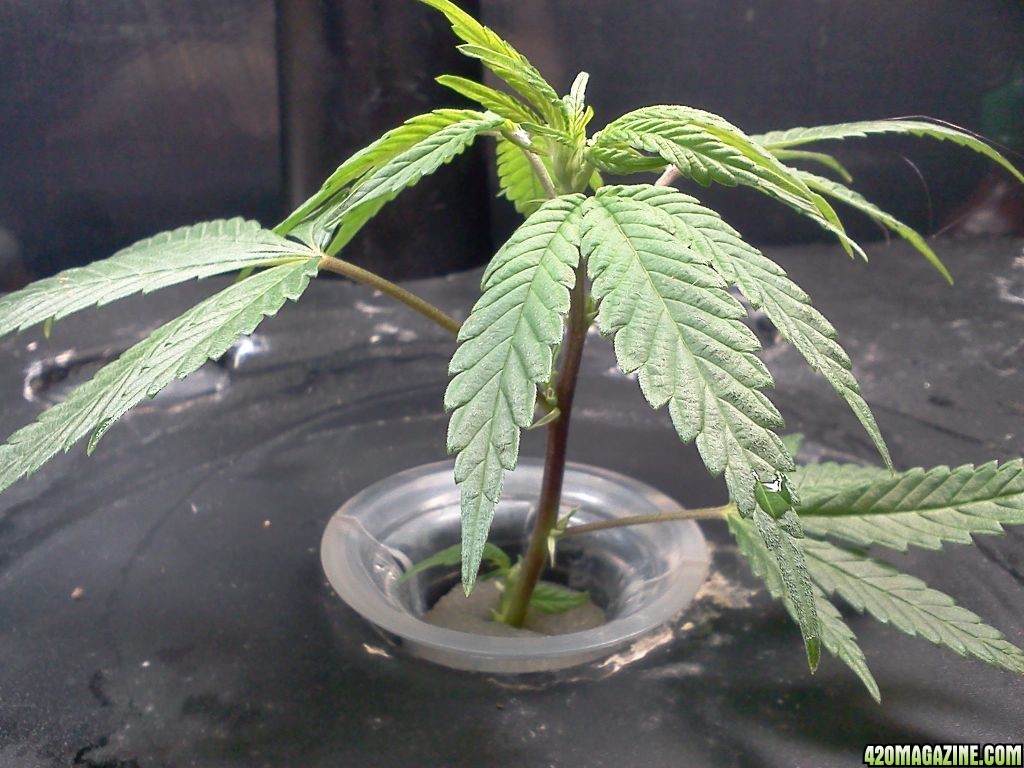
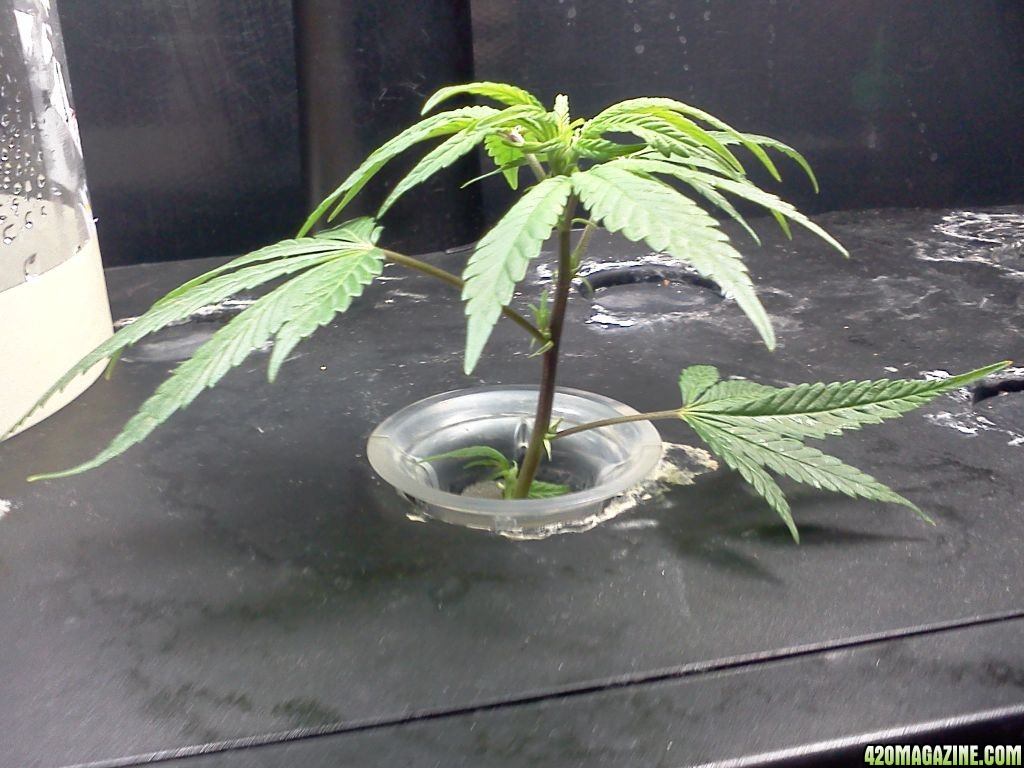
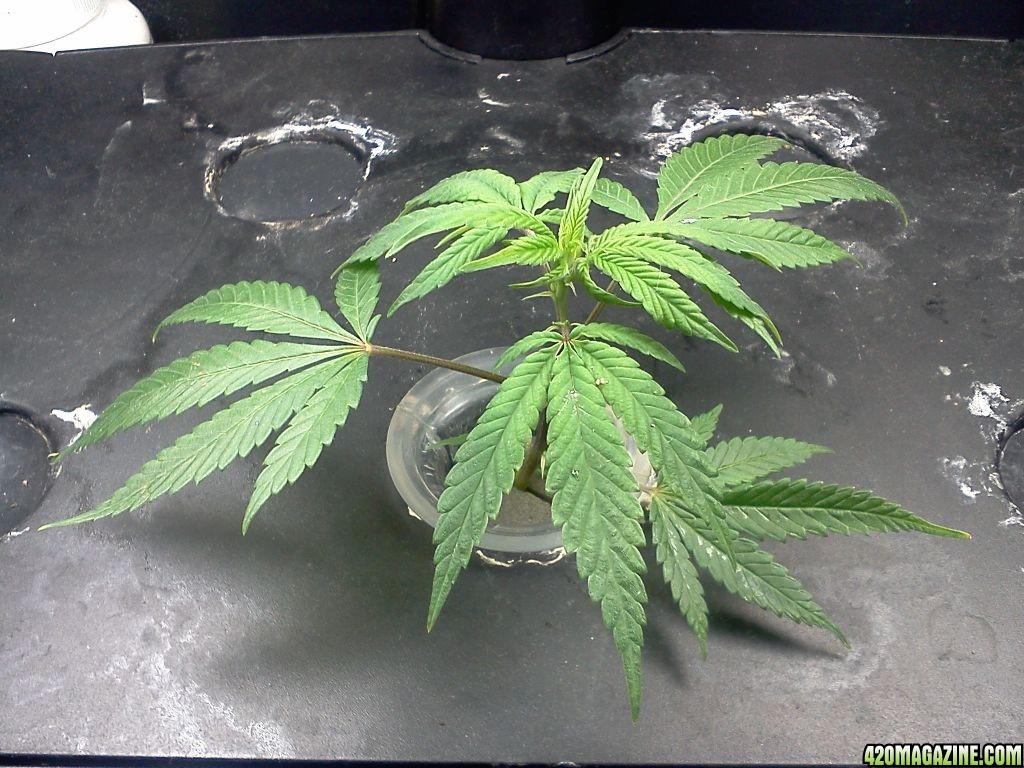
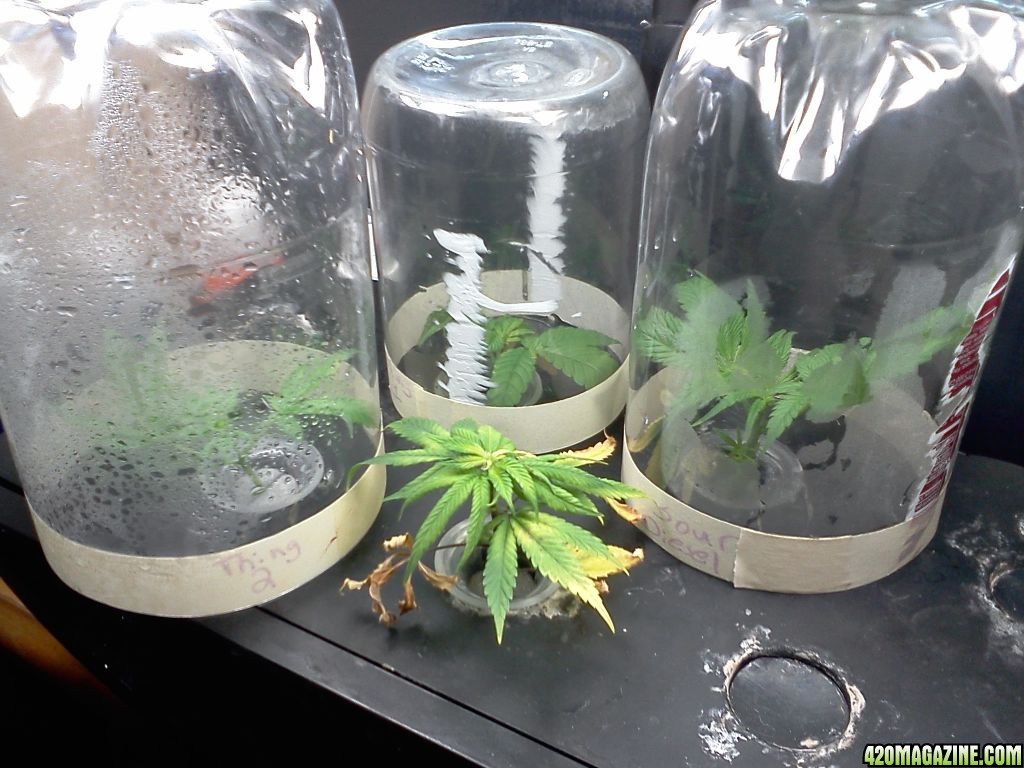
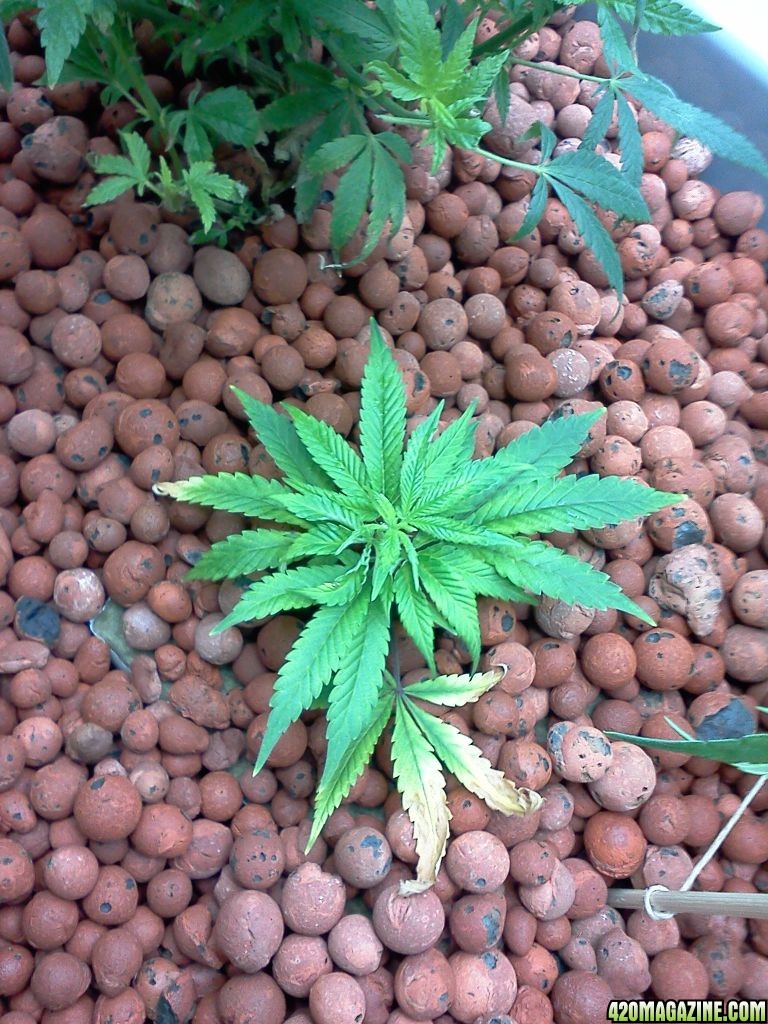
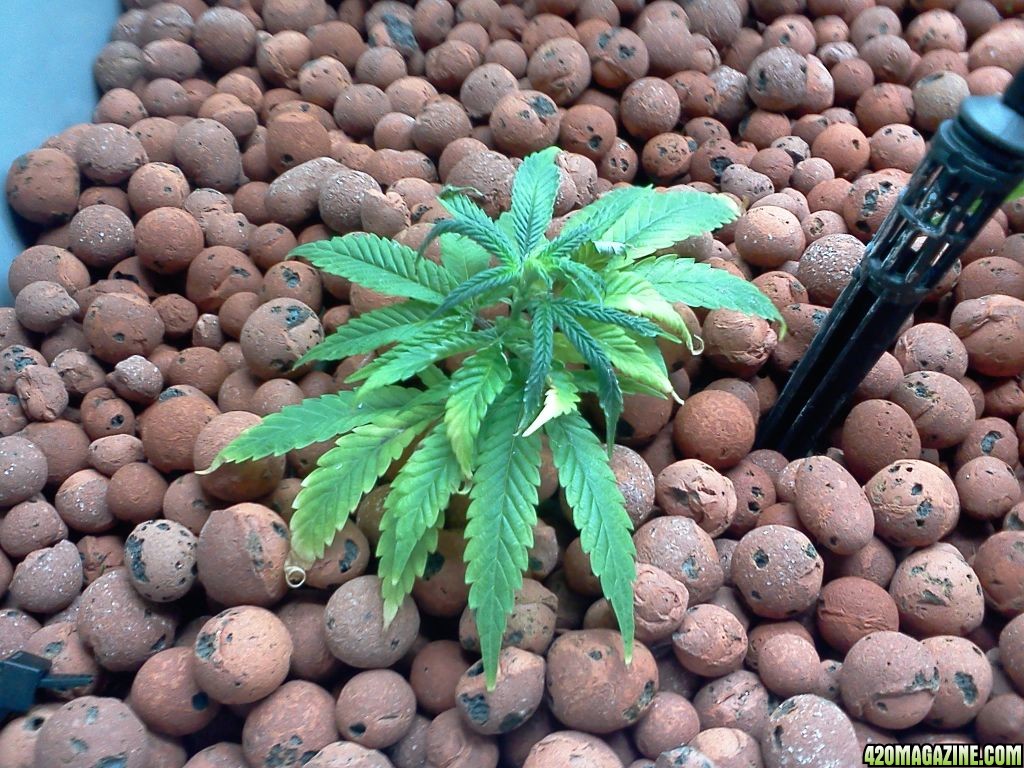
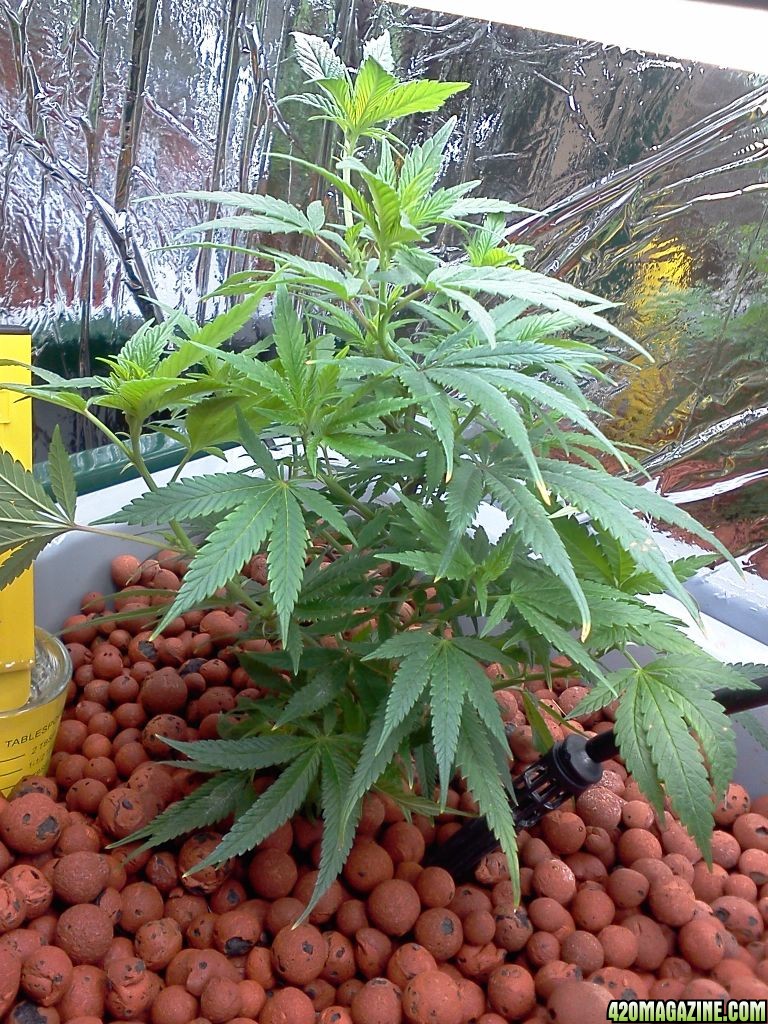
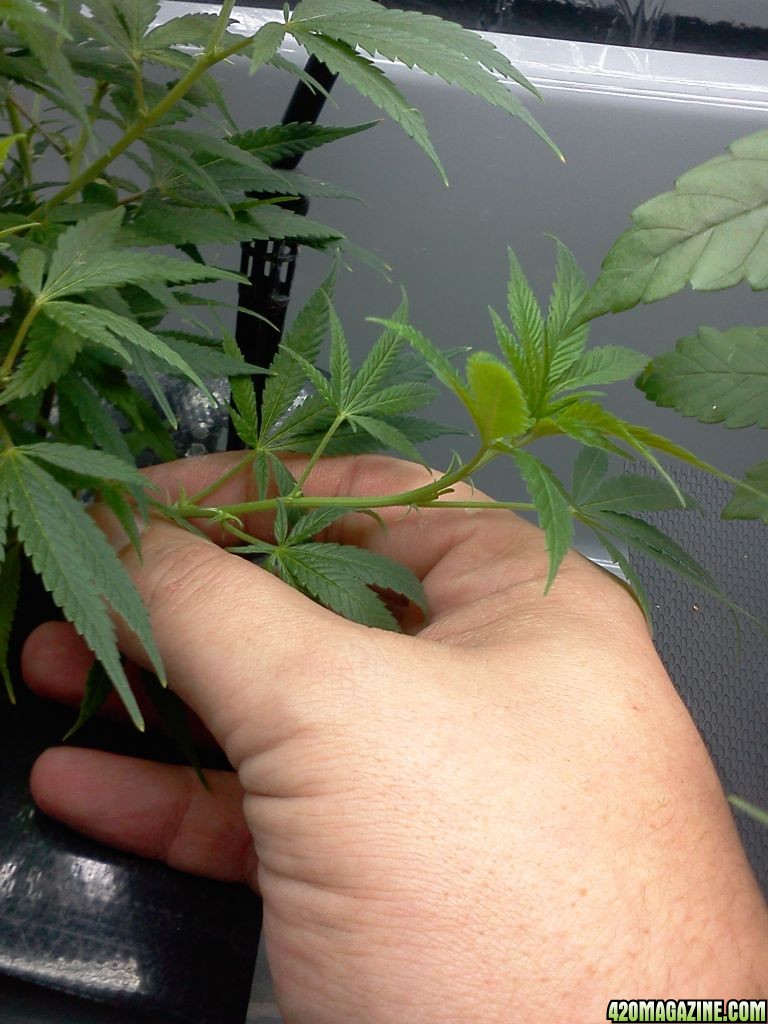
Okay, for those that have been following “The Purple” and her rise from sickness into a full, bushy, luscious mother-to-be, this is the first of many clones to be taken from her.
Here begins my growing of the flowers that help with severe migraines, and chase away insomnia, to help me to sleep. My no pain - nighty-night toke, if you will.
Incidentally, I’m still on the lookout for a “Green Crack” clone, or seeds, as this strain is AWESOME for migraines to do the same that I am doing with the GDP.
For those that don’t know about this strain, here is that information:
Type: Indica
Indoor/ Outdoor: Indoor
THC Level: 18-20%
CBD: .39%
CBN: .17%
Height: ~90 cm
Medical Uses: Stress Relief, Anxiety, Bipolar Disorder, Nervousness, Alzheimer’s, Migraines, Headache, Nausea, Depression, Parkinson’s Disease, Chronic Pain and Many More
Odor Level: Moderate
Type of high: Relaxing but uplifting
Flowering Time: 60~75 days
Taste: Very smooth and somewhat spicy. The taste is very short lived and has virtually zero aftertaste. It doesn’t have a sweet taste that sticks with you like other popular purps like Grape Ape or Purple Urkle.
Harvest: Mid October
Smell: Like most purple strains it is very hard to describe the smell and quite honestly the best way to put it is if purple had a smell it would smell like GDP. There is a faint sour smell as well but it’s really hard to distinguish it from the purple. (Personally, I'd say more like a sour strawberry crushed into a bed of sap-laden pine needles.)
Price: $50 an 1/8th
Yield: 15-100g/ plant Indoor 225-2000g/plant Outdoor
Bag Appeal: Moderate toVery Good, depending on the grow. Buds are typically very rich purple with green undertones, and a decent amount of crystallage
Grow Difficulty: Normal
Overall Rating: 9.5 out of 10
Grow Notes: As an indoor crop, Granddaddy Purple is equally happy in hydro or soil. With a pure indica heritage, this plant is predisposed to a short bushy stature. Granddaddy branches extensively, making her less than ideal for SOG style grows, but, she can be trained using LST, or she makes make an awesome super crop garden. When left to her natural tendencies, this strain will make a nice big shrub that reaches about 3 feet indoors or up to 8 feet outdoors. She is a hardy grower with tight internodes and dense dark green to purple leaves.
Granddaddy Purple is easy to work with throughout her growth cycle. She likes a cool temperature, between 70-80 F, and can be very forgiving so long as she is adequately watered. Due to her high resin output and dense structure, this plant can be alluring to mites.
Granddaddy Purple finishes her flowering cycle in 8-9 weeks. The buds are dense green nuggets that gain royal purple hues as they mature. Depending on the size she is allowed to reach, Granddaddy Purple can yield between 0.5 and 3.5 ounces apiece. Outdoor plants will really deliver, with potential yields between 8 ounces and 5 pounds per plant.
IN THIS GROW
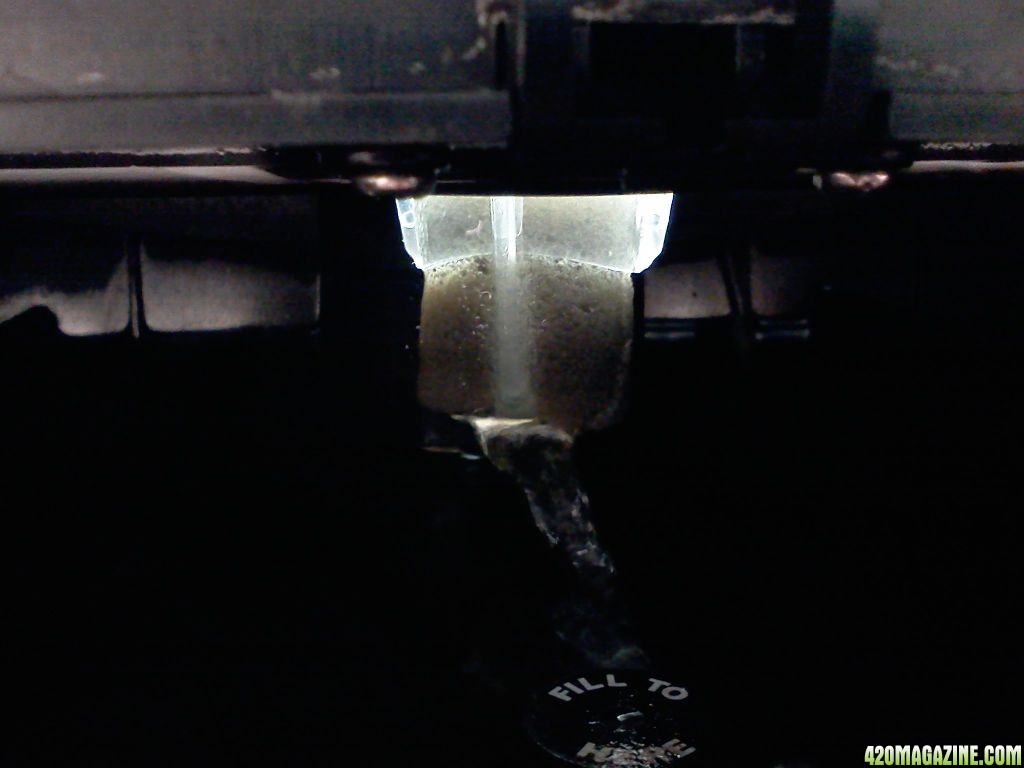
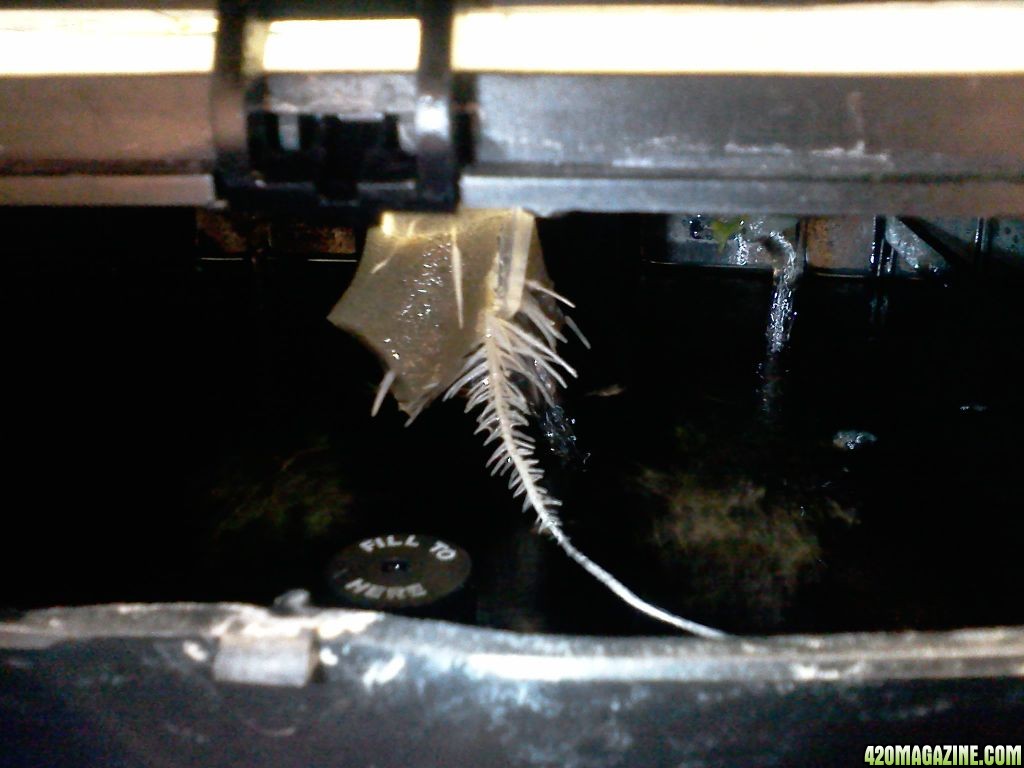
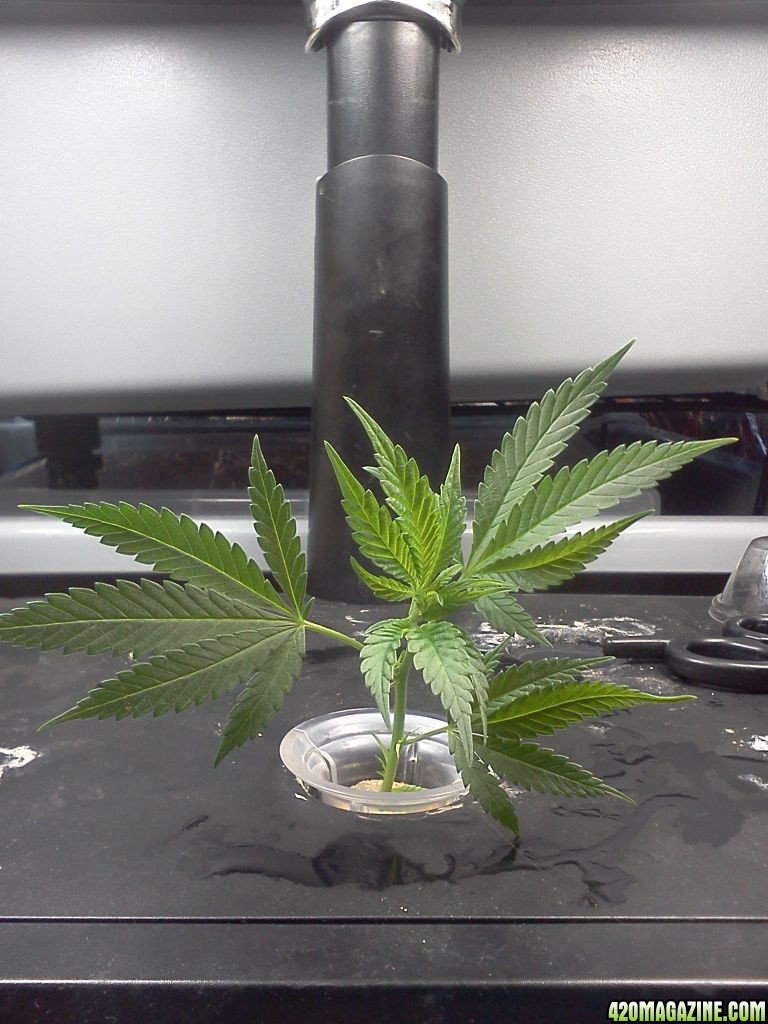
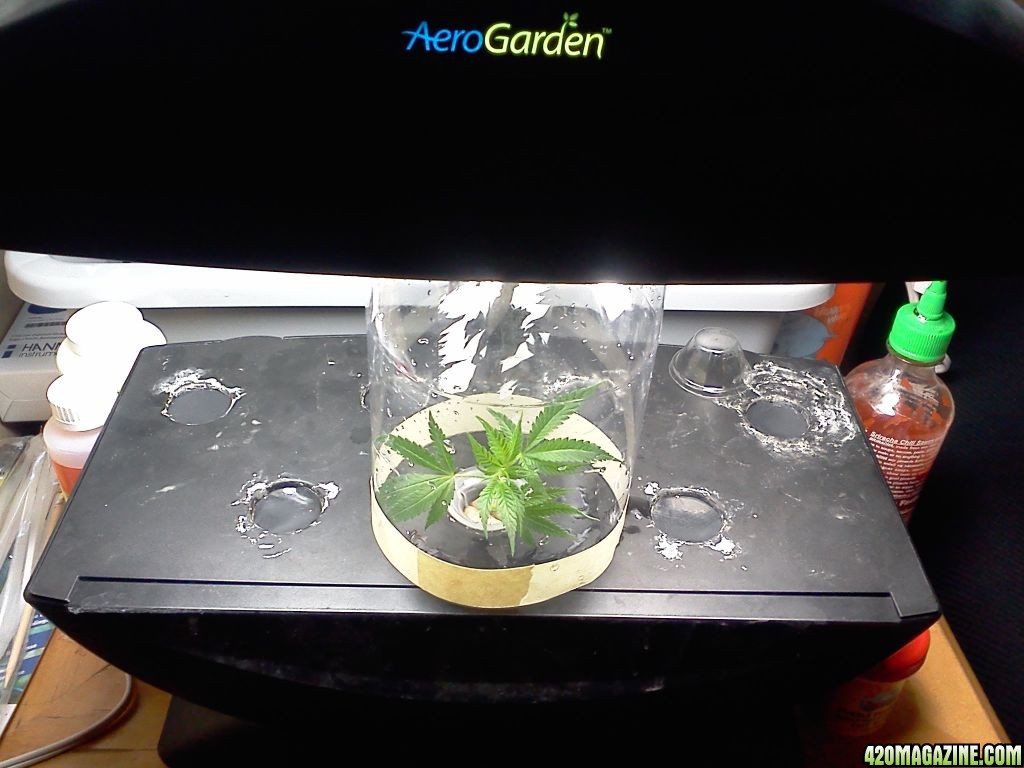
I will be rooting in an AeroGarden Classic indoor garden that I bought some time ago.

I disabled the internal factory programmed timer and this will be plugged into the timer that I have the rest of the veg lights on. A 15amp 7 Day Dual Outlet Digital Timer from Hydrofarm. SKU: TM01715D.

Rooting hormone is Earth Juice Rootstock Cutting Gel R021

Advanced Nutrients Jungle Juice Grow/Micro/Bloom has proven to be the best for my style so I will be sticking with it.

For the purpose of cloning, the environs are:
Light: CFL Grow spectrum to start so as not to burn the little girl
Light Cycle on/off: 18/6
Temp: 73f - 78f
Medium: AeroGrow Seed and Cutting Pod
pH: 5.3 ~ 5.8
Watering: Aeroponic
Rooting Hormone: Earth Juice: Rootstock
Nutrients: Advanced Nutrients: Jungle Juice Grow/Micro/Flower 3-part
- Currently in Cycle 1: Cuttings and Seedlings until roots form
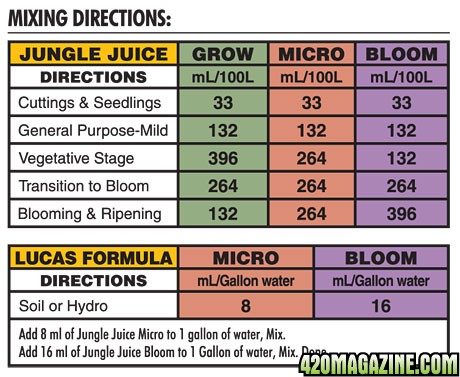
The above nutrient schedule is a bit confusing, so as always, I will break it down per Liter, then convert it to Gallons and teaspoons for those that are too bad at math to easily figure it out......... or too baked.
On a 100L Schedule for Seedlings and Cuttings:
33mL per 100L = .33mL per 1L
1Gal = 3.78L
.33mL x 3.78L = 1.247mL
1.25mL per Gallon Each Grow/Micro/Bloom
- OR -
1.0mL = 0.20288tsp
1.247mL x 0.20288tsp = 0.25299136tsp
1/4tsp per Gallon Each Grow/Micro/Bloom
I also place 1mL SUPER Thrive per gallon to help stave off stress, and help keep plants healthy.
Now, I promised a how-to at the end of this journal entry, and here it is.
WHAT YOU'LL NEED
RUBBING ALCOHOL
SURGICAL, OR EXAMINATION GLOVES (unless you're a hand washer)
SMALL SNIPS OR SCISSORS - Must be sharp!!
A SINGLE EDGE RAZOR BLADE - Must be sharp!! A new blade is best.
BACK-UP BLOCK - A piece of wood or plastic or cutting board
SHOT GLASS -Or similar small glass or plastic container.
SPRAY BOTTLE WITH WATER
SEED TRAY WITH CLEAR HUMIDITY DOME
GROWING MEDIUM - One of any of several growing media available at your local hydroponics stores (NOT SOIL).
ROOTING HORMONE - You will need a good quality rooting hormone. You can use a powdered rooting hormone but in My opinion they are much harder to work with resulting in a reduced success rate. Alternatively, you can make a "tea" of willow branches.
BEFORE YOU START
It is critical that you sterilize everything before you start, because cuttings are very susceptible to fungus, viruses and diseases until they root. Everything, even YOU must be clean, Use rubbing alcohol on your gloves (or sanitizer on your hands), the snips, the razor blade and the cutting block. Rinse the shot glass (or whatever you are using) with alcohol, dry it and then fill it 3/4 full with rooting hormone, and set it aside for now.
This might sound obvious, but you should only use very healthy cannabis plants to take cuttings from. The healthier the "mother" cannabis plant(s) the better success you will have with your clones. You should take a few more cuttings than you need and then select the best ones to use and throw away any that are unhealthy.
You can leach the nitrogen out of the mother cannabis plant(s) by watering them heavily with pH adjusted water only (no fertilizer) for two or three days before you take the cuttings, because the nitrogen stored in the cannabis plant can retard rooting.
Decide what you are going to use for growing medium. Most people use either Rockwool or Oasis cubes, which are probably the easiest to use because they are pre-formed and already have a hole in them for the cutting. However, you can use many different mediums just as successfully. For instance, you could use plastic cups with holes cut in the bottom to hold coconut fiber, a Perlite & Vermiculite mix or other loose type growing medium. Do not use regular dirt, potting soil, or Peat Pellets as they stay too wet and will rot the stem. These media can also harbor a myriad of diseases and parasites, Depending on where you get them, regular dirt especially. Not to mention the tiny little particulate matter in soils could "clog" the cut end of the stem, thus blocking nutrient uptake and causing health problems later. You will need to pre-soak your growing medium before you start, using pH balanced water. Distilled water is the best thing to use, but any good water source will work. NOTE: Most growing media need to be soaked in pH 5 to pH 7 water, (Rockwool needs to be treated with water adjusted to a pH of 5.5 then rinse-to-waste with some of your nutrient solution as it contains lime from the manufacturing process).
Make holes in the top of the growing medium about the same size or a little smaller than the stems of the cuttings. You do not want to force the cutting into the growing medium.
Work quickly but carefully. When you make the cut that separates the clone from the mother, you must get it into the rooting hormone as quickly as possible to prevent air from getting pulled into the stem.
TAKE THE CUTTINGS
Using the snips, take a growing tip from your cannabis plant 3" to 6" long with at least one leaf internode, two is better but not always possible. (A leaf internode is where the leaf connects to the stem) cut approximately 1/4" below the internode(s)
With the snips, carefully cut off one or two leaves (or small branches) at the cut end of your clone flush with the stem.
With the razor blade slightly below where you just trimmed the leaves. Cut at a 45 to 60 deg. angle. Make this cut as quick and clean as you can, you do not want to tear or crush the stem.
Immediately insert the cutting into the rooting hormone. If you are using a liquid hormone you can let the cutting soak for 30-60 seconds. (NOTE: With a gel type hormone you just dip the cutting and then insert it into the growing medium).
Insert the cutting into the growing medium, do not push the cutting all the way thru the medium, leave room for the roots to develop. Make sure that the cut(s) you made at the leaf internode(s) are below the surface of the growing medium.
Gently pack the growing medium up against the cutting. Make sure there is good contact between the cutting and the growing medium.
CARE AND FEEDING INSTRUCTIONS

Congratulations!You have now successfully taken cuttings or clones, now the challenge is to keep them alive long enough to root. The cuttings are obviously very vulnerable at this point and must be handled with care. If you follow the steps below you should have few problems.
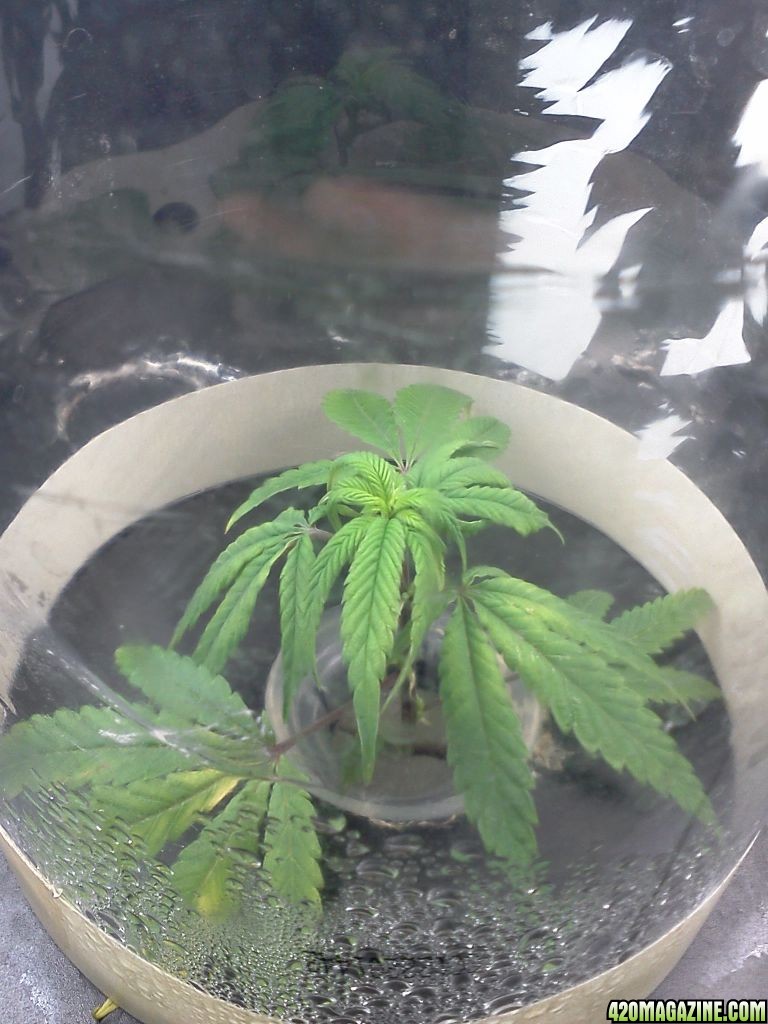
Once you have your cutting(s) in the growing medium mist them with the spray bottle filled with water and place them in the tray. Mist the inside of the clear humidity dome and place dome over the tray. (NOTE: The cuttings need some ventilation and a couple of small holes in the dome will usually do the trick).
For the first 5-7 days, remove the dome and mist the cuttings 2 or 3 times a day. This step is critical as the cuttings have no way to replenish lost moisture because they have no roots. Mist the inside of the dome and replace on tray. This keeps the cuttings from drying out and also humidifies the air inside the dome. The humidity under the dome needs to be about 90 % until roots appear on the cuttings. (NOTE: Be careful that the air under the dome doesn't get too warm, if it is, you may have to increase the amount of venting, and increase the number or mistings per day). Cuttings need to be kept between 72 and 80 degrees Fahrenheit as temperatures too hot or too cold will inhibit root growth. If you live in a cold climate you may need a heated propagation mat.
After about a week you can test to see if your cannabis plants have started to root. Remove the humidity dome and leave it off for an hour or two. If the cannabis plants have not wilted at all then they probably have enough root development to support themselves. If no wilt is noticed leave the dome off, if they are wilted, spray the cuttings and dome and replace the dome on the tray. Once you have determined that the cannabis plants can support themselves, stop misting the cuttings and leave the humidity dome off. (NOTE: Once the cannabis plants have roots, constant misting can actually be harmful to the cannabis plants).
To water the cuttings you can use either plain distilled water (or other Good Quality Water), or you can add a very mild fertilizer at 1/4 strength for most general purpose hydroponic fertilizer solutions. Don't forget to adjust the pH of the water/nutrient solution (5.5 for hydroponic media, 6.5 for most everything else).
Water the cuttings every 2 days unless you live in a very dry climate then you should water every day. Just make sure to NEVER let the growing medium dry out. Also, never let your cuttings sit in water, or the stem will rot. (NOTE: A great way to water the cuttings is to use two trays, one with holes and the other without. Nest the trays together with holes inside, and pour in your water or weak nutrient solution. Let them sit for a few moments and then slowly raise the tray with holes out of the other and let it drain). Small Hydroponic systems are available to automate the watering cycles of the cuttings, greatly reducing the amount of manual labor.
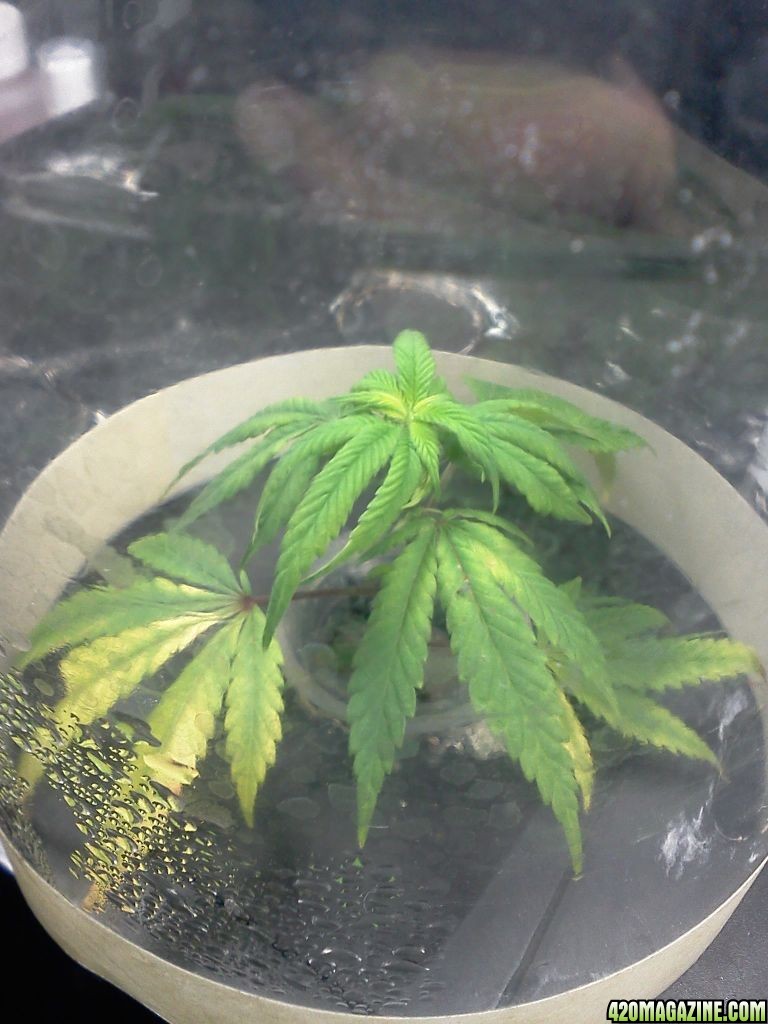
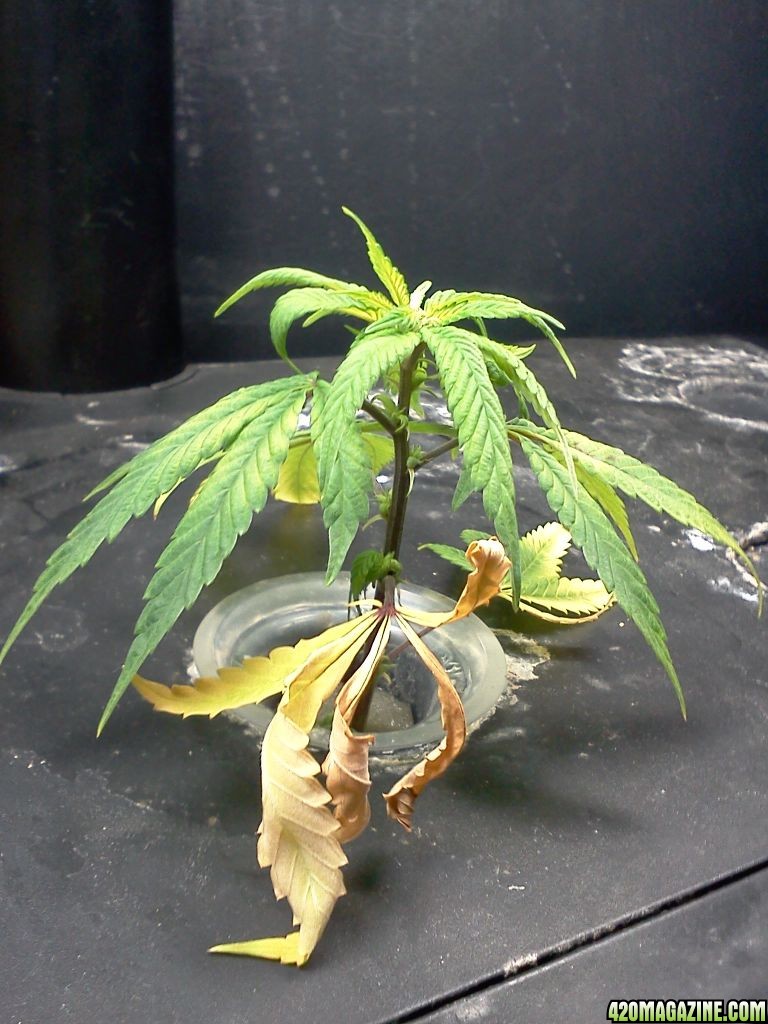
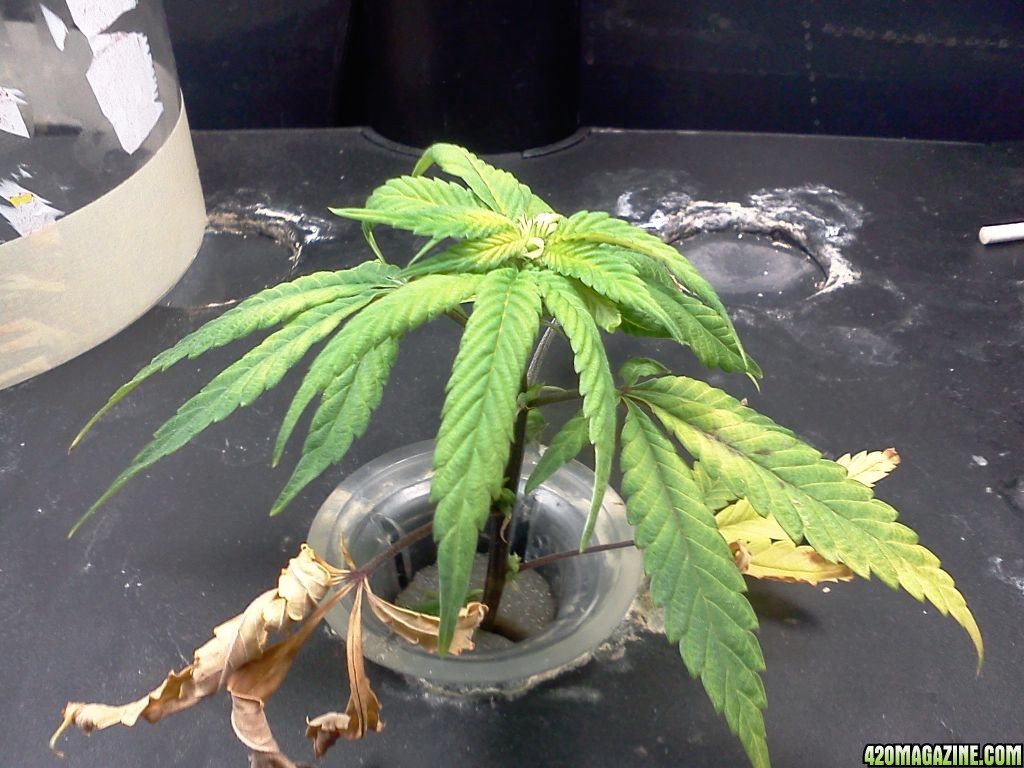
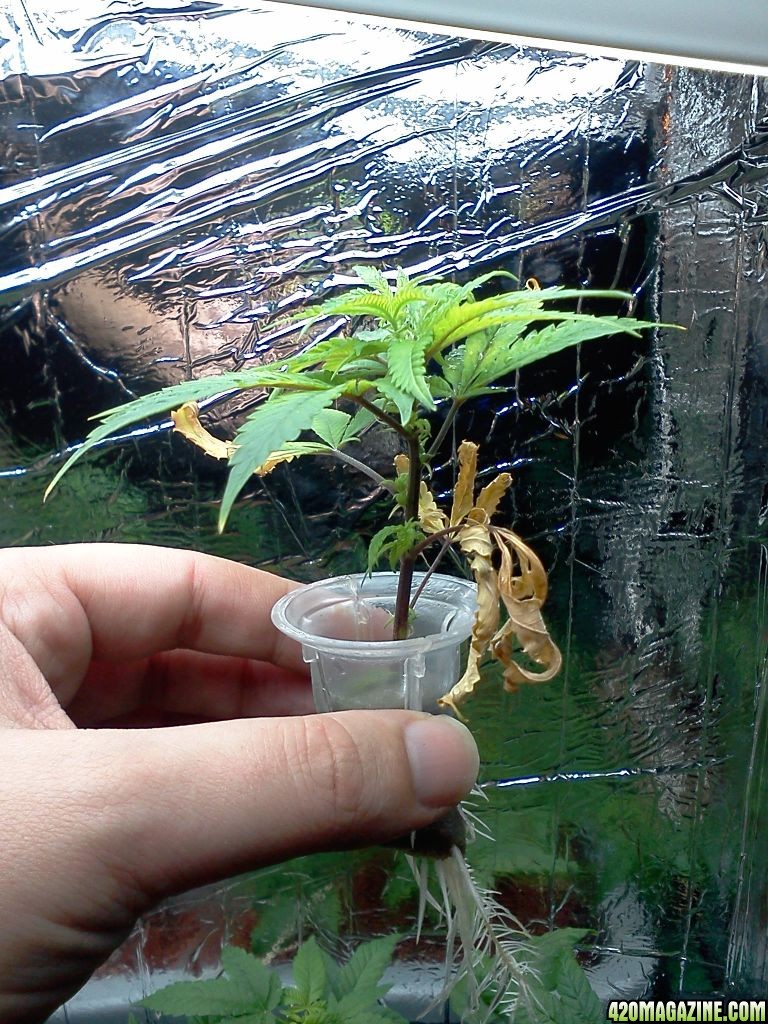
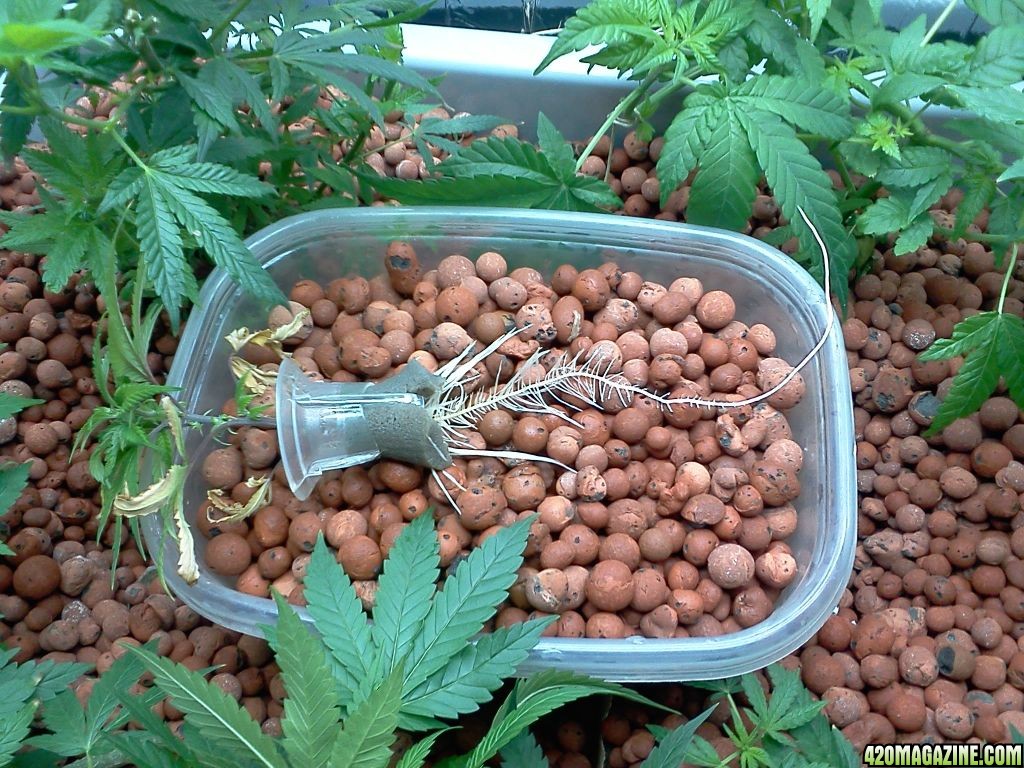
If the lower leaves start to turn yellow and die, don't worry, it is perfectly normal. It is the cannabis plant feeding off of itself to sustain life, moving valuable nutrient and water from the older growth. Do not remove any dead growth until the cannabis plant is well rooted. If you remove the dying growth the cannabis plant can starve and die completely.
Water isn’t the only thing that makes plants grow, the cuttings are going to need light, you need bright light, but not too intense. If you are leaving your cuttings outside, look for a place with dappled sunlight. Indoors you can use a double tube fluorescent fixture with both a cool white bulb and a warm white bulb in the fixture (or two "grow" tubes). This will give a good, balanced light spectrum. Fluorescent light doesn't penetrate so you must keep the lights very close to the cannabis plants (1-2 inches above the cannabis plants).
It is not highly recommended, but, If you are using a Metal Halide or High Pressure Sodium fixture you must keep the cuttings much further away (2 - 3 feet away for 175 - 400 watt bulbs and 4 - 6 feet for a 1000 watt bulb).
In either case the lights should be turned on for 18 to 24 hours a day.
When the cuttings are completely rooted you can move them into your hydroponic system or the soil.
 Don't forget to rate this thread!