GreenThumb J's Perpetual Multi-Strain Journal!

Hey Hunter brother, Sky pretty much summed it all up for me.. i only have a couple things to add or set straight.

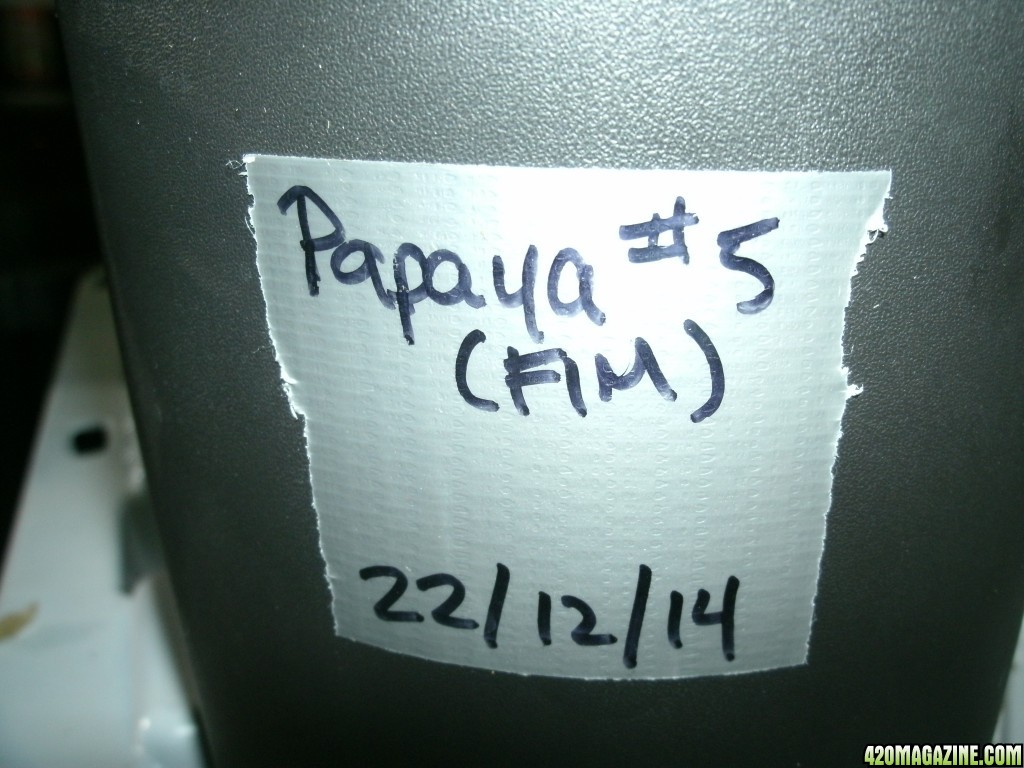
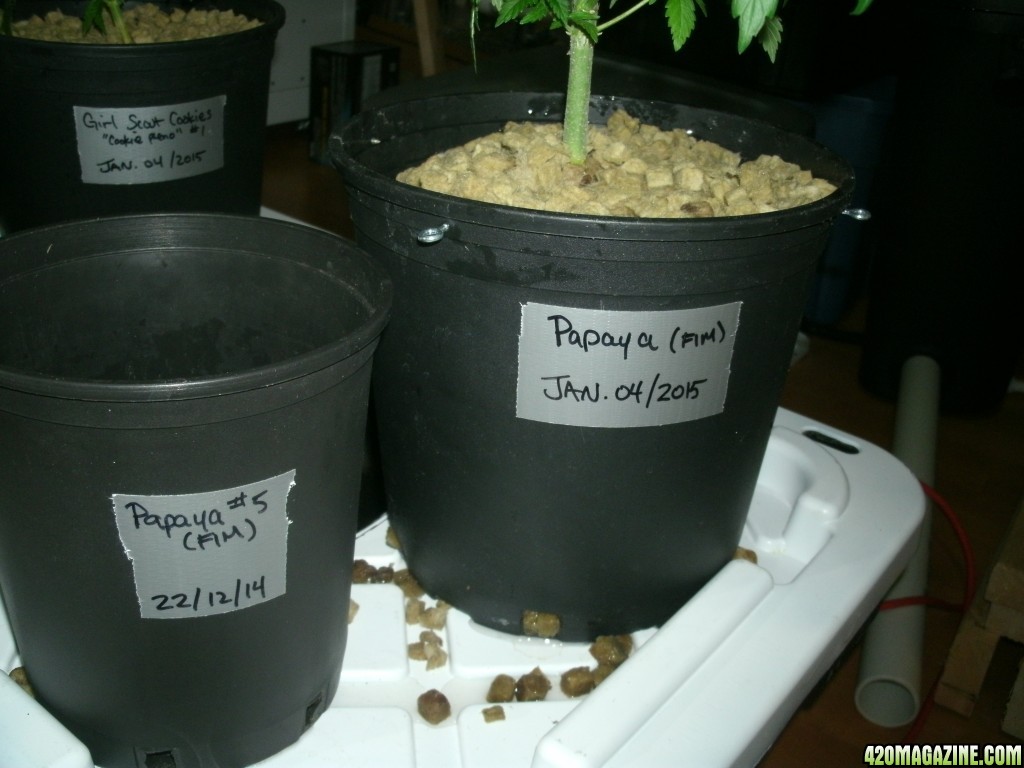
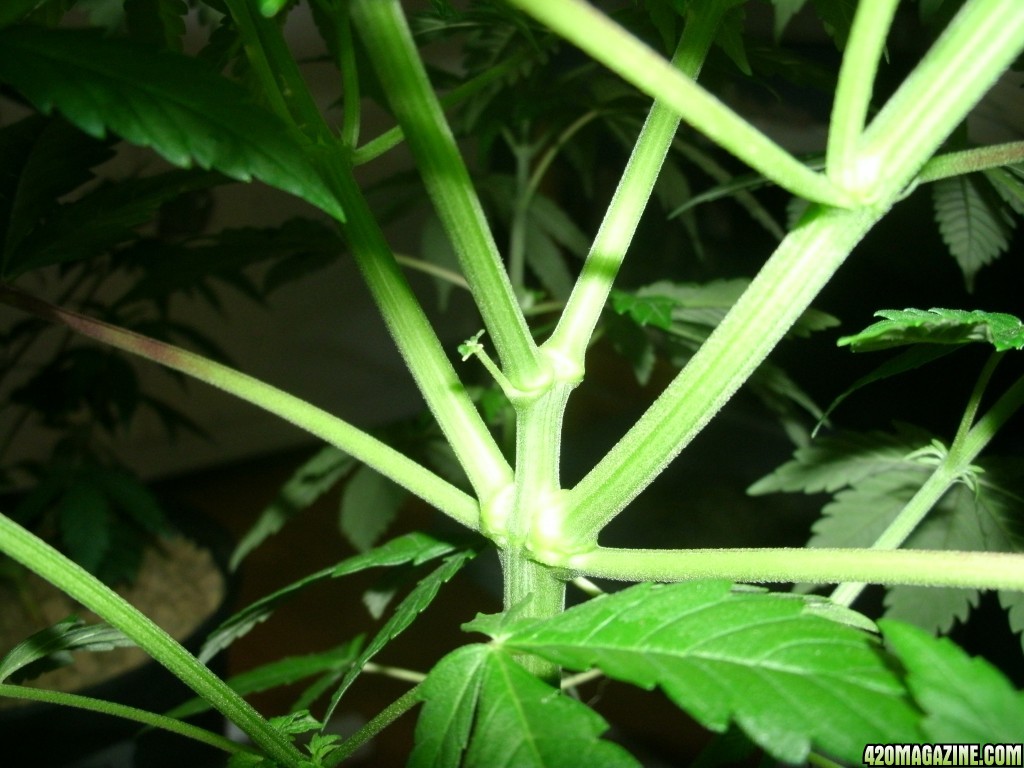
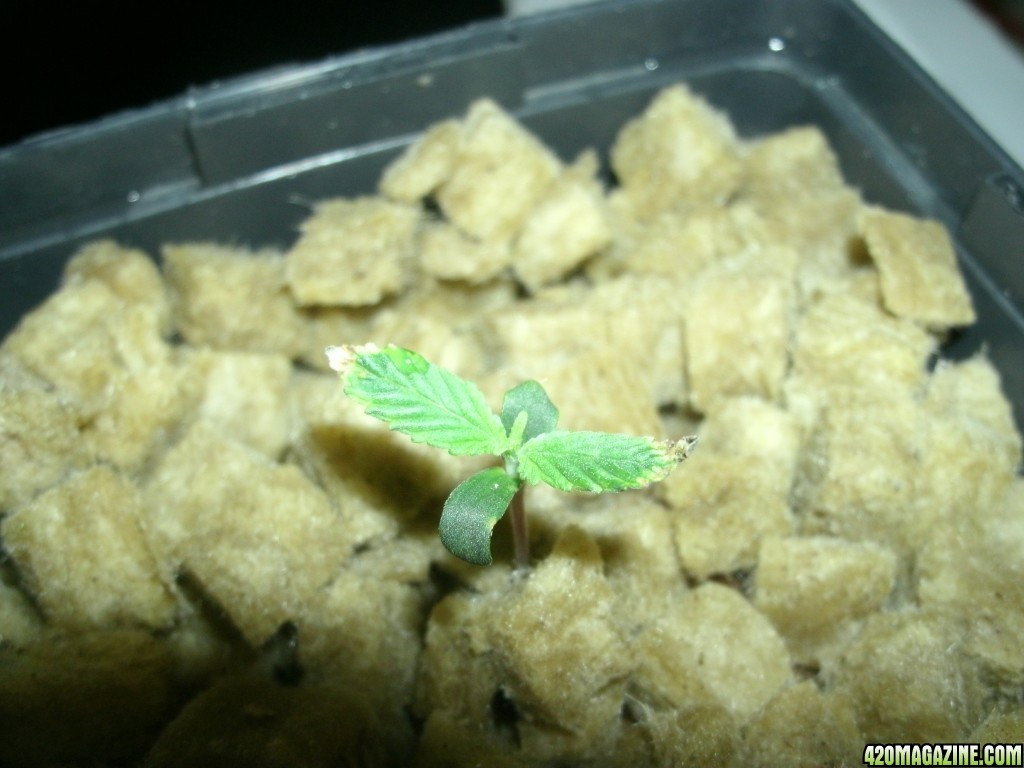
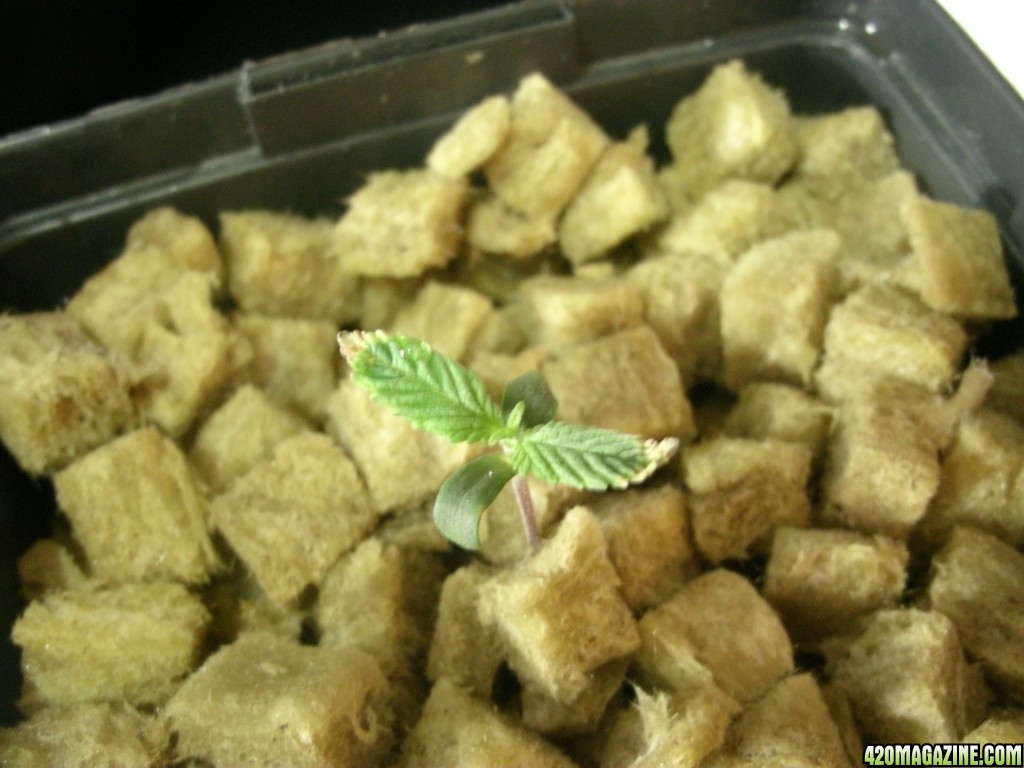
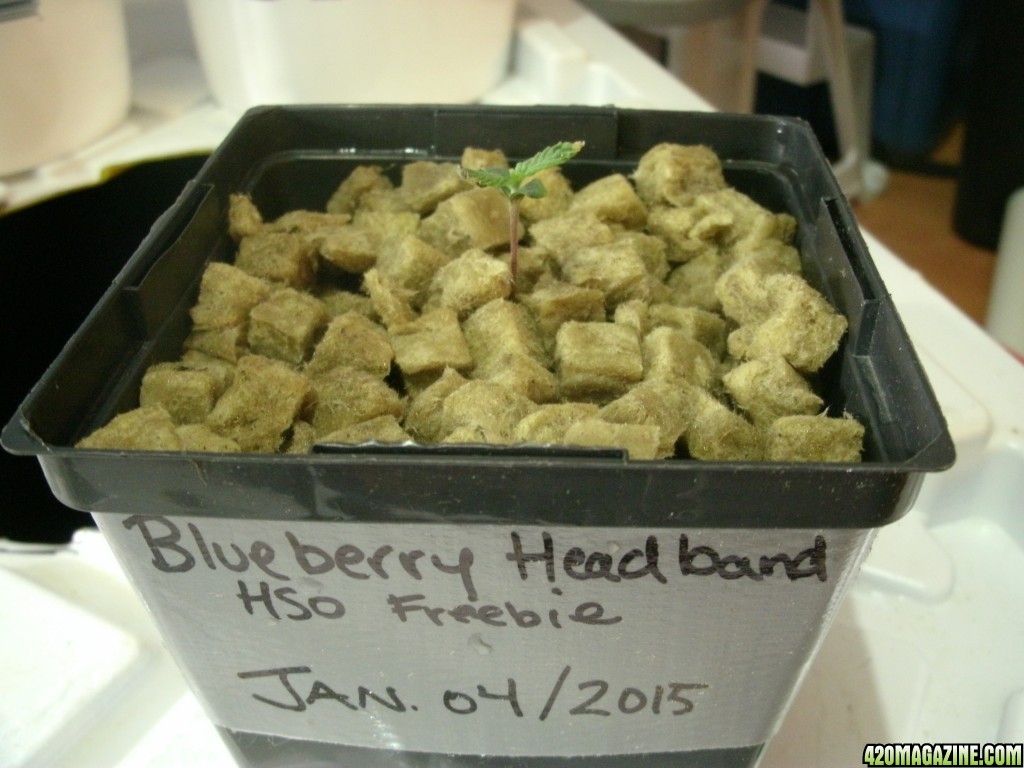
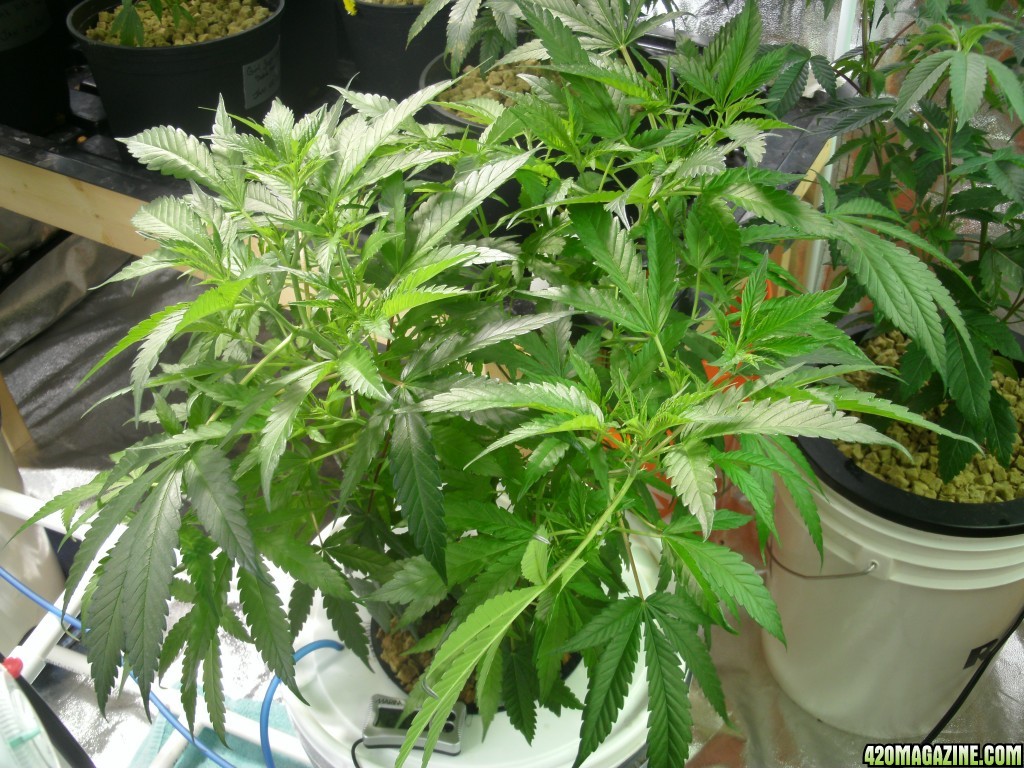
First, tipping and topping. The only difference is "topping" can take off any amount of the top of a branch or plant, whereas "tipping" refers to removing of ONLY the lead growth tip..

I'm going to make a coffee and some food and hit the bong before i break it down a little bit more.. although there really isn't much else to break down, just answer your questions and i guess give everyone the exact path i take from seed to harvest.. I just need some food first! haha damn munchies!
 
I guess I could say im guilty of a little defoliation but I don't take it to any extremes for me the reason why I really don't like to defoliate and if I do I keep it to a minimum is because

the plants need the leaves for photosynthesis besides the time itll take to "recover"
the buds don't do photosynthesis the plant needs a certain amount of leaves to support the growth
take too much off it not only has to "bounce back" but its gonna start making a whole new bunch of leaves to be able to support its growth
my take on why not to defoliate and if you do keep it to a minimum
just my thoughts on that Great Night to ya GTJ
 
Great input Cronic, and i couldn't agree more. If I were to do any defoliation, it would be the upper most fan leaves that shade the middle buds or buds near the top of the plant. I dont care about the popcorn buds, they go into the hash/BHO container with the sugar trims and i dont even count them in my final dry weights.
 
My "observation" is that my plants defol themselves in their own good time. I am seeing the lower leaves get consumed of all their stored nutrients before being dropped. I then come along throughout each day to collect and discard the spent fallen leaves. This lets me know that even though I am sticking to the recipe best I can, my errors in the recipe, or even the recipe itself (not The Capn's) may have been just not perfect for what the plant wanted at every given moment, and she just decided to balance my short comings by consuming her less important leaves, and since she already has moved some elements up through her root zone and up the main stalk and into the canopy leaves, most of the work is already done. So it would actually be a dick move (in my opinion) to remove the "nutrient caches" and force her to pull from way down bottom again and mobilize the nutrient to go up top just because I think she needs more air and light down on her popcorns.
 
Youre right brother, it happens naturally. The plant may detect that there isn't enough of something in the nutrient mix, or the pH is at a range where its locked out, the plant will cannibalize itself to get those nutrients. Again, this isn't as bad as people think, providing they correct the situation quickly. Prolonged deficiencies will obviously consume your plant!

Personally, i tried TheCapn's nutrient "recipe" and it doesn't work for me. I understand his "parts" but every time i mix up according to his "recipe" i always have to add fresh pH balanced water to bring the PPM's down into range. I find this very counterproductive, as you shouldn't have to water down your nutrient mix, if you mix it right the first time.

I slightly tweaked the recipe to work for me.. I ended up bypassing TheCapns suggested PPM's and have been feeding at ridiculous levels. 1500 and above! and my plants have seen no ill effects, other than falling over with Heavy bud Syndrome!!

Let me tell you a funny story actually. I emailed him one day while he was still on the forums asking why whenever i mix up a bucket of his veg recipe, i was getting readings of 160 (times 10 as per my PPM pen) which is actually 1600 and i was wondering why i was getting such high readings.. He said that i shouldn't be getting readings that high, and if i am i have to do some EC conversion on my PPM pen.. which made no sense to me, but i humoured him.. so i looked at the birth certificate of my PPM pen and it said " EC Conversion = 0.5". So i assumed i took my pen reading, multiplied it by the regular 10, then multiply by the EC conversion, which is basically divide in half.. Suddenly, my readings made sense.. 160x10x0.5=800ppm.

So a few months went on.. haha more like 6 months at least. I was talking with someone about high PPM feedings one day and thought what the hell, i'll give it a try. Whats the worst that can happen? some burnt leaf tips? meh no big deal. So i started mixing, and i couldn't understand why i couldn't get a reading over 1000ppm (according to how TheCapn said i should be reading the pen). My TDS pen takes readings from 10-1990pm, yet i couldn't get a reading over what i thought was "975". I couldn't figure it out.

One day about a month or so ago, i went into my local hydroshop to pick up my new TechnaFlora brand nutrients (BC Hydroponics line.. love the stuff!!), and i casually asked if they had any TDS pens that read over 1000ppm.. the guy asked me if i had the Miluakee brand TDS pen (cause he sold it to me haha), which i replied, yes. He's like man the thing reads to almost 2000, all you do is take the display and multiply by 10, and thats the reading.

Mind = Blown!! TheCapn was wrong the whole time and i was reading my pen wrong the whole time.. Forget High PPM feedings, i was destroying that! I tested water sometimes that didn't even read cause it was well over 1990ppm, and none of my plants have burnt leaf tips!

Looking at the Dinafem OG i have 2 weeks from the chopping block, the main fan leaves are covered in frost and i cant even see the green in the buds anymore!! High PPM feeding (if your plant can handle it) is where its at. Halfway through the week you just top off with pH balanced water, and the PPM's will stay high enough that your plant wont look like its lacking anything.

Since switching to the Technaflora nutrients, my water changes are done in half the time. Theres half the amount of bottles to add, just to achieve the same thing as having 10 bottles of GH stuff.

Another thing i really like, that i'm sure would appeal to DWC growers, is that the BC Grow, Boost and Bloom from Technaflora, are transparent liquids, with very minimal colouring to them. Unlike, for instance, GH FloraMicro, which is a thick purple liquid, that instantly darkens your nutrient solution. Then if you are using something like Floralicious Plus, your nutrient water looks like soya sauce!! My roots are whiter than ever, and having to only add a couple things rather than a whole plethora of ingredients just makes everything much smoother.

Needless to say, looking at all my plants now that i've switched over to Technaflora, they all have noiticably swelled up in flower, or bushed up in veg. Seeing the results that i am seeing this early, its no wonder why Technaflora nutrients AREN'T CHEAP!!! Because they work, and they work very well!
 
Okay.. time to break it all down for anyone that wants to know my exact methods.


Firstly, Skybound is correct, we are growing in a recirculating top feed system, thats coined "Capn-style" here on 420. But its much more than just an RTF system, so i will explain from start to finish how i grow with this method.

Firstly, the rockwool I use is Grodan grow cubes, not the chunks. The cubes measure 1cmx1cmx1cm, and the chunks are a bit bigger. I buy it by the box (6 cu.ft) as Its always cheaper to buy in bulk, plus it saves trips to the grow store. One thing i like about rockwool is its pH neutral, retains a decent amount of moisture, drains evenly but also allows a great deal of air penetration to the roots, which supplies them with oxygen which helps with rapid root development.

I start my "Capn-Style" voyage (lol) by making a root drench with my Subculture-M. I've explained it before, but i take 4gals of water in a 5gal bucket, add some water conditioner ("Prime" brand aquarium water conditioner in case anyone's wondering). 1ml per 10gal is all thats needed to treat the water, so if i'm doing 4gals, i take my micro syringe (GF works as a Veterinary Technician, so i get cool shit to dose my nutrients with haha) and i pull 0.4ml of conditioner from the bottle cap and mix that into my water.. No need to wait around, just give it a really good mix in the bucket and by the time the water stops swirling, you're good to go.

I then add one level tablespoon to the water and mix with a whisk to make sure its incorporated. the Subculture products both come with measuring spoons so you dont have to go fishing through the crap utensil drawer in the kitchen looking for the measuring spoons.

I take a small drinking glass worth and take it aside.. then i take a food storage container (a 1/6 cambro container if anyone knows what that is, if not, think those square plastic containers you see at Subway with all the veggies in it.) and i fill that with just enough Subculture-M solution to cover a 1.5" rockwool block. I then add 15ml of Aquashield and then drop my paper towel in to soak.

I then take that drinking glass of Subculture-M (no Aquashield in this) and drop my bean or beans in the cup for 30 mins to one hour max to inoculate. After this soaking period is over i take the beans, put them in the paper towel, and put it into a ziplock bag, and close it up.. making sure to not press the air out of the bag, just close it as it is. From here, i place it on top of my Playstation 3 to add a little warmth to the germination process.

Anywhere from 30 hours to 4 days, you will have a taproot about 1/2" to 1" long pretty much every time using this method of germination.

Upon the bean cracking and taproot exposing, i will mix a bucket of Subculture-M root drench again, and take that food storage container worth and add Aquashield to it again, but this time i will drop in my 1.5" rockwool starter cubes.

After about an hour of soaking (with an airstone if you got one. Although totally not necessary, the oxygen helps activate the microbes in the Subculture-M and Aquashield even more) i will take the RW block out, slide the wrap 3/4 the way off, take a sterile razor blade and make a slice down the side of the RW cube so i can pry it apart gently, and slip the bean and taproot into the RW then close up the slit, and slide the wrap back over the RW cube to keep it tight.

I've tried a few different methods once i get to this stage of the game.. My favourite so far has been using tupperware containers that have semi-clear lids, or coloured lids that allow light to penetrate. But i've since bought a humidity dome/T5HO combo that has a 24w T5HO with reflector sitting directly on the humidity dome in these grooves for the T5. The low wattage light is amazing for starting sprouts and fresh cuttings. This has proved much more effective for me than using tupperware containers, although i have had pretty much 100% survival rates in the early sprout stage using this method.

Like Sky mentioned, once the initial tap root has exposed from the bottom of the starter RW block, i transplant into a 4" square pot full of grow cubes. Early on like this is not the time for air pruning roots! This is also the first time the sprout will get any nutrients as i will add a very light solution to the water when i soak my rockwool. Other than that, it just gets the Subculture-M and B root drenches.

It sits in the humidity dome under the 24w T5 until a second set of leaves start to form, then i put it under my 220w, 4ft, 4-bulb fixture for about a week. At this point, i will water only when the pot feels light, but after about a week, that ends up being every day, or every second day. after that week, its usually needing a transplant into a 1gal container and is put under a 600w MH to veg.

I will top it as early as i possibly can.. to be honest.. 2nd or 3rd node is usually when i like to start topping.. I have since perfected the FIM technique and almost prefer it to tipping, cause i know i'm going to get 4 nice, even tops, that i can then tip each one to promote more side branching and creating more tops. Also, i recommend slightly bending your plants' branches down. no need to tie them, but each day if you keep bending them slightly, they will hold that bent down form, and all the smaller branches will then grow straight up and your plant will be even bushier, and it will make it easier to tie the plant down if you need to even the canopy out some.

The nutrient recipe is just as important as the attention as everything else, however, all the brands work, so pick whatever brand you like, or want to try, and figure out a good recipe. I've altered the "Recipe for Success" (this makes me lol everytime i read it) from Technaflora slightly because i dont have a couple things, like awesome blossoms or sugar daddy or thrive alive red (I will be getting them tho as soon as funds allow it) so i improvise with the rest of my GH stuff i have left.. Gotta use up my KoolBloom, dry and liquid, cause that shit wasn't cheap!

i am liking the ease of mixing up Technaflora over GH like i mentioned, but i'll get into that once i have the full Technaflora line up.

Vegatative growth is important to getting a plant up to size before putting it into flower. If you have a goal dry weight (for me its 16zips a plant), then you want to make sure you do what you can to make your plant grow as fast as you can.. Dont defoliate in veg, this slows down growth. Tipping is okay cause you want lots of side branching and many tops. but leave the damn leaves on!

one important thing people overlook is beneficia bacteria. Pick up a good mycorrhizae product and make Root Drenches with it. Get some aquashield and use it as a foliar spray for some good results. The root drenches are key.. AT LEAST once a week, i'm doing it once a day tho, about a couple hours after a regular feeding, so the rockwool has time to drain and dry slightly so the concentration of salts and metals isn't as high, which can alter the effectiveness of the beneficials.

TheCapn just posted a video on youtube, and he has his flower room packed wall to wall to wall with 4 Purple Dream plants.. and i have to say, each plant will hit 20 zips or more! The reason i bring this up is because of two things. First one is container size for flowering, and the second is Scrog or not?

Actually, let me talk about container sizing throughout the whole grow. Transplant your plants as often as you can before flower. This builds a massive root ball, which in turn grows a massive plant up top. The first container my plants go into are 4" square pots.. in about a week, they go into 1gal pots, in about 10 days they go into 2 gal pots. About 2 more weeks after that, they go into 3.5 gal pots, then about a couple weeks later they go into 5 or 7 gal pots for flowering, if i have time till space in the flower tent is available, i will go into a 5gal container then transplant into a 7gal container just a few days before flowering.

TheCapn has stopped using Airpots actually, and is using standard flat bottomed nursery pots. he says he gets slightly better growth this way, and looking at his plants in his video, he's on to something. I am going to run a side by side test of this and see if its true.

Scrog's:

TheCapn loves his scrogs, and if you've seen his harvests, you'll see why. He has 4 Purple Dreams in flower right now and the smallest of the 4 is under a scrog. It really all depends on the strain you grow.. Some strains, like his purple dream, can yield more, if trained right, without a scrog, than with a scrog. You can grow longer, bigger colas that weigh more and add to your final weights.

What you need to do is get an idea for your plant. Run a few of them at the same time and do each one a little different.. i'm runnin Dinafem OG kush, and it NEEDS to be in a scrog, or be staked up and supported as the plant can get rather large and really weigh a lot, which, as i've learned, can snap whole plants in half at the point they were first tipped!

SCrogs are great if you want to keep a nice even canopy, and you dont want popcorn buds, cause usually you trim off the crappy stuff below the screen, which is all the small stuff anyways, and the plant then focuses on growing big buds up top.

Flower machine:

I made a video of it, its in my signature, but its super simple. I use the cheapest rubbermaid roughneck totes, some 1/2" PVC for the drip rings and the plumbing and a 200gph submersible water pump for the irrigation. I'm going to switch the containers i use actually to 15gal Brute totes if i can find them here in my area without having to order them online.

I drill 4-6 2" holes for drainage. TheCapn uses a 6" hole or something for drainage, and a 6" hole to take water readings or get a pump in there to empty the reservoir. Its all up to you and what you wanna do.. He uses like thee 6" net pots stacked on each other and puts that in the 6" access hole to block the light. Make sure that you pick a tote that holds the container that you are using too.

When growing Capn-Style, it isn't necessary to have an airstone in the reservoir, as the roots get oxygen through the RW cubes. However, if you use a product like Floralicious plus, or something similar, in which the bottle states to keep it aerated, then do so.. but regular nutrient formulas do not require aeration. The water return each day into the reservoir adds enough oxygen into the water for it not to go stagnant.

The number of irrigations depends on your strain.. I noticed with more daily irrigations i was seeing calcium lock outs in my Dinafem OG's because overdoses of nitrogen and potassium cause Calcium to become lockout even if its readily available to the roots. So i knocked the waterings back to 4 times a day from 6.. i've since gone down to 2 irrigation a day, but i might just go with one and see if theres any difference.

Defoliation:

Dont do it.. I dont do it.. TheCapn doesn't do it.. s1ingblade doesn't do it. Those two guys alone pull in bigger harvests than everyone here on 420 combined i betcha!! Although in TheCapn's latest video he mentioned pullng some fan leaves off his biggest Purple Dream plant (which will probably hit 24zips or more) probably to open up the MIDDLE of the plant where large buds are growing.. Not the bottom of the plant where theres no energy being focused anyways.


thats really about it. If i've forgotten anything, trust me i'll post it quickly!

Anyways.. my sleep schedule is all messed up.. 830am and i'm off to bed haha!

I'll be back later guys!
 
WOW... Awesome write up!!! +++Reps. I'm saving this information right now! Its crazy because ive looked all through your journals trying to find the information that's in your signature on the setup and you have a video of it! lol... Silly me over looked it. Awesome info and awesome video. Only counter question i have is how long does your pump run when you irrigate 6 times a day? Does it run for 15 min intervals?

Again thanks so much!! And thanks for answering my questions also Skybound!!! :high-five:
 
THAT'S WHAT I'M TALKING ABOUT GT!!!!!!!! Great write up Sir.:bravo::Namaste::yahoo::adore::reading420magazine:
 
yes Hunter, my timer runs in 15 min intervals.

Like i mentioned, i have cut back the amount of irrigations due to calcium lockouts in my OG's by having such high amounts of potassium and nitrogen. But thats also been eliminated too since switching over to TechnaFlora. I'm also noticing that i'm not using pH buffers after i've mixed my water to bring the pH into range.. also , by the end of the week, at reservoir change, the pH is STILL within range. Very minimal pH drift, i like it!

I'm about to go update the Pink Kush Journal right now!
 
Hey everyone, I'm back with a veg update!

I transplanted all my plants the other day, and i just forgot to post the pics.

I was smart this time i took pictures, as i took them in order!! So lets get to the pictures!! I'm glad i label my pots. This gives you an idea when i actually did this, as well as how long between each transplant and how the roots have grown.

Capn-Style Pink Kush:
GEDC0905.JPG
GEDC0906.JPG
GEDC0907.JPG
GEDC0908.JPG


THC Bomb:
GEDC0909.JPG
GEDC0910.JPG
GEDC0911.JPG
GEDC0912.JPG
GEDC0913.JPG
GEDC0914.JPG


Girl Scout Cookie (Cookie Pheno). I have 2 plants, but only got 2 photos of the one plant as the other was a little fragile around the root crown cause these were bubble cloner clones, so they have no rockwool block for support like the rest of the plants you see. Pics:
GEDC0915.JPG
GEDC0916.JPG


Next up is the only Papaya i have left. I had 7 that germinated, one was a male, so i scrapped it. The other 6 i tossed very selectively as they all looked really nice.. The only reason i kept this one over the others, was cause it was a successful FIM, and it grew absolutely perfect. If the plant flowers nice, and the smoke is good, i might just grow this again. Pics:
GEDC0917.JPG
GEDC0918.JPG
GEDC0919.JPG


now heres what a FIM should look like.
GEDC0920.JPG


Notice how there is hardly much stem between the two nodes? With tipping, you would have broken the whole lead shoot right off, but with my method, using a pair of flat tipped tweezers, i first slowly spread the very top most newest growth coming in, not just the stuff you can spread with your fingers; i'm talking the micro stuff you might need a microscope to see properly, and i pinch it off. If you get in there with jewelers loupe, you will notice that there are tiny nodes in here that you didn't take off that you normally would have if you bent the lead shoot till it snapped off.
Here is what the end result should look like:
GEDC0921.JPG


now I took it one step further, cause i wanna see just what this plant can yield, and if its worth keeping in the garden, so i tied down the 4 tops. here is what it looks like:
GEDC0922.JPG
GEDC0923.JPG
GEDC0924.JPG


Should be nice!

Last for my large plants is the Pink kush i'm going to flower in a 27gal DWC, to compare quality against a Capn-Style Pink Kush. It got transplanted into a 10" netpot, cause why the hell not!! Pics:
GEDC0925.JPG
GEDC0926.JPG
GEDC0928.JPG
GEDC0927.JPG


The newest addition to the ranks, is a Humboldt Seed Organization, Blueberry Headband, feminized. I actually dropped the damn sprout on the floor and the rockwool block landed on the top with sprout underneath (it looked green and healthy then) And since then, the tips of the first 2 leaves coming in look burnt and dying. thats okay, cause looking at it this afternoon, its starting its next set of leaves now! Here she is:
GEDC0930.JPG
GEDC0931.JPG
GEDC0932.JPG


Moving on, i have moved back to DWC for the time being, cause i really like the vegetative growth, and i need some plants to get up to size in the next 2-3 weeks.
So i'm going to veg them in the 5gals, then the ones i am going to flower will move into the 27gal totes.

I was actually going to throw these two OG clones away, but when i texted a picture of them to Cannabis 1, he (and my GF too) convinced me not to throw them away. I'm actually glad i didn't cause they are looking amazing!!
Dinafem OG Kush clones:
Left plant:
GEDC0935.JPG


Right plant:
GEDC0936.JPG


Right plants roots:
GEDC0937.JPG


I also have a couple of my Pink Kush in DWC buckets as well under the T5.

Right PK:
GEDC0939.JPG


Left PK, partially blocked by the right one cause i couldn't get all the way in there:
GEDC0938.JPG


Right PK's Roots:
GEDC0940.JPG


And here's a couple shots of the whole tent, as best as i could get!!
GEDC0934.JPG
GEDC0933.JPG


Happy growing everyone! And dont hesitate to ask any questions you may have!

-GreenThumb
 
Yo GT

Gr8 posting! Your DWC roots might actually look whiter then your rockwool roots (Which also do look nice!)

Glad to hear your BlueBerry headband seedling survived the drop.

When you write Jan 4th on your pot; Is that the date that you put the seed in papertowel or is it the date that the seedling popped?

Edit: Whoops; Just noticed that the date is for representing the transplant day... :( Sorry!
 
nice time on your post!!!

:tokin:

I germinated the BB headband on new years day, and by the evening of the 4th, the taproot was out the bottom of the rockwool, so it got a transplant as well!

Thank you about the roots sir..

the reason my rockwool roots werent as white as they should, is that i missed a day of watering, and some of the pots dried up pretty quickly. They've since got into 2gal containers, and i expect a transplant in 2 weeks or less from transplant day,
 
Very nice root development in your crouton plants! I still can't get my roots to populate up the side sides the way yours do. Any advice?
 
hmm. Good question.

Do you veg under MH? I know i've read through your journal and at the beginning you said you were using CFl's then you were going to get a MH for veg, did you ever get it? i cant recall.

I read you use weekly tea.

Hmm.. what else do i do different? Well i guess its just that I've stopped using the Tea and now just use the Subcultures as root drenches on their own.

How often are you transplanting, and do you jump over a size that you possibly could do in early or mid veg?

I used to go from 4" square pot up to 2gal round pot.. I founds plants got a bit lanky, and it took a long time for the plant to finally need a transplant, which i then when right up to a 5.2gal Airpot. The OG that i didn't scrog got super lanky in the first 3 weeks of flower, and broke in half. I dont think that it built a big enough, or wide enough root mass to support the weight of itself up top.

Now i dont skip sizes. I go from 1.5" starter block, to 3" RW block with the 2" hole in the middle, to 4" square pot, to #1 pot, to #2 pot, to #3 pot . From here i'm changing things slightly, as i want to test out TheCapn's new way of not using AirPots anymore. So, i'll be going from the #3 pot to a #5 pot, then to a #7 pot for flowering.

I find that using the 1gal #1 pot really helps get the root mass pretty solid, and as long as you are giving the RW some time to dry up a bit before it gets a feeding, or a Root drench of tea, then you should see some pretty rapid root growth..

However, i have been doing a lot of reading and i have to say that when people talk about beneficial bacteria, they always assume that what you need is Mycorrhizae. But i feel a very very important, if not THE most important ingredient in your soil is an abundance of Trichoderma. Trichoderma is the more prevalent culturable fungi in all soils. it also controls pretty much all fungal activity within the soil or growing media, as well, its used in the production of Chitinase which is a natural insect repellent.

TheCapn has been doing his homework like i have, and we both agreed with the things i just said, and how overlooked Trichoderma is in the cannabis culitvation. The Subculture-B is a Bacillus Root Inoculant and the Subculture-M is the Mycorrhizal Inoculant. I notice you use Great White.

Try using it as a Root Drench just by itself, as per the instructions on the container for Soil application.. Add it to RO water or Dechlorinated water, and pour it on like the Tea. I bet you that you will be seeing the same root masses i am having. Do a side by side between two plants.. i think the Great White plant will grow faster than a Tea plant, and have a better, whiter root mass. This will cause you to stop brewing tea i'm sure, as the amount of time that it saves you will be reason alone to do it i think.


Other than that brother, i cant think of what else i am doing to get the roots to branch out sideways so much..
 
very nice write up,and those roots jesus

Ive never used a air pot,Im to cheap to buy them,I have built them but I dont find there is much benefit to them,I really like the plant warrior containers,and believe my best yield has come from them,18 zips in less than 6 gallons of croutons.

your a very good writer/explainer of the system/setup.
 
Hi GT, why doesn't thecapn use air pots anymore?

Can you show what type of pots you use for your transplants & what type of pot for your final flower pot?

Thanks GT.
 
You can get trichoderma from a variety of products. Pretty much every Mycorrhizal product i have seen has some Trichoderma in some amount in it.. so far Great White has the most concentration of Trichoderma in it, from what i've seen. It contains everything that the Subcultures do, but in one container. I'm trying to figure out why GH did this as opposed to making an all in one product like you can find in the US.

Just another question to chalk up to the email i plan to send them.

60, TheCapn doesn't use Airpots anymore cause he feels that the air pruning of the roots early in flower slows growth down, and that using standard black round pots, or nursery pots, you know with the 4-6 drainage holes on the bottom, he gets better growth. He might be right.

The pots i use are Mondi brand. The 10" netpots i use are FHD, or Future Harvest Design.
Pretty sure that my 7gal round pots for flower will be Mondi brand as well.

Thank you C, I try to be as clear as i can when i explain something. Sometimes the bong hits get the best of me tho haha.

Did someone say Roots? I forgot to get a pic of the grow box before the lights came on, but later this evening, when they go off, i'll get a shot without the HPS on.

i'm actually about to go change the water on my DWC buckets.. i'll have some sweet root shots shortly!!
 
Back
Top Bottom