

Ok I saw something similar to this one day, and I have no idea where it was.
This is how I make the CFL reflectors that I use in my veg area.

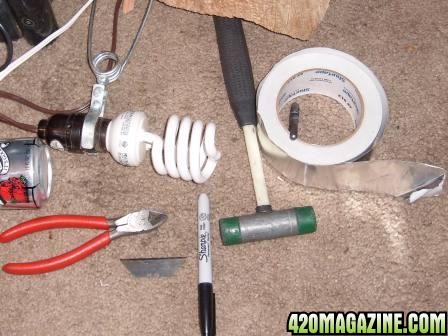
Ok here’s what you need:
1.) * An empty soda can.
2.) * 1 utility knife (box cutter), Razor…..
3.) * Tape. (I use aluminum Ducting tape) but any tape for the edges will do.
4.) 1 pair of diagonal cutters
5.) 1 marker
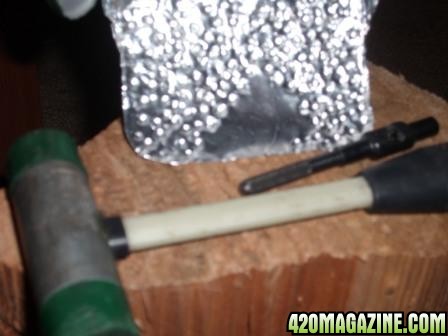
6.) Something hard with a rounded end on one side and flat on the other.
7.) 1 mallet
8.) A piece of wood or something that you won’t break when you hit #6 with #7.
9.) Light (I just get the Ge26w "daylight" CFL blubs for vegging. $8 for a 2 pack)
Ok, lets get started.
Step one: Light it up and get in the mood. Just not too much, the edges of the can are sharp.
***CAREFUL SHARP EDGES***
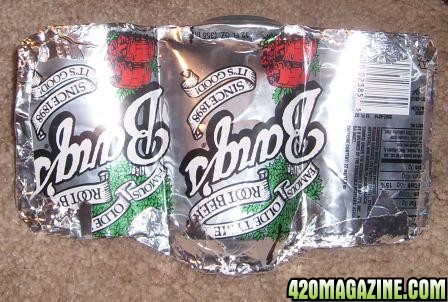
-Ok now you want to rinse out your soda can.
-Look at the top of the can and mark the edges of the opening.
-Turn the can sideways and mark the side where it begins to taper in.
-On the side of the can, put 2 marks on the same place of the bottom of the can as on the top so you don’t cut too far.
-Mark around the top and bottom of the can from one side of the mouth to the other.
-I put a 45 deg mark at the top of the can.
-Now you need to cut along the top and bottom of the can.
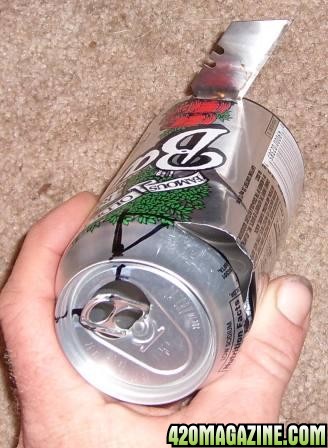
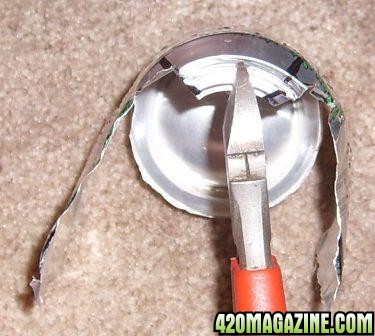
-Use your dikes to cut the top of the can.
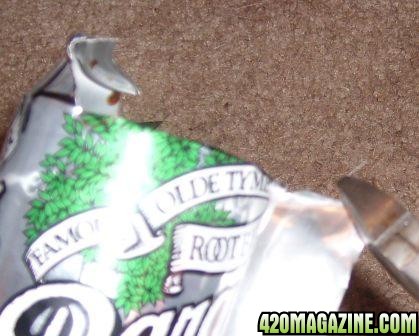
-I bend the loose part of the can that I cut out in half to give me a line where the middle is.
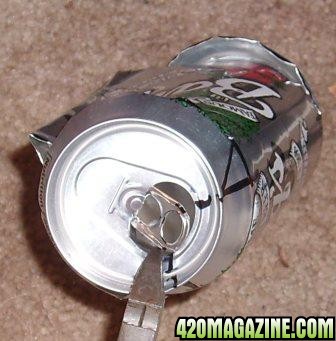
-Cut the middle so you can bend this tab in.
-cut the corners at 45 degrees so they aren’t pointy. (ouch!! The corners are sharp on your arms when you reach past them. Trust me.)
-bend the can to give it a general shape.
CAREFUL SHAP EDGES
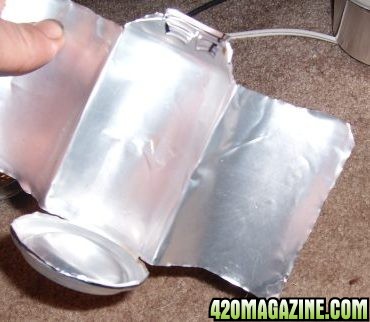
-Tape the edges. Even if you don’t have aluminum ducting tape.
-If you have Aluminum tape, keep going across the bottom surface of the can.
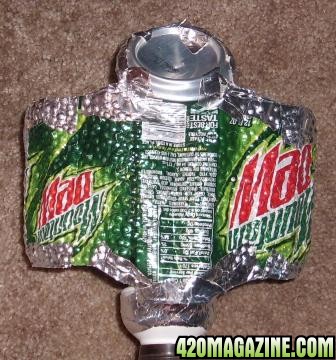
-Now turn the can over and push in the tapered part to make it flat.
-Now for dimpling. This took a while. Don’t hit too hard or you’ll go through.
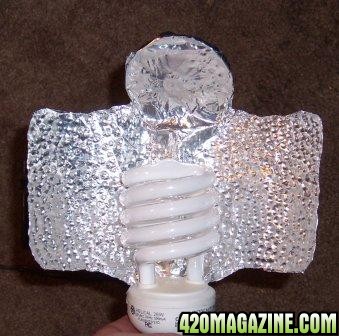
-After dimpling the whole surface, shape the can and mount it on your bulb.
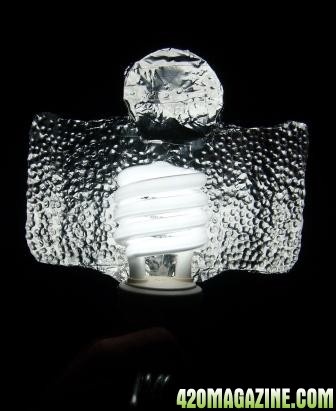
This is how I make the CFL reflectors that I use in my veg area.
Ok here’s what you need:
1.) * An empty soda can.
2.) * 1 utility knife (box cutter), Razor…..
3.) * Tape. (I use aluminum Ducting tape) but any tape for the edges will do.
4.) 1 pair of diagonal cutters
5.) 1 marker
6.) Something hard with a rounded end on one side and flat on the other.
7.) 1 mallet
8.) A piece of wood or something that you won’t break when you hit #6 with #7.
9.) Light (I just get the Ge26w "daylight" CFL blubs for vegging. $8 for a 2 pack)
Ok, lets get started.
Step one: Light it up and get in the mood. Just not too much, the edges of the can are sharp.
***CAREFUL SHARP EDGES***
-Ok now you want to rinse out your soda can.
-Look at the top of the can and mark the edges of the opening.
-Turn the can sideways and mark the side where it begins to taper in.
-On the side of the can, put 2 marks on the same place of the bottom of the can as on the top so you don’t cut too far.
-Mark around the top and bottom of the can from one side of the mouth to the other.
-I put a 45 deg mark at the top of the can.
-Now you need to cut along the top and bottom of the can.
-Use your dikes to cut the top of the can.
-I bend the loose part of the can that I cut out in half to give me a line where the middle is.
-Cut the middle so you can bend this tab in.
-cut the corners at 45 degrees so they aren’t pointy. (ouch!! The corners are sharp on your arms when you reach past them. Trust me.)
-bend the can to give it a general shape.
CAREFUL SHAP EDGES
-Tape the edges. Even if you don’t have aluminum ducting tape.
-If you have Aluminum tape, keep going across the bottom surface of the can.
-Now turn the can over and push in the tapered part to make it flat.
-Now for dimpling. This took a while. Don’t hit too hard or you’ll go through.
-After dimpling the whole surface, shape the can and mount it on your bulb.
 I make a lot of my own stuff. being on a fixed income makes it neccessary. I make my own kiff boxes and i even made a nice squeeze power hitter out of a mustard bottle. That tutorial is here somewhere.lol
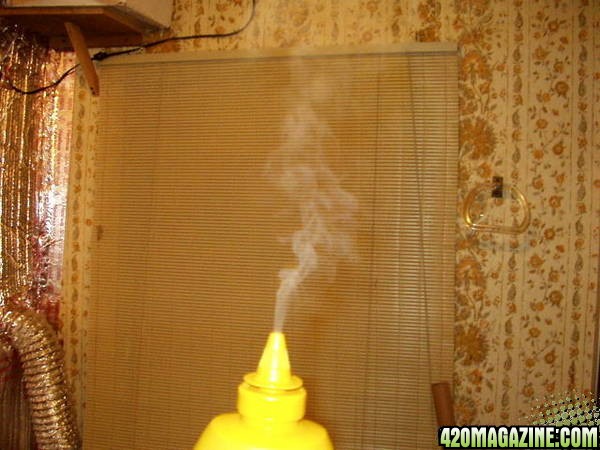

 i got a propane torch that put on really low and run a fan on low while the torch burns.
 fftopic: I don't see where this is remotely relevant to how to make a CFL reflector.
 nice can reflectors
