LadyLiberty Growbox Construction- 150w HPS 16in x 16in x 4ft

LadyLiberty

New Member
Hey guys LL here,

Im about to walk you through how i am making my a four foot tall semi stealth box.

For a bit of background information, i have a plant going on to 3 weeks flower, and would like a safer and more consistent growing space for it. She is mostly sativa, and i would love to see her thrive but she is in limited soil and chilling outside, where pests cloudy days and fear of neighbors is present. i feel it is in eminent danger so i need to get her a new home asap.

Reading up on construction, i was most inspired by stratlogics's results in his homemade box, and various other scrogers. This is also geared towards an ULTRA budgeted grow. spending the least money possible. the most expensive part of all this is going to be a 150w HPS, costing about 70~90 bucks at a lowes or WallMart. or if you'd like a hydro system, nutes might be expensive...

my specs should be something like this. and it is subject to change depending on what works and doesnt work. once again this is geared towards a small domestic stash of about 2-3 Oz if done right with proper nutes scroging and such.

150w HPS
4x1.25x1.25
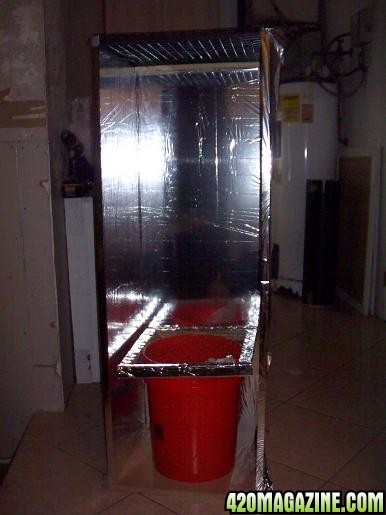
5 Gal soil bucket/hydrobucket
(if hydro, Sensi grow/bloom A+B nutes)
powered intake fans, passive exhaust.(most likely to change)(see more info)
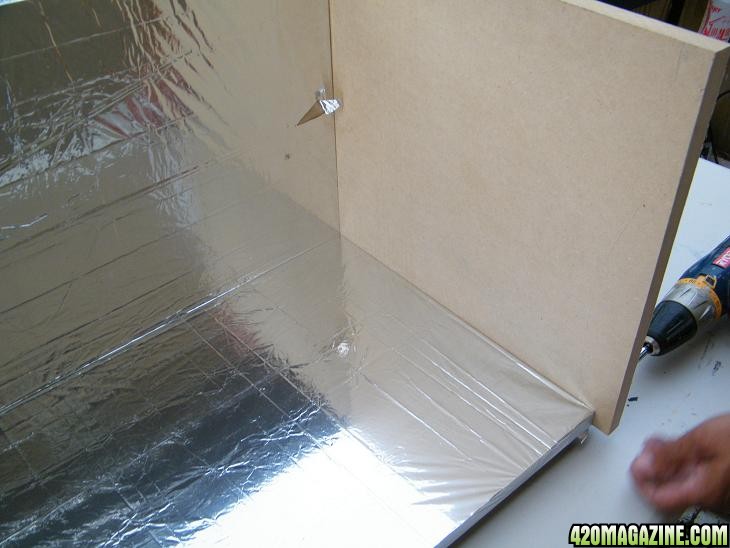
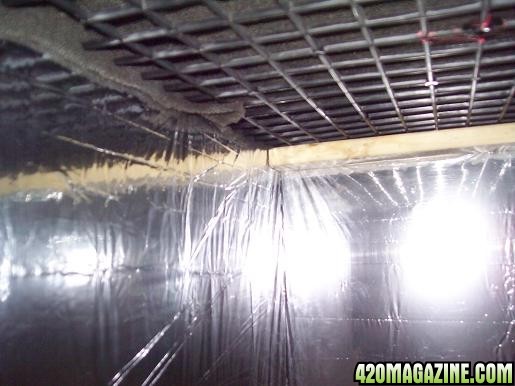
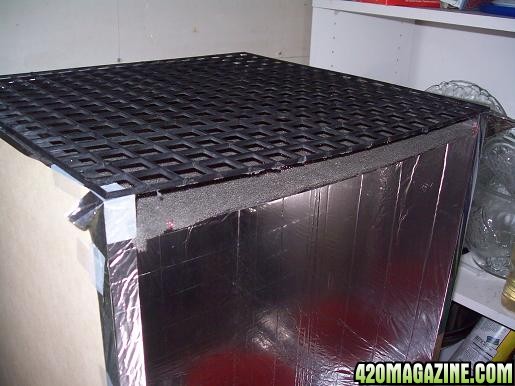
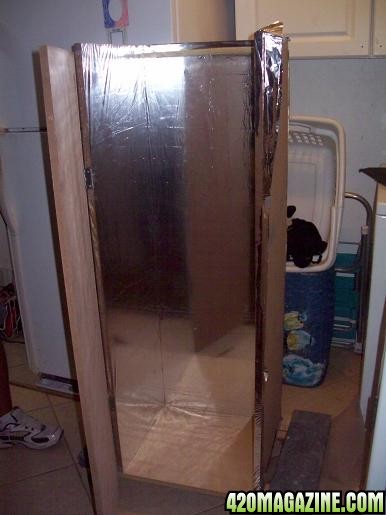
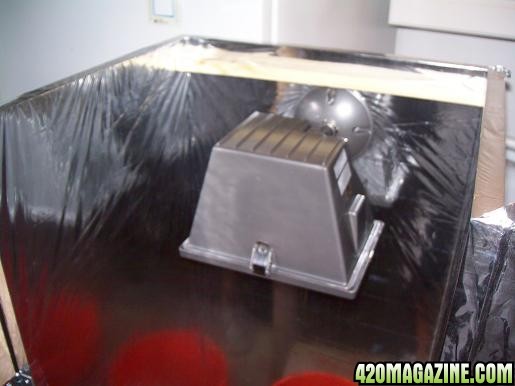
mylar covered interior


So here is the run down of how i want this to happen.

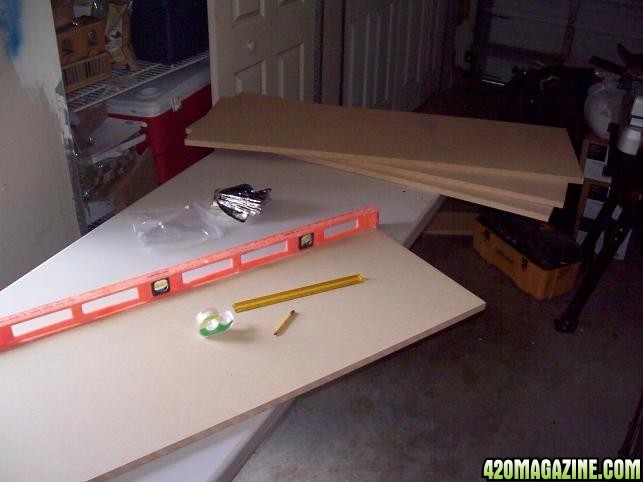
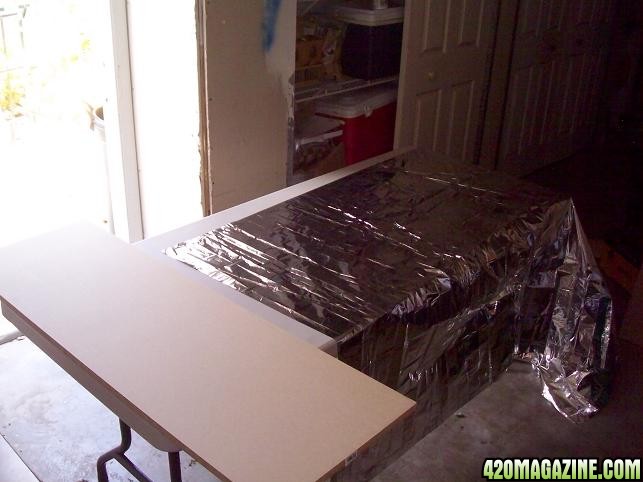
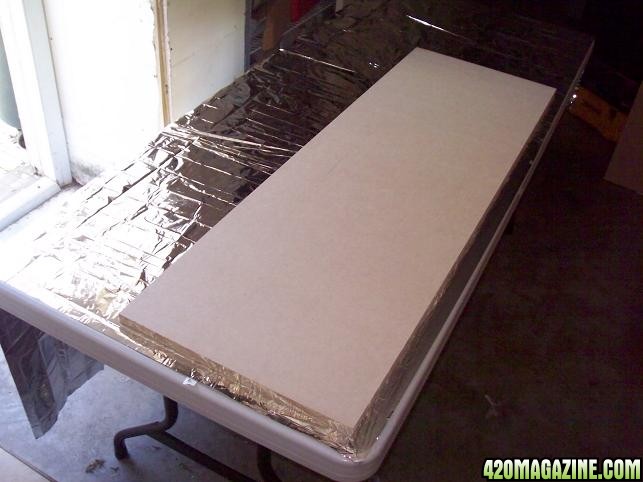
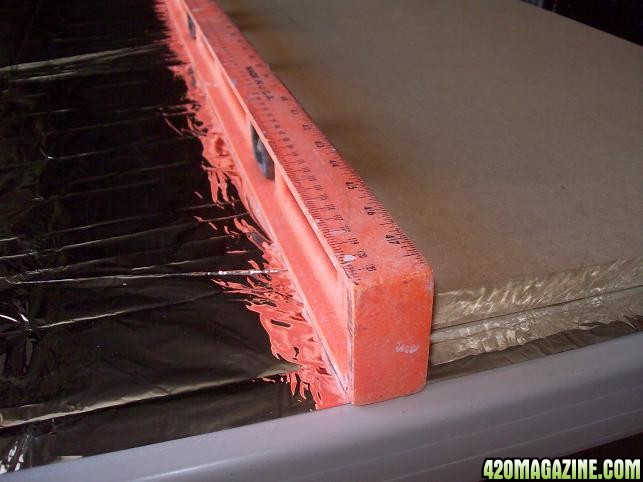
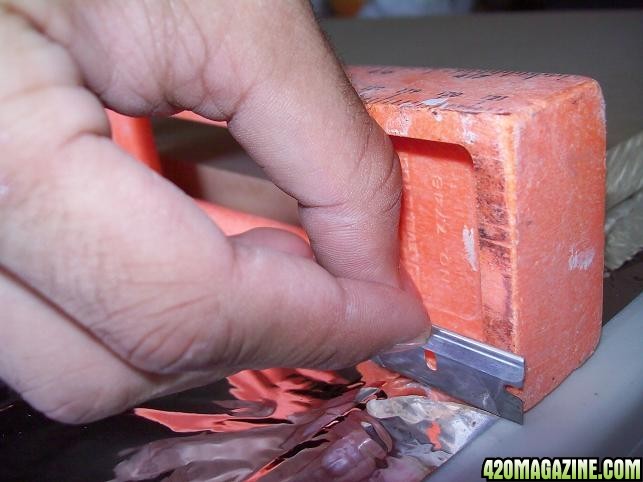
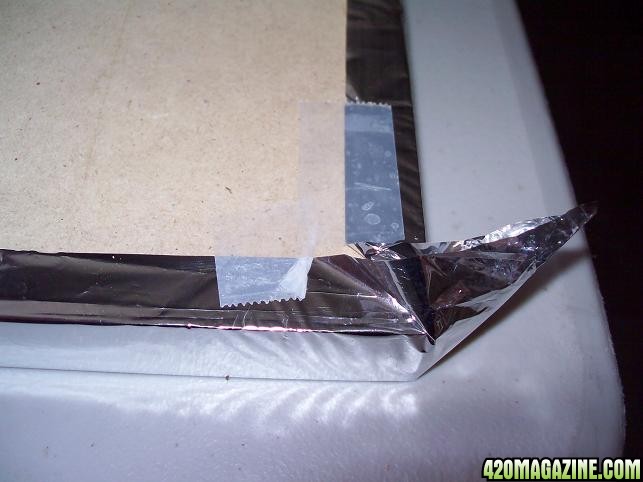
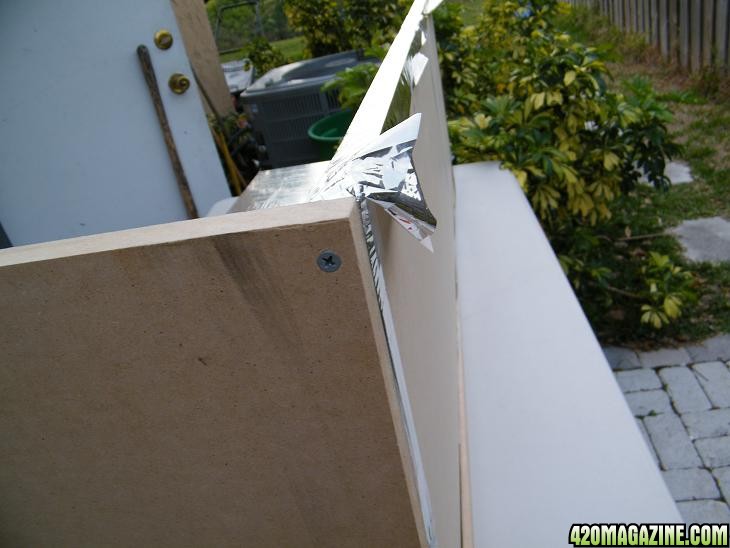
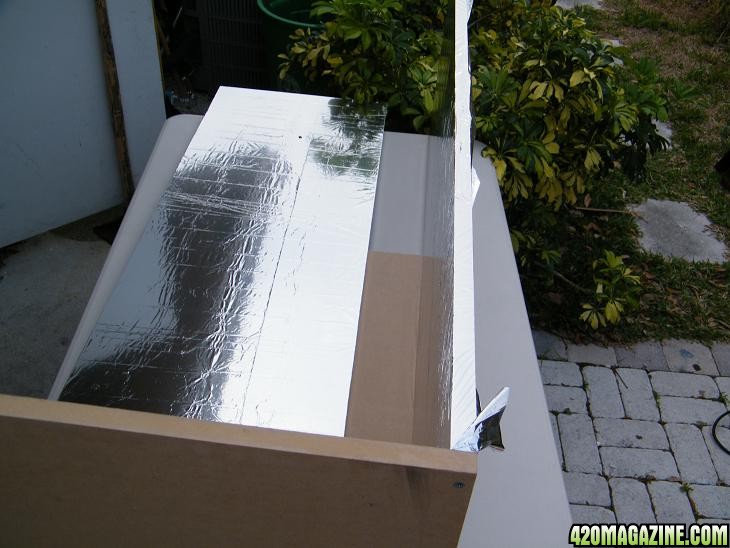
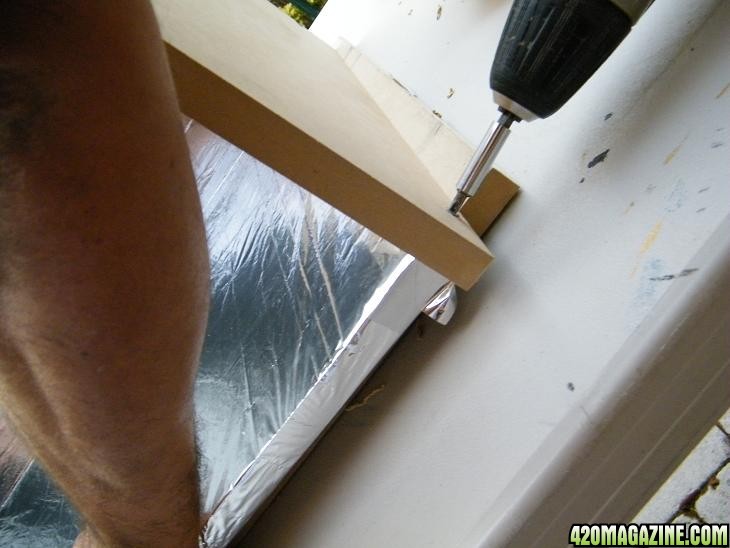
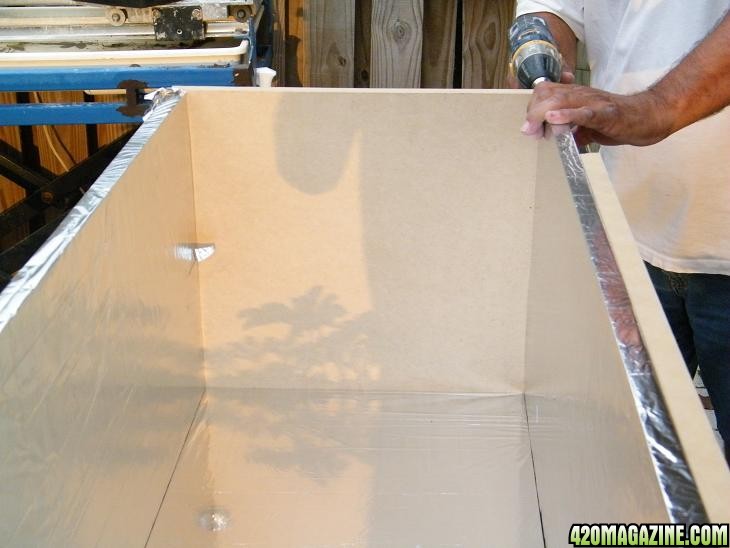
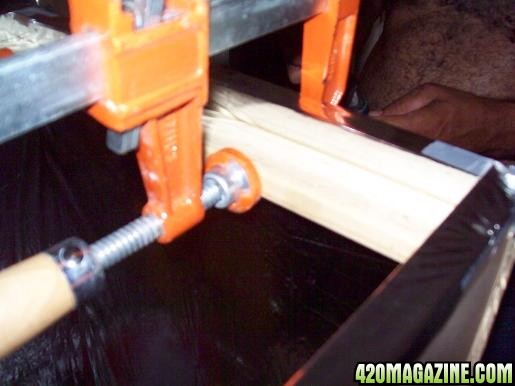
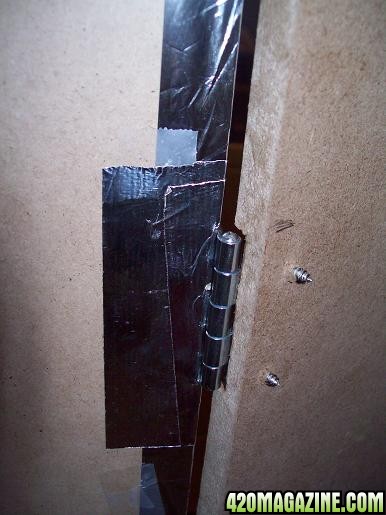
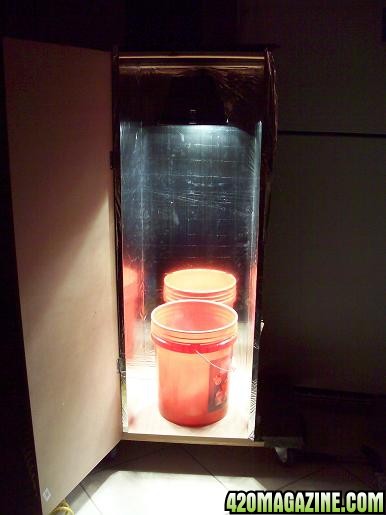
1) buy 1/2inch MDF wood board that will make up the walls, put mylar on them. they will be each 16inches wide and 4 feet long.
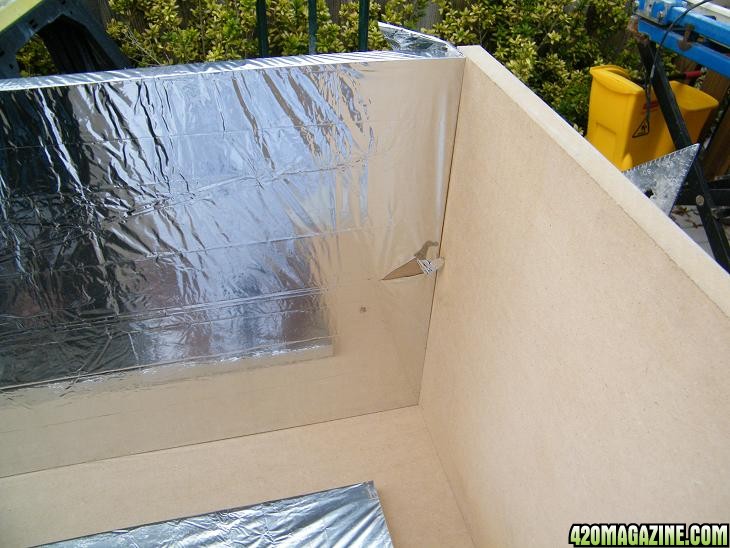
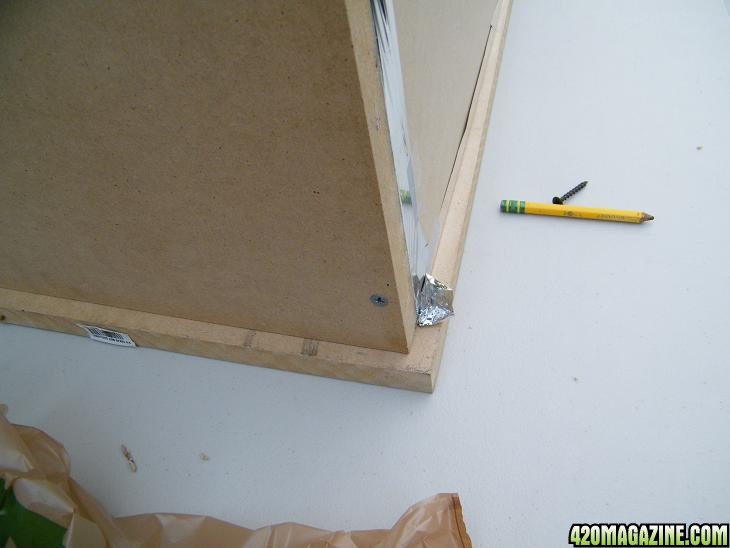
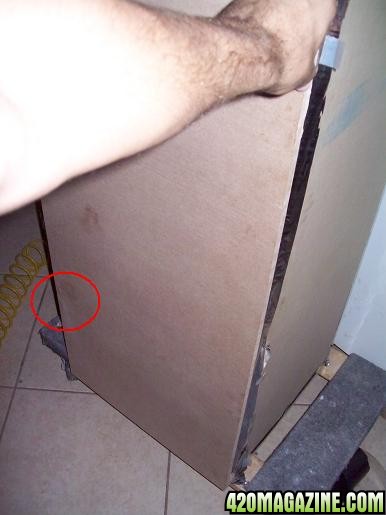
2) After covering the boards, asemble them in a box shape, leaving the top and front panel undone yet.

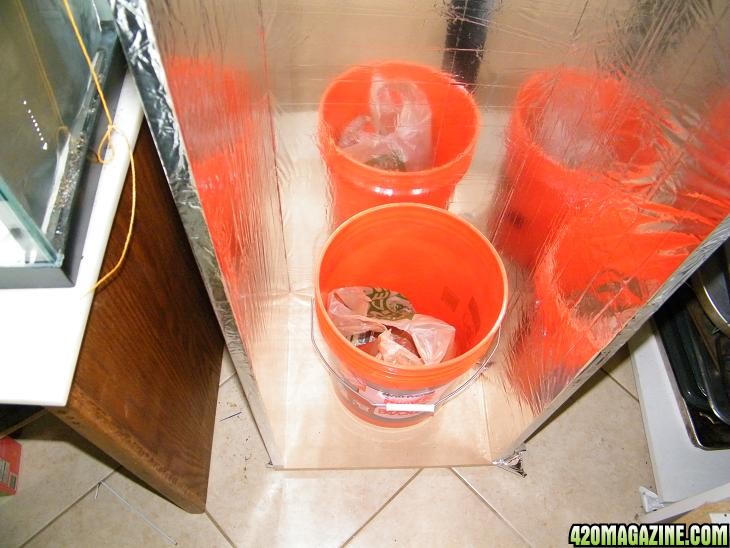
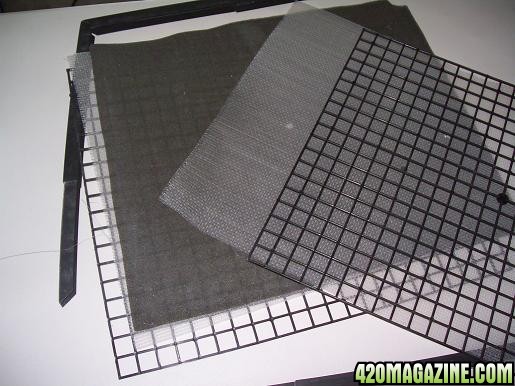
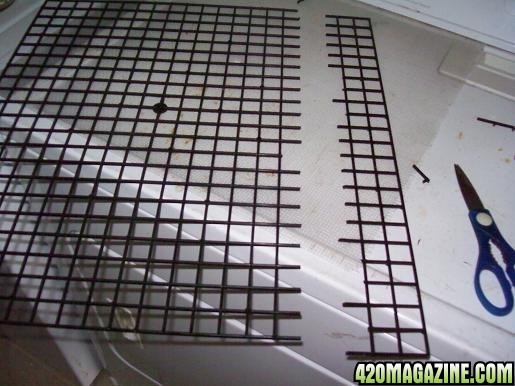
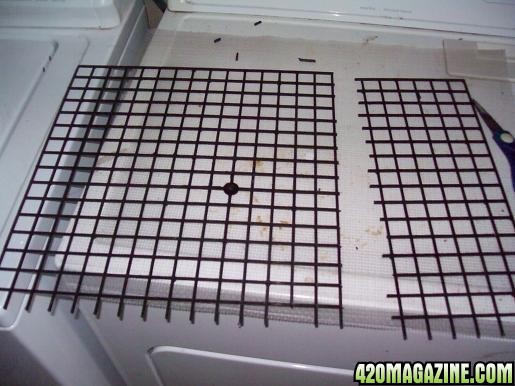
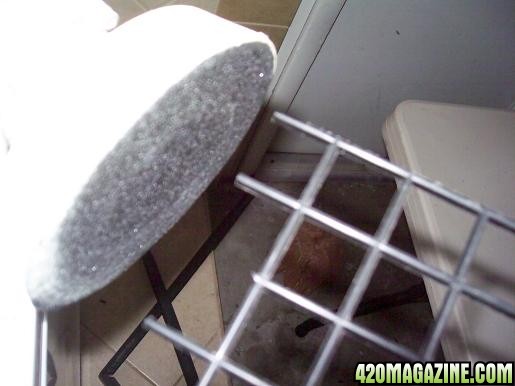
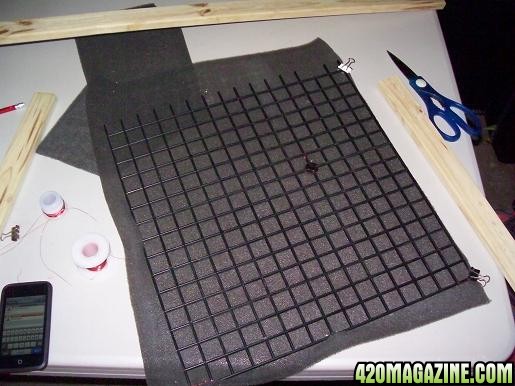
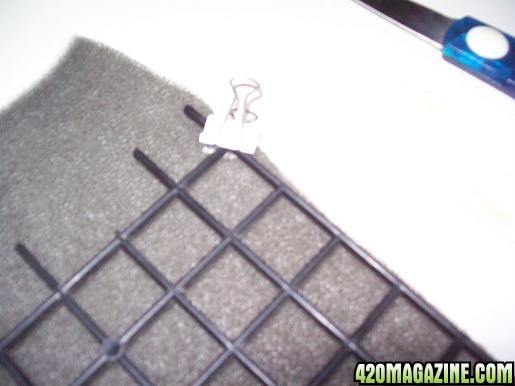
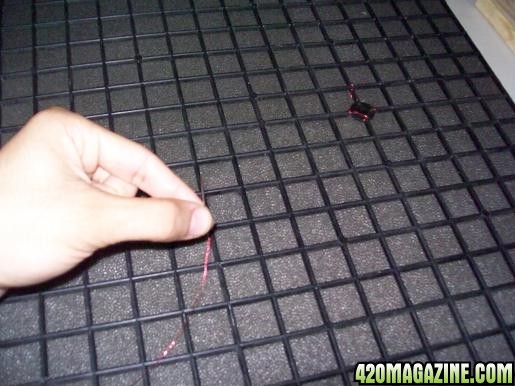
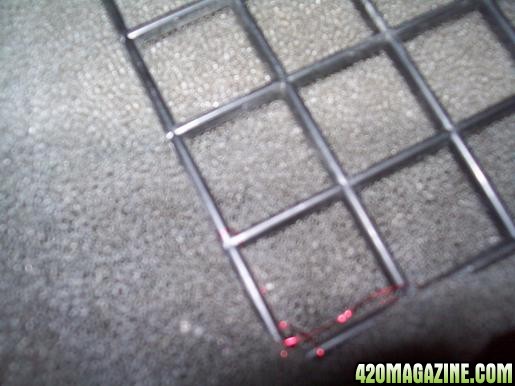
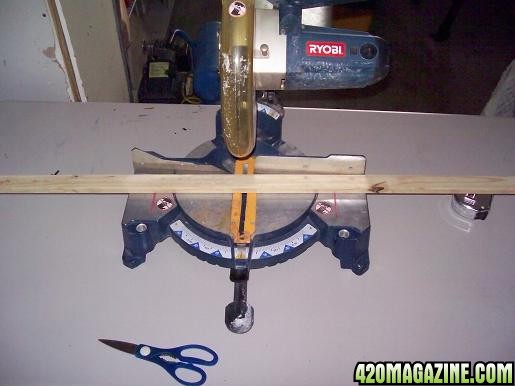
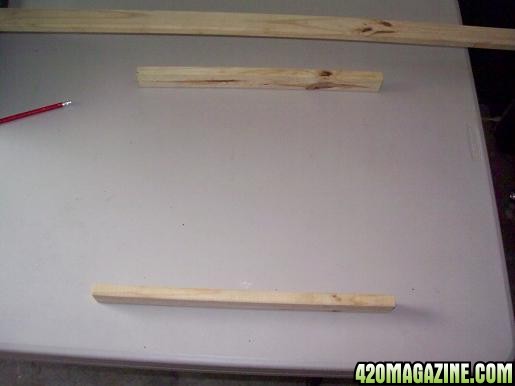
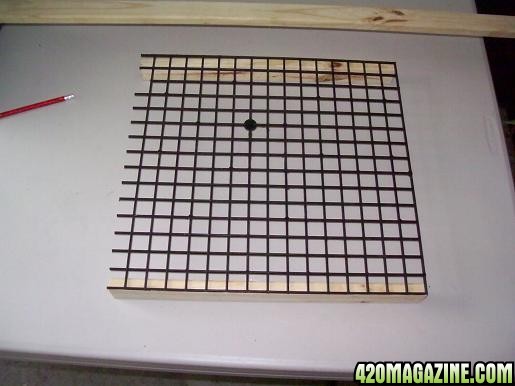
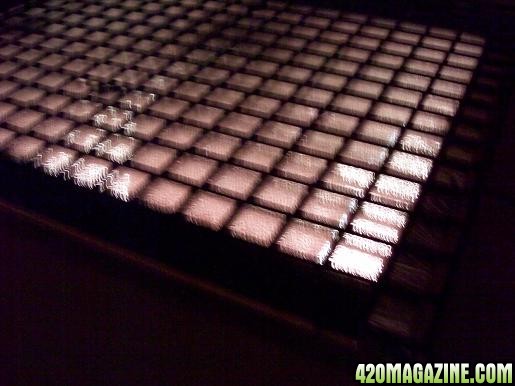
3) put 5 gal bucket in, measure ~6 inches above it and drill holes for the support/holding mechanism for the screen, which will be made most likely of chicken wire. i figured 6 inches was enough to scrog with.

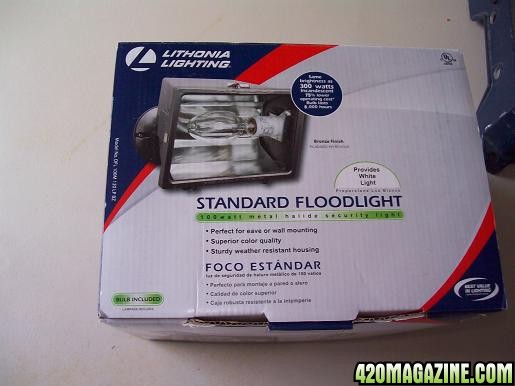
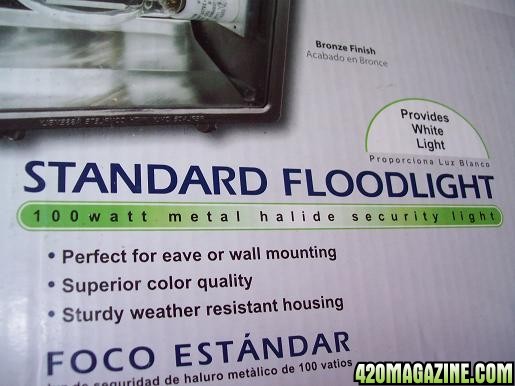
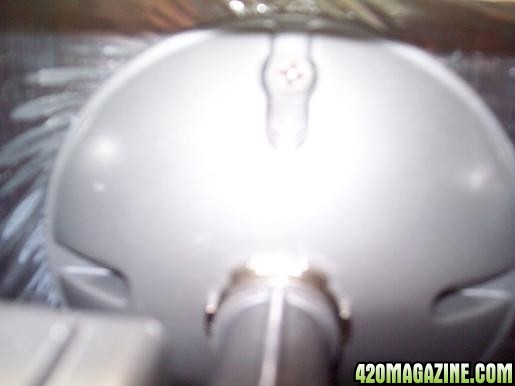
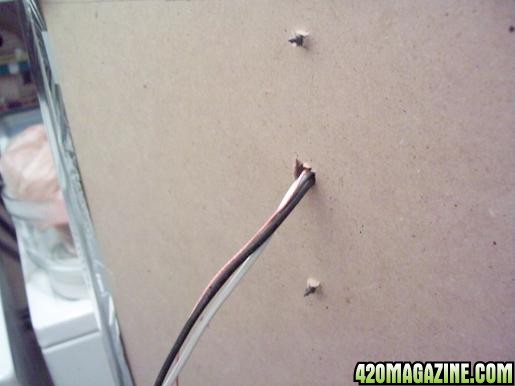
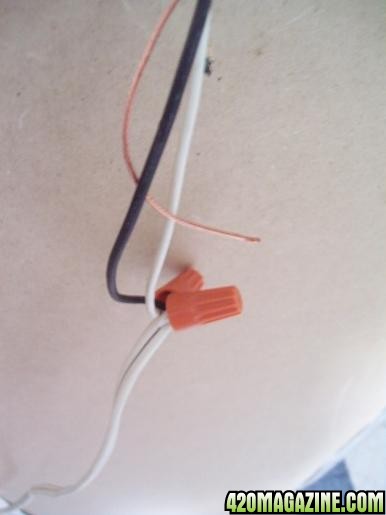
4) take apart a 150w hps outdoor security light and make a remote ballast. Wires will depend on model. I intend on using the same reflective housing that came with the light. (it should be those rectangular ones.) bulbs might be switched to a more luminous bulb than the stock one.

5) after installing wiring for the light, the door will be made to seal with weather stripping, and will have a latch on system. no hinges.

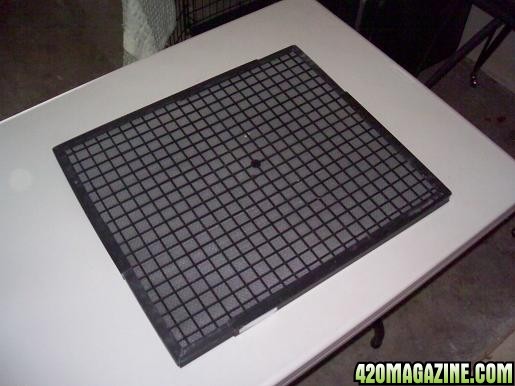
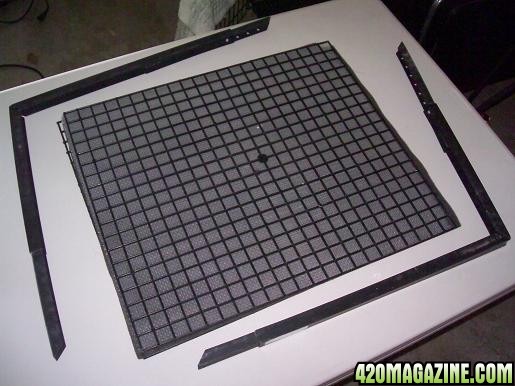
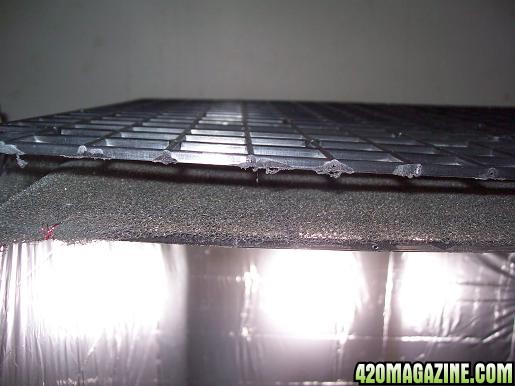
6) the next phase is the carbon filter and ventilation system. for good air removal, the top will have a 2-3 inch layer of carbon filtering over the whole top. how this will work is 2-3 inches into the top of the box, there will be a screen, much like ones on windows, and it will cover the area of 1.25 whole square feet. this will make a large area for hot air to rise and cleanse through the filter with out need on a fan sucking it through. there will be 2 computer fans just under the scrog screen to intake cool air right to the plant. my hopes are that this system will act like the top is off and no need for heavy ventilation will be needed.


Let me know if im missing anything, and for suggestions!
More detailed info is comming soon on each step as i do them. Pics will go up too so stay tuned.

Please, i'd rather PM than comments so far, because for future reference on this thread i would like that it is as tidy and organized as possible, and easy to read and follow through!

Happy growing
LL
 
Step one further explained:

These are the materials i used for this step. feel free to use whatever you wish as long as you are getting the job done!

4 pieces of 1/2inch thick MDF board 4ft by 16 inches. (found in home depot in the back next to the fence stuff roof stuff lumber and stuff like that. they are pre cut to this specific size.)
A razor blade, a ruler or something to measure with.
Emergency blanket from walmart. (Mylar)
Tape.
Good music.
a table or good work area

materials_small.jpg


get organized and lay out your mylar blanket. Be gentle. it isnt too thick. make sure your table is clean. also wipe down your boards with a dry cloth.

lay_out_mylar.jpg


Now what i did next was tape a bit of your mylar to the table so it is a bit smooth, and lay a board on it. place the ruler next to the board so there is a good about of mylar to tape up later. cut around the ruler with a razor. in the end you should get enough mylar to wrap the face of the board and have a bit left over tape it to the back of the board.

measure1.jpg

measure2.jpg

cut2.jpg


now you tape the bottom and top sides, flip the board so that the shiny side is up, and with most of the board hanging off the edge, you can tightly tape the mylar to the boards with the least amount of wrinkles possible.

tape.jpg


when all is done you should have what resembles a mirror! mylar is about 90-97 percent reflective depending on what quality and where it was obtained. remember not to let it wrinkle for thats what causes hot spots and this should be avoided.

Coat 3 out of 4 MDF boards only becuase the fourth will be used for the base and will be cut later on, and will be coated when it needs to be. as of now only 3. im contemplating a thinner door than the 1/2 inch, because it should be a bit lighter. note. one wallmart emergency does 3 full boards. it leaves us some left over to mess with later too. how fitting.

feel free to do as you wish differently, because there is more than one way to skin a cat!


stay tuned,
LL
 
Looks like a fun little project,

Watch the temps and humidity after its all together,
and make sure it stays completly dark at night cycle,

but looks like a good lil grow box, have fun :peace:

my materials include this :bongrip:
 
thanks for looking out for me racefan. I had a fem flowering outside, but unfortunately was thrown out by my mother who incidentally found it, but i had managed to get two clones off of her before she was trashed. those two clones are jsut vegging right now in my old box, and will be put to flower as soon as my masterpeice is ready for use.

im depending on my sister's camera to upload the pictures and make the write up of the next few steps, but we never coincide being in the house at the same time, due to work and college. will strive to get em up tomarow though!
 
Hey guys its been a while since i have had an opportunity to get the rest of the steps up. This is i believe the second part to the construction.

First off i made an error with the original post. it is actually 3/4inch NOT 1/2 inch MDF board.

So here it goes:

*The first thing i did was get the left over 3/4inch board (16inchx4feet) and cut it to make the base. The base should be 17.5 inches by 16 inches. this leaves us with a left over piece of Mdf that is very nice to work on top of because of perfectly straight surface. The base should be sanded. there are no pics of this. srry.

*Then i laid down the extra board on the table i am working on, and with help placed the base board on its side and grabbed a side panel and also put it on its side. With my helpers held them in place and I drilled a small hole, a bit smaller than my screw, where the screw will go. I used a big bit to make another hole on tip of that. The big hole should be the size of the head of your screw. The large hole is so that the screw's head goes a little bit into the wood, therefore it won't be poking out. see pics below

box16.JPG

This is just holding my panels in place, they have not been screwed yet. as you can see i tore it by accident, so be careful with sharp things. its ok tough because this is going to be on the bottom, and my bucket doesnt care about imperfections in the mylar. tape will fix it =]


box31.JPG

This is after drilling my tiny hole, and drilling a millimeter with the larger drill bit. it is important to make the small hole first so that the screw doesn't split the wood in half!


box25.JPG

Then I did the top.


*When you have done the top and bottom screws you can slide the back panel into place. Once again it is one of the 3/4inch (4feet by 16inch) board we previously coated with the mylar. Now you will follow the same process but this time you will put 3 screws into the side of the box, and 2 screws on the bottom of the box so that it will be held into place from the bottom and from the side. I STRONGLY recommend you take your time and do not rush the drilling process. Always make sure you drill properly, making the sides of the board perfect with each other. This will bite you in the butt later on because there is more construction in the box to do. follow the images below.

box41.JPG


box51.JPG

In its place


box61.JPG

Drilling. you can see how handy the left over piece of wood was.


*Ok now you do the same routine with the other side panel. this will be the left one now. once again. 3 screws on the side and 2 on the base. only one image below.
box81.JPG


*If all was done right you should wind up with something like this. i put in my to be hydro/soil bucket in its place. it still has some home depot stuff in it.

box91.JPG


Stay tuned for part 3 and so on,
LL
 
Hello folks once again. This is going to be the actualy 3rd step in the sequence, but in my first post, i outlined it as my 6th step. From this point on i will have to reffer to this step as the "actualy 3rd step" and the 3rd step on the my first post as the "outlined 3rd step". i hope i didnt confuse anyone, but i thought i should mention this so that people dont get confused when trying to match up the steps.

This step i did now because i had extra time and couldnt pick up materials at Homedepot.

What I used in this step was all from an adjustable filter from homedepot, a needle, and some very thin wire that i had laying around, but had gotten from radio shack. I almost forgot. you need a piece of 2by1 from home depot. The 2x1 actually measures 1.5 by 3/4 inches. I dont know why. just is.

tools used were heavy duty scissors and my sander. Oh yeah a drill screws and a small drill bit will be needed.

So basicly, i took the filter apart, and measured one of the black plastic grids to fit inside my box. the other was measured to fit on top of it but not fit in it. I cut them. Sanded them. then I cut a foamy sheet to the size of the smaller one and stitched it together. then i cut two 2x1's to measure out to be 16inches, no more no less, very exact, and screwed them into the back and front of the box, looking "flat" at a distance of 3/4 inch away from the edge. a good way to do this is by placing both 2x1's on top of each other, and putting clamps on, then screwing them. make sure you do the small drill hole before you actually screw them in so that the wood doesnt split. then do the same thing on the front of the box. teh larger screen grid can be placed on top now. i have not fastened it in yet and dont recomend it because more work needs to be done to the box, so having the screens in place now will only get in your way. here are some pictures to guide you =]

filter01.JPG

filter02.JPG

filter03.JPG

filter04.JPG

filter05.JPG

filter06.JPG

filter08.JPG

filter09.JPG

filter10.JPG

filter111.JPG

cut11.JPG

cut21.JPG

cut3.JPG

^this one was taken before the foamy sheet was stitched to the small screen. but yes it is in fact the smaller screen.
cut4.JPG

^the 2x1 clamped 3/4 inch away from the edge before being screwed into place.
cut5.JPG

cut6.JPG

^this is what it looks like when i was almost done. as you can see there is a gap where activated carbon can be put. This works becuase heat automatically rises and will be filtered. as long as there is a positive air pressure in the box that will work great.
filter13final.JPG

and finally the last pic. notice here that the wooden bar that is supposed to be on the door side isnt there. this is becuase at that time i wasnt sure how my door was going to go. but now its on.


like i always say. stay tuned. this thing is going to be done sooner or later,
LL
 
Thanks man! I have learned so much from this site and this is just me trying to put it into practice. I got more comming up i just have to start resizing pics uploading and writing it up.

Im excited to start a grow journal, because i had a nice 1.5ft tall crip plant that was trashed, but before mommy trashed it i grabbed 2 cuttings and three weeks later one of them finally bounced back. Im so relieved i managed to get a clone, and keep the strain alive. its only a matter of time..
 
Sup everyone. me again. here is how i assembled the door to the box. its not all done though, its just one of those things that will be touched up later.

Later i will be putting on a latch system like a construction tool box. Im sure you know what i mean. i never wanted to put on hinges but my dad convinced me to and so i picked up the smallest one i could find at home depot.

*First thing you need to get a 1/2 inch MDF board. this time i really mean a 1/2 inch one.

*Then cut it to 17.5inchesx4feet. also cut a 3/4inchx17.5inches strip. this is to cover the small gap that will occur on top of the door.

*Then get the door lay it down on a table or work bench, trace the hinge, and with a razor cut into the wood where you traced the hinge, so that it makes (i dont know how to say this) bevel or indent or idk. it should be like a hole where the hinge goes. this is so that the door does not rise up where the hinge closes and you have a seal. you can tell from one of the pictures what i mean.

*then with a sander sand out the protruding tips of the screws and smooth it out.

*Look on with the pics below. basicly its jsut installing a door. afterwards intall the wooden strip to the top because there is a 3/4 inch gap.

Note: i have not weatherstripped the door yet to make a seal, nor have i put on the latch system i want to.as of now its just a door. not even mylar coated. i have to get some mylar some time but feel free to intall the mylar. Oh yea i almost forgot, where the hinge goes on the side panel, make sure you put a layer of that shiny aluminum tape (wallmart) and trance and cut with a razor. the aluminum will keep the mylar from getting messed up and tear.

door11.JPG

Doorless. you can see my scrog screen is in there. im not going to teach you guys how to yet, because i made it as one of the first things i made, and now it wont fit in with the rest of my plans. i made it the wrong size. i will run you though how to make it when i make a new one.

door2.JPG

as you can see here I put the inge on. it still has the sharp screws on. you can also see where i preped the side panel wilth aluminum tape from wally world. you can also see the ingraving i made on the door so the hinge doesnt pop out. feel free to get creative or even use a different hinge than mine.

door4.JPG

This is the fun part. with the sanding disk take out the sharp screws and make some sparks. make sure you get it smooth so no one gets hurt and gives them a reason to inspect your odd brown box....

door3.JPG

if all goes well you should have this. i removed the filter by the way in this pic. makes it easier to work with. I also dont have the sealing 3/4inch strip on yet.

door5.JPG

and now a closed shot. the red bubble shows how smooth it is where the hing's screws poked out. cant even tell its there.

next step is the light fixture


if all went well then :goodjob:
stay tuned for more,
LL
 
Ok guys here goes another change i made. im no longer going with a 150w hps. this was a spite of the moment decision and idk if i regret it or not yet. but since i wont be able to have huge plants, i assumed a MH would not be a bad decision and produce a bushier plant and more bud? idk but its loaaaads better than my 4x26w cfls. anyhow. regardless, if i have this 100w MH for veg that keeps the bill low, and when i want to flower, i can install a 150w hps in there too so that it will total at 250w which will keep the bill low too becuase at only 12/12 there is less electricity usage than both on during 118/6 veg. But here it goes.

*Basically i used a wall fixture. so i centralized it, placed it as close as i could to the 2x1 holding up thr filter and basically thats it. I also drilled a hole so the wires can pass through. here are the pics. they are kinda self explanatory. if anything follow the manual to the light you bought.

MH11.JPG

MH2.JPG

MH3.JPG

MH4.JPG

MH5.JPG

MH6.JPG

^this is my temporary wiring. its not safe yet because it is not grounded but it will do for now. i need to buy an extension cord and just match up the colors for the real thing.
MH7.JPG

aww first power up =]
MH8.JPG

a nice shot of all the progress
MH9.JPG

light leakage from the top. just a warm glow really. with activated carbon i bet it will be less.
plants7.JPG

^this is my temporary plant setup. i got a bunch of different plants in here to test out the temp conditions and lighting. they loved it and with that little fan the temps were really low. if you put your hand above the filter you feel the heat radiating right up! i love it and glad it worked. there isnt even an intake fan system yet! and the temps stay cool. a little warm but still noice!
that is a folder with tin foil on it by the way everyone. on top of a tile on top of the bucket.
 
Cabinet looks neat.

But it looks like you've affixed your light to the ceiling. How do you adjust it? Or are you going to try to raise your plants up to it? If neither, you're asking for S-T-R-E-T-C-H-E-D plants.

At ~6800 lumens for four 26-watt CFLs, your MH most likely is more efficient. But I just checked a site that sells and lists specs for many bulbs and saw that the initial lumen specs for a 100-watt MH bulb range from 7100-9000 lumens. Also, color temps seem to be all over the place (4200K seemed common). Might want to make sure you're running a bulb with the highest lumen output possible since you're going to be paying the same for the electricity either way. Also make sure it's a 6500K one for vegging.

Oh and removing the ballast from the fixture will remove a source of heat from your box.
 
Looks great. Question, is there going to be a tray to set on top of teh foam n screen up top or is teh carbon going to be set on top of that?
When you start your grow you should start a journal, let people know how well this simple set up is. PEACE
 
@TorturedSoul

my plants will be raised to im glad to say about 5~6 inches from my light. i irresposibly did not not check the lumens and temp of my bulb, and that is very unlike me =[ im checking the vendor right now but i was surprised to see it was very yellow so i think 4200k seems reasonable. which is fine with me because they might be flowered. i am however interested in a better bulb because im sure that a vendor would not pack a super bulb on an outdoor security light. what i did not include in this write up is that i took it apart. i eventually put it back together because i wanted to see how much heat the ballast would make. so as of now im fine with it, but the less heat the merrier.

@eBUD the carbon is going to work like this. i plan on adding intake fans. probly 2 90mm low cfm to move air inside, and 2 120mm probly in serries to suck air in. in serries they would not double the cfm of the intake, but actually double the muscle power, meaning the carbon will slow the air less than if it was more cfm@less power.

the carbon will be sandwitched between both grids. the one with the foamy thing will keep it from fall through. lol. the top grid is kind of for looks, so nothing rests heavily on the inner filter+carbon and also so there is less chance of the carbon being messed with.

i should have started a grow journal by now. its an utter miracle what happend to me and my lil fem clone that i rescued. shes is so vigorously green right now even though im not even done with the box yet she already calls it home. But i need to find time to work out:

Ventilation (intake fans etc)
shelf system (so i can rise the bucket to and from the light)
screen of scrog-ation (to latch onto my bucket)
and sensors (such as thermometers, ph, humidity)
 
Way too cool. I presume that would work well...provided there is always a positive pressure available inside grow cab. I am curious if the diameter of the carbon granules is smaller than the diameter of the material used for the air filter. I haven't messed with it, but isn't the activated carbon about the consistency of soot? If it does work, it should work very well, considering the sheer area in sq inches, I'd think it would cover about anything you throw at it. Let me know how it goes.

Peace:peace:

Hello folks once again. This is going to be the actualy 3rd step in the sequence, but in my first post, i outlined it as my 6th step. From this point on i will have to reffer to this step as the "actualy 3rd step" and the 3rd step on the my first post as the "outlined 3rd step". i hope i didnt confuse anyone, but i thought i should mention this so that people dont get confused when trying to match up the steps.

This step i did now because i had extra time and couldnt pick up materials at Homedepot.

What I used in this step was all from an adjustable filter from homedepot, a needle, and some very thin wire that i had laying around, but had gotten from radio shack. I almost forgot. you need a piece of 2by1 from home depot. The 2x1 actually measures 1.5 by 3/4 inches. I dont know why. just is.

tools used were heavy duty scissors and my sander. Oh yeah a drill screws and a small drill bit will be needed.

So basicly, i took the filter apart, and measured one of the black plastic grids to fit inside my box. the other was measured to fit on top of it but not fit in it. I cut them. Sanded them. then I cut a foamy sheet to the size of the smaller one and stitched it together. then i cut two 2x1's to measure out to be 16inches, no more no less, very exact, and screwed them into the back and front of the box, looking "flat" at a distance of 3/4 inch away from the edge. a good way to do this is by placing both 2x1's on top of each other, and putting clamps on, then screwing them. make sure you do the small drill hole before you actually screw them in so that the wood doesnt split. then do the same thing on the front of the box. teh larger screen grid can be placed on top now. i have not fastened it in yet and dont recomend it because more work needs to be done to the box, so having the screens in place now will only get in your way. here are some pictures to guide you =]

filter01.JPG

filter02.JPG

filter03.JPG

filter04.JPG

filter05.JPG

filter06.JPG

filter08.JPG

filter09.JPG

filter10.JPG

filter111.JPG

cut11.JPG

cut21.JPG

cut3.JPG

^this one was taken before the foamy sheet was stitched to the small screen. but yes it is in fact the smaller screen.
cut4.JPG

^the 2x1 clamped 3/4 inch away from the edge before being screwed into place.
cut5.JPG

cut6.JPG

^this is what it looks like when i was almost done. as you can see there is a gap where activated carbon can be put. This works becuase heat automatically rises and will be filtered. as long as there is a positive air pressure in the box that will work great.
filter13final.JPG

and finally the last pic. notice here that the wooden bar that is supposed to be on the door side isnt there. this is becuase at that time i wasnt sure how my door was going to go. but now its on.


like i always say. stay tuned. this thing is going to be done sooner or later,
LL
 
Back
Top Bottom