- Thread starter
- #81
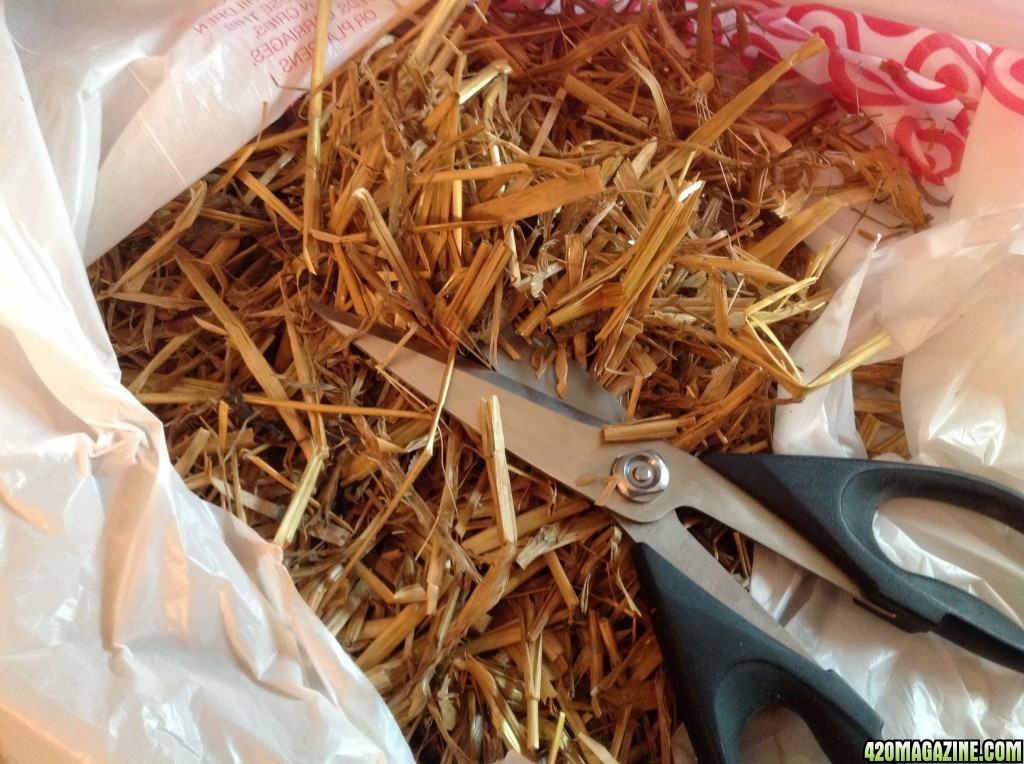
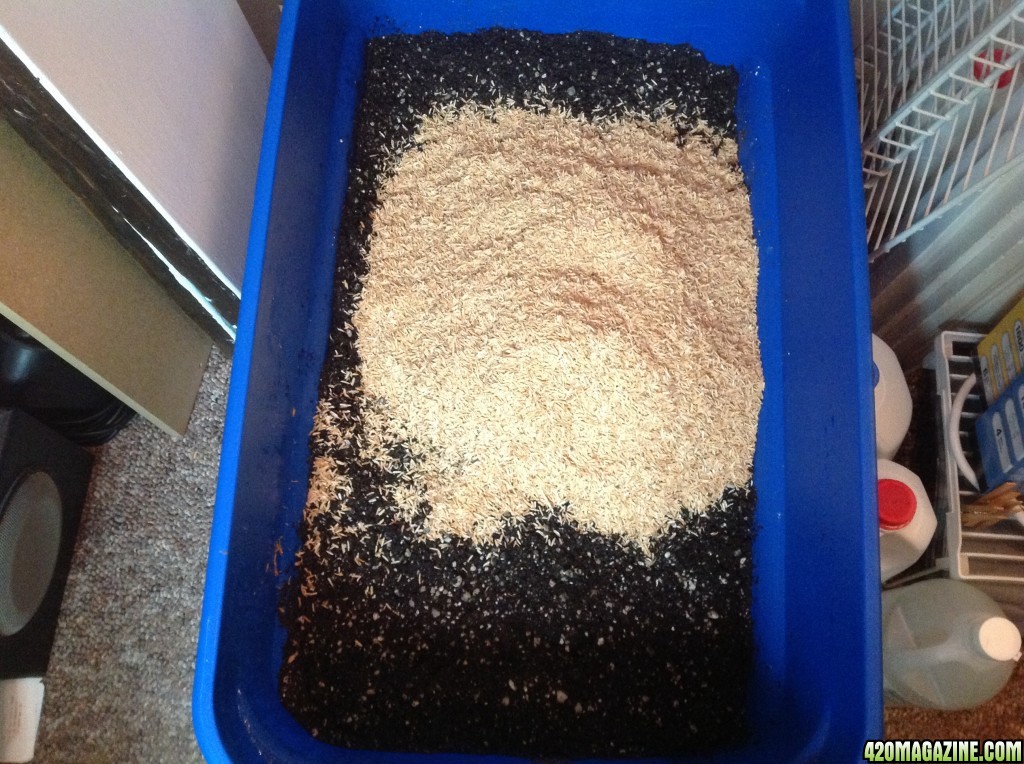
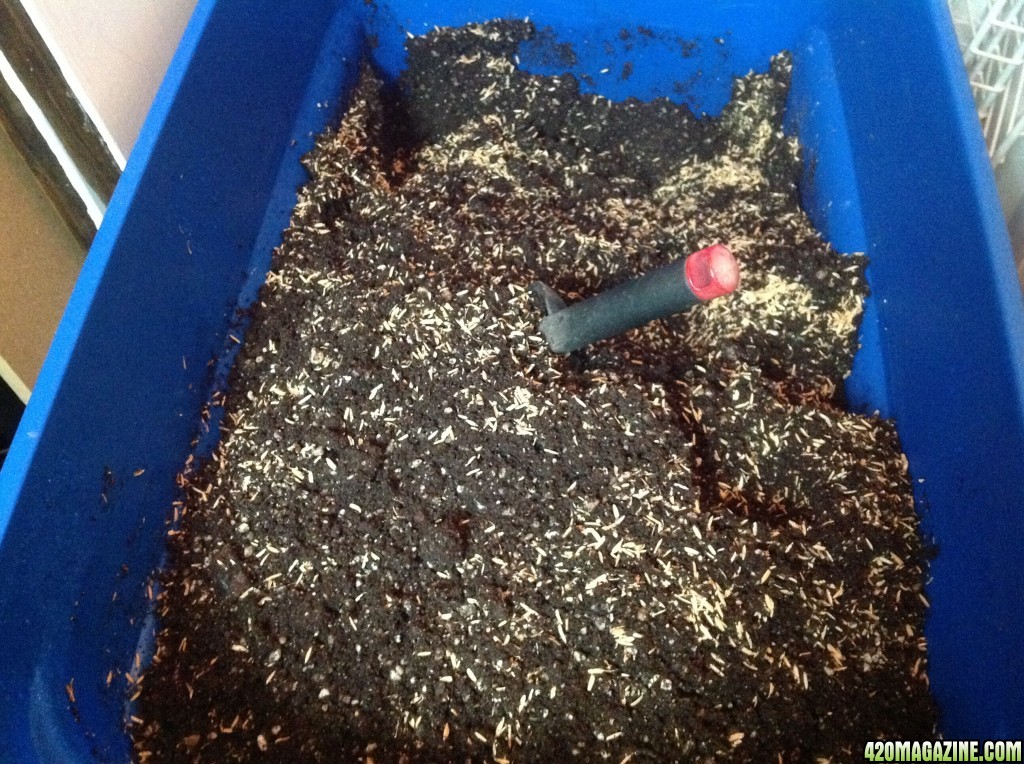
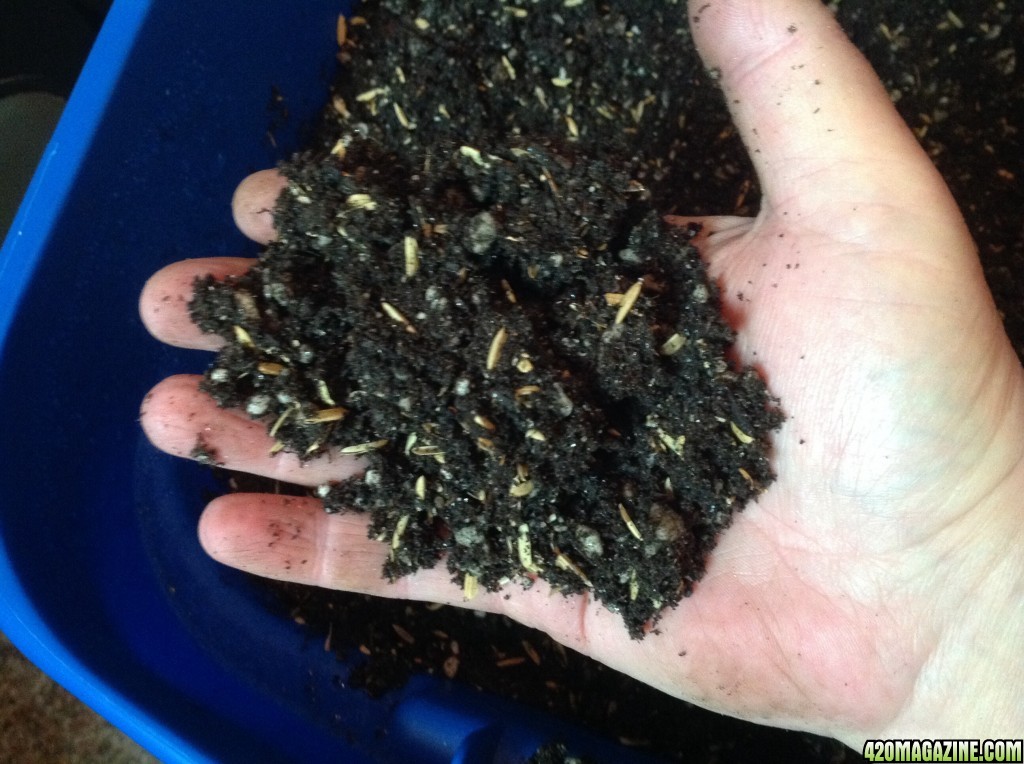
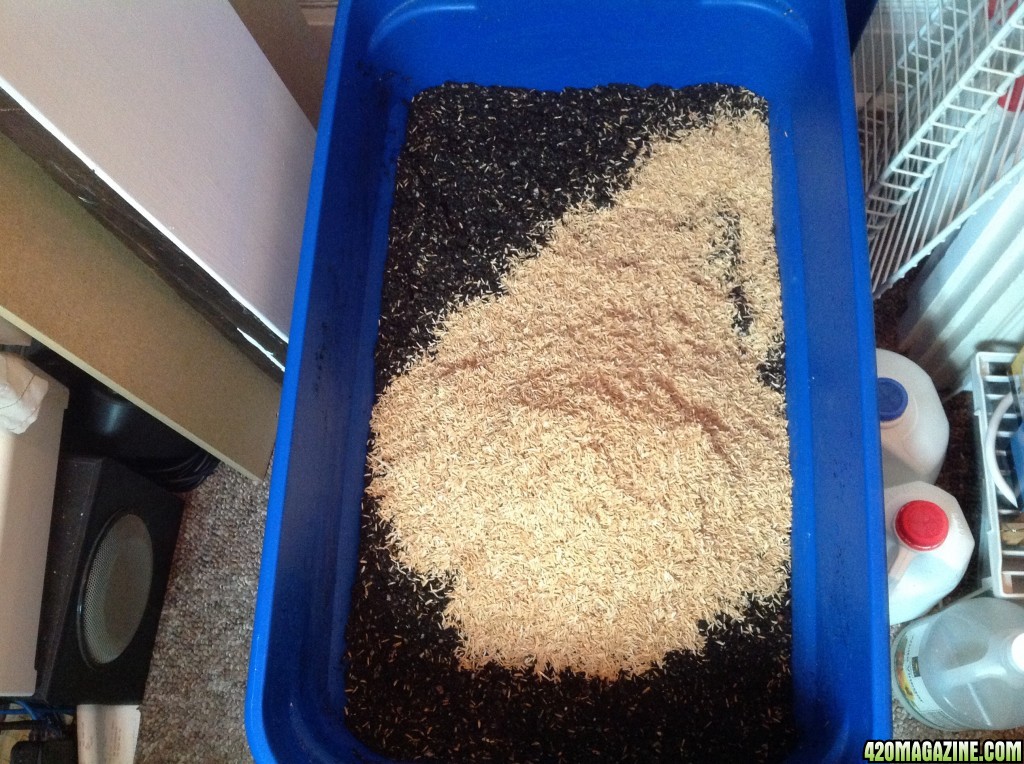
WE HAVE RICE HULLS! Now to mix it in. ")

How To Use Progressive Web App aka PWA On 420 Magazine Forum
Note: This feature may not be available in some browsers.


Sorry Sue I must have misunderstood you, I'd thought you were restricted for space like me, they will love 20 gallon containers, my poor darlings only have 2 gallons per pot and as it's not big enough to support them breeding I can't help but feel it's a bit cruel to my worms, they are kinda like pets to me and I worry about their welfare! (What can I say I don't get out much......)

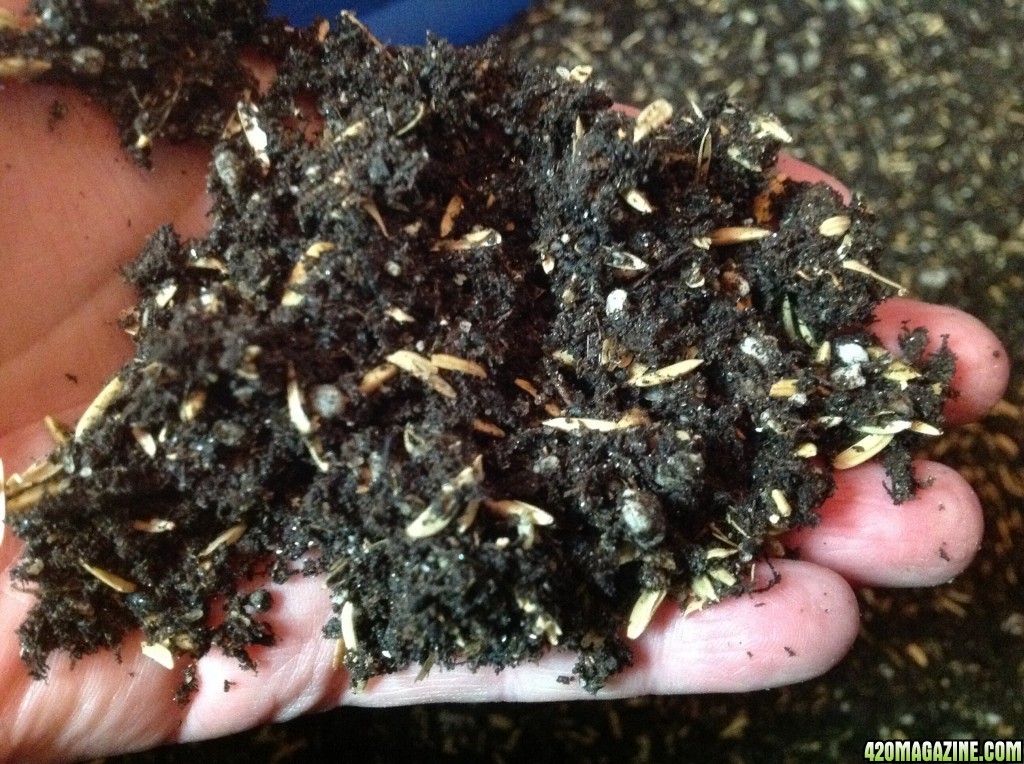
 ... Let's just say I wasn't as quick a study as you (and that I'm still not hahaha)... but its an ongoing learning process, and the progress being made is always noticeable. It will be good to learn alongside you, especially now that I see Corgie may be taking a hiatus. I was laughing to myself about how much you obviously loved building your living soil, because I also get that excited when I'm building and mixing a great soil for my plants ... hahaha I saw that exact same white fungi all over my soil when I took off the cover and did a little happy dance.

 ) and have learned so much more. Everything in its right time.
 I don't hoard, but we also don't toss good wood. That waterbed frame has been used in multiple ways over the years, and I still have all of it around, in various lengths. The frame for our own waterbed, built the first year of our marriage, is now doing double duty as the couch table sitting behind me and the TV stand on the other side of the living room. Frugal andcreative. keep it up Sue, I'm getting excited for your planting day!
 happy worms -> happy plants -> happy gardeners haha. and yay, planting time soon!!