

bampdx
New Member
So, we're less than a month away from recreational legalization of possession, consumption, and home growing here in Oregon. The law becomes active on July 1st, 2015 with up to 4 plants per household.
That being the case, I am sure MANY cannabis enthusiasts will begin to pick up the wonderful hobby of growing for the first time, many of whom will have no intention of investing hundreds of dollars but still want to grow a plant for fun. I am definitely one who falls into that category. And I have gotten a head start in figuring out just how to do that. So this will basically be a DIY experimental learn-with-me / from my mistakes tutorial!
LET'S BEGIN!
~Current Setup~
Strain: Assumed to be Green Crack from bag seed. (Is there a way to edit the title of this thread? lol)
Grow style: Controlled Mainlining/Flux/Bansai Variation
Enclosure: 18"x18"x24" cardboard box
Bucket Size: appr. 4 gal, heavily ventilated
Grow Medium: Black Gold Organic Potting Soil w/ Fertilizer (0.05 - 0.0 - 0.0)
Nutrients: Miracle Grow All Purpose Plant Food, heavily diluted. (24 - 8 - 16)
Lights: 2x 23w 1600 lumen 6500k CFLs
Light Reflector Hood: 2x 8" clamp-on spotlight fixtures
Distance from Plant: 3-5"
Light Cycle: 24h, Constant light.
Airflow: 20" 3-speed box fan on top of enclosure w/ intake 4"x6" intake vent on box
Pest Control: 2x Fly Paper Strips
Water: Tap
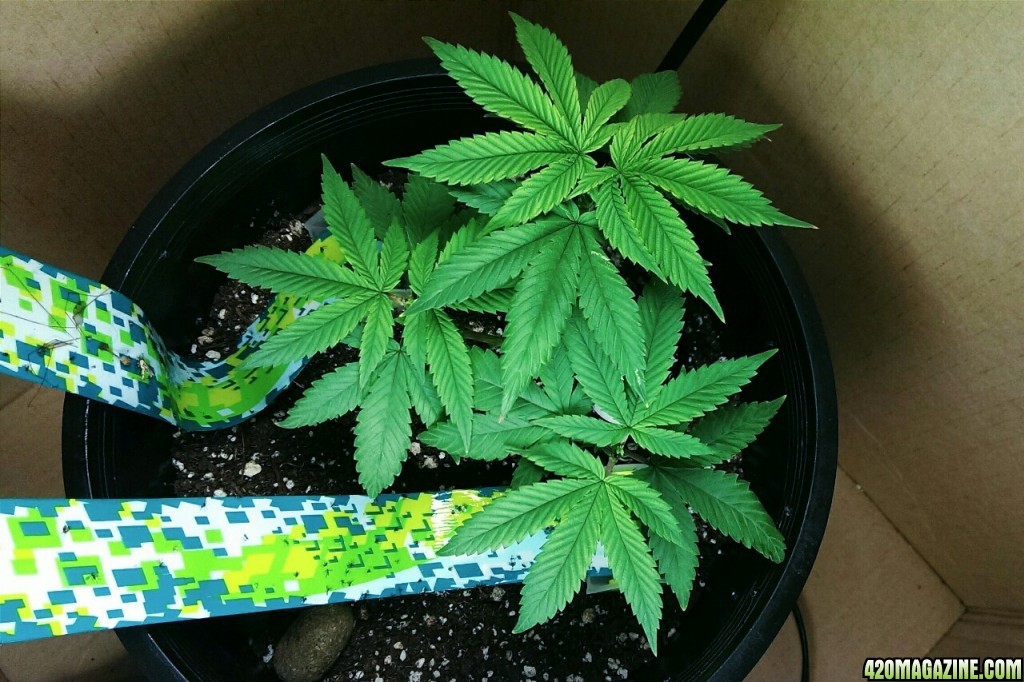
~Most Recent Photo~
Now, from the beginning...
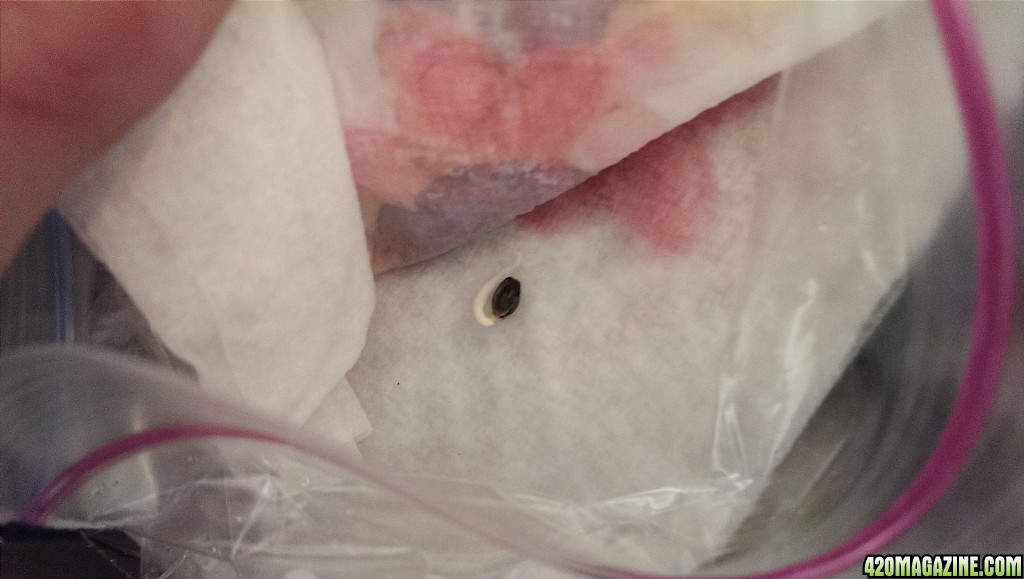
It all started from the discovery of a single seed in my baggie of Green Crack from a local dispensary on March 24th, 2015.
Decided to attempt germinating it for S&G's.
Checked it two days later to find a healthily protruding root.
March 26, 2015
Welp. It worked. Okay. Now what?
I grabbed some year-old unknown potting soil from a houseplant and threw it in a whiskey glass.
Got it nice and moist, poked a hold in the dirt slightly deeper than the length of the germinated seed, plopped it in and covered it with soil.
Fast forward about 24 hours...
March 27, 2015
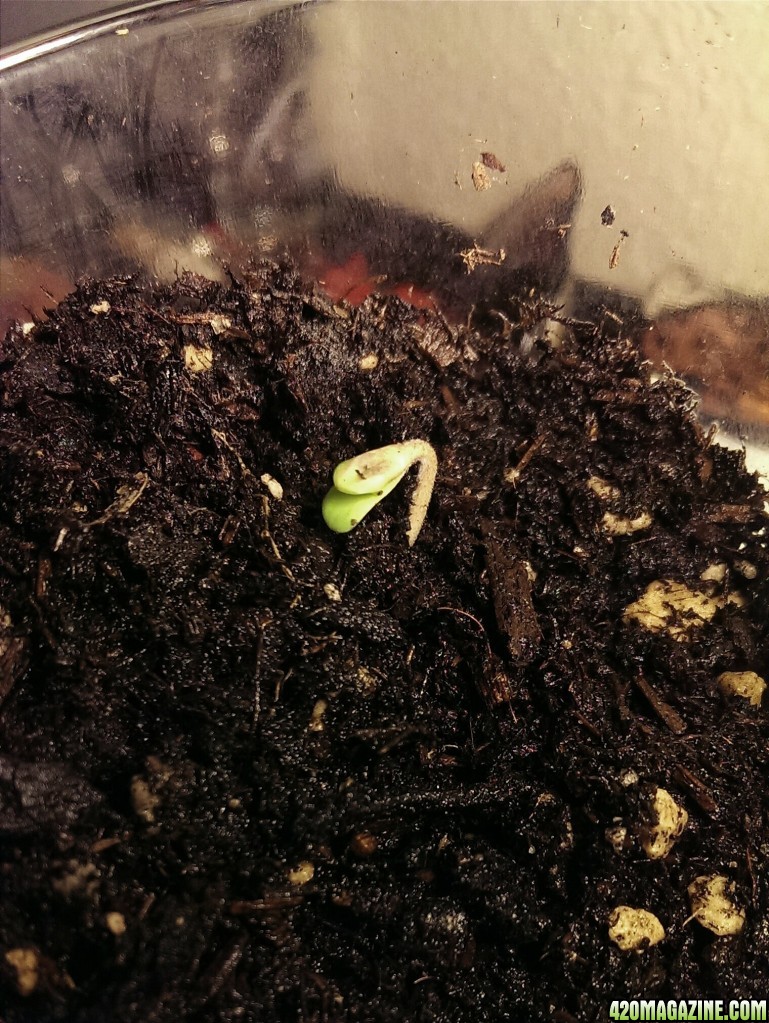
Well, hello there, little sprout. And 24 more hours...
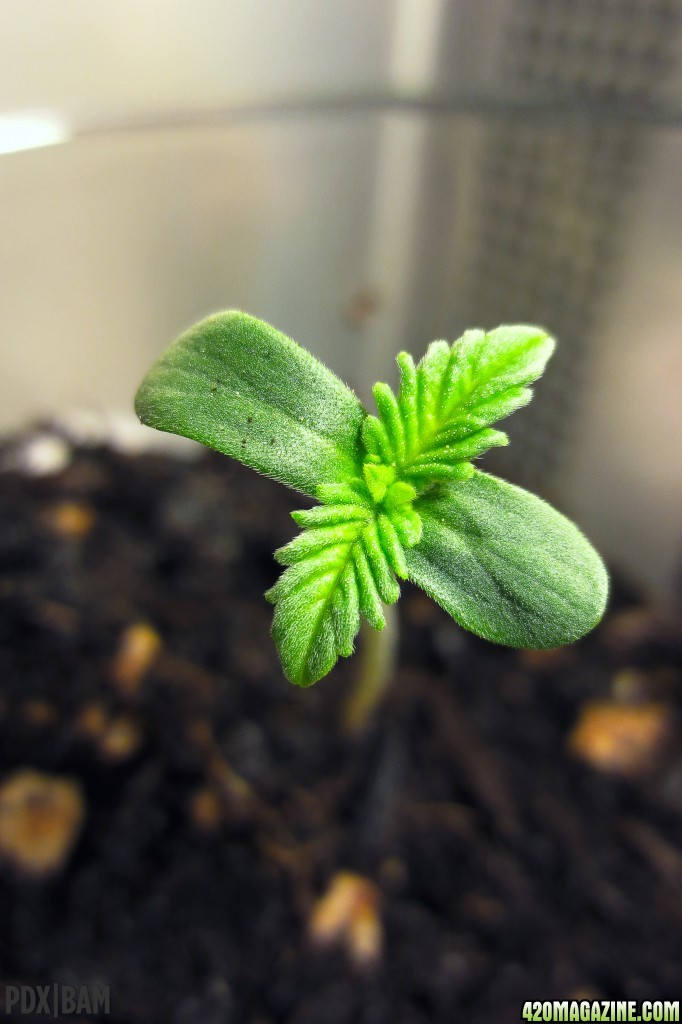
March 28, 2015

WOW. Okay, this is where I knew I was hooked.
4 days and minimal efforts.. Already over an inch tall with healthy cotyledons and two leaves busting out? Exciting!
I re-purposed a lamp I already had with a basic CFL (8w - 600 lumen, if I remember correctly?) and left it in the glass for another two days until I could see the root system reach the bottom.
March 29, 2015
At this point, I decided to cut the top off a 1 gallon milk jug and make plenty of drainage vents along the bottom and sides.. Added more junk soil and transplanted the sprout into the center. Sounds good enough.
March 31, 2015
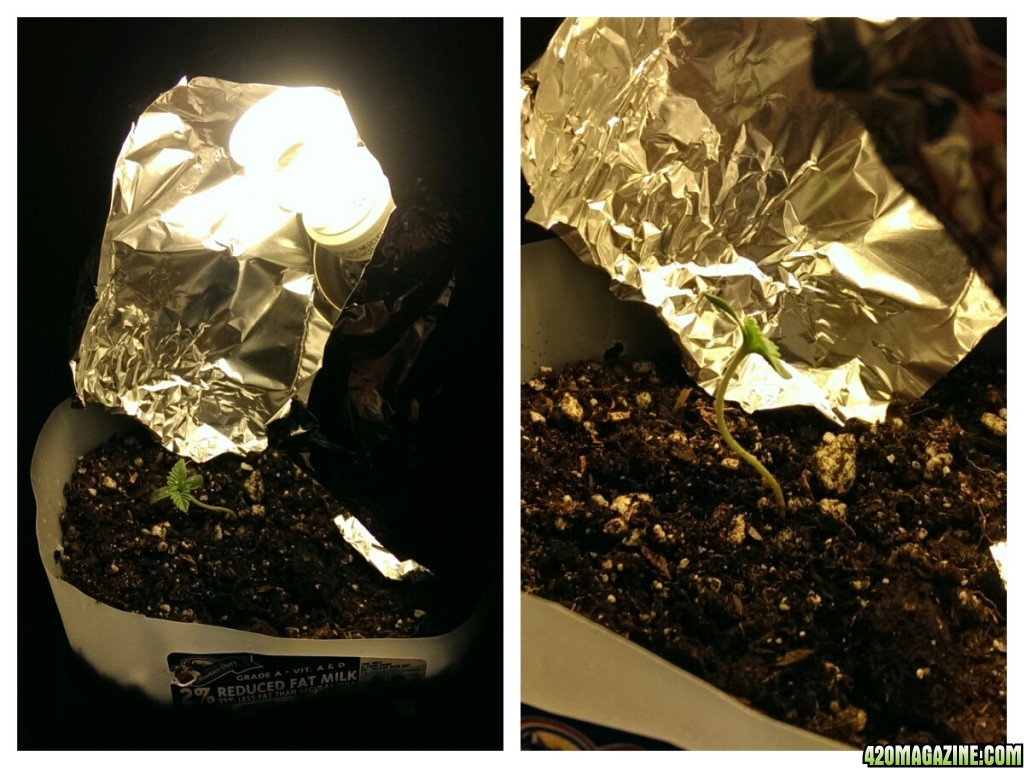
It fell limp within minutes. Oh, no! (left photo)
But just 4 hours later, it picked itself back up! (right photo)
So inspiring!
Disclaimer: yes, aluminum foil over the light.... yes, still using old mystery soil... milk carton, lol.. Remember this is a DIY budget grow. I'm gonna break some rules. Definitely sacrificing future yield quality. But I have spent a grand total of $0.00 at this point by using what I have around the house!
Watering:
I follow no schedule, no set quantity.
I just monitor the appearance of the leaves and dampness of soil, often waiting 'til the soil is dry at the surface, up to the second knuckle.
Up until this point, I had been keeping the soil moist. Nothing more. It's just a baby.
When transplanting up to the milk jug, I waited half a day since I made sure the soil was pretty moist when it went in, then added a few ounces of tap water.
Usually aiming for 10-20% to spill out at the bottom each time and always allowing the soil to dry out on the surface each time before watering.
Thinking back, I was probably adding about 2-4 ounces of tap water every 2-3 days, roughly.
April 2, 2015
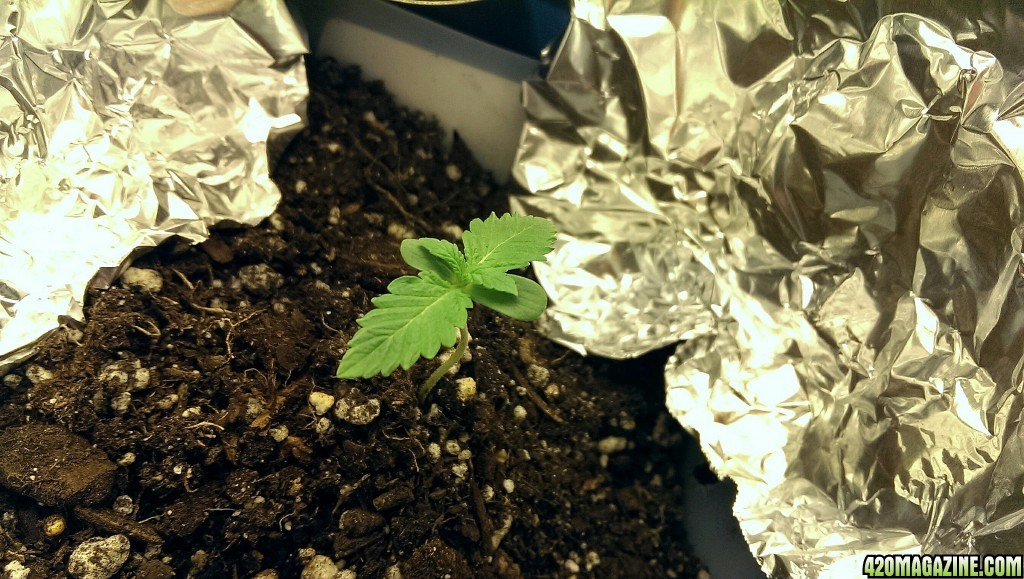
Second node of leaves popping out nicely!
April 5, 2015

April 6, 2015

That development!
So far, the plant has just been sitting on my dresser with a lamp leaning over it.
It's stretching like crazy since I still have only a single low-powered average CFL over it.
Time to spend some money.
Lighting:
Found a two-pack of 23w 1600 lumen CFL bulbs in 6500k "Daylight" color for vegetation for...$7.99? Or maybe it was $8.99? Err..Definitely under $10 for two. Not bad at all. Figured that should be enough for one small plant.
CFL's are the way to go for a simple single-plant indoor grow. They're cheap, produce little heat, consume little electricity, and can be easily found at any department store.
I also bought an 8" clamp-on spotlight fixture for $7.99.
Around $16 total at this point.
I actually used needle nose pliers and ripped apart the spotlight hood to make it project the light outward in a wider focus which probably made it less efficient, although easier to position. (see photos)
April 7, 2015
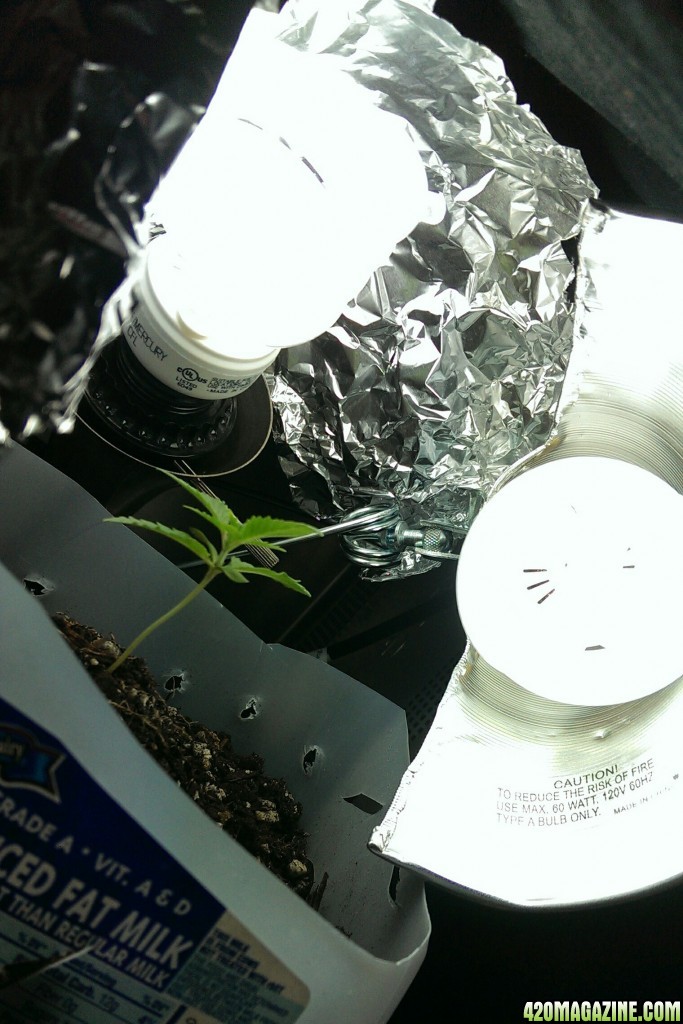
Proper lighting!
Now let's lose the foil and throw it all in a box.
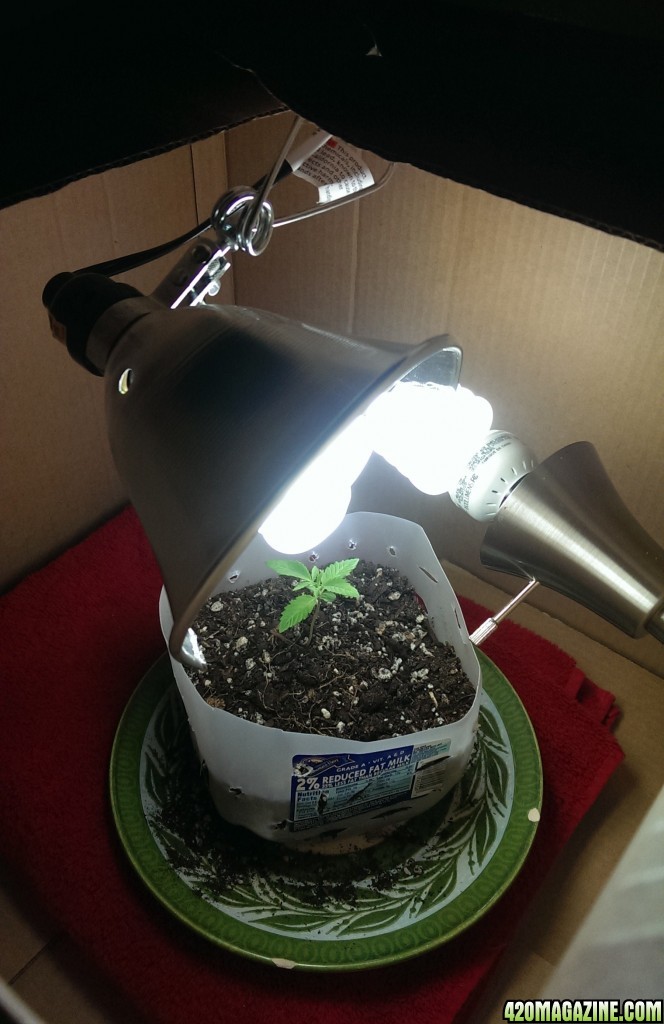
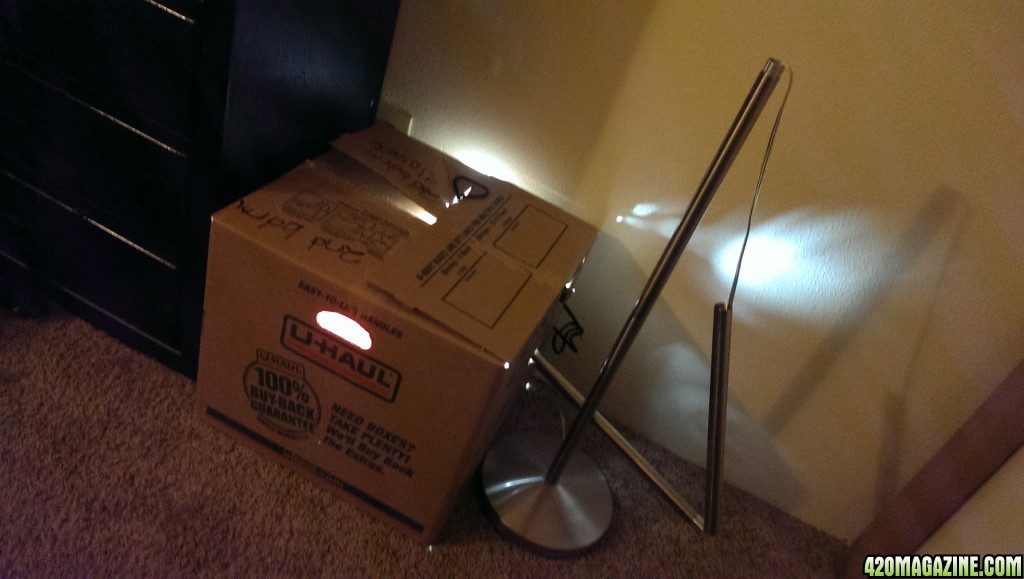
Only looks slightly ridiculous, right!? haha!
Taking up minimal space besides the 6 ft lamp I have broken down to be used as such.
(which could have been easily eliminated by buying one more $8 spotlight fixture)
Airflow:
Now it's all contained in a box AND there are two new bulbs producing a lot more heat!!!
Well...relatively. As I said before, CFL bulbs don't produce a lot of heat.
I keep mine 2-4 inches from the plant. Which I found, is enough to hurt the leaves without airflow.
I happen to have a basic 20" box fan which I believe was originally $20-30 at Walmart or something. It fits perfectly on top of my box. So I cut a 6x4" flap on the lower front side of the box for intake and the fan pulls air up, past the plant, and out the top.
If you don't have a perfect box fan, get creative. You can get small 4-10" fans super cheap at all kinds of stores or online. Computer case fans are especially cheap but don't simply plug into the wall so you'll need to know your electronics.
Using a cardboard box setup makes it really easy to cut intake and exhaust holes and mount a small fan of some sort wherever you like. Good airflow will be especially helpful once you begin dealing with pests!
- - - - - - - - - - - - - - - - - - -
Stopping here for a bit. I'm actually 9 weeks into the grow and just creating this journal from memory and photo time stamps. Will continue catching it up shortly! LOTS more to come!
Including better HD professional quality photos as the plant gets bigger.
That being the case, I am sure MANY cannabis enthusiasts will begin to pick up the wonderful hobby of growing for the first time, many of whom will have no intention of investing hundreds of dollars but still want to grow a plant for fun. I am definitely one who falls into that category. And I have gotten a head start in figuring out just how to do that. So this will basically be a DIY experimental learn-with-me / from my mistakes tutorial!
LET'S BEGIN!
~Current Setup~
Strain: Assumed to be Green Crack from bag seed. (Is there a way to edit the title of this thread? lol)
Grow style: Controlled Mainlining/Flux/Bansai Variation
Enclosure: 18"x18"x24" cardboard box
Bucket Size: appr. 4 gal, heavily ventilated
Grow Medium: Black Gold Organic Potting Soil w/ Fertilizer (0.05 - 0.0 - 0.0)
Nutrients: Miracle Grow All Purpose Plant Food, heavily diluted. (24 - 8 - 16)
Lights: 2x 23w 1600 lumen 6500k CFLs
Light Reflector Hood: 2x 8" clamp-on spotlight fixtures
Distance from Plant: 3-5"
Light Cycle: 24h, Constant light.
Airflow: 20" 3-speed box fan on top of enclosure w/ intake 4"x6" intake vent on box
Pest Control: 2x Fly Paper Strips
Water: Tap
~Most Recent Photo~
Now, from the beginning...
It all started from the discovery of a single seed in my baggie of Green Crack from a local dispensary on March 24th, 2015.
Decided to attempt germinating it for S&G's.
Checked it two days later to find a healthily protruding root.
March 26, 2015
Welp. It worked. Okay. Now what?
I grabbed some year-old unknown potting soil from a houseplant and threw it in a whiskey glass.
Got it nice and moist, poked a hold in the dirt slightly deeper than the length of the germinated seed, plopped it in and covered it with soil.
Fast forward about 24 hours...
March 27, 2015
Well, hello there, little sprout. And 24 more hours...
March 28, 2015
WOW. Okay, this is where I knew I was hooked.
4 days and minimal efforts.. Already over an inch tall with healthy cotyledons and two leaves busting out? Exciting!
I re-purposed a lamp I already had with a basic CFL (8w - 600 lumen, if I remember correctly?) and left it in the glass for another two days until I could see the root system reach the bottom.
March 29, 2015
At this point, I decided to cut the top off a 1 gallon milk jug and make plenty of drainage vents along the bottom and sides.. Added more junk soil and transplanted the sprout into the center. Sounds good enough.
March 31, 2015
It fell limp within minutes. Oh, no! (left photo)
But just 4 hours later, it picked itself back up! (right photo)
So inspiring!
Disclaimer: yes, aluminum foil over the light.... yes, still using old mystery soil... milk carton, lol.. Remember this is a DIY budget grow. I'm gonna break some rules. Definitely sacrificing future yield quality. But I have spent a grand total of $0.00 at this point by using what I have around the house!
Watering:
I follow no schedule, no set quantity.
I just monitor the appearance of the leaves and dampness of soil, often waiting 'til the soil is dry at the surface, up to the second knuckle.
Up until this point, I had been keeping the soil moist. Nothing more. It's just a baby.
When transplanting up to the milk jug, I waited half a day since I made sure the soil was pretty moist when it went in, then added a few ounces of tap water.
Usually aiming for 10-20% to spill out at the bottom each time and always allowing the soil to dry out on the surface each time before watering.
Thinking back, I was probably adding about 2-4 ounces of tap water every 2-3 days, roughly.
April 2, 2015
Second node of leaves popping out nicely!
April 5, 2015
April 6, 2015
That development!
So far, the plant has just been sitting on my dresser with a lamp leaning over it.
It's stretching like crazy since I still have only a single low-powered average CFL over it.
Time to spend some money.
Lighting:
Found a two-pack of 23w 1600 lumen CFL bulbs in 6500k "Daylight" color for vegetation for...$7.99? Or maybe it was $8.99? Err..Definitely under $10 for two. Not bad at all. Figured that should be enough for one small plant.
CFL's are the way to go for a simple single-plant indoor grow. They're cheap, produce little heat, consume little electricity, and can be easily found at any department store.
I also bought an 8" clamp-on spotlight fixture for $7.99.
Around $16 total at this point.
I actually used needle nose pliers and ripped apart the spotlight hood to make it project the light outward in a wider focus which probably made it less efficient, although easier to position. (see photos)
April 7, 2015
Proper lighting!
Now let's lose the foil and throw it all in a box.
Only looks slightly ridiculous, right!? haha!
Taking up minimal space besides the 6 ft lamp I have broken down to be used as such.
(which could have been easily eliminated by buying one more $8 spotlight fixture)
Airflow:
Now it's all contained in a box AND there are two new bulbs producing a lot more heat!!!
Well...relatively. As I said before, CFL bulbs don't produce a lot of heat.
I keep mine 2-4 inches from the plant. Which I found, is enough to hurt the leaves without airflow.
I happen to have a basic 20" box fan which I believe was originally $20-30 at Walmart or something. It fits perfectly on top of my box. So I cut a 6x4" flap on the lower front side of the box for intake and the fan pulls air up, past the plant, and out the top.
If you don't have a perfect box fan, get creative. You can get small 4-10" fans super cheap at all kinds of stores or online. Computer case fans are especially cheap but don't simply plug into the wall so you'll need to know your electronics.
Using a cardboard box setup makes it really easy to cut intake and exhaust holes and mount a small fan of some sort wherever you like. Good airflow will be especially helpful once you begin dealing with pests!
- - - - - - - - - - - - - - - - - - -
Stopping here for a bit. I'm actually 9 weeks into the grow and just creating this journal from memory and photo time stamps. Will continue catching it up shortly! LOTS more to come!
Including better HD professional quality photos as the plant gets bigger.
