Frenchy672
Well-Known Member
take the pictures sideways on your phone? they have a few things in the gallery faq 
How To Use Progressive Web App aka PWA On 420 Magazine Forum
Note: This feature may not be available in some browsers.
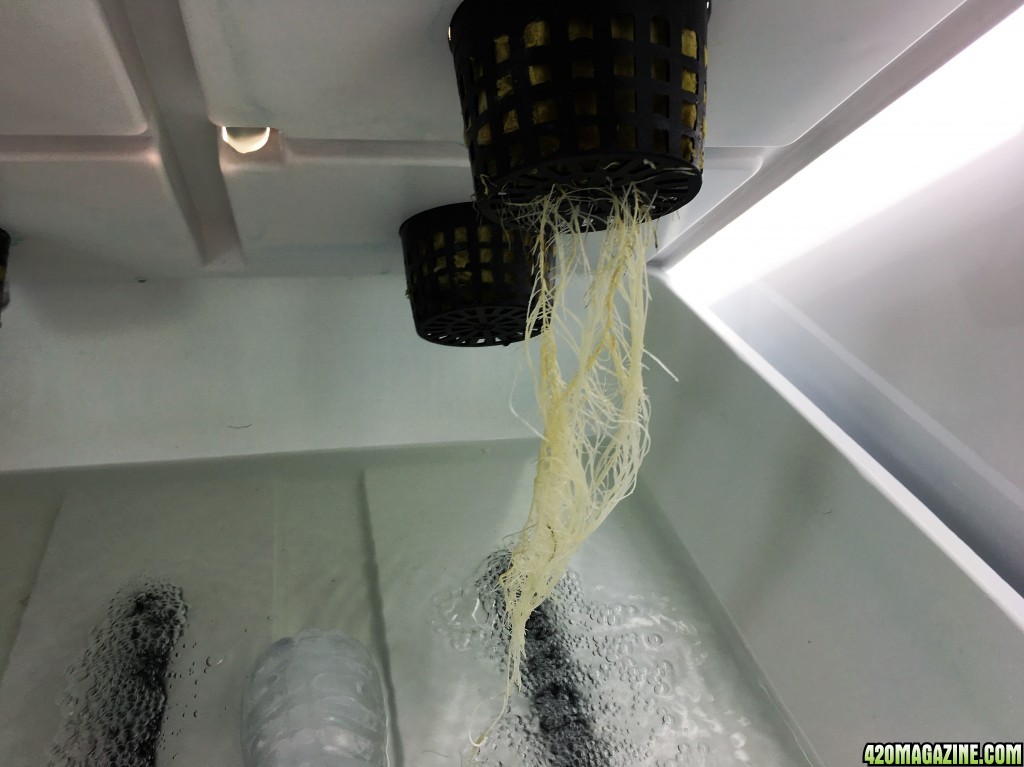
I wish I understood how 420mag determined to rotate my pictures. They aren't rotated all f*cked up on my compie.
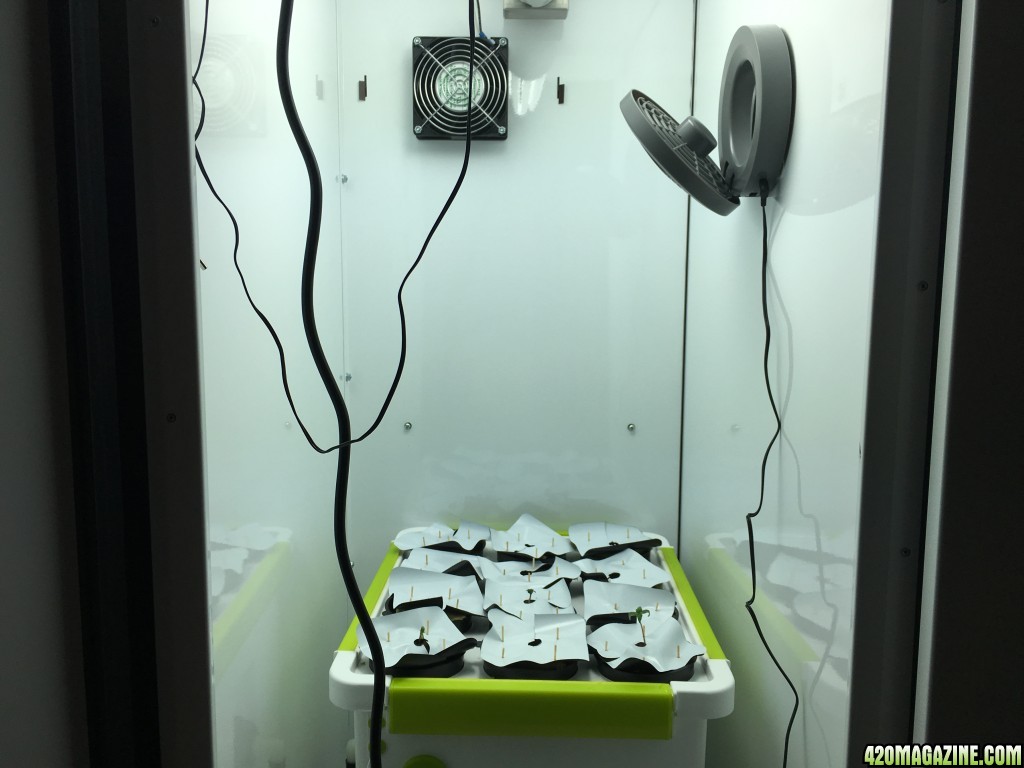


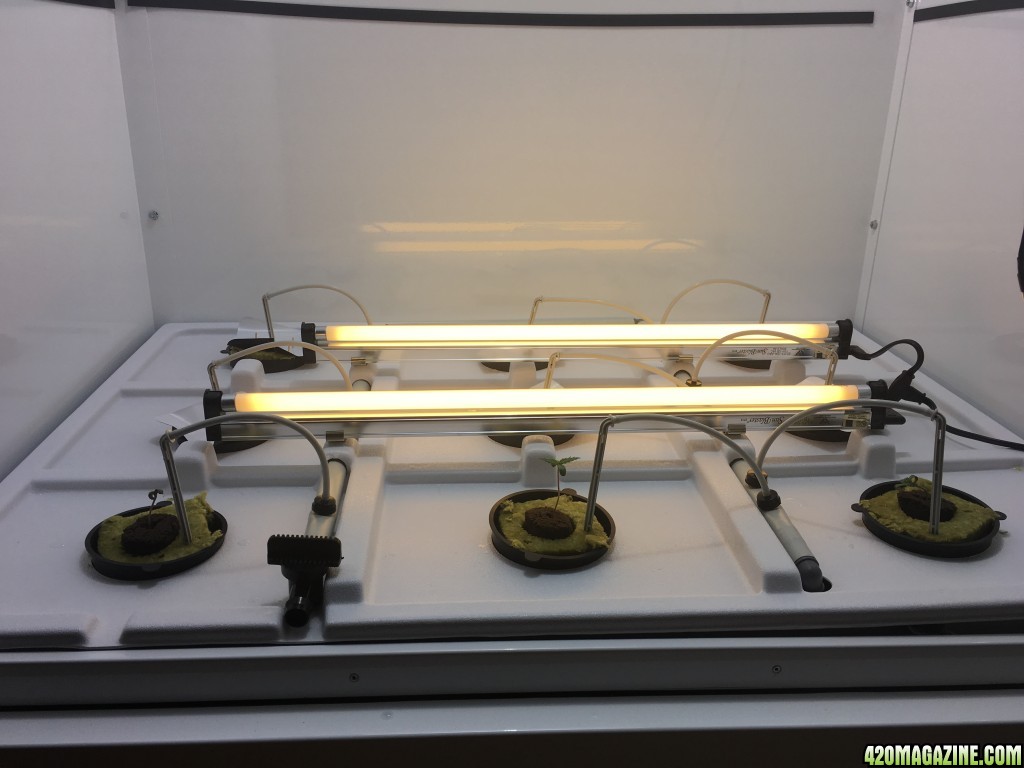
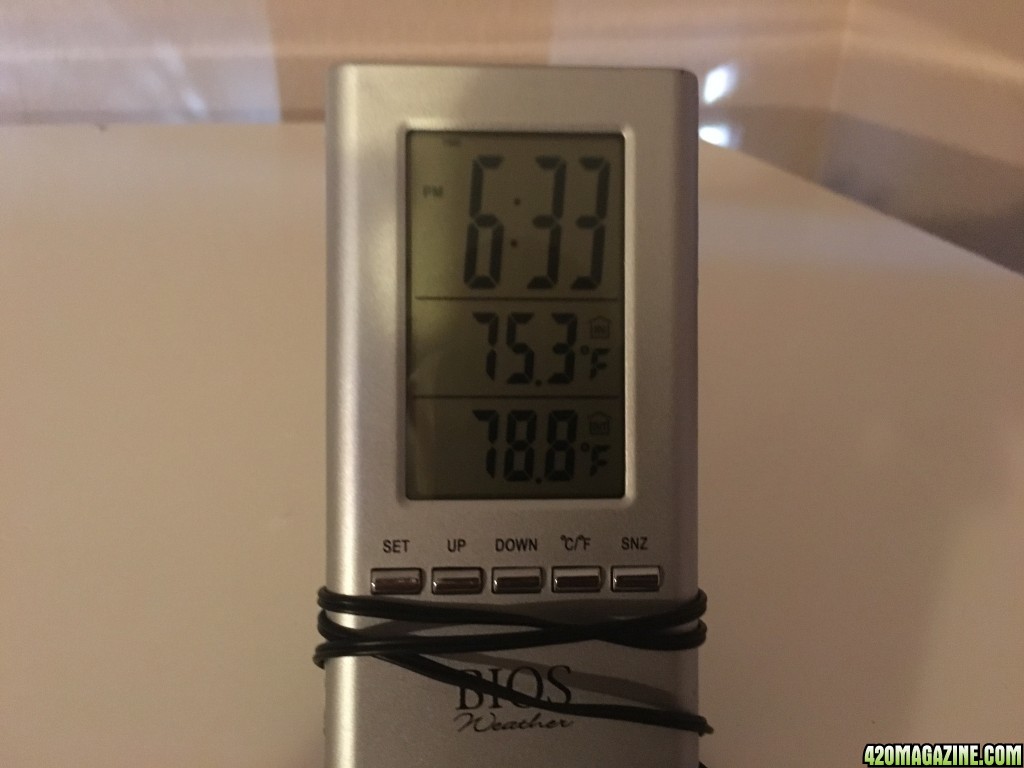
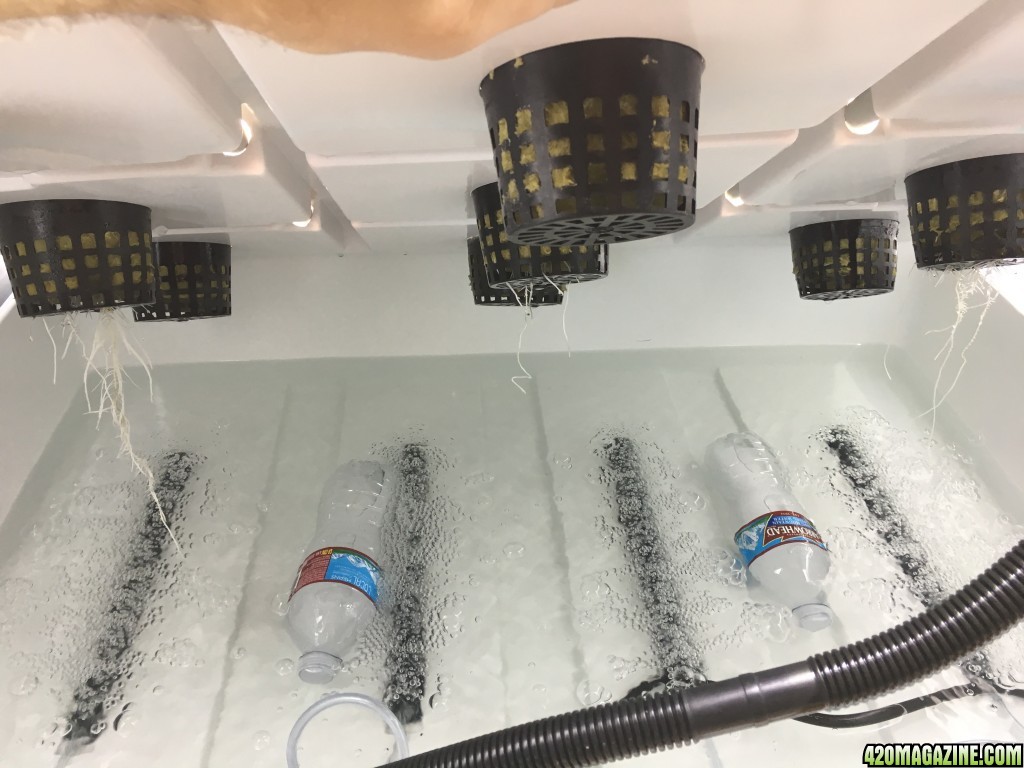
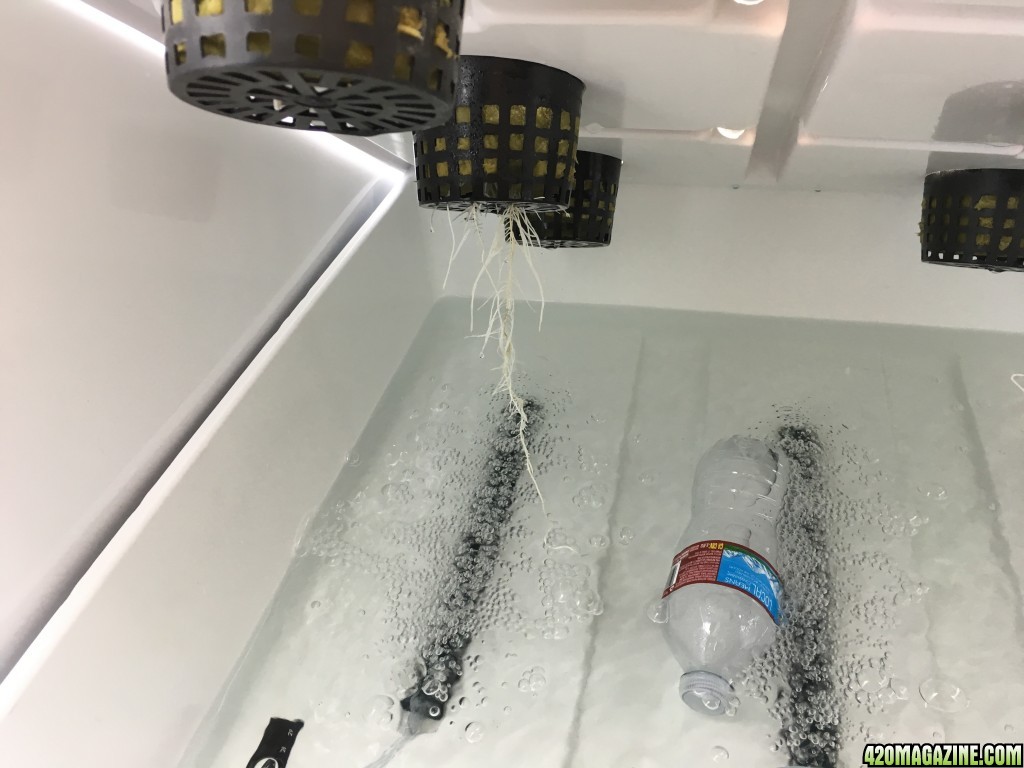
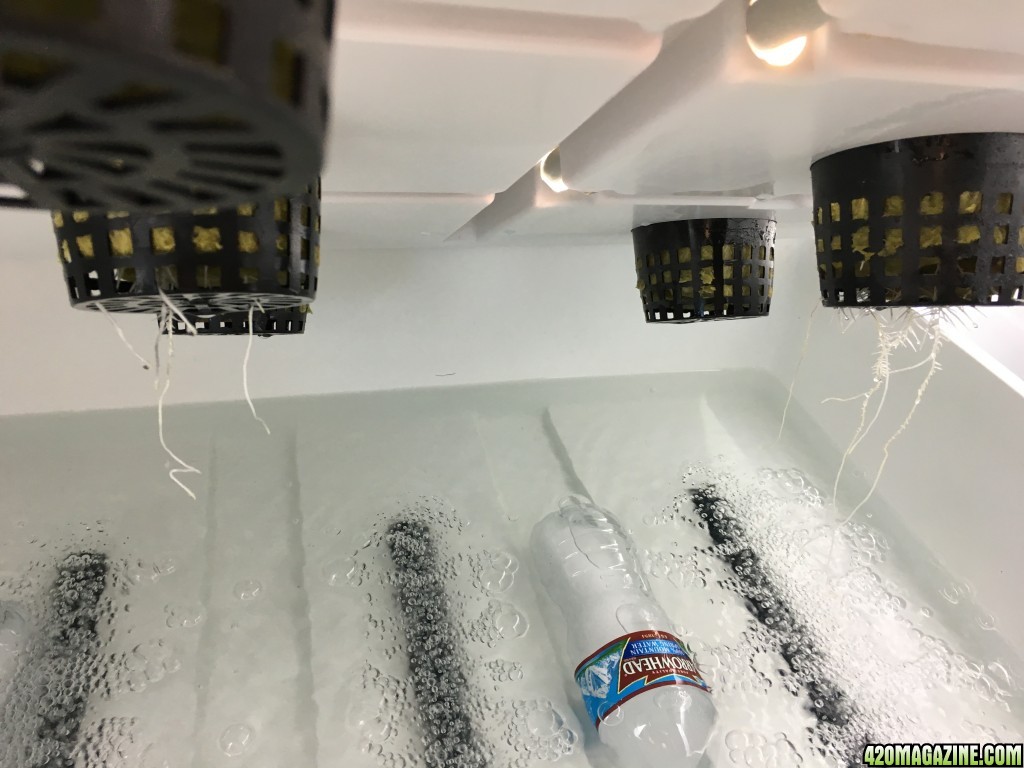
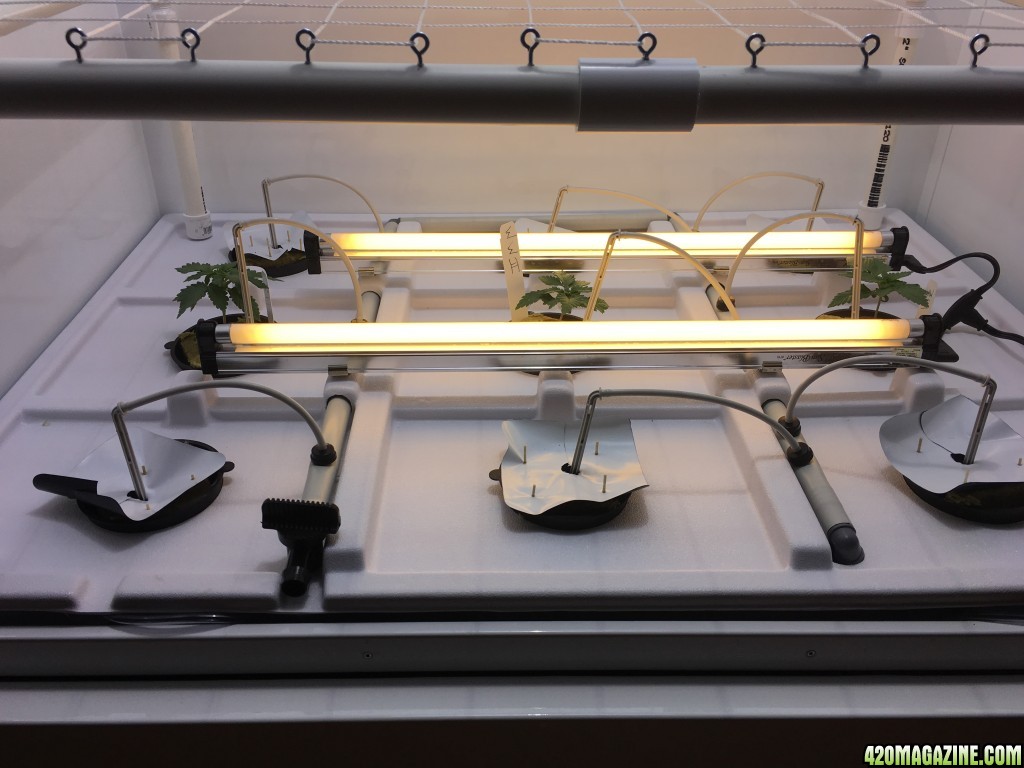
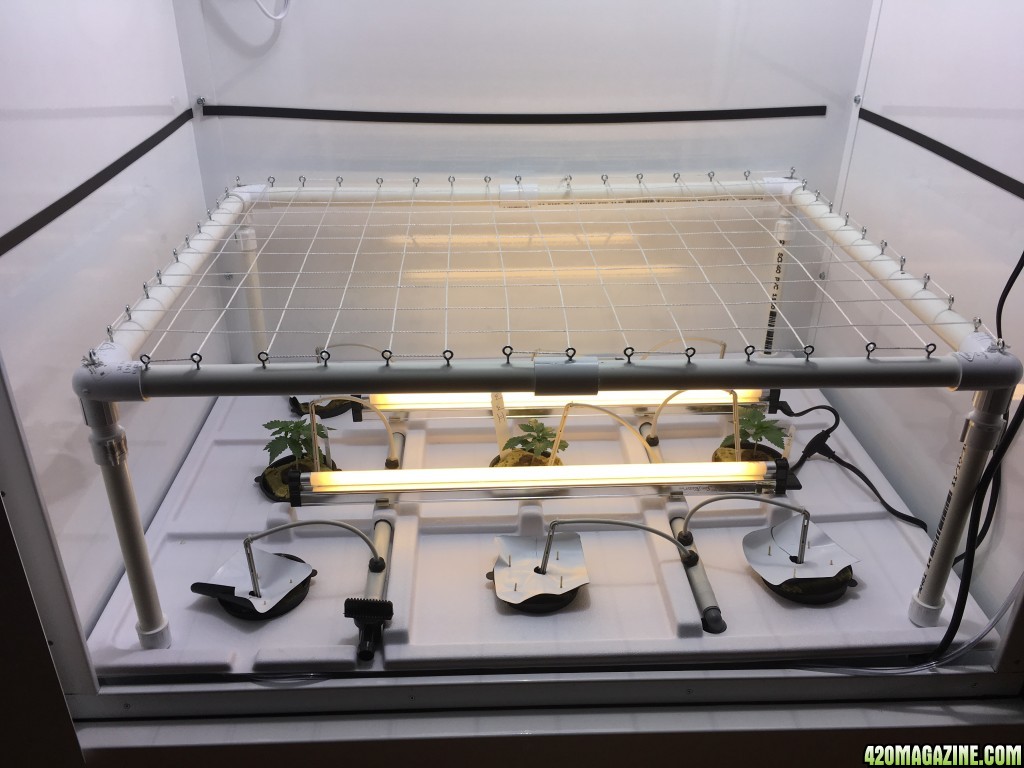
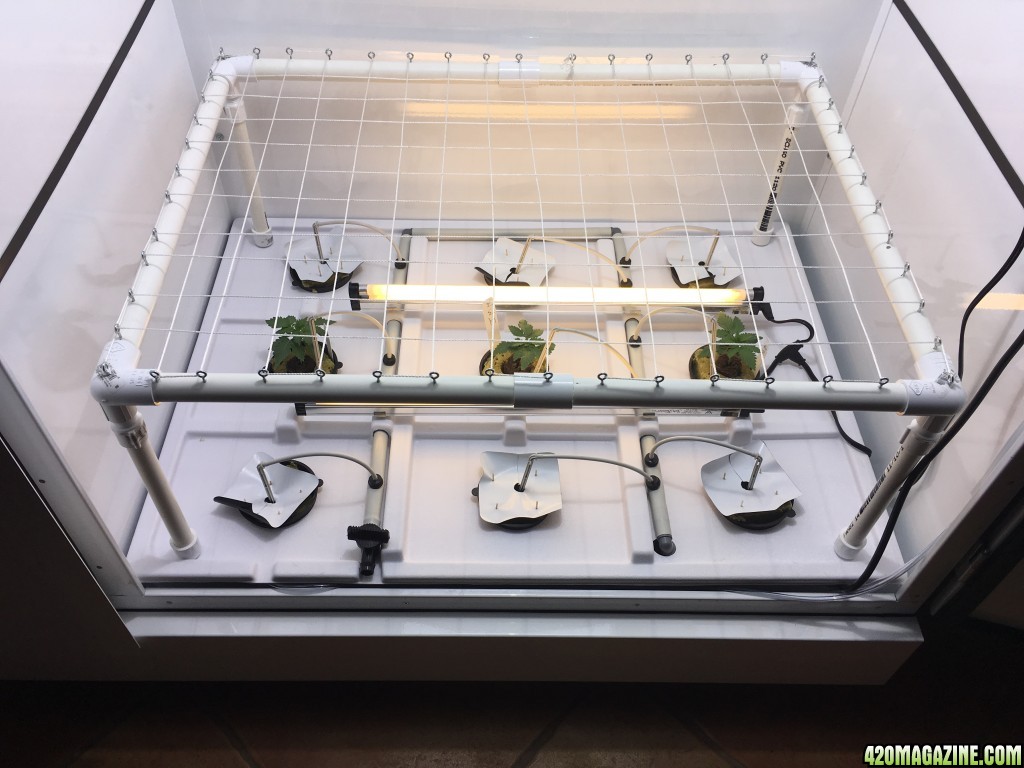
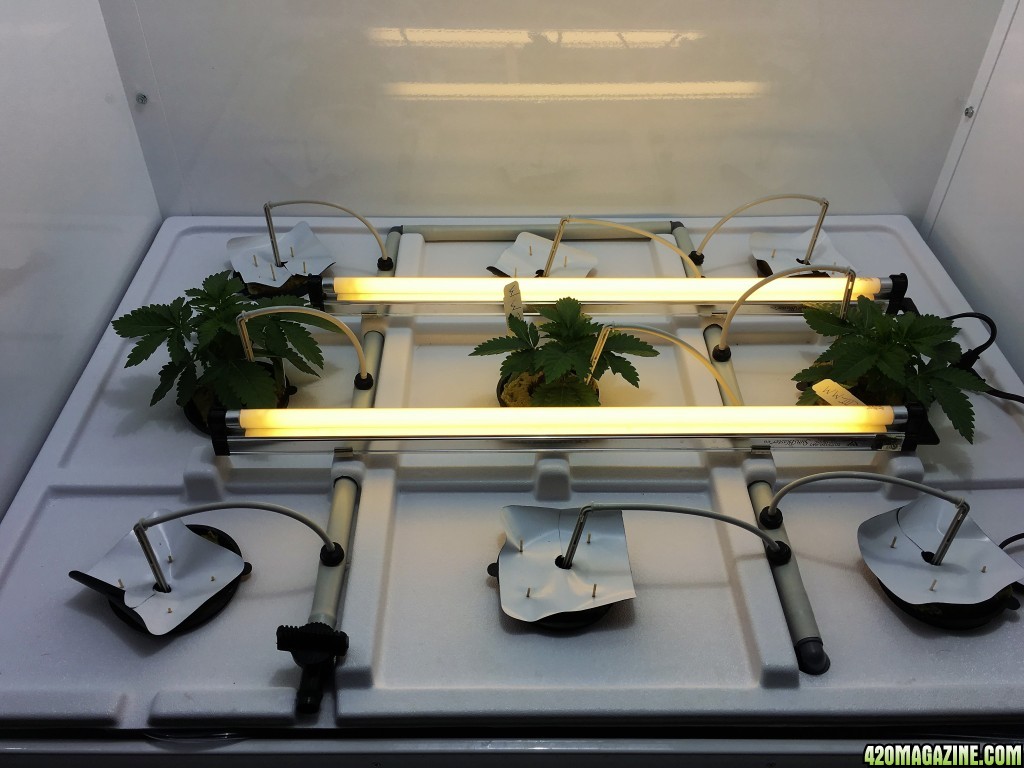
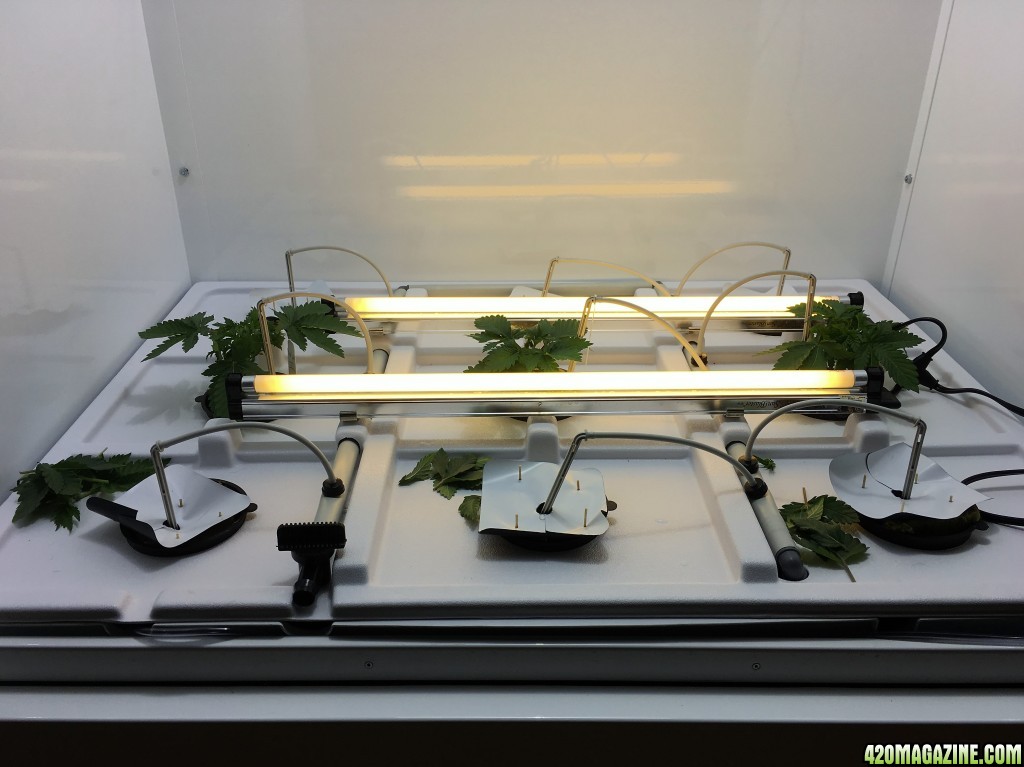
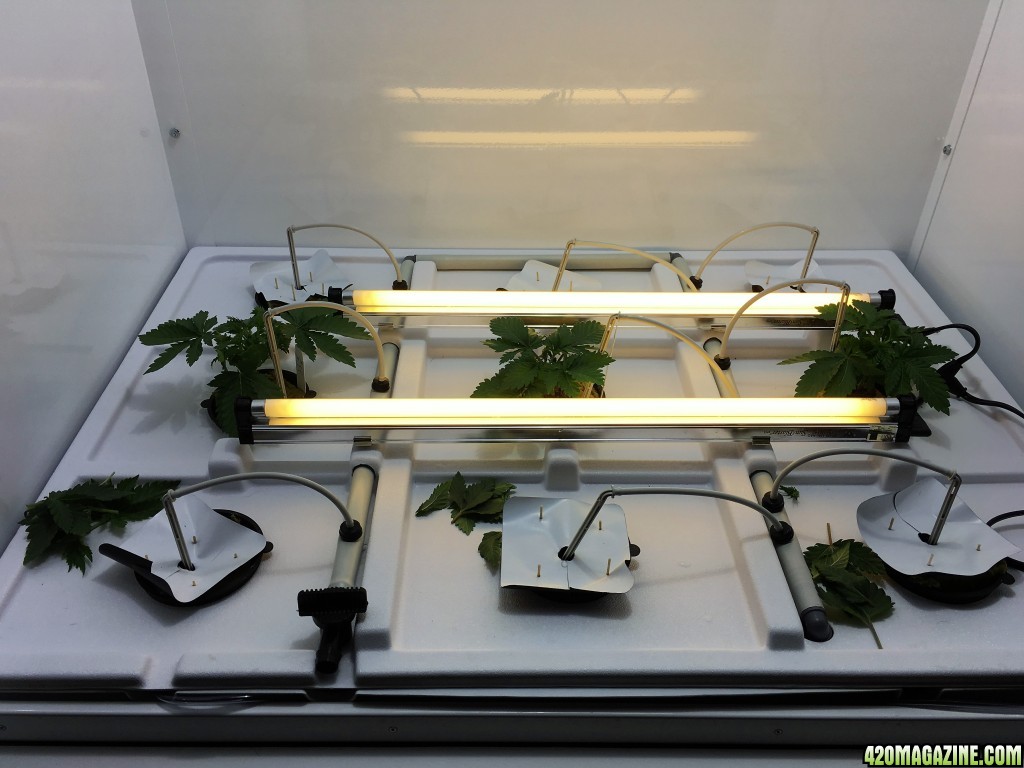
It has active intake and exhaust. The exhaust is ducted away from the box, but it's in the same room. I would need to do some construction work on the house to be able to duct it outside or into a different room.If it was me I would improve on the current fans CFM.
Or tune the current systems air flow , add ducting to the exhaust to vent it away from the Box.
Not sure if it uses a intake fan , I find using intake and exhaust fans to be trick and needed.
I recommend two fans with speed controls and exhaust or intake ducting or both ducts in and out.
Using the carbon filter for exhaust to the outdoors is easier and cheaper then Co2 enrichment.