- Thread starter
- #121
db003
Well-Known Member
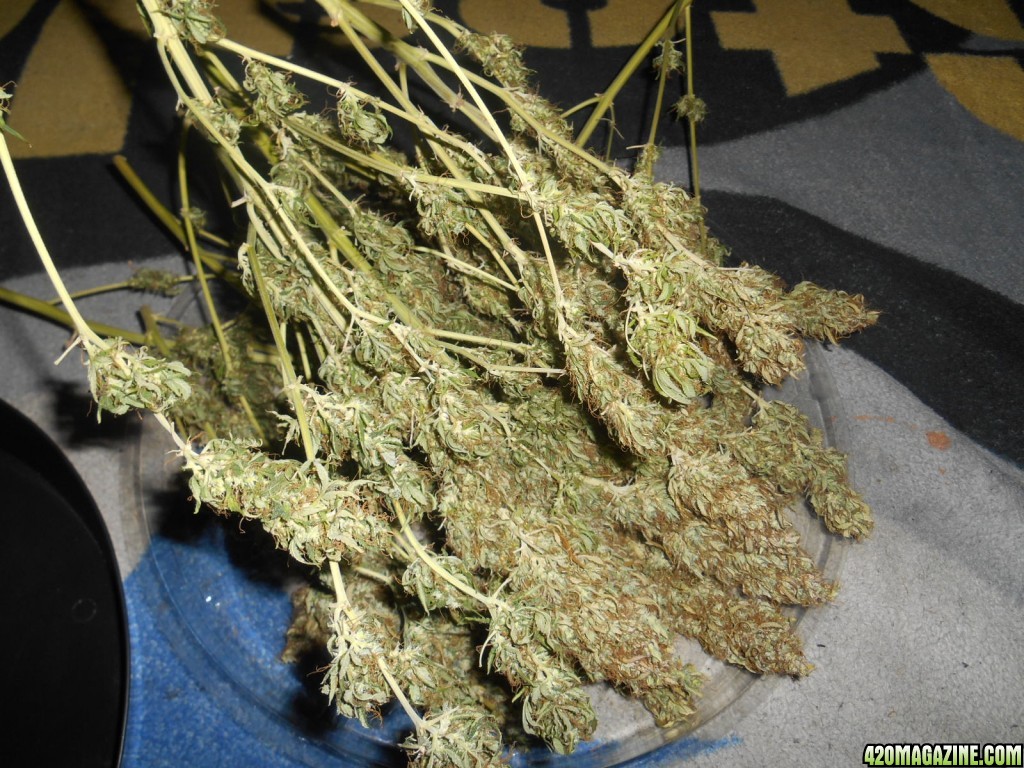
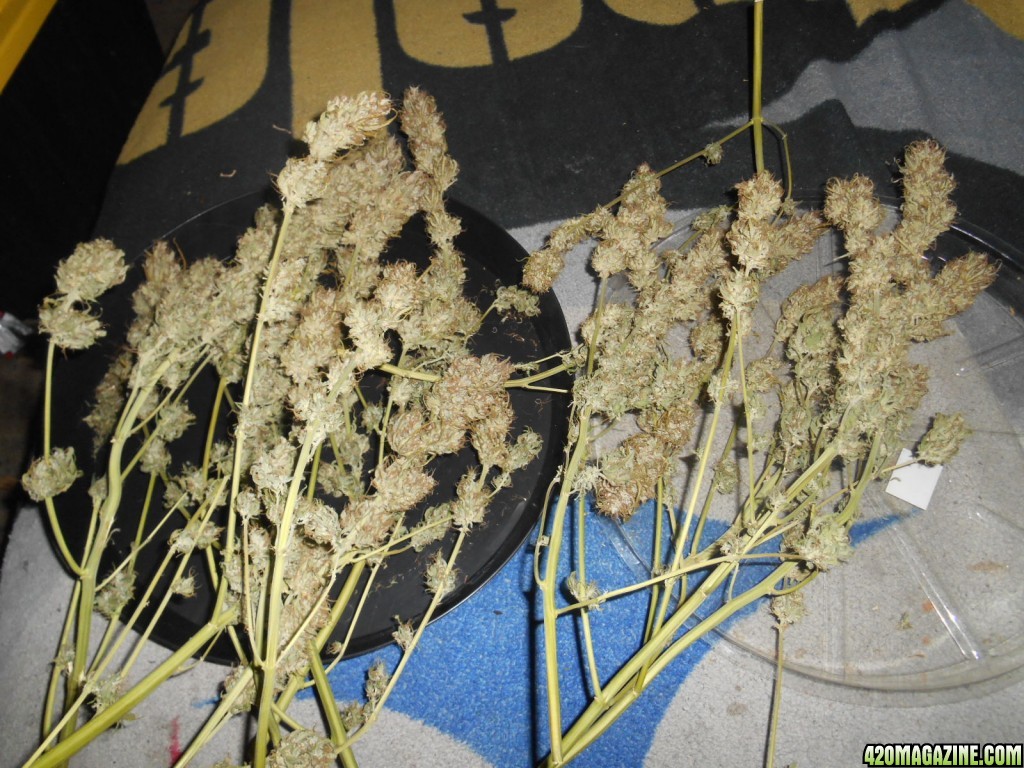
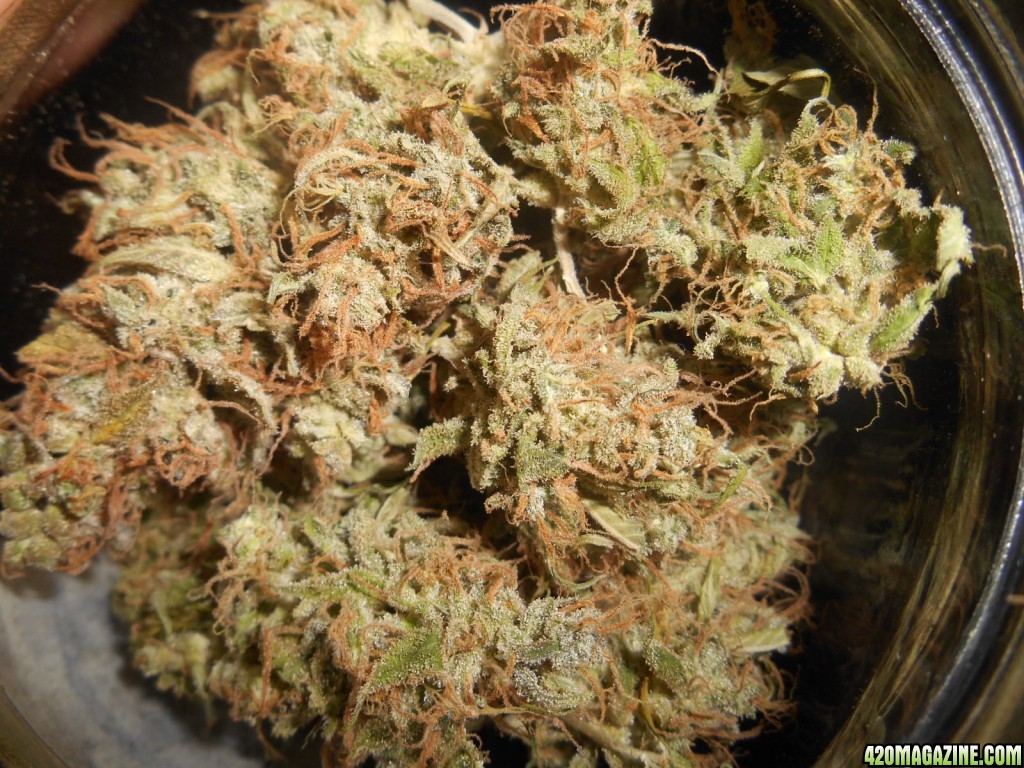
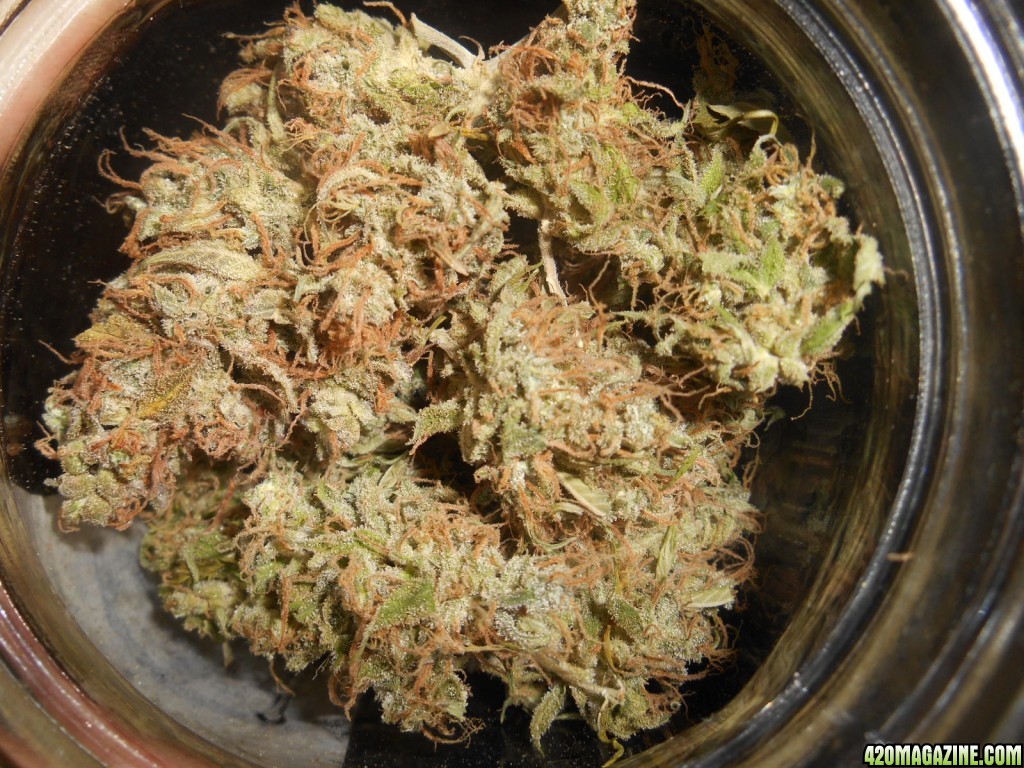
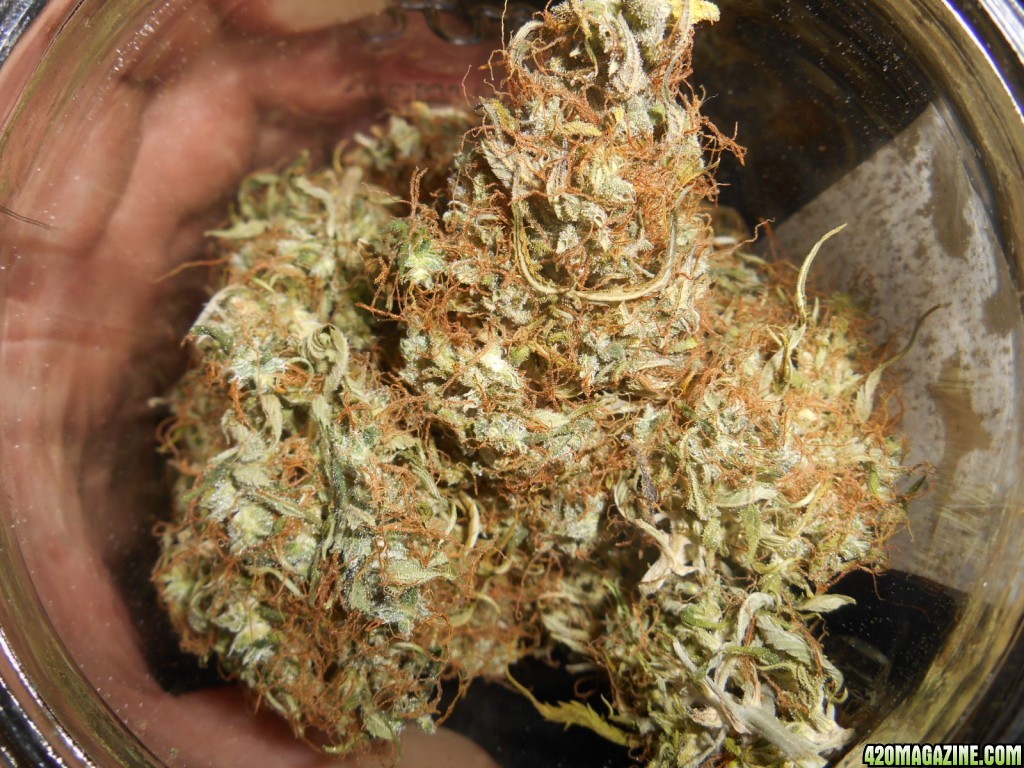
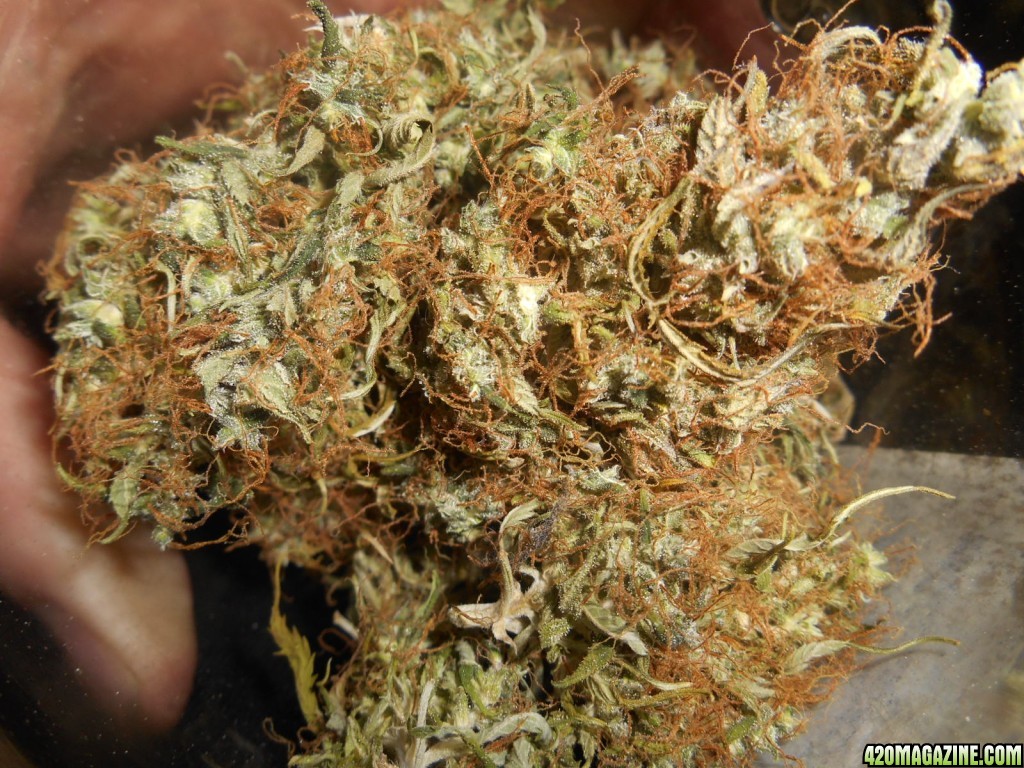
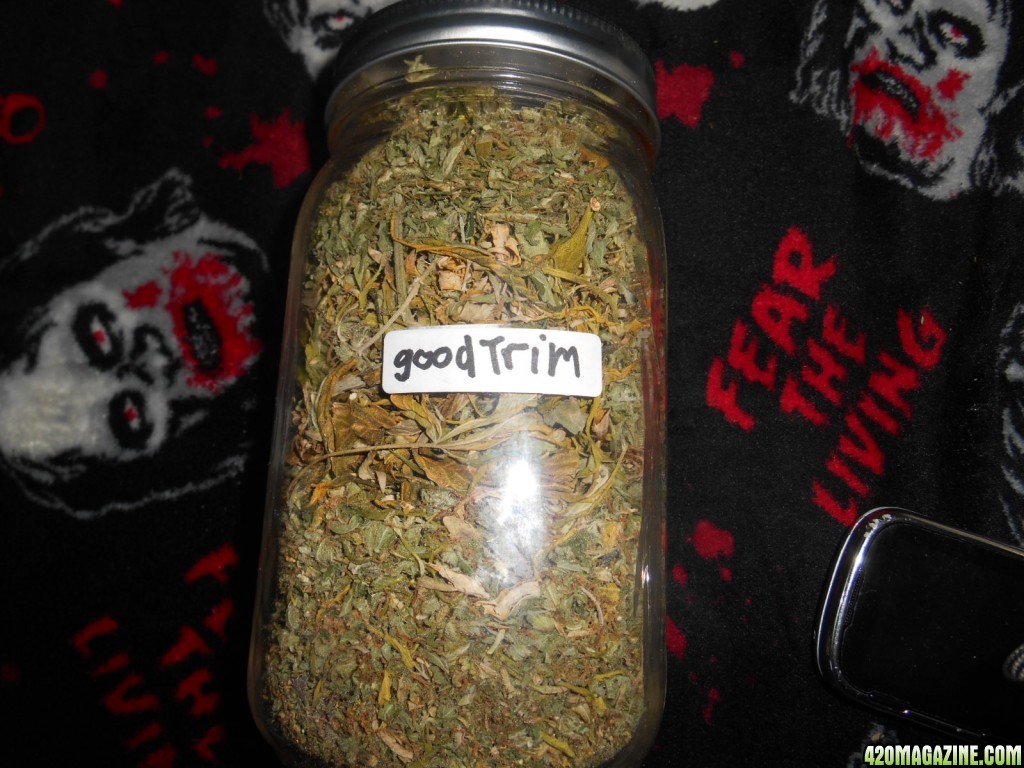
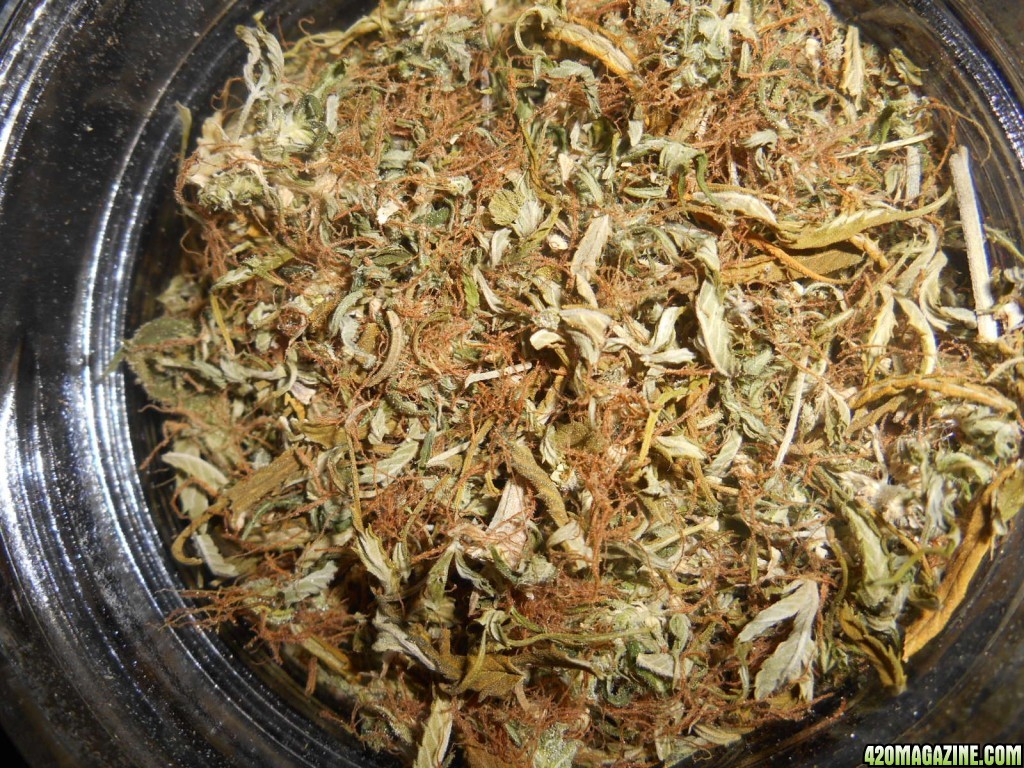
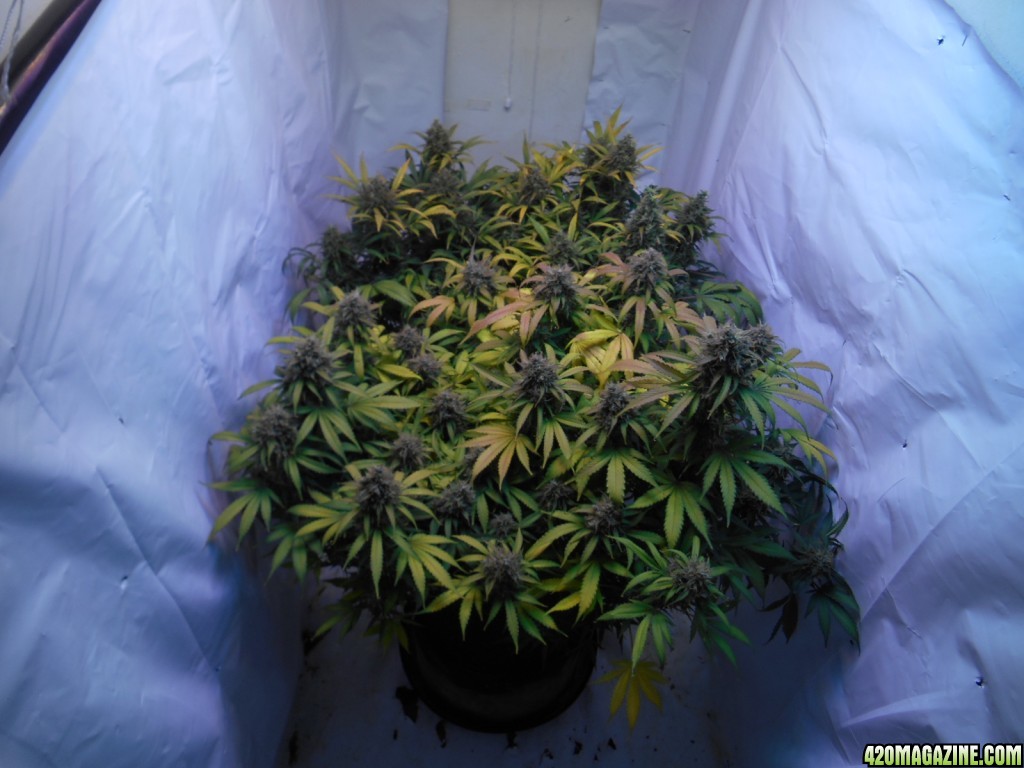
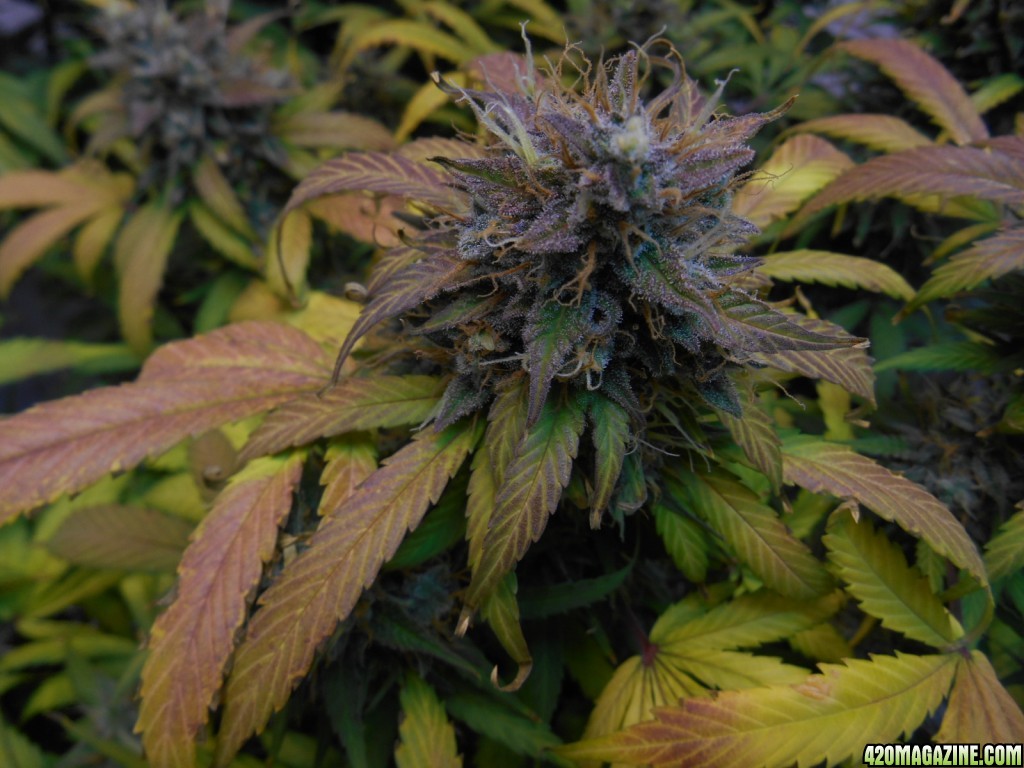
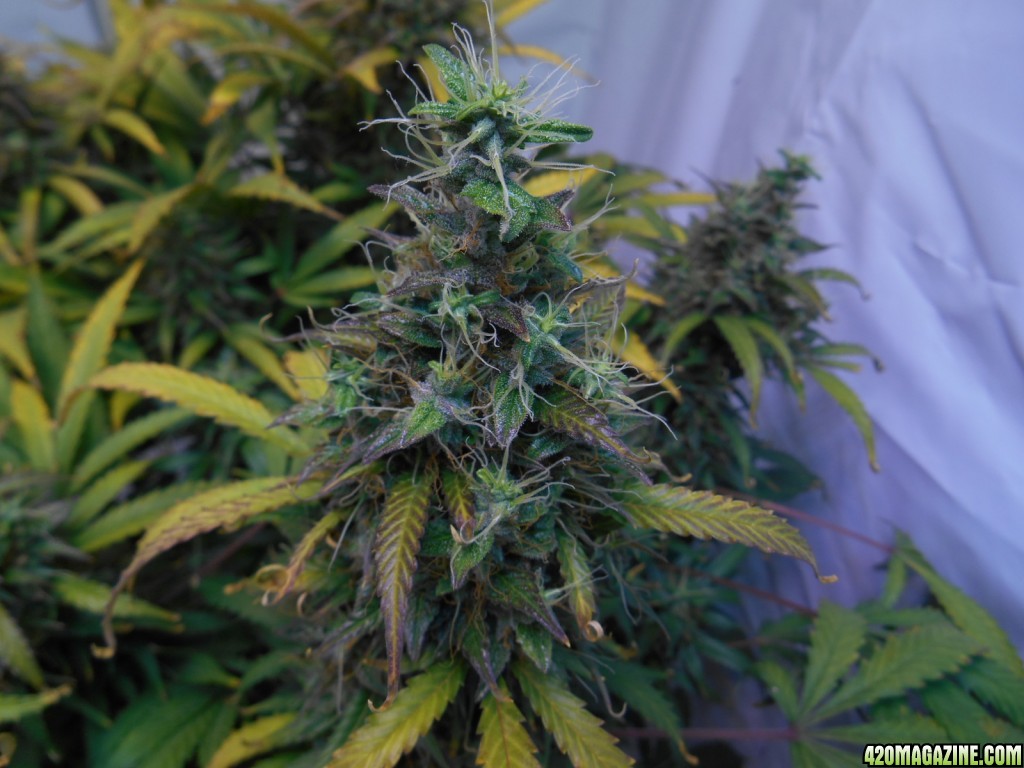
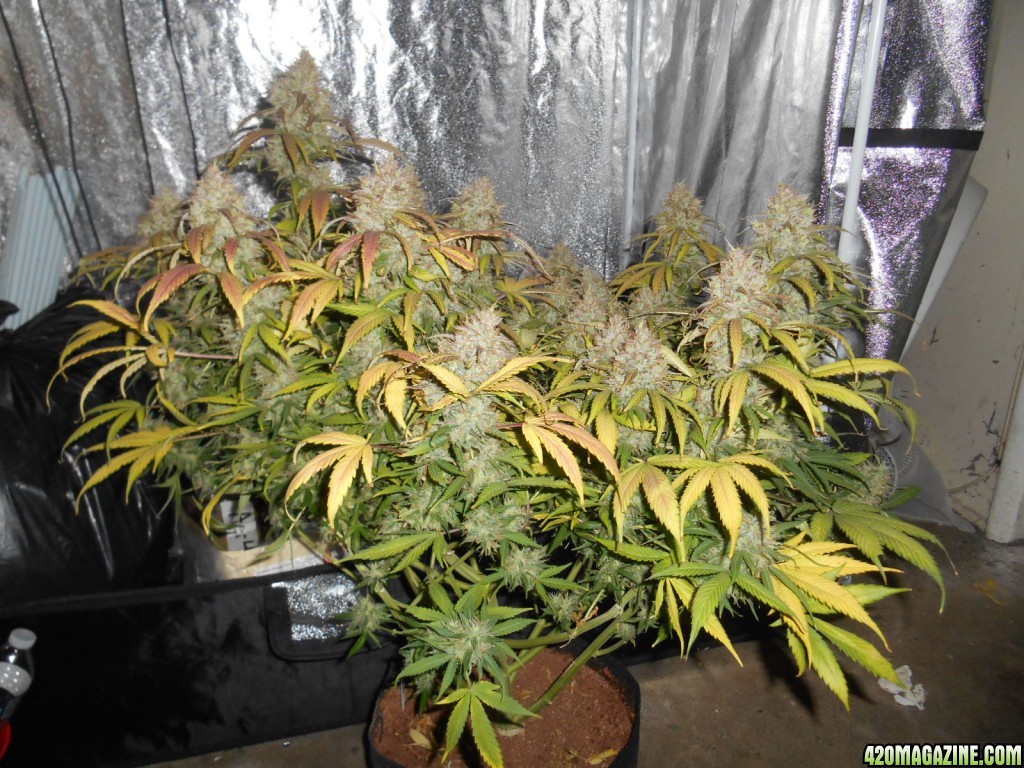
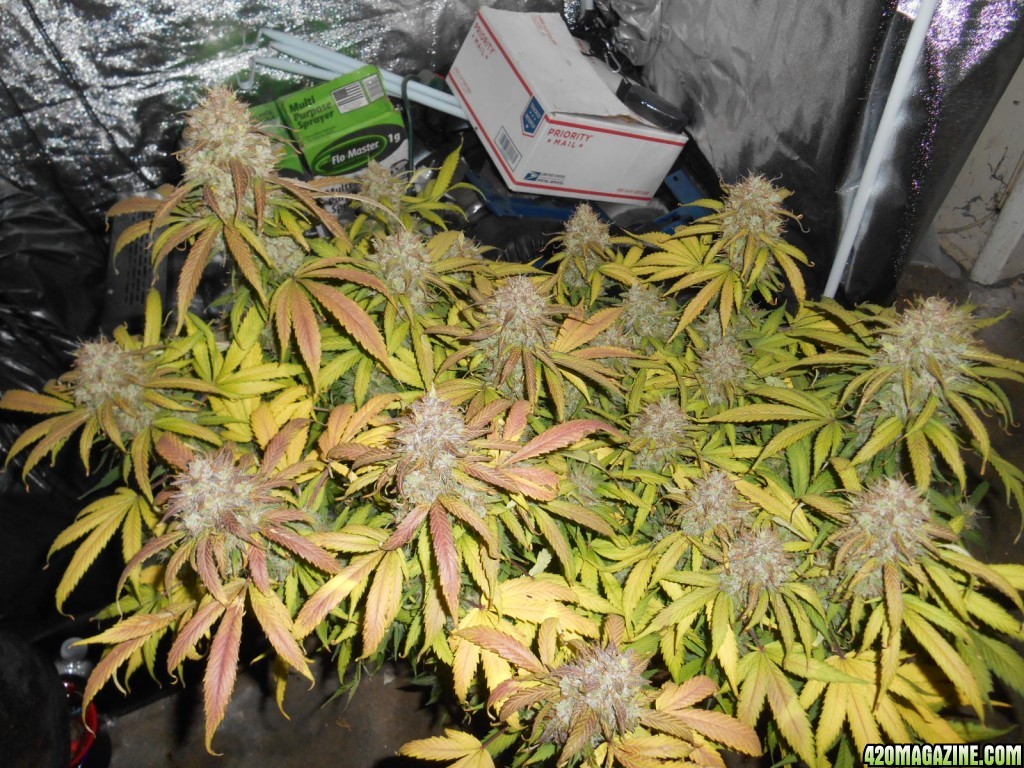
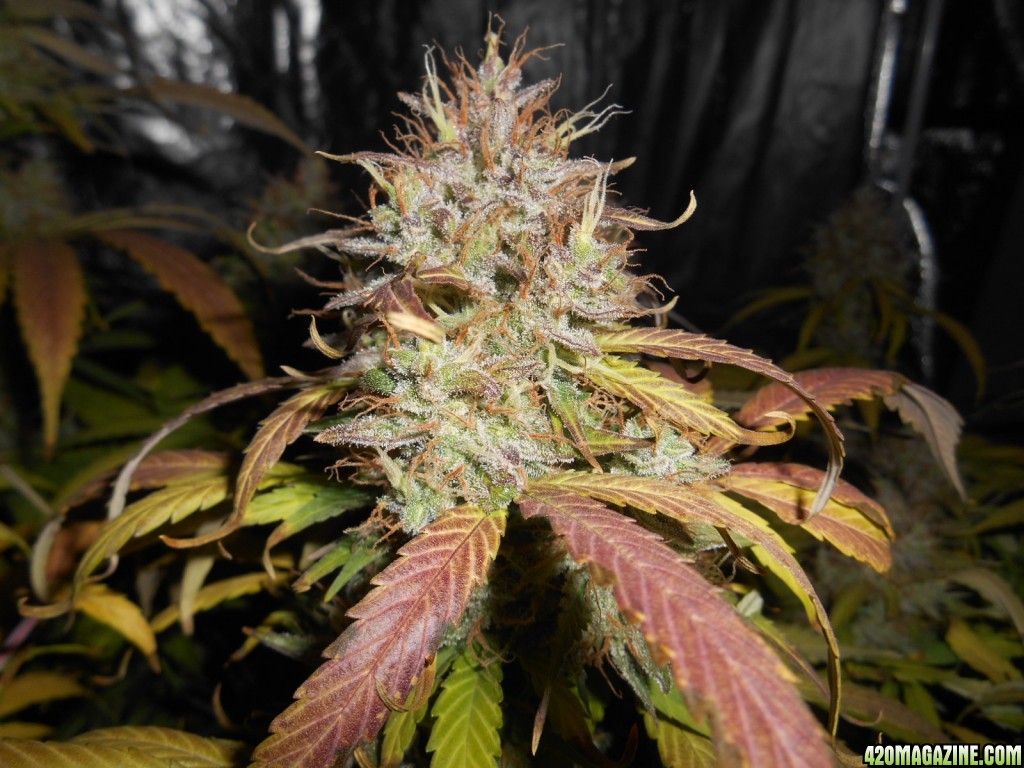
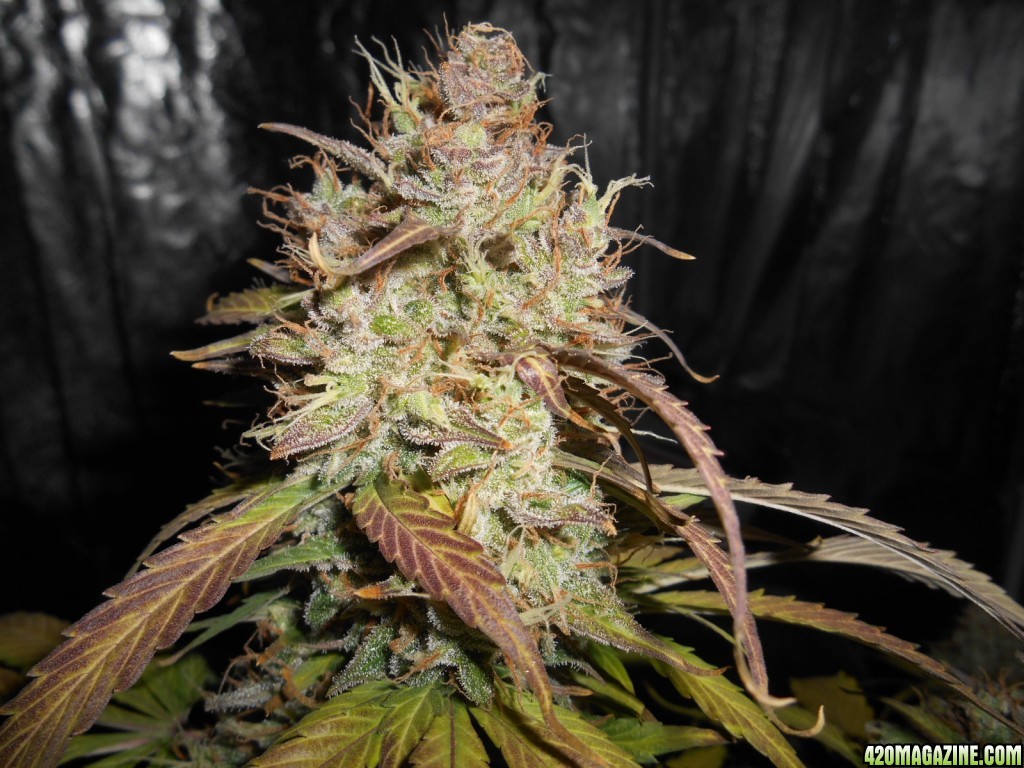
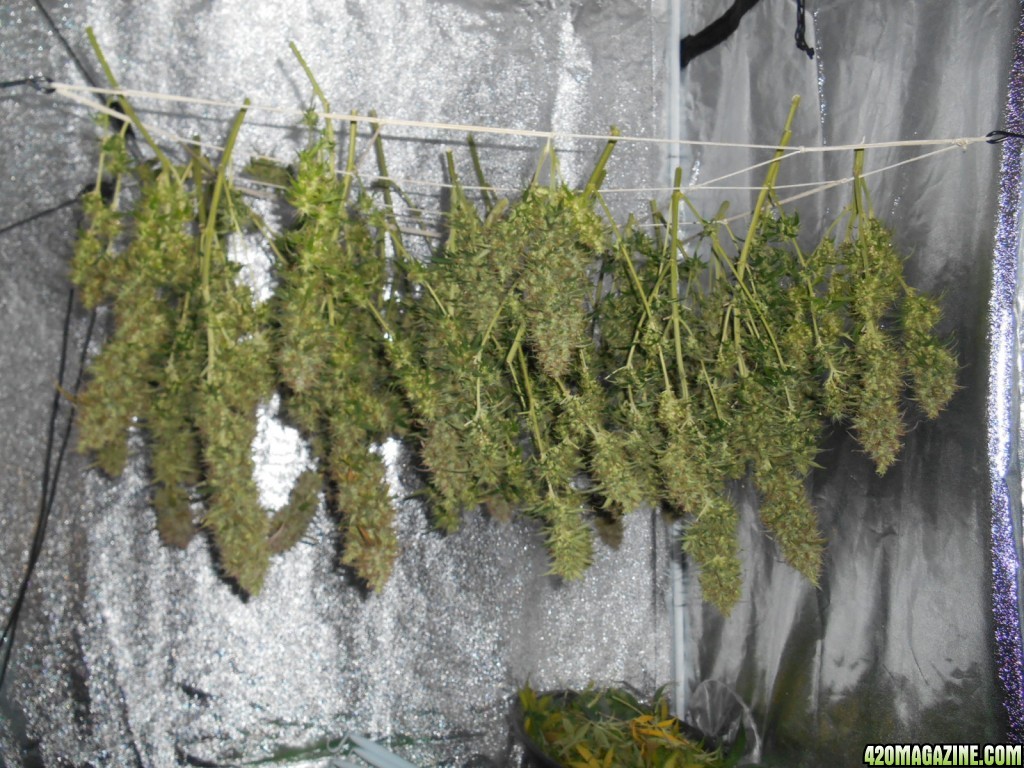
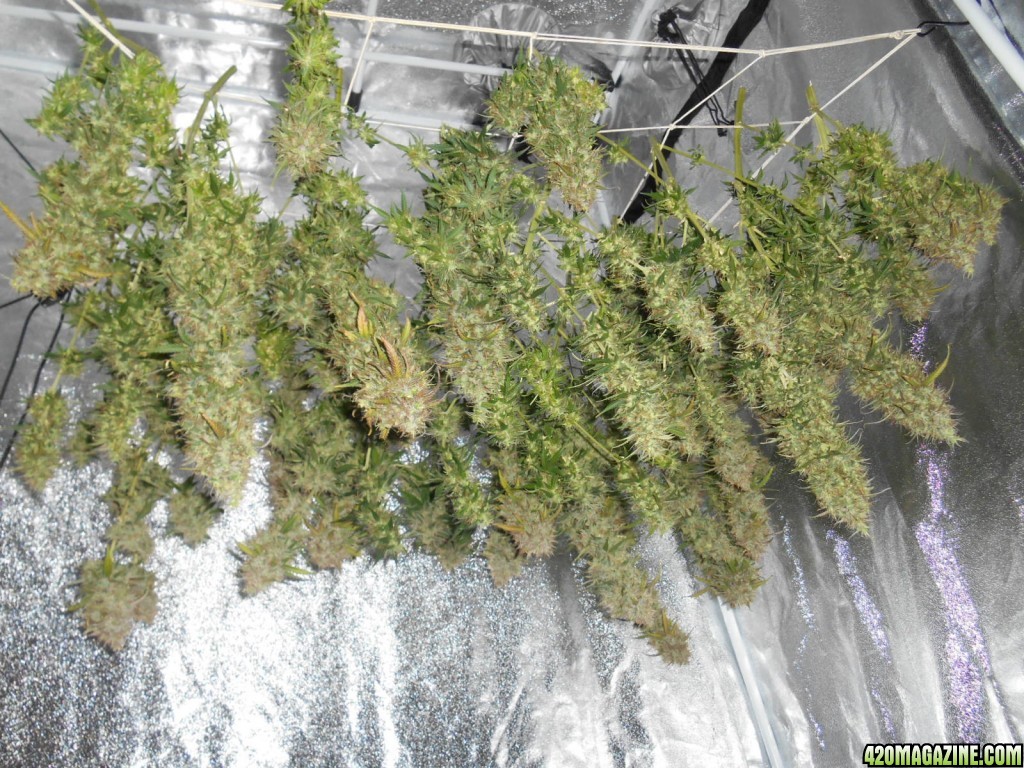
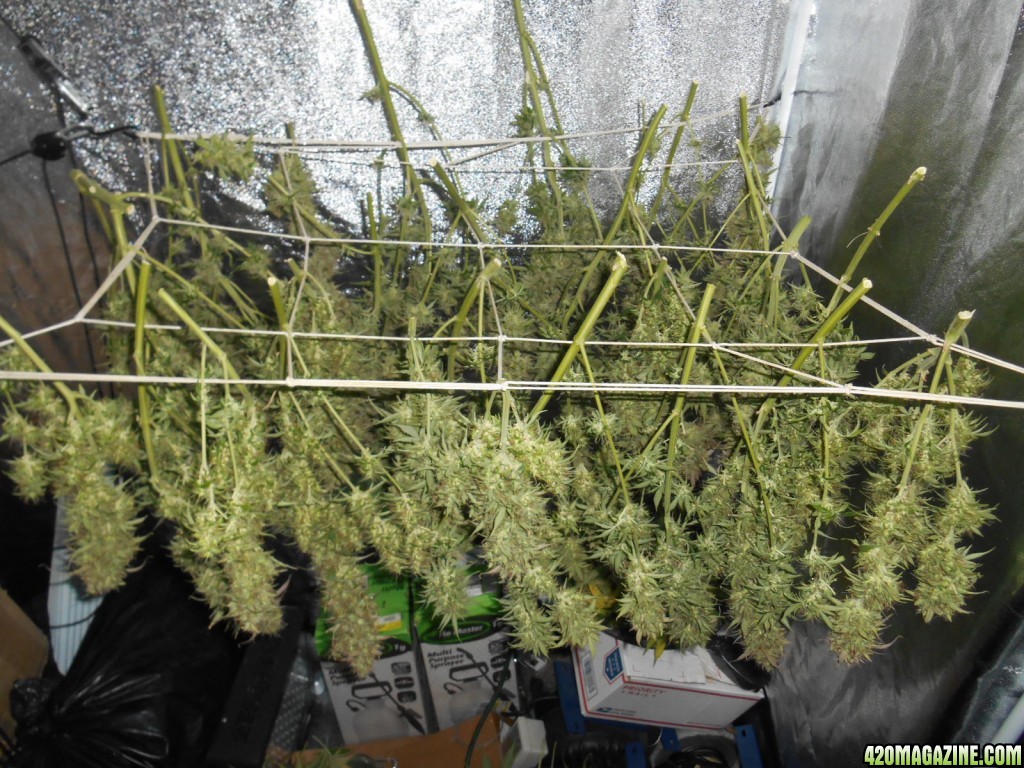
the smell is amazing I cant wait to harvest itLove the color your getting. How's the smell?
Dirt Man Dan
How To Use Progressive Web App aka PWA On 420 Magazine Forum
Note: This feature may not be available in some browsers.
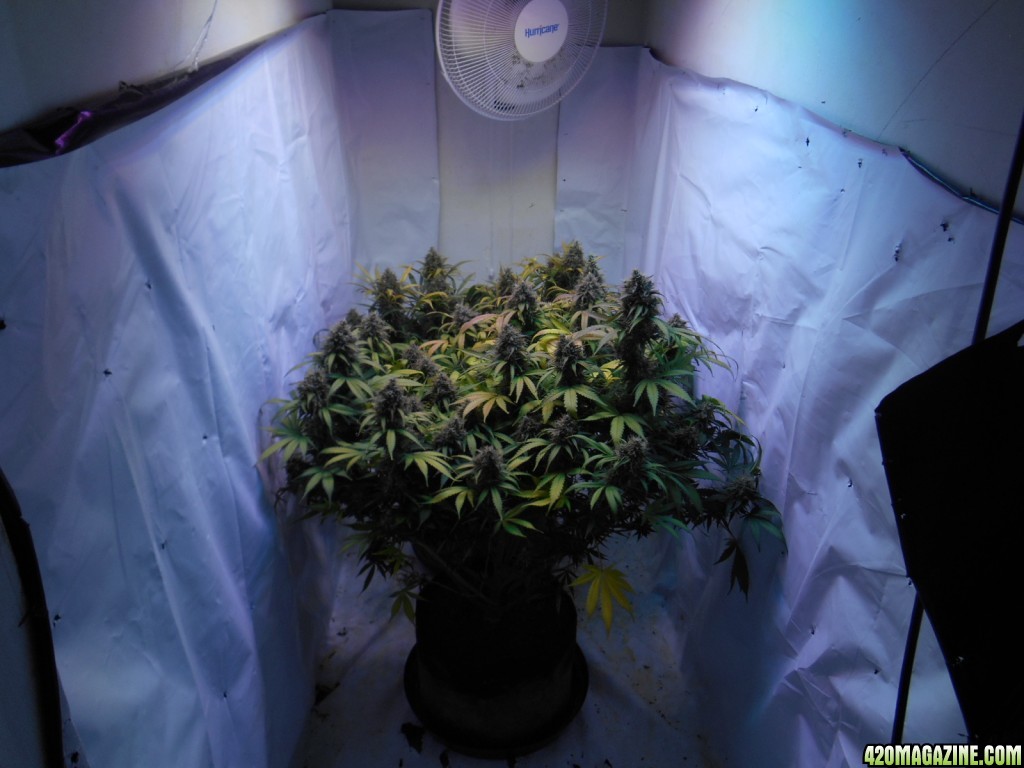
the smell is amazing I cant wait to harvest itLove the color your getting. How's the smell?
Dirt Man Dan


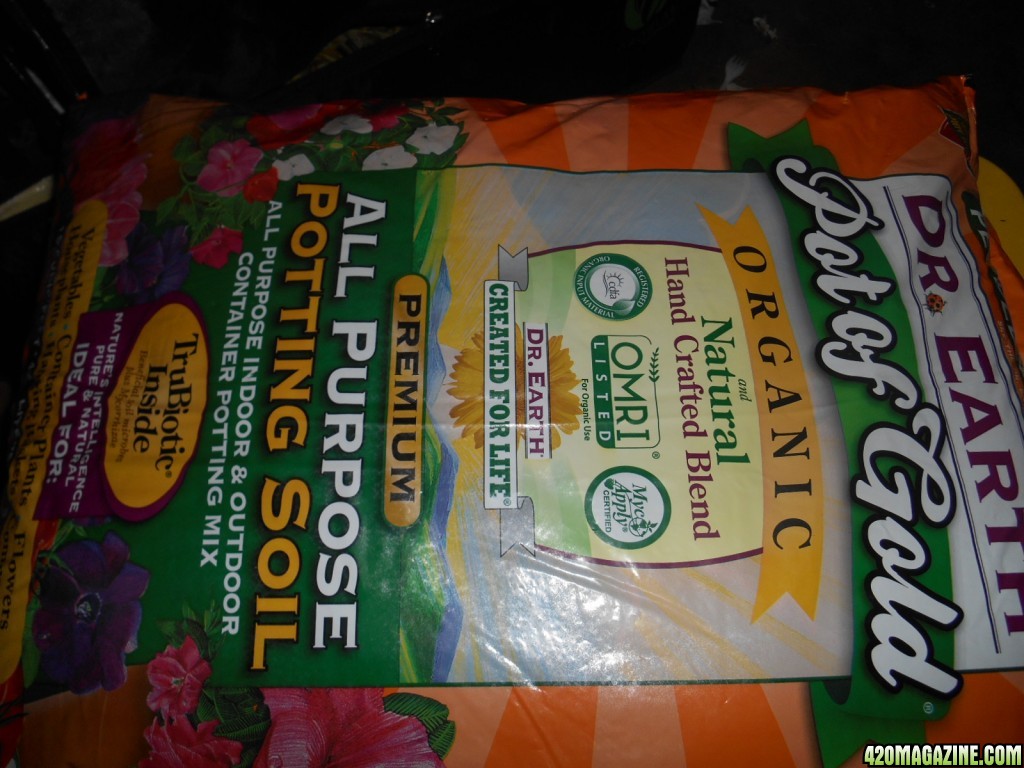

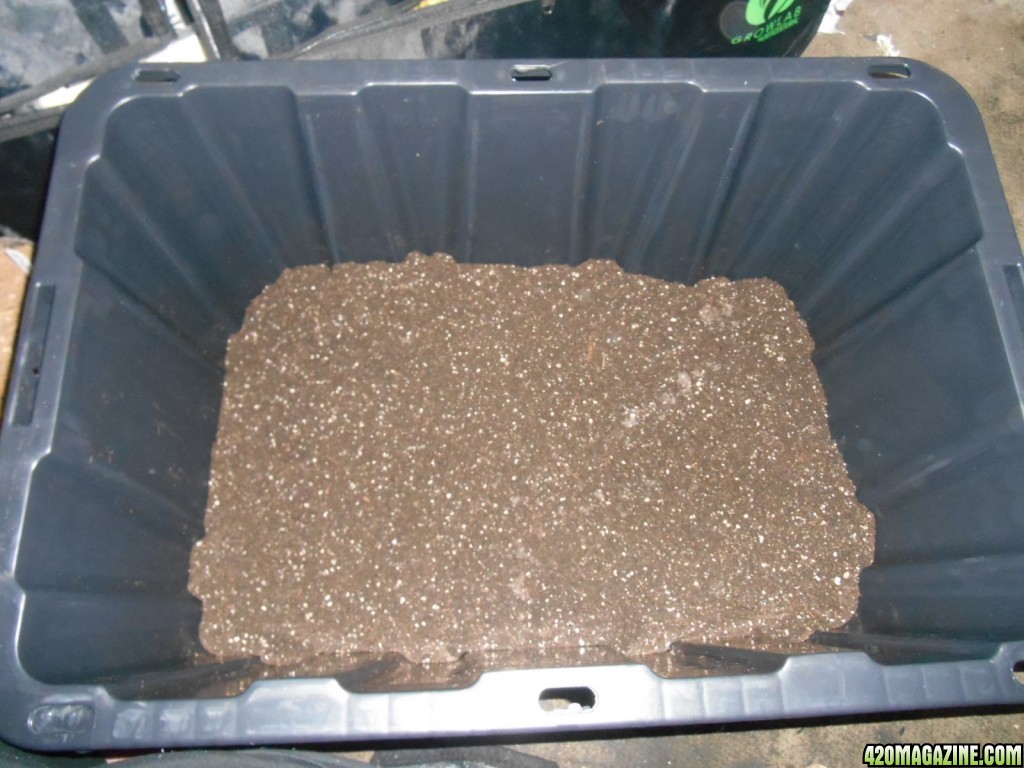
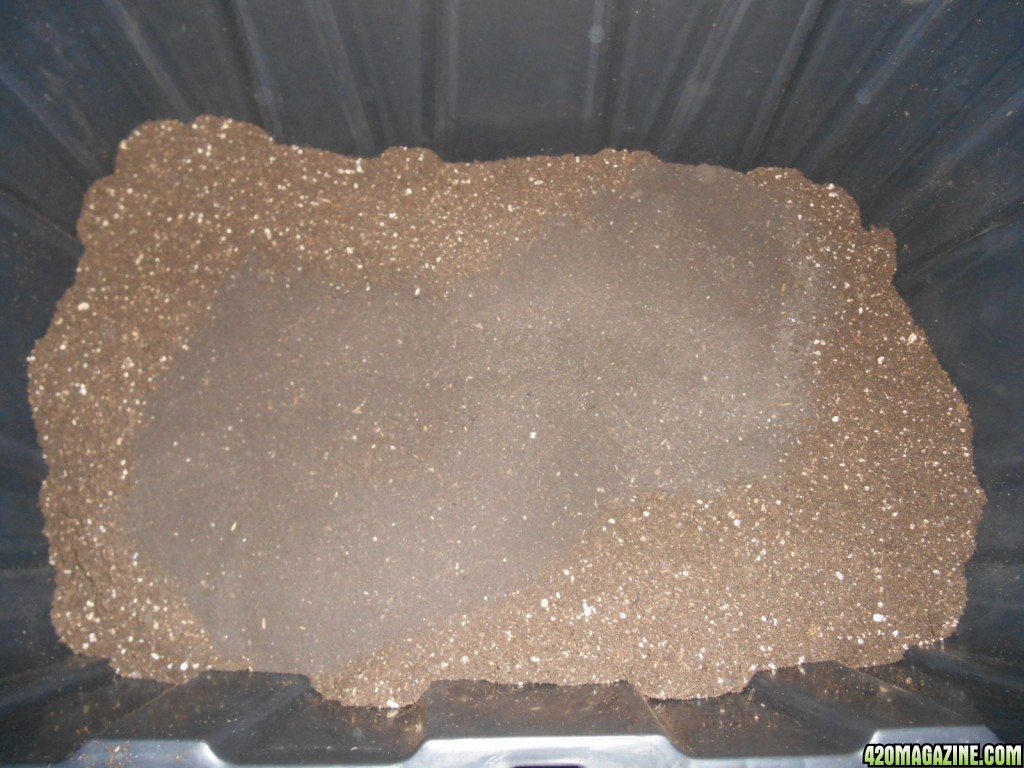
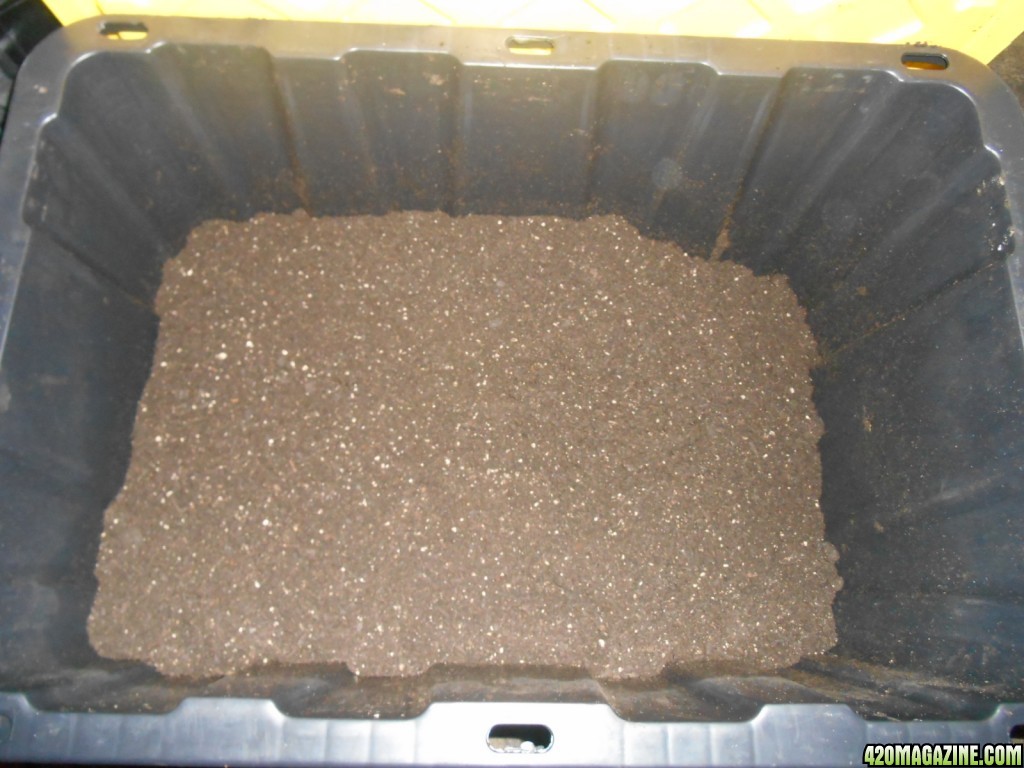
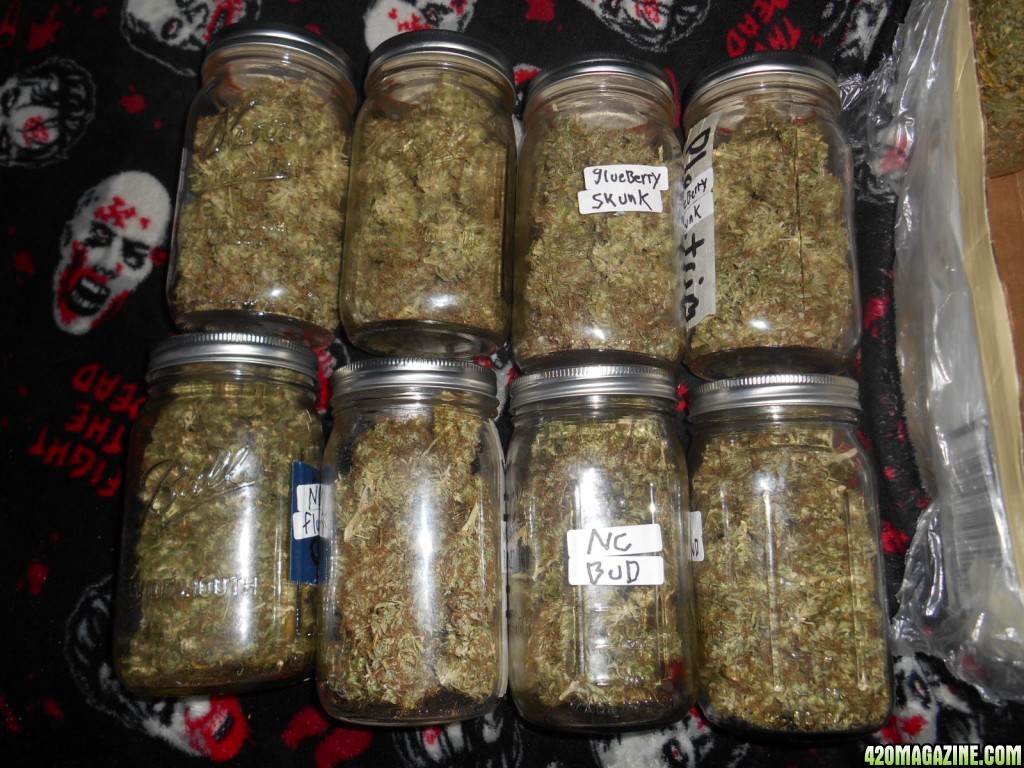
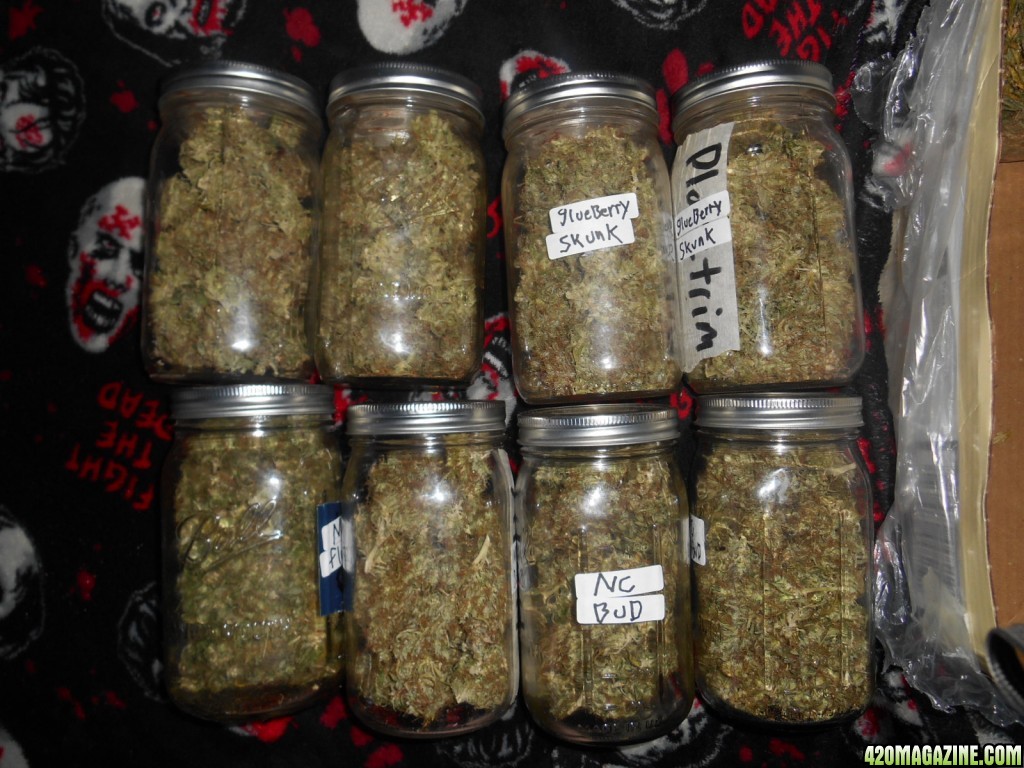
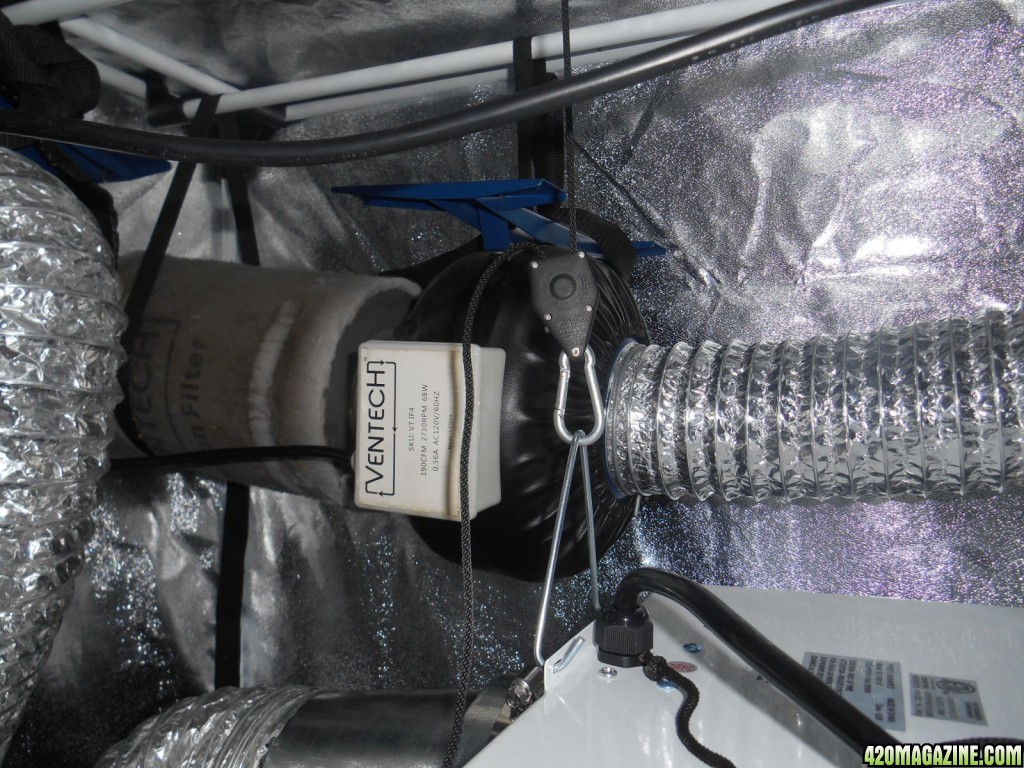
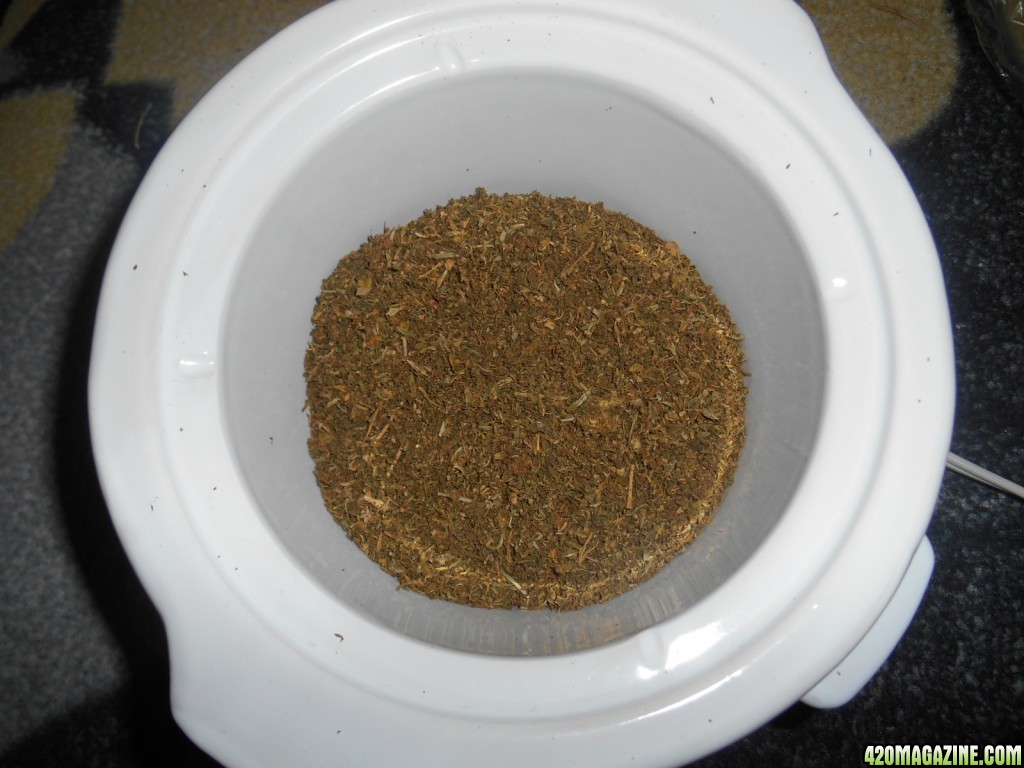
this was a recipe that I followedSuper soils are great. You hardly ever have to do anything but top dress once a month or so. Did you follow a recipe or formulate your own? It can be very easy to add too much guano and really cook your plants.
Dirt Man Dan
You sound like my wife. Lol can't pass up a good deal.
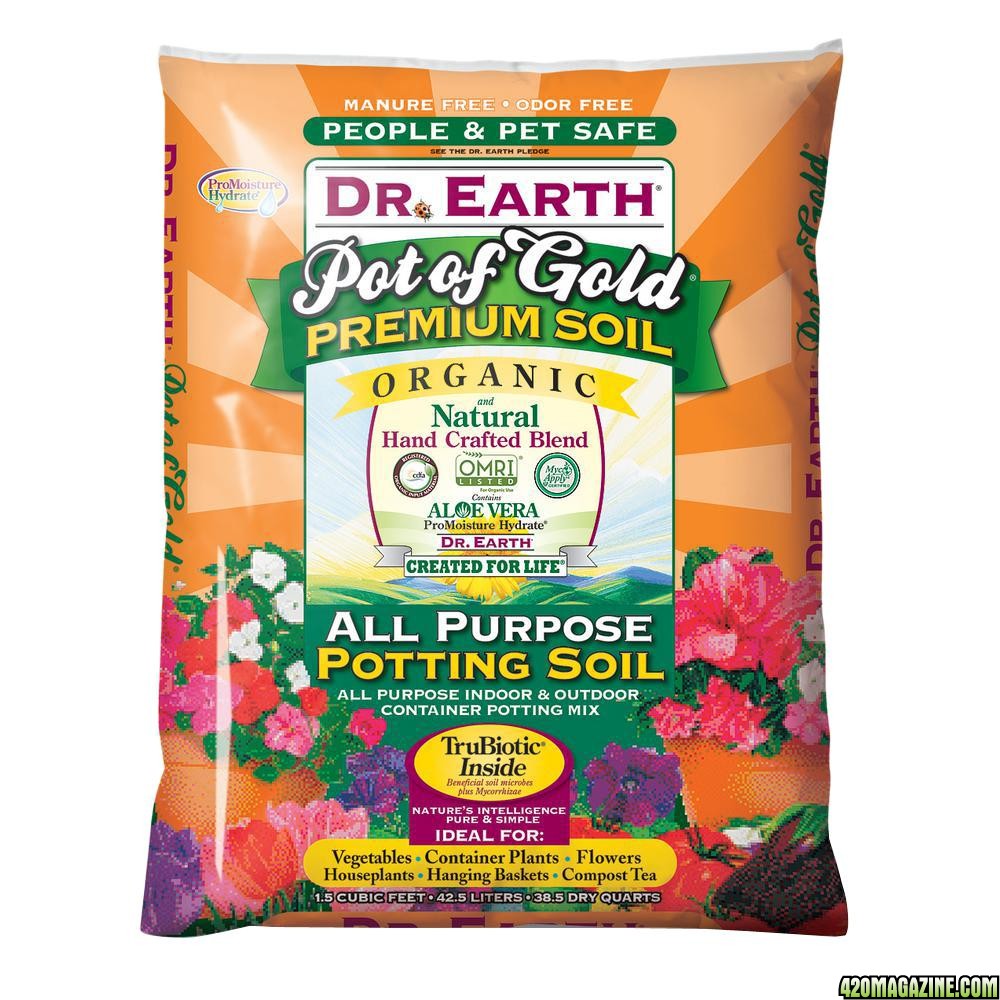
If the stuff your using is omri listed like it shows in the photo. You probably have something fairly decent. Maybe not perfect for what your doing exactly. But an all around good soil.
So I found something that you are sure to like. I looked into my nutes and considering going to a new line. In the process. I ran across a product called recharge. Real growers dot com. Or Amazon.
It's soil microbes and molasses. Totally organic and it works. I've been giving it to all my house plants. And they love it. I recommend you check it out.
Dirt Man Dan
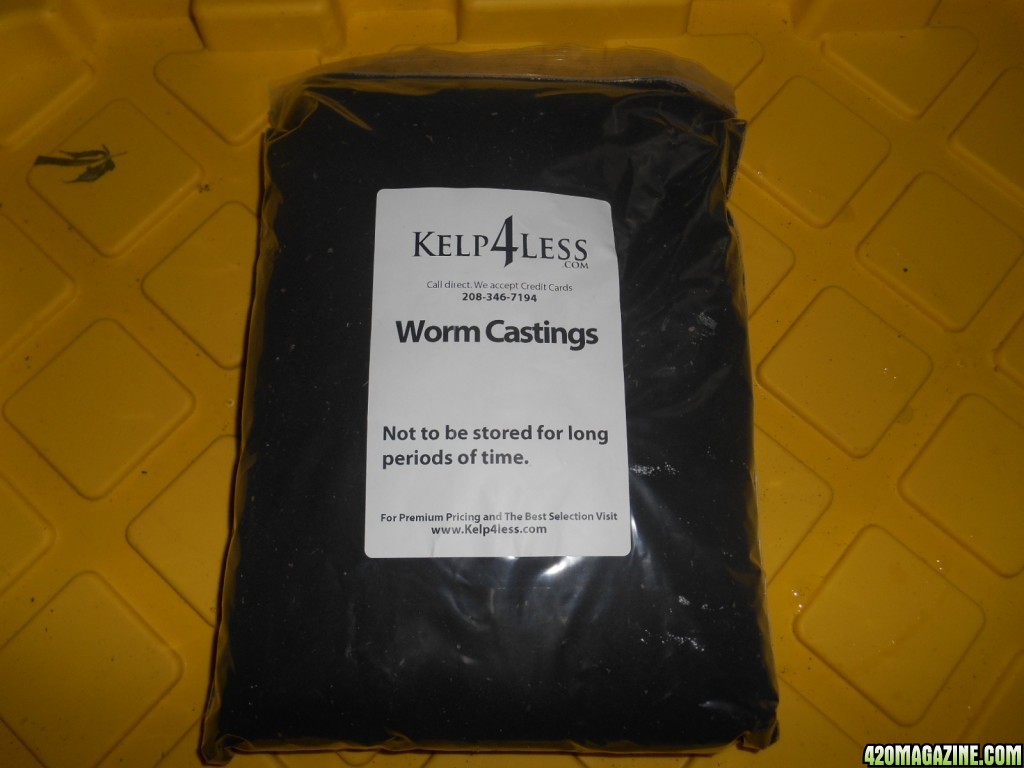
you might be right about the Cheshire grin I will be doing a side by side with it in my next grow anyway they sent me like 4 gallons to test out so no complaints here but to be honest it probably wont do much you might be better off just adding earthworm casting to my soil but if it were used with hydro that might work better since its hard to get casting in your feed in hydro so that might workLeft this part out. Whoops. Lol.
I'm re doing my nutrient line up. And I known you use Cheshire grin like I did. But I didn't notice much from that stuff. The terps increase probably was a placebo effect.
Dirt Man Dan