OldSkoool
New Member
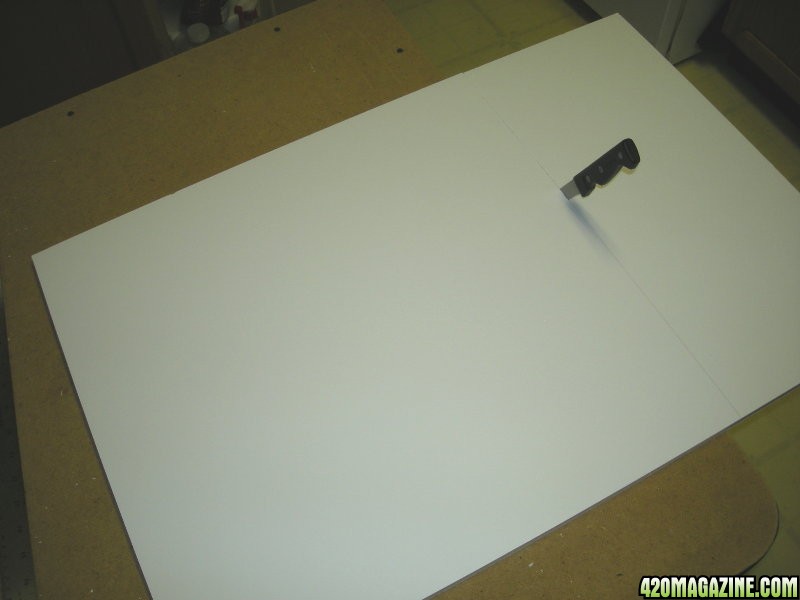
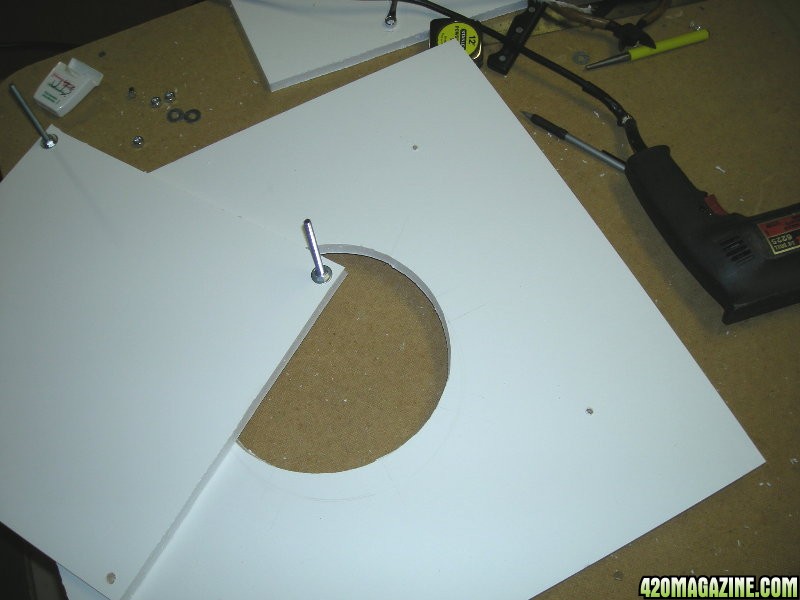
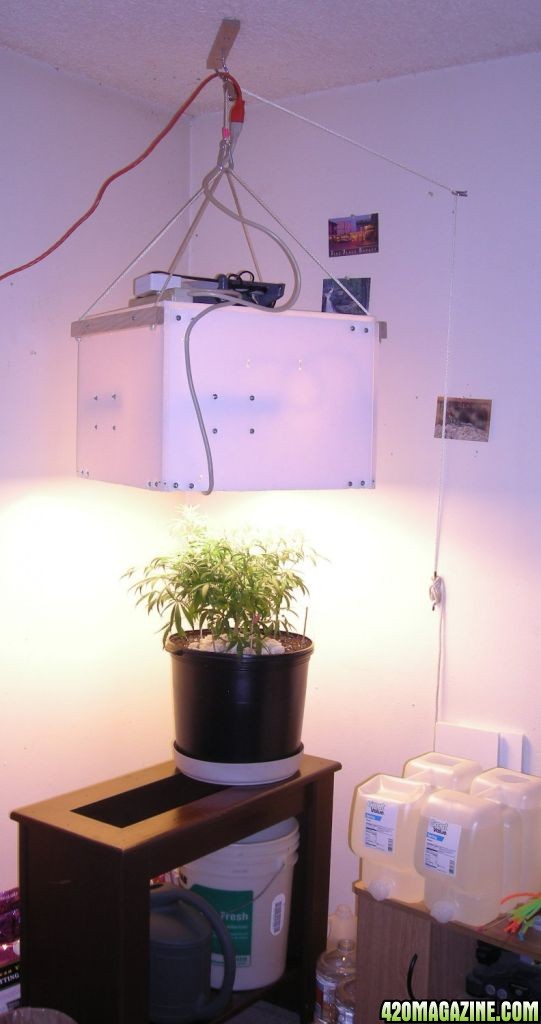
For three years I've been using two 18X22X14 computer boxes to grow single CFL lighted plants for myself. But wear and tear over time, plus the desire for additional light finally inspired me to build a new light canopy. Not wanting to buy a new cabinet, or having the room and tools necessary construct a wooden replacement, I chose 1/2 thick foam board, and wanted to share the results for others here in the same situation.
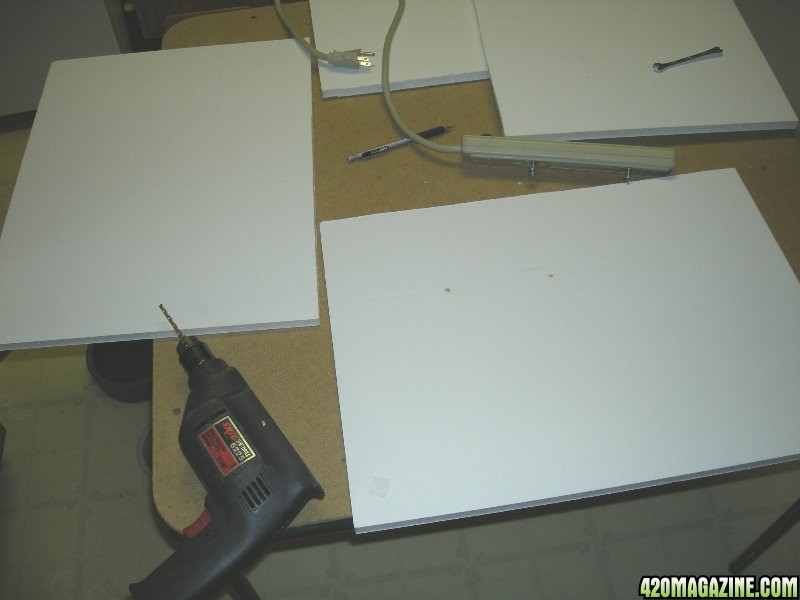
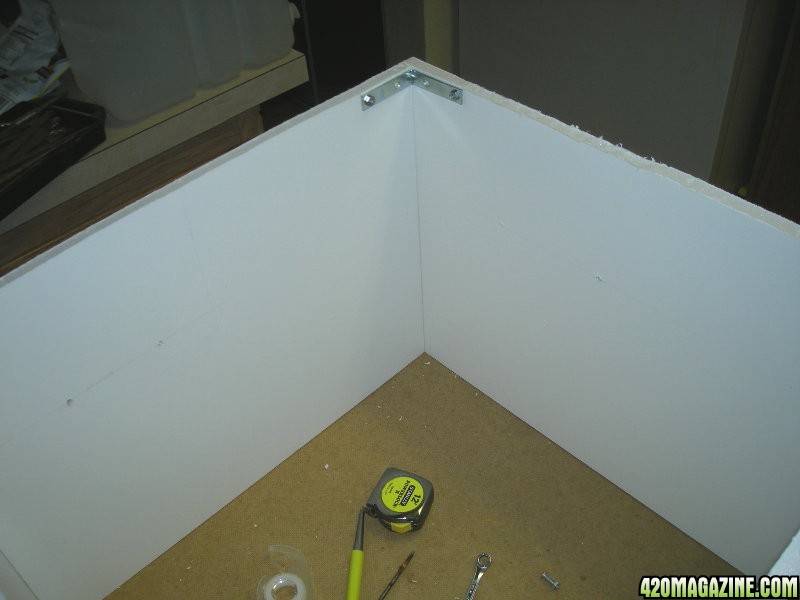
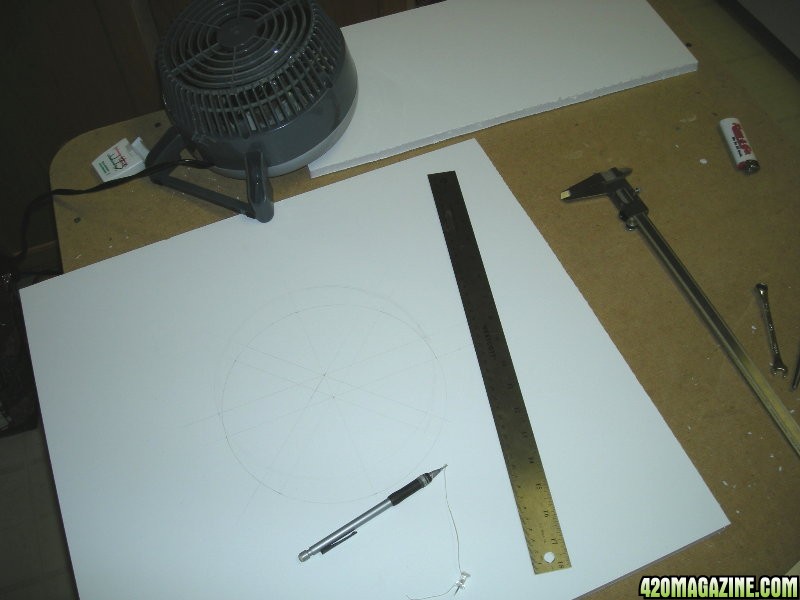
Although I took pics detailing the construction process, I didn't want to post them all unless there is a desire by fellow members, which I'll be happy to do.
I can say I highly recommend this material, it's easy to work with, and is quite substantial for smaller cabinets. A simple wooden frame should suffice for larger units. I used four 30X20X1/2 sheets for this construction, but larger sheets are available at most artist, craft supply stores, and online suppliers. I paid $5.00 per sheet.
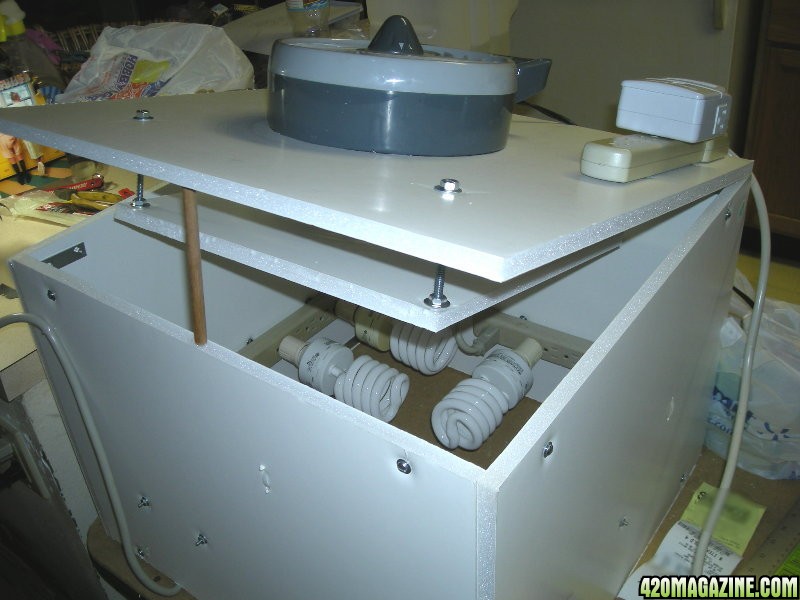
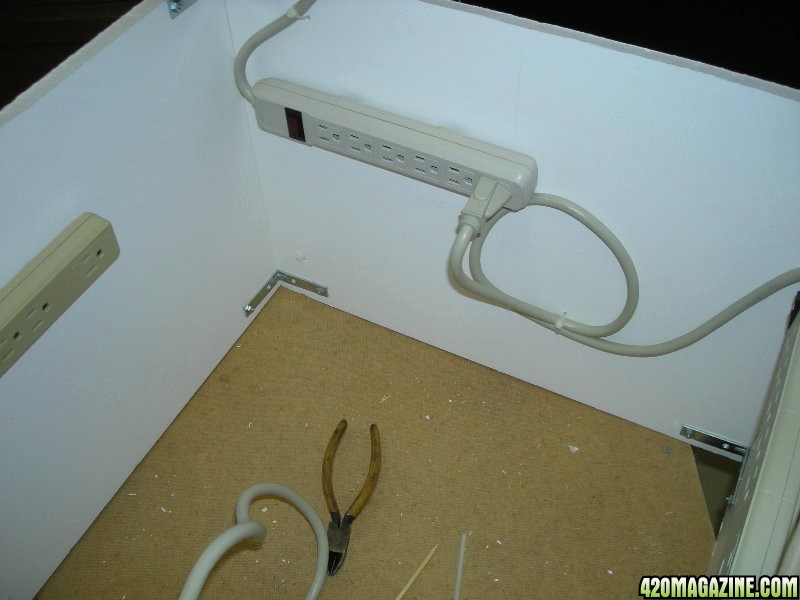
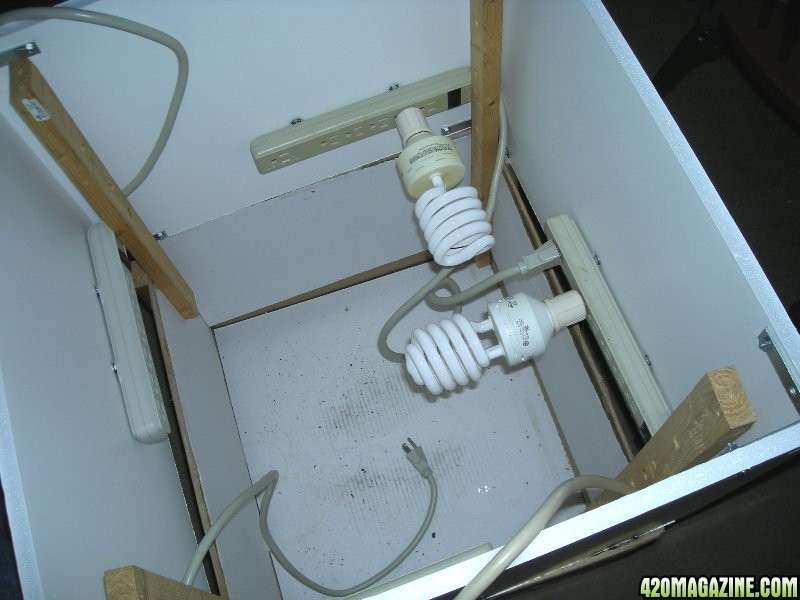
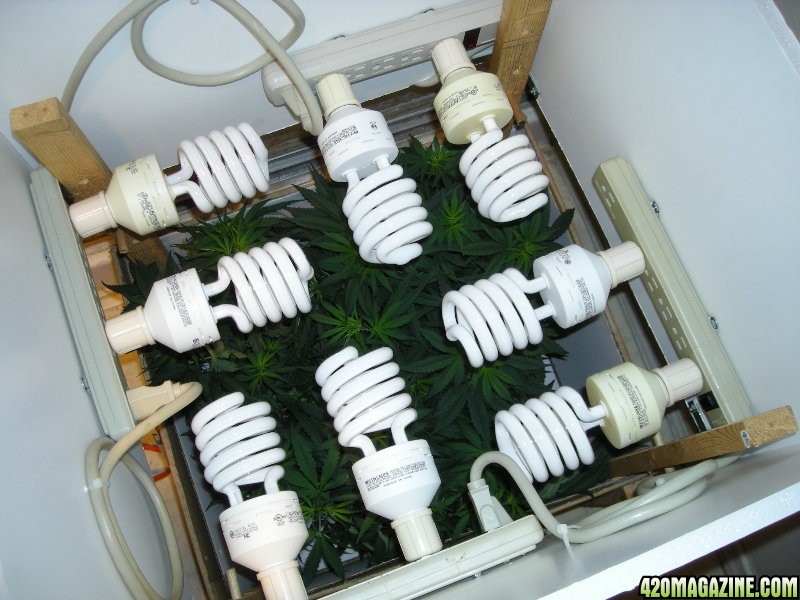
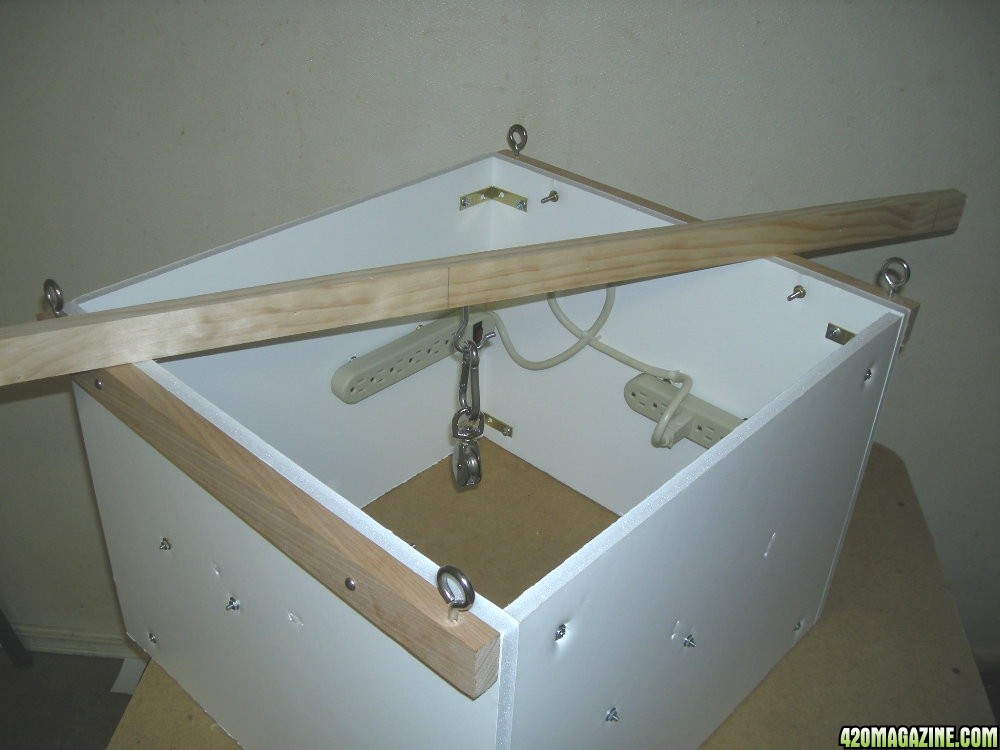
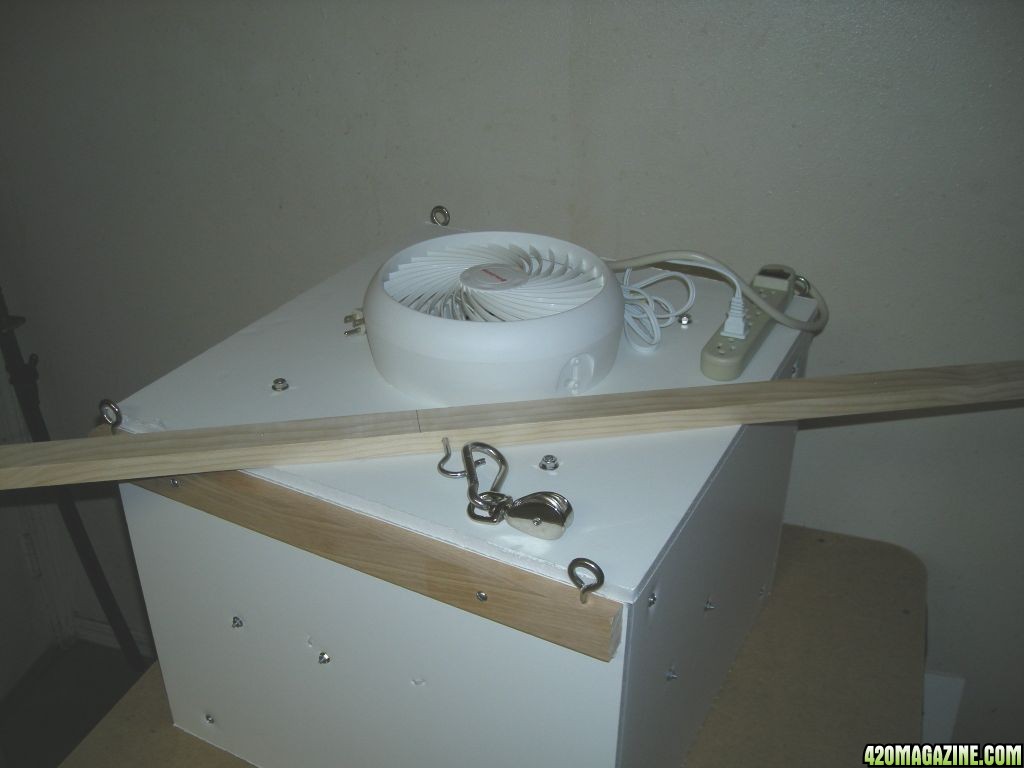
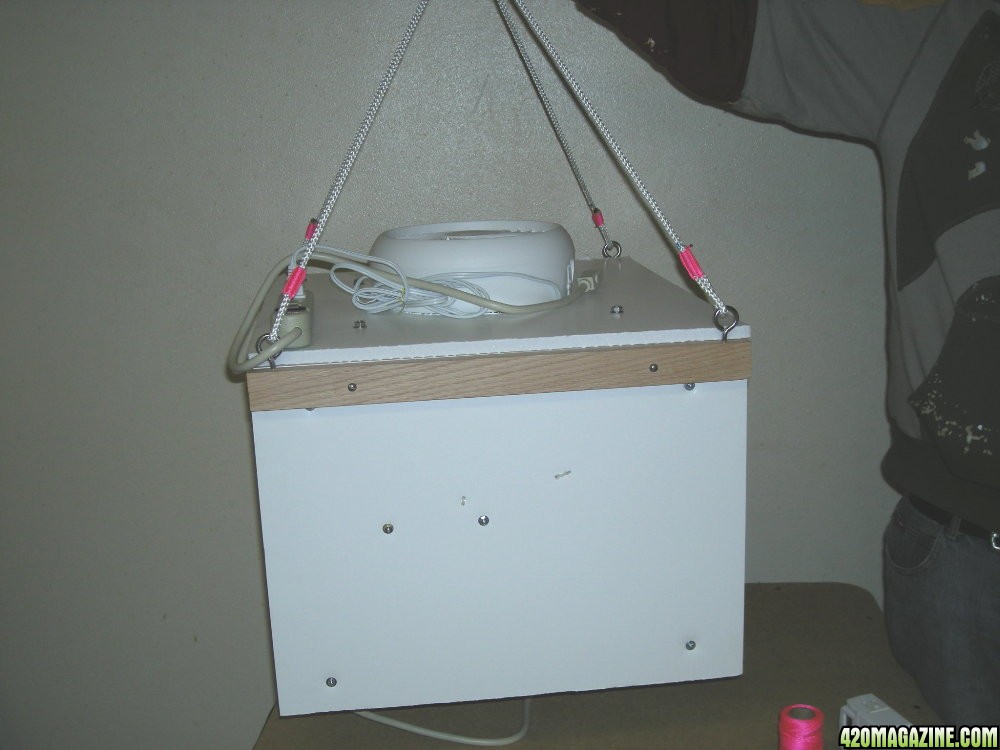
Completed unit, showing the exhaust fan, air baffle/reflection plate, and power strips.
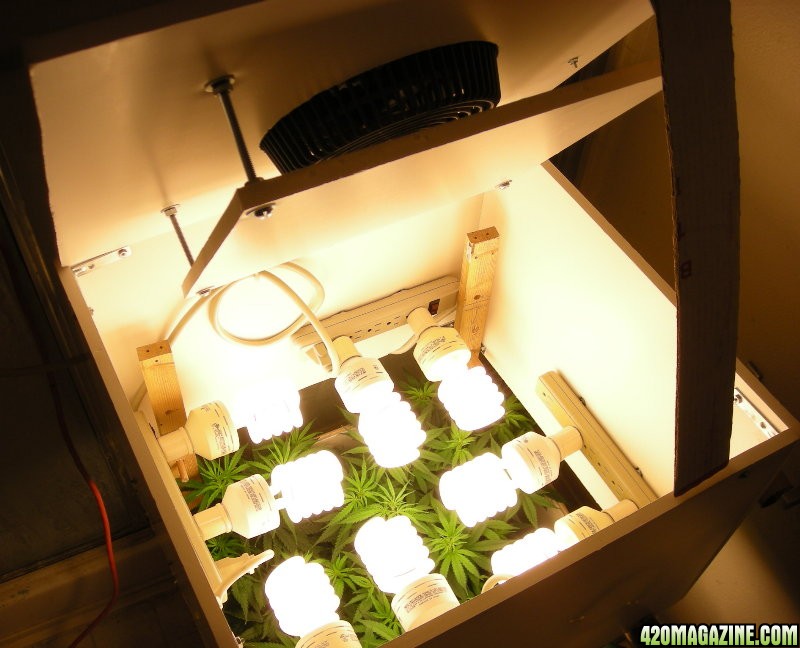
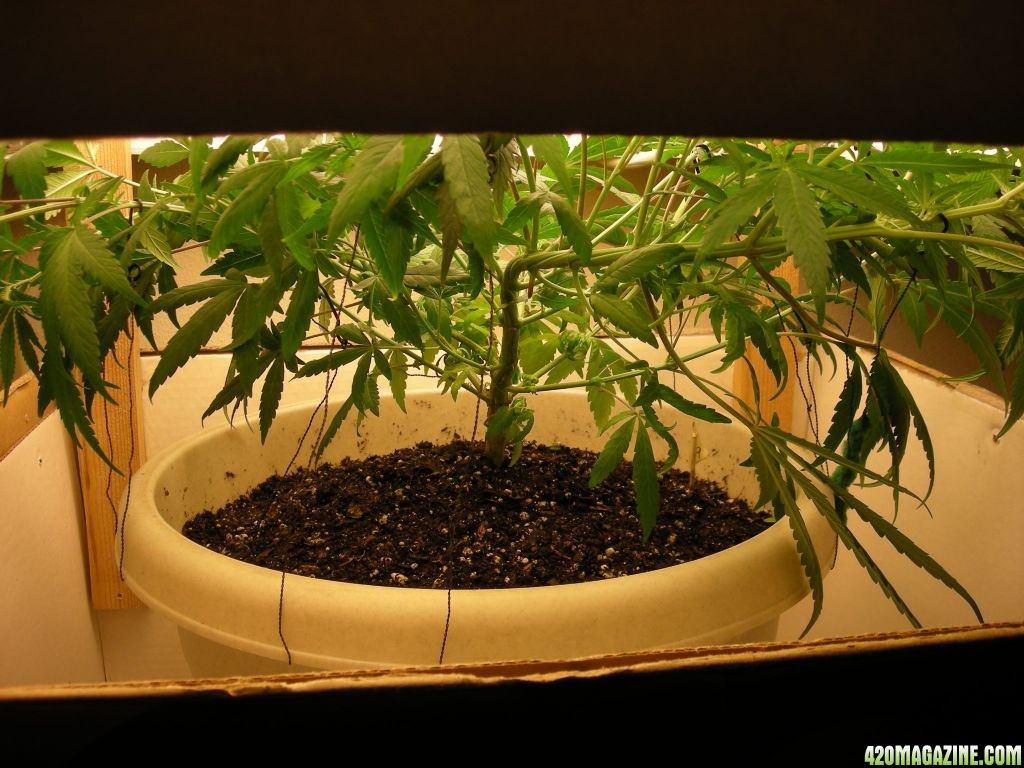
The canopy slides down over the unchanged plant box, resting on dowels inserted into holes drilled in the wooden uprights for height adjustment.
Hopefully this may provide an alternative construction material for CFL users.
I would not recommend foam board for anyone using lighting methods that generate a lot of heat for obvious fire reasons.
Although I took pics detailing the construction process, I didn't want to post them all unless there is a desire by fellow members, which I'll be happy to do.
I can say I highly recommend this material, it's easy to work with, and is quite substantial for smaller cabinets. A simple wooden frame should suffice for larger units. I used four 30X20X1/2 sheets for this construction, but larger sheets are available at most artist, craft supply stores, and online suppliers. I paid $5.00 per sheet.
Completed unit, showing the exhaust fan, air baffle/reflection plate, and power strips.
The canopy slides down over the unchanged plant box, resting on dowels inserted into holes drilled in the wooden uprights for height adjustment.
Hopefully this may provide an alternative construction material for CFL users.
I would not recommend foam board for anyone using lighting methods that generate a lot of heat for obvious fire reasons.

")


 You mean to tell me that all those huge old computer boxes could have been useful??? And then ya went and made it even lighter! Sure beats the heck outta all the lights and plugs I got going in my veg room.