Fopho's 2nd Journal - Cheese Quake - DIY Projects & Various Other Strains

I like your leather mask.....Diaz, Tate, how awesome..... Thinking about you doing a workout makes me want another cone..hope your feeling better bro....

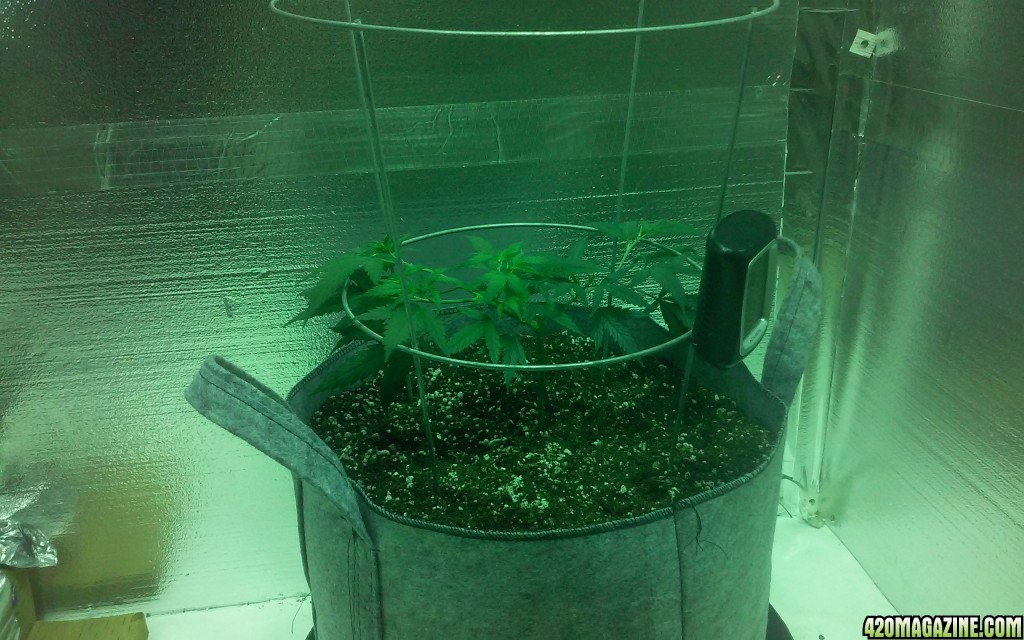
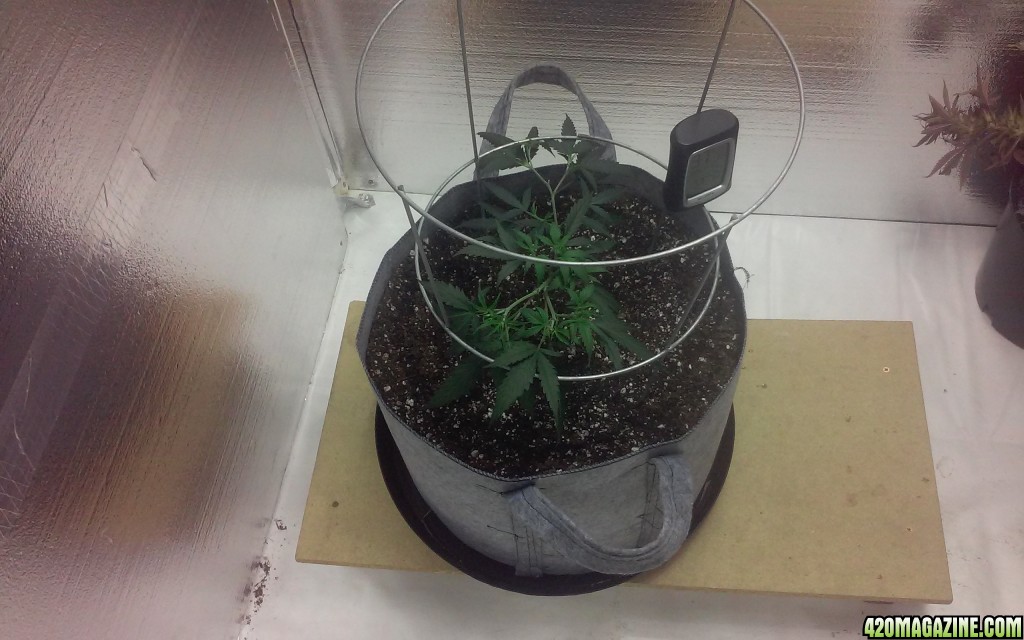
Haha right, yea I smoked a cone of OG Pie. Its awesome GSC x OG x Cherry Pie x OG x Thai. Awesome strain
 
Here's the write up on using infrared as a trigger light
20160117_061414_2.jpg


Edit: by using this technique you can shorten the dark period, thus increasing yield. Since you can squeeze in a few extra hours of light. So instead of a 12\12 schedule you could pull off a 15/9 if you hit it with infrared(730nm) for a few seconds after lights out
 
Update 8 March 2016( transplanting)

Ok so today Im getting my 10gal. fabric pots ready for transplanting.

Items:
1.10 gallon fabric pots
2. Bag of river rocks($3.86)
3. Tomato cage
4. Aluminum screen
5. Sharpe & string
6. Soil(your choice)

20160308_085625_2.jpg


First thing I did was cut a piece of string at 12". Then I tied one end around a paint brush. You can use a nail,pencil, or just about anything like it. Then I tied the other end around a Sharpe and made sure it measured 7.5" from brush to Sharpe. Because I needed a 15" circle.

20160308_094130.jpg


Then i took the brush placed it on the screen & then pull the string tight by placing the Sharpe on the screen. All you need to do is keep the string tight as your making your circle. If you needed a 12" circle you would need 6" from Sharpe to nail. Basically whatever the radius of your circle is will be how long the string will need to be.

Next I poured some of the river rock into a tray and washed them off.
20160308_085939.jpg


Then I filled the bottom 2" of my fabric pot with the river rock. Im doing this to help with drainage. So I don't have to suspend my pots off the ground. Its already done
20160308_092738.jpg


After that I took my 15" screen and placed it on top of the rocks like so
20160308_094625.jpg


Then I took my tomato cage, and had to cut 17" off of it. This way I can stick it down into my container. I personally like doing it this way because it makes your cage more rigid, and less likely to move if bumped into by accident. Just stick it through the screen & to the bottom of the rocks to where the ends are touching fabric. This way the rocks will also help hold it in place.
20160308_095143.jpg


After that I filled it up with soil. As you can see in the photo the rings on the tomato cage also makes a nice little spot for the root ball to be placed into.
20160308_100112.jpg


I had left my soil out in the unheated part of my shed, so Im letting my dirt get to room temperature before transplanting. Don't wanna put her into shock by using 35° soil
 
Update 9 March 2016(cheese quake after transplant)

I mixed up some bioroot,calmag+@ 1tsp per gallon, bioweed@ 1/21tsp per gallon, & diamond black@ 1tbl per gallon. I only watered around the root ball. Will do a full watering after a day or so. Enjoy the photos.

20160309_081905.jpg
20160309_081920.jpg
20160309_083451.jpg
20160309_083516.jpg
20160309_090117.jpg
 
love the tomato cage, but not the river rocks. It is a myth that this helps with drainage, a layer of rocks actually traps water at the bottom. Due to capillary action between the rocks, it never quite dries out down there and it is more frequent to have problems due to the stagnant water sitting in the bottom.\

p.s.
at least your screen keeps the roots out of it... I am watching carefully to learn something new here. :)
 
What "K" Value would be the equivalent needed to achieve the "far red" ? Could this be 2700k or would ya need lower? like 2300 or 2100? Probably a truely ass hat dumb question... lolz. And would they remain in the shortened "night time" Or would ya have to keep doing this? Reason for asking is, 13/11 days dont start in my area "outdoor naturally" til the end of august.. But say this is done indoors for a period of time to induce flowering to be put outdoors at the 15/9 In mid June.. Would this be possible? For photo period plants to get an earlier outdoor harvest..
 
What "K" Value would be the equivalent needed to achieve the "far red" ? Could this be 2700k or would ya need lower? like 2300 or 2100? Probably a truely ass hat dumb question... lolz. And would they remain in the shortened "night time" Or would ya have to keep doing this? Reason for asking is, 13/11 days dont start in my area "outdoor naturally" til the end of august.. But say this is done indoors for a period of time to induce flowering to be put outdoors at the 15/9 In mid June.. Would this be possible? For photo period plants to get an earlier outdoor harvest..


[FONT=Lucida Sans Unicode, Lucida Grande, sans-serif]nanometers describes the wavelength of a single specific coloured light. Kelvin’s measure the colour temperature of a full spectrum light source. The two measurements are not directly convertible but there is a rough conversion available.

[/FONT]
KelvinToNM.jpg
 
Stihl, your plant would start to reveg with those times..
 
love the tomato cage, but not the river rocks. It is a myth that this helps with drainage, a layer of rocks actually traps water at the bottom. Due to capillary action between the rocks, it never quite dries out down there and it is more frequent to have problems due to the stagnant water sitting in the bottom.\

p.s.
at least your screen keeps the roots out of it... I am watching carefully to learn something new here. :)

That's what the screen is for Em. To keep the roots out of the muck. You get this slim like build up around the bottom, or your roots will try to grow through the bottom of the fabric pots. Everything I've read about fabric pots those 2 things seemed to be pretty common. The rocks are mainly there to keep my fabric pots suspended 2" off the ground. While aiding in drainage. Its cheaper than using the hydro tophats to suspend the pots off the ground. Since Im using fabric pots the bottom does dry just fine, it doesn't seem to trap water in the bottom like plastic pots do. With that said ill definitely keep an eye on it though. Thanks Em

Edit: also I have plenty of airflow. Above and below the pots, so there's always air flowing through the rocks so to speak. As well as through and over my canopy
 
Stihl, your plant would start to reveg with those times..

No it wont start to reveg at 15/9 if hit with infrared(720nm) right after lights out for 30secs or so. Read the write up above. It shortens the hours needed to flower by 2hrs at least. It takes 2hrs for your plant to start this process after lights out, but starts immediately if hit with far red spectrum of at least 720nm.

Your tricking the plant. It still acting like its on 13/11 schedule, but since you hit it with the far red spectrum its shortens the 11hrs needed for flower to 9hrs. Hence the 15/9

Edit: as far as outdoors go this is used to the same effect. To trick the plant into thinking its fall, and that the days are growing shorter. I have another write up ill post about when you should do this and why. Certain times of the year the UV index starts to pick up. I believe its starts about June 22nd & picks up from there's. The write up explains why you should force flower by or before this date.
 
Your days would be getting naturally shorter after June 22? You could bring a plant outdoor from 16-8, 18-6 and it'd start naturally flowering.. Anyways this seems like it'd be better utilised indoors or greenhouses...
 
Here's the write up-
20160311_030935.jpg
20160311_031639.jpg
20160311_032241_2_2.jpg


Here's a UV-B index-
20160311_031448.jpg
 
Your days would be getting naturally shorter after June 22? You could bring a plant outdoor from 16-8, 18-6 and it'd start naturally flowering.. Anyways this seems like it'd be better utilised indoors or greenhouses...

No what Im saying is you should force flower on your outdoor plants right before the UV-B peak. So you get bigger more potent buds

Edit: obviously your months of higher UV-B will differ from from this chart. And it would be from a 12/12 light cycle to a 15/9 light cycle. Or 13/11 to 15/9
 
Our dates are Exact opposite from yours... Ok.... wish mine was smaller this year, lol.... Thanks fopho....
 
Update 11 March 2016(cheese quake clones)

So far 3 have fully rooted I've put 2 in 1 gal pots and 1 in 3.5x3.5 pot.

20160311_081506.jpg
 
That's what the screen is for Em. To keep the roots out of the muck. You get this slim like build up around the bottom, or your roots will try to grow through the bottom of the fabric pots. Everything I've read about fabric pots those 2 things seemed to be pretty common. The rocks are mainly there to keep my fabric pots suspended 2" off the ground. While aiding in drainage. Its cheaper than using the hydro tophats to suspend the pots off the ground. Since Im using fabric pots the bottom does dry just fine, it doesn't seem to trap water in the bottom like plastic pots do. With that said ill definitely keep an eye on it though. Thanks Em

Edit: also I have plenty of airflow. Above and below the pots, so there's always air flowing through the rocks so to speak. As well as through and over my canopy

muck... yep, thats the slimy stuff I was talking about. no bueno. But, you have found a way to work around it, and it is working for you, so a pat on the back for that.

Have you seen how I do this? My first observation here is that now instead of a 5 gallon smart pot, you have turned it into a 4 gallon... so already the roots have been limited compared to what they could have been. The airflow is pretty good through that fabric without any extra help, and drainage is actually too good, as evidenced by how slowly you need to water a fabric container. The problem is being able to keep the bottom dry, and by doing so keep the roots from trying to grow out of the bottom. You solved this your way... I solved it by putting the rocks on the outside, under the smart pot. My river rocks keep the container out of the run off in the drip pan, and airflow is allowed all around the container because it is lifted off of the drip tray by the rocks. I also get 5 gallons of soil in my containers, and no slime. (except in the drip tray :) ) Anyway, just trying to show you how I think you could fine tune what you are already doing... you got the right ideas, I just think there might be a bit more efficient implementation available to you. Not criticising at all... actually I am quite impressed with that screen... I think I did something similar once.

I thought about using the rocks on the outside as well. Just decided to go a different route. In using a 10gal. fabric pot, so probably more like 9 or so with the rocks. Im hoping I don't encounter any slime lol. First time using fabric pots. Im very skeptical to say the least. Whats the worst thing that could happen?(famous last words right lol)
 
Update 12 March 2016(cheese quake)

Daytime temps: 75-79 RH: 45-55%
Nighttime temps: 63-68 RH: 50-60%
Veg: 3 days into week 4

Today I went in and crimped/super cropped about 4 or 5 branches. Now the rest of the canopy can catch up,and when it does ill do the same to those branches as well. Enjoy the photos.

20160312_063852.jpg
20160312_063909.jpg
20160312_063916.jpg
20160312_064134.jpg
 
Back
Top Bottom