arellanobrian
Well-Known Member
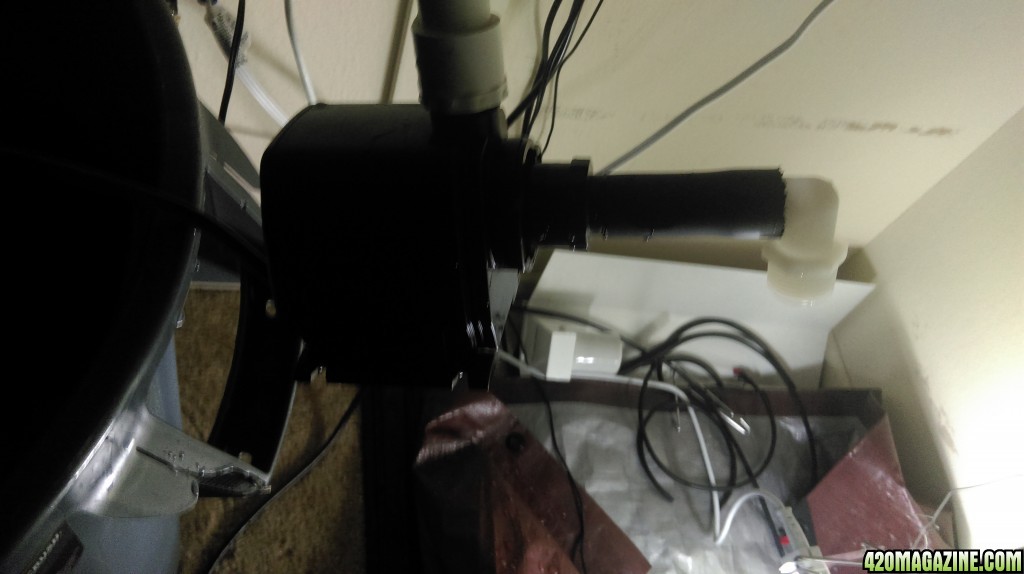
and some vids of the grow as well haha
How To Use Progressive Web App aka PWA On 420 Magazine Forum
Note: This feature may not be available in some browsers.
Jorge Cervantes did a really good write up for HighTimes mag. maybe ten years ago, on a grow in the NL.. They had a level floor framed and lined with plastic to turn most of it into a level flood plane... they had 2.5 gal.buckets with coco/perlite shoulder to shoulder... Watered from the top till the clone is rooted... The floor was flooded to a depth of 1"-1-1/2".. When the plants had wicked up the solution, and the floor was just damp, they repeated.... He said they claimed 1 gpw, and that was with 600hps, if i remember right.... There was more to it than that but if you can find it, it would be a good read...

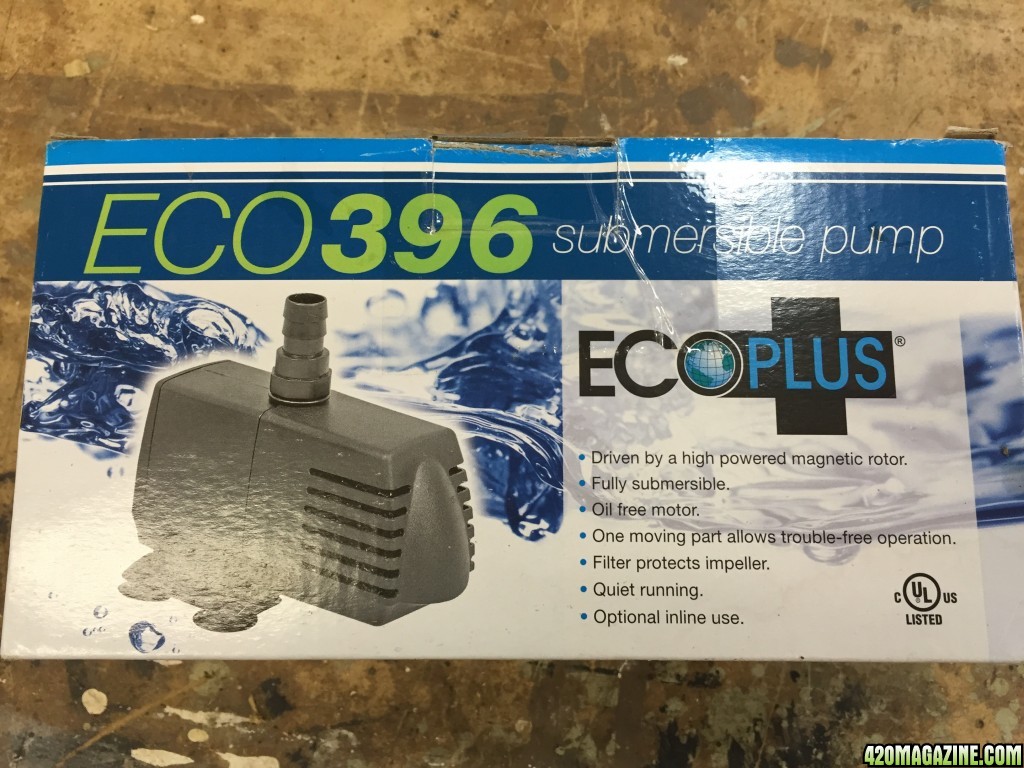
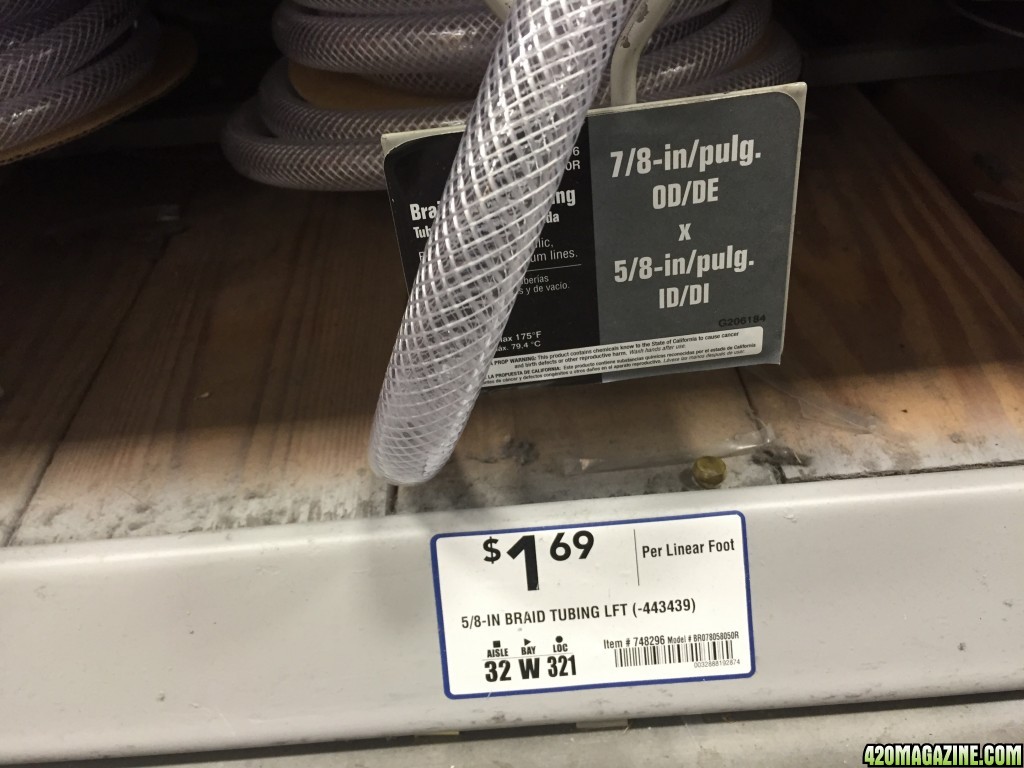
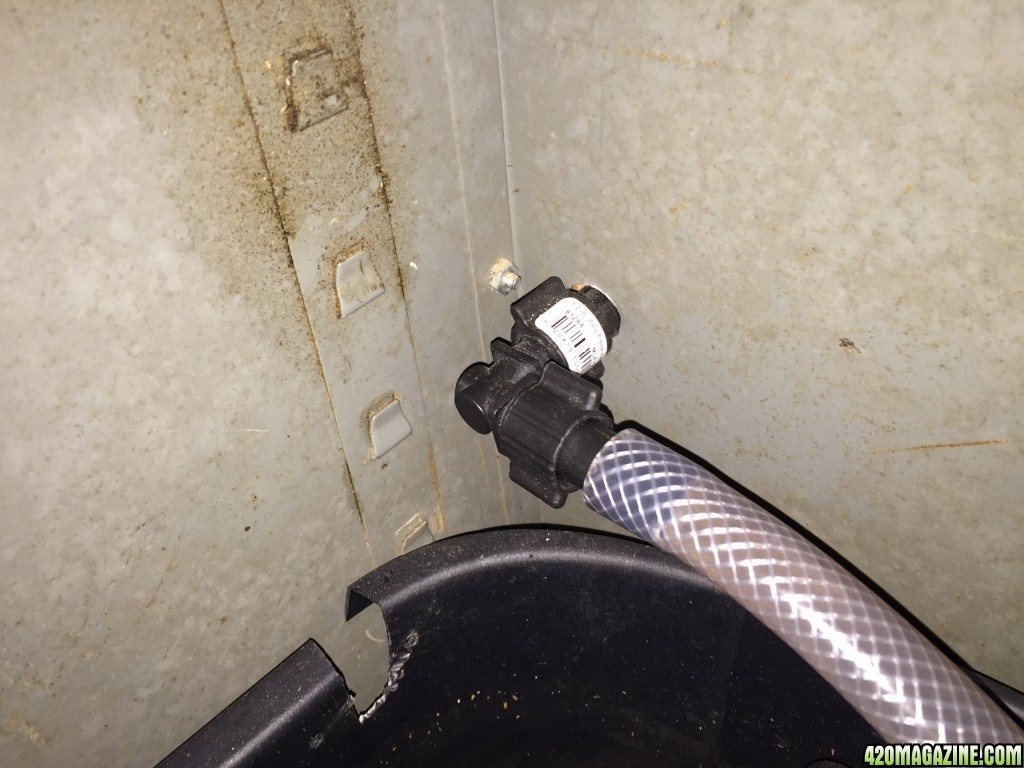
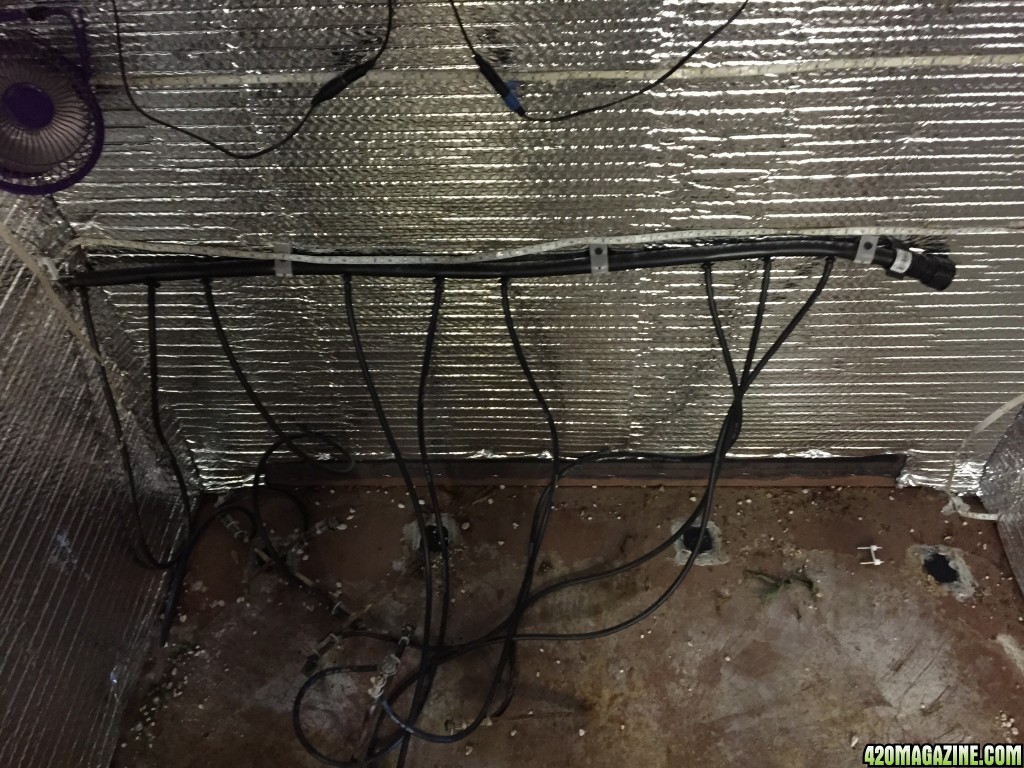
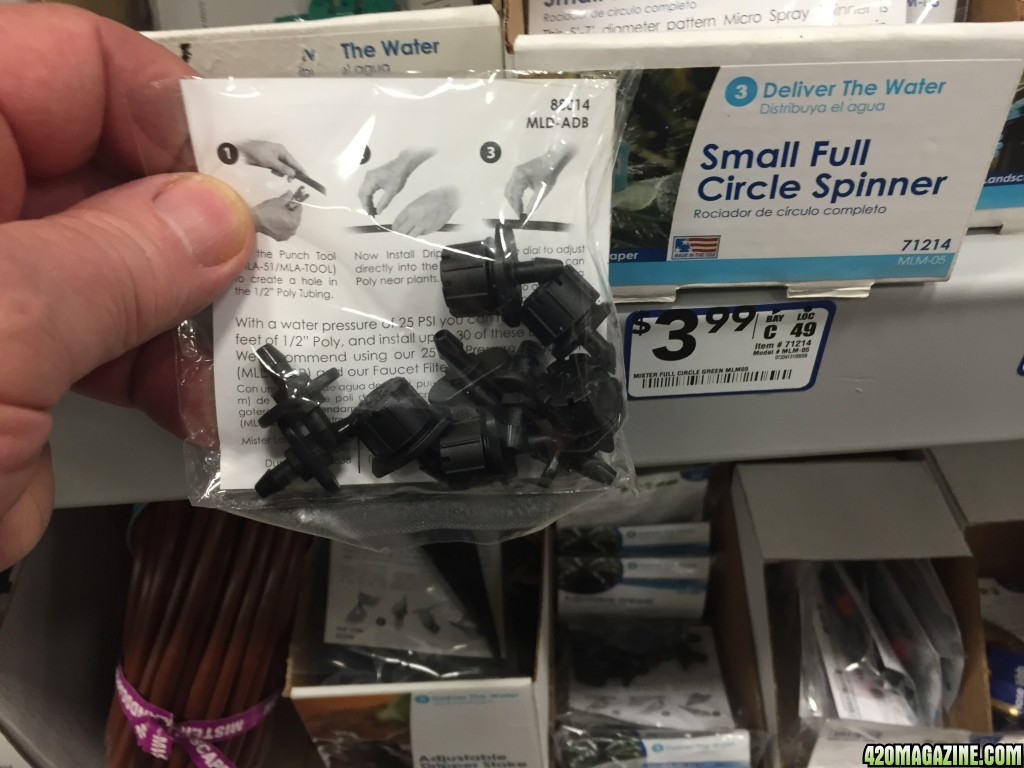
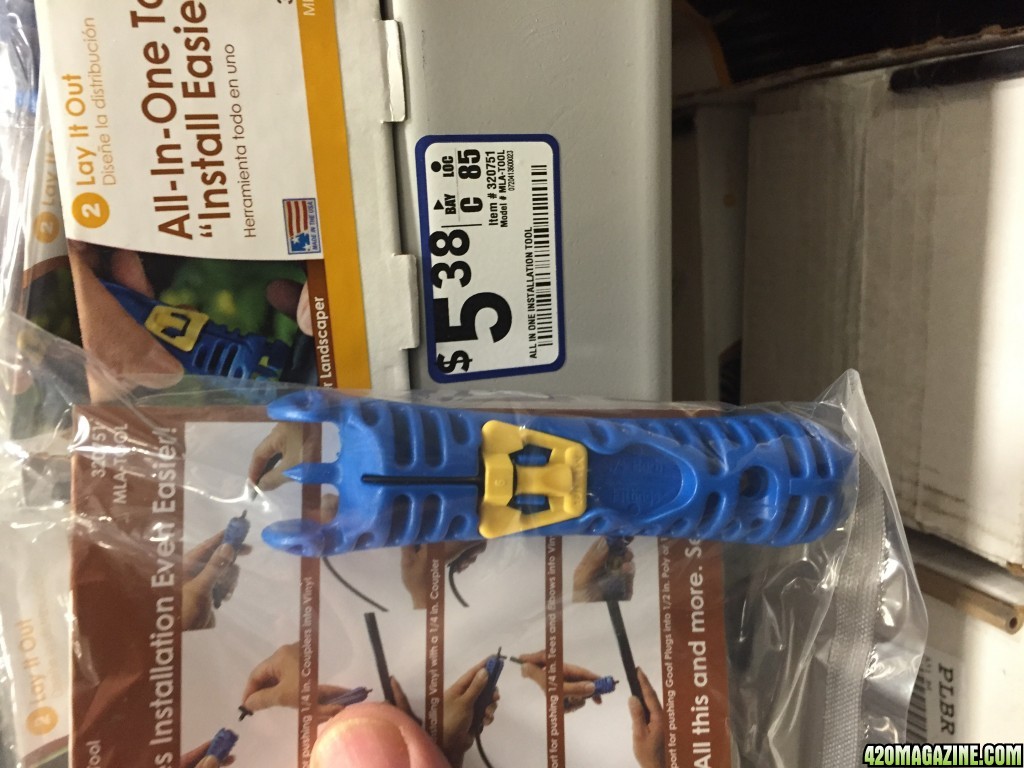
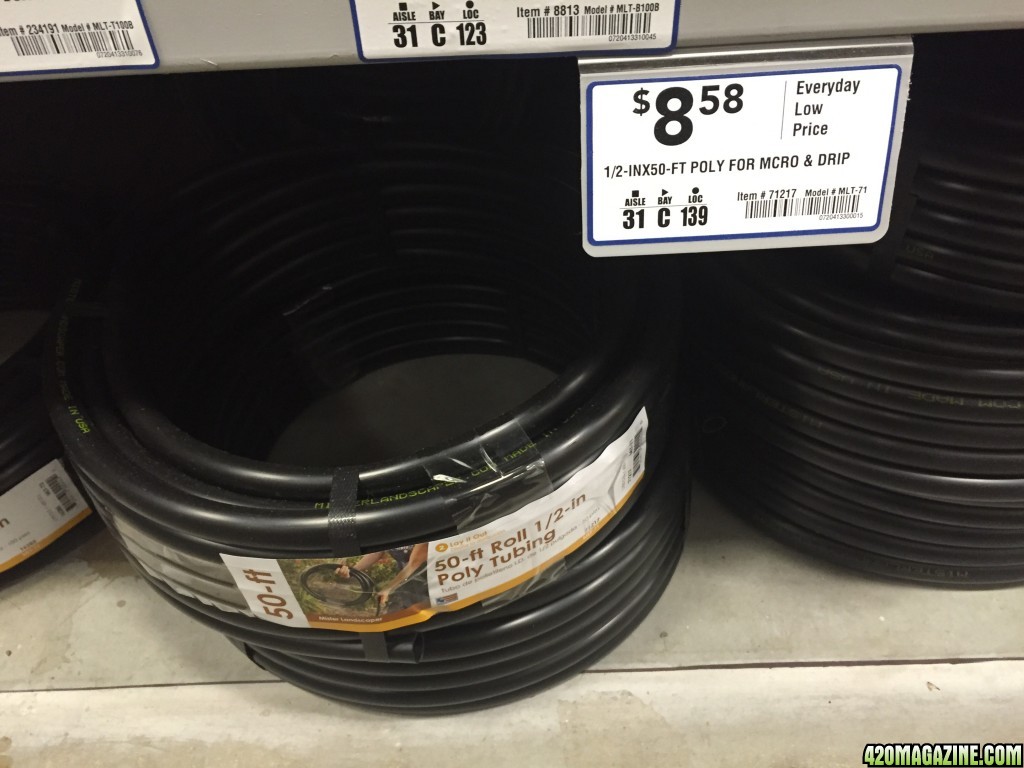
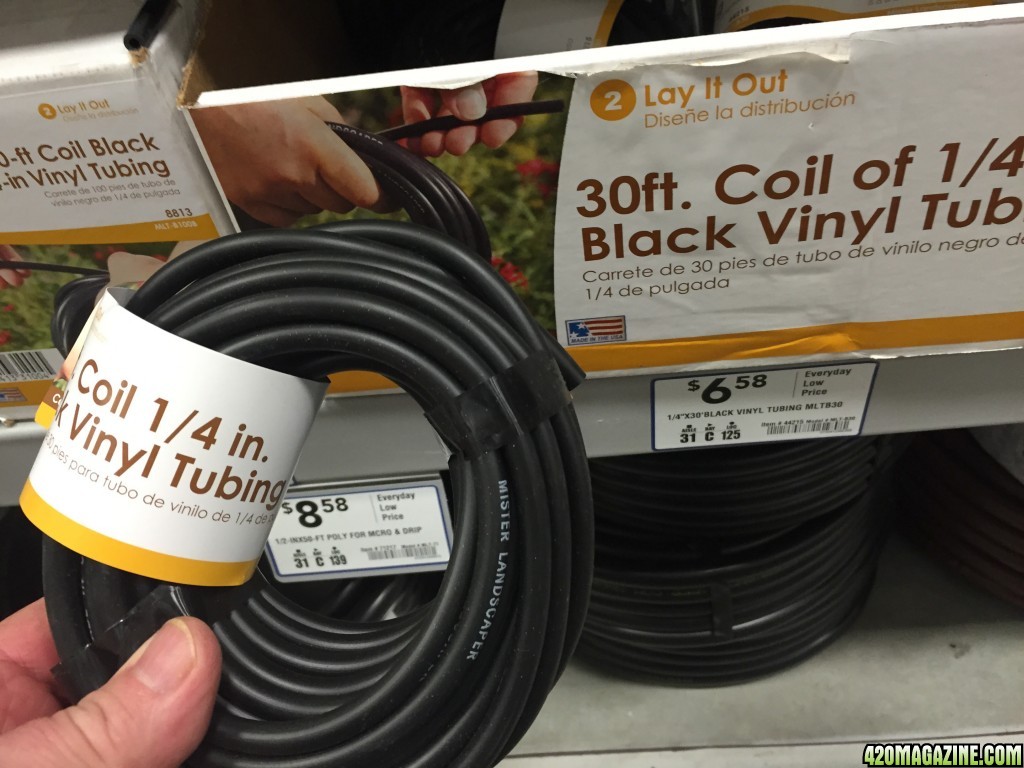
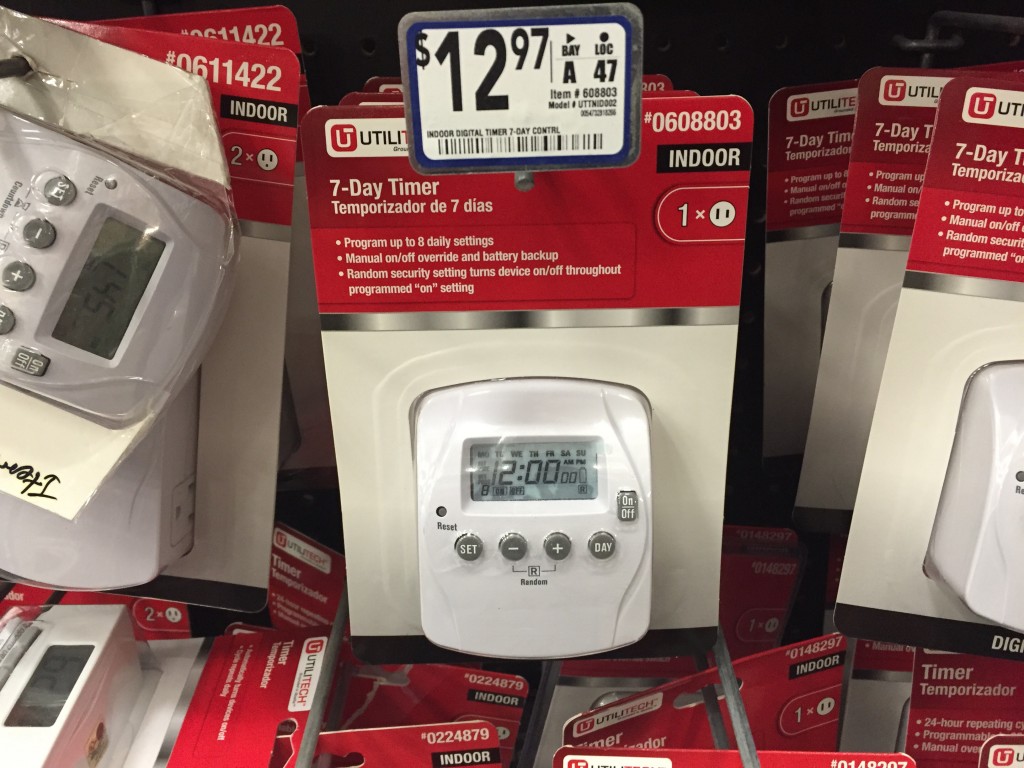
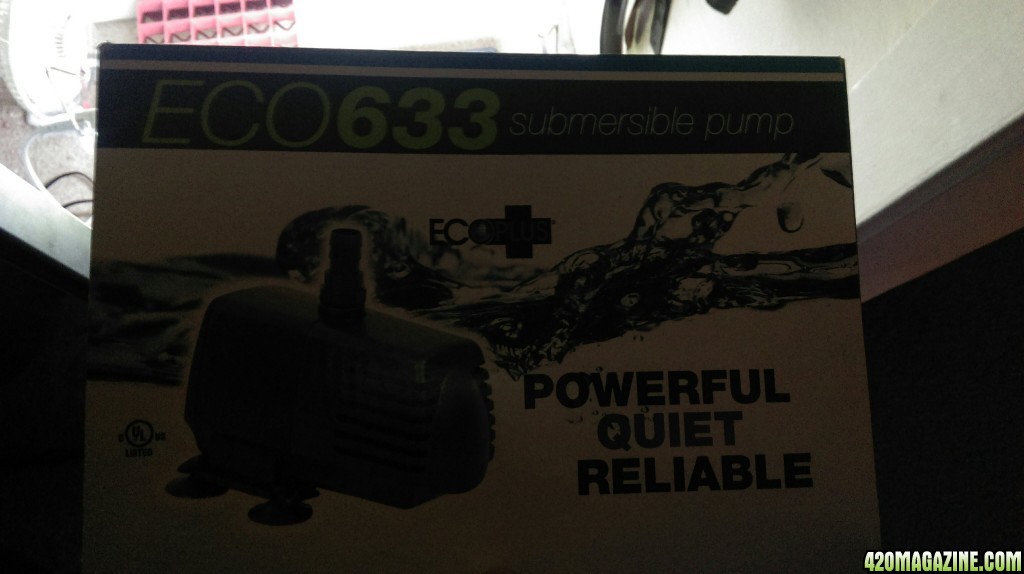
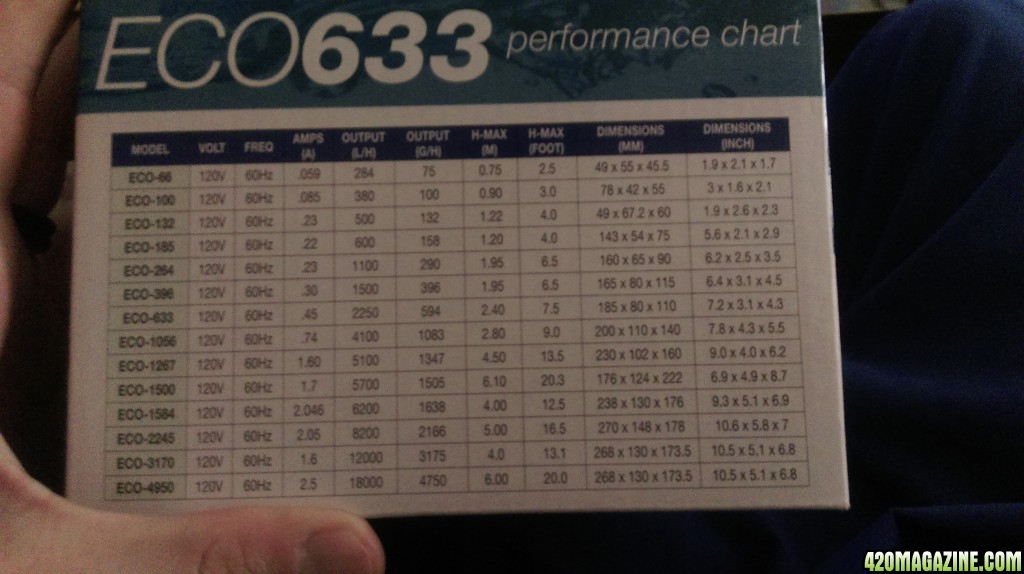
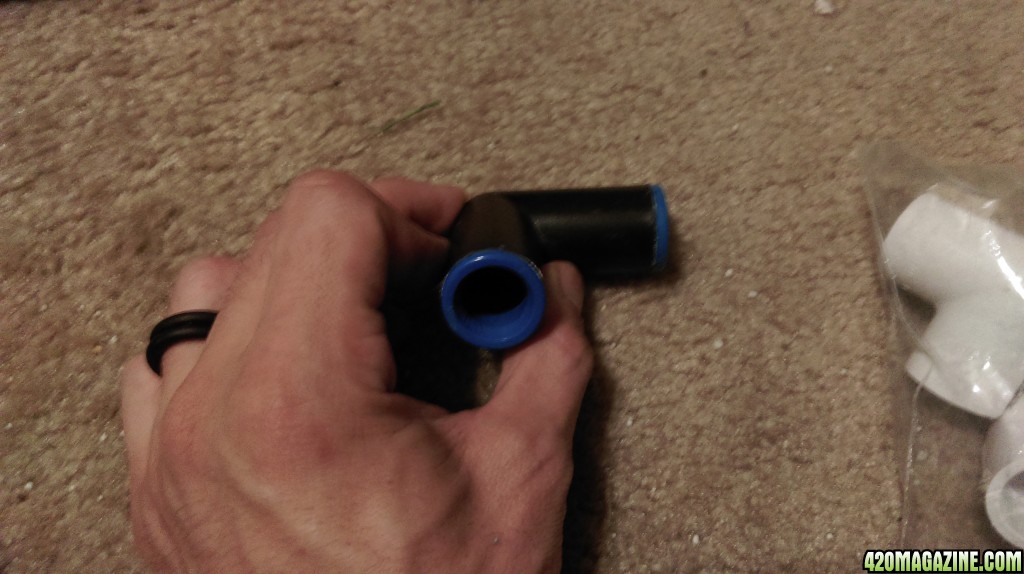
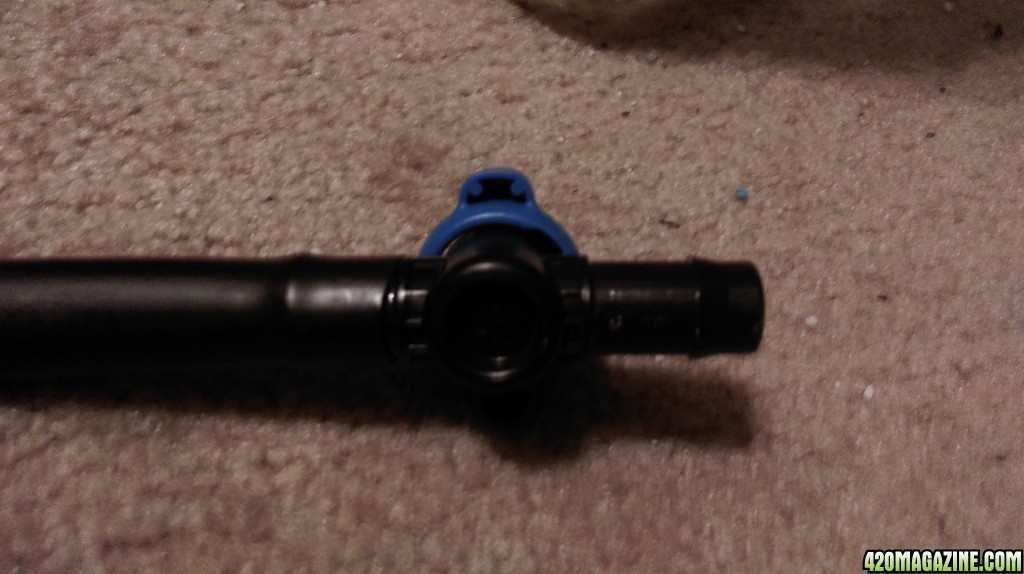
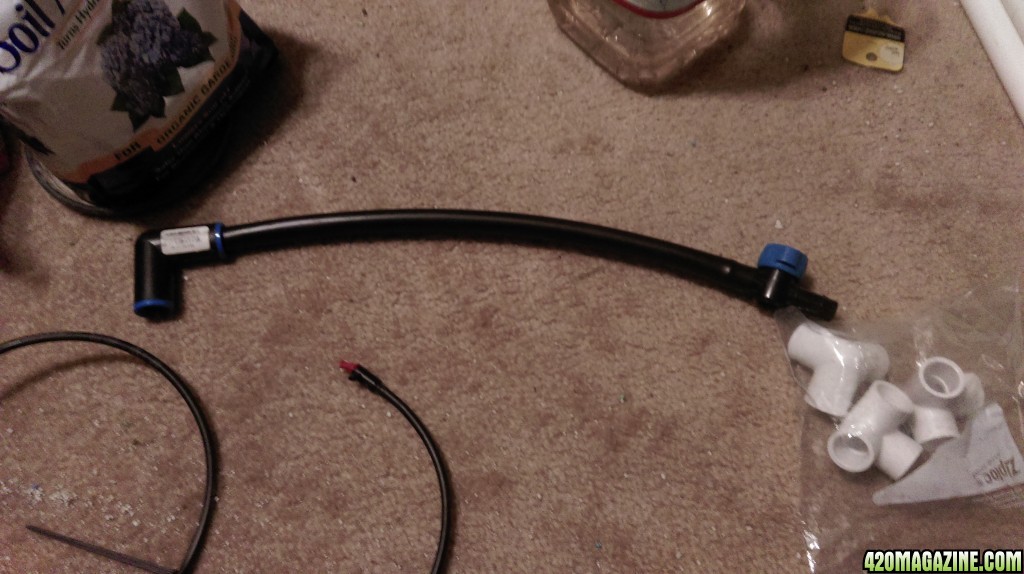
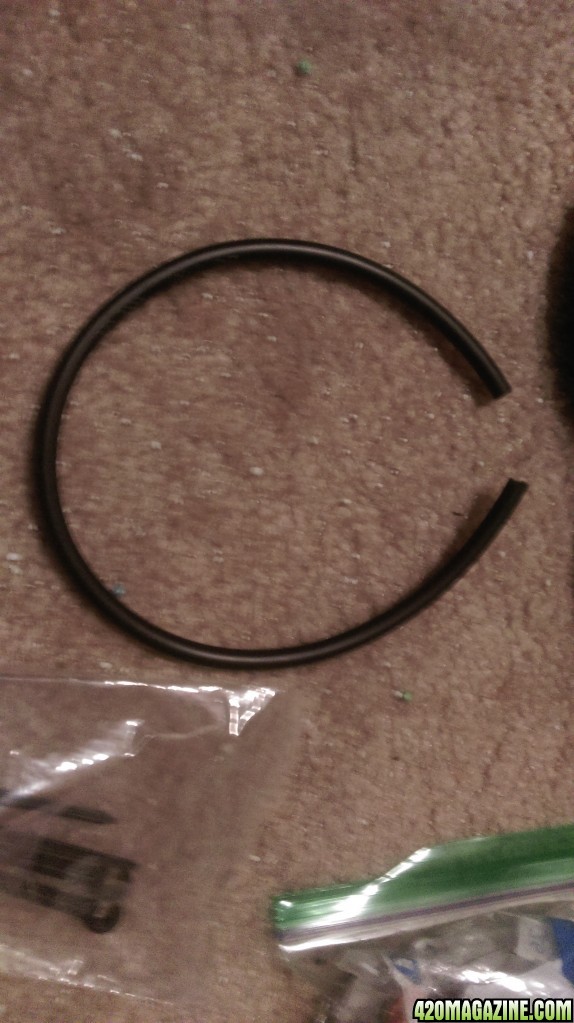
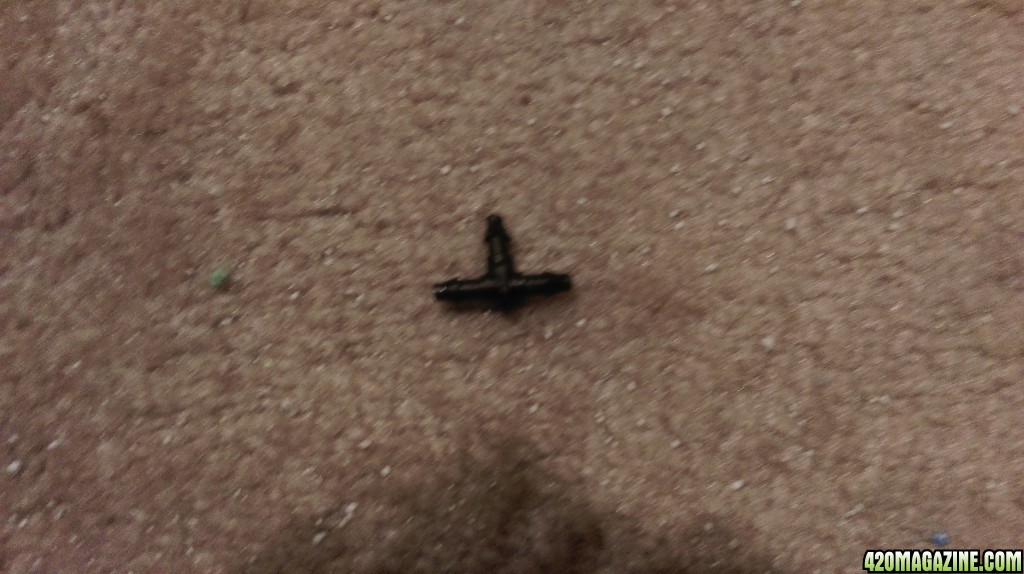
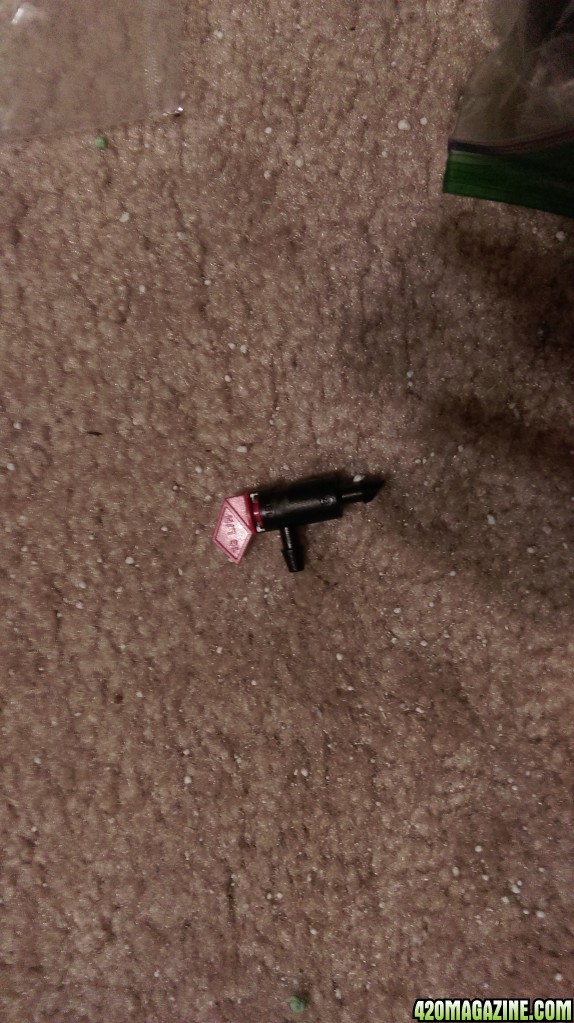
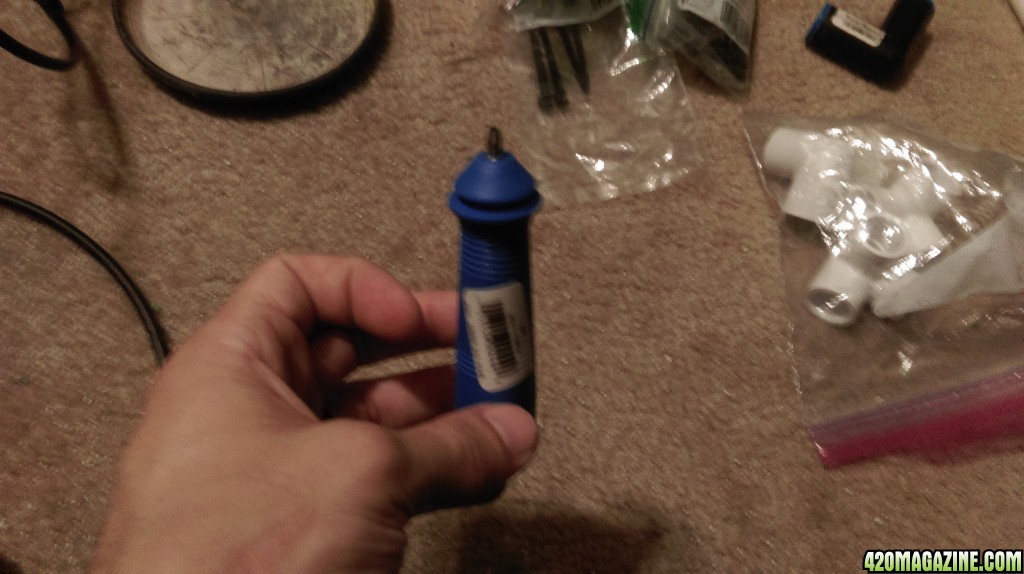
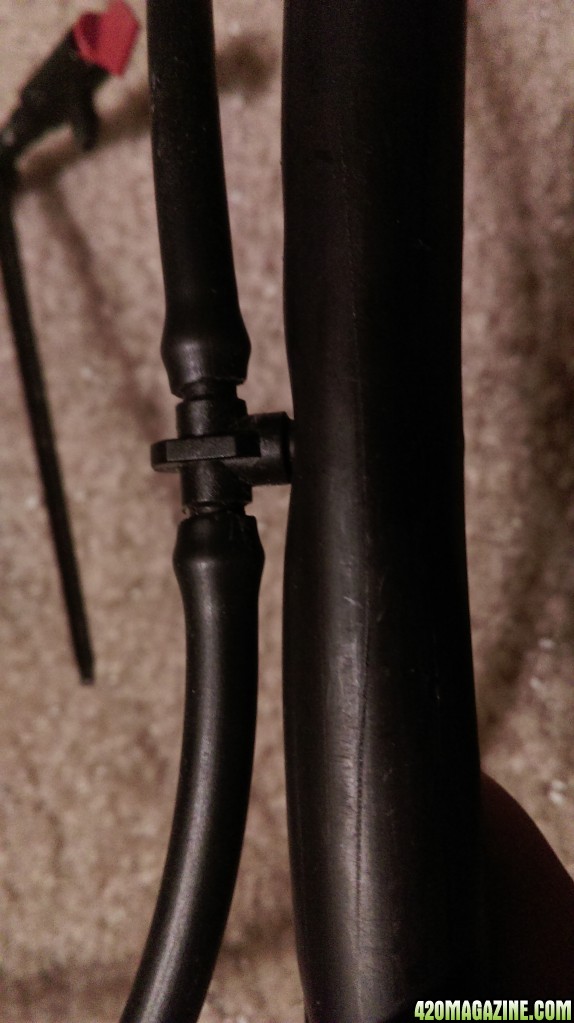
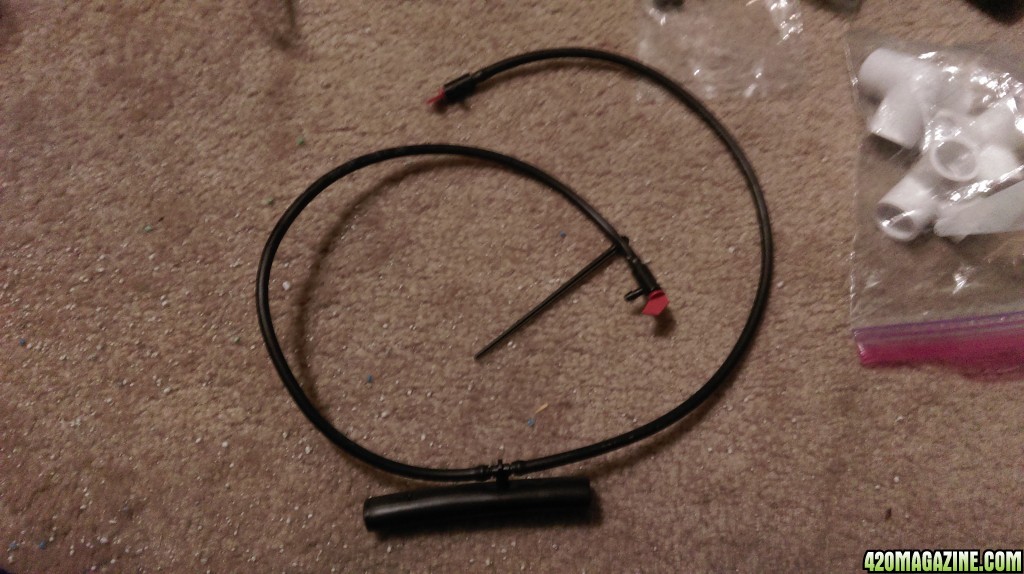
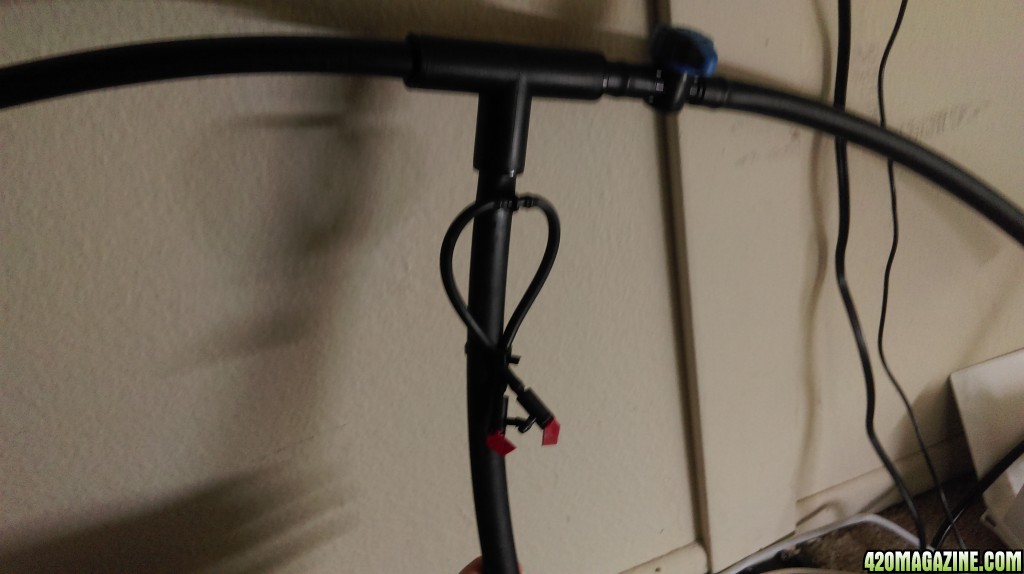
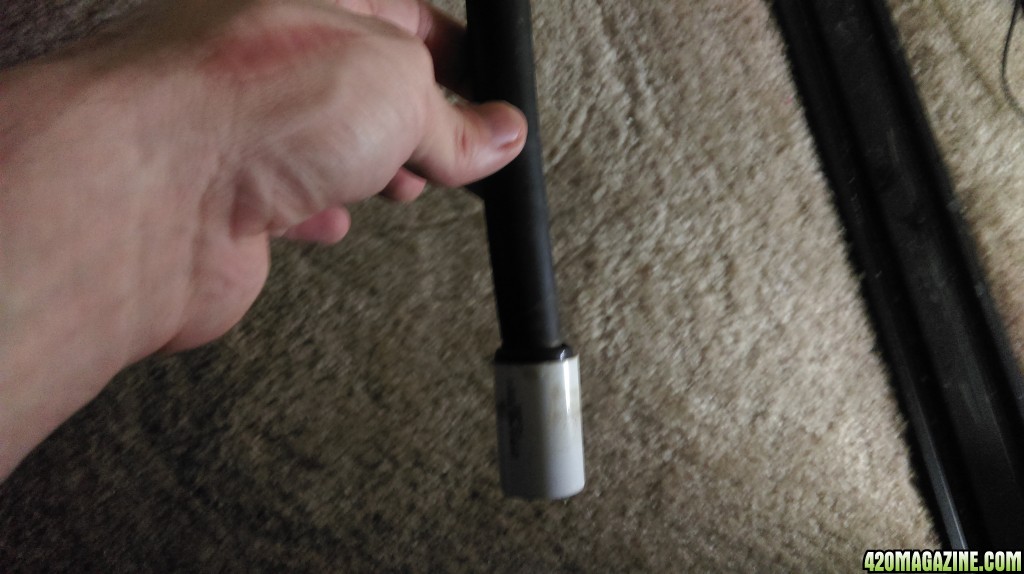
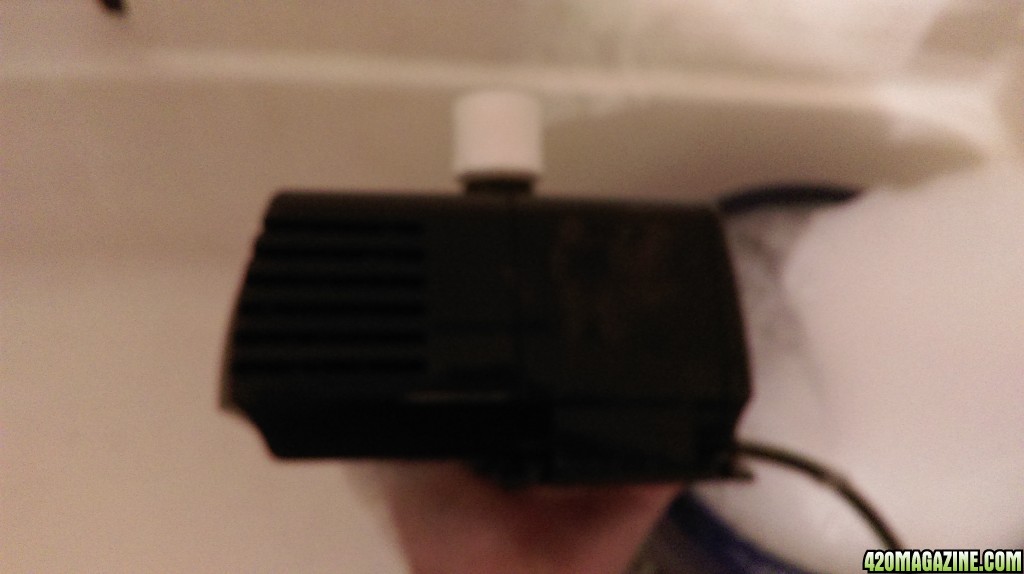
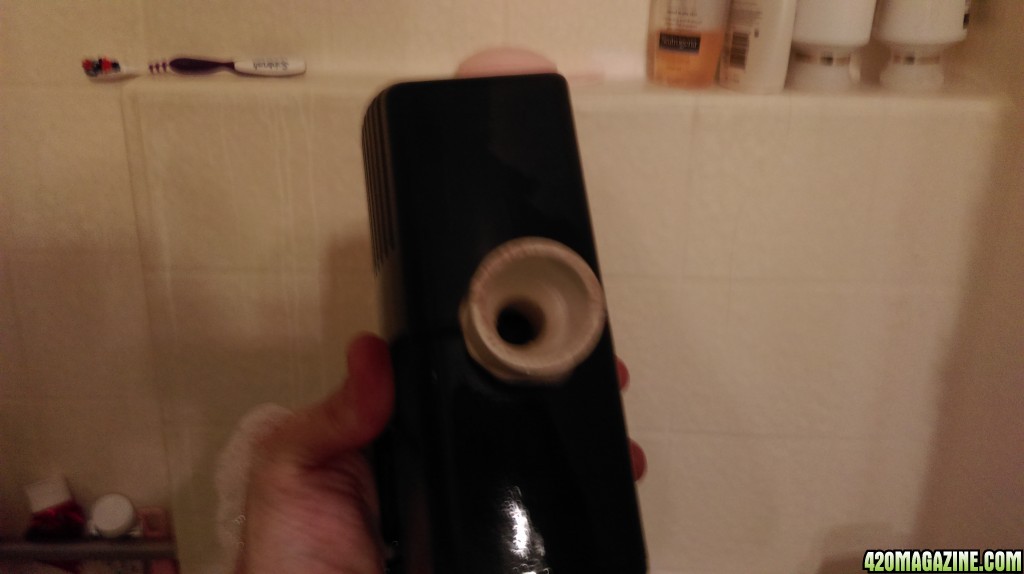
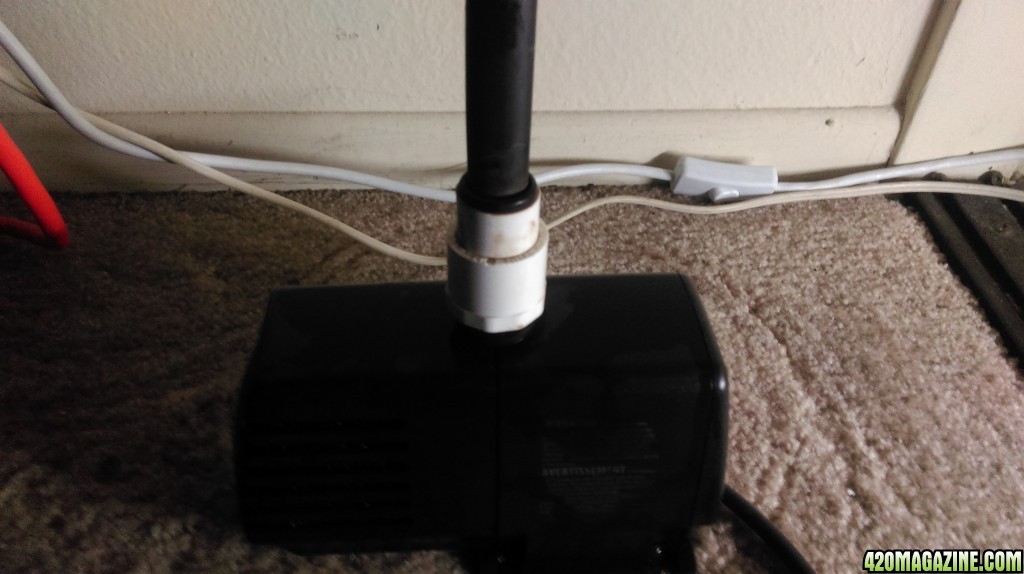
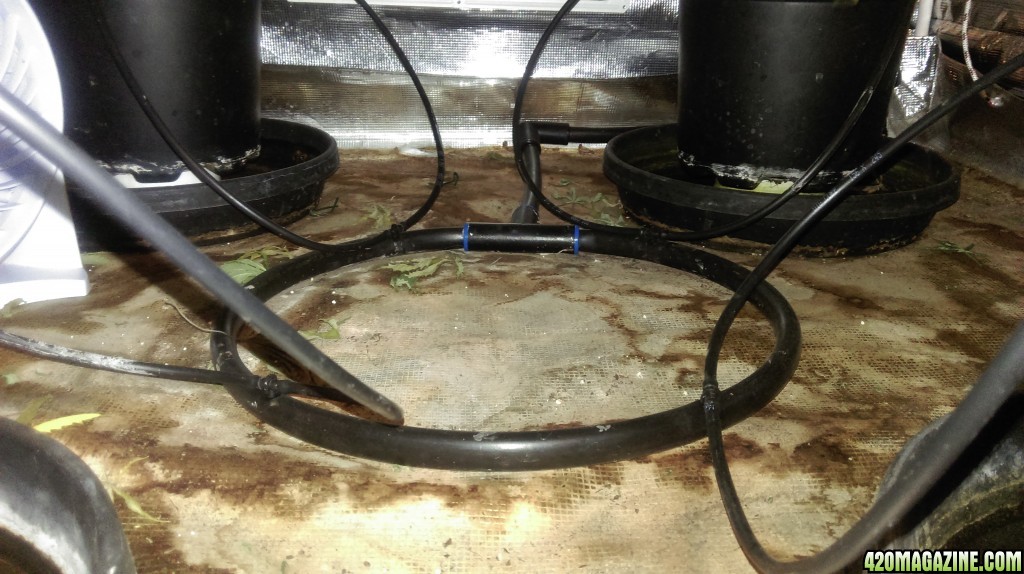
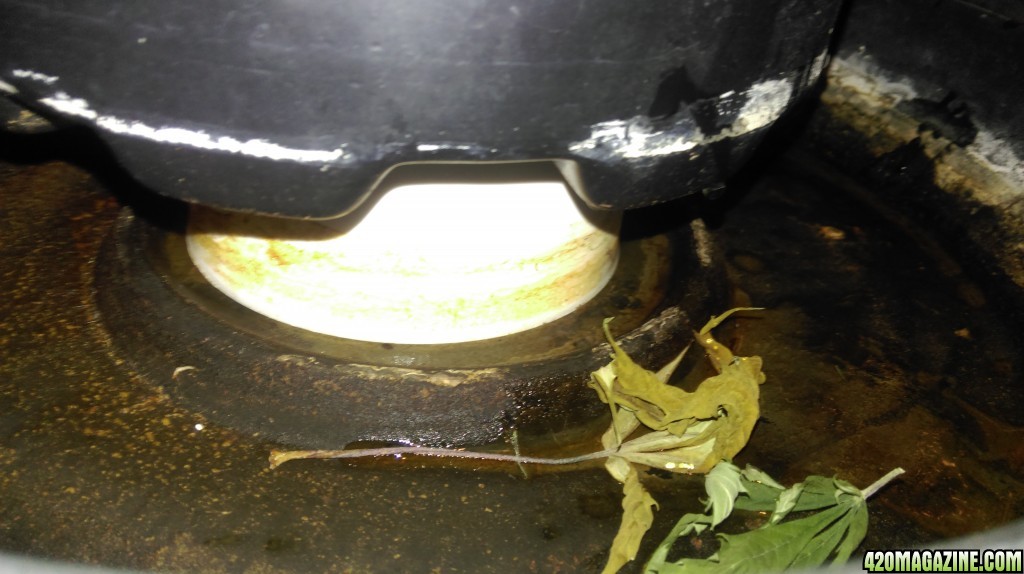
Everything you need is available at lowes or homedepot. I've just completed my second grow using a timed emitter setup. I'm growing in 2 1/2 gal homemade "rag bags" with 75/25 coco/perlite. Adjustable emitters, tubing, connectors are all available in the irrigation section of the plumbing dept. grab a small pond pump in the outdoor garden dept. I ordered my timer through Amazon but I'm sure you can find a timer , probably in the electrical dept. The only wrinkle I had was mating the 1/2" irrigation tubing up to the output port of the pump. The diameter of the pond pump tubing is a bit different & will require some innovation. I think I bought a small piece of pond tubing that I was able to force over the irrigation tubing. I use three emitters per plant & set the timer to water anywhere from once to three times a day for a duration of 1-2 minutes. I knew I had it right when the bag walls just began getting damp. It'll take a little trial & error & some adjustments occasionally. You'll find coco a great medium for this system since it's SO FORGIVING to over or under watering. I bounce back & forth between 2 homes & am often absent for 3-5 weeks. So far it's worked great for me. Going to lowes later today & I'll take a few pix of the products I used. Also get some shots of my system.
BOOCOODINKYDOW