PotPie's Grow Cabinet Construction

Hey Gang,
It's been two weeks since I posted about the cabinet. Things have been very hectic. I had to really hustle to get the flowering side of the cabinet done because I had 12 plants ready to go into flower. As the cabinet sits now, I have 'finished' the flowering side. I use the word finish very liberally because It's no where near done. However, I have had six plants in there for the last week. They seem to be doing very well, except I let them go in veg for too long. Now I am having to tie them down because I am very concerned that I will run out of cabinet height before they finish.

Welcome and thanks eBUD & Dynamoehumm. Many thanks for the reps Herb Fellow.

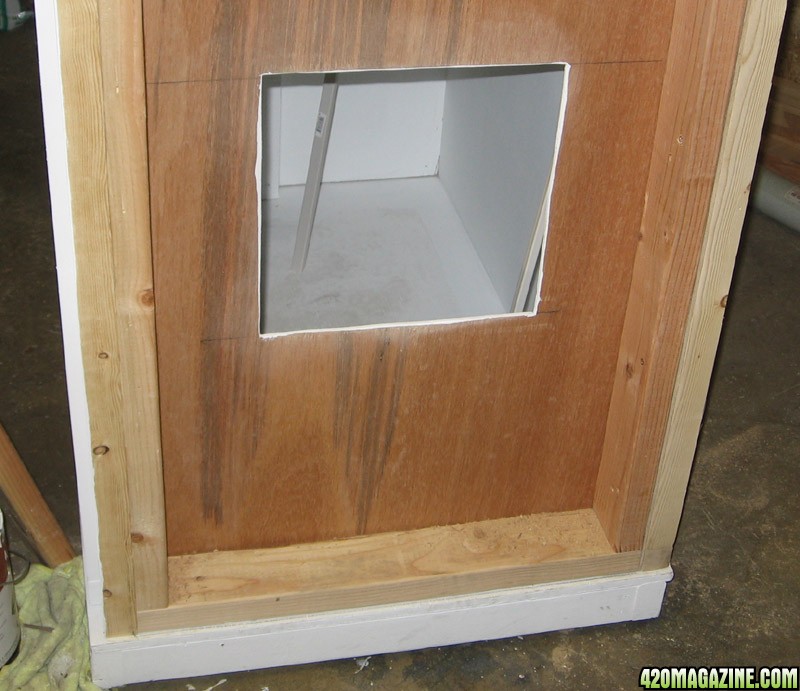
While I was figuring out what to do next, I went ahead and primered the inside of the flowering side. I also cut a 12"x12" hole for my air intake.
03929.jpg


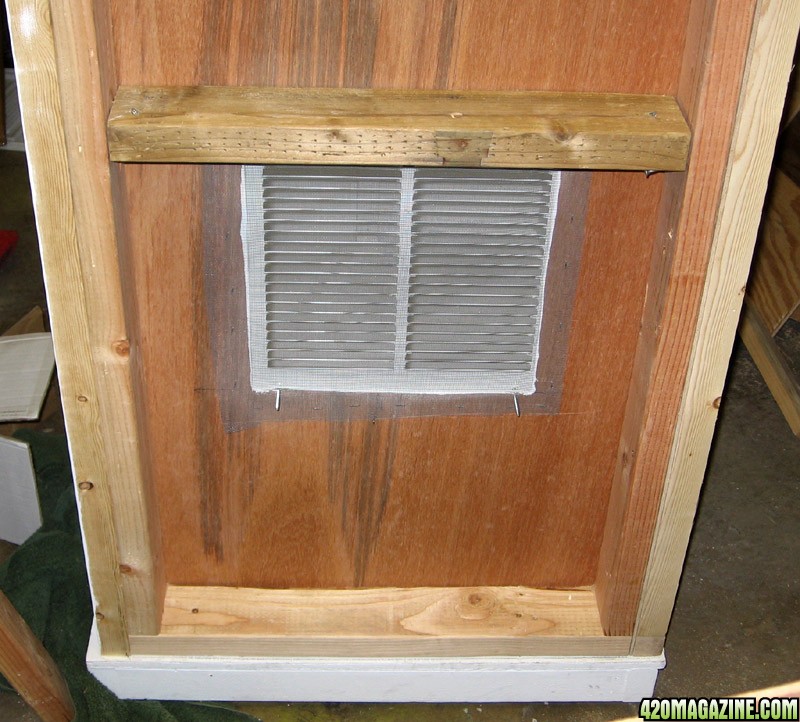
Then, I cut a piece of scrap screen and stapled it over the hole on the outside. My intention was to keep the bugs out. I think it is actually keeping the bugs in as well. I have been having a hell of a time with gnats. I'll probably get some pyrethrum this week because the neem oil isn't doing anything to the adults. I also screwed a length of 2x4 above the hole. I then screwed a piece of thin plywood across the outside of the frame at that location. The plywood covers the hole on the top, left and right. It overhangs the bottom by 2". Otherwise the bottom is open. This is sort of a poor man's light trap. I don't have a picture of the plywood over the hole right now. I might put one up later if anyone needs to see what I'm talking about.
03618.jpg


Next, I mounted a 12"x12" ventilation grate over the hole on the inside. I was a little tight on room to work, so I took the door back off while I was doing all of this.
03327.jpg


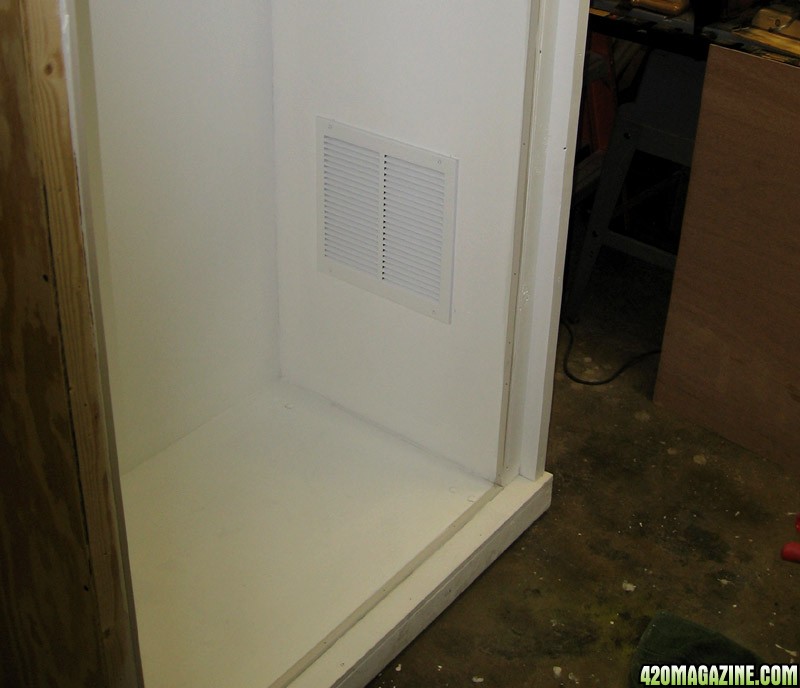
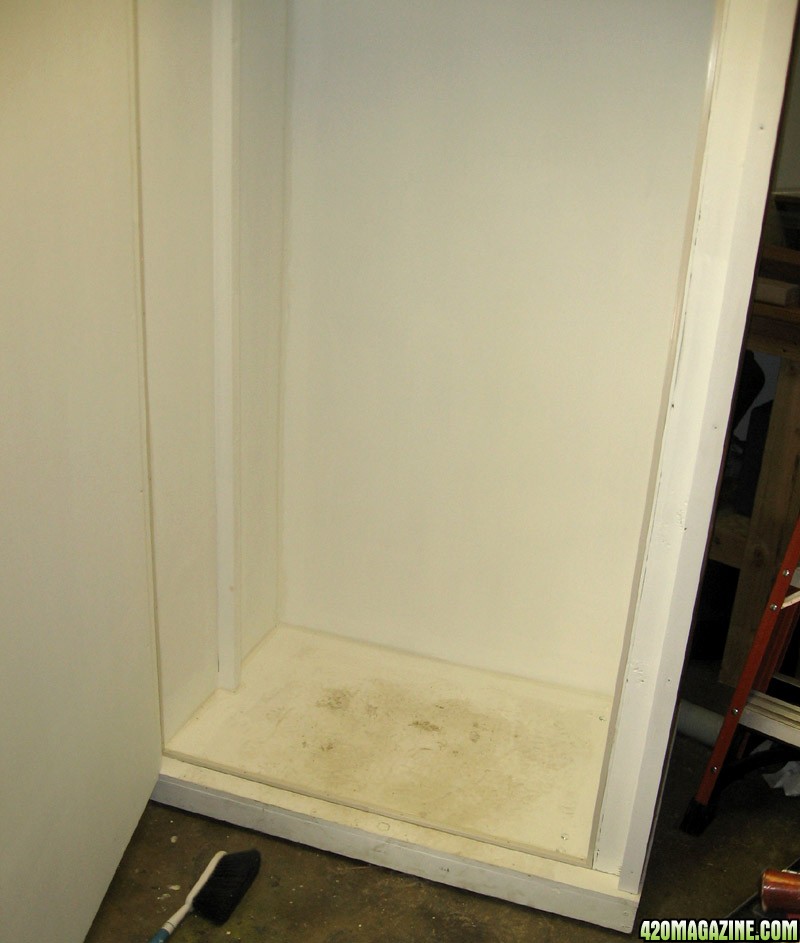
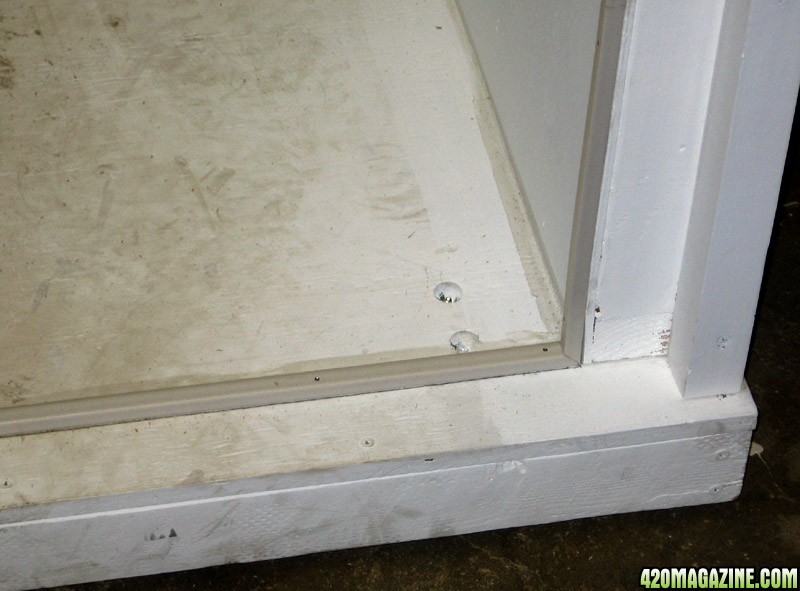
At one point or another, the entire inside was painted with 2 coats of primer and two coats of ultra pure white flat latex.

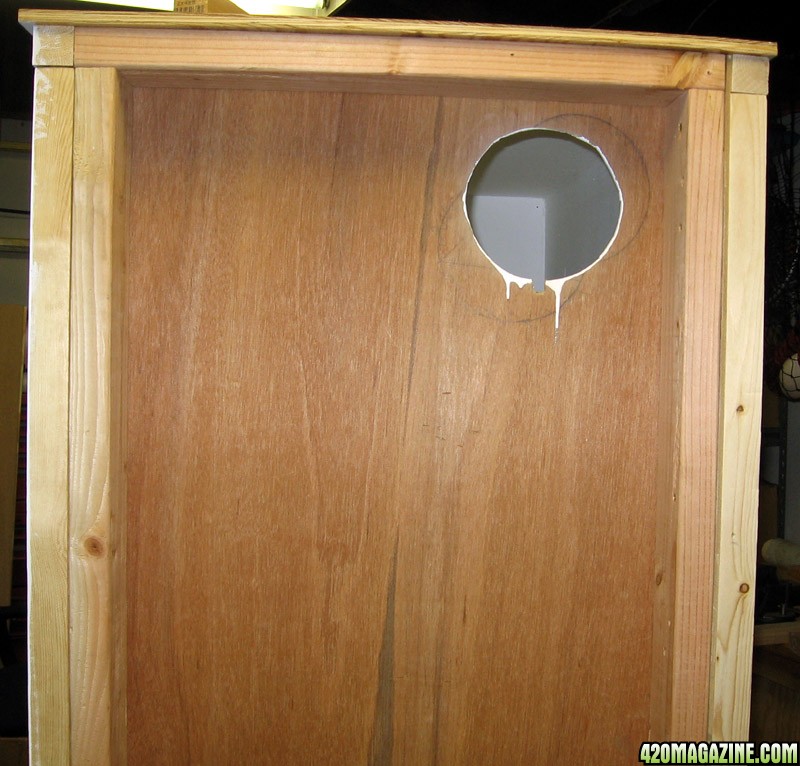
A hole for the exhaust fan was next. I also cut a notch for the power cord to come out under the fan.
03224.jpg

03521.jpg


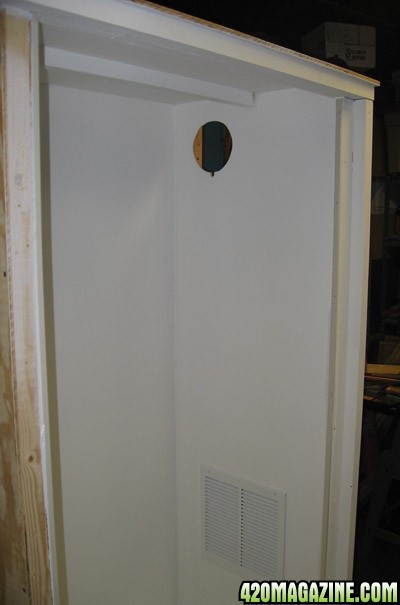
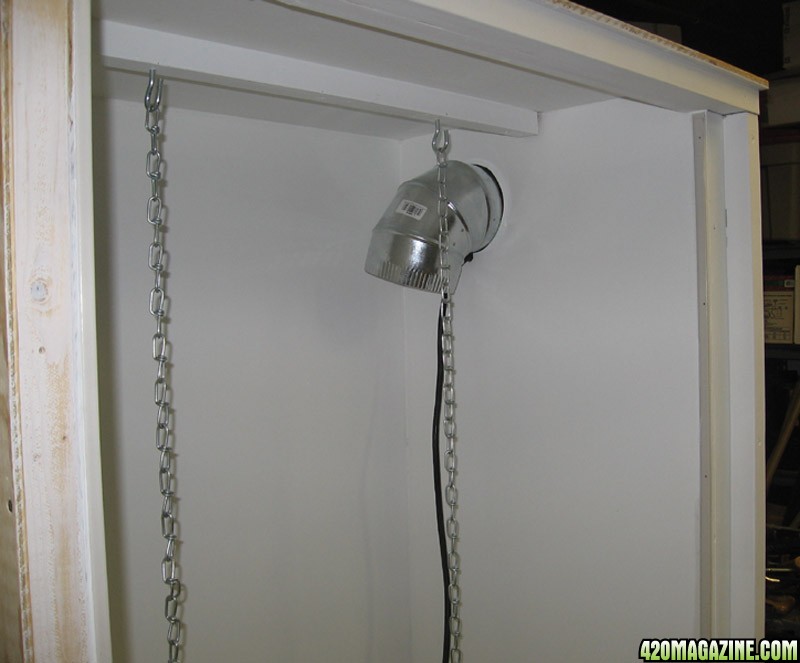
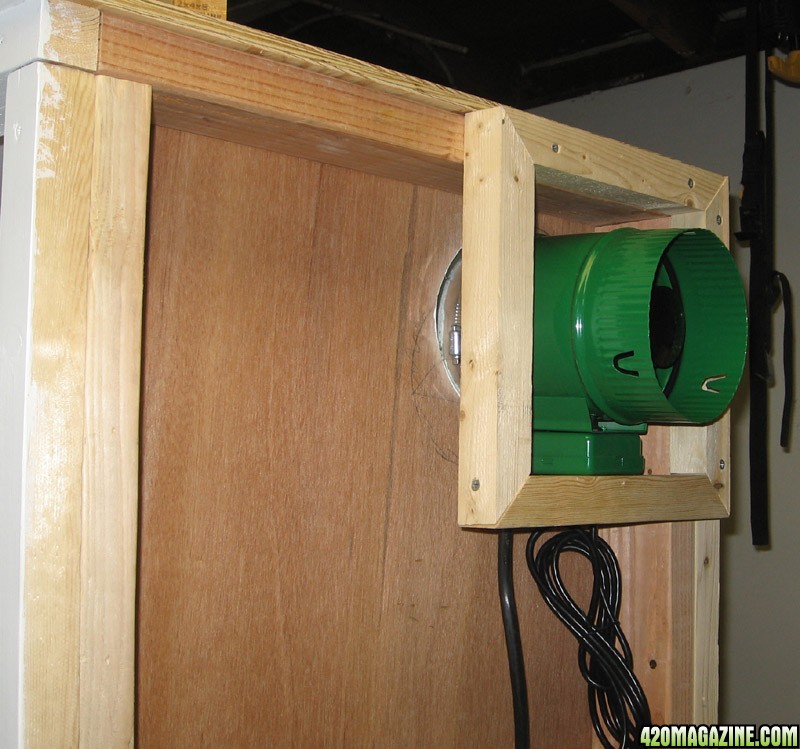
At some point I put a 2x2 up the center of the left side of the cabinet and across the top. This is being used (or will be used) as mounting points for lights, fans, power strips, etc. I hung my new Hydro Farm air cooled hood across the top and built a mount on the outside for the fan.
03023.jpg

03125.jpg


That's about it for now. I'll try to get a couple of pics up in the next couple of days showing the light and ventilation. Thanks for looking
 
for real! very professional! i wish i had the tools and the know how to do all thaT.
 
Greetings PotPie.... wicked set up Bro......commendable !!! Prep work, planning imagination and patience go hand in hand... I'll keep checking to see how all goes for you..best of luck !!


:peace:


Buddahcon
 
Thanks everyone for the kind words! Greetings Buddahcon.

After I got the holes cut for the intake and exhaust, I wanted to make the door a little more light proof. As I mentioned earlier, a master carpenter I ain't.! that being said, I tacked up some stop molding around the door to account for the lack of precision in certain areas.
03717.jpg

03821.jpg


Here's the cabinet now. I put an older box fan at the lower right side of the cab to try and get a little more cool air in there. As I was writing this post tonight, I heard the box fan stop and then I smelled a little smoke. It was an old fan that had served long and well. I'll run out and get another tomorrow. The duct fan seems to be taking care of everything for right now. I just wanted a little extra air going into there given how hot the room has been. If you look carefully at the left side of the cabinet is already doing double duty as a hamper. As I mentioned earlier, I'll have to finish this side of the cabinet after flowering has completed.
02727.jpg


Thanks again for looking.
 
Yo Pot pie, Nice cabinet! I am just looking through some indoor journals and I noticed how allot of people say to use flat white paint for reflecting the light, I am not a indoor grower yet but I would think using a High gloss white would make it easy to clean and more light to bounce around. I am thinking of doing that with my space. I noticed you tracked dirt all over the floor of it and don't know if you have tried cleaning that off yet, I think if you do you will see what I mean. Lots of luck and hope to see beautiful ladies coming out of there. There is my 2 cents worth. :popcorn:
 
Gloss surfaces can contribute to hot spots. Flat surfaces tend to diffuse the light slightly.

Use a good primer. Look for flat titanium white paint. Seal your seams.
 
Yo Pot pie, Nice cabinet! I am just looking through some indoor journals and I noticed how allot of people say to use flat white paint for reflecting the light, I am not a indoor grower yet but I would think using a High gloss white would make it easy to clean and more light to bounce around. I am thinking of doing that with my space. I noticed you tracked dirt all over the floor of it and don't know if you have tried cleaning that off yet, I think if you do you will see what I mean. Lots of luck and hope to see beautiful ladies coming out of there. There is my 2 cents worth. :popcorn:
Hi and welcome siscokid. I was gonna say what TorturedSoul said:;):
Gloss surfaces can contribute to hot spots. Flat surfaces tend to diffuse the light slightly.

Use a good primer. Look for flat titanium white paint. Seal your seams.
Unfortunately, when I went looking for paint I couldn't find any flat titanium white so I went with ultra pure white flat latex. It has worked out pretty well. I painted the bottom of the cabinet before I even built the rest of the cabinet so I got it very dirty in the process of building the rest of the cabinet. I scrubbed it up when I was done and got most of the dirt out. Then I went ahead and put one more coat of paint over it to make it look new. I have 3 gallon pots in there now sitting on 12" planter saucers so I haven't had any real messes yet. I vacuumed out the cabinet the other day when I had the girls out for watering and trimming. It only took a minute and it's good as new again. It definitely is harder to clean up than a gloss but I was a little concerned about hot spots.
 
What if I wanted to only use Cfl's would a semi-gloss or gloss be OK to use?
I'm still a rookie myself so I'm not quite sure. My educated guess is that you would be fine. I say this because the CFL's just aren't going to have the same intensity as the HIDs. I say go for it. And if you decide later on to go with a HID lighting setup I would either put up mylar or cover it with a layer of flat. Maybe you could just scuff the gloss with a little fine sandpaper too. Maybe someone from grow support will weigh in on this if I'm completely off base. Hope this helps.
 
You can usually find Mylar at a hydroponic store. If not, you can use those "Get Well Soon" balloons. They are made of Mylar.

go to wal-mart and buy out the $2 survival ponchos in the sporting goods section....they are approximately 5' X 7' and make an excellent grow cab wall covering:peace: they are a lite weight mylar
nice informative step by step build pot pie:nicethread:
 
Nice work. I have doing some research for a cabinet and this one is close to what I wish to build. The one I plan to build will look like a piece of bedroom funiture. It needs to look invisible to others that there are plants in there.
 
this thread is hella long so i am not going to read it all, but i would have bolted the walls together for easier disassemble if necessary. May your plants be green and healthy..
 
Hi Folks. thanks for checking out my grow cab. One of these days it will get finished. I'm 2-3 weeks away from harvesting 4 plants that are in there now. Just to refresh everyone's memory, I only finished the flowering side of the cab. The veg side wasn't finished as I had to get my plants into flower because they were getting huge in veg and I was afraid of running out of room.
It is too hot here in the summer to attempt another grow right away so I may try to do a little work on it during the summer. I plan on starting my next grow in the cabinet but I am leaving myself open to the option of starting in the bedroom closet. This way I'll have a little more time to finish up the cab the way I want to.
Great home-built grow cab primer. With Perlites' contribution, solutions for actualizing dreams are at hand, even if Visa is already on the bloody max. The world could at times do without gravity, with so much suction to go around. Hope for copeing made real on wheels.
Thanks for joining me on my little adventure Propa Gator. I absolutely agree about Perlite's suggestions. I wish I had talked to him before I started.lol.

That is a great grow cab! + rep on the pic tutorial! Thank you!
Many thanks Ms. Fox. I'm glad you could stop in and check out my build.
Nice work. I have doing some research for a cabinet and this one is close to what I wish to build. The one I plan to build will look like a piece of bedroom funiture. It needs to look invisible to others that there are plants in there.
I originally though about making this cab totally stealth. Then I thought, why bother? I'm in Cali and growing within the limits of the law. Not that I'm advertising, It's just that I'm lucky enough to be in a state and a living situation where it's not a big deal. I hope you post your build SB30. I think it would be killer to have a big armoire or wardrobe that looked like a place to store clothes but actually contained an indoor garden. I would be living la vida Inspector Gadget. Best of luck with your cab and stay low.
Can't wait to see what you do with the exterior of the cab. Lookin great potpie.
Hey CharlieMopps, I cant either! :ganjamon: 
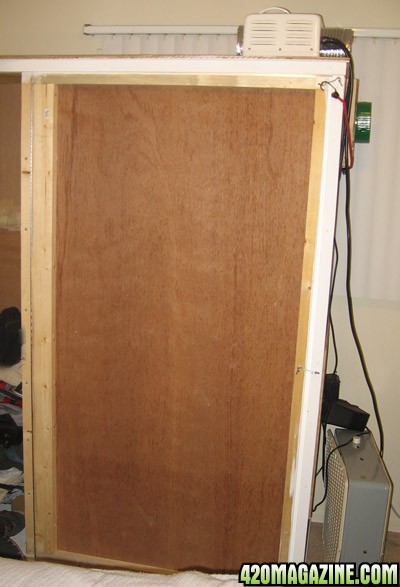
I hope I can at least make it look presentable. Right now the exterior is unpainted while my grow is finishing. I may just skin it with lauan and paint it white so it looks like an inexpensive wardrobe. then maybe finish it with a little molding to give it some depth. We'll see.

this thread is hella long so i am not going to read it all, but i would have bolted the walls together for easier disassemble if necessary. May your plants be green and healthy..
Thanks and Welcome to 420Mag, Bluff. This thread is only 3 pages long! I've read a lot of great threads on this site (I'm not even saying this is one of 'em) that were way longer and very informative. There's a lot of good info on this site but you have to invest a little time to benefit from it. Not trying to get preachy. I'm just saying most of the questions people have, have been asked and answered already but it might take a little patience to find them.
BTW, I only used deck screws and sheetrock screws for this cabinet. If I put a fresh battery in my drill I can have it knocked down in under 15 minutes. I can have it completely disassembled into scrap lumber in under 45 minutes and I could probably have it completely reassembled in under 90 minutes.

Thanks for looking everyone.
 
Back
Top Bottom