I will update this first post with vital details and major dates as they become available, but will also post replies below for more linear reading. My goal is for this post to be sort of a table of contents to make this journal as easy to read and reference as possible.
This is my second grow ever (never even owned a house plant before my 1st outdoor grow - see signature for link). I chose indoors for security reasons and so I can better control growing environment. I chose Scrog mostly due to the shorter veg period (my goal is to get 4 crops a year). My goal is to have rooted clones from the club put into 1-gal pots by 10/6 (next Weds).
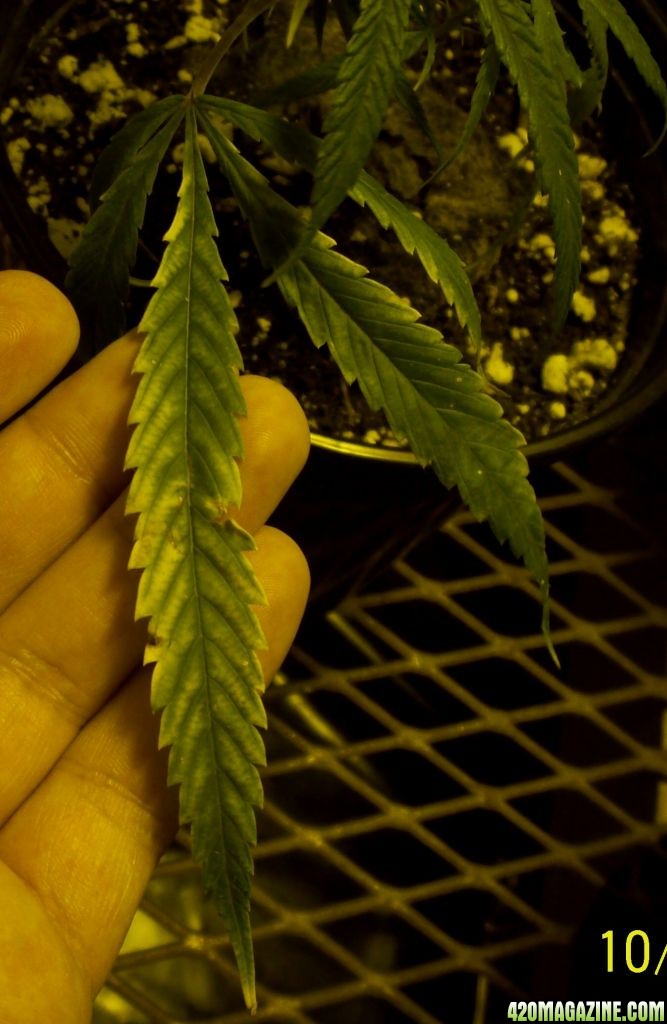
What strain is it? TBA - leaning toward Shiskaberry, but depends on what the club has in stock
Is it Indica, Sativa or Hybrid? What percentages? TBA
Is it in Veg or Flower stage? TBA
Rooted clones planted under veg light on: TBA
Flowering (12/12 switch) started on: TBA
Indoor or outdoor? Indoor
Soil or Hydro? Soil
If soil... what is in your mix? Fox Farms Ocean Forrest Potting Soil + Perlite
If soil... What size pot? Will plant in 1-gal then transplant to 3-gal
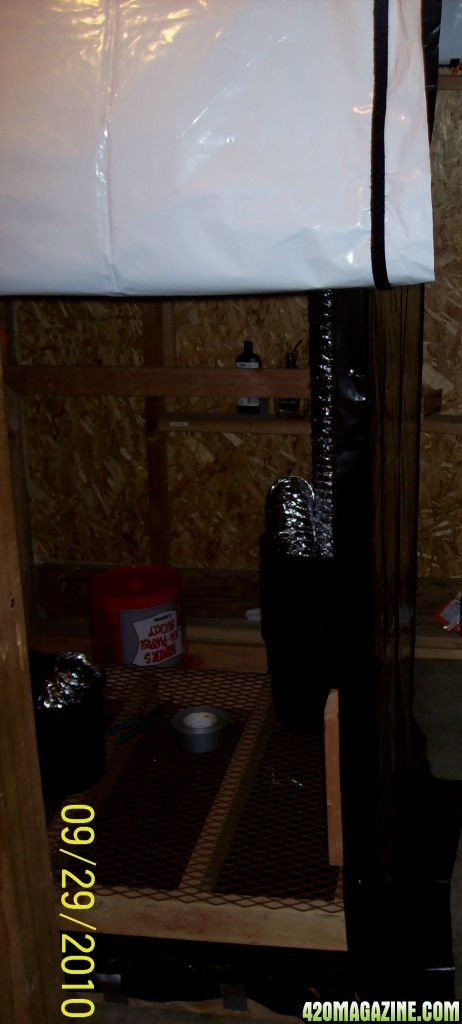
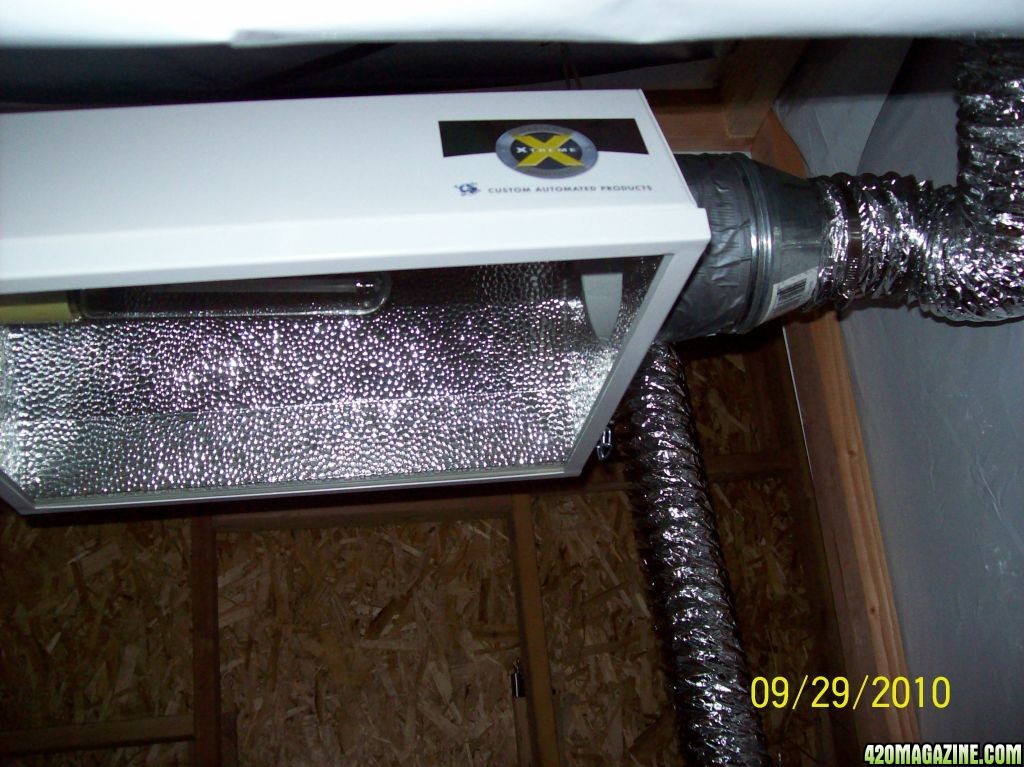
Size of light? 600W HPS
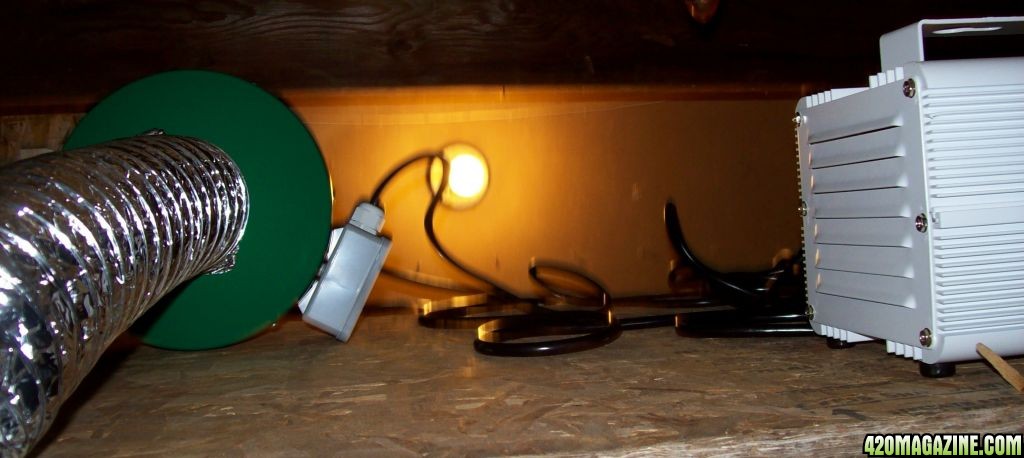
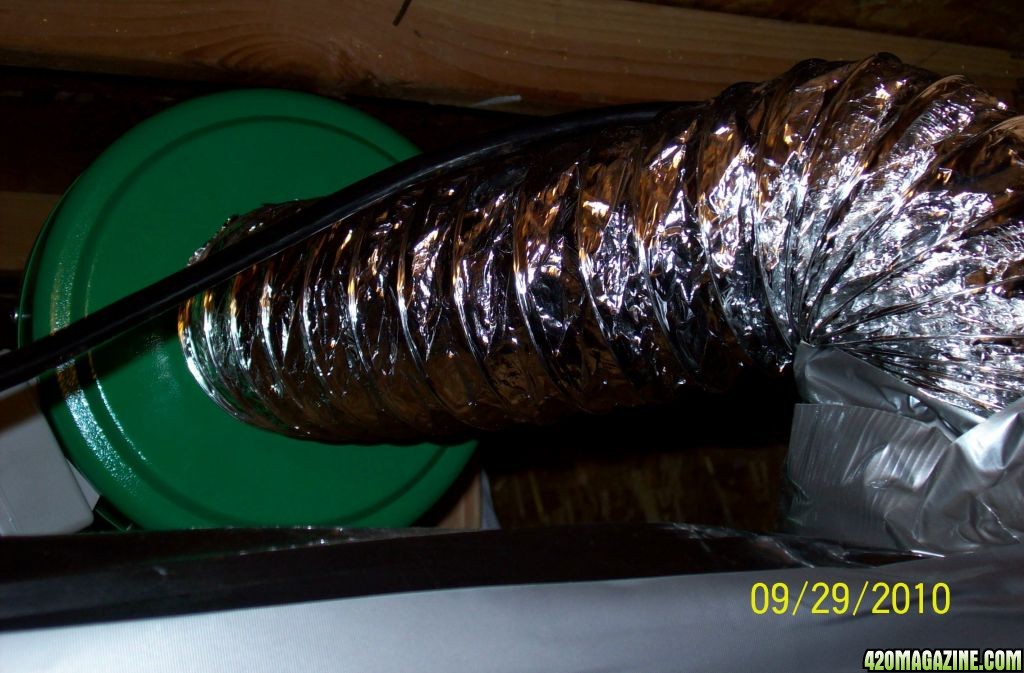
Is it aircooled? Vented reflector hood with glass lense
Temp of Room/cab? TBA
RH of Room/cab? TBA
PH of media or res? TBA
Any Pests ? TBA
How often are you watering? TBA
Type and strength of ferts used? Fox Farms liquid trio
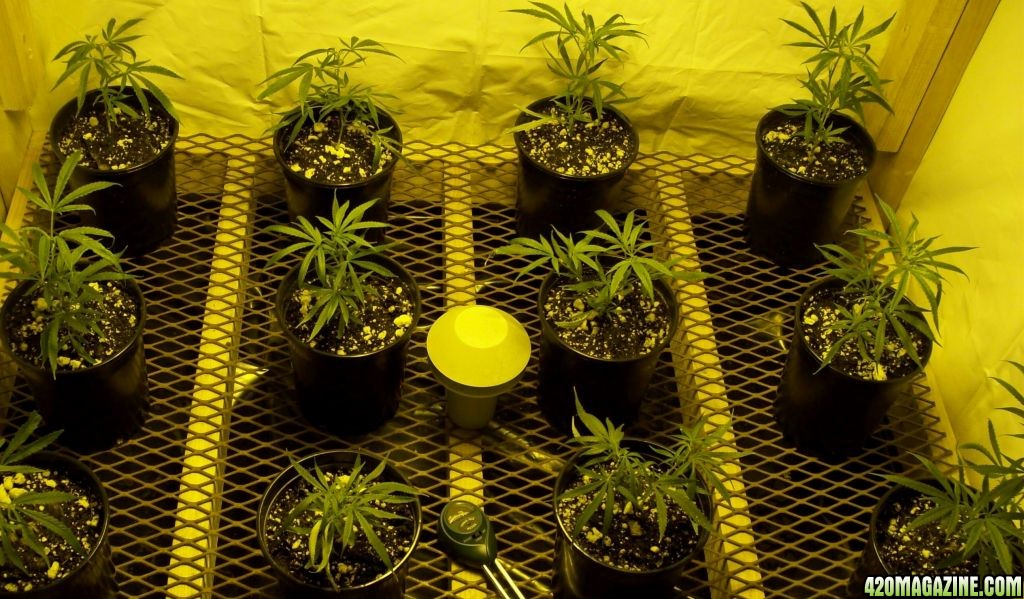
Screen size = 3'x4'
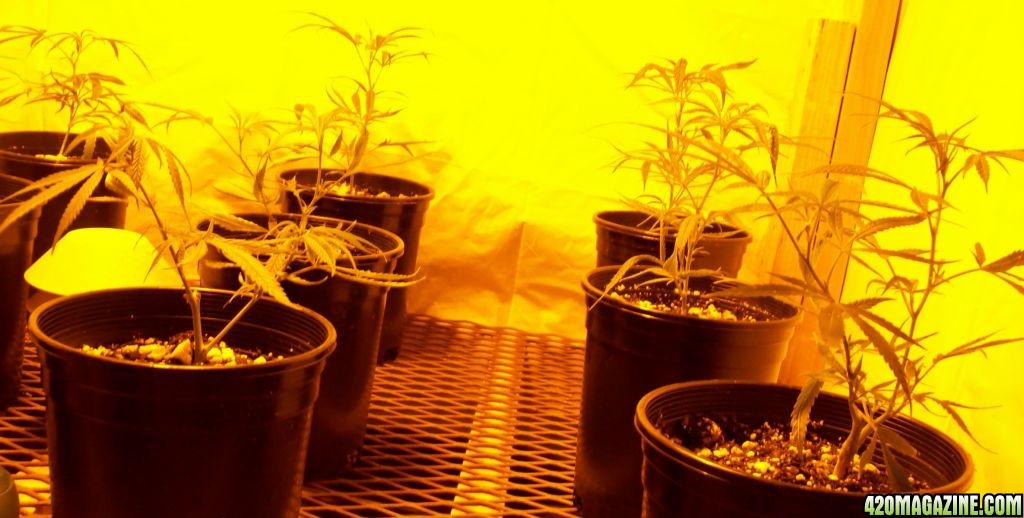
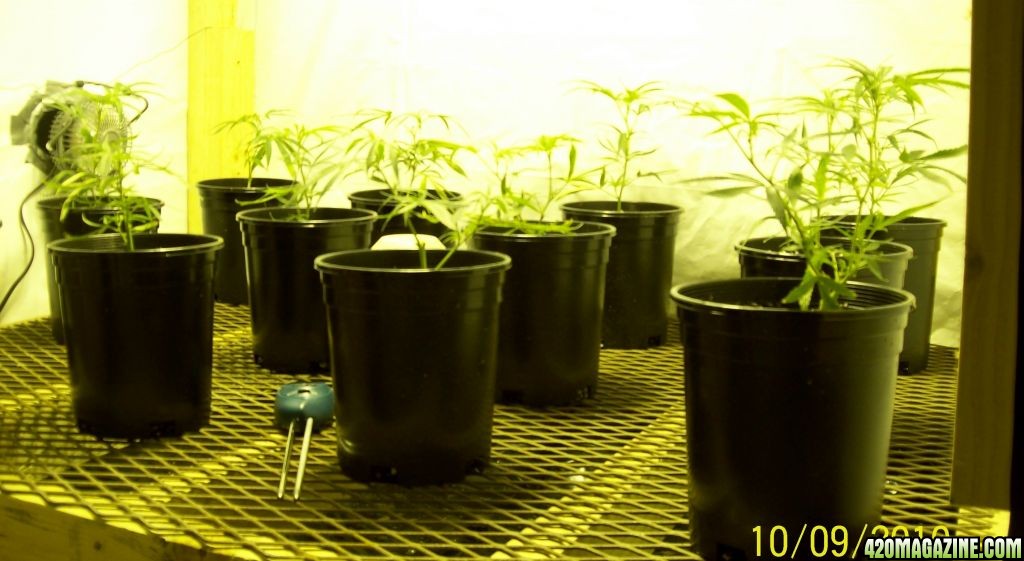
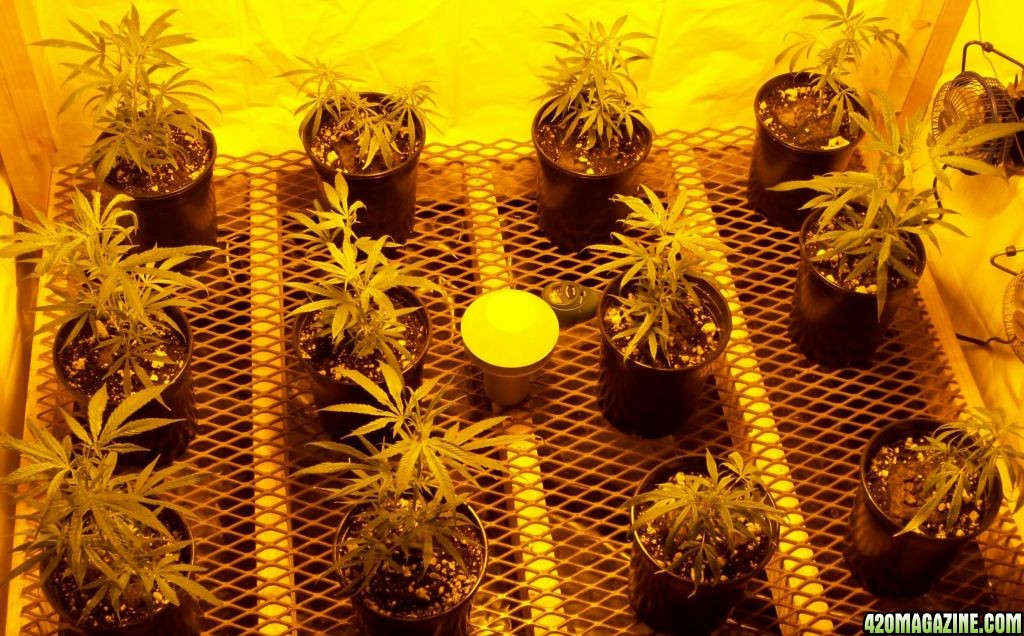
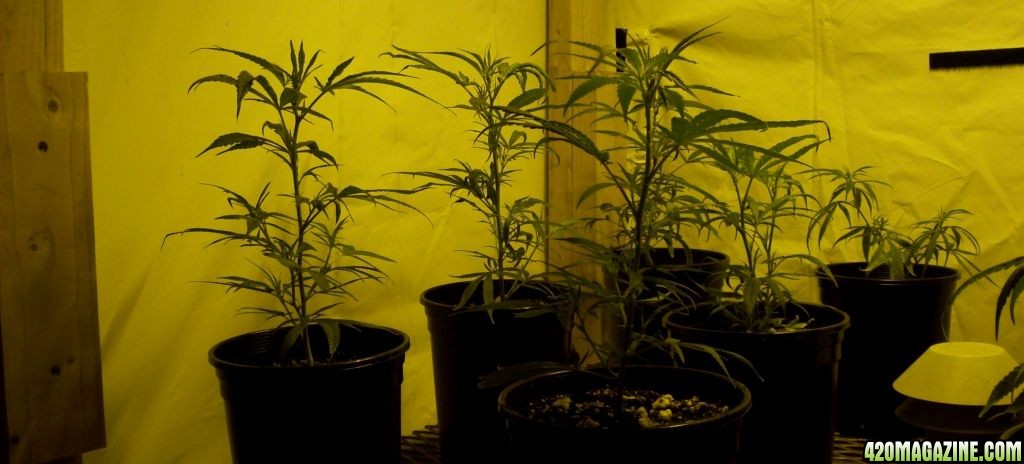
# of plants = 12
Journal Table of Contents:
Intro & general info - Page 1, Post 1
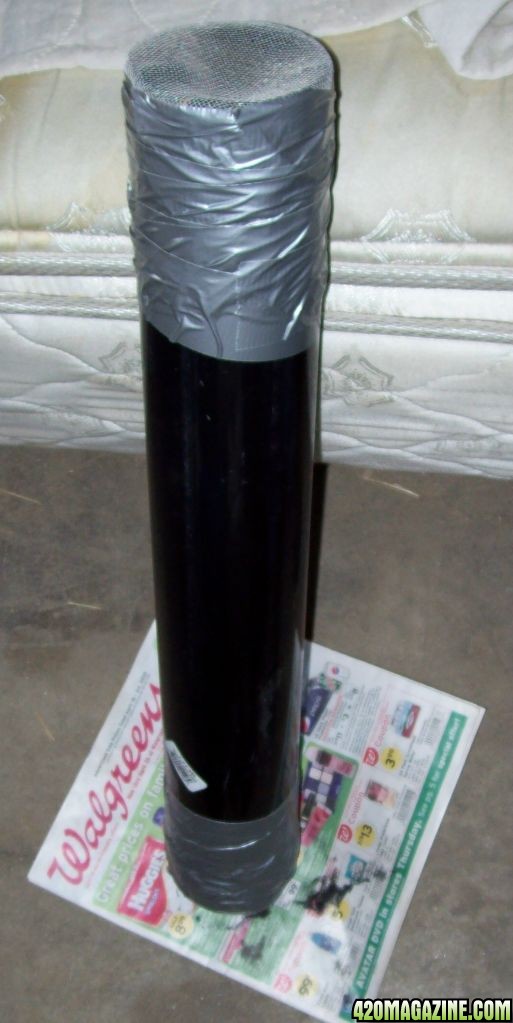
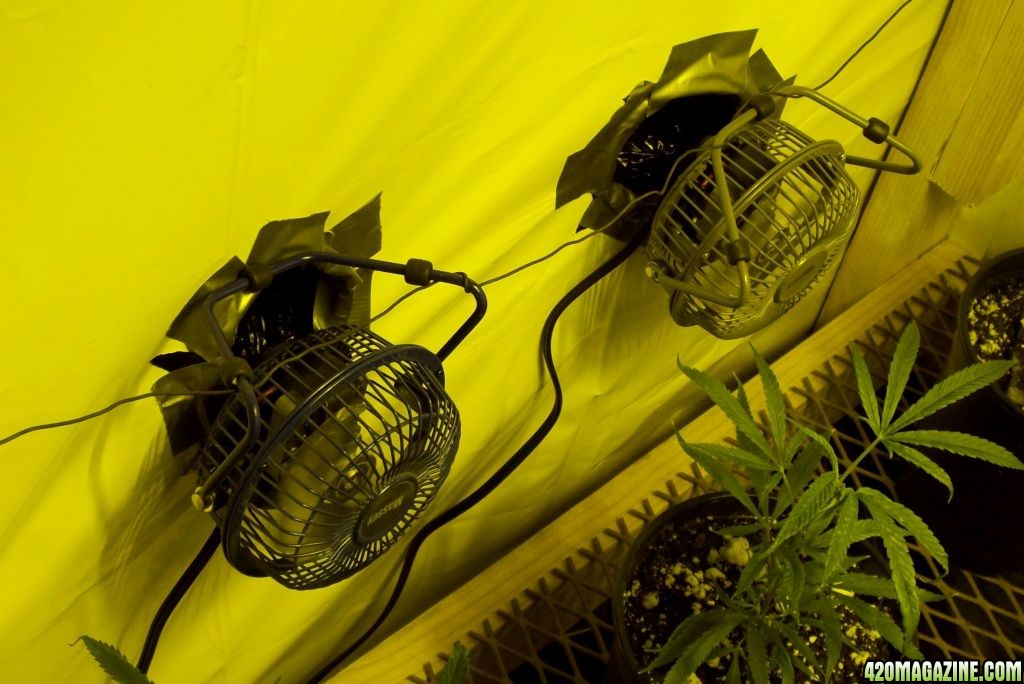
Grow hut & equipment info - Page 1, Post 2
This is my second grow ever (never even owned a house plant before my 1st outdoor grow - see signature for link). I chose indoors for security reasons and so I can better control growing environment. I chose Scrog mostly due to the shorter veg period (my goal is to get 4 crops a year). My goal is to have rooted clones from the club put into 1-gal pots by 10/6 (next Weds).
What strain is it? TBA - leaning toward Shiskaberry, but depends on what the club has in stock
Is it Indica, Sativa or Hybrid? What percentages? TBA
Is it in Veg or Flower stage? TBA
Rooted clones planted under veg light on: TBA
Flowering (12/12 switch) started on: TBA
Indoor or outdoor? Indoor
Soil or Hydro? Soil
If soil... what is in your mix? Fox Farms Ocean Forrest Potting Soil + Perlite
If soil... What size pot? Will plant in 1-gal then transplant to 3-gal
Size of light? 600W HPS
Is it aircooled? Vented reflector hood with glass lense
Temp of Room/cab? TBA
RH of Room/cab? TBA
PH of media or res? TBA
Any Pests ? TBA
How often are you watering? TBA
Type and strength of ferts used? Fox Farms liquid trio
Screen size = 3'x4'
# of plants = 12
Journal Table of Contents:
Intro & general info - Page 1, Post 1
Grow hut & equipment info - Page 1, Post 2