

PrairiePoet
Well-Known Member
Looking good Mr Smith.
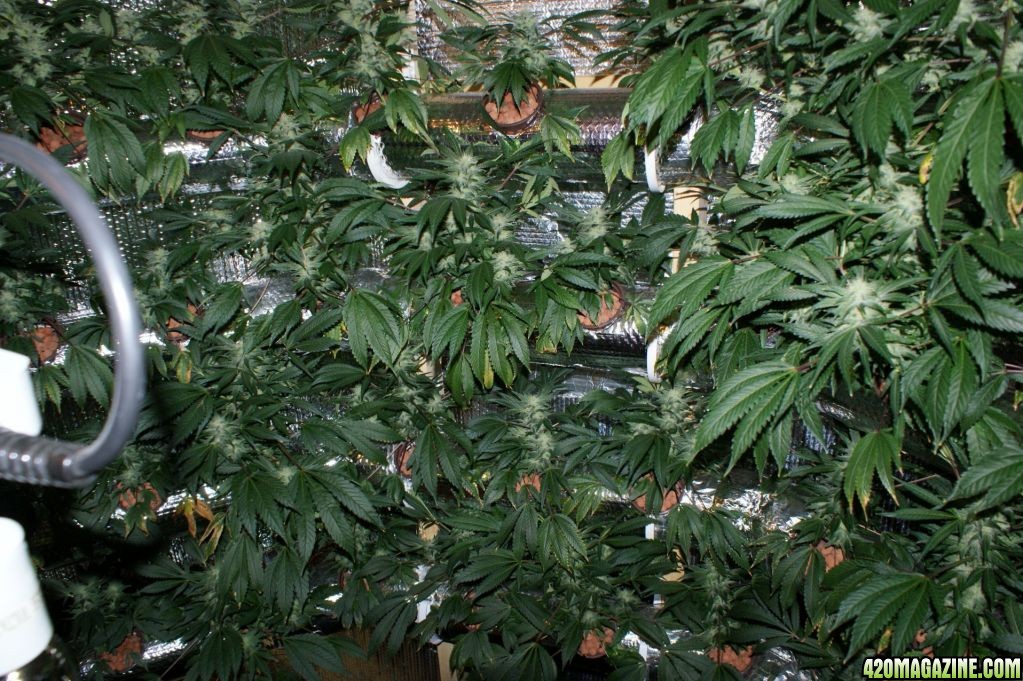
I had wondered about the angle you did with the pots. We learn as we grow.
Prairie
I had wondered about the angle you did with the pots. We learn as we grow.
Prairie
How To Use Progressive Web App aka PWA On 420 Magazine Forum
Note: This feature may not be available in some browsers.

Or split the watts and stack the bulbs ie two(or three) 400w, but...Perhaps the vertical movement is the key to extra vertical efficiency.
Or split the watts and stack the bulbs ie two(or three) 400w, but...
They would be serving a smaller radius crop circle.

")
I wonder if a longer veg time would help the yield...
What's your opinion on trimming fans that block light to buds?
I like how you've used the weight to counter balance the bulb on the vert. mover... might have to steal that idea...
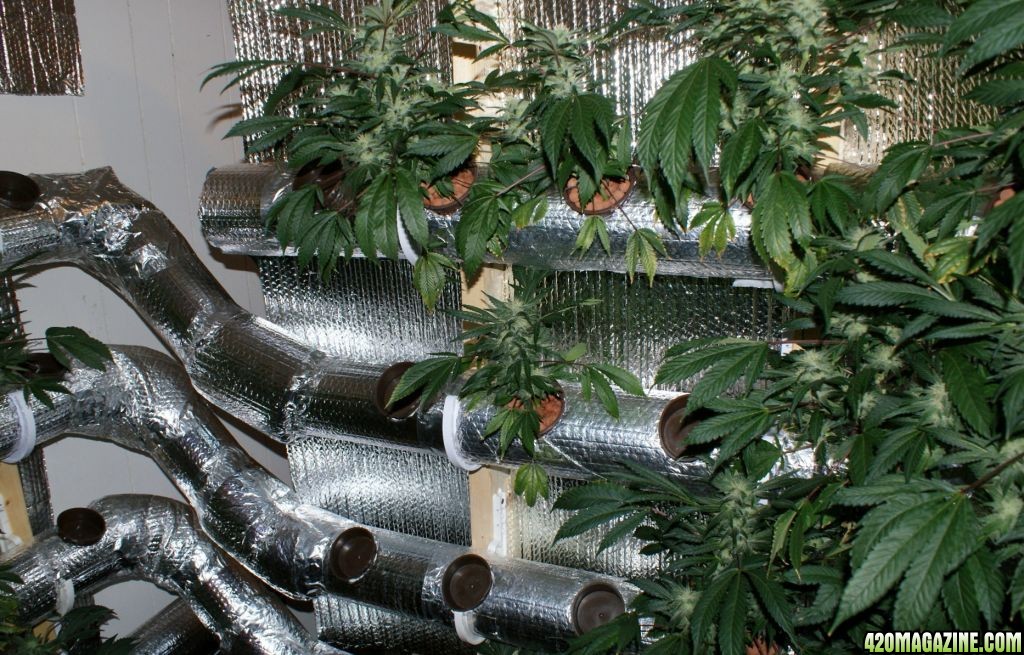
Mr Smith, I'm delighted to see your flooded tube stack performing well, but...
Heaths' design is IMO, flawed. I wish that I could use & post graphics but
I still doodle with a pen. I will describe my ideas; the scheme behind my
ownership of two dozen sch 40 4" 45* elbows. I bought, then realized that
I can't build waterworks in the space I have ... I've downstairs neighbors.
Individual layers, water entering one end exits the other through a
short drain-pipe that adjusts for height of water in the upper tube, then pours
it into the next layer down. Each half-layer has four octagon segments;
Four half-circle flooded tubes stack for each side of the array. Each half
has its own pump from the common res. One side can pivot on HD castors
to allow inside access.
This tool has aided my dreams: Polygon Calculator
2" net-cups neatly mount RW starter cubes, why go bigger?
This system has 8 separable parts, so is portable.
The vertical drain-connector can be fitted with a grommet on top, loose below.
End caps can be coffee-can tops in 4" sch 40; silicon works here.
")


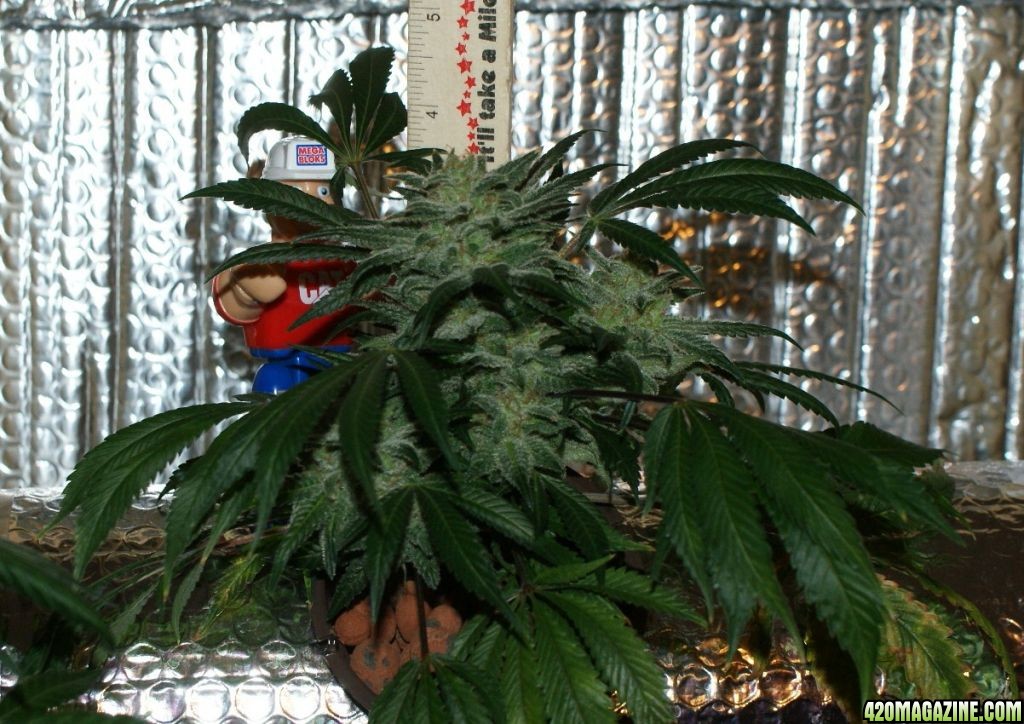
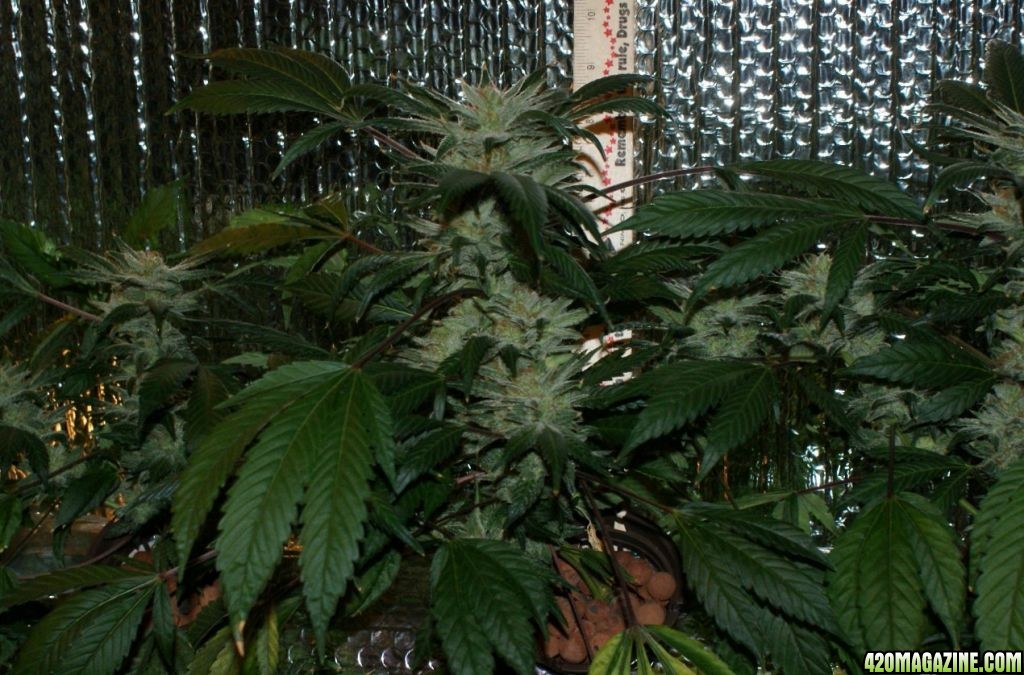

 +10
+10 on yeild !! look like a good one here !!