

DeanWest89
Well-Known Member
03/22/21
INTRO INTO TRUE LIVING ORGANICS
I have taken time off to further my knowledge in true living organics, I feel like I wasn’t completely understanding the concept and after having a fail on my last grow it made me realize I can’t just throw shit together and hope it works. I wanted to get rid of the grow to waste philosophy and start thinking sustainability. No more half assed bull crap.
After reading the revs” true living organics” and listening to pod casts from very respectable people in their fields, as well as fast amounts of research and cross referencing information to find the common ground, I feel like I have the knowledge I need to pull this off successfully, and hopefully share what I have learned and learn some new things along the way, knowledge is power folks
I only stumbled onto this knowledge because of a member in this community who in my opinion absolutely rocks the living soil scene and is one of the main reasons I pushed myself to improve , what she was doing was what I was trying to achieve I just was missing a few pieces of the puzzle , her journals and results speak for themselves, no names will be shared but I know she Will know who she is when she stumbles across this . And to everyone else who pushed me to get better I would not be here if it wasn’t for this community . We are more powerful as a single unit then in our own , this is one of the most powerful cannabis growing think tanks I have come across and I’m happy to have apart of it
I wanted to do and all natural/organic style of growing where I provide everything the plant and microbial life could possibly need in the soil, by mixing live worm castings and composts, dry amendments like rock dusts and different kinds of meals and other essential organic products , and then taking them and mixing them and adding moisture and letting life happen by composting (cooking) your supernatural living soil for 20 days minimum in ideal conditions . There will be no chelated sludges and salt bases solutions going into this grow .
I am using a three pronged system which was created by someone else, but its something that just makes so much sense to me , it’s to recycle everything back into my soil to achieve true living organic status.
#1- This one of course is composting (cooking) your soil prior to planting is a must ! Failure to do so will result in plants that will never look happy if they make it at all, been there done that , it’s devastating. Starting with high end organic soil , and all natural Omri certified products certified for the production of organic crops ( not all are tlo friendly btw) but you could even harvest a lot of stuff from nature if you know where to look., this would be ideal but I don’t have any land to source things from . I was able to locally source 90% of everything so it made things a lot easier , the only thing I struggled to get was the guano without spending a fortune.
#2- Source of live worm castings and compost !Some people overlook this but the quality of these two makes a huge difference in what they bring to the table here. I have managed my own worm farm for 2 years now. I have never seen so much life in one bin. I can’t produce much worm castings but the castings my worms produce are supercharged with some meals and rock dusts. When I do buy castings I cut the store bought stuff with mine and then apply them.
I will get into this later on in my journal.your castings are only as good as the effort you put into managing it . Also a source of good compost , I purchase mushroom compost aswell as make my own compost ,it’s all about biodiversity .I’m also in the process of making black leaf mold compost but that’s next years hype when it’s ready .
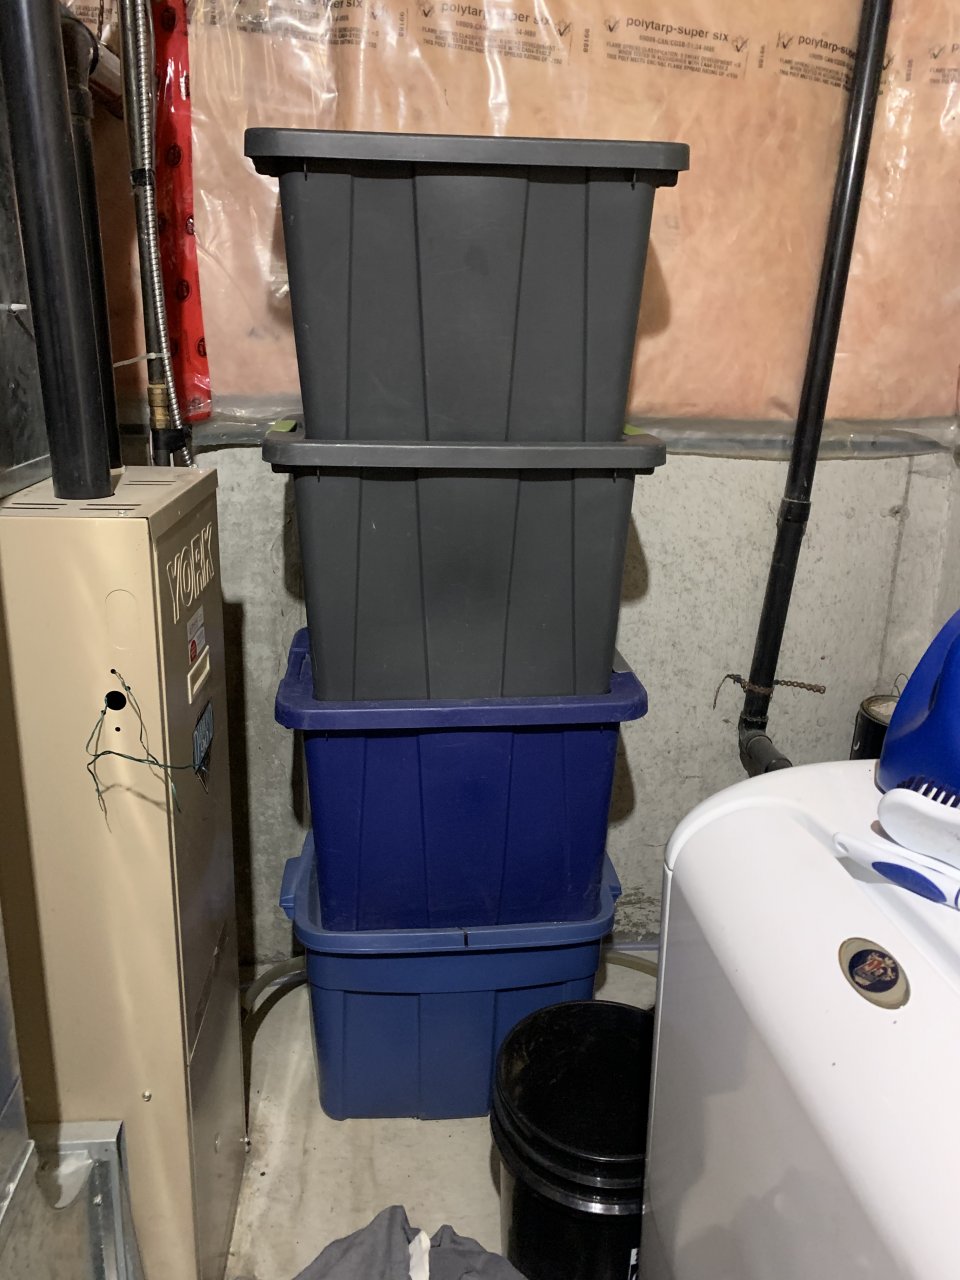
I use a 50 gal tote to hold all my composting used soil which is crawling with life.
I use another 50 gal tote to cook in, and 5 25 gal totes to hold pre cooked soil , so weather I made one for the transplant to flower or one to veg I keep it labeled and the mix documented . If your able to do these two things it’s a world of difference, it’s fun exciting and the more I research into those things the more pieces of the big picture fall into play .
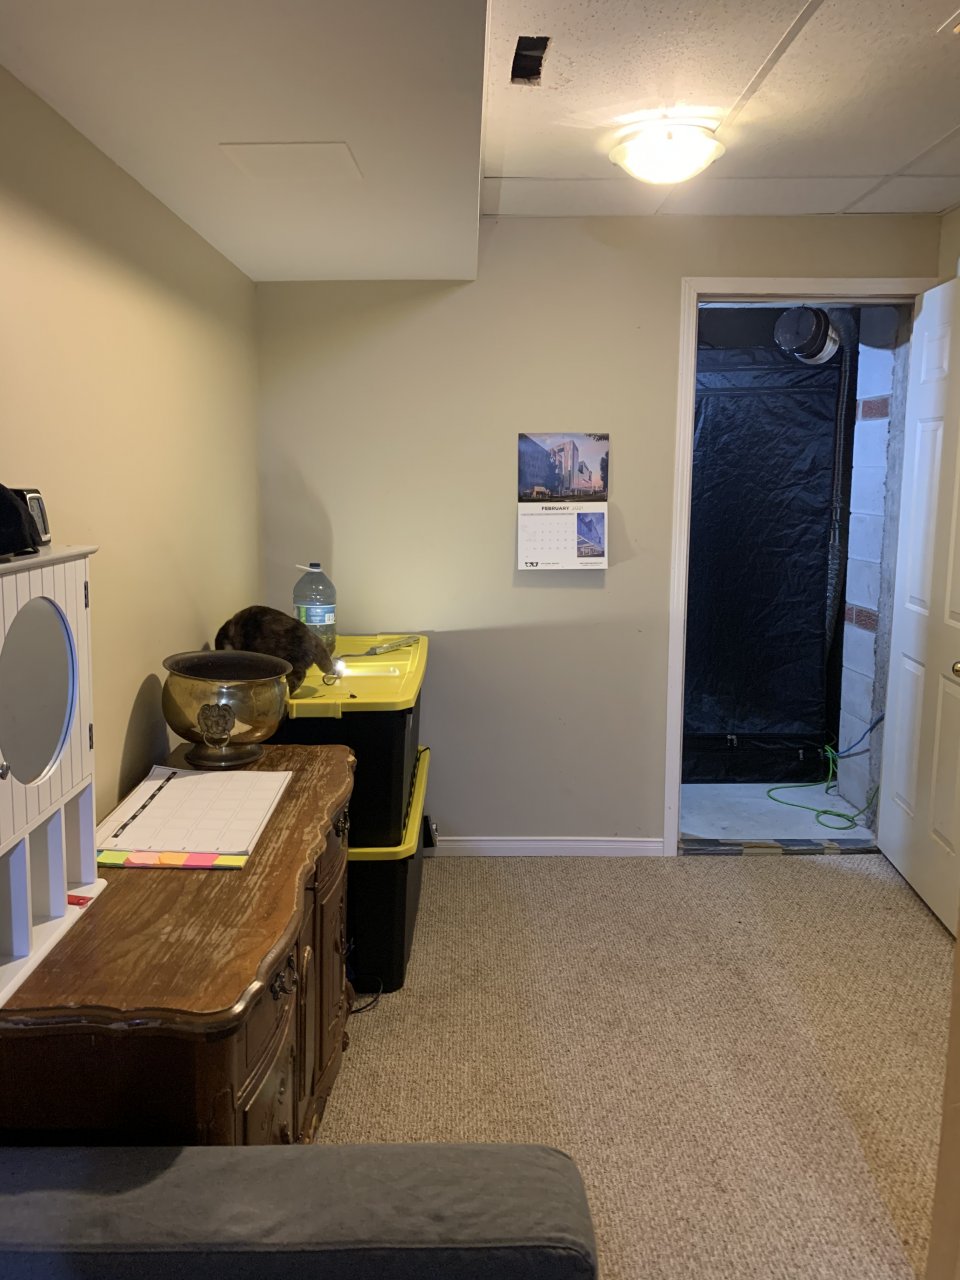
#3- Recycle,recycle,recycle everything is saved and composted back into the soil , my soil is now 4 years old and it’s has more life in it then my suburbial hell of a backyard, my soil is literally moving , from springtails to soil dwelling composting mites to predatory mites, I hope to get a microscope one day to really test the life in my soil and compost teas . I am able to do this all in a small footprint limited to a cold cellar that’s 9x7x8’ which I’ve stuffed a 4x8x7’ 2” grow tent to regulate temps for the inside tents , a corner of a room and a portion of a laundry room
Container preparations- as you know I am following the revs book so I’m meticulously setting up these pots by misting the pot prior to any soil going and and lining the pot with amendments that are tailored to that plants stage , veg , or transplanting a few weeks prior to flower . In conjunction with custom layering blends and spike blends as well as localized top dressing , make sure to keep thoes amendments away from the plants stem , I will be placing top dressing on the mulch and misting them under to let microbial life and fungi and all the other critters do their jobs.I will do a full tutorial on how I set my containers up in the future. I will be using a few compost teas in the plants life cycle aswell as foliar soraying these teas to protect the plant from pathogens and mold. Uuraww the power of life .
PH ?? ph is not a concern in true living organics , of course it is in a way you need a good clean water source ,and you don’t want to water big fluctuations of ph ; consistency . reverse osmosis or distilled water , if it’s over 20 ppm it’s no good for this and will only in the long run start to affect your soil . If your using your tap water and are evaporating the chlorine , it would be worth it to send a sample in to be tested , because if there’s an abundant of one mineral or a few , then you will need to adjust your amendments accordingly , or choose to purchase r/o system or bottles. In my small scale grow it cost me 10$ a week in zero/o water. If your soil microbiology is in check your soil will manage itself .Again uuraww the power of life .
THE REVS RECYCLED SOIL MIX RECIPE 2.2
I did make a minor change and added a tad more k I’ll explain why later on long story short I have low rh and the plants tend to burn through it much faster so I made sure there were sources for the long haul to get me to the end . Hopefully only having to top dress those long flowering sativa’s .
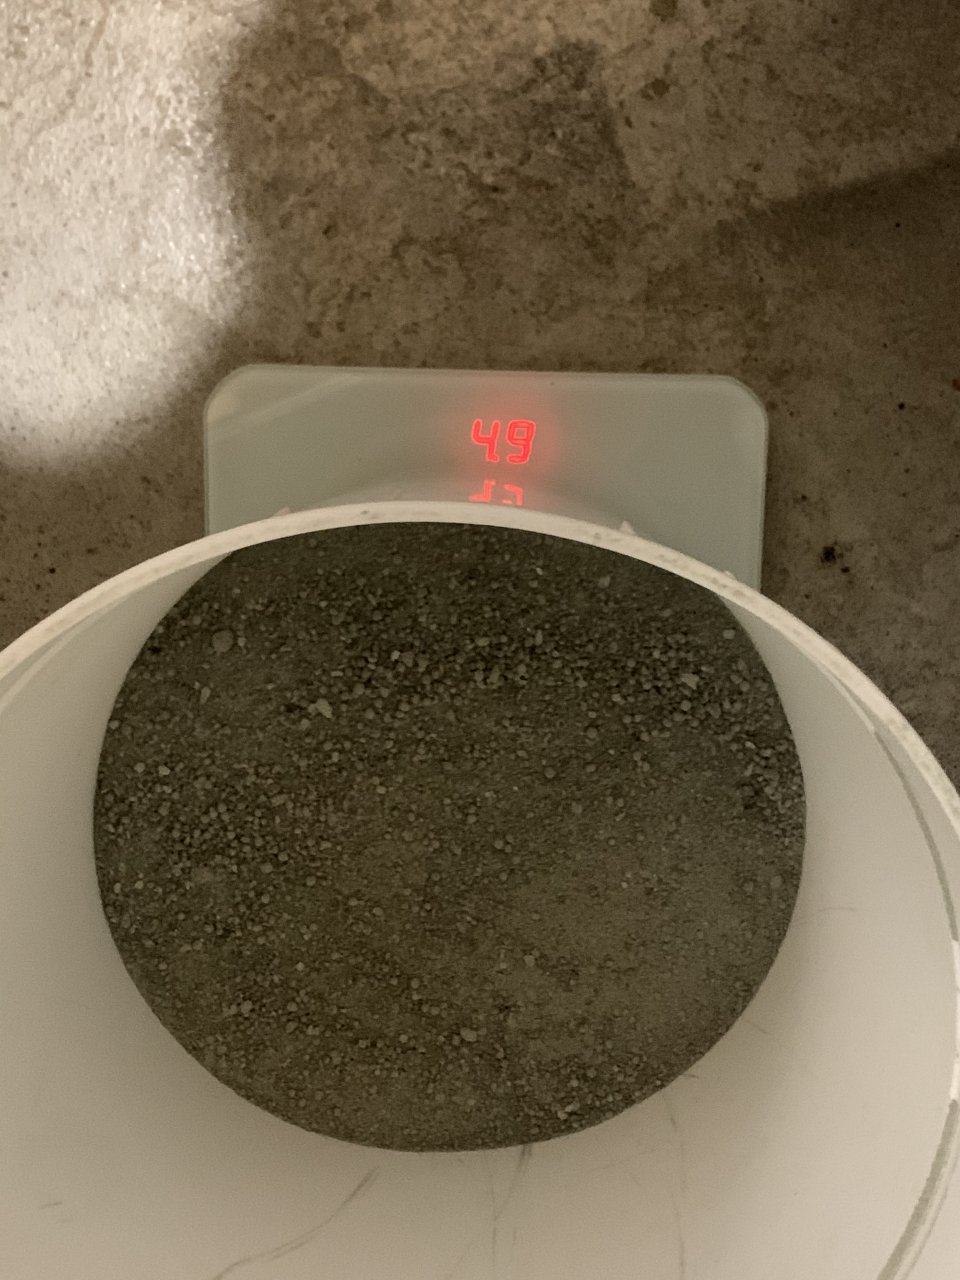
4.9 kg is what these amendments amounted to , I mixed them together in an old 5 gal ice cream pale from the local ice cream shop , and then applied a thin layer of soil then amendments / soil / amendments until I finished all soil and all amendments , I mixed them in for a good 45 mins it took a long time , and then I watered the mix slowly until it had the moisture content I desired and then I mixed it some more then I took a handful of worms from my worm bin aswell as all the other life with it and let it loose into the soil .
I set it to cook for 20 days min , day 30 I decided transplant clones into this soil . I was amazed at the results . DO NOT SEAL THE TOTE , it needs airflow and to be turned periodically . We are targeting the aerobic type of fungi and bacteria . Plus this is indoors and my wife would shoot me if she had to smell foul odours
okay let’s get into the introduction pictures to this there’s a lot of photos but I put detail descriptions on the photos themselves


now that I have my soil and what I am doing covered I will get into seeing what this soil can actually do, and let me tell you people it’s absolutely amazing , I have never had such vigorous growth rates in my grow, even with my vpd not in the ideal range but I'm still getting good results . My next investment will be a large area humidifier , one that is not ultrasonic, maybe a while house one idk , I’ve had bad results with them in the past with the dreaded white dust in everything .
Thanks for checking out my journal I hope that everyone can at the very least walk away with one new piece of info that can better help what there doing, now I don’t think this is the only way to do things organically but for me this is what works best for me and my ideals, after all sustainability is what I’m after here , next will be applyin the fundamentals of permaculture on the surrounding property of my home. Who would have thought growing cannabis would lead me to do many positive things in my life , and i hope it has for all of you
INTRO INTO TRUE LIVING ORGANICS
I have taken time off to further my knowledge in true living organics, I feel like I wasn’t completely understanding the concept and after having a fail on my last grow it made me realize I can’t just throw shit together and hope it works. I wanted to get rid of the grow to waste philosophy and start thinking sustainability. No more half assed bull crap.
After reading the revs” true living organics” and listening to pod casts from very respectable people in their fields, as well as fast amounts of research and cross referencing information to find the common ground, I feel like I have the knowledge I need to pull this off successfully, and hopefully share what I have learned and learn some new things along the way, knowledge is power folks
I only stumbled onto this knowledge because of a member in this community who in my opinion absolutely rocks the living soil scene and is one of the main reasons I pushed myself to improve , what she was doing was what I was trying to achieve I just was missing a few pieces of the puzzle , her journals and results speak for themselves, no names will be shared but I know she Will know who she is when she stumbles across this . And to everyone else who pushed me to get better I would not be here if it wasn’t for this community . We are more powerful as a single unit then in our own , this is one of the most powerful cannabis growing think tanks I have come across and I’m happy to have apart of it
I wanted to do and all natural/organic style of growing where I provide everything the plant and microbial life could possibly need in the soil, by mixing live worm castings and composts, dry amendments like rock dusts and different kinds of meals and other essential organic products , and then taking them and mixing them and adding moisture and letting life happen by composting (cooking) your supernatural living soil for 20 days minimum in ideal conditions . There will be no chelated sludges and salt bases solutions going into this grow .
I am using a three pronged system which was created by someone else, but its something that just makes so much sense to me , it’s to recycle everything back into my soil to achieve true living organic status.
#1- This one of course is composting (cooking) your soil prior to planting is a must ! Failure to do so will result in plants that will never look happy if they make it at all, been there done that , it’s devastating. Starting with high end organic soil , and all natural Omri certified products certified for the production of organic crops ( not all are tlo friendly btw) but you could even harvest a lot of stuff from nature if you know where to look., this would be ideal but I don’t have any land to source things from . I was able to locally source 90% of everything so it made things a lot easier , the only thing I struggled to get was the guano without spending a fortune.
#2- Source of live worm castings and compost !Some people overlook this but the quality of these two makes a huge difference in what they bring to the table here. I have managed my own worm farm for 2 years now. I have never seen so much life in one bin. I can’t produce much worm castings but the castings my worms produce are supercharged with some meals and rock dusts. When I do buy castings I cut the store bought stuff with mine and then apply them.
I will get into this later on in my journal.your castings are only as good as the effort you put into managing it . Also a source of good compost , I purchase mushroom compost aswell as make my own compost ,it’s all about biodiversity .I’m also in the process of making black leaf mold compost but that’s next years hype when it’s ready .
I use a 50 gal tote to hold all my composting used soil which is crawling with life.
I use another 50 gal tote to cook in, and 5 25 gal totes to hold pre cooked soil , so weather I made one for the transplant to flower or one to veg I keep it labeled and the mix documented . If your able to do these two things it’s a world of difference, it’s fun exciting and the more I research into those things the more pieces of the big picture fall into play .
#3- Recycle,recycle,recycle everything is saved and composted back into the soil , my soil is now 4 years old and it’s has more life in it then my suburbial hell of a backyard, my soil is literally moving , from springtails to soil dwelling composting mites to predatory mites, I hope to get a microscope one day to really test the life in my soil and compost teas . I am able to do this all in a small footprint limited to a cold cellar that’s 9x7x8’ which I’ve stuffed a 4x8x7’ 2” grow tent to regulate temps for the inside tents , a corner of a room and a portion of a laundry room
Container preparations- as you know I am following the revs book so I’m meticulously setting up these pots by misting the pot prior to any soil going and and lining the pot with amendments that are tailored to that plants stage , veg , or transplanting a few weeks prior to flower . In conjunction with custom layering blends and spike blends as well as localized top dressing , make sure to keep thoes amendments away from the plants stem , I will be placing top dressing on the mulch and misting them under to let microbial life and fungi and all the other critters do their jobs.I will do a full tutorial on how I set my containers up in the future. I will be using a few compost teas in the plants life cycle aswell as foliar soraying these teas to protect the plant from pathogens and mold. Uuraww the power of life .
PH ?? ph is not a concern in true living organics , of course it is in a way you need a good clean water source ,and you don’t want to water big fluctuations of ph ; consistency . reverse osmosis or distilled water , if it’s over 20 ppm it’s no good for this and will only in the long run start to affect your soil . If your using your tap water and are evaporating the chlorine , it would be worth it to send a sample in to be tested , because if there’s an abundant of one mineral or a few , then you will need to adjust your amendments accordingly , or choose to purchase r/o system or bottles. In my small scale grow it cost me 10$ a week in zero/o water. If your soil microbiology is in check your soil will manage itself .Again uuraww the power of life .
THE REVS RECYCLED SOIL MIX RECIPE 2.2
I did make a minor change and added a tad more k I’ll explain why later on long story short I have low rh and the plants tend to burn through it much faster so I made sure there were sources for the long haul to get me to the end . Hopefully only having to top dress those long flowering sativa’s .
- 21 gal of my recycled living soil 4 years in the making.
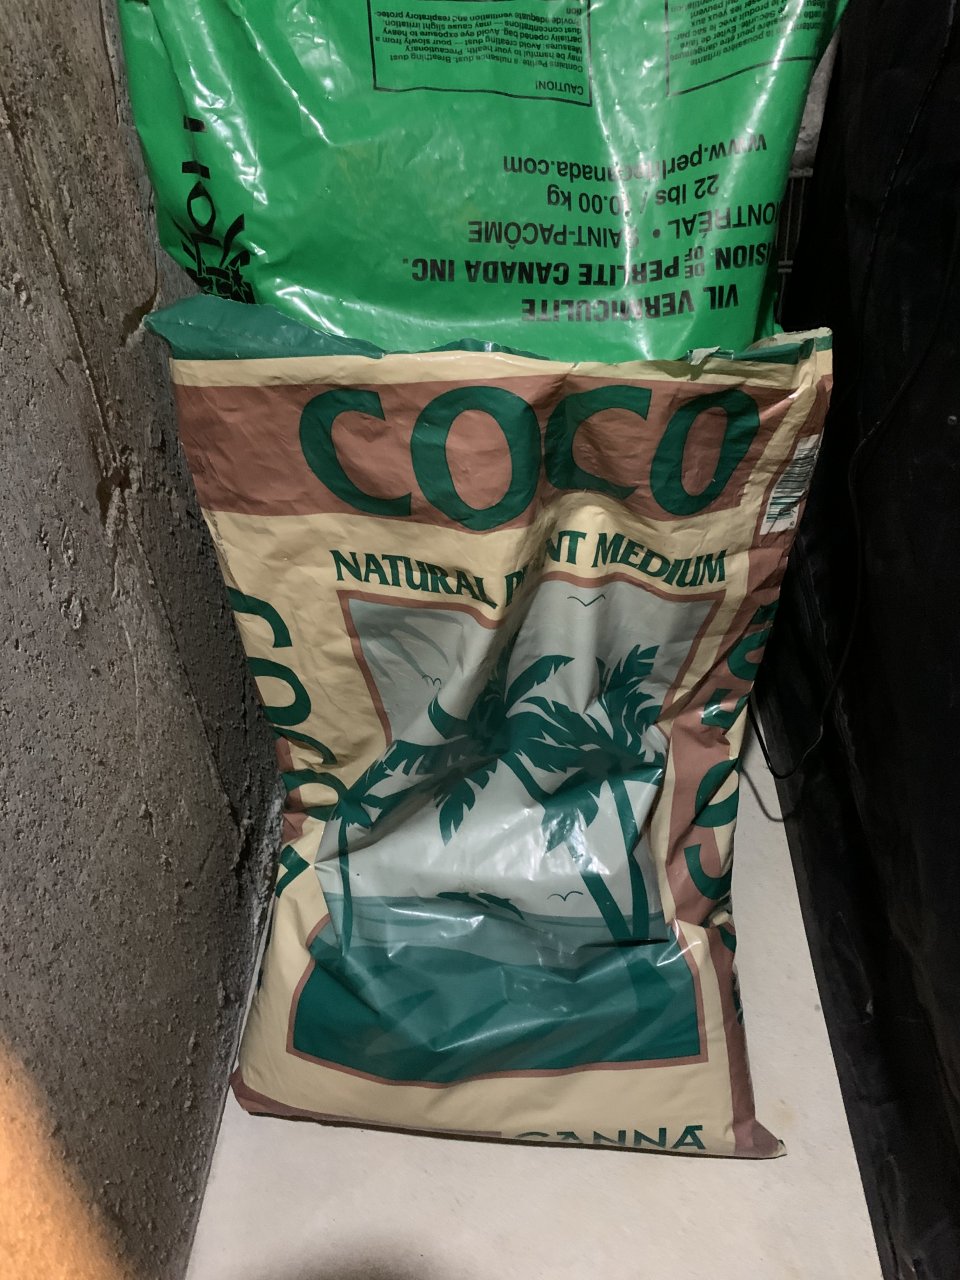
- 2 gal rinsed coco coir ( I used canna coco ore rined) those salts are a birch in brick coir
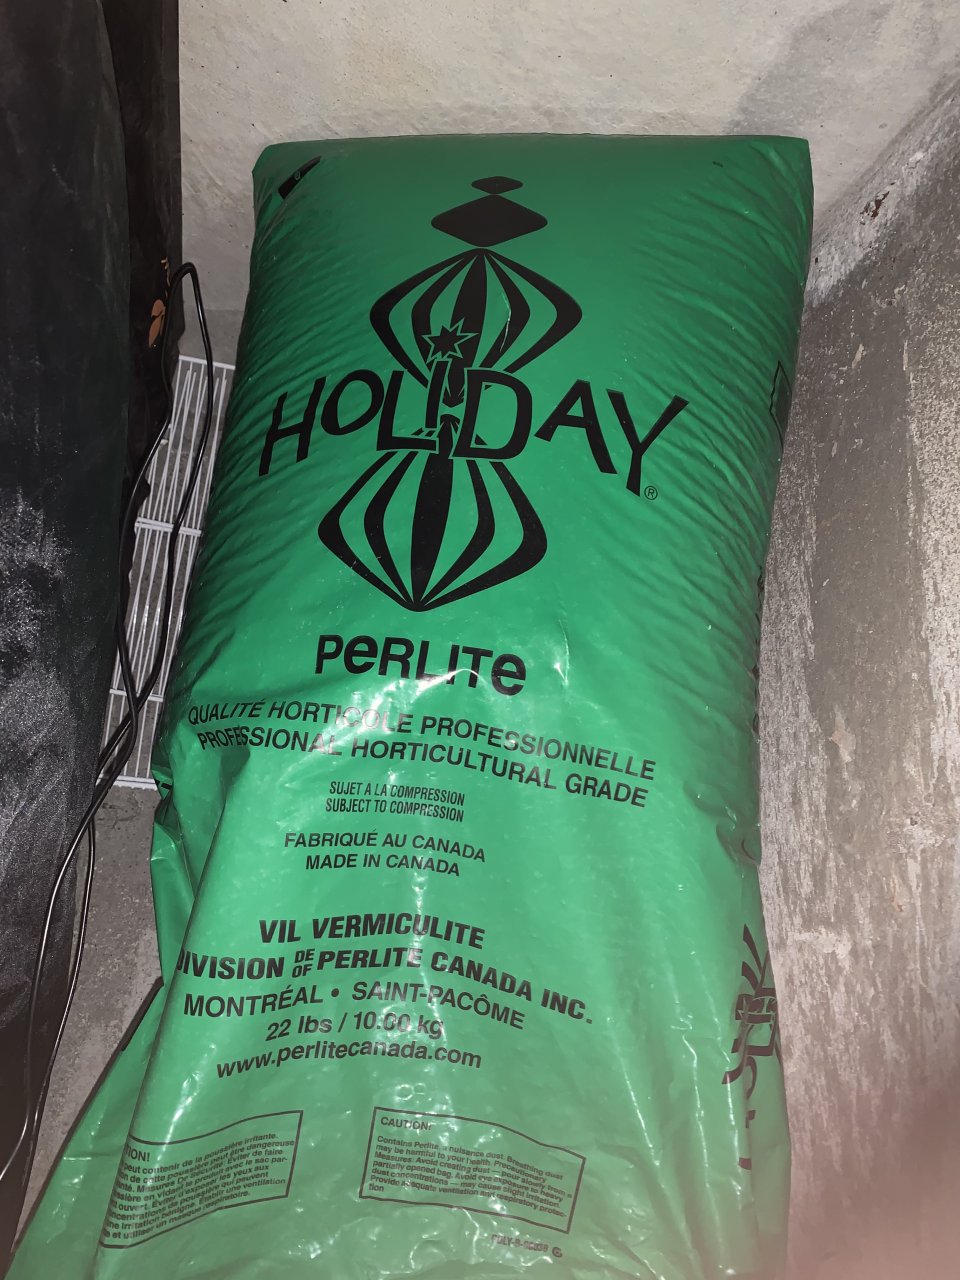
- Perlite only had to add a small amount since it was there from the last run , but the more you recycle material into it the more you have to add airation to maintain the same ratios .
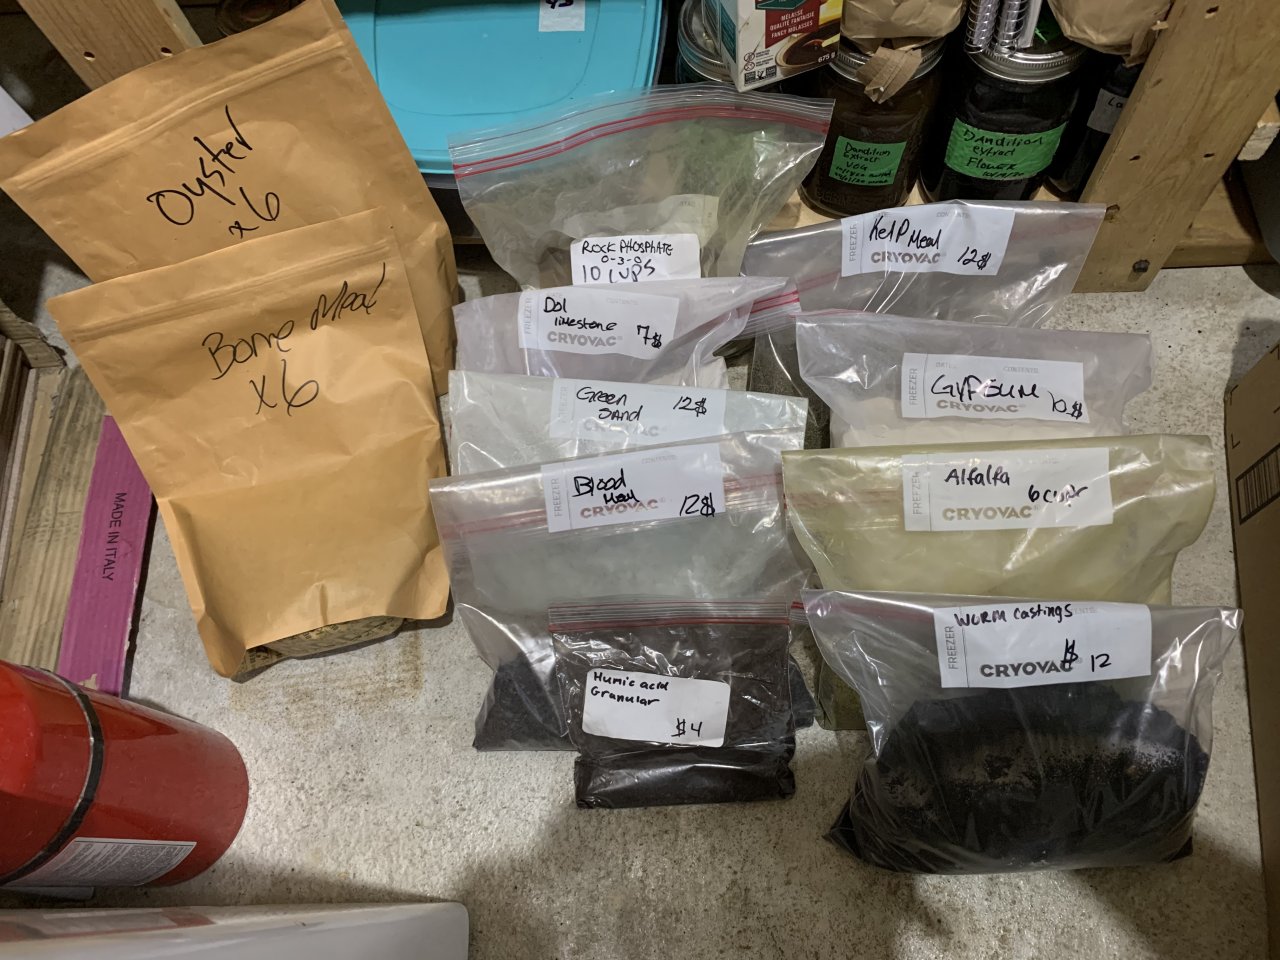
- 2 1/3 cup powdered Dolomite Lime
- 1 cup Blood meal
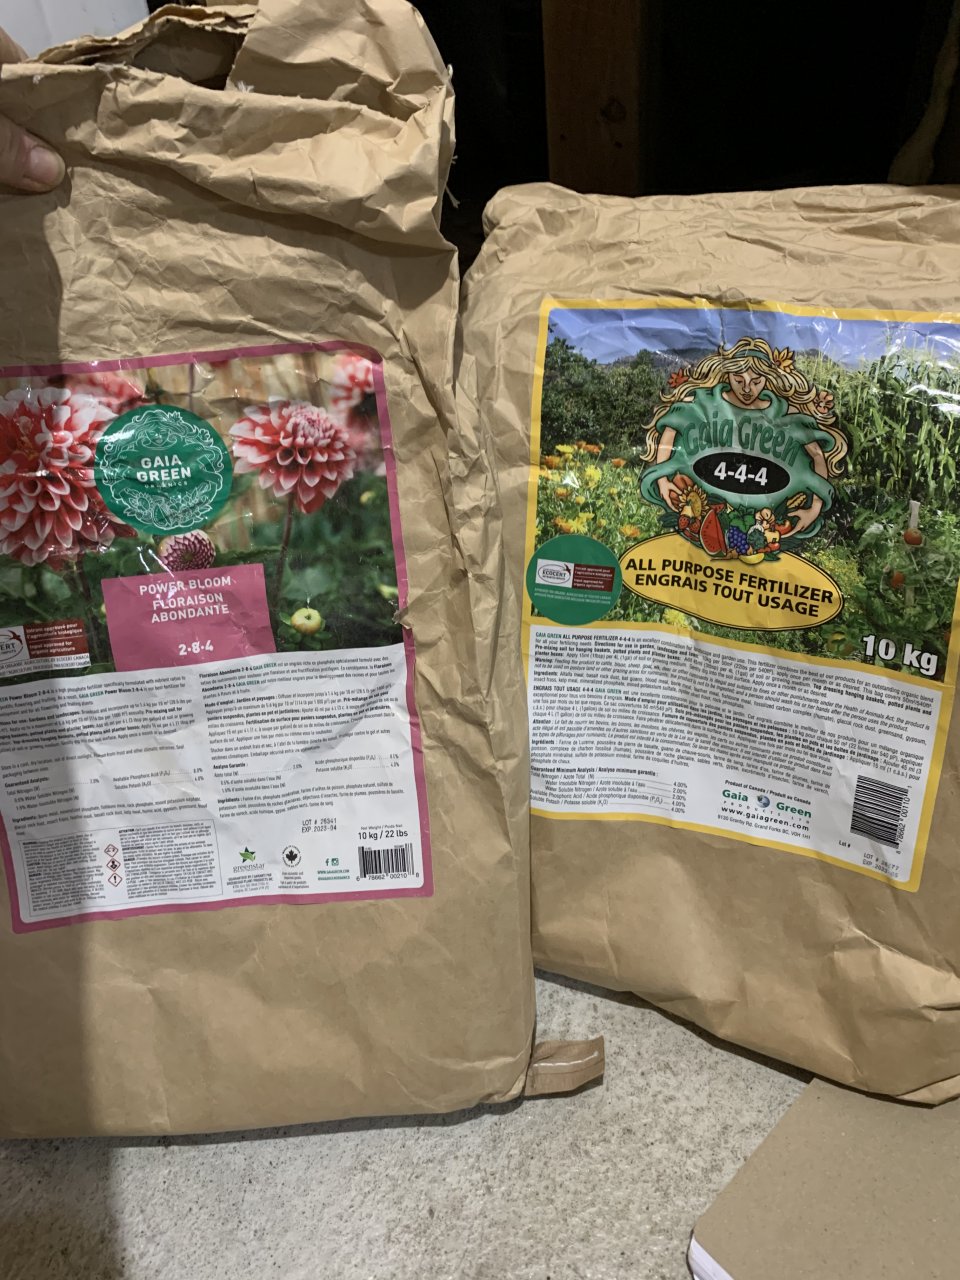
- 1 cup Gaja green all purpose
- 1 cup High N guano
- 1/3 cup Azomite powdered
- 3 cups Feather meal
- 3 cups Bone meal
- 1.5 cups Greensand
- 1 cup Rock phosphate
- 2 cups Spanish river carbonate
- 2 cups Biochar (precharged)
- 1/2 cup Humic acid granule
- 1/4 cup Humic acid Ore
- 3/4 cup Gypsum powder
- 1 cup oyster shell flour
- 2 cups Alfalfa meal
- 4 cups Kelp meal
- 8 cups composted sheep manure
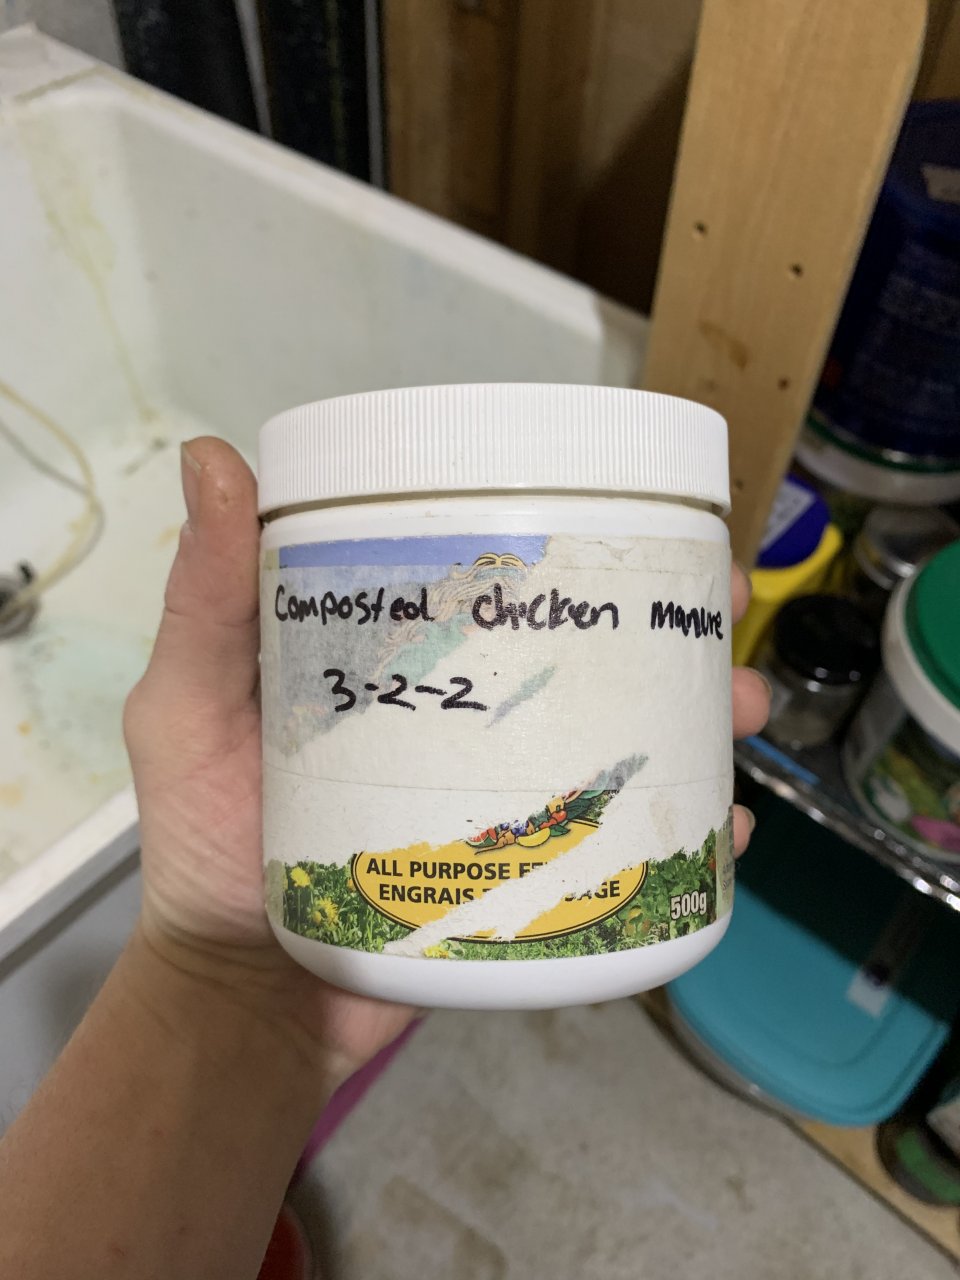
- 1/4 cup composted chicken manure
- 2 cups organic basmati rice
4.9 kg is what these amendments amounted to , I mixed them together in an old 5 gal ice cream pale from the local ice cream shop , and then applied a thin layer of soil then amendments / soil / amendments until I finished all soil and all amendments , I mixed them in for a good 45 mins it took a long time , and then I watered the mix slowly until it had the moisture content I desired and then I mixed it some more then I took a handful of worms from my worm bin aswell as all the other life with it and let it loose into the soil .
I set it to cook for 20 days min , day 30 I decided transplant clones into this soil . I was amazed at the results . DO NOT SEAL THE TOTE , it needs airflow and to be turned periodically . We are targeting the aerobic type of fungi and bacteria . Plus this is indoors and my wife would shoot me if she had to smell foul odours
okay let’s get into the introduction pictures to this there’s a lot of photos but I put detail descriptions on the photos themselves
2 50 gal totes holding 90% of my soil
All my soil only taking up a small corner of the basement , this is my work station
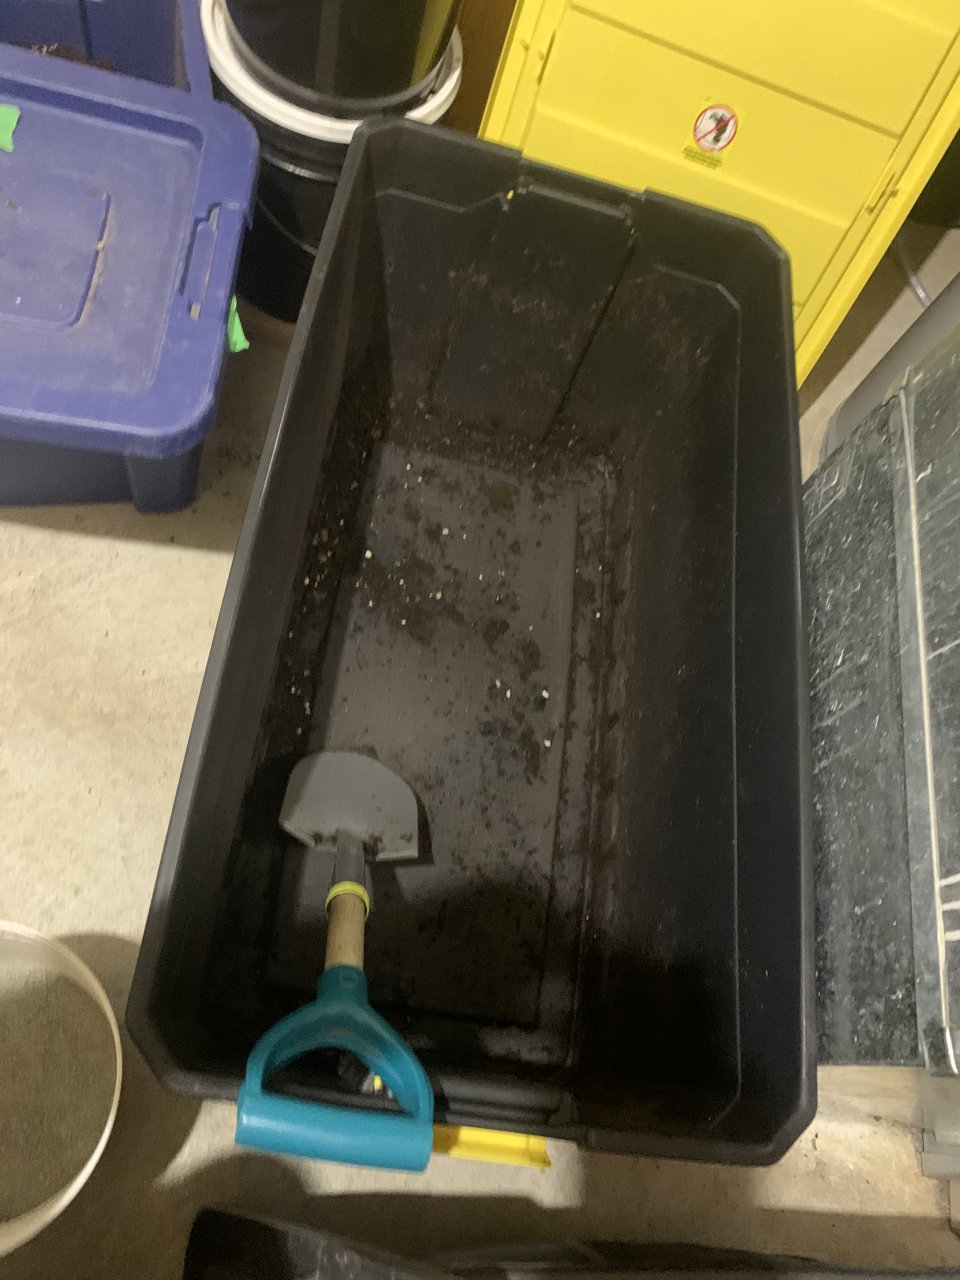
4 25 gal totes
These are for holding soil in different stages, they get labeled with all info required so I...
Perlite
Aeration must I say more .
I’m looking into other products for aeration but I don’t want to add...
I’m looking into other products for aeration but I don’t want to add...
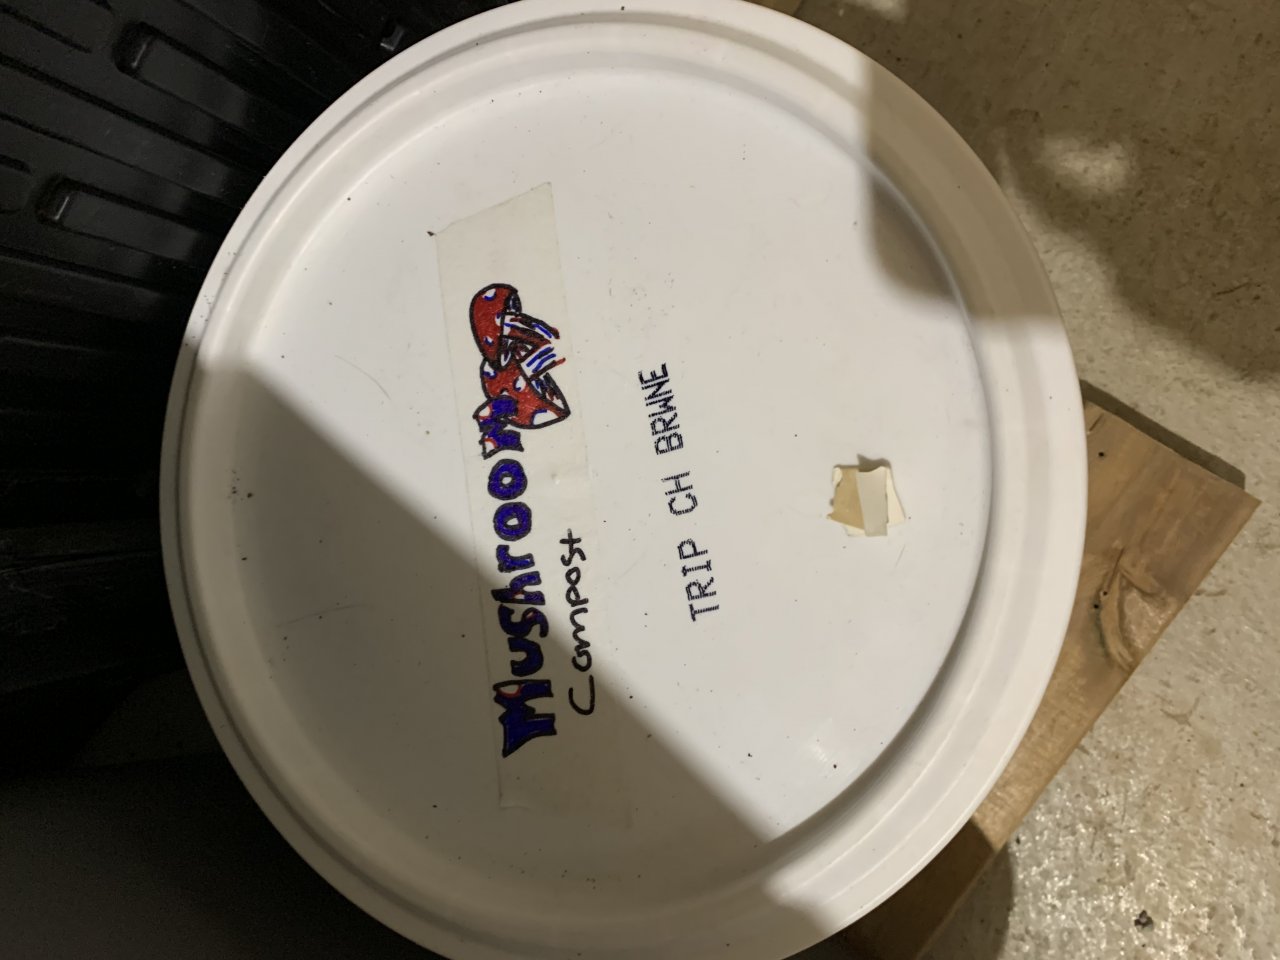
Mushroom compost
Locally sourced , even though I make my own compost biodiversity is the key here
Amendments
This is overstock to my overstock
I have enough amendments to mix all of my soil that I have...
I have enough amendments to mix all of my soil that I have...
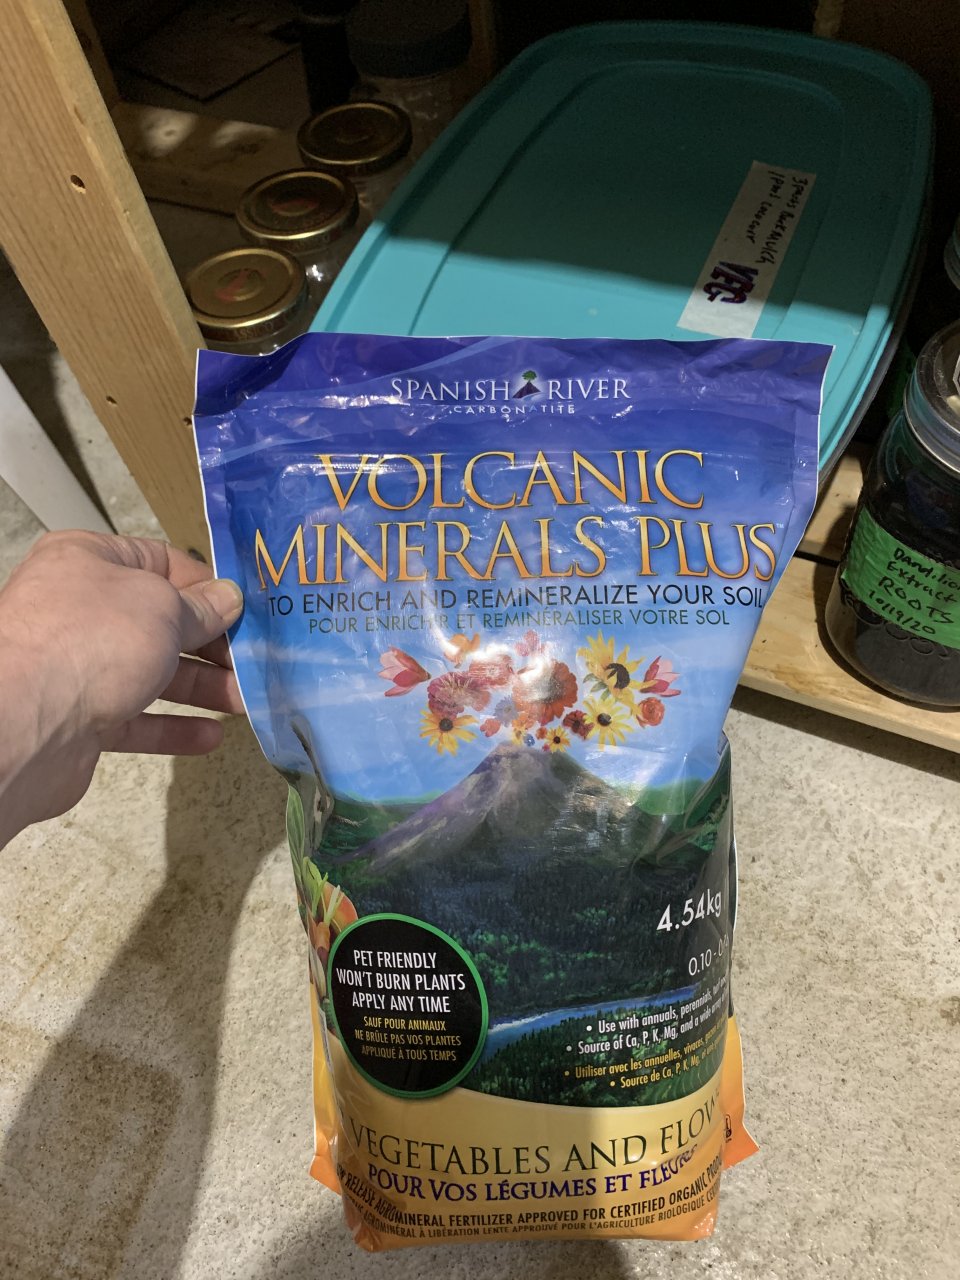
Spanish river carbonate
Volcanic mineral plus , this stuff contains more minerals and vitamins and earth elements per...
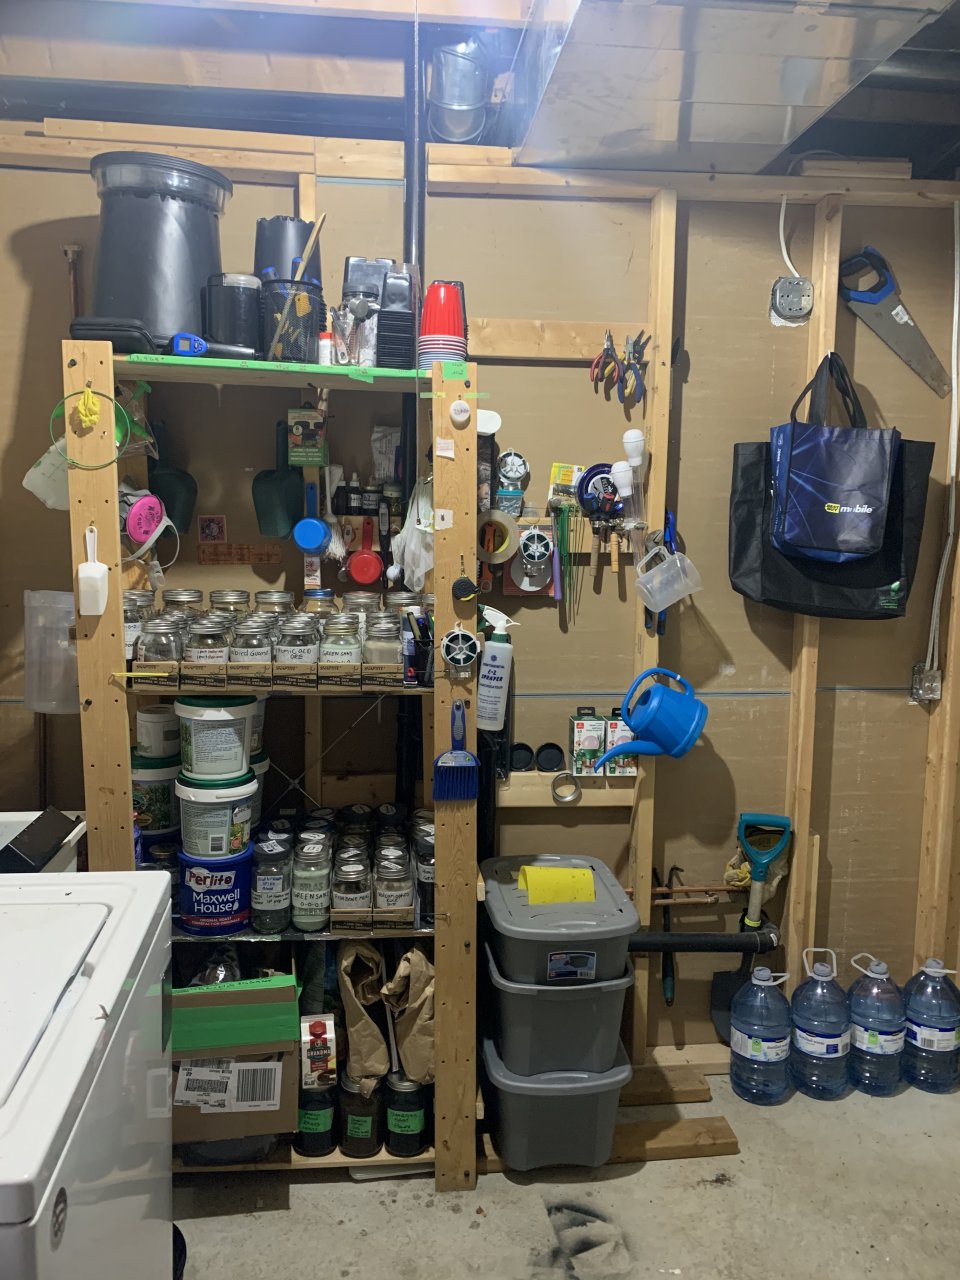
The TLO station in the making
I had to re design the shelve unit so my jars wouldn’t get knocked off the shelve , I dropped 1...
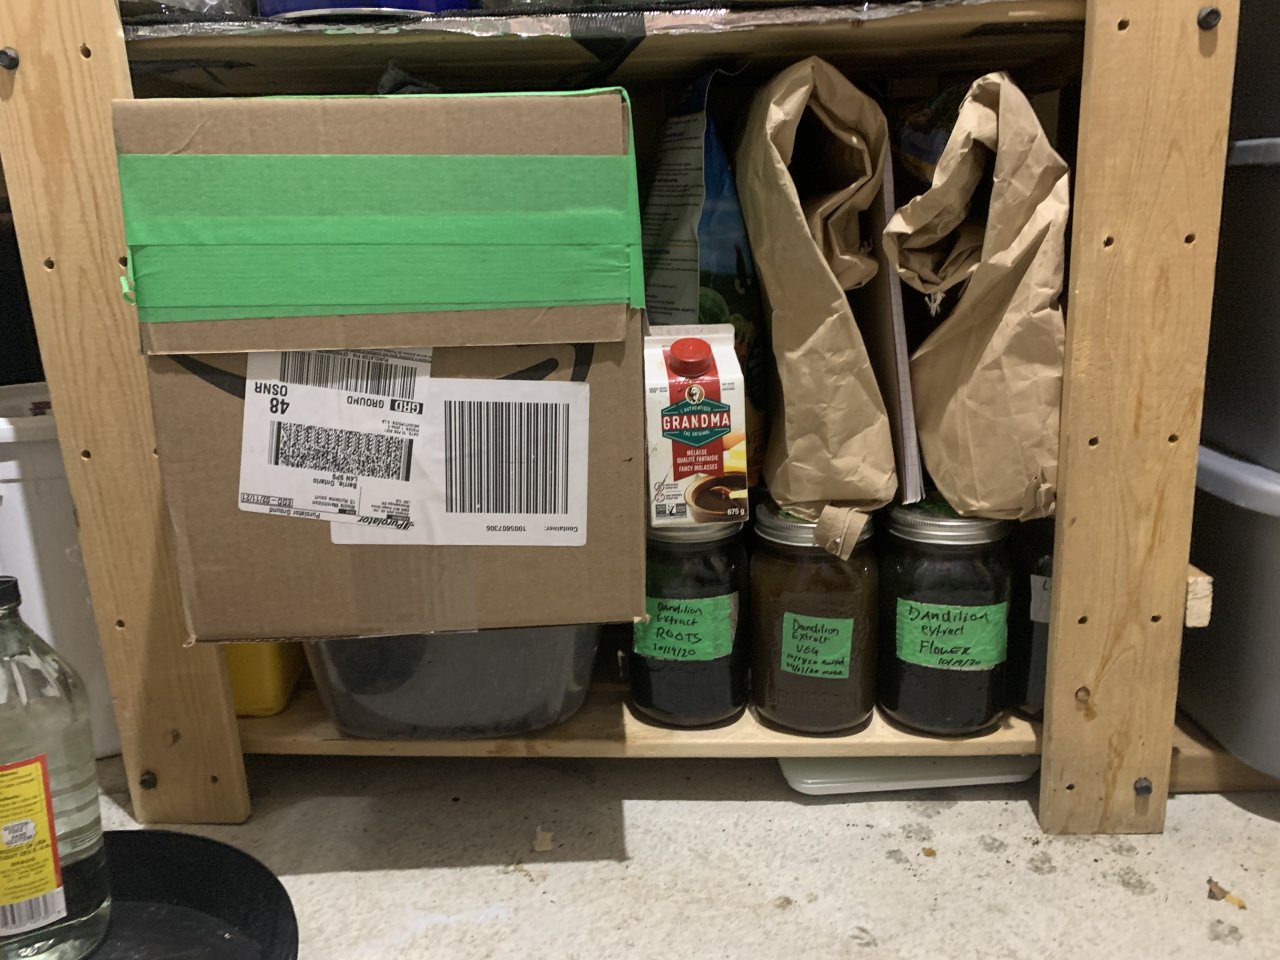
TLO STATION Bottom shelve
This contains overstock to my overstock , aswell as lactobacillus serum , and dandelion ferments...
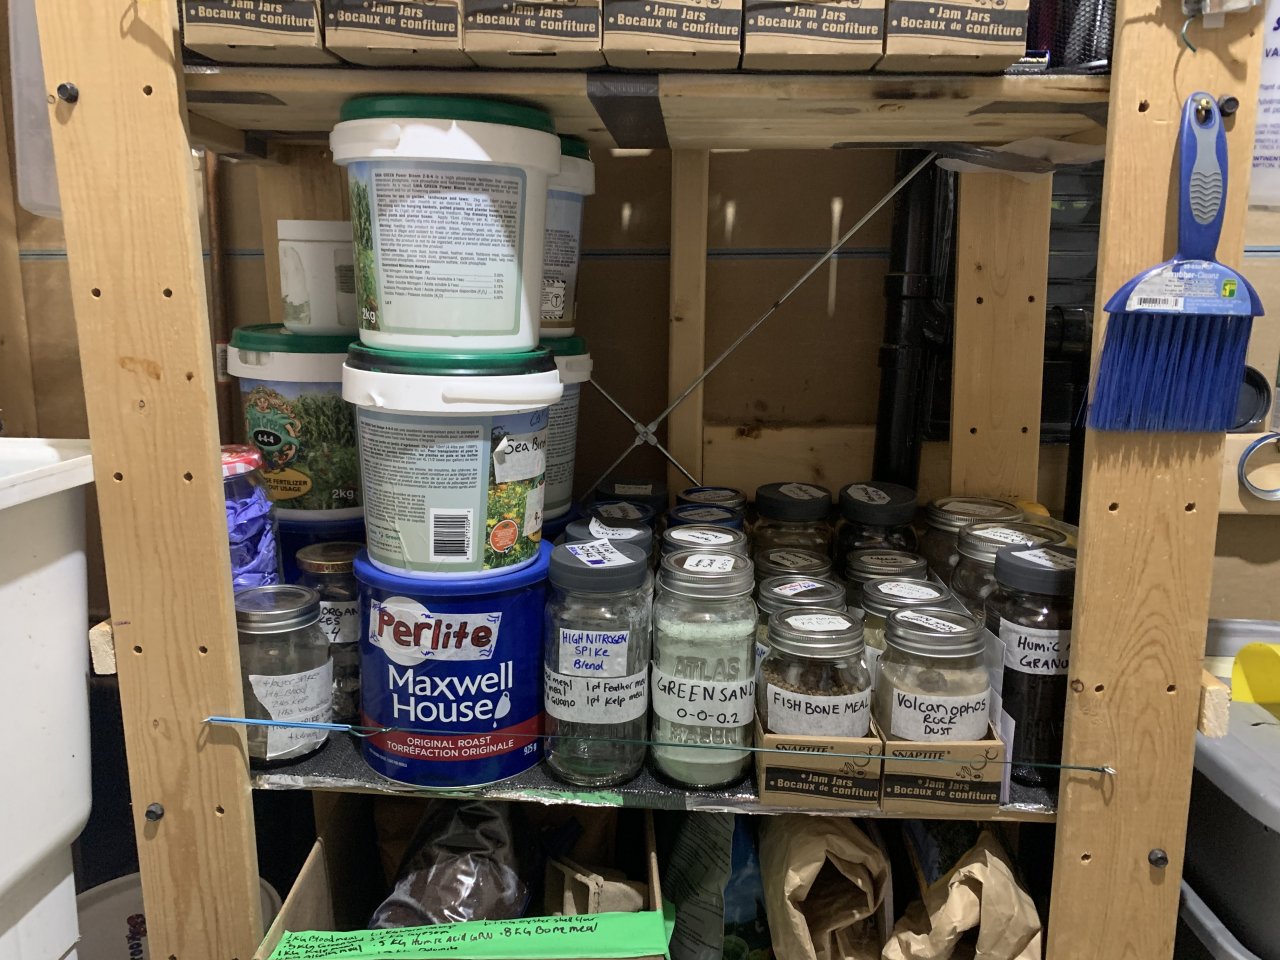
TLO STATION Middle shelve
this one contains a lot of over stock in the jars but in the left are things like the Gaja all...
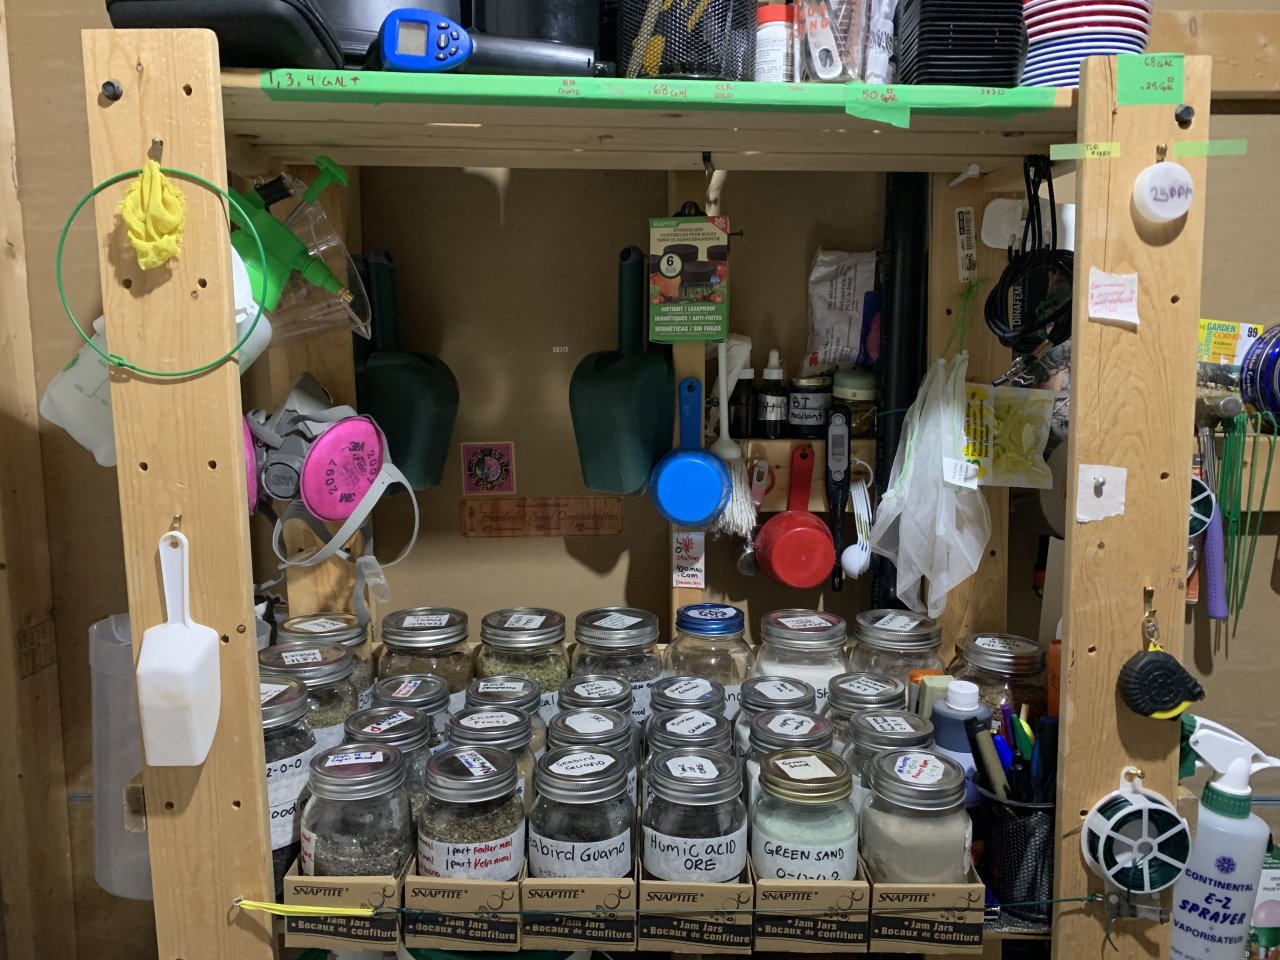
TLO STATION. Main shelve
This one contains 1 of every product I have it’s all categorized and memorized , it makes...
TLO Station top shelve
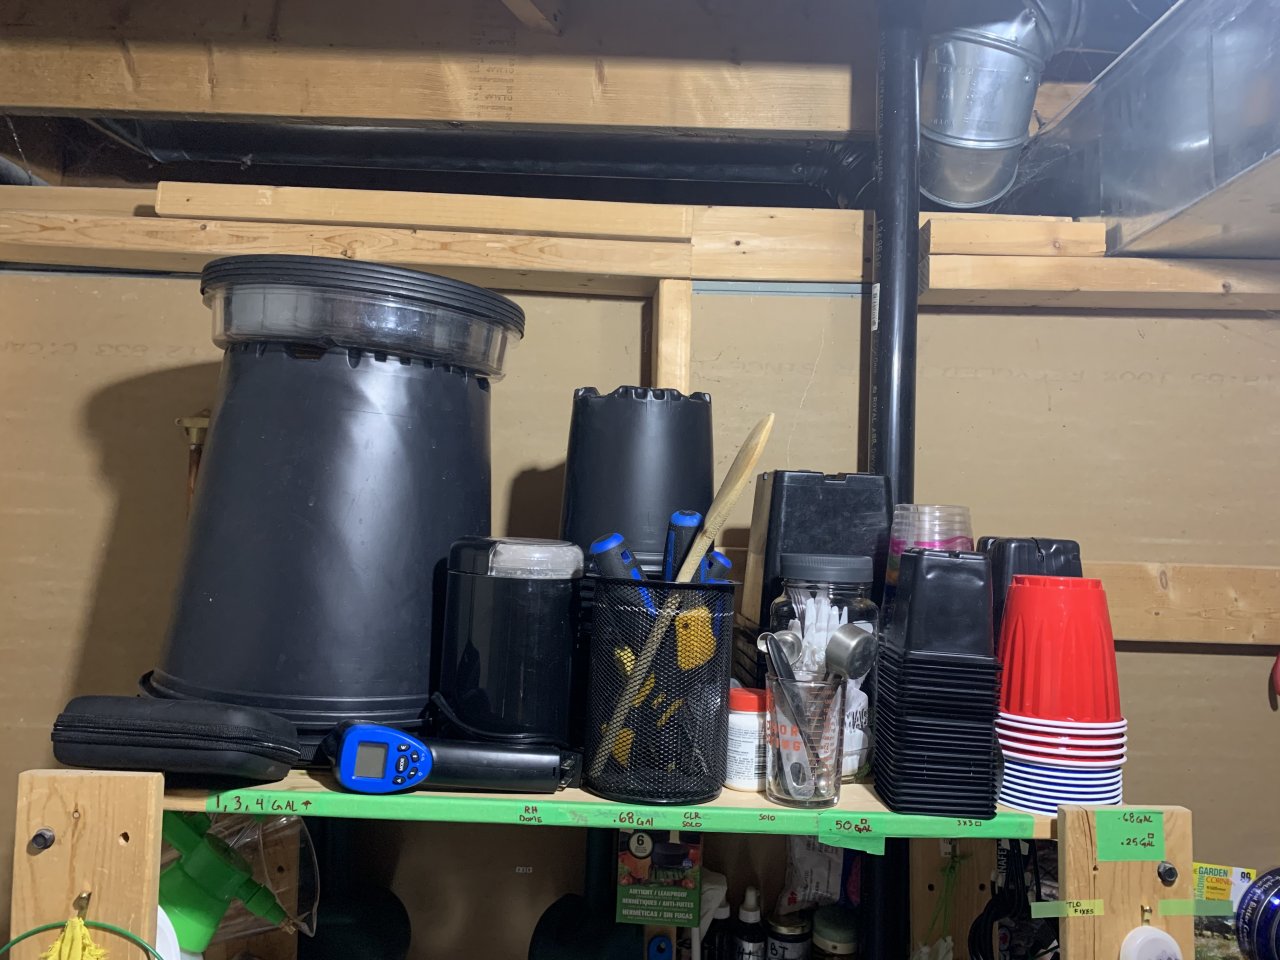
All my pots , 3-4 gal to flower in,
Solo cups to 1/4,1/2,3/4 and 1 gal pots to veg and clone in...
Solo cups to 1/4,1/2,3/4 and 1 gal pots to veg and clone in...
My corner of my laundry room
The tlo station to the left , then worm bins and then my ro water that I have added spring...
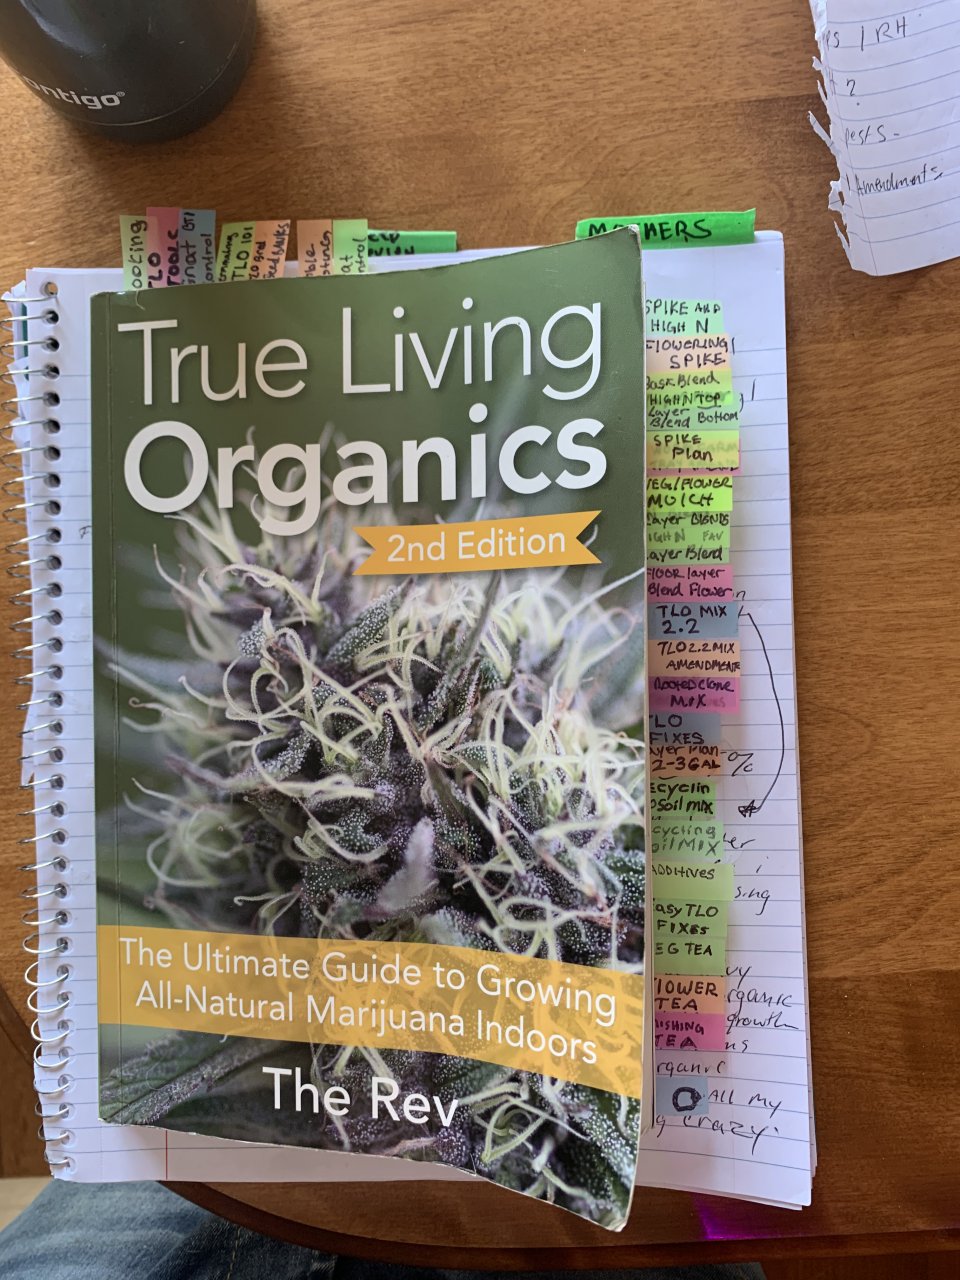
The revs true living organics
Now I didn’t just read this book and run with it , I’ve done years of research and trial and...
Base mix of TLO
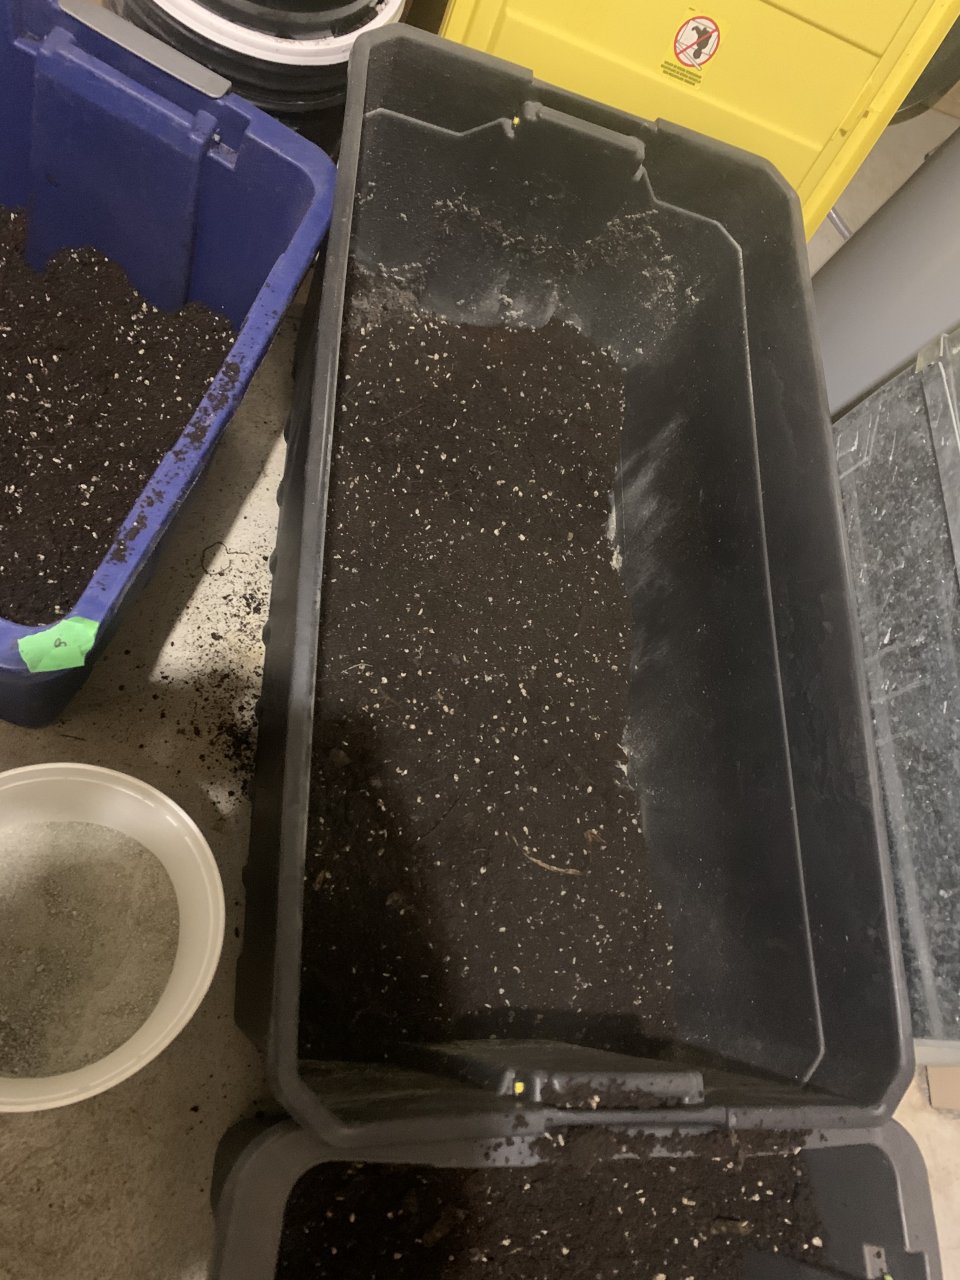
this is my 4 year old soil I am using as my base ; I have composted material into it for the...
Base mix TLO
I split the mix into 2 totes and added the base , perlite and coco coir + the composted sheep manure
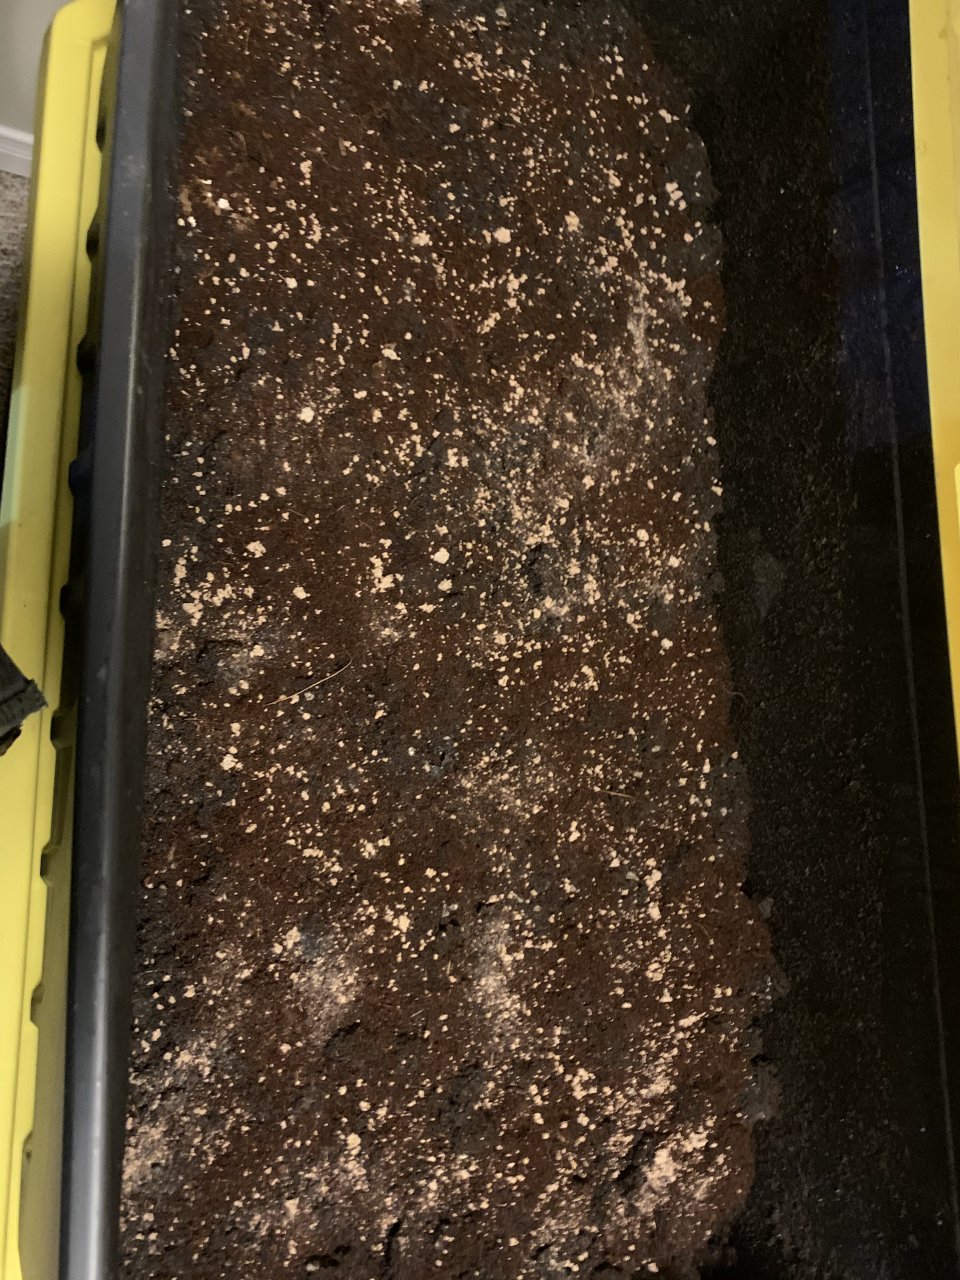
Amendments 4.9 kg
I took all the amendments and mixed them thoroughly prior to layering it in with the medium
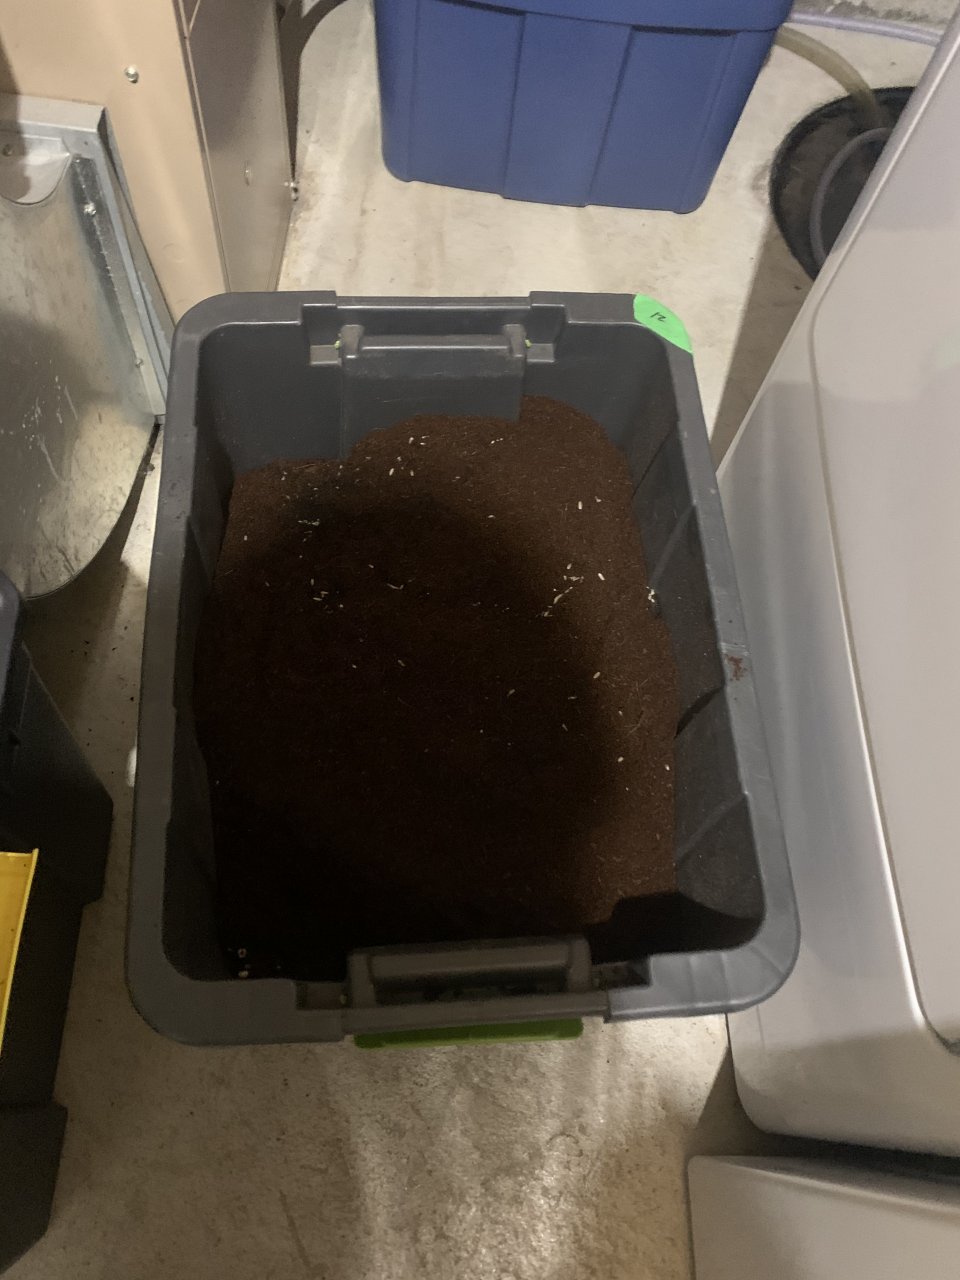
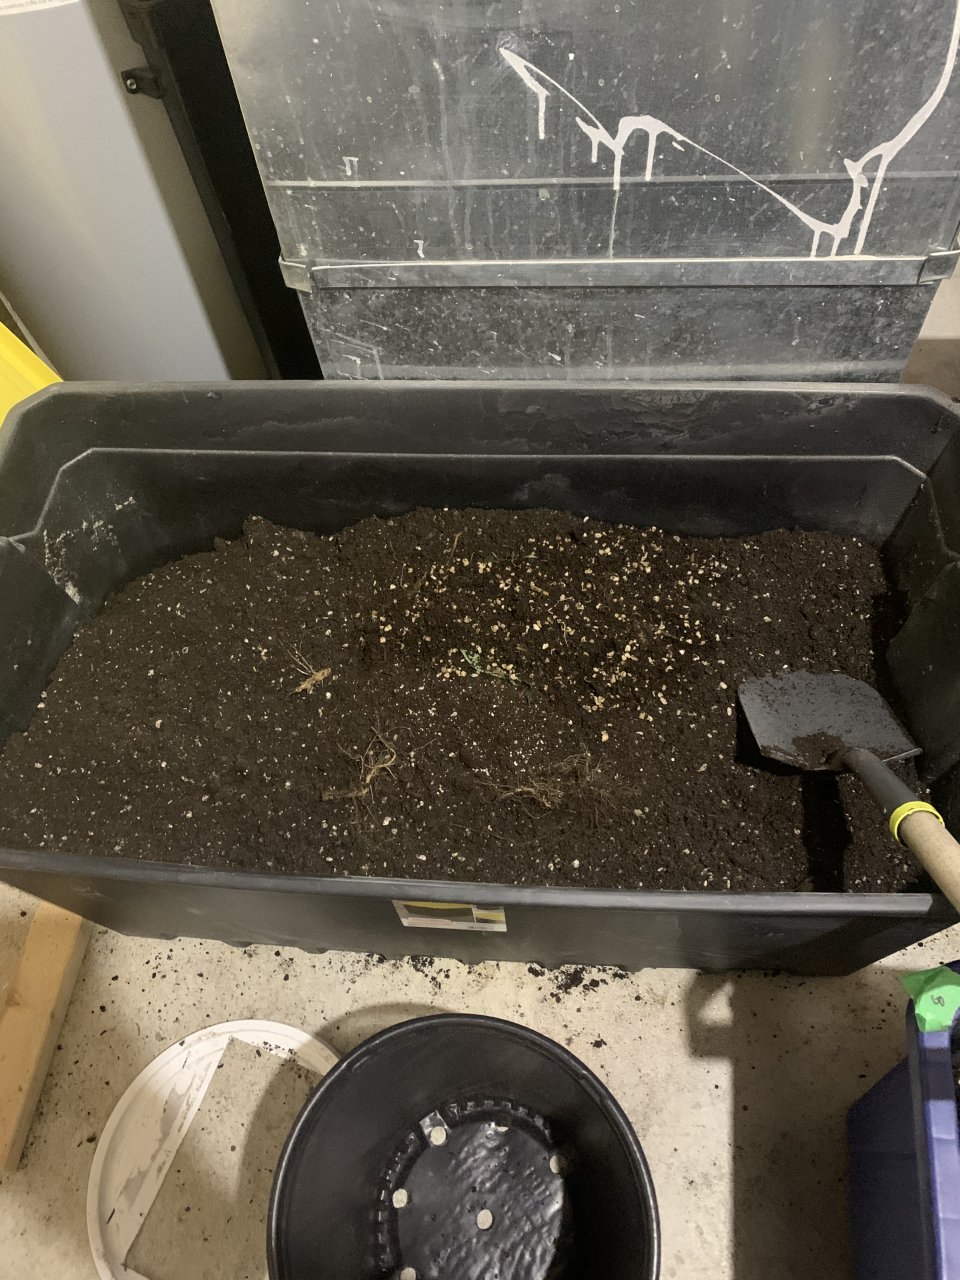
TLO
Vigorous mixing started , it took me 45 mins to properly mix the medium to where I felt like it...
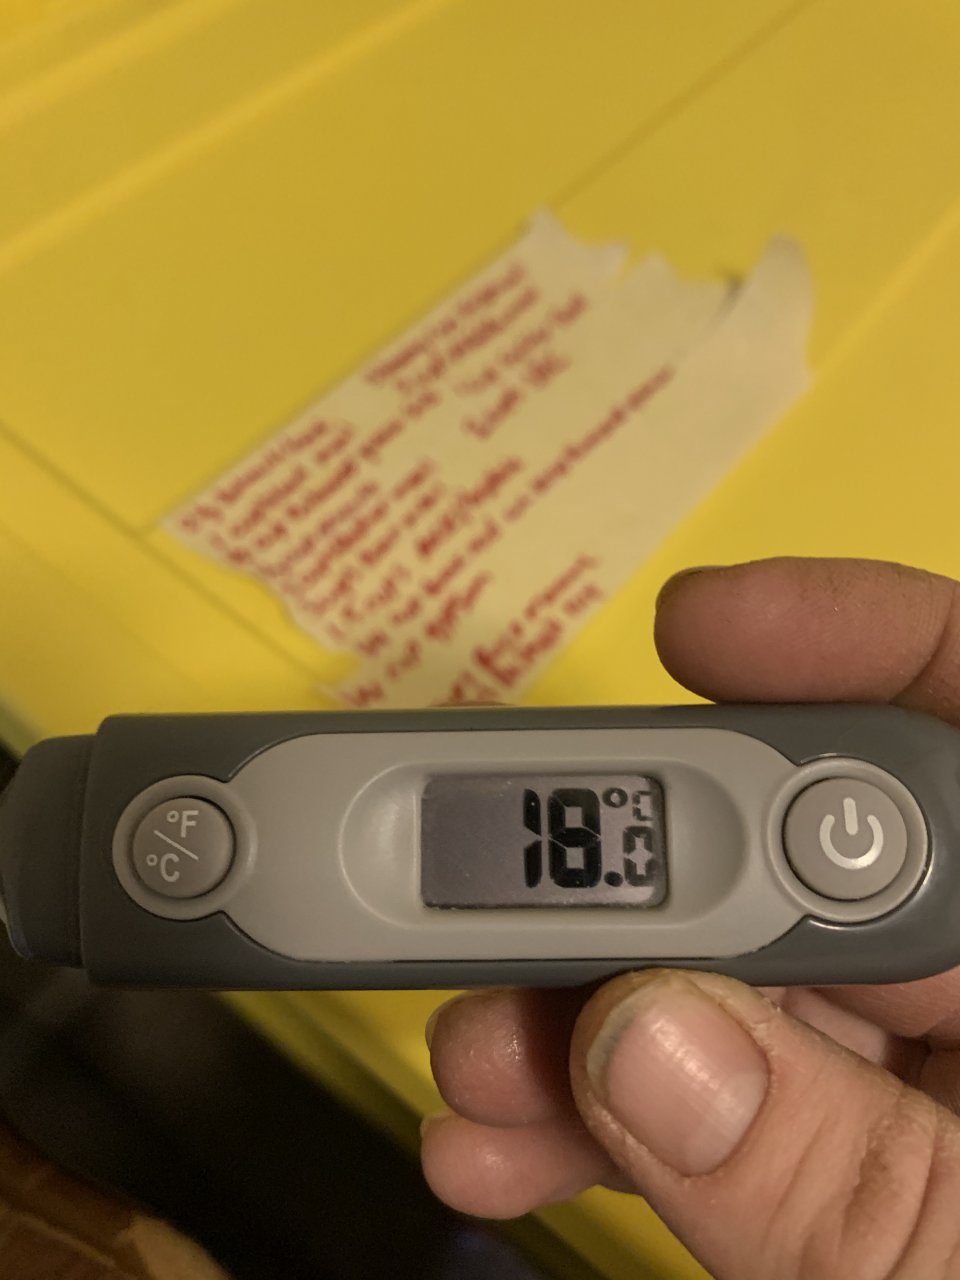
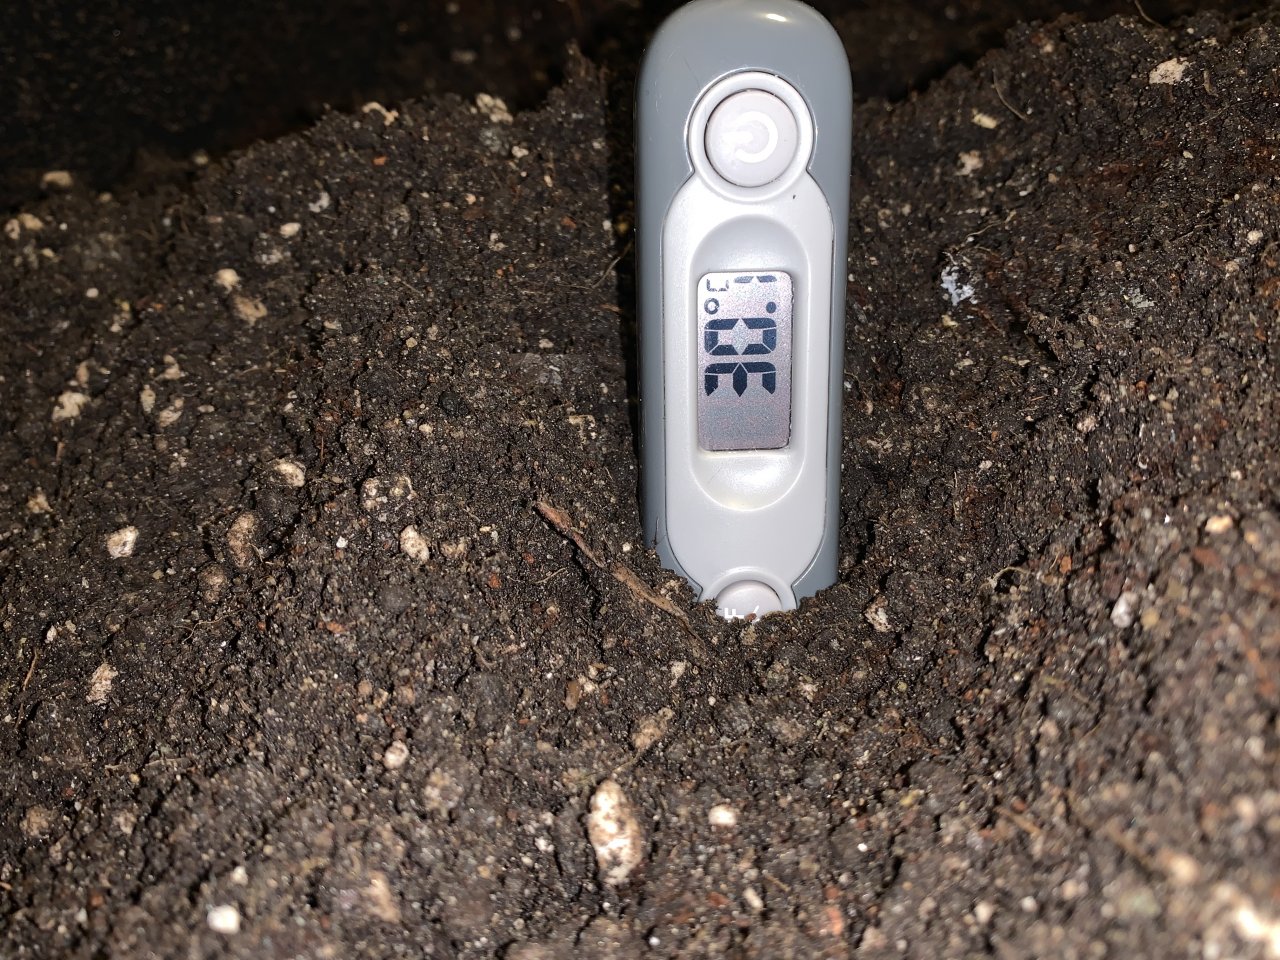
Soil cooking temps
The soil literally cooks the tote sits in a cook basement @ 18 degrees and the process heats up...
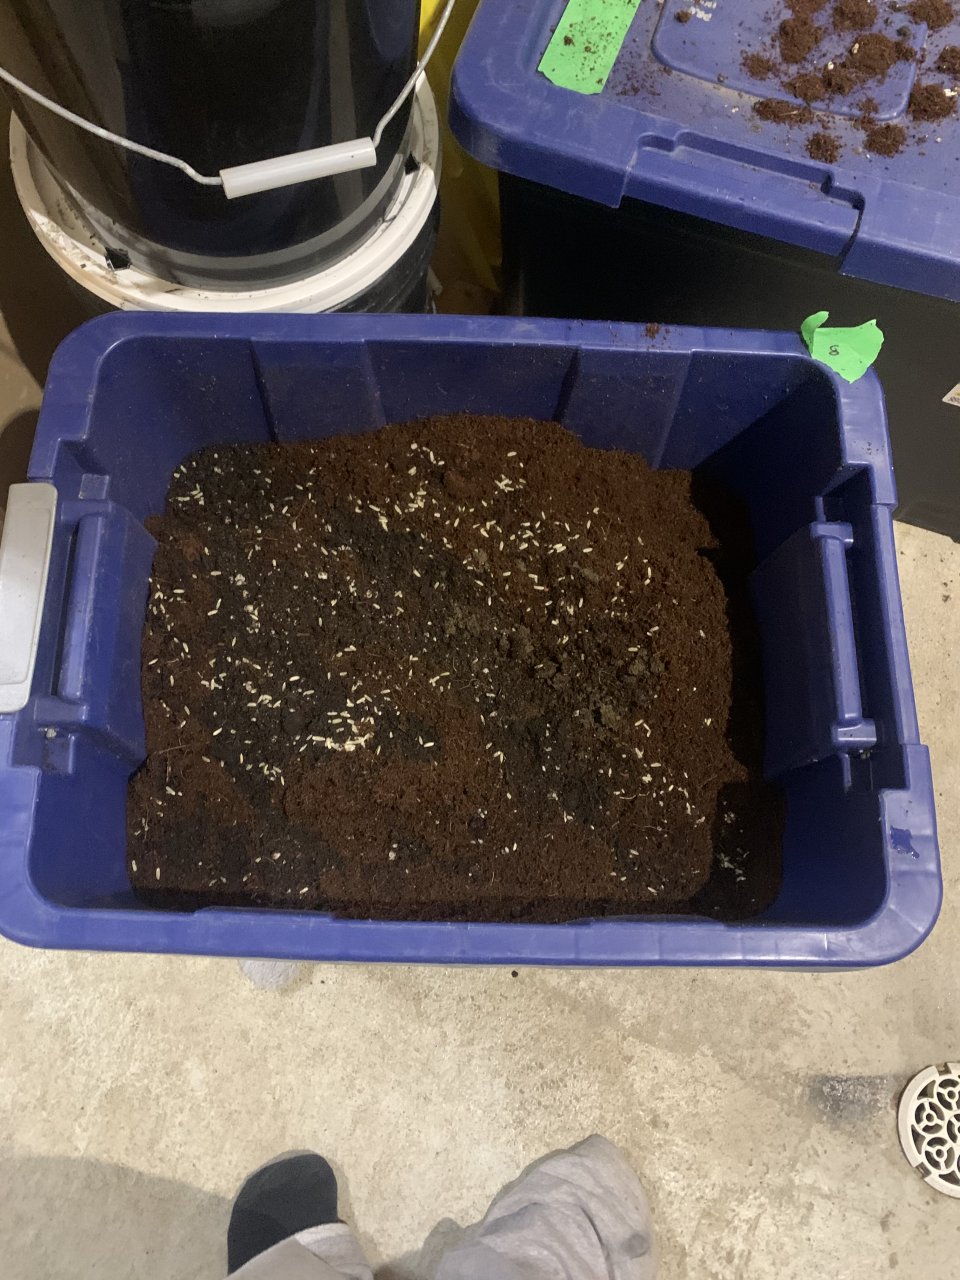
Inoculating the mix with bt innoculant
It’s a biological preventative measure against fungus gnat infestations , as-well as nematodes...
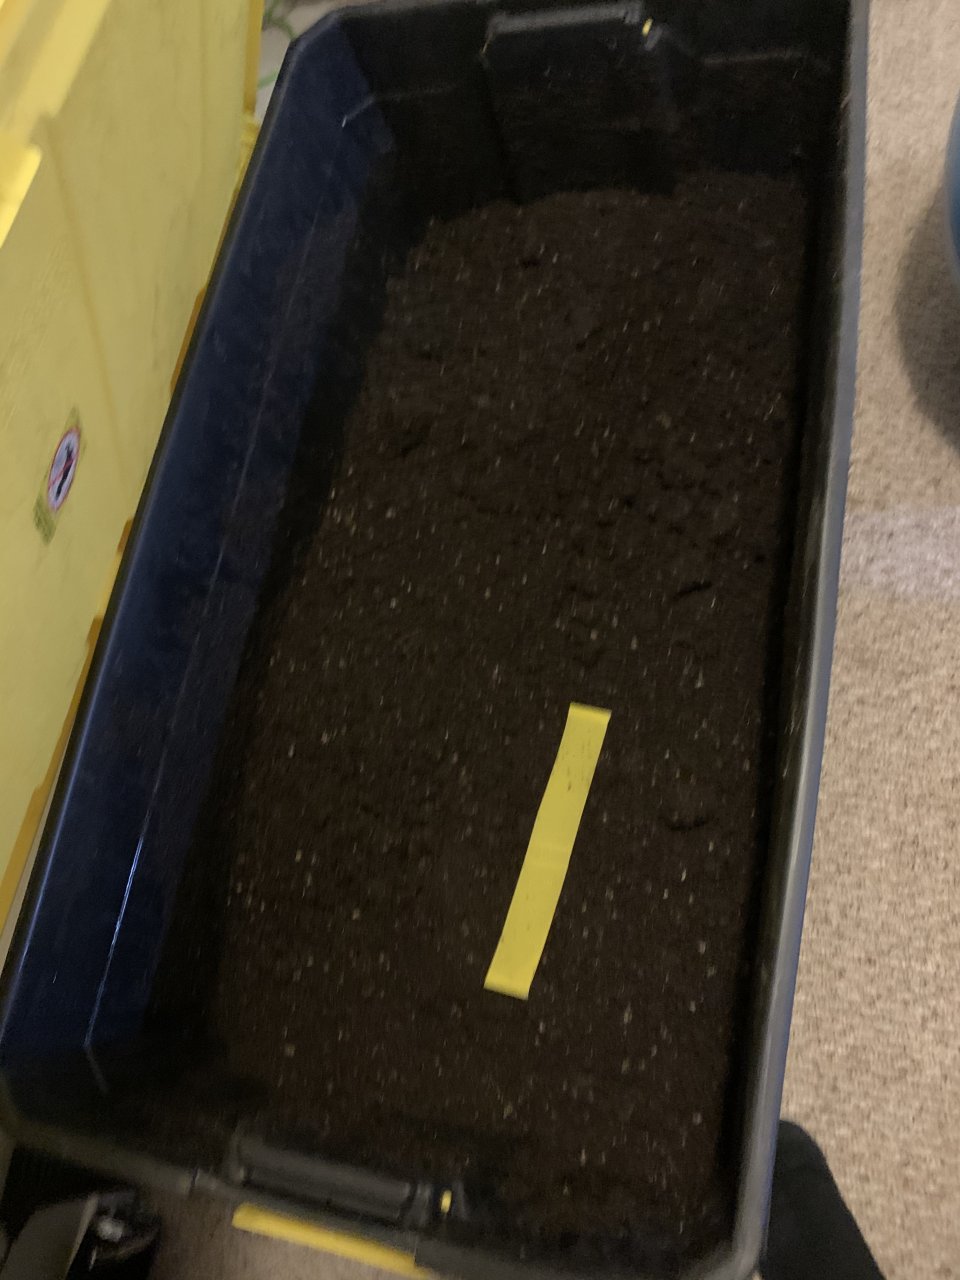
Finished product
Nice dark wonderful smelling soil full of life , now I still add perlite when mixing the soil...
now that I have my soil and what I am doing covered I will get into seeing what this soil can actually do, and let me tell you people it’s absolutely amazing , I have never had such vigorous growth rates in my grow, even with my vpd not in the ideal range but I'm still getting good results . My next investment will be a large area humidifier , one that is not ultrasonic, maybe a while house one idk , I’ve had bad results with them in the past with the dreaded white dust in everything .
Thanks for checking out my journal I hope that everyone can at the very least walk away with one new piece of info that can better help what there doing, now I don’t think this is the only way to do things organically but for me this is what works best for me and my ideals, after all sustainability is what I’m after here , next will be applyin the fundamentals of permaculture on the surrounding property of my home. Who would have thought growing cannabis would lead me to do many positive things in my life , and i hope it has for all of you


")

