Deep Water Culture Tutorial, SH Kit & DIY

Re: Roseman's Deep Water Culture Tutorial, SH Kit & DIY

If you have Questions or Comments, or Disagree with me, then please go here:

The Deep Water Culture Home
HOME OF THE Deep Water Culture


https://www.420magazine.com/communi...roponics-deep-water-culture-growing-q.110871/

That way this Thread is shorter and easier to learn from.

This Tutorial is dedicated to all my Deep Water Culture friends and to the New Growers wanting to learn. I base all of this on what I read in books, on Internet Grow Sites and more so on my own personal experience. I have completed 8 grows this way, although I continue to learn from each and every grow.
 
Re: -------'s Deep Water Culture Tutorial, SH Kit & DIY

pH

In Hydro growing, (Hydroponics, Growing in water) there is nothing more important than learning about pH. It is really the only DIFFICULT part, and after you learn it, it is not so difficult at all.

Pleae forgive me, but I will repeat myself twice here, maybe 3 times, re-wording it so you can absorb it better.


pH = Parts of Hydrogen is not a good defiition.

pH is measured on a scale from 1.0 to 14.0. Pure water has a pH of 7.0 and is considered pH neutral. pH below 7.0 is considered to be acidic and pH higher than 7.0 is considered to be alkaline.
A substance that decreases pH (pH-down) is called an acid while a substance that increases pH (pH-up) is called a base. A substance that helps nutrient solutions resist pH changes when an acid or base is added, is called a buffer............or stabilizer.
A pH difference of 1.0 is equal to a ten times increase or decrease in pH. That is, a nutrient solution with a pH of 6.0 is ten times as acidic as a nutrient solution with a pH of 7.0. A pH difference of 2.0 is equal to a hundred times increase or decrease in pH.
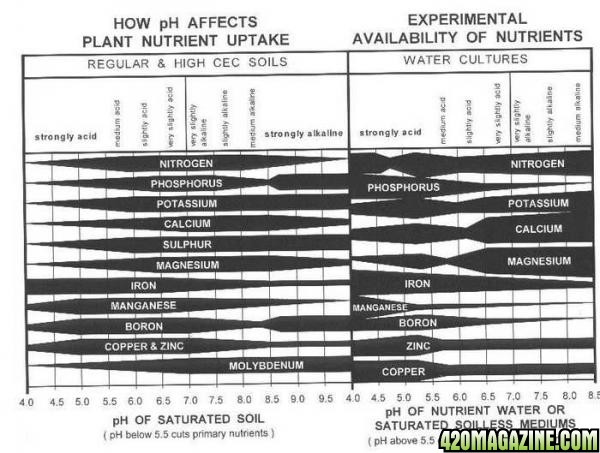
It is very important to keep the pH level in your water within certain limits when growing marijuana. Most grow-books say strive for 5.9, or some books say 5.6 to 6.2. Some books say 5.5 to 6.5, and you will not find two books or two growers that say the exact same thing. I have noticed a big difference in books from Europe and the UK, from books written in the USA, when it comes to the correct pH.

Growers need to monitor the pH of their nutrient solution and keep it within recommended levels, emphasis on the keyword "within".
The pH level of your hydroponic nutrient solution will determine how well your plants are able to eat and absorb nutrients. If the pH level is out of the proper range, the growth rate of the plants will slow down or stop.

Almost HALF of all the problems I read about that growers experience are due to pH problems.
There are pH meters and test strips and aquarium test tubes to test the pH of your water.
There are additives, or chemicals, made to adjust it, called pH UP and pH DOWN. These additives are to be used in very small amounts, like one gram, or 1/4 level teaspoon per gallon of water. (just a pinch)


First you have to realize that the pH is going to change daily as the nutrients are eaten. That means the need of adjusting it daily. Goal is that those daily changes be slight and not major or drastic. And too remember, different sources of water yield different pH problems.

You have to have pH balanced nutes, and normal regular water or a buffer or a stabilizer in the water to keep it from roller coasting and spiking up and down.

I've done some research on pH Control and I 'd like to offer some advice and my opinion.

NEW growers worry about it too too much, and the biggest mistake they make is trying for a perfect contstant same pH. You will do better, to just try to keep it between or within 5.6 and 6.8 without changing it often. Some books say that Plants eat more nitrogen at 5.7 to 5.9 than at 6.7 to 6.8. But they eat more iron and magnesium at 6.5 to 6.8. You need a fluctuating pH level for your plants to absorb different nutes at different levels.
When you prepare your water, add nutes and pH test it, no matter what the results, if it is between 5.6 and 6.4, leave it alone or only adjust it slightly by .1 to .2 down.
Do NOT try to make it exactly 5.9.
DO NOT PLAY the pH Game.
Do NOT ride the pH Roller Coaster.
Do NOT adjust it more than .5 in 4 hours.

It is better to be off, too high, or too low, than to adjust it too much at one time.

Drastic or FAST adjustments really mess up the entire system.
Adjust gradually, and slowly.


pH_Chart2.jpg
 
Re: Roseman's Deep Water Culture Tutorial, SH Kit & DIY

pH

The pH should not vary more than .5 to .7 everyday, but it will vary that much from just absorbing nutes, and if it does flucuate alot more up OR down daily, something is wrong.
First, ask yourself, IF growing in HYDRO, what is going into the reservoir tank? Water, Nutes, pH UP and Down should be it. Adding anything else, WHEN YOU DO NOT HAVE A PROBLEM, is not the wisest thing to do. (Yes, sometimes some small amount of peroxide or hydrozyme might be needed, but I've done 7 grows without it.)
And if you are making NUTE SOUP, ( a nute mix and supplement mix of more than two nutrients) I can not help you or advise you about your pH.

Except for the very first time you add the water to the tank, You should pH balance your water FIRST, everytime, outside of the tank, then add the nutes, pH balance it again, then add it to the tank. Rule of thumb is your pH should not go up more than .5 within one 12 hour day or 1.0 in 24 hours.
If it does go up more in one day or two days, you got to do something to stabilize it. After the first two or 3 weeks pass, and the plants are drinking a gallon a day, you can add one gallon back that is over adjusted or over compensated, to get it back down. FOR EXAMPLE, If the tank is reading 7.2, then add one gallon of 6.2, and you'll get it down SOME, without it being too drastic.
DRASTIC pH CHANGES WITHIN 24 HOURS ARE VERY DANGEROUS.


QUICK FIXES:
IF YOU ARE HAVING A PROBLEM, AND ONLY IF IT IS GOING UP AND DOWN WILDLY, then try adding a lump of charcoal or two, tied inside a panty hose or nylon stocking to the tank.
OR
Go to Walmart or PetSmart to the Aquarium Dept, next to the fish food, filters and additives and sea salts, and get those little packages of Ammonia Control Absorbent Packets. They look like little sponges in a wrapper. They work great to stabilize the pH. Or get the Ammonia control packets and add a couple to the tank.
IF YOU ARE HAVING A PROBLEM, AND ONLY IF IT IS GOING UP AND DOWN WILDLY, and you need a remedy ASAP then get everything in your tank like you want it, (except the roots or plants,) and add two heaping tablespoons of baking soda to a gallon of water, stir it good, then add it to the tank. THIS WILL RAISE IT TOO HIGH but will stop the drastic Flucuations. Wait ten minutes, then pH adjust it DOWN again. Then it should stay stabilized until the next Drain and Replenish.

QUICK FIXES should be avoided and be the very last resort. QUICK FIXES should be a TEMPORARY Fix, until you can do the right and proper FIX.


Do not use the charcoal, or buffers if you do not have to have them. They are only to be used in extreme flucuations and only for a Quick Fix for a day.

From the book:
A buffer solution is an aqueous solution consisting of a mixture of a weak acid and its conjugate base or a weak base and its conjugate acid. It has the property that the pH of the solution changes very little when a small amount of acid or base is added to it. Buffer solutions are used as a means of keeping pH at a nearly constant value in a wide variety of chemical applications.
 
Re: Roseman's Deep Water Culture Tutorial, SH Kit & DIY

Let me discuss Hydroponics, indoor growing, compared to outdoor, soil growing.
There is a fast train, and there is Deep Water Culture!


Naturally, normally, I would plant seeds in my area, in Springtime, outdoors, in April. They would get sunlight about ten hours a day, with the sunlight increasing as Summer nears.
As Summer approaches, they would get 12 hours of light a day, and up to 14 hours of light, everyday, in mid to late summer.
During that time, the plants are in the VEGATIVE, VEGGING (VEG) or GROWING cycle.
Then, in July, when the days start getting shorter, they would realize their days are fewer and numbered and they will start the FLOWERING or BLOOM cycle.

This will take April, May, June, July, August, September and part of October to complete the cycles, at least 6 full months.

I will cut that grow time in half, by providing 24 hours of light 24 hours a day, 7 days a week, what we call 24/7 of light. After I provide light 24/7 for 5 weeks, I will change to 12 hours of light and 12 hours of darkness, for 8 weeks, about 13 weeks total for my Indica grow.
 
Re: Roseman's Deep Water Culture Tutorial, SH Kit & DIY

Reflectivity, Reflection of Light

I will be using CFLs, Compact Flourscent Lights, for Light in this grow. I will get deeper into discussing LIGHT and CFLs later, but here I want to discuss Reflectivity, Reflection of Light.
I am just about done preparing my closet, but I need to prepare the walls to reflect my Light that escapes and is not directed on to the plants. I will be using Reflector Clamps on each bulb, but much light still escapes the Reflectors.
CFL bulbs emit the most lumens from the sides of the bulb and not from the end or tip of the bulb. (Lumen is the measurment of perceived light, or seen light) SOME of this light escapes flowing on the plants and can be captured and redirected with proper reflective material on the walls. That is a good reason to grow in a small closet. The walls are very close to my plants and can not only contain the plants and help hold and support them up, the walls also can reflect the light too, with proper reflective material on the walls. The walls or closet also help contain the Odor, the Humidity and Temperature too. If I was forced to grow out in the middle of a large room, it would arguebly be better to obtain a "Grow Tent" to contain my Lights and Plants.
I must say I sure do see alot of growers toss their tents, after getting frustrated with HEAT and limited room.


The light generated by HID Lights, (High Intensity Discharge) or CFLs is great for plants, but it can be a source of frustration for gardeners whose living areas are cramped or don’t have an extra small room or small closet for an indoor garden.

With a Grow Tent, aka Dark Room, or Dark Tent however, those frustrations are a thing of the past. A Grow Tent is the foundation of a completely self-contained indoor garden, featuring a lightweight, durable, washable interior reflective lining that keeps more light going where it’s supposed to go; to the plants.

The frame supports the lighting, ventilation or other equipment, and every unit has access ports that accommodate ducting or other equipment. DarkRooms or Grow Tents can be assembled without tools in minutes by one person, and collapse just as quickly for storage.

Grow_Tent1.jpg


Grow Tents come in many differnet sizes, and run $80 up to $360, depending on size.
And of course if you are a handy dandy DIY (Do It Yourself) kind of person, you could build one with PCV pipe or 2 X 2 strips of wood as a frame and use any of a dozen different materials for the sides.


I prefer my closet, the cost was surely right.


If you want to start an arguement in an Internet Grow-Forum Website, just bring up Reflectivity as a topic of discussion. You will read all kinds of rants about Mirrors not reflecting light, Tin Foil causes Hot Spots, Flat White Paint vs Glossy White paint, Plastic film similar to garbage bags called Panda Film, Diamond Foil and Insulation Foil boards, and all sorts of arguements about which reflective material performs best and which are useless or harmful.

I could quote what I have read from books, but I would rather tell you what I have personally experienced. I hate to say "they say" as a source of infomation. When someone offers me advise and starts with "They say that....." well, I ignore them.

I experimented with Tin Foil and CFLs on two grows and never saw any evidence of a Hot Spot or burnt place on my plants. I have read on Internet Grow Forums about many growers using Tin Foil and HID lights and getting hot spots or burnt spots on their plants. Perhaps CFLs do better with tin foil.

I have used Flat White and Glossy White paint on the walls and both worked well for me. If you google "flat white, glossy white, reflection" you will find that more growers agree that Flat White is better reflecting 75%, and Glossy White reflecting 65%. But that is "they say" advise. "They say" tin foil will make burn spots on your plants, but I never saw one when I tried it. And I had 14 bulbs in the closet and tin foil on all the walls.
Panda Film, a plastic film just like garbage bags are made from, works well too. It is rated in the 80% to 90% range. The newest material being used now for reflection is called Diamond Reflective Foil. "They say" the diamonds prevent hot spots. I do not know for sure. I have not tried it.

Let me emphasis here again, I do not listen to, or go by "they say" advise. I advise you to investigate and verify any "they say " advise. I see many growers on grow sites offering advice that have never grown a tomato or much less, any pot. I suggest you beware of friendly advice offered without any experience behind it.
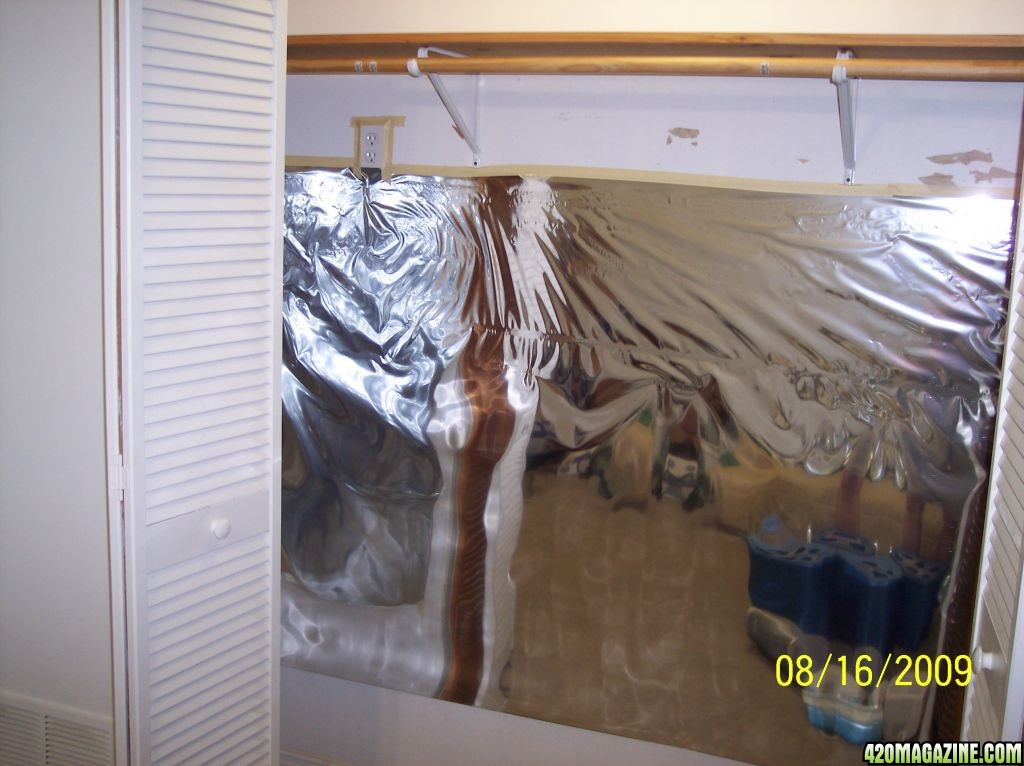
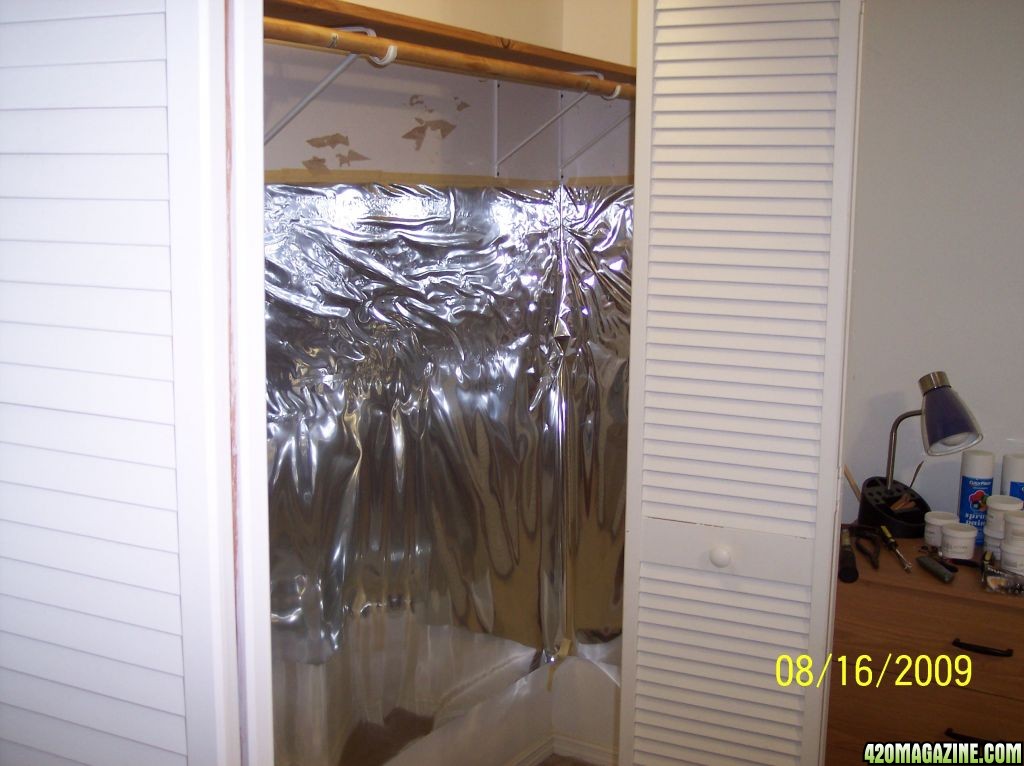
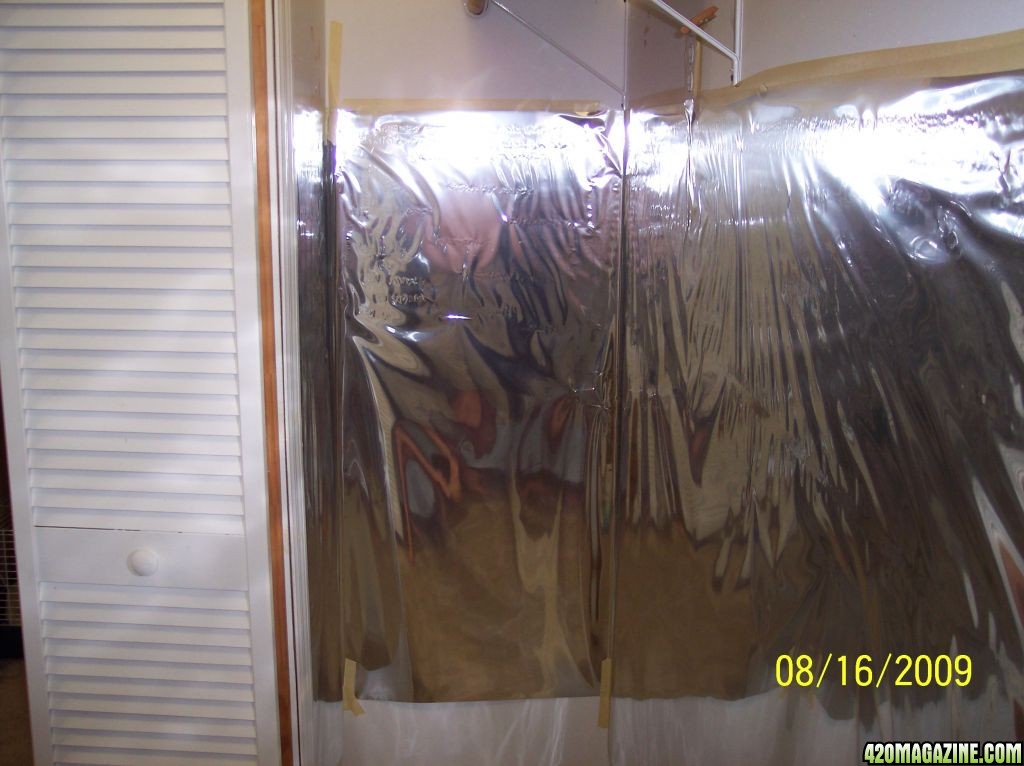
From my own personal experience, from 10 of the 14 books I own on Indoor Growing, from many years of reading on Internet Grow Forums, MYLAR is the highest recommended reflective material to use on the walls and on this grow, I have added MYLAR to my closet walls. MYLAR is a plastic film, also called polywrap, like you see Birthday and Holiday Baloons made from.
It is reported to supply a 98% reflection of light.

I used 5 rolls of two sided sticky cellophane tape to attach my mylar to the walls. I used 2 millimeter thickness, because I will be spraying and misting my plants often and the thicker MYLAR is easier to wipe down and not tear.

I paid $30 for a 50 inch by 25 foot roll and used half a roll.
2009_Grow_00116.jpg


2009_Grow_0026.jpg


The Mylar is 50 inches tall. I put it 20 inches up from the floor, using double sided tape.

2009_Grow_0035.jpg


And an added suggestion from my grow buddy, SmokeDoggy:


Another good tip while we're talking about reflective walls, is to try some of the "drawer liner" stuff. It usually is already sticky on one side, a lot less inconspicuous than mylar, does not create hotspots (no crinkling) just in case, and it is flat white. I use it in my micro box (20x36x25) and it works awesome. The whole box now "glows" on all 4 walls, ceiling, and floor. It also doesn't bunch up or fall down, etc.. Not dissing mylar, but this is a lot easier to come by and work with, and it seems to do just fine for me.
 
Re: -------'s Deep Water Culture Tutorial, SH Kit & DIY

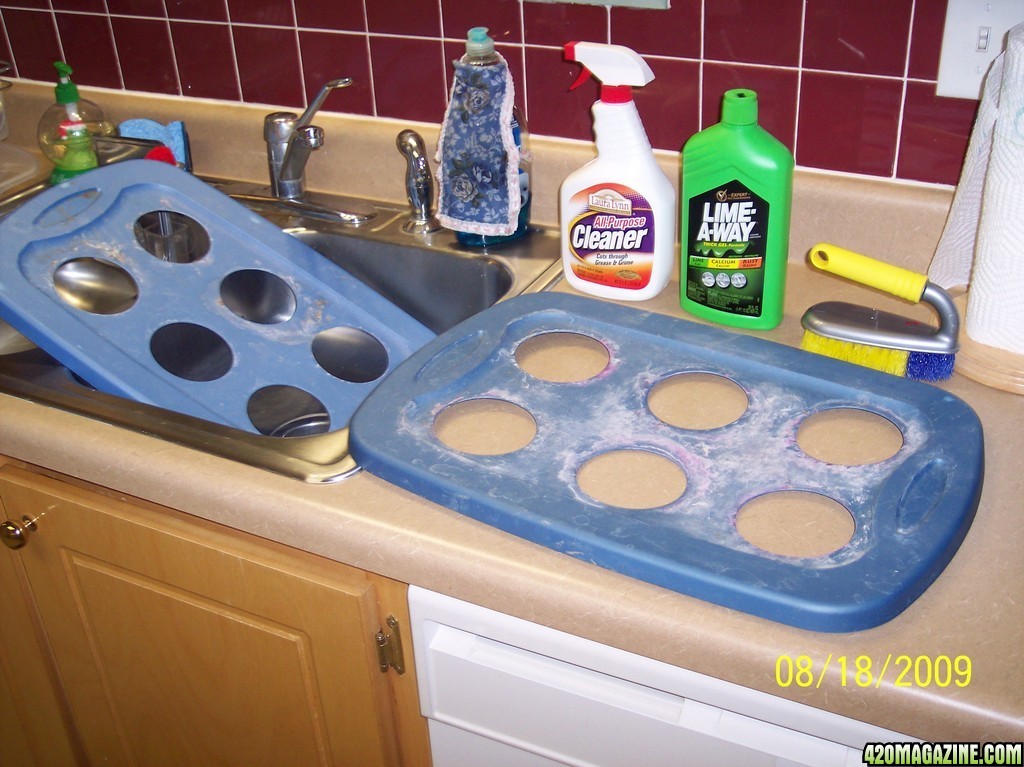
Time to get my old used 7 times tanks ready and wash them.
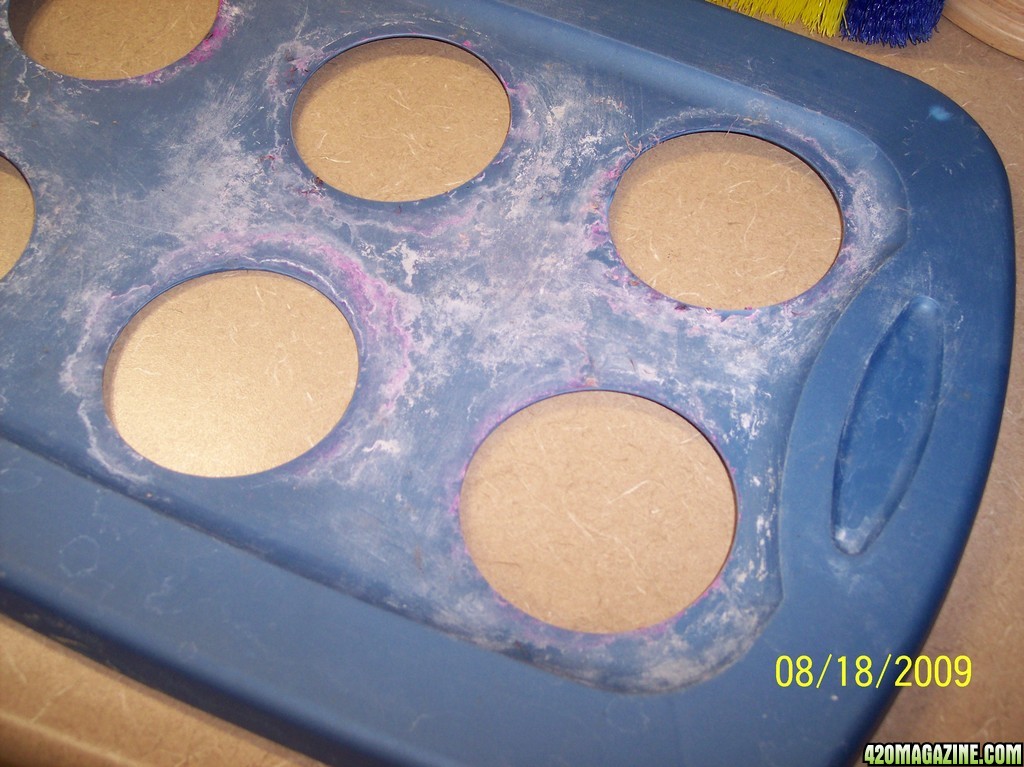
These two lids adn 2 old tanks have seen a total of 7 grows, and the white you see is mineral salts, or mineral deposits from my well water. These mineral deposits are often feared to be MOLD, and are often seen on the lids, the rims of the grow cups, on the rockwool cubes and on the Hydroton rocks. MOLD will stink, be slimey, be smelly, be thick, and have black streaks or black spots in it.
Minearal Deposits will NOT smell or stink, will be very thin and will be gritty. The mineral deposits are not to be feared or worried about and will cause no harm, if you clean them up after each grow.

You can buy a New KIT with these tanks and other needed supplies, or buy a Sterlite Plastic Storage Container, or use a 5 gallon bucket. I will show you all three ways.
2009_Grow_0063.jpg


To clean the lids, I will be using a CLR remover, Calcium, Lime and Rust remover, meant to be used in bathrooms. I will use a stiff brush, and a metal mesh pan scrubber. To rinse the CLR off of the lids and be sure I did not leave any, I will use common vinegar to rinse everything.
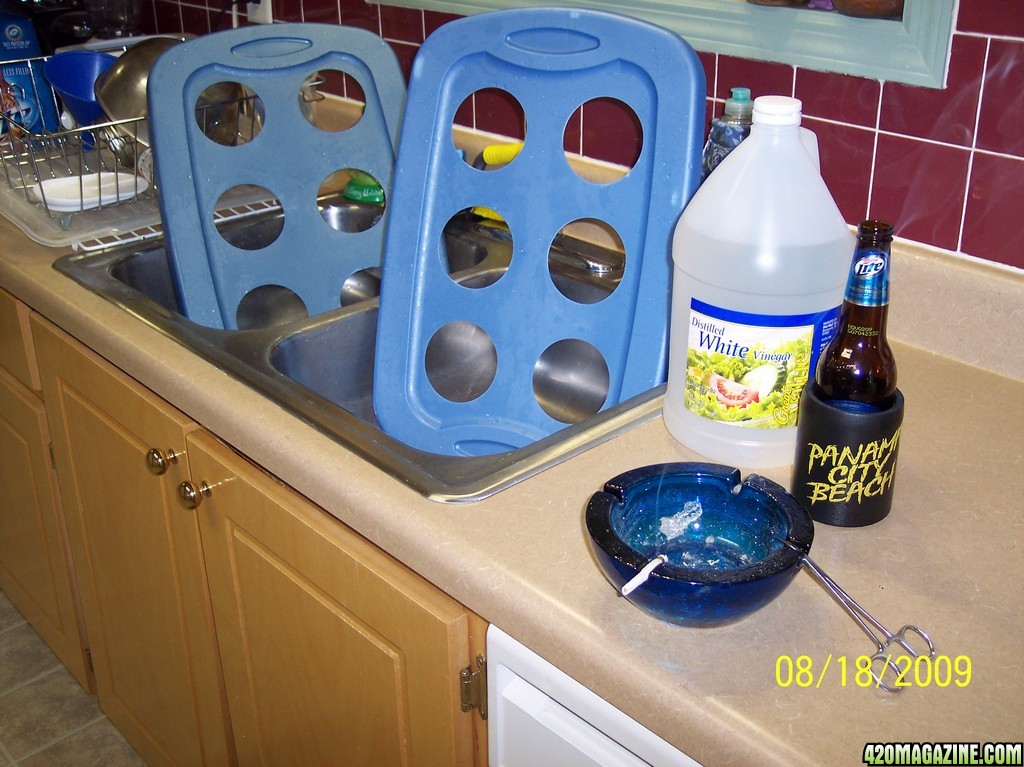
Vinegar is very safe and works well for cleaning up after and before a hydroponic grow.


2009_Grow_0072.jpg


Alot of elbow grease and alot of hard work was used to clean these, alot of scrubbing. Well, the beer and the joint helped too.
2009_Grow_0082.jpg


Only the Lids get like that, the tanks somehow stay clean. With new ones, you don't have to do all of this scrubbing.
 
Re: -------'s Deep Water Culture Tutorial, SH Kit & DIY

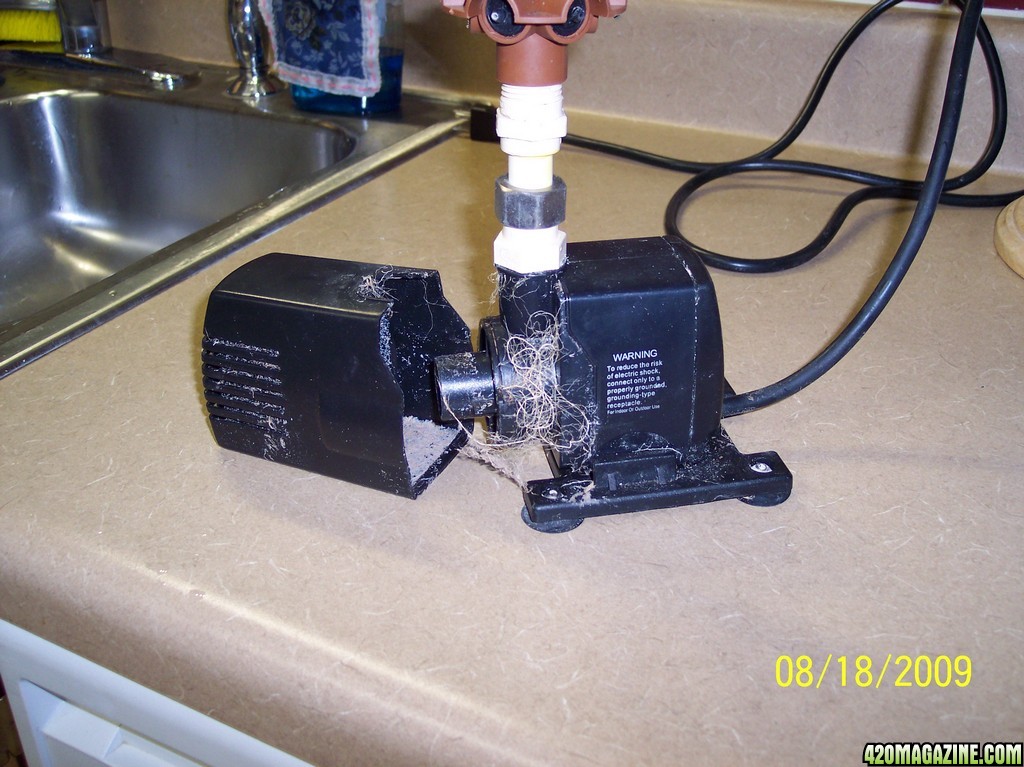
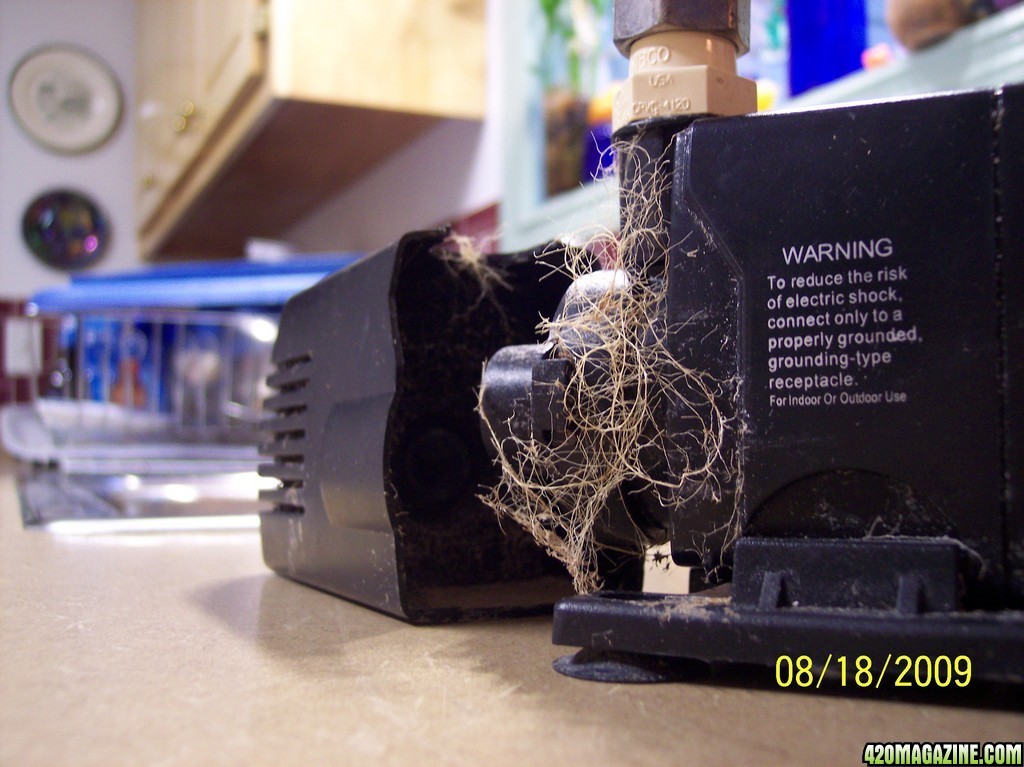
Look at these pics of this submersive water pump and see the old dead decayed roots hung up in the filter, inside the pump from last year's grow..

2009_Grow_0092.jpg


2009_Grow_0103.jpg


There are all kinds of dead root trash and debris in that pump.

For three years, and 5 grows, I used a smaller water pump, a 185 gph pump. (gallon per hour)
Now I have started using these 240 gph pumps, because they last longer and have a built in filter in them. Now I am seeing I need to replace those filters, but I can not find replacement filters for them. I could make something with a nylon mesh pan scrubber. It will take me an hour with the eyebrow tweezers to get the dead root pieces out of this pump, and I have three pumps to clean. I think when these pumps quit working, I will go back to the cheaper smaller pumps and only use them one time and toss them. I could sell my crappy used old grow supplies on ebey like everyone else does. LOL


The smaller 140 gph pumps run cooler, are much cheaper at about $12 to
$14, and deliver the trickle I need. I think they are more disposable too. These larger 240 gph pumps run hotter, cost $18 to $20 each, and the filters are too difficult to clean. I would never recommend any larger.

I am starting to see a lot of growers go to FILTER BAGS. A draw-string bag made of nylon screen, that the water pump sits in, to filter out the trash.

IF you use your same water pumps a 2nd time and have a pH problem, it might be the dead root particles trapped in your old water pumps.

I am taking these pumps apart and cleaning them as good as I can with a tooth brush and compressed air and some eyebrow tweezers. I will also replace the filters with clean nylon mesh pan scrubbers.
 
Re: -------'s Deep Water Culture Tutorial, SH Kit & DIY

Time to check out my Irrigation Hubs, also called Irigation Manifolds.
These "hubs" sit on top of the water pump, dividing the pumps flow into 6 EQUAL flows. T joints made for aquariums will not do that.
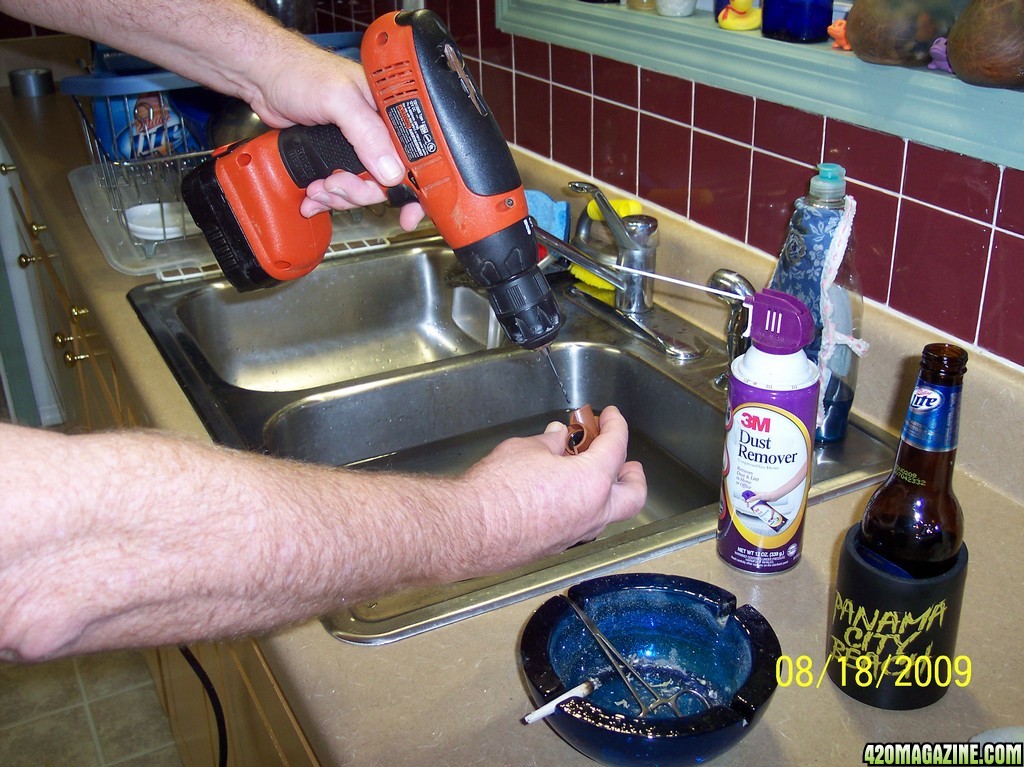
To clean them, I start reaming them with a piece of wire, and then use a can of compressed air to clean them. Then I always ream them out good with a 1/16 drill bit, then do them again with a 5/64 drill bit. I want to make sure each outlet is not clogged up. I do not want a big stream or flow of water, I only want a slight trickle.


2009_Grow_0113.jpg


Of course this is not necesary if you start with a NEW pump or hub. I am glad I had the electric drill, the can of compressed air and the small wire to clean them with.


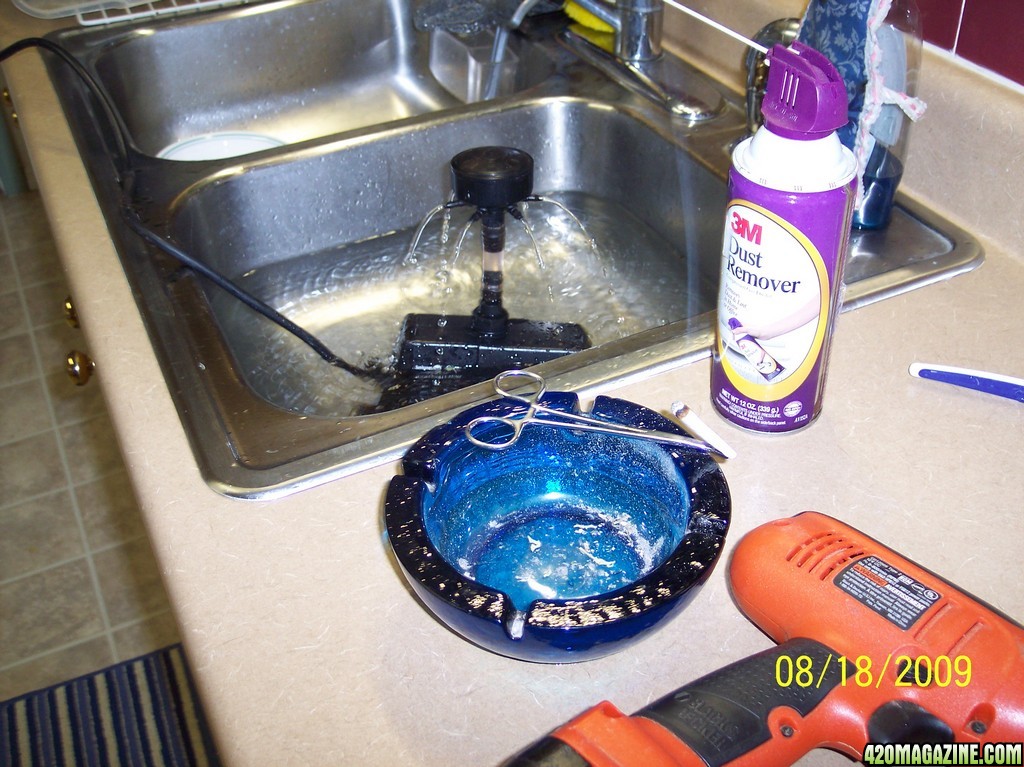
Th They appear to be unclogged and working great after I cleaned them! Before I cleaned them, half the outlets were clogged.


2009_Grow_0133.jpg


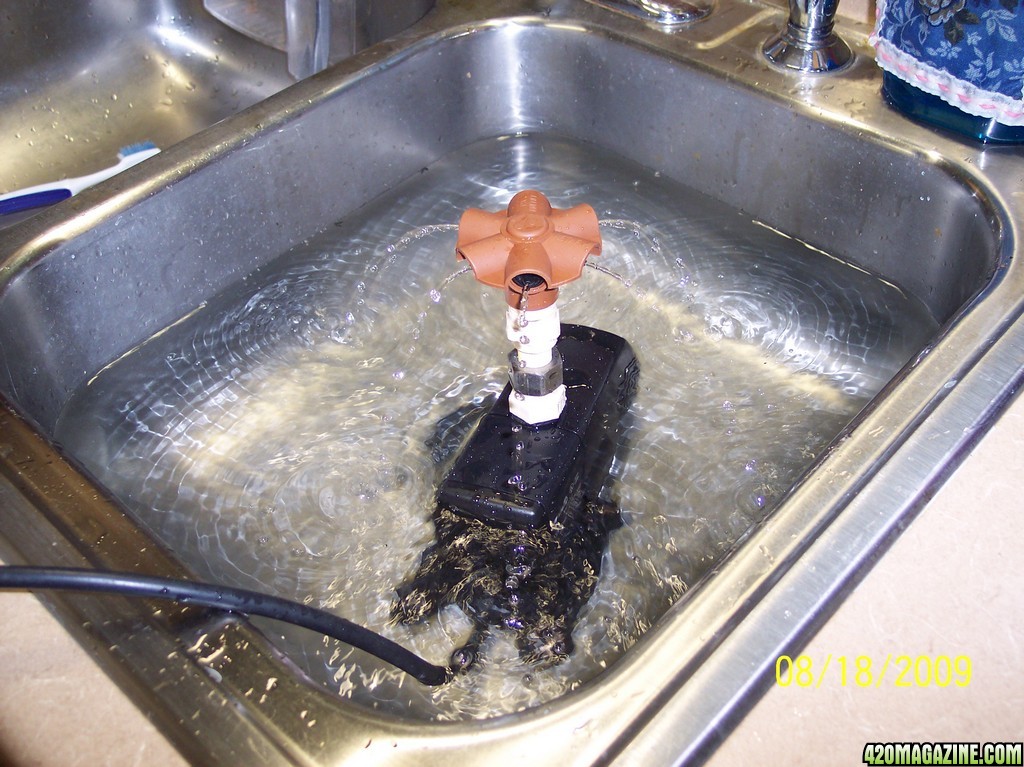
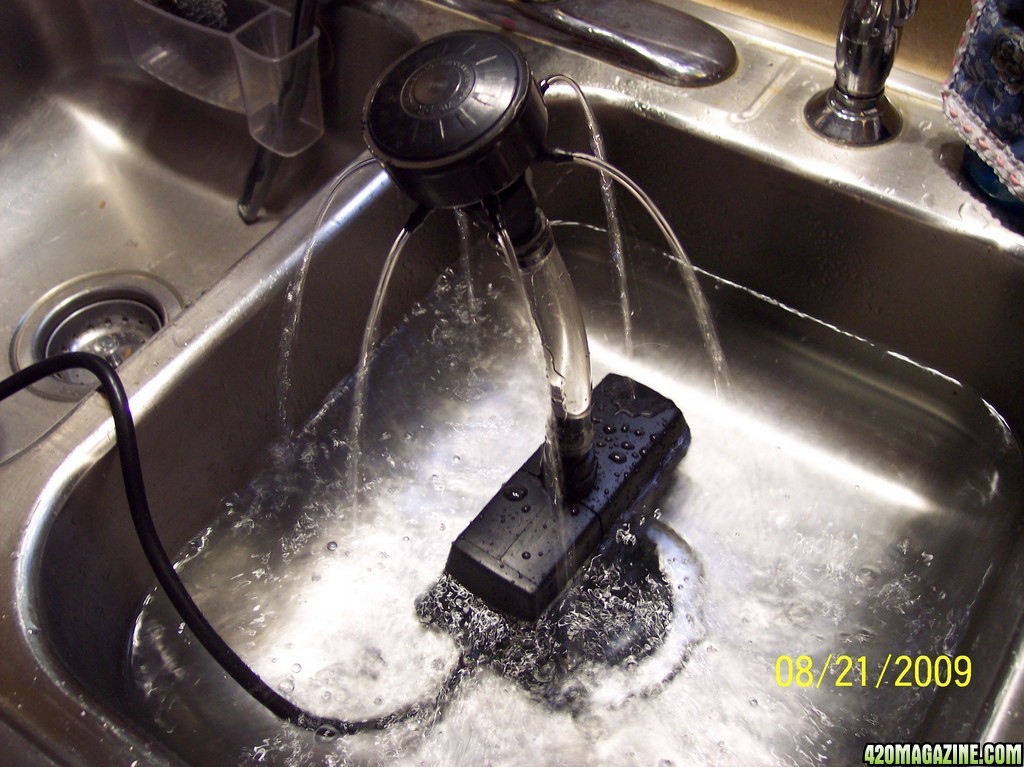
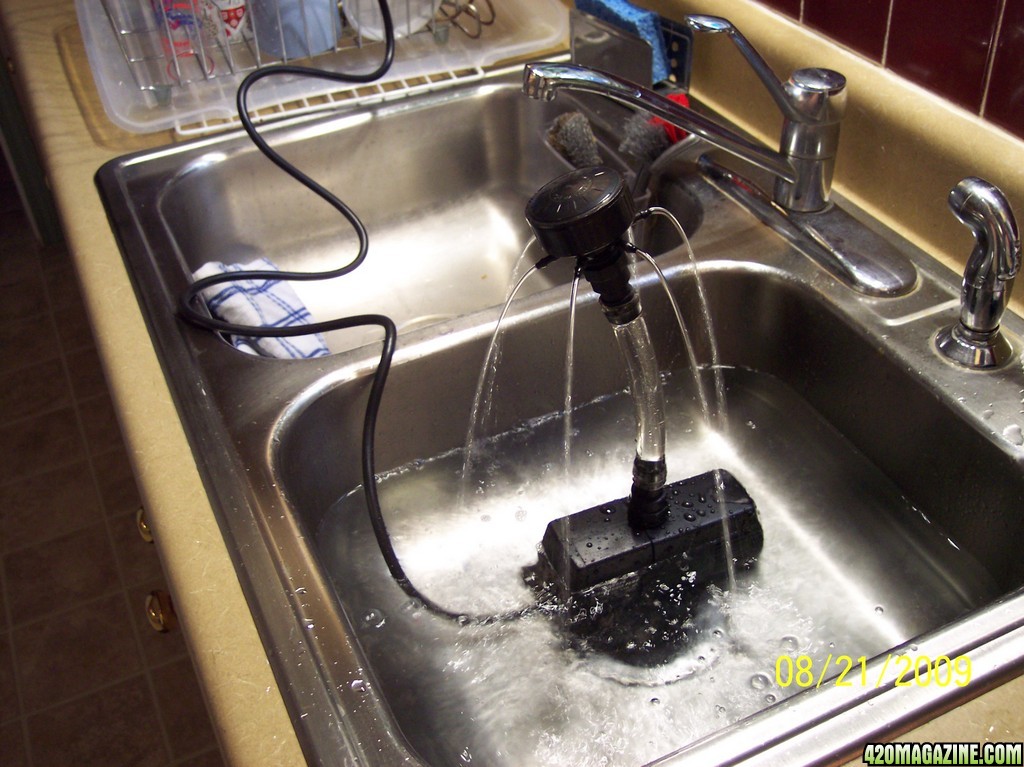
You see a FLOW or a stream of water in these pics, but after the water pumps are also drawing in BUBBLES, there will be more of a trickle than a stream of water. Also the flow down a narrow tube, butted into the rockwool cube slows the flow, and turns it into a desired trickle.


2009_Grow_0123.jpg


You are seeing two different pumps and hubs after I cleaned them of last years growth. Again, not necesary wth new ones.
To make sure you understand, that water pump is going to sit on the bottom of a reservoir tank full of water, and pump water, mixed with nutrients and bubbles (air or oxygen) up into the hub, through tubes to a grow cup.
 
Re: -------'s Deep Water Culture Tutorial, SH Kit & DIY

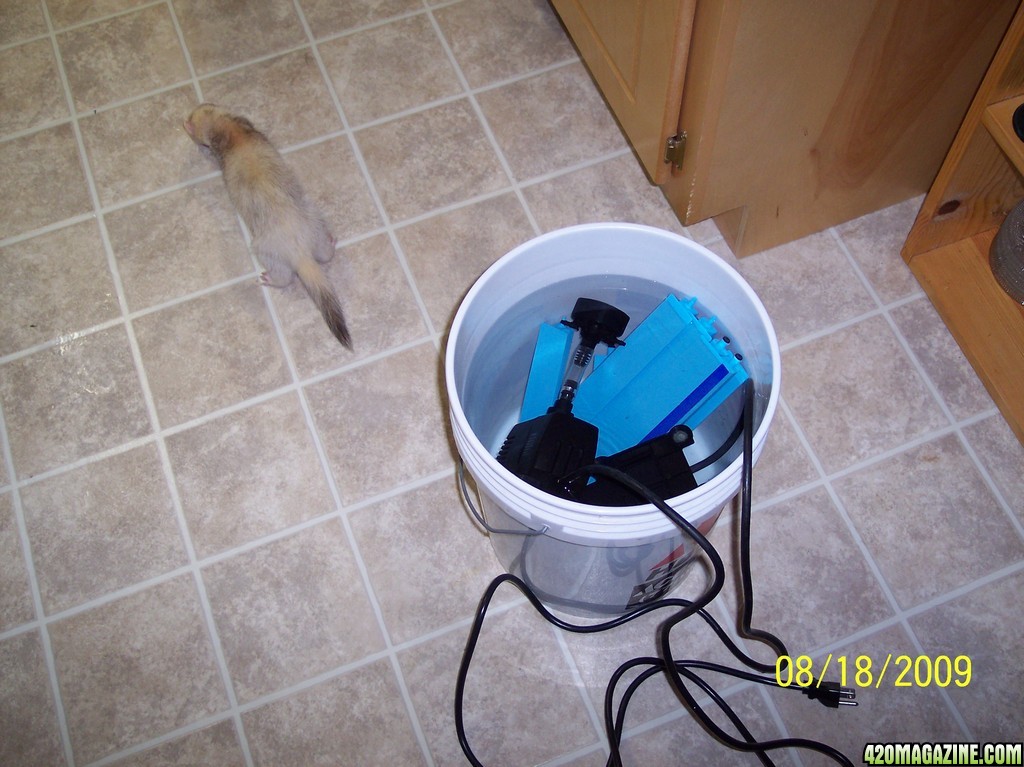
Now I am going to soak my water pumps in some pH balanced water. They go in the bucket with the airstones.
Yea, I know the pumps are not absorbent. I am just cautious and I am NOT going ot have any pH problems later!


2009_Grow_0143.jpg


That is my nosey curious helper, my butterscotch ferret, you see in the pic.
 
Re: -------'s Deep Water Culture Tutorial, SH Kit & DIY

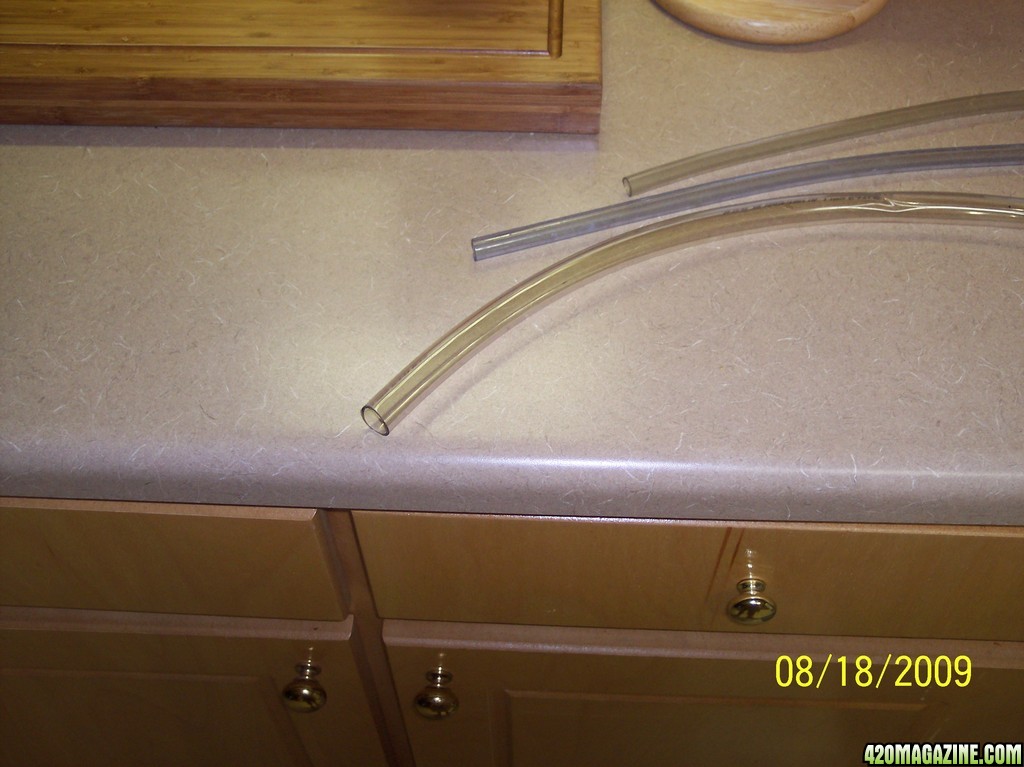
A couple years ago, I went to Lowes and bought two feet lenghts of 1/2 inch, 3/4 inch and one inch clear pastic tubing. Each tube will very tighly and snuggly fit into the next bigger size and I use them to connect my water pumps to the Irrigation Hubs. I can cut them to the needed lenght and they fit just right on any brand of pump or irrigation manifold.

I also use the one inch tube to drain my tanks.


2009_Grow_0153.jpg
 
Re: -------'s Deep Water Culture Tutorial, SH Kit & DIY

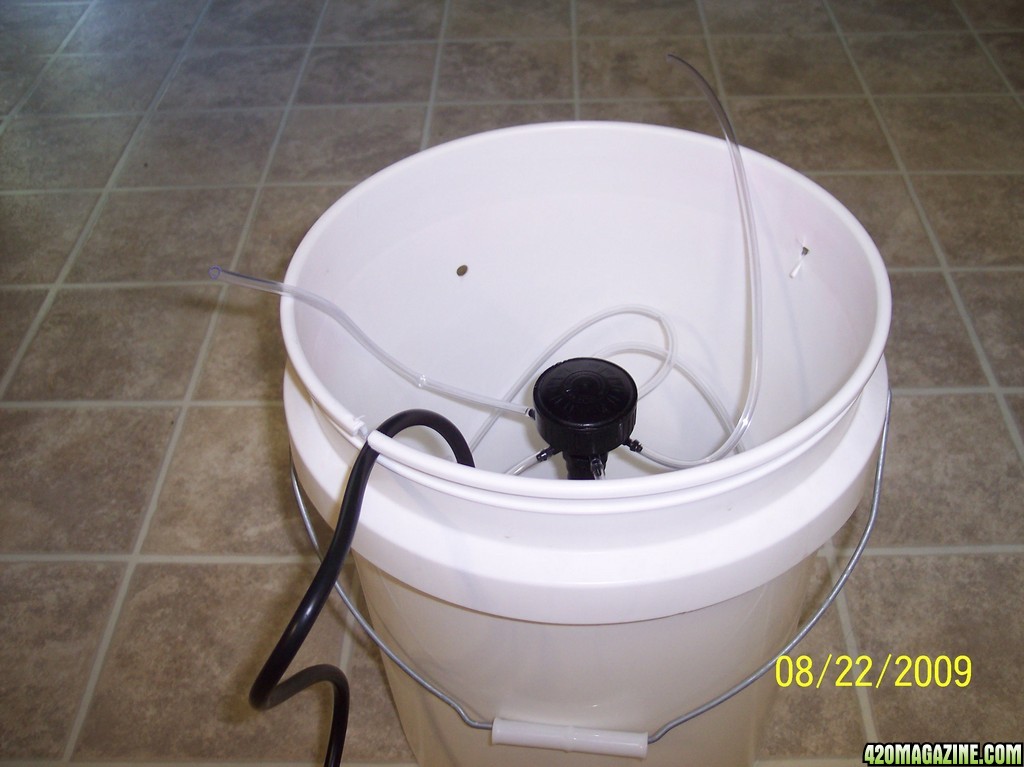
OK, the third pump, a new one, will go into the DIY 5 gallon bucket.

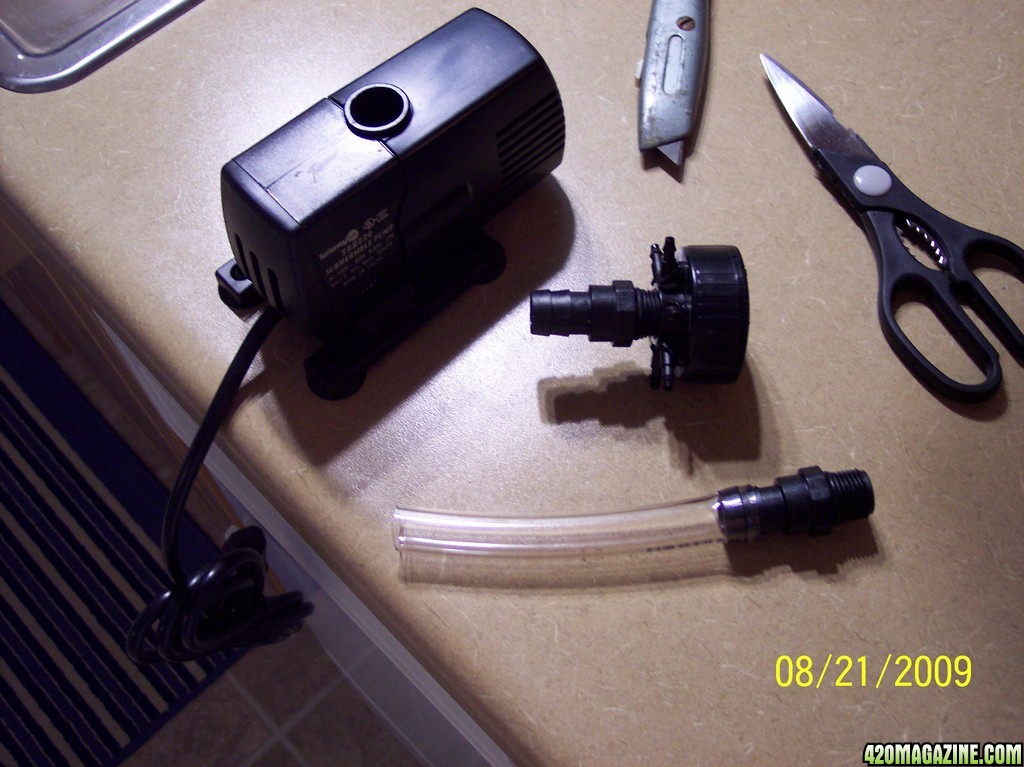
I checked the Irrigation Hub and it works fine. I used a 7 inch long 3/4 inch plastic tube to attach the pump to the Hub. That is a customized fit for my 5 gallon bucket. After I tested it and put it in the bucket, I saw 7 inches was too long, so I cut it back to 4 inches.

The KIT comes with what you need to attach the pump to the hub.


2009_Grow_00117.jpg


If you buy the kit, the hub and pump come matched up and already fit together.
If you DIY, you will need to rig up something between the pump and hub, and I think using the clear plastic tubes work best. Certainly cheap and easy enough.
ALL water pumps come with several attachements just for this purpose.
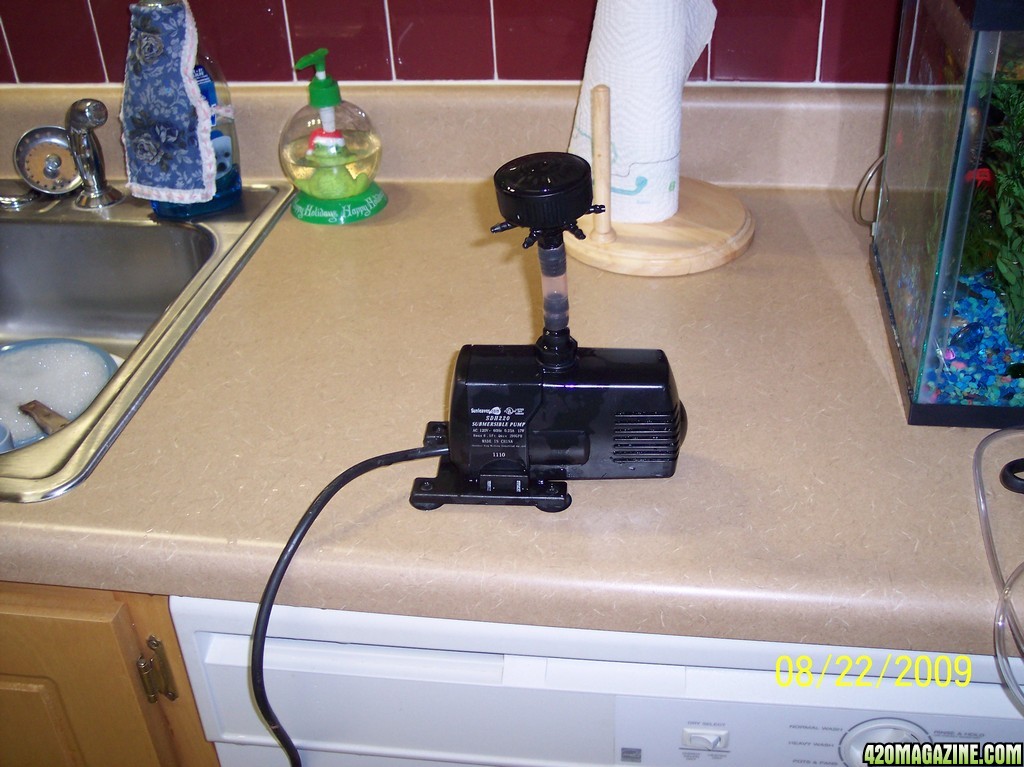
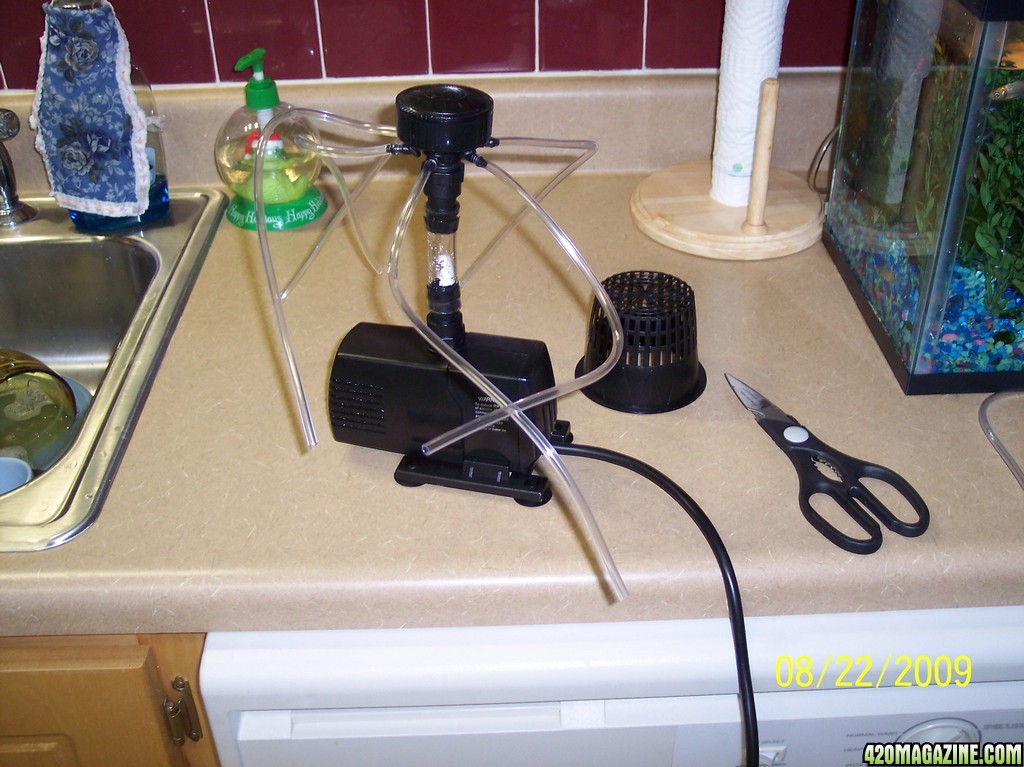
These pics show a strong stream of water coming from the tubes because the pump is not drawing in a lot of AIR like it will in the tank. Then, the tubes will emit a bubbley trickle because the tank is full of bubbles.


2009_Grow_0027.jpg


I had used a 7 inch piece of clear plastic in those pics to connect the pump to the hub, but when I tried it in the bucket, it was too tall, so I went back and cut it down to 4 inches.

2009_Grow_0036.jpg
 
Re: Roseman's Deep Water Culture Tutorial, SH Kit & DIY

If you have Questions or Comments, or Disagree with me, then please go here:
https://www.420magazine.com/communi...roponics-deep-water-culture-growing-q.110871/
HOME OF THE Deep Water Culture


The Deep Water Culture Home

That way this Thread is shorter and easier to learn from.

This Tutorial is dedicated to all my Deep Water Culture friends and to the New Growers wanting to learn. I base all of this on what I read in books, on Internet Grow Sites and more so on my own personal experience. I have completed 8 grows this way, although I continue to learn from each and every grow.
 
Re: -------'s Deep Water Culture Tutorial, SH Kit & DIY

I got the pumps and hubs all cleaned and I hope I start the seeds soaking and germinating soon.

Let me remind you that IF you are using a New Kit, you can avoid most of the work I have detailed thus far. I am working with OLD, USED equipment and having to clean it up and prepare it for another grow. I did buy new tubes and air stones.
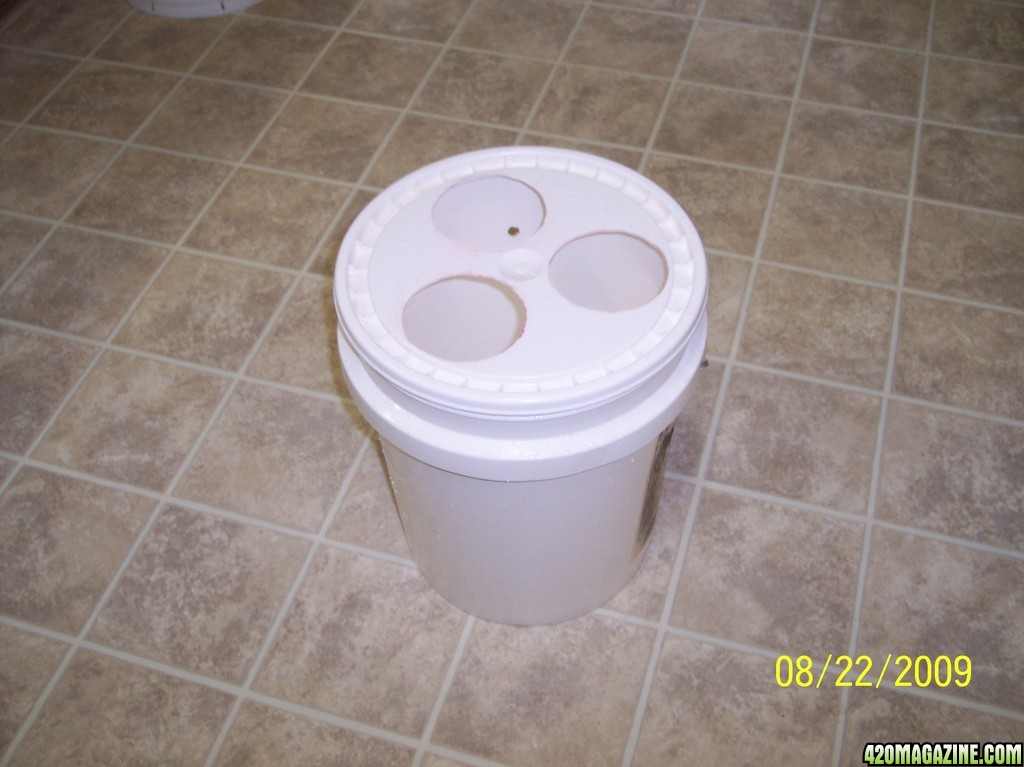
I am also trying to detail a DIY HOW TO using a 5 gallon bucket grow, with 3 grow cups.

I bought my bucket for $5.00 and the lid was $2 extra. The 3.75 inch grow cups were about 60 cents each.
The grow cups are perfect for hydroponic growing, being like little baskets that allow air and water to flow through the roots.

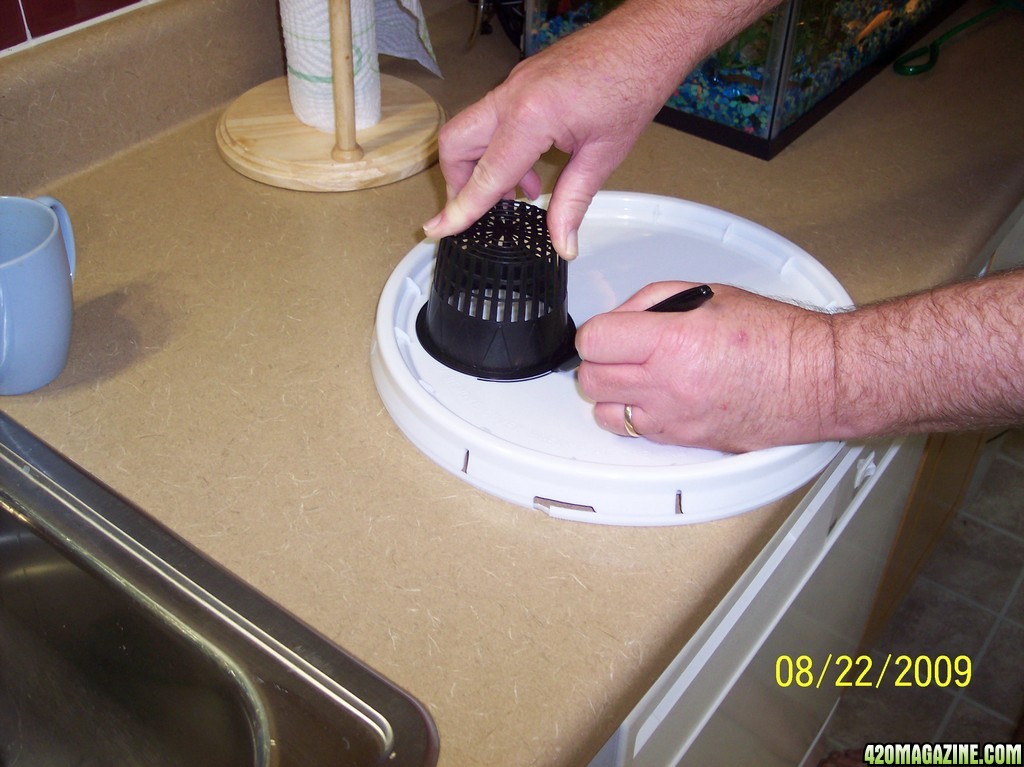
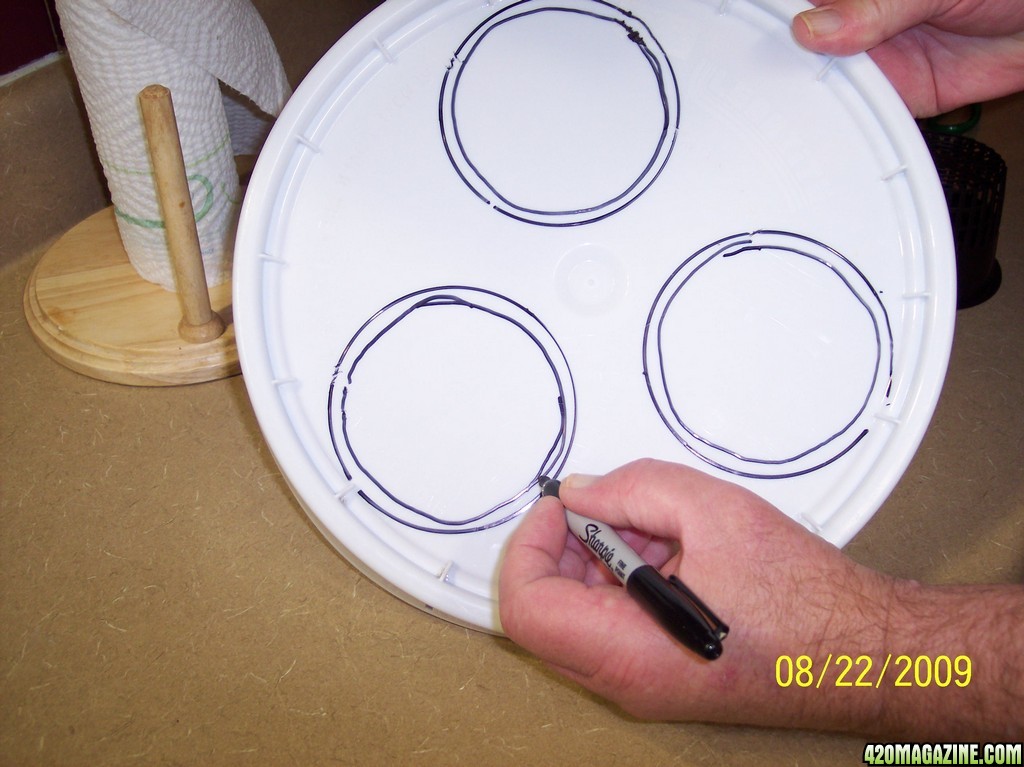
First I get the lid and a grow cup and a black magic marker.
I am using what was called a 3.75 inch grow cup. It is actually 4 inches wide at the widest and it fits into a hole 3.5 to 3.75 inches wide.
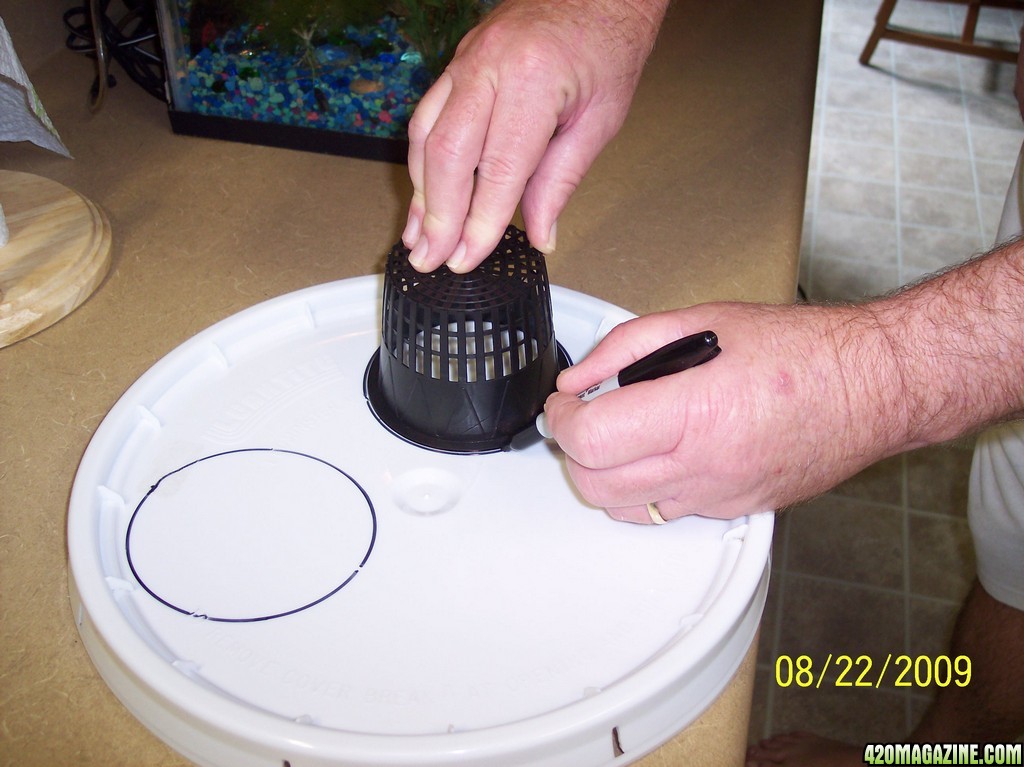
Here I am tracing my grow cup with a black magic marker.


2009_Grow_00118.jpg


2009_Grow_0028.jpg


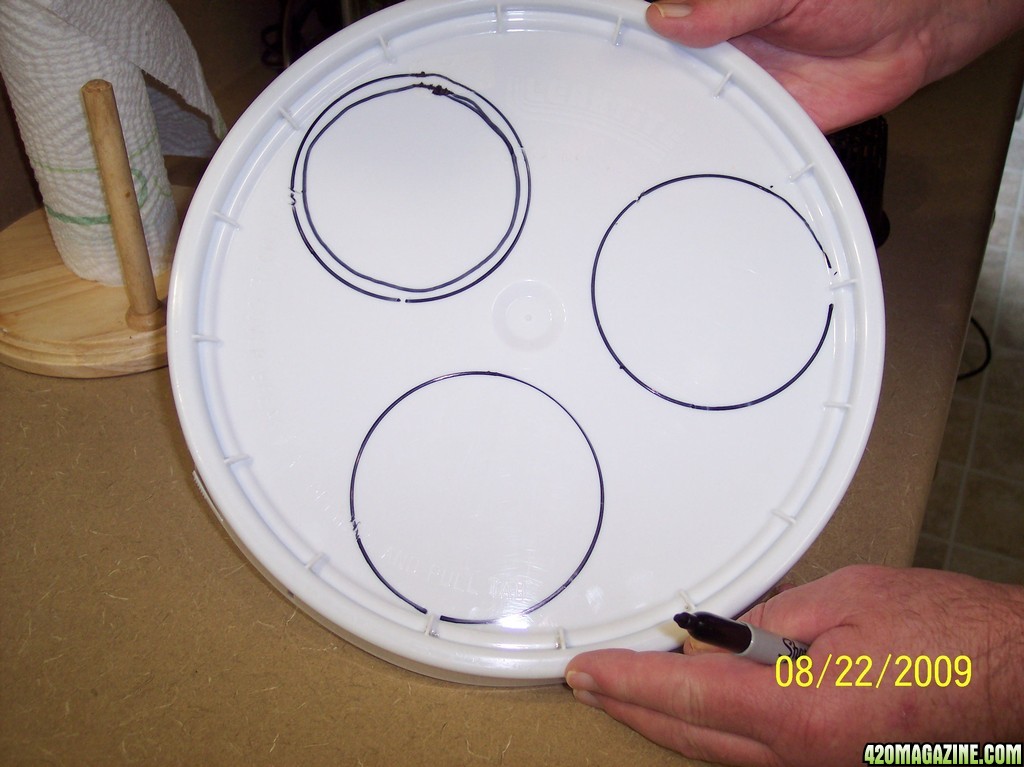
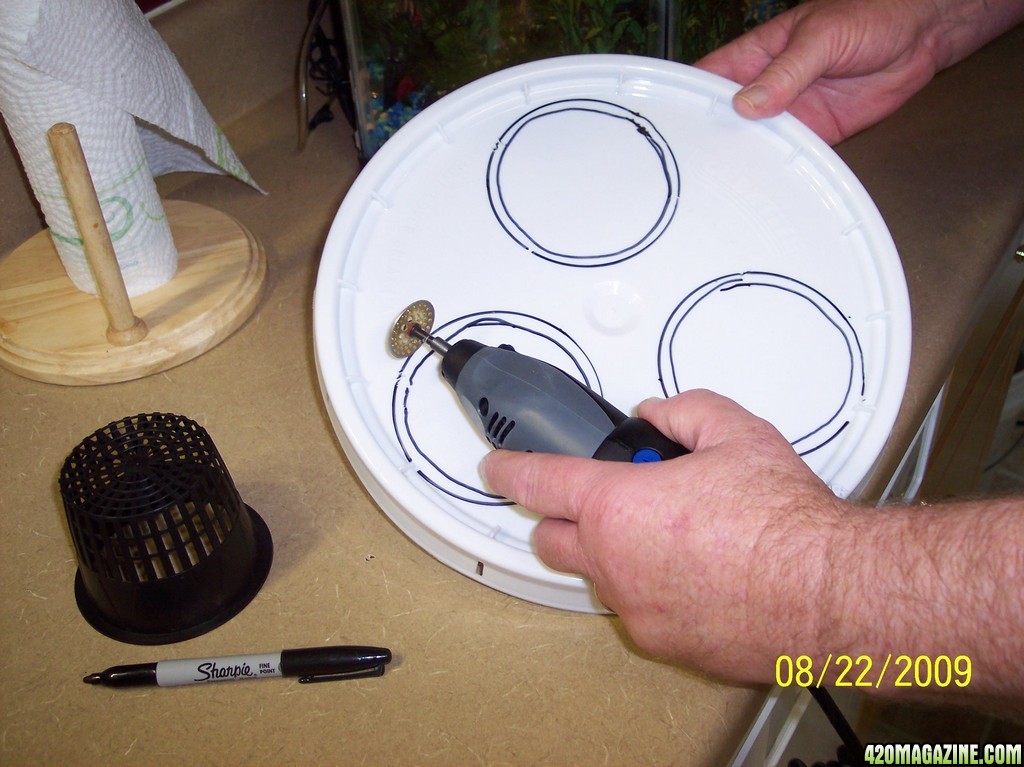
After I trace the three holes, I go back and make an inside circle that is 1/4 inch narrower.

2009_Grow_0037.jpg


2009_Grow_0044.jpg


I am using a DREMEL power hand tool, to cut the holes. You could use a razor knife or a heated knife blade or a hole cutter from the hardware store.
2009_Grow_0054.jpg
 
Re: -------'s Deep Water Culture Tutorial, SH Kit & DIY

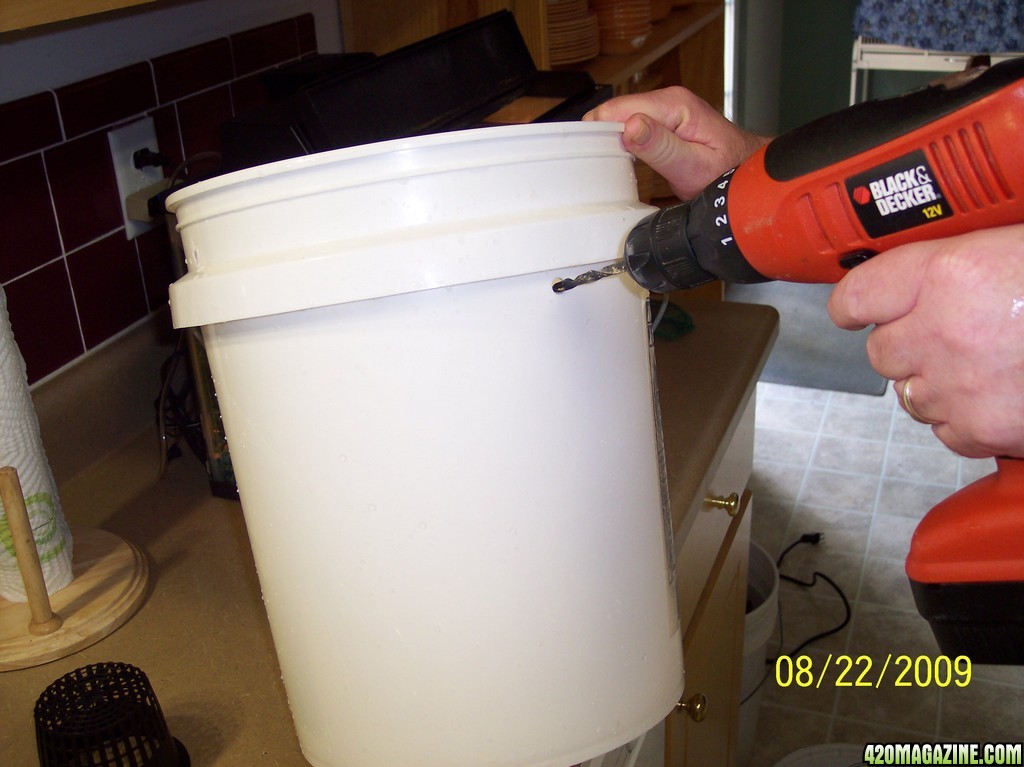
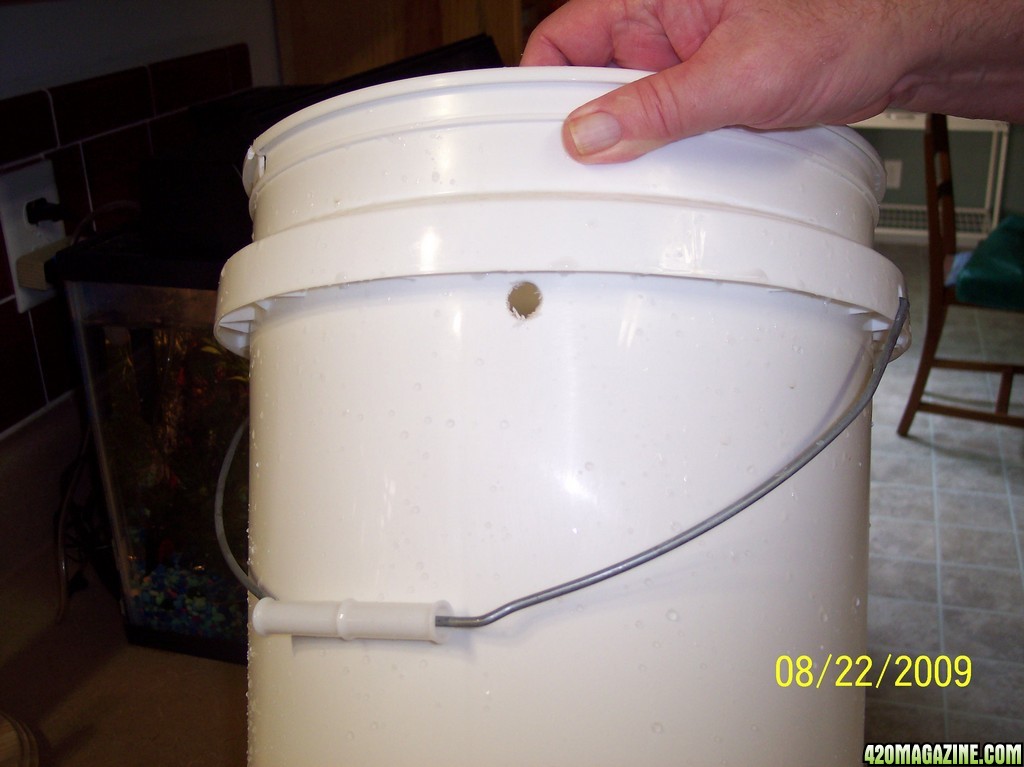
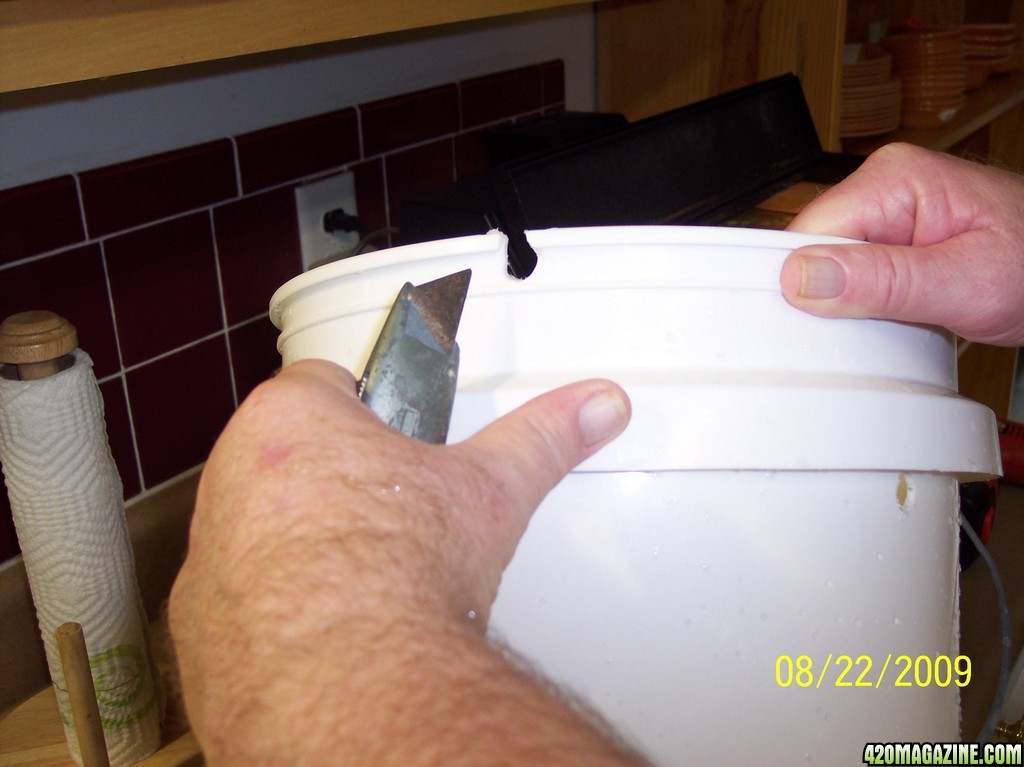
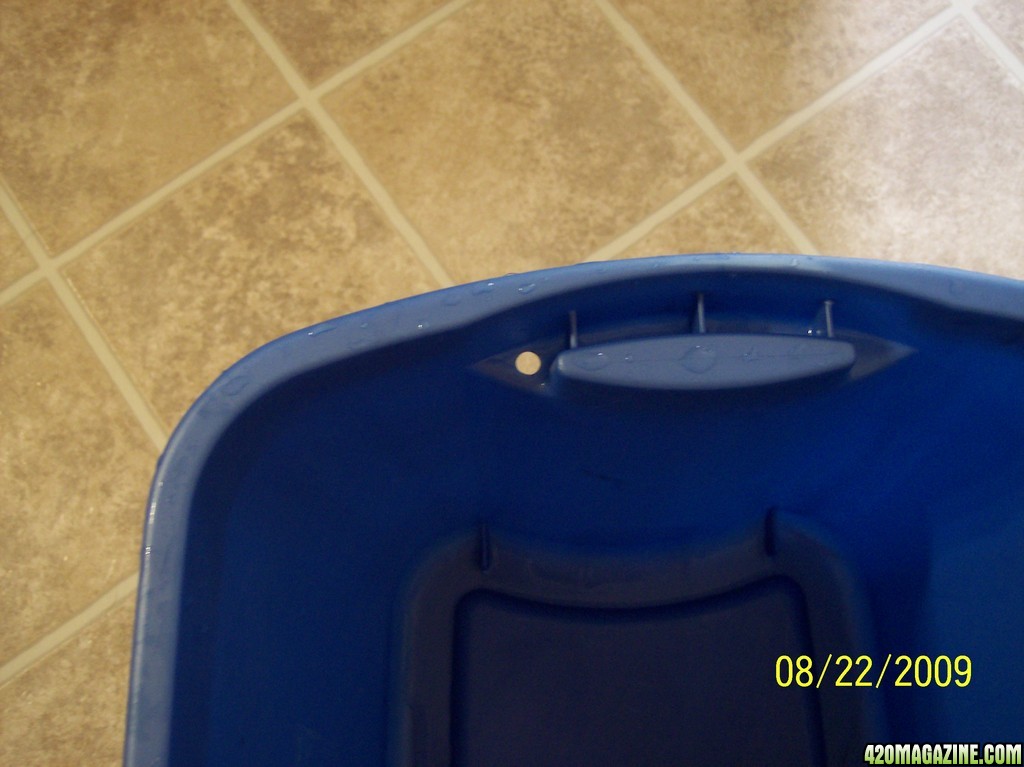
Now I take my drill, and make a hole very near the top, actually two holes, leaving enough room for the lid to fit on the bucket, but not too low. These are holes for the air stone tubes.
2009_Grow_0064.jpg


2009_Grow_0073.jpg


One hole on both sides of the bucket. I could have put them closer to each other.

Now I cut a hole for the Water pump wire.


2009_Grow_0083.jpg


And Ta Da! My 5 Gallon Grow Bucket!

2009_Grow_0093.jpg
 
Re: Roseman's Deep Water Culture Tutorial, SH Kit & DIY

QUESTION:
What is with the Water Pumps and Irrigation Hubs?

ANSWER:
One word, Deep Water Culture!


I could copy and paste a bunch of technical info here but I'm trying to keep it simple. Earlier, I explained the different Hydroponic systems, and this is about Deep Water Culture, the very most efficient fastest growing hydroponic system available. The word BUBBPLEPONICS is actually registered and owned by a friend of mine that owns Stealth Hydroponics.
Simply, it is a system of pumping oxygen enriched and nutrient enriched water to each root base, even when there is no root base and the seed is first germinating and starting its first single root. It is not a stream or strong flow of water, that would drown the sprout. It is just a trickle of a lot of air and a little water, rich in nutrients. As the water is trickled onto the base of the sprout, the roots are fed and then they follow the trickle of water as it falls into the bottom of the tank and re-circulated. The airstones provide a lot of oxygen to the water and the water pump then pumps that oxygen and water to each sprout.
The water pump also moves and stirs the water, and we all know stirring water is cooler and more oxyegenated as it is moved.
I could go on and on, explaining, but the real explanation is in witnessing the rapid growth, especially the first 3 or 4 weeks. I actually have to raise my lights an inch higher every day due to the rapid growth, the first 4 weeks.


To believe it, you will have to see it. So please hang in with me, and see.

I started 3 seeds in soil the same day, to make a comparison, as you see in the pics.

Those first 3 weeks is when the feeding tubes really make a difference.


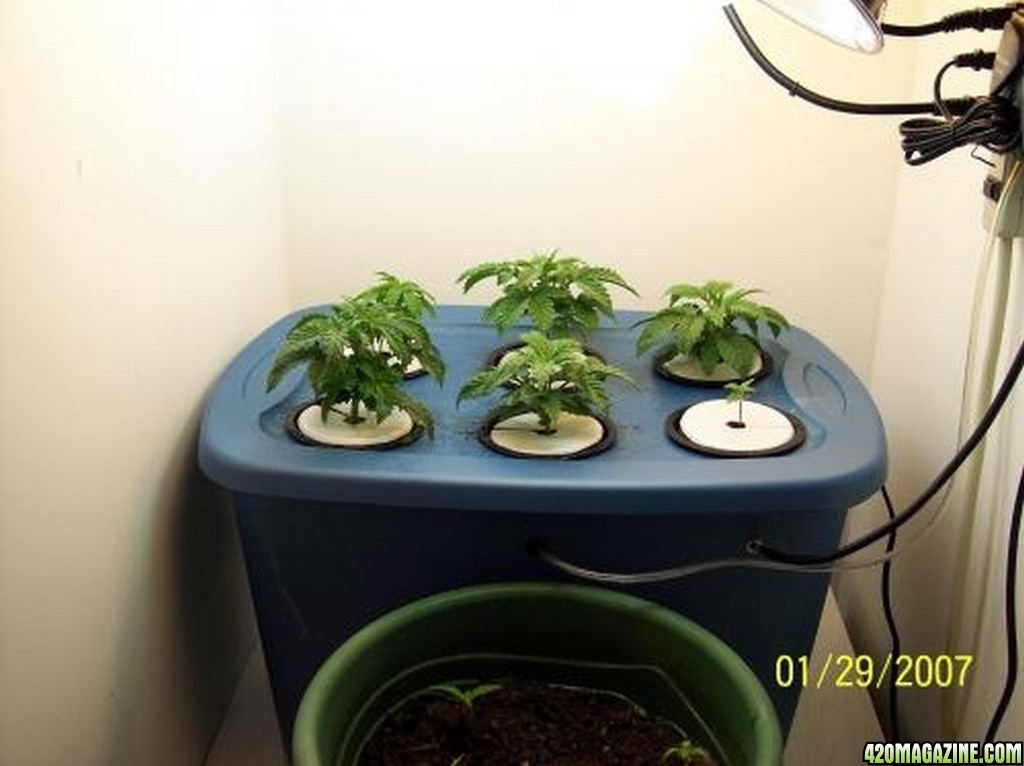
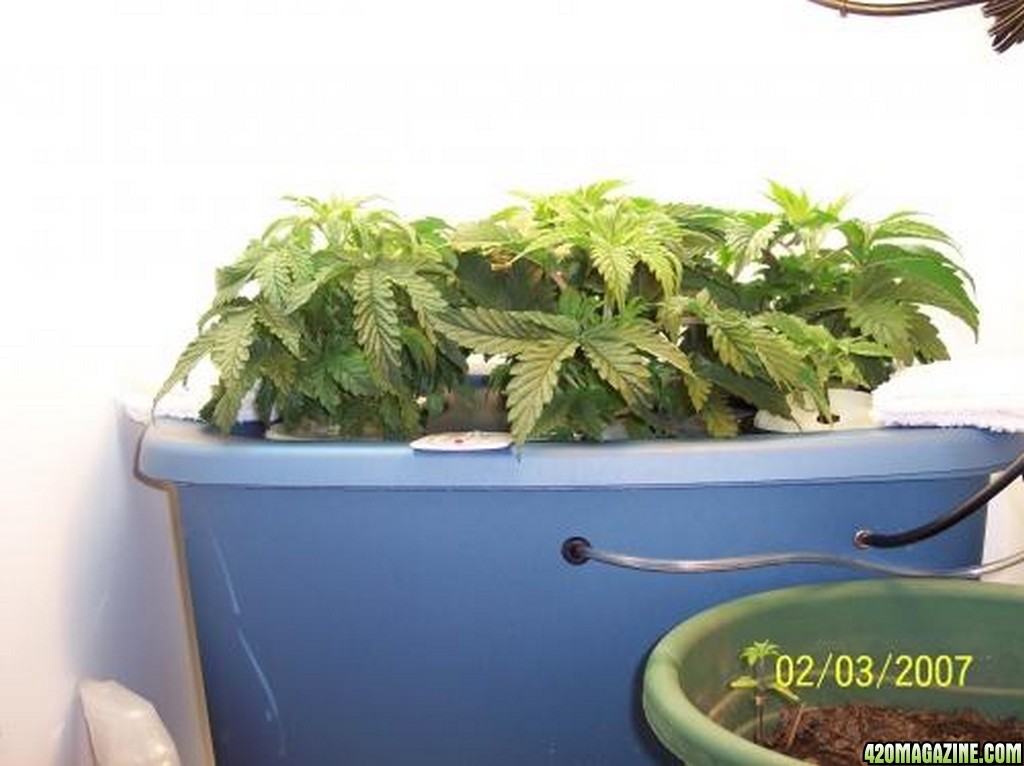
I started seeds in the soil and in the Deep Water Culture system at the same time in these pics. See any difference?

2_weeks_old.jpg


This is less than a week's growth!

3_weeks_old2.jpg


Or visit the Home of the Deep Water Culture thread and look at their grows. We actually get an inch a day, up to two inches a day, in growth in height!


12_unch_shade_leaf.jpg
 
Re: Roseman's Deep Water Culture Tutorial, SH Kit & DIY

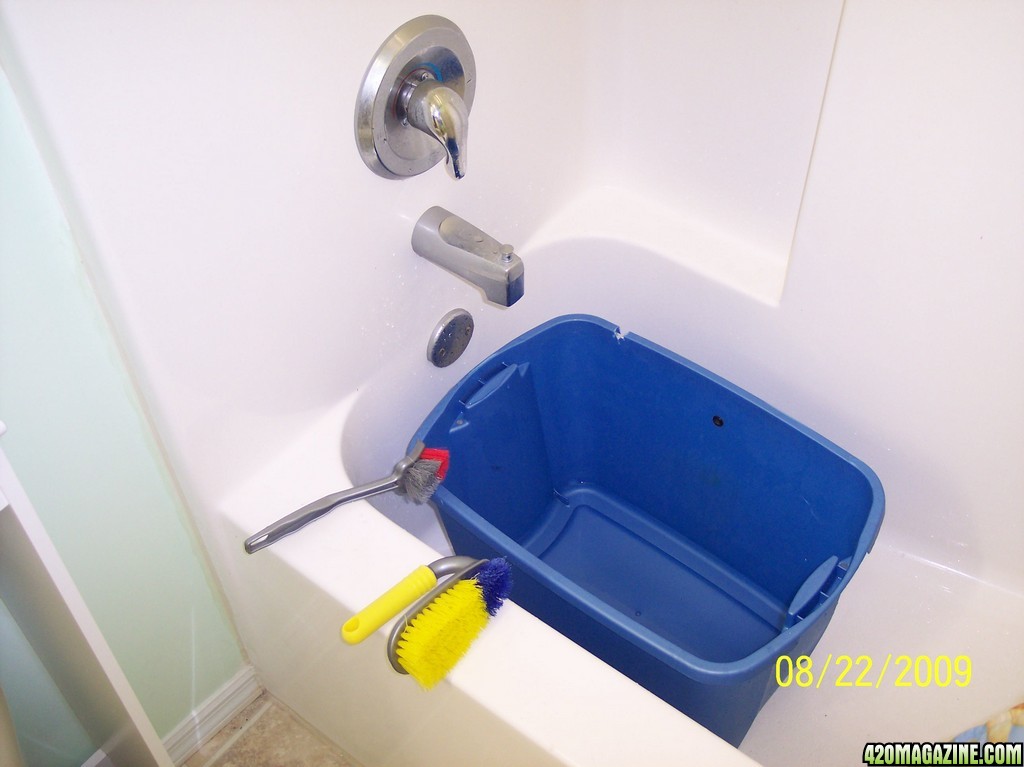
I am rinsing my tanks and bucket very good with hot water, they have to be clean, then I am rinsing them again by wiping them down with a thick paper towel full of vinegar.
Then I wipe them dry again.
 
Re: -------'s Deep Water Culture Tutorial, SH Kit & DIY

I am rinsing my tanks and bucket very good with hot water, they have to be clean, then I am rinsing them again by wiping them down with a thick paper towel full of vinegar.
Then I wipe them dry again.


2009_Grow_0104.jpg
 
Re: -------'s Deep Water Culture Tutorial, SH Kit & DIY

See the extra holes in the ends of the tank, for adding extra air hoses and air stones:

2009_Grow_0114.jpg


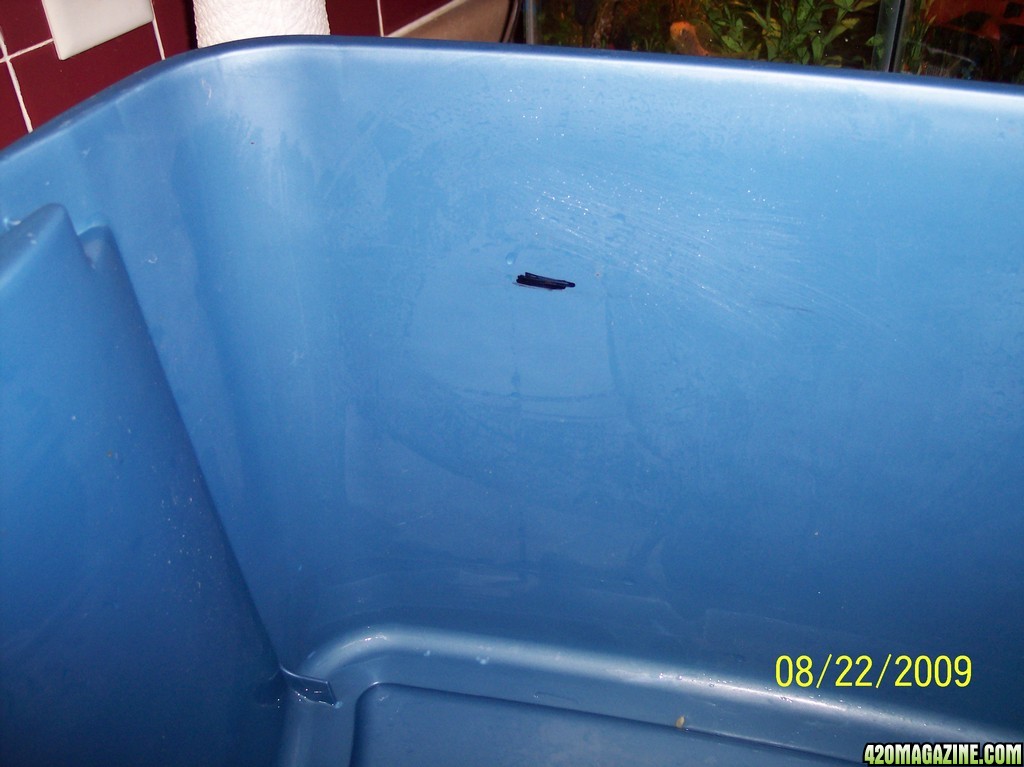
And here you see the black magic marker line I made to show me the 6 gallon water level line. I filled the tank with exactly 6 gallons of water, made the mark, then emptied it. Now I can always look for the line to determine how much water to add later.
2009_Grow_0134.jpg


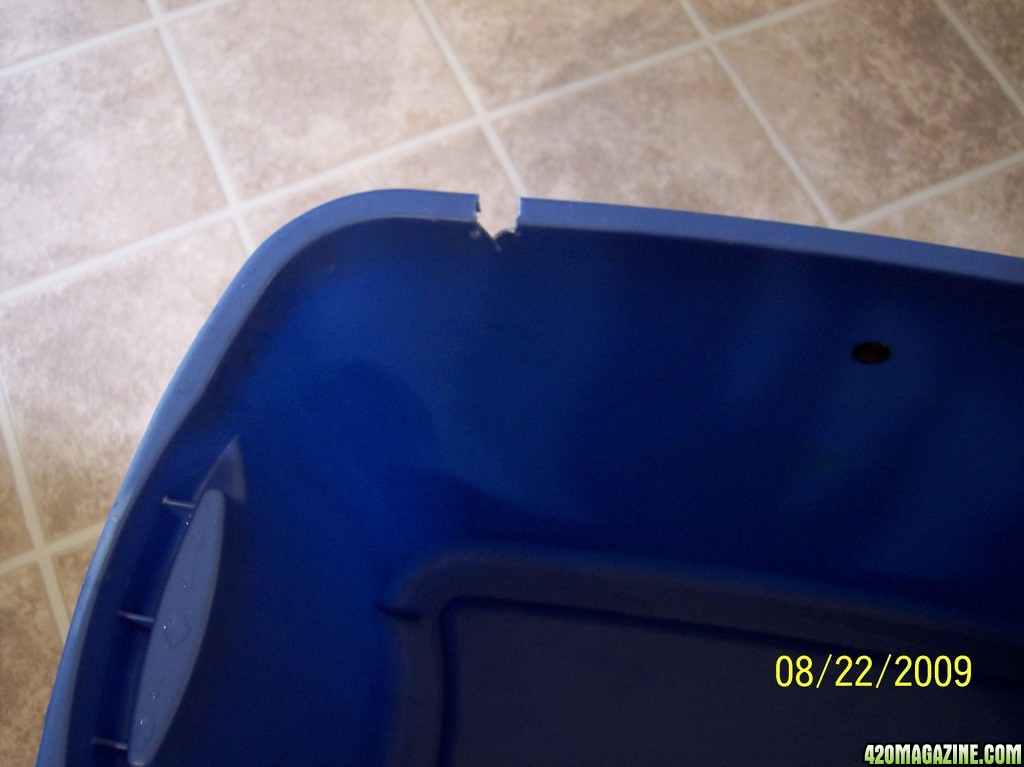
I cut out that little 1/2 inch cut out to put my wire that runs to the water pump, making it easier to close the lid.
2009_Grow_0124.jpg
 
Re: -------'s Deep Water Culture Tutorial, SH Kit & DIY

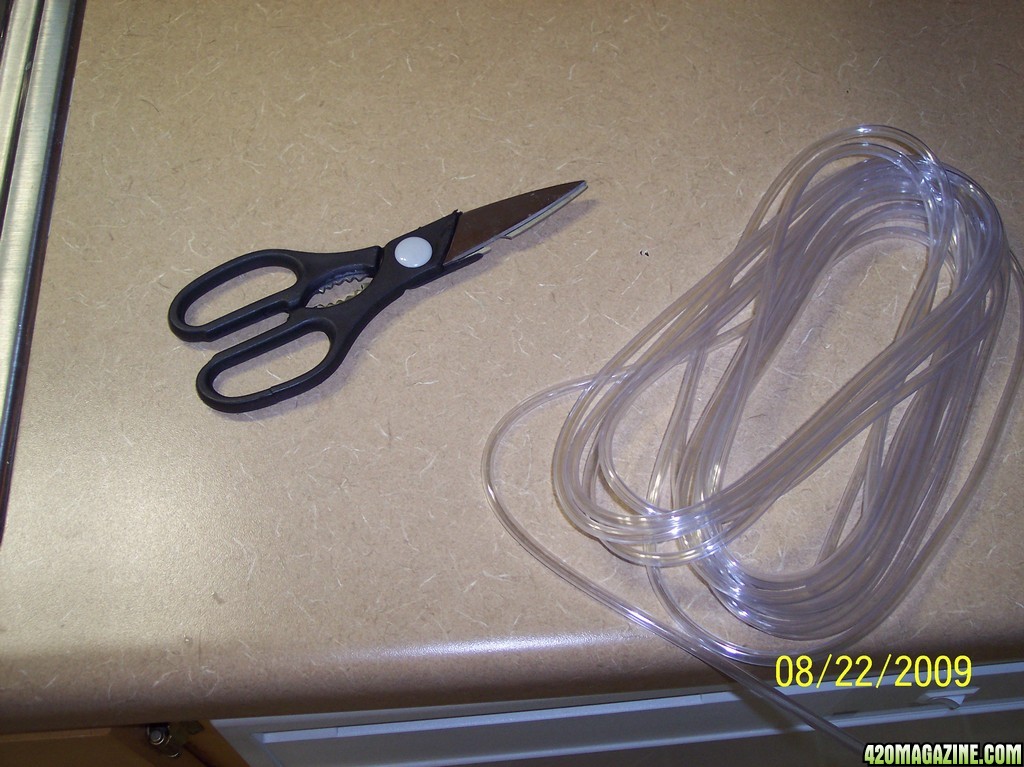
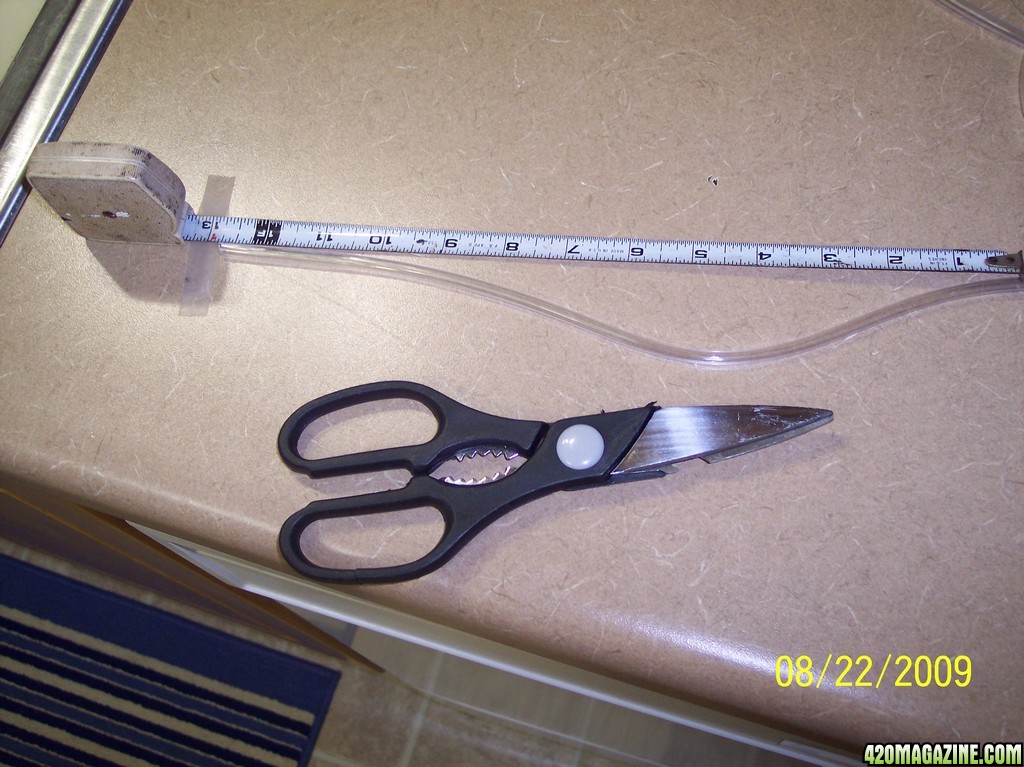
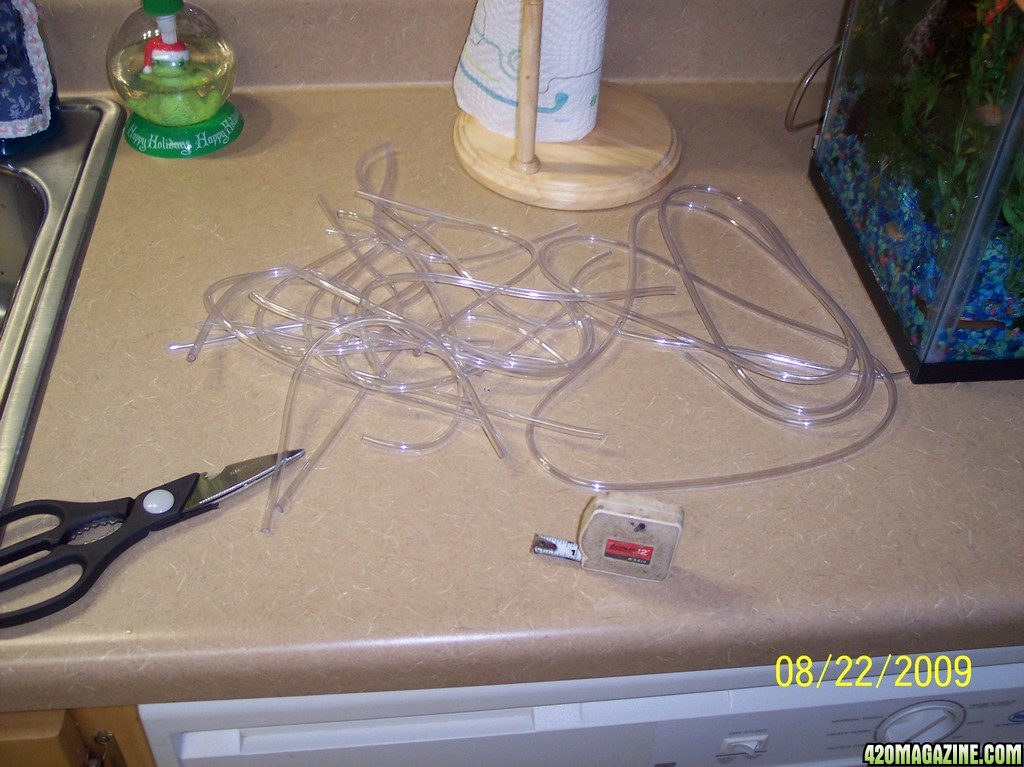
Here, I am cutting my 1/4 inch clear plastic tubes to a 12 inch lenght, to run each from the Irrigation Hub to the Grow Cups. I will trim them shorter later when I attach them. They should not all be the same lenght. The center ones can be just 7 inches long.
And again, if you bought the Kit, they come already cut to the proper lenght and are all attached and assembled. My old lines were full of calcium and lime deposits, commonly called water salts or water minerals, so I bought new tubing. With every grow, I buy new tubes and new airstones. I also buy nutrients and that is all I have to buy for the subsequent grows. What I am saying is the first grow can be costly, but all the grows after the first one are much cheaper.


2009_Grow_0144.jpg


I needed SIX tubes for each tank or grow cup, so I oly really need 3 for the bucket. I have decided to run two tubes to each grow cup in the bucketinstead of leavig them unused.

2009_Grow_0163.jpg


2009_Grow_0154.jpg


I am attaching the Feeder Tubes to the Irrigation Hub and the Hub to the water pump.


2009_Grow_0173.jpg


See how I used a 3/4 inch plastic tube to attach the hub to the pump. I have attached ech pump to the hub differently. You might need to use plumbers teflon tape to make the SEAL tight, but I have not used any.

2009_Grow_0183.jpg


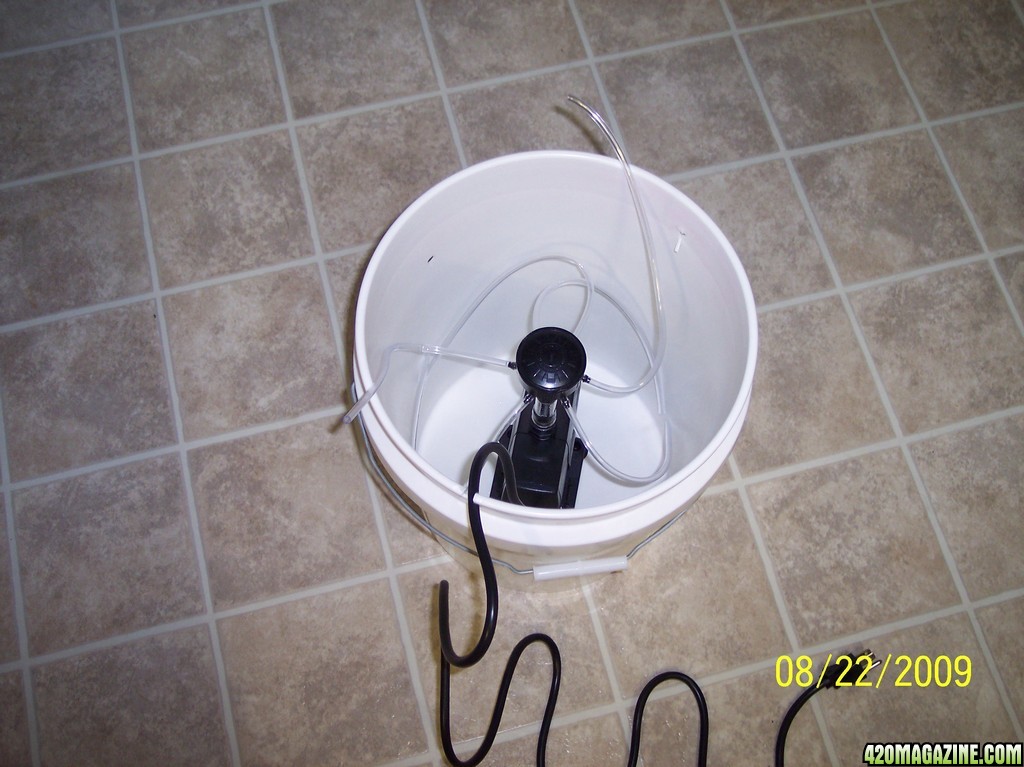
Now it is time to assemble the 5 gallon bucket contents together.

2009_Grow_019.jpg


2009_Grow_0201.jpg
 
Back
Top Bottom