- Thread starter
- #21
stratlogic
Well-Known Member
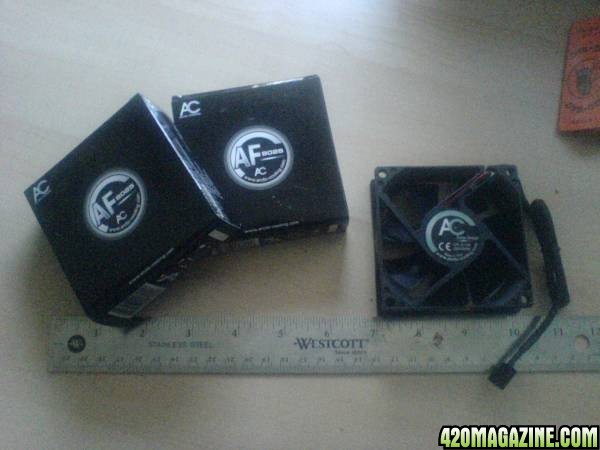
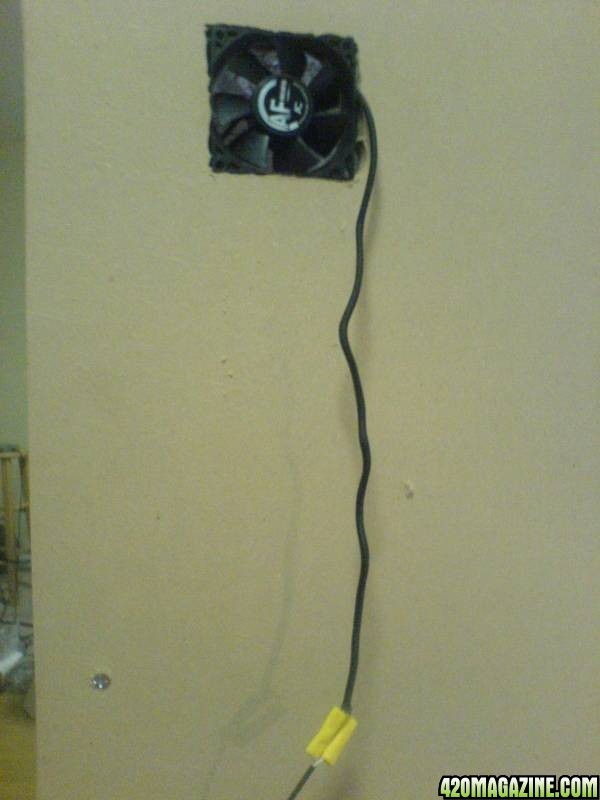
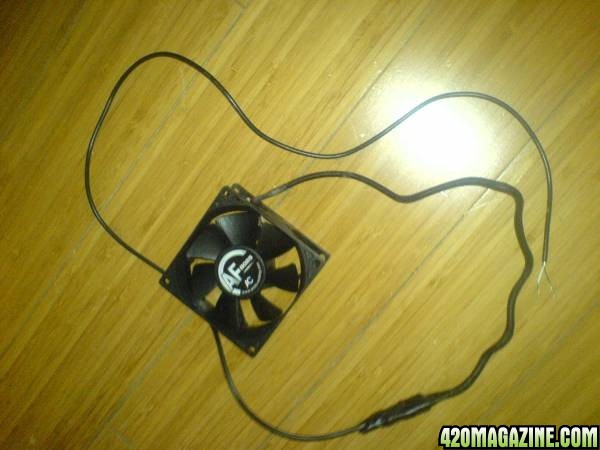
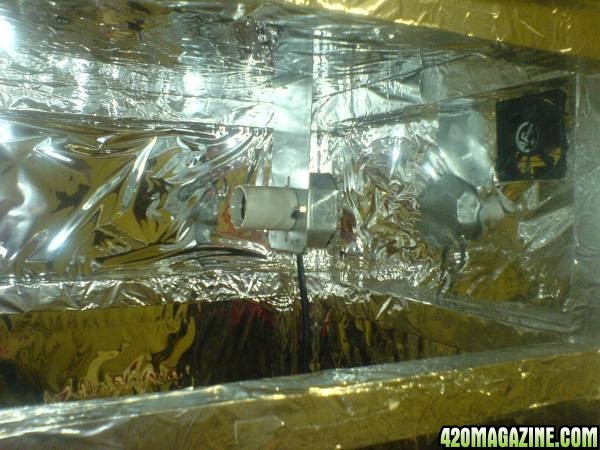
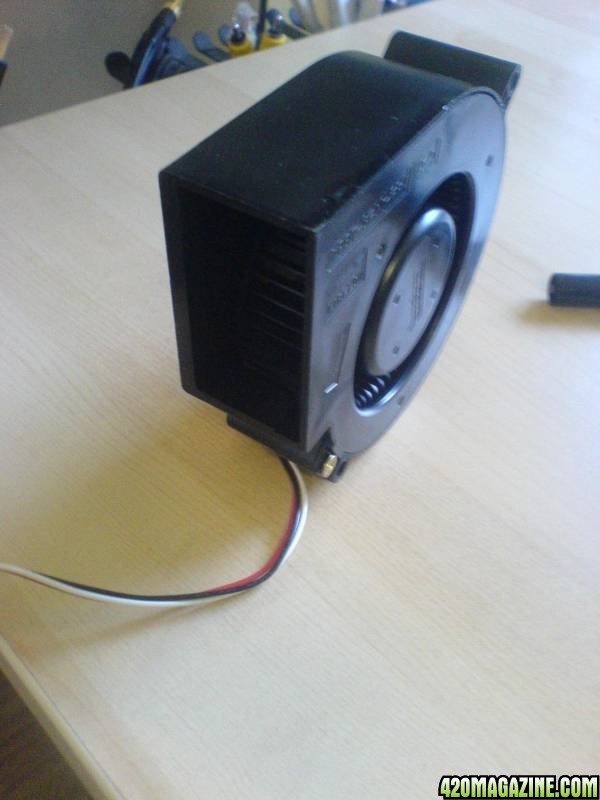
I just ordered three fans today from frozenpc and can't wait to get the ventilation done. The fans specs are:
Dimensions: 80 x 80 x 25mm
Fan Speed: 2000 RPM
Air Flow: 26.8 CFM
Noise: 21 dBA
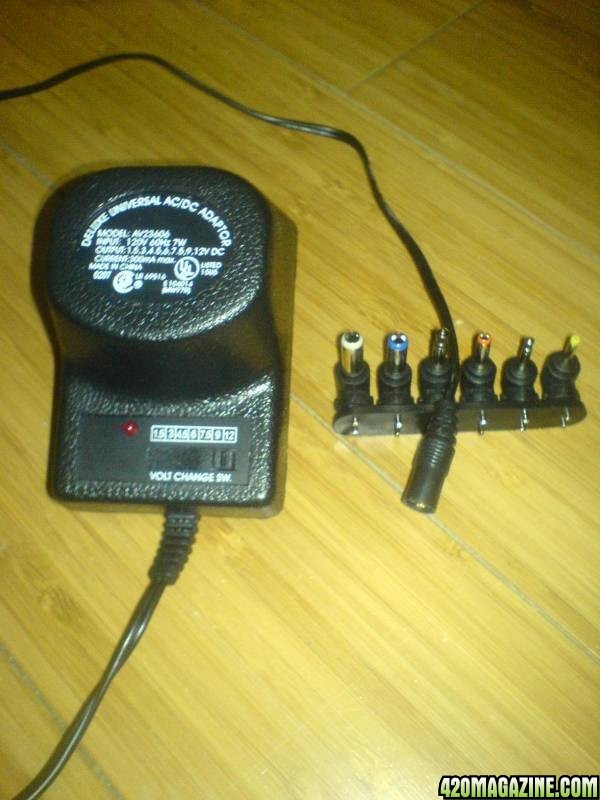
Power: 12V, 0.12A
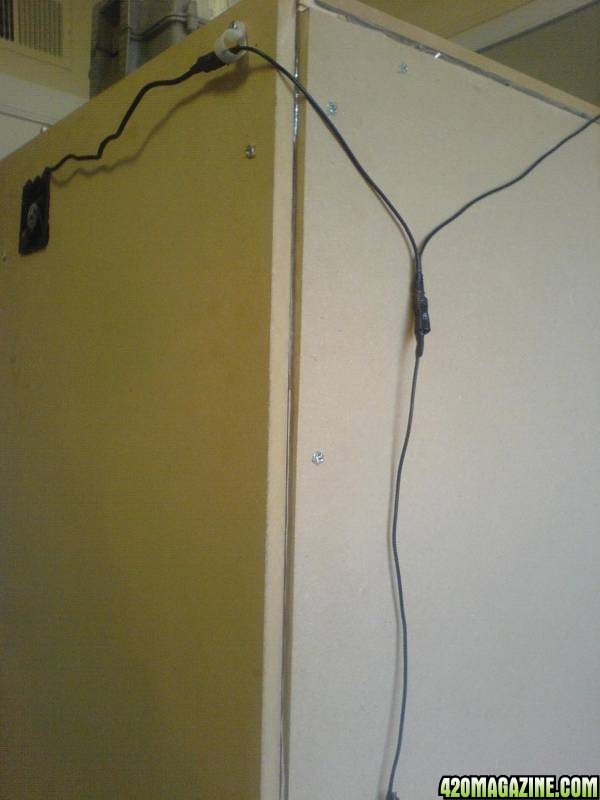
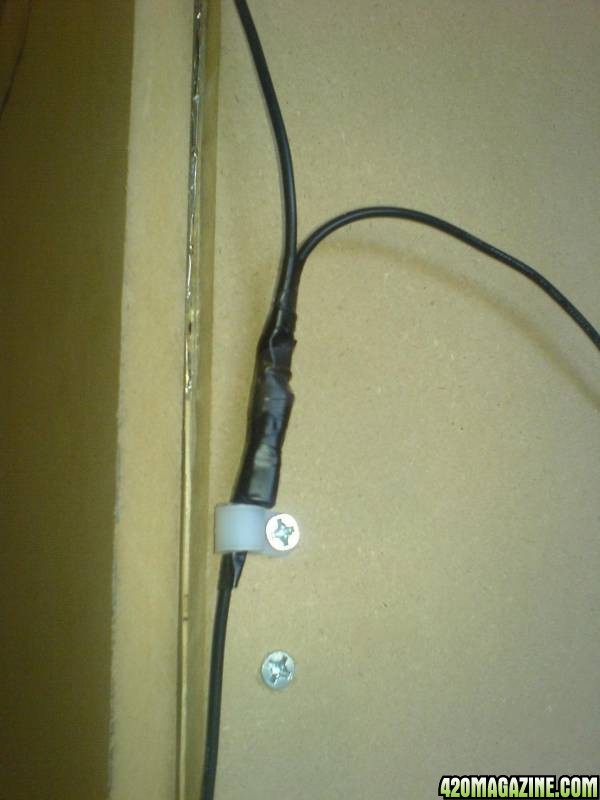
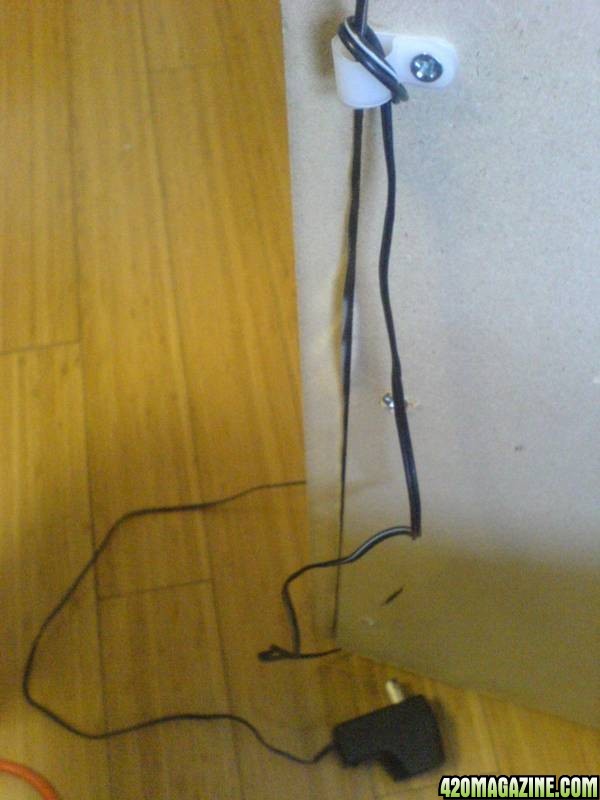
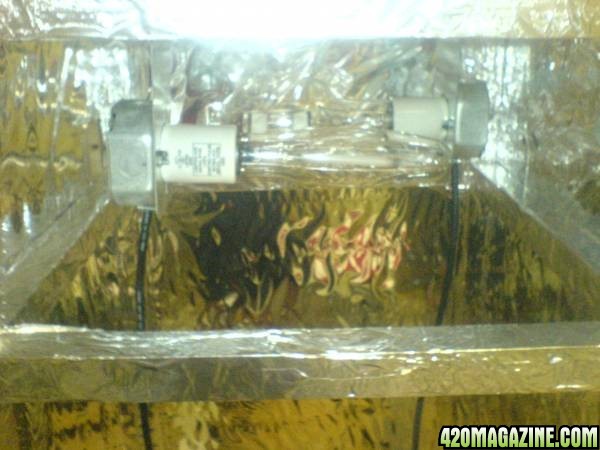
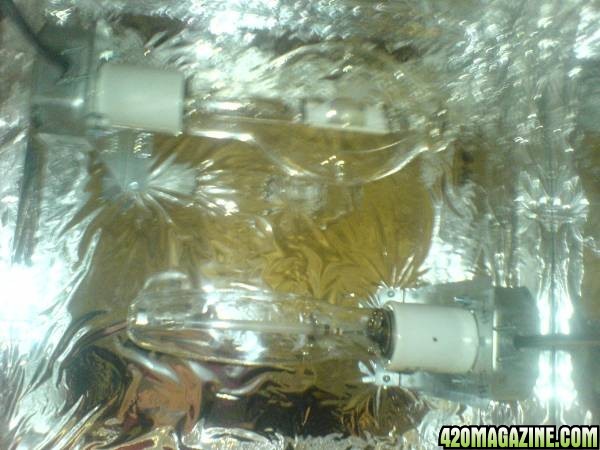
I am planning on using one fan for the light and two for the grow chamber. I picked these fans up for only $4 each! Both fans together will replace the air in the grow chamber 3.35 times a minute, or once every 18 seconds. Since the minimum is once every 5 minutes, this should be more than enough. The one fan in the light will replace the air at twice the rate compared to the grow chamber, or every 9 seconds.
If you're lost, this might help:
Ventilation Math
Dimensions: 80 x 80 x 25mm
Fan Speed: 2000 RPM
Air Flow: 26.8 CFM
Noise: 21 dBA
Power: 12V, 0.12A
I am planning on using one fan for the light and two for the grow chamber. I picked these fans up for only $4 each! Both fans together will replace the air in the grow chamber 3.35 times a minute, or once every 18 seconds. Since the minimum is once every 5 minutes, this should be more than enough. The one fan in the light will replace the air at twice the rate compared to the grow chamber, or every 9 seconds.
If you're lost, this might help:
Ventilation Math