- Thread starter
- #21
DutchDude
Well-Known Member
Alright - I could not wait until this weekend, so I build version 2 of the cloner last night.
I moved to a new setup and two tubs for several reasons:
- I do not have to worry about root length, or how long I let them veg for
- It is easier to control leaks (ie it won't") )
)
- I can hold about 12 gallons without effecting the ability to actually spray
- I wanted to move the valve over to the right, so that the connection is in more in the middle
- I was not happy with the amount of nozzles, and the spray pattern
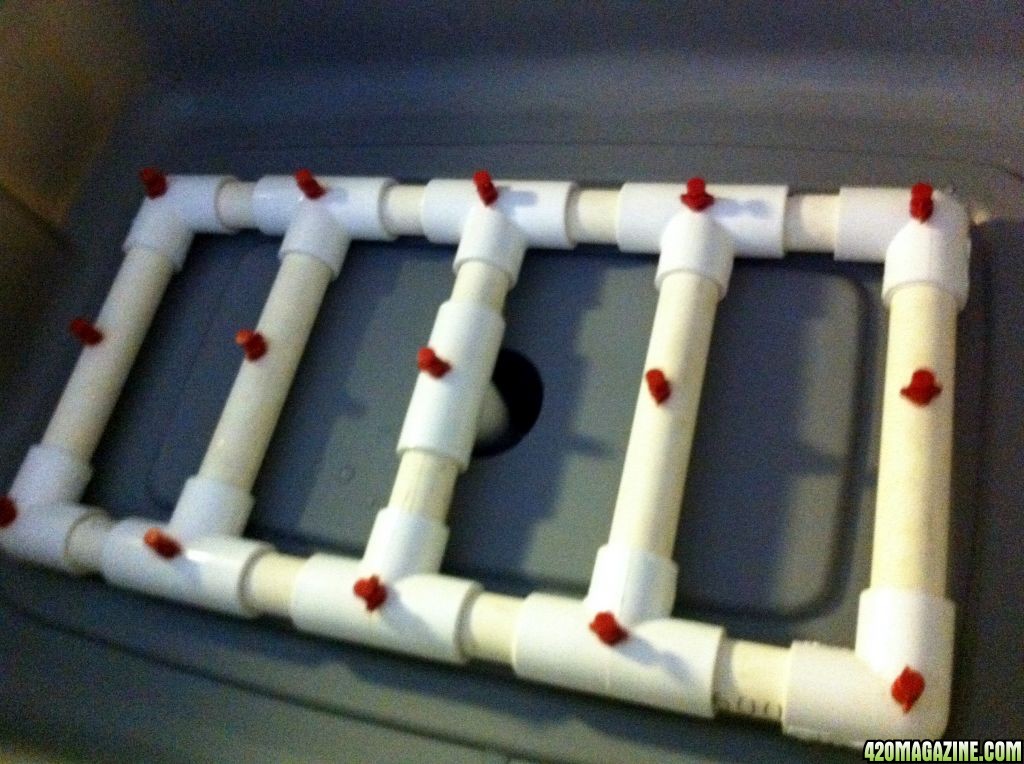
So, here is the new spray bar. I went from 10 to 15 nozzles, but I was unsure if the 396 gph pump would wimp out with that many nozzles. So, I tested it:
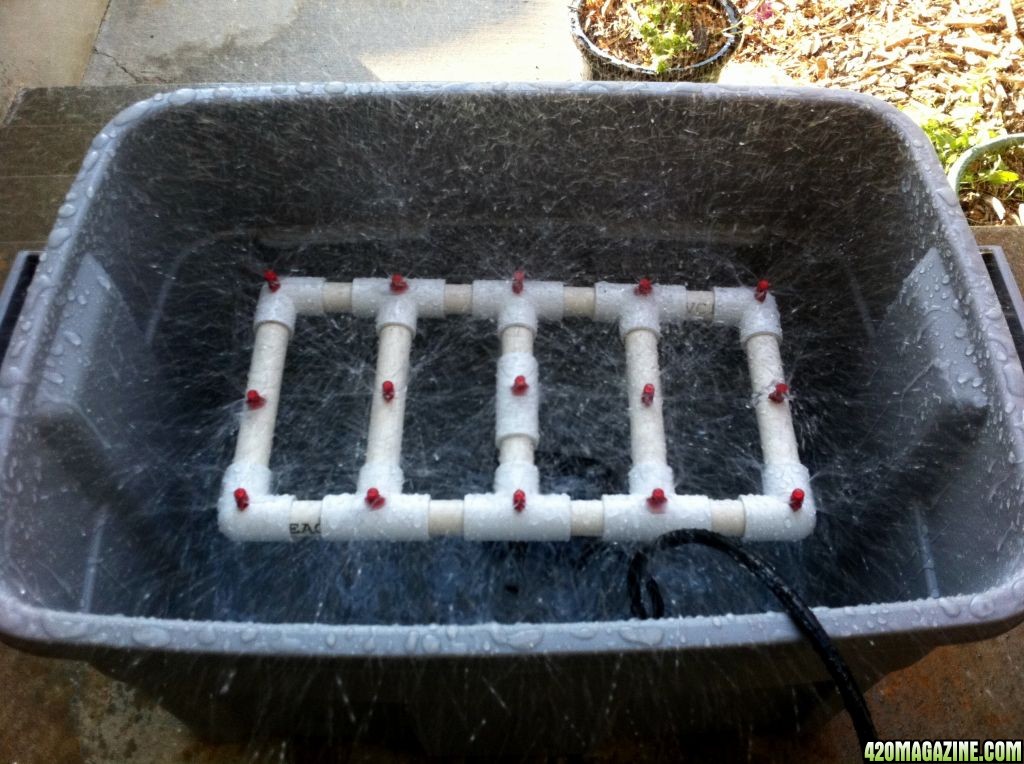
Looks pretty good, doesn't it? Nice height, nice coverage, nice pressure.
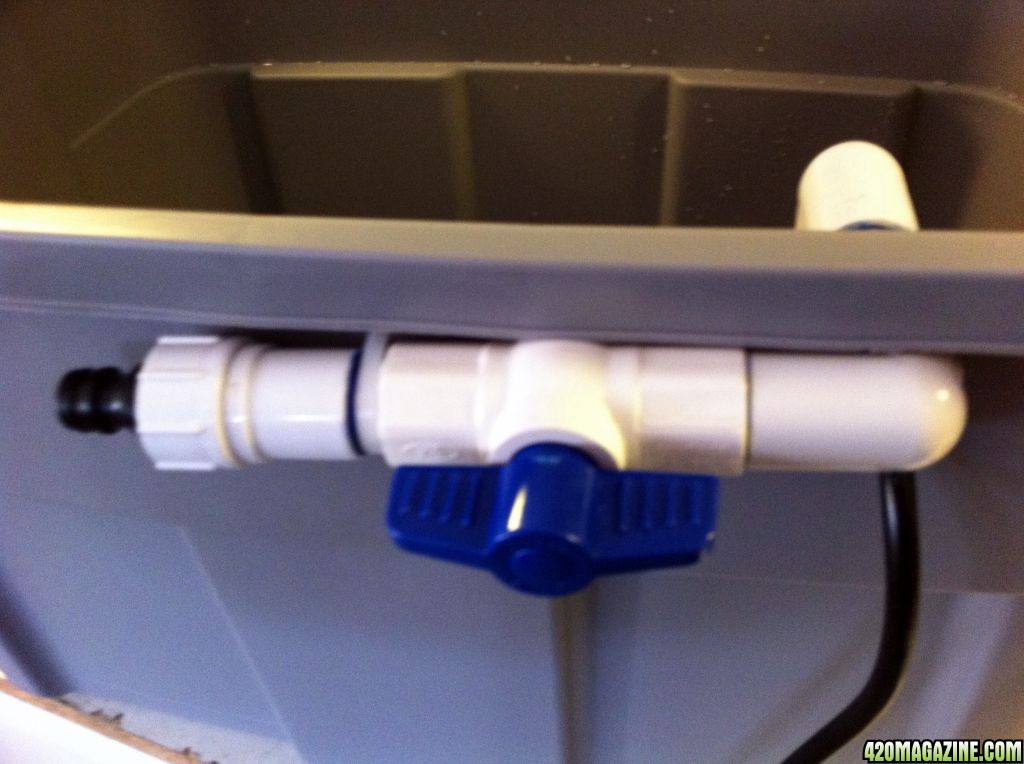
I also tied the evac nozzle down this time with a zip-tie. Should have done that to begin with This does give me a nice place for pH and ppm testing. Just open the valve a little bit when the pump runs, and catch it in a cup. It also has a quick connector on it for attaching the hose when I do water changes.
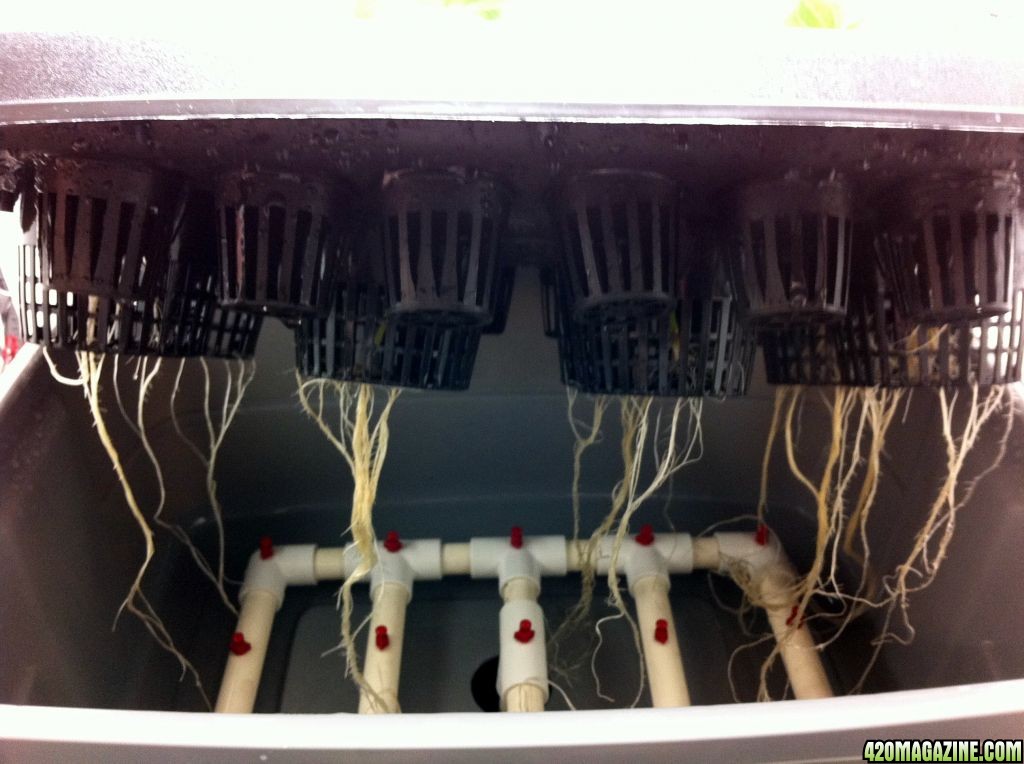
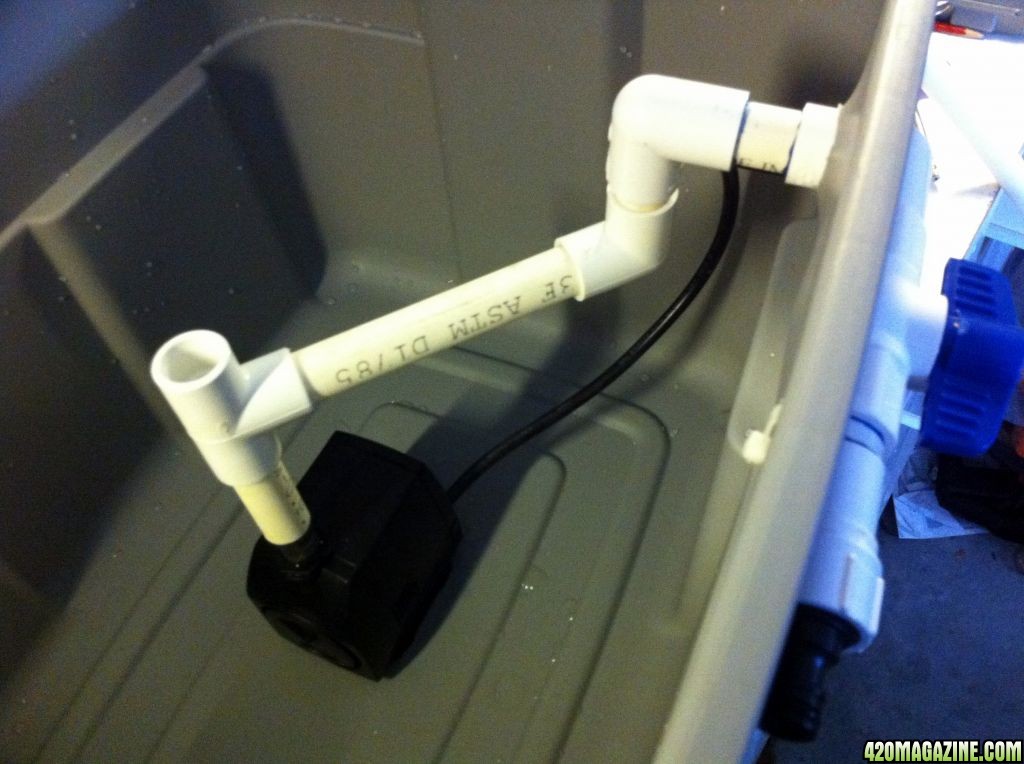
This is the inside plumbing, not all that interesting, but you never know what people might need to look at. The first couple of elbows, and the ones outside of the tub are permanently attached with glue so that it won't leak. All the rest of the plumbing, including the spray bar are just fitted together, no need to glue. The connection to the pump is made by using the screw in nozzle that came with the pump, fitting some of the clear tube on it, and inserting the clear tube into the 1/2" pipe. This is pretty snug with no pressure loss that I can see.
The spray bar installed. Notice that the spray nozzles are not pointing in the same direction as the one it sits next to. I have no idea if I should keep it off the bottom of the 10 gallon tub or not, but during the test, this gave the best pattern. I guess I can re-evaluated ones I have more roots. The length of the connection pipe is very easily adjusted, and like explained before, not glued.
Two inch hole in the bottom of the 10 gallon tub, and the lid of the 14 gallon tub, then it just rests on top:
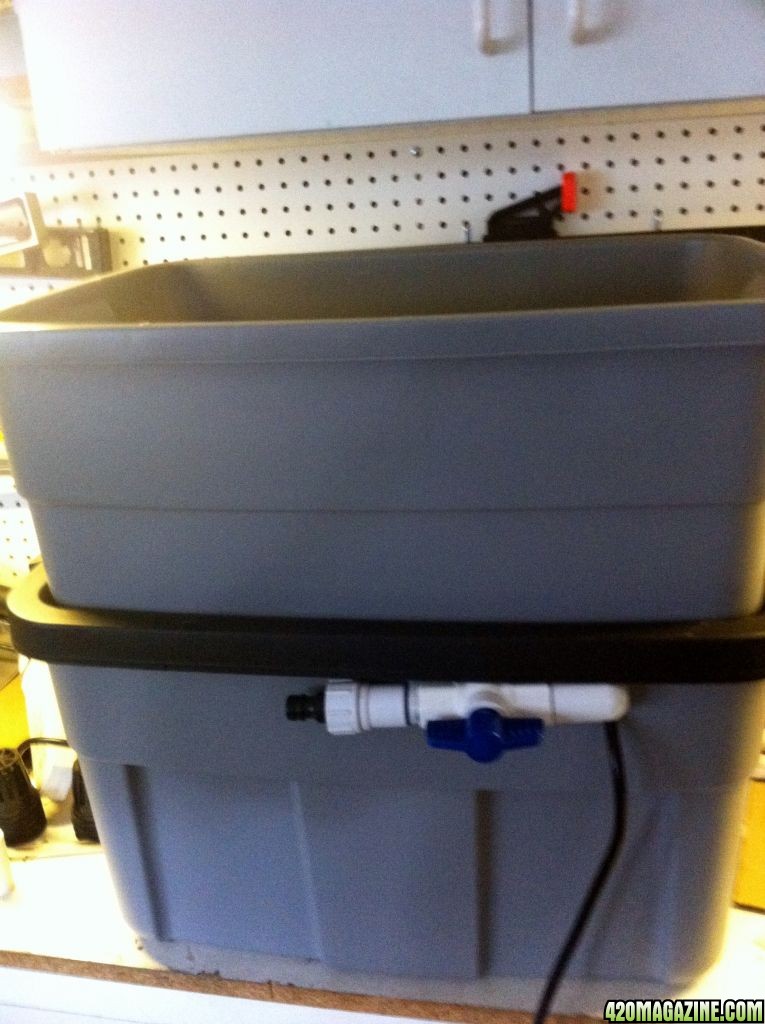
The weak spot of the leak prevention - the level indicator. This is the only hole that sits below the water line. I cut a 15/16" hole, and put in a 1" rubber electrical grommet. I put some teflon tape on the threats of the "funny pipe" connector, then screwed it in. Pretty tight fit and it doesn't leak so far. The other end of the clear pipe just ends under the handle, to keep it from flopping around, and remains open.

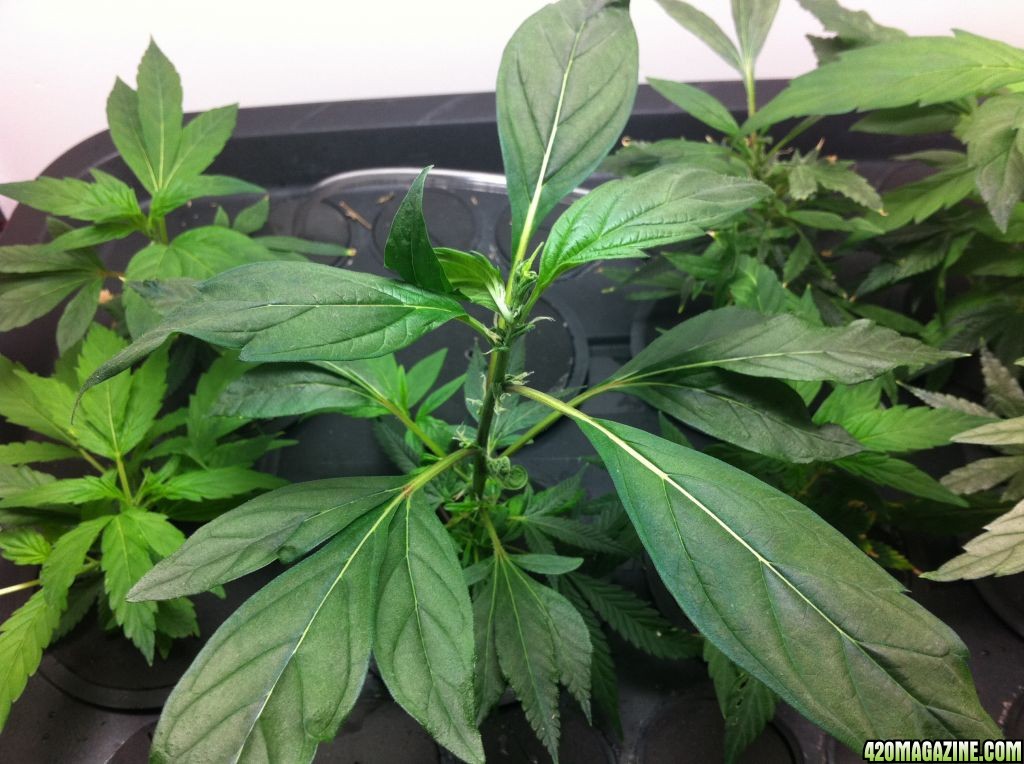
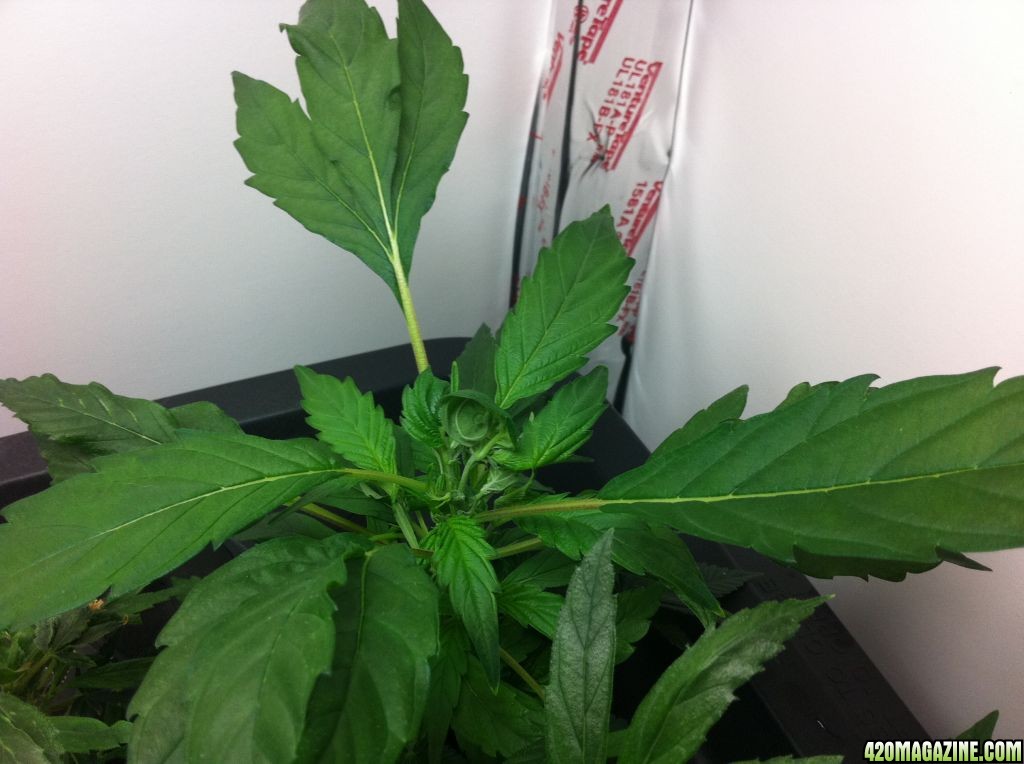
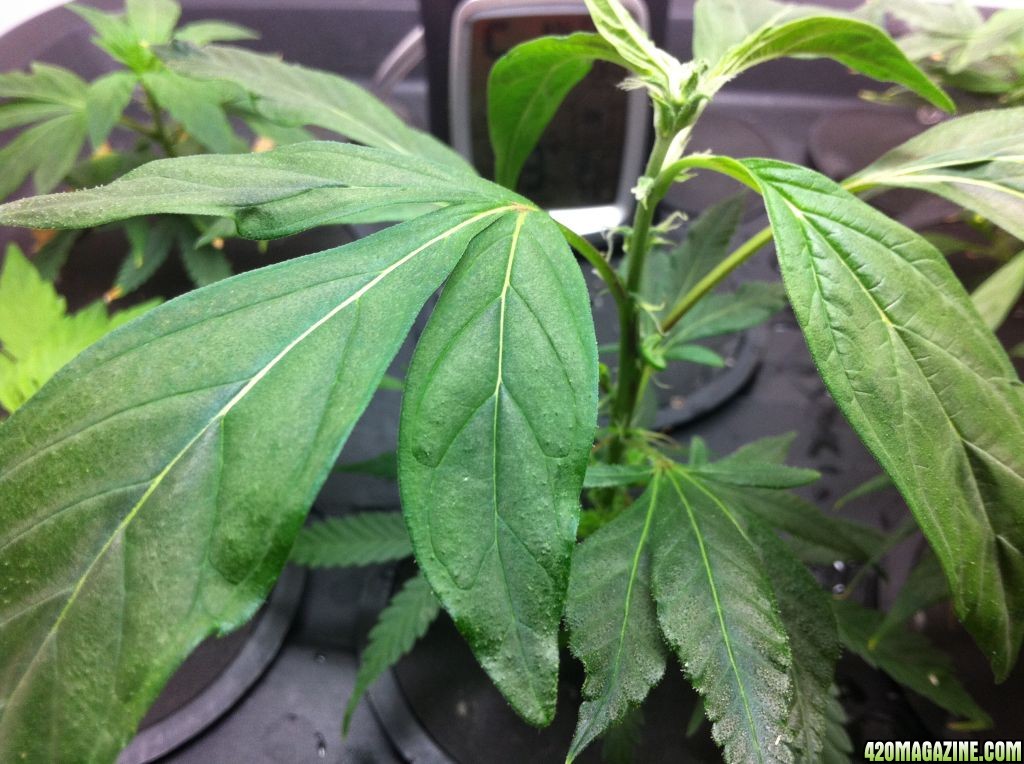
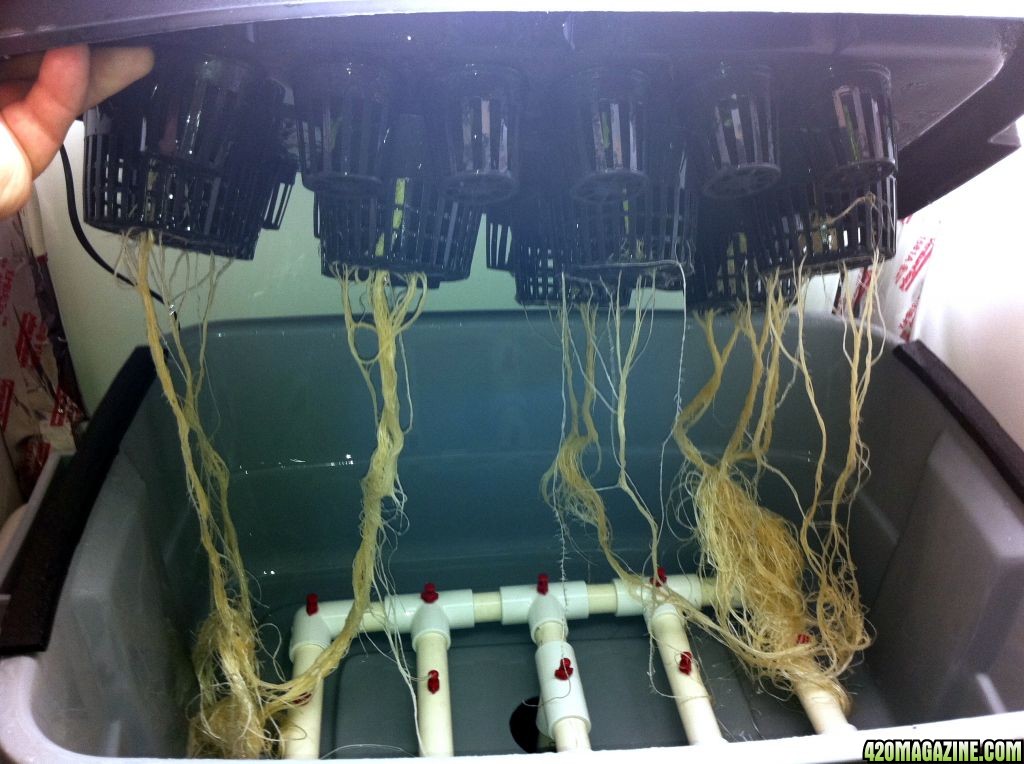
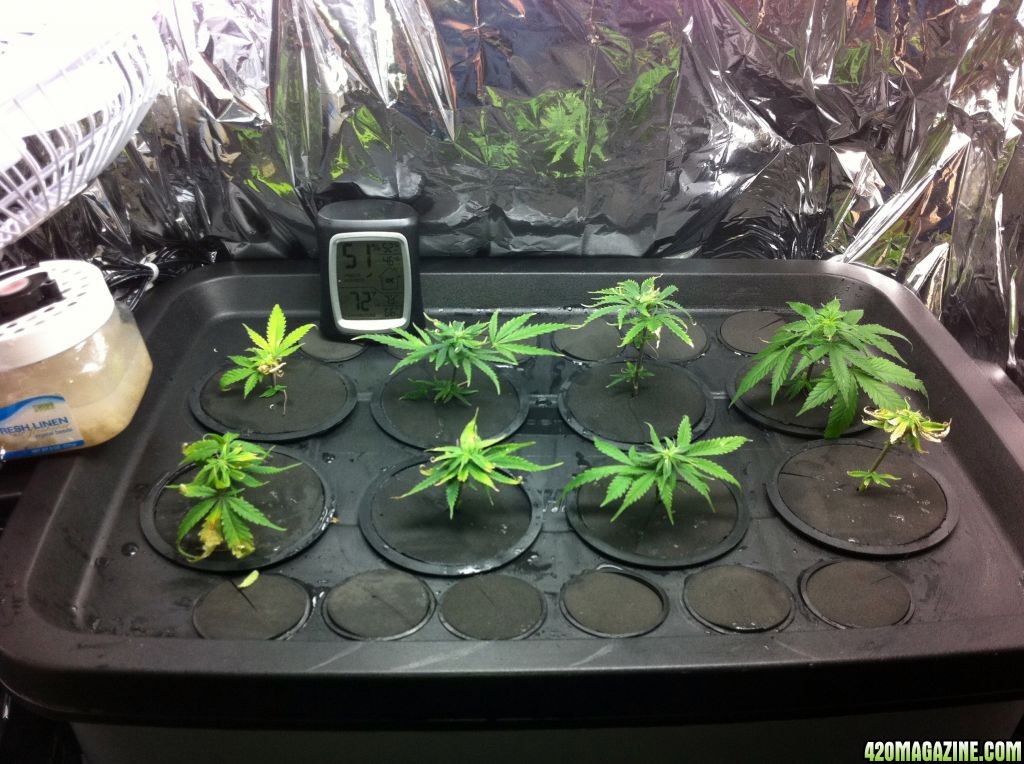
I also redid the lid because I had a change of heart after seeing how my first few cutting went. I think that I did figure out why they didn't stay green though. It is likely the fan that I had blowing on them 24/7. I read somewhere that they evaporate too much and can't replace the moisture fast enough without roots.
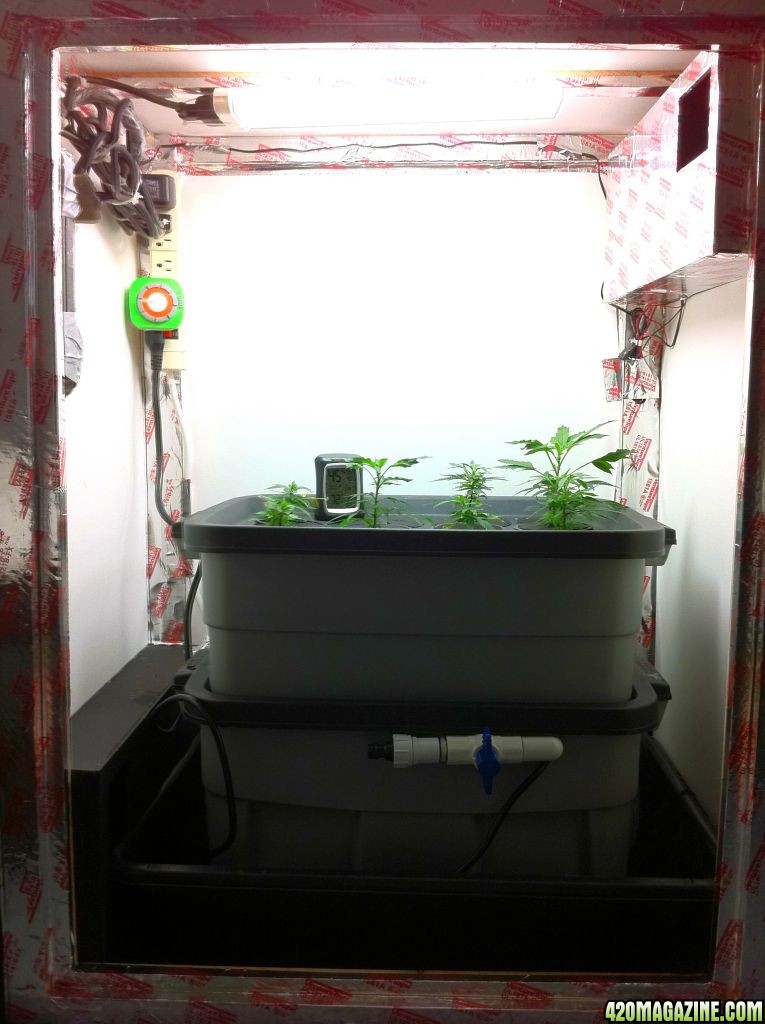
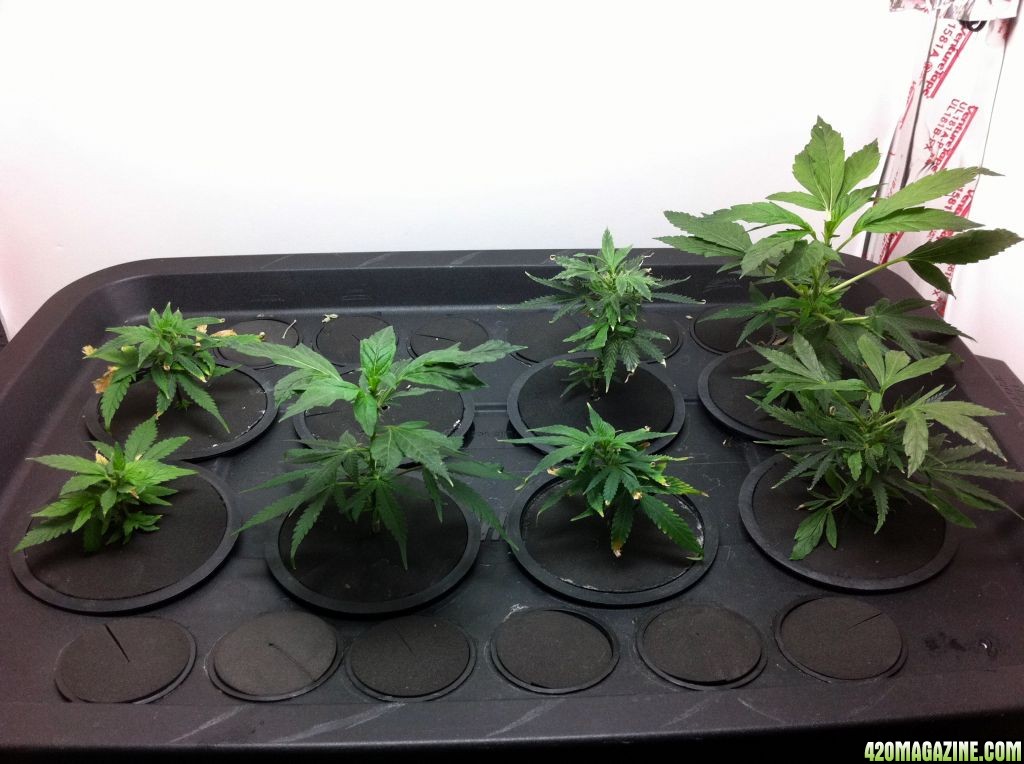
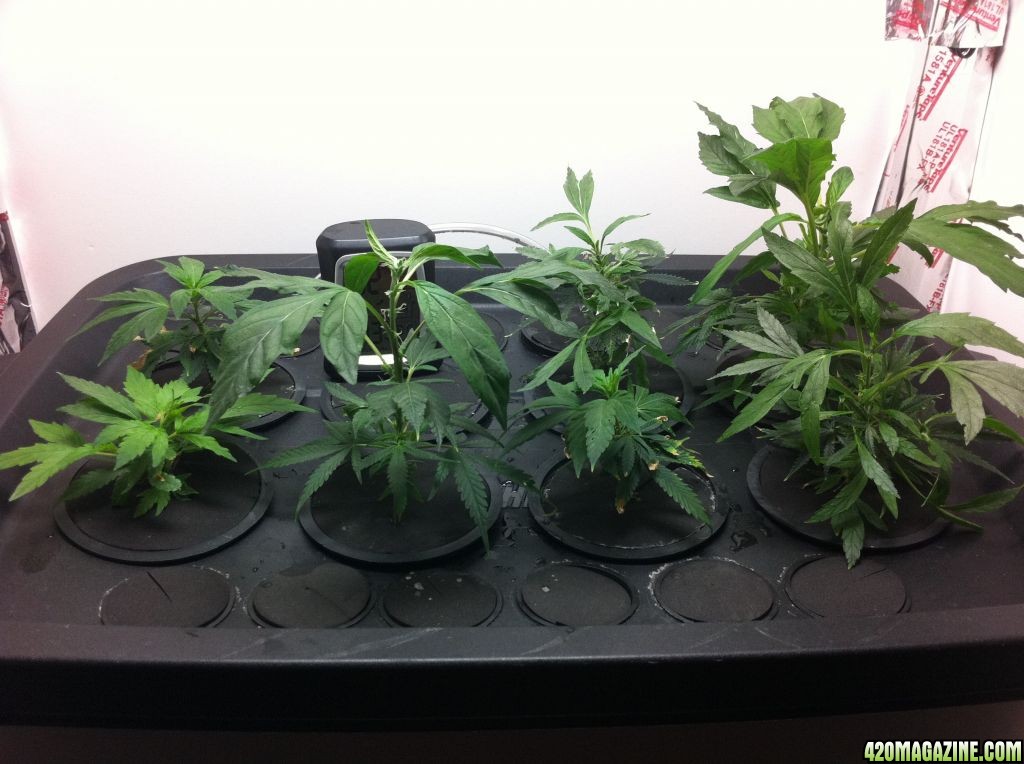
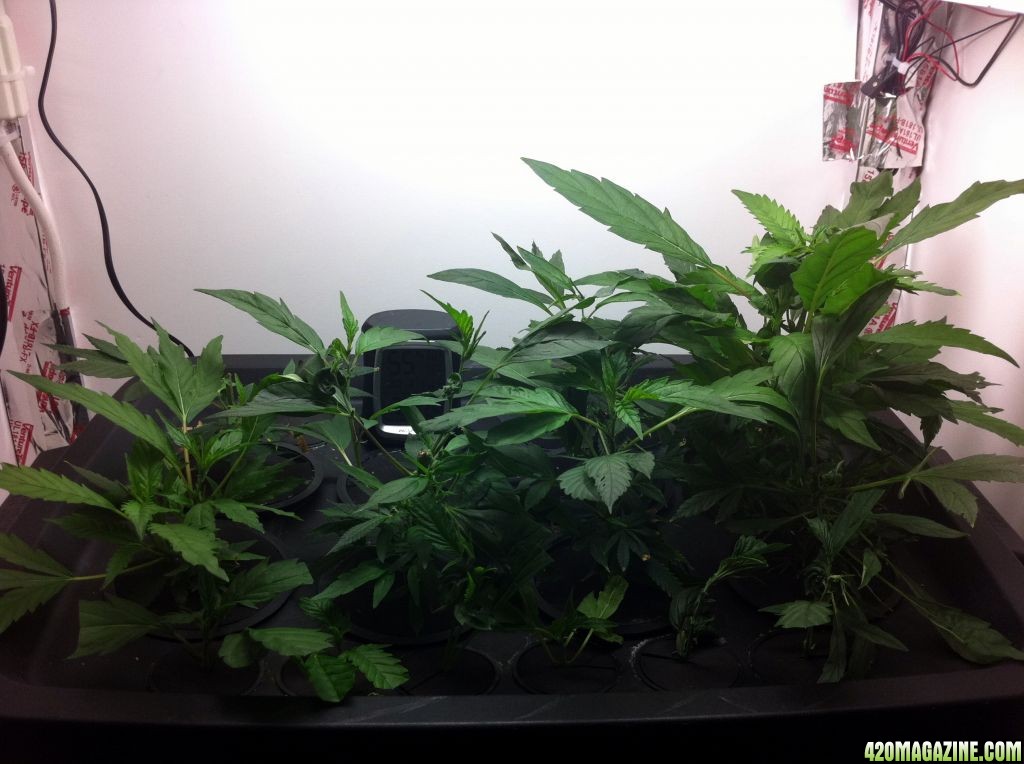
So, about that lid - I choose to do 12 two inch pots for the initial cuttings. I plan on doing 4 strains, so 3 of each strain. After three weeks, I will select the 2 best out of 3 for each strain, and put them in the 3.75" pots. From the 8 that I have to choose from, after three weeks I choose the best one of each strain and promote them to the flower setup. The other will likely be cut up into clones again.
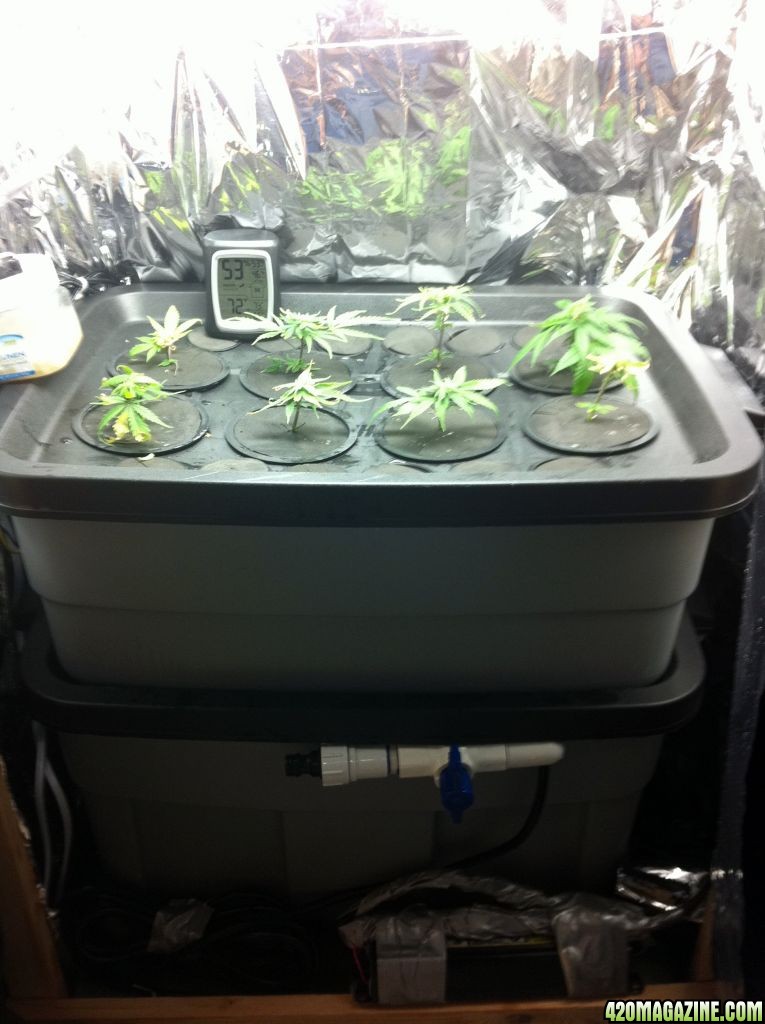
Installed, primed, and ready to grow!
Please good people of 420, give me some feedback on this !
Am I missing something? Making mistakes? Not thinking it through enough? Anything!
I moved to a new setup and two tubs for several reasons:
- I do not have to worry about root length, or how long I let them veg for
- It is easier to control leaks (ie it won't
)- I can hold about 12 gallons without effecting the ability to actually spray
- I wanted to move the valve over to the right, so that the connection is in more in the middle
- I was not happy with the amount of nozzles, and the spray pattern
So, here is the new spray bar. I went from 10 to 15 nozzles, but I was unsure if the 396 gph pump would wimp out with that many nozzles. So, I tested it:
Looks pretty good, doesn't it? Nice height, nice coverage, nice pressure.
I also tied the evac nozzle down this time with a zip-tie. Should have done that to begin with
This does give me a nice place for pH and ppm testing. Just open the valve a little bit when the pump runs, and catch it in a cup. It also has a quick connector on it for attaching the hose when I do water changes.
This is the inside plumbing, not all that interesting, but you never know what people might need to look at. The first couple of elbows, and the ones outside of the tub are permanently attached with glue so that it won't leak. All the rest of the plumbing, including the spray bar are just fitted together, no need to glue. The connection to the pump is made by using the screw in nozzle that came with the pump, fitting some of the clear tube on it, and inserting the clear tube into the 1/2" pipe. This is pretty snug with no pressure loss that I can see.
The spray bar installed. Notice that the spray nozzles are not pointing in the same direction as the one it sits next to. I have no idea if I should keep it off the bottom of the 10 gallon tub or not, but during the test, this gave the best pattern. I guess I can re-evaluated ones I have more roots. The length of the connection pipe is very easily adjusted, and like explained before, not glued.
Two inch hole in the bottom of the 10 gallon tub, and the lid of the 14 gallon tub, then it just rests on top:
The weak spot of the leak prevention - the level indicator. This is the only hole that sits below the water line. I cut a 15/16" hole, and put in a 1" rubber electrical grommet. I put some teflon tape on the threats of the "funny pipe" connector, then screwed it in. Pretty tight fit and it doesn't leak so far. The other end of the clear pipe just ends under the handle, to keep it from flopping around, and remains open.
I also redid the lid because I had a change of heart after seeing how my first few cutting went. I think that I did figure out why they didn't stay green though. It is likely the fan that I had blowing on them 24/7. I read somewhere that they evaporate too much and can't replace the moisture fast enough without roots.
So, about that lid - I choose to do 12 two inch pots for the initial cuttings. I plan on doing 4 strains, so 3 of each strain. After three weeks, I will select the 2 best out of 3 for each strain, and put them in the 3.75" pots. From the 8 that I have to choose from, after three weeks I choose the best one of each strain and promote them to the flower setup. The other will likely be cut up into clones again.
Installed, primed, and ready to grow!
Please good people of 420, give me some feedback on this !
Am I missing something? Making mistakes? Not thinking it through enough? Anything!