

RandomtasK
New Member
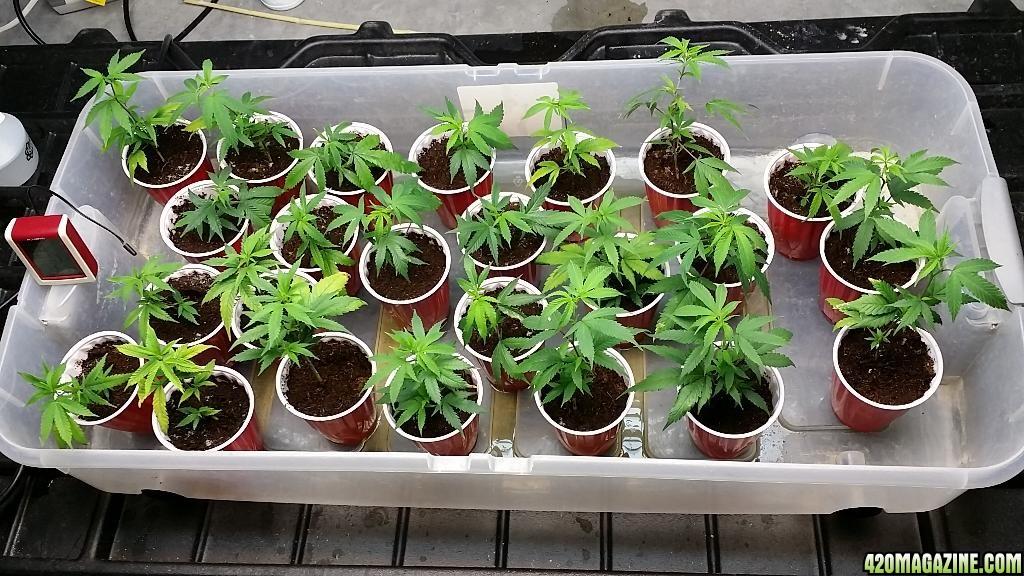
I finally have the bulk of work finished on my new commercial grow, so i wanted to share some of the insight and lessons learned putting together my first commercial grow setup. This will also be my grow journal, so i'll keep you guys updated. I'll Start by saying that there has been a LOT of work to make this thing happen. I Couldn't be happier with the result so far.
Before i was ever able to set foot in my grow warehouse, i needed to finance and get licensing/ insurance for everything. I called on a warehouse location and was very upfront with the owners. They require general business liability insurance, so I had to get coverage. Dispensary insurance is now available to people who want to lease and insure a grow facility. My insurance agent was very knowledgeable and helpful about medical marijuana law, and i am able to sleep at night knowing i am covered if things go wrong. I also pay a premium for crop coverage against theft and accidents. All I can say is i am happy to be state legal and covered.
Once i finally Got the property, I had no clue how i was going to set everything up! I literally had no experience with electric, framing, drywall, or really any hardware for that matter. I spent nights watching YouTube videos, and days asking questions at home depot. I had some greatly needed help from my new neighbors, and after about 3 weeks i was able to set up most of what i need for this first grow.
Anyways now for all the fun stuff. In this post I'll Cover the Grow build, and my next post will be the start of my grow journal. Hope you guys like it!
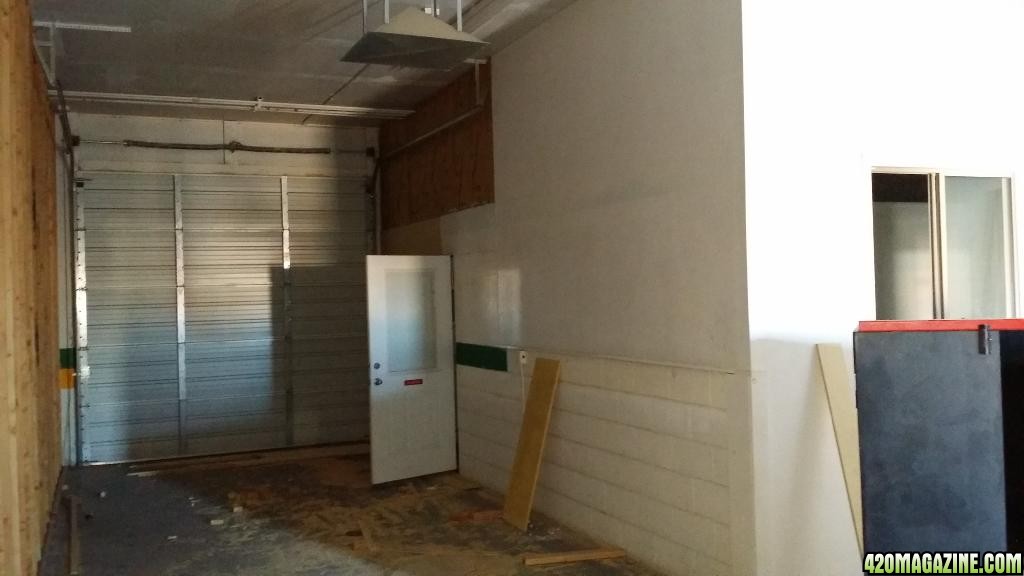
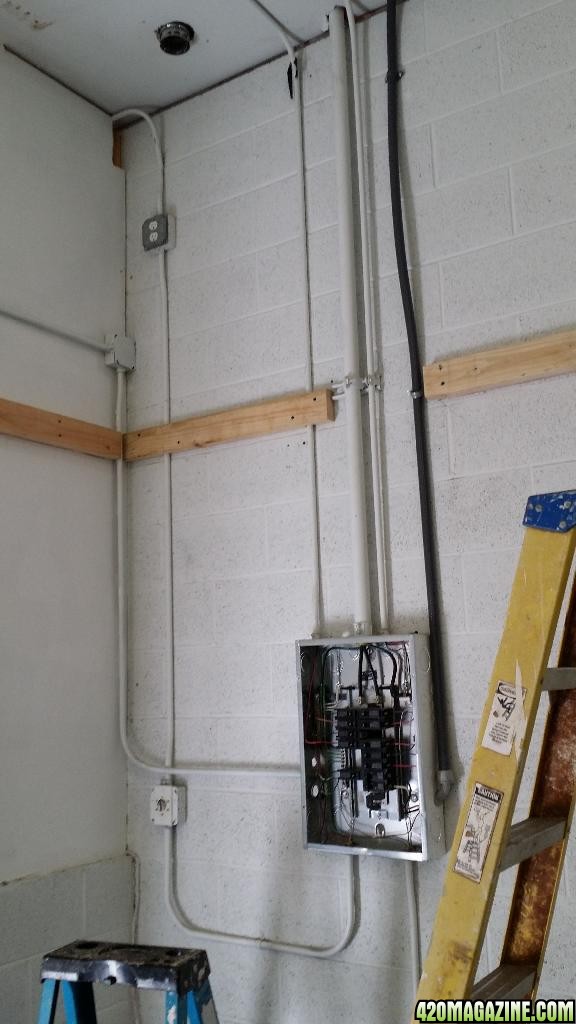
The Unit They had available was perfect! Two rooms buillt, with a large roll up door to the open area. Only a hundred amp breaker box, but i can install another one if i need to expand! Time to get to work.
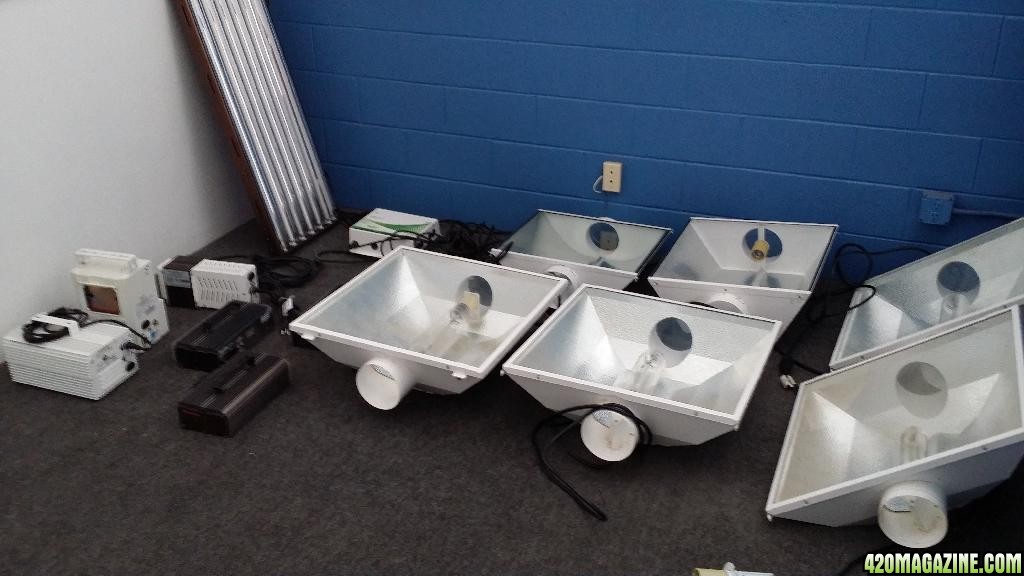
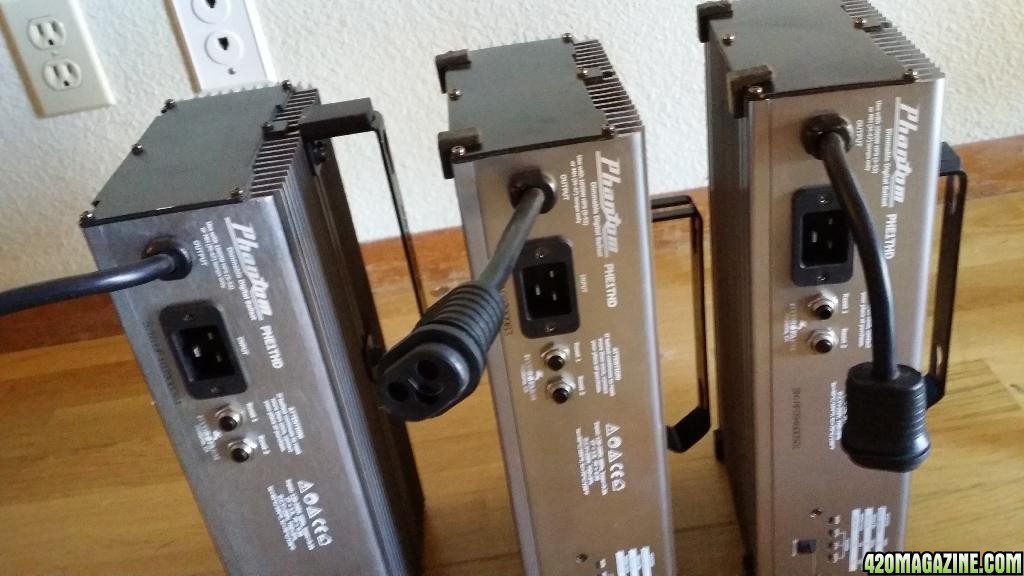
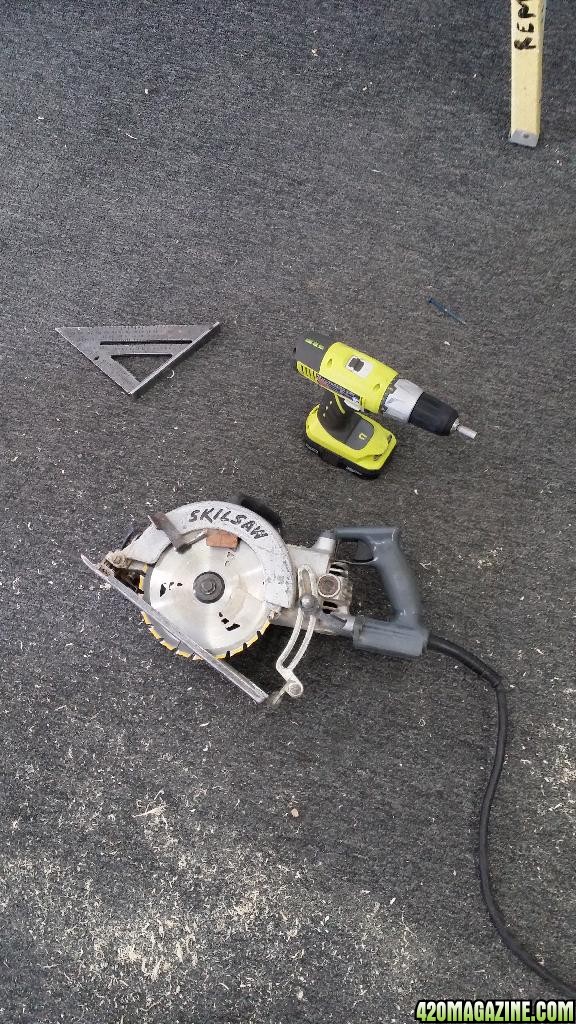
Just Aquired All of my new (Mostly used) Equipment! Phantom Ballasts, Blockbuster Hoods, Intake fans.. Etc.
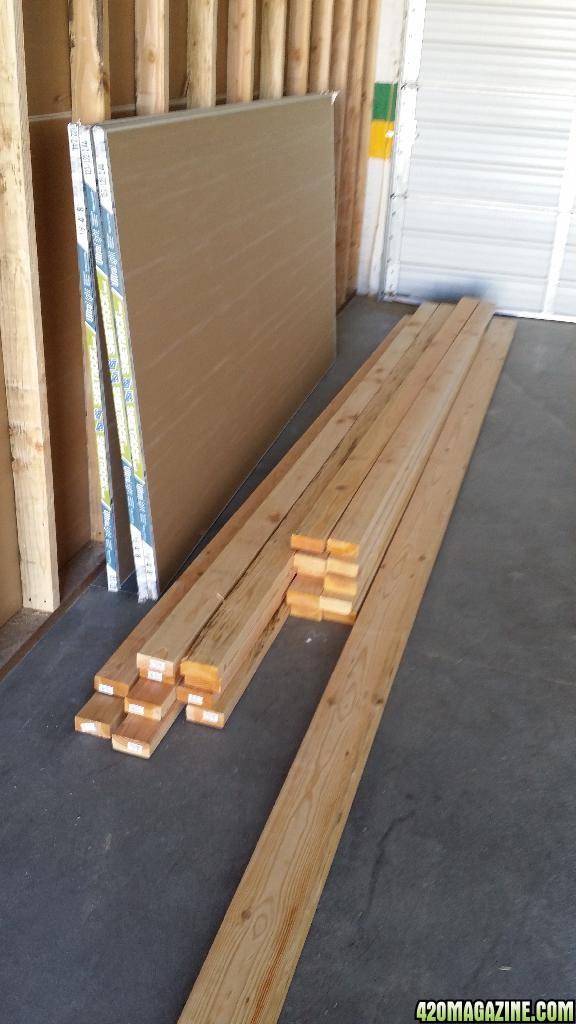
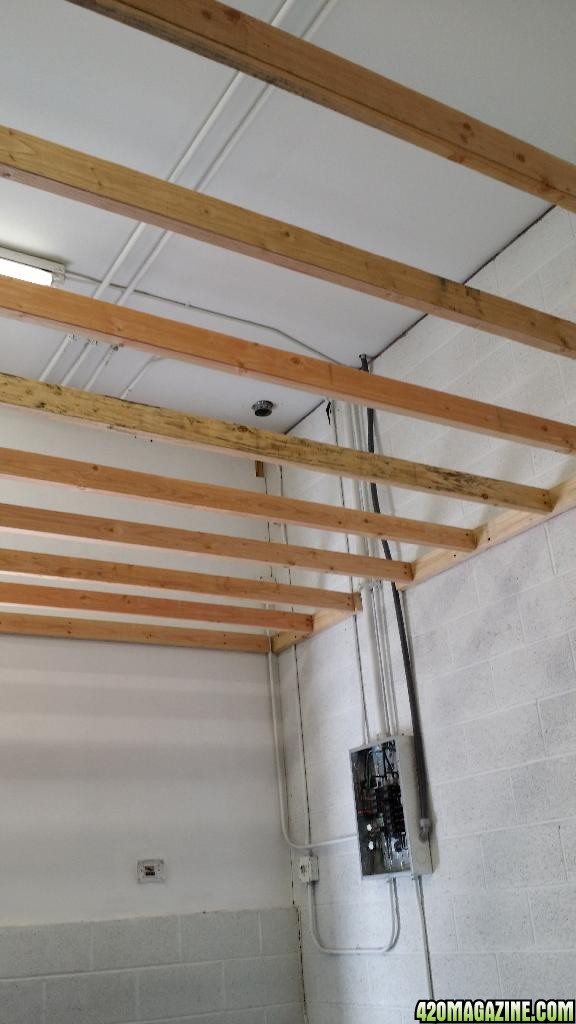
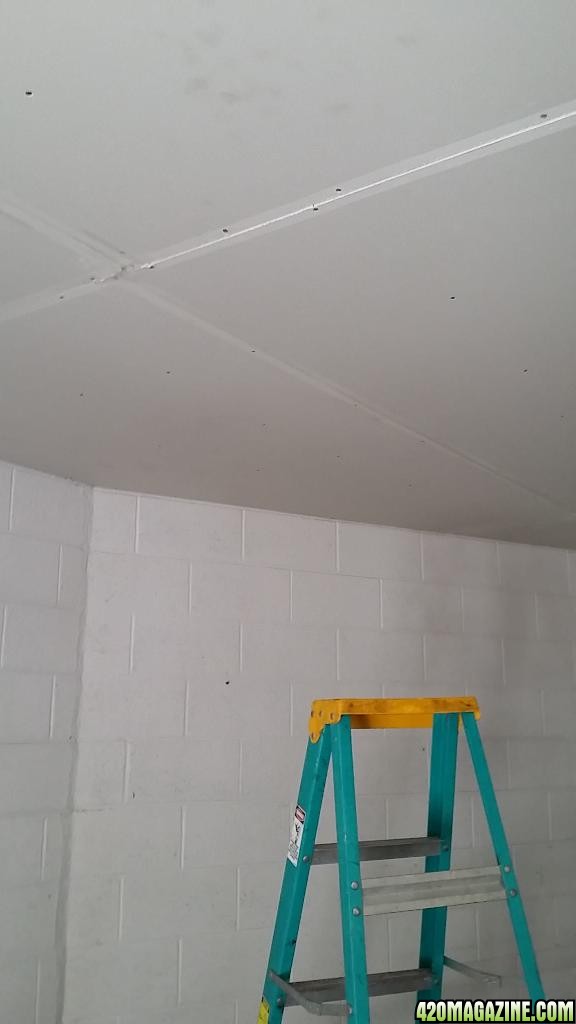
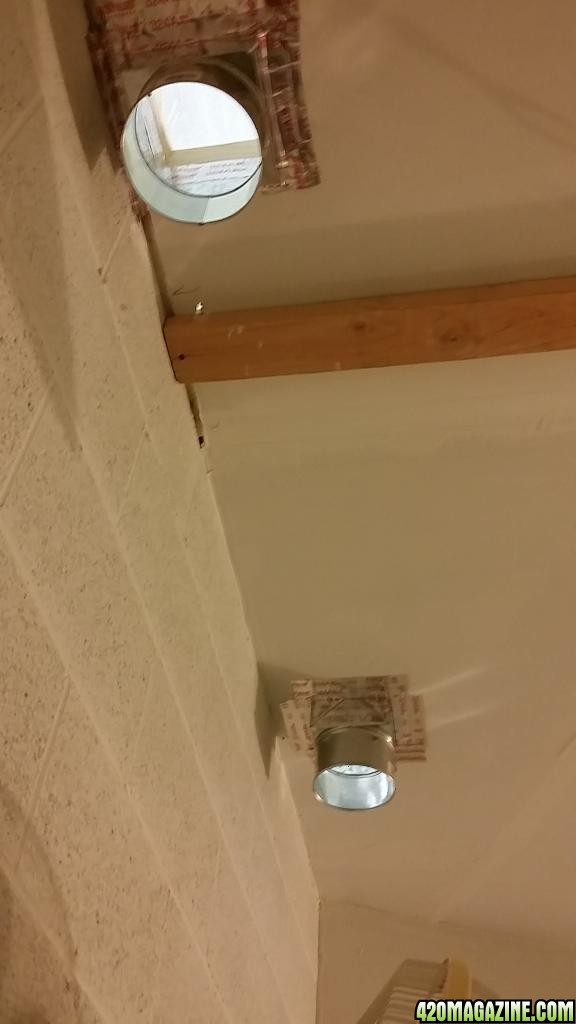
I needed to Frame and finish a false ceiling to seal the Flower room. This would help keep co2 usage low, bugs out, lightproof, and secure the main grow area. Home depot is my second home:
I borrowed a lot of tools and help from my new neighbors, who happened to be growers a few years ago before they relocated.
For some reason i was concerned about attaching wood to cinder block for weeks before actually did it. Turns out its pretty easy. I used a rotary hammer to drill the entry holes for some concrete screws. A lot of measuring and cutting to get around the electrical conduit.
The flower room is a polygon shape, so the roof and the entire grow room had to be designed around the angles of the room. Framing is easy once you learn how. I have come to learn that most building and grow room modification can be done easily with a little common sense and a dedicated effort.


The two rooms were only divided by an eight foot wall, so there was open space between them originally. I built the new false ceiling on to that wall.
Hanging the drywall to the frame was the most physically taxing and dangerous part of this project, I will go with thinner drywall if there is a next time. 1/2 inch was a little cheaper, but more expensive on my back LOL. Seriously.
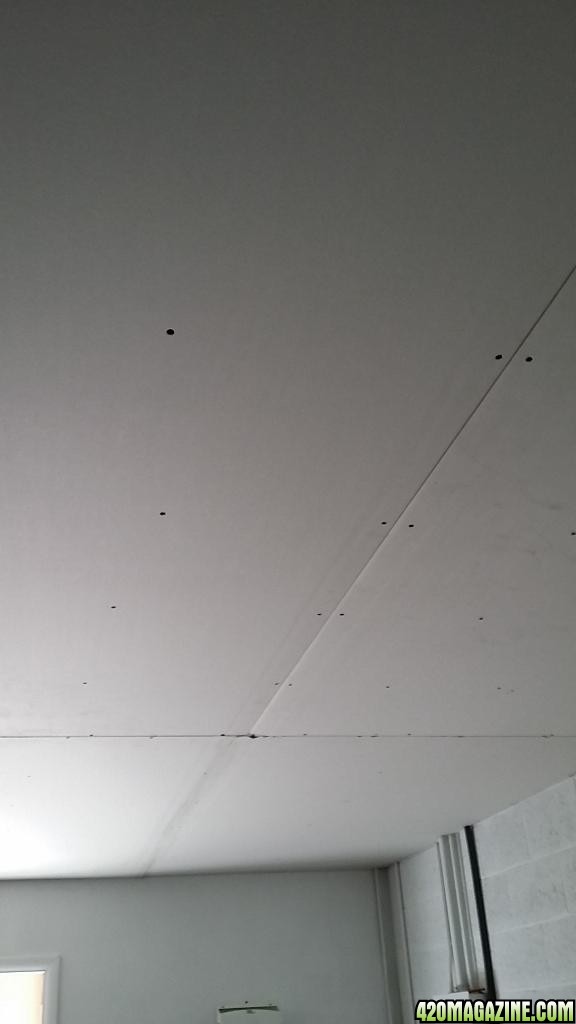
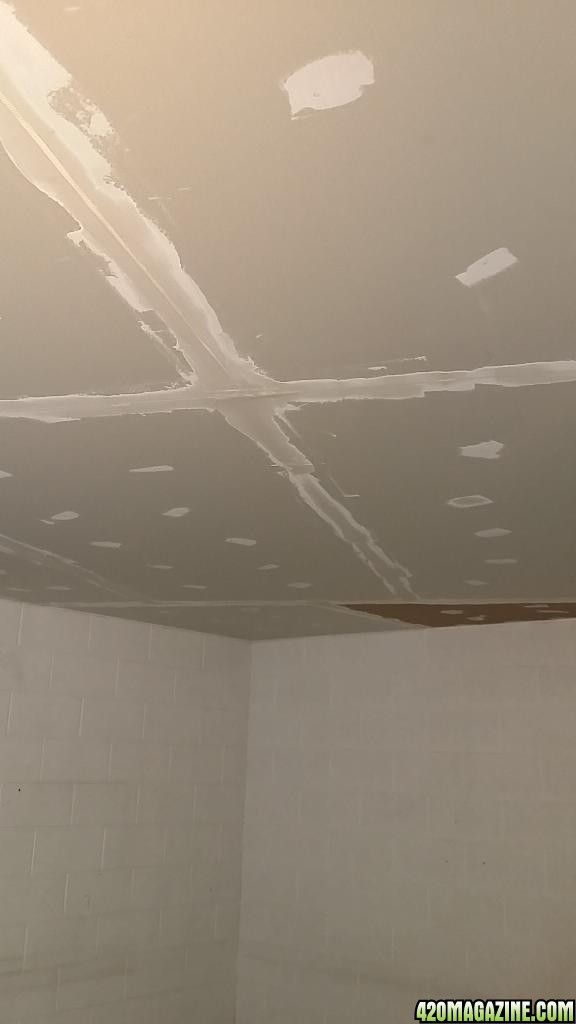
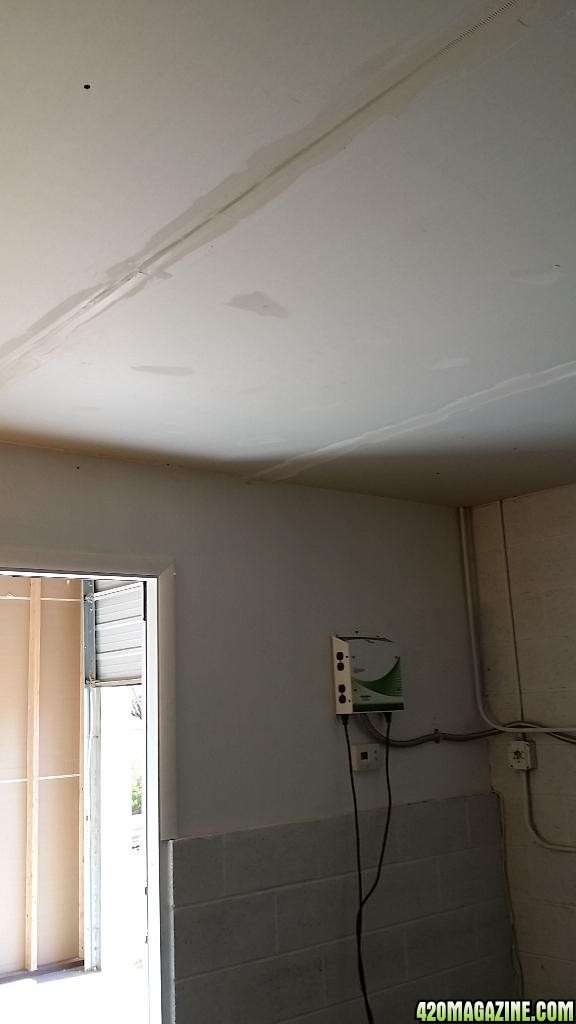
After Hanging the drywall i Caulked and sealed every corner and double checked for light leaks. Then i painted two coats of mold resist paint on the drywall, and weatherstripped the doors for light leakage.
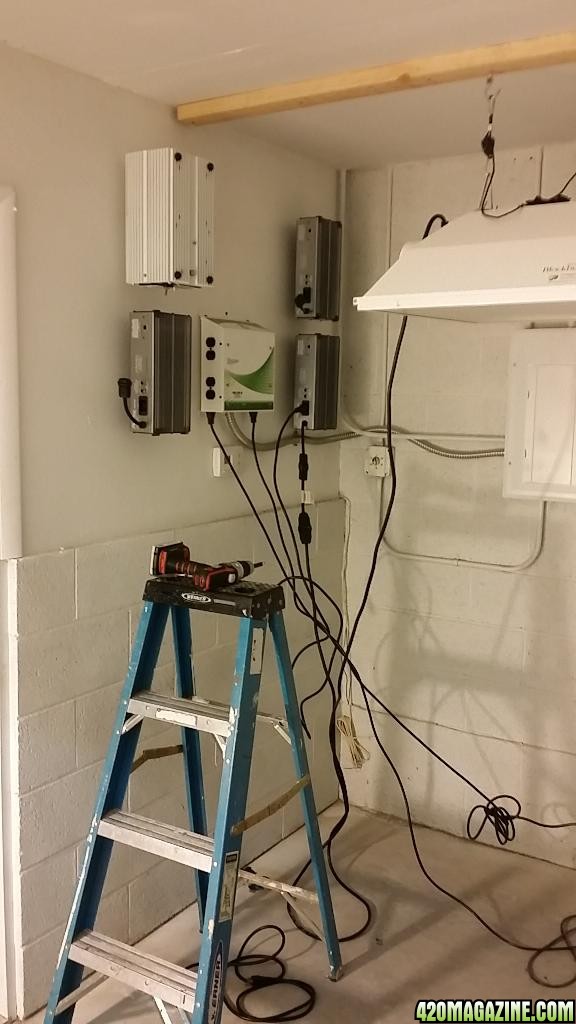
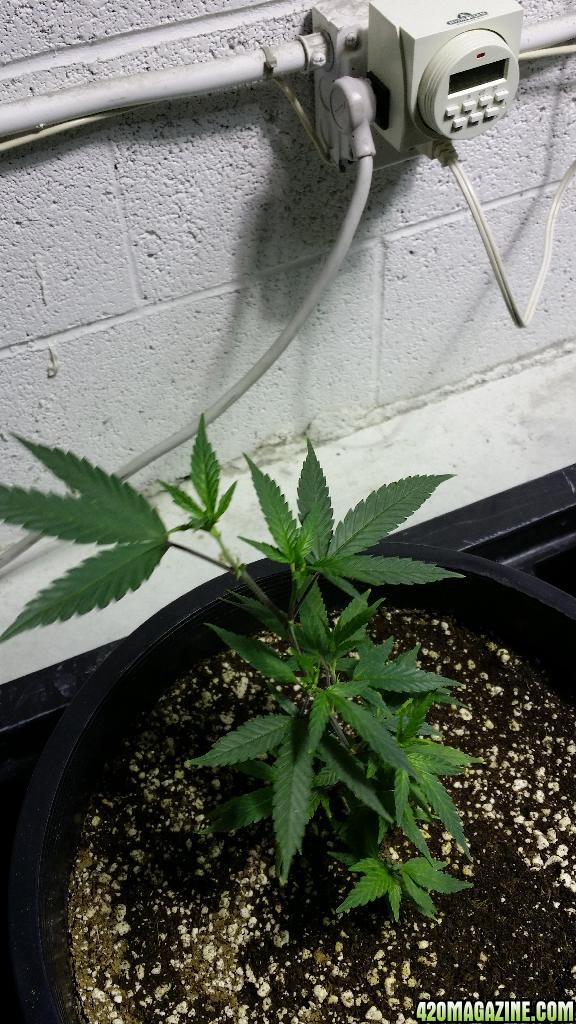
I considered paying an electrician a few hundred dollars to install my light controller, Turns out i could do it myself in 30 minutes including youtube video time. Just needed some wire and a 50 amp breaker.

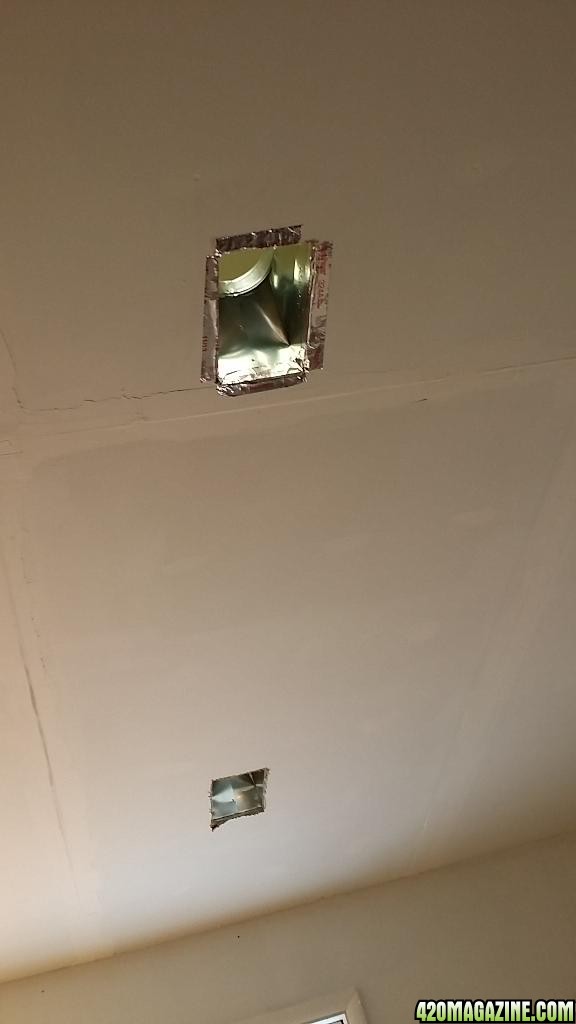
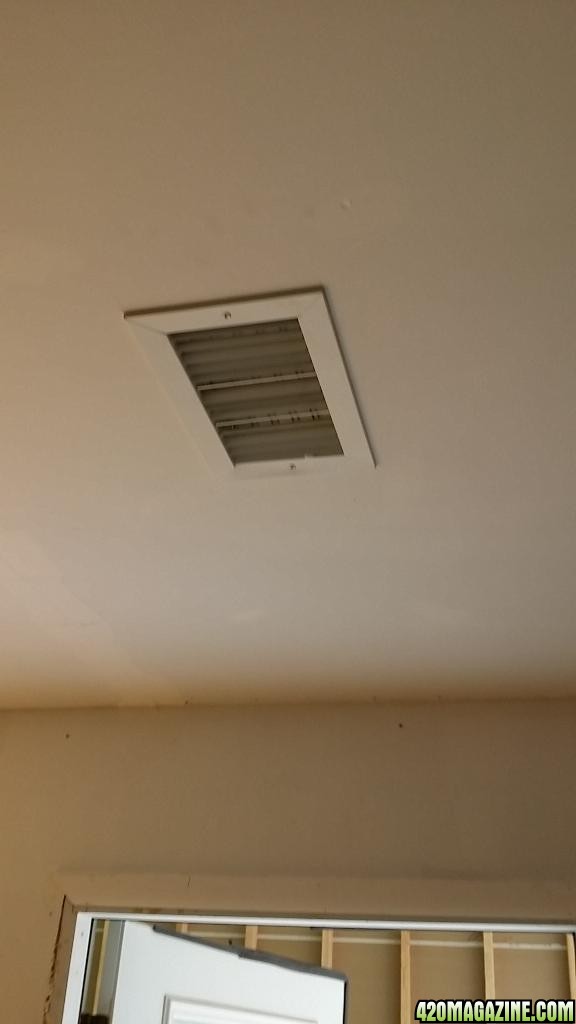
Only a week after i rented the unit did i find it was the only one with a brand new dedicated air conditioner, installed by the last tenant. SCORE!!! I'm assuming its like 50,000 BTU. the thing is a monster. I removed the vents and ducted the cold fresh air directly into the grow room. Now the thermostat keeps the room right where i want it.
A little bit of metal Tape Works well for anything you dont want to come off. Its a new favorite tool in my toolbox.
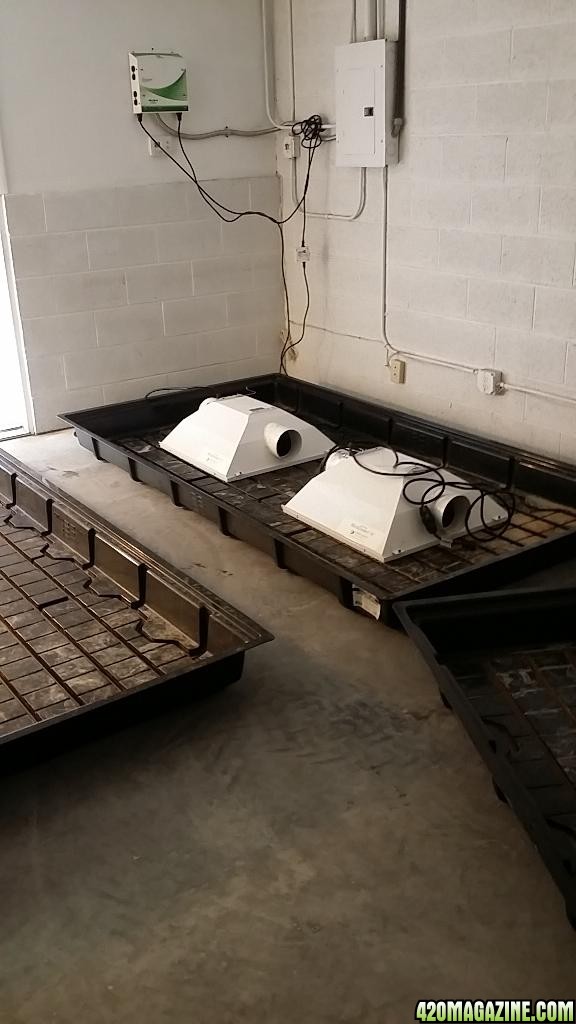
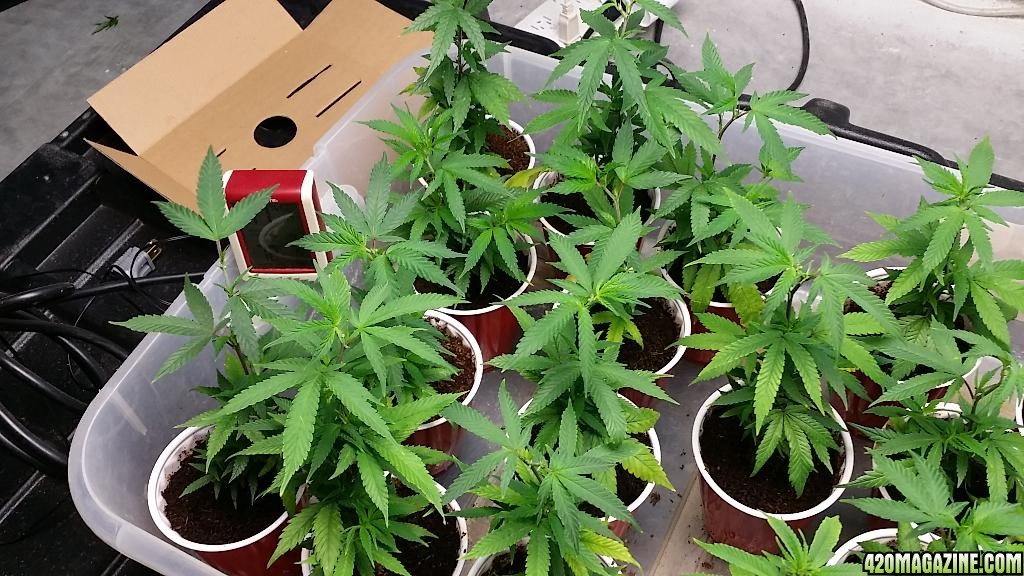
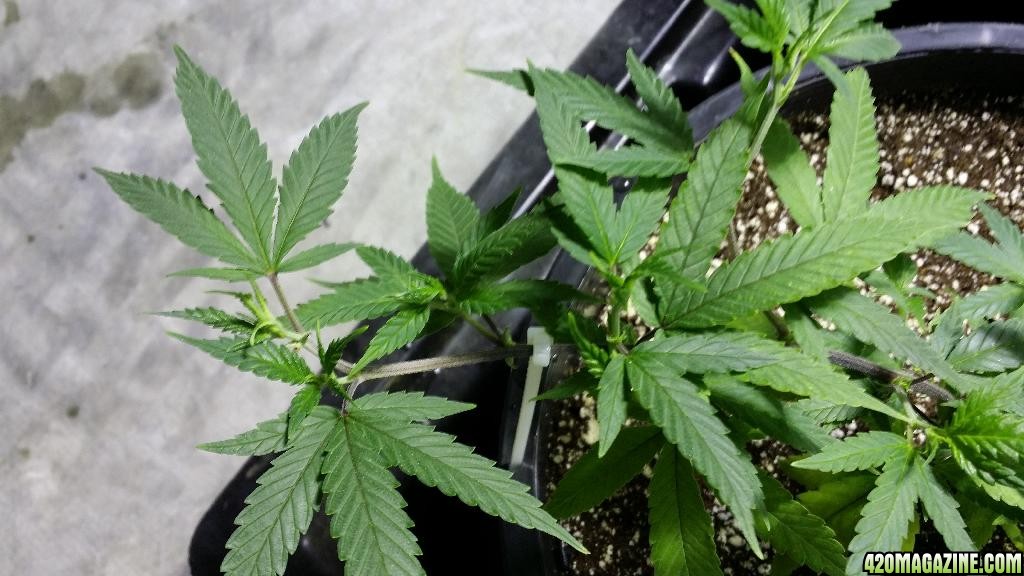
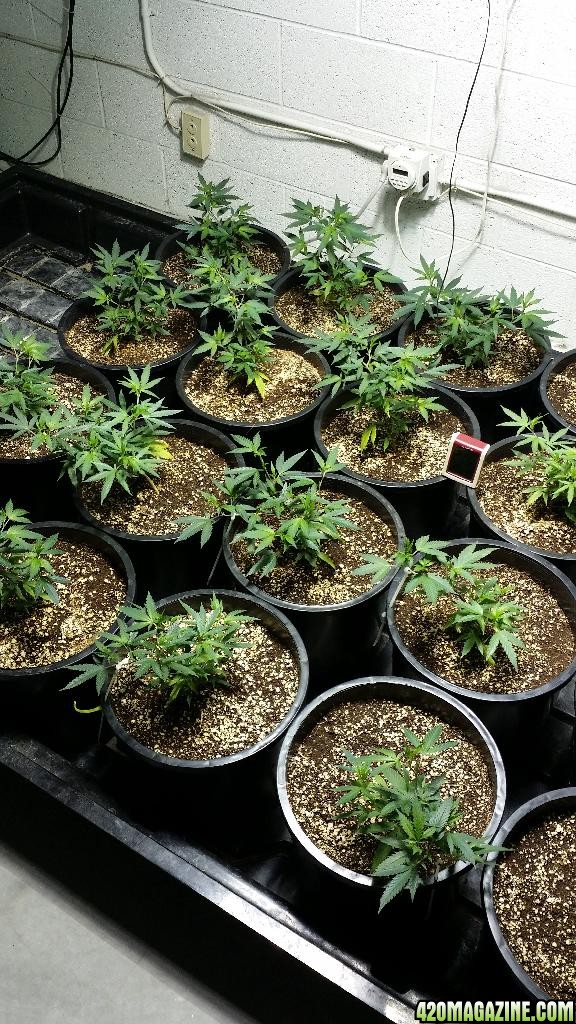
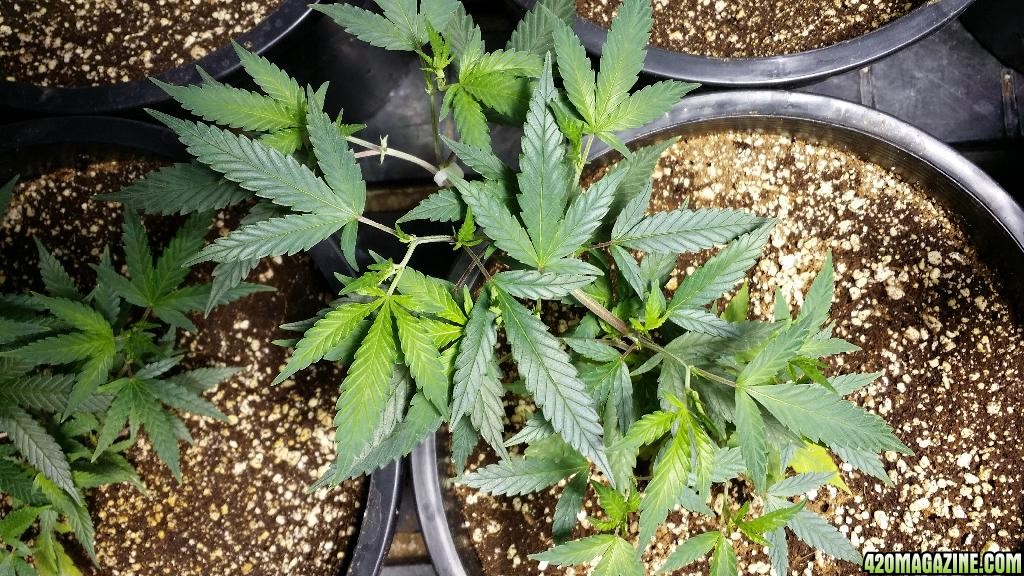
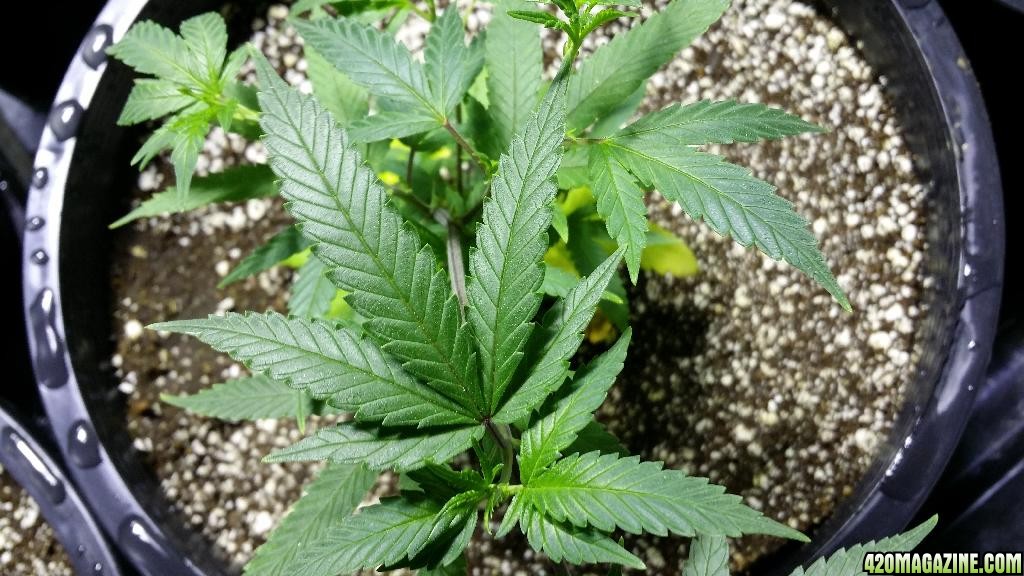
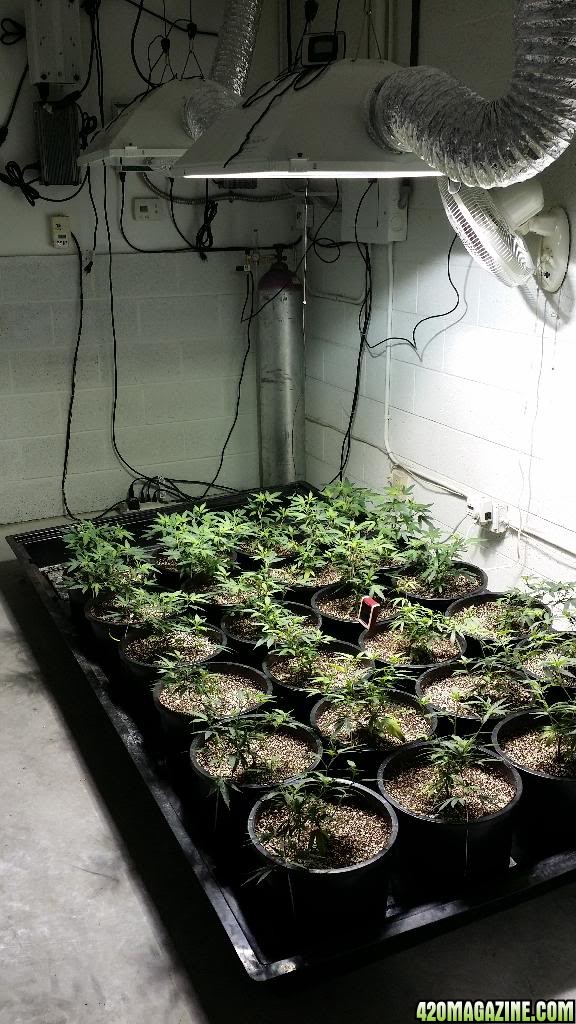
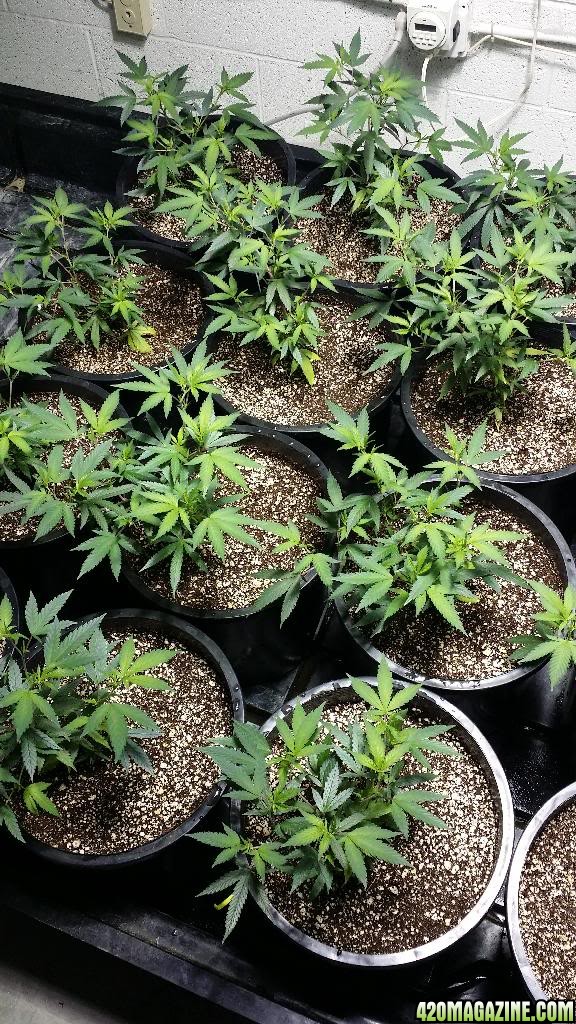
After Rearranging the 4x8 grow trays ten times, i found the most efficient use of space and lighting was different than i had anticipated. time to hang the lights. I attached 2x4s to the ceiling for accurate light hanging.
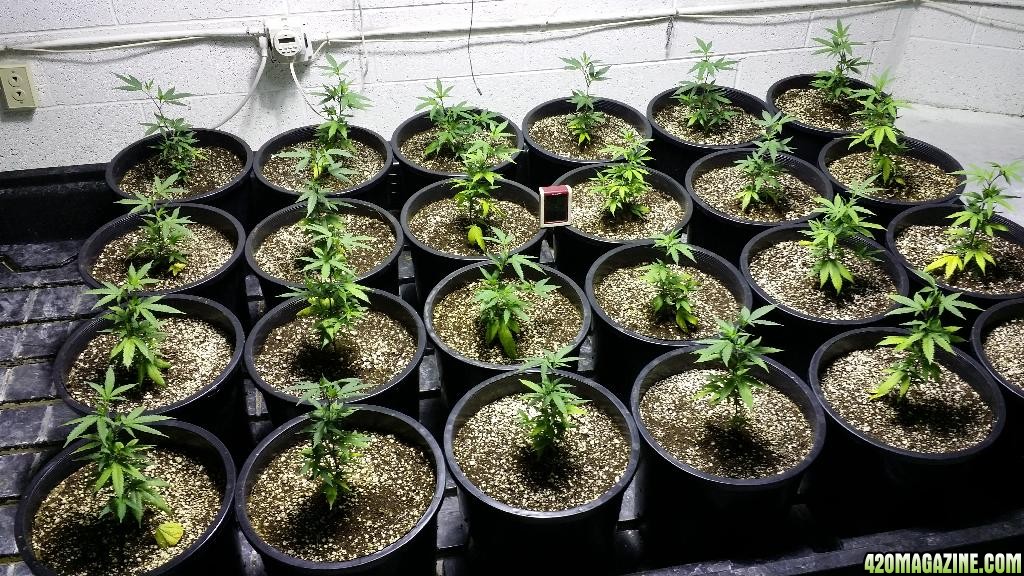
Finally... this place is starting to look like a grow room!
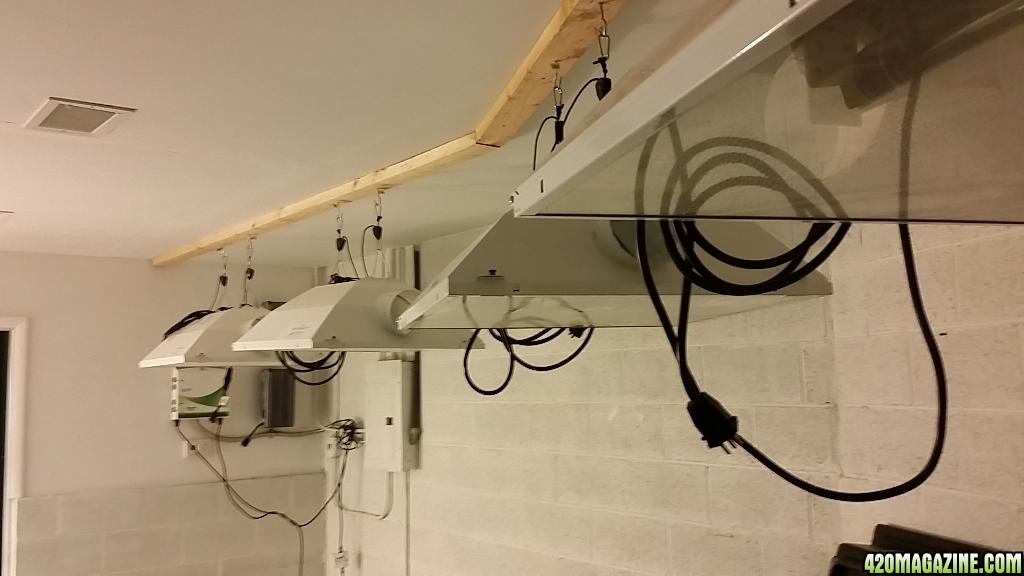
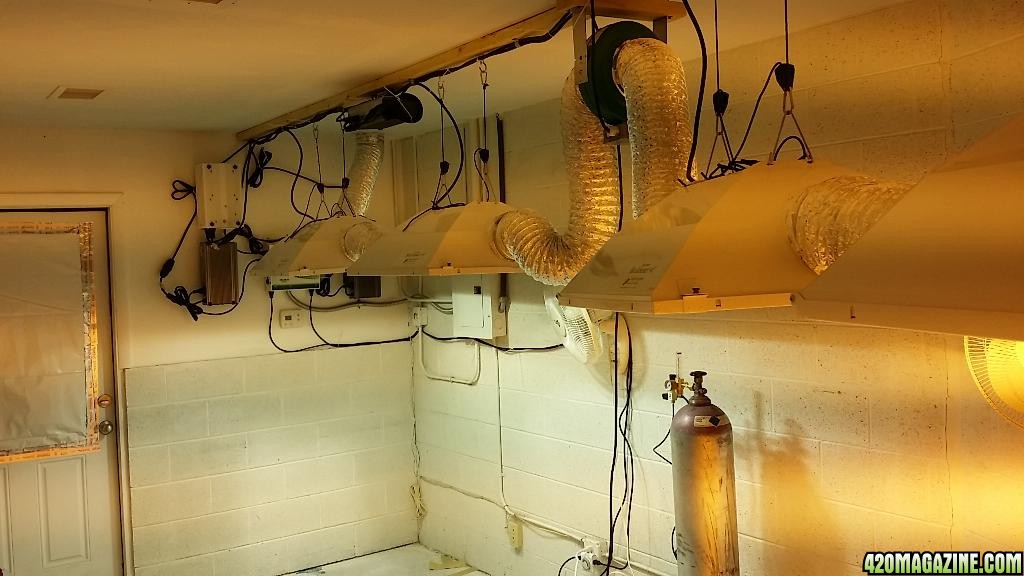
I Hung the Ballasts from the studs next to the light controller. One light cord wouldn't reach so i ended up re-hanging the ballast halfway down the light row.
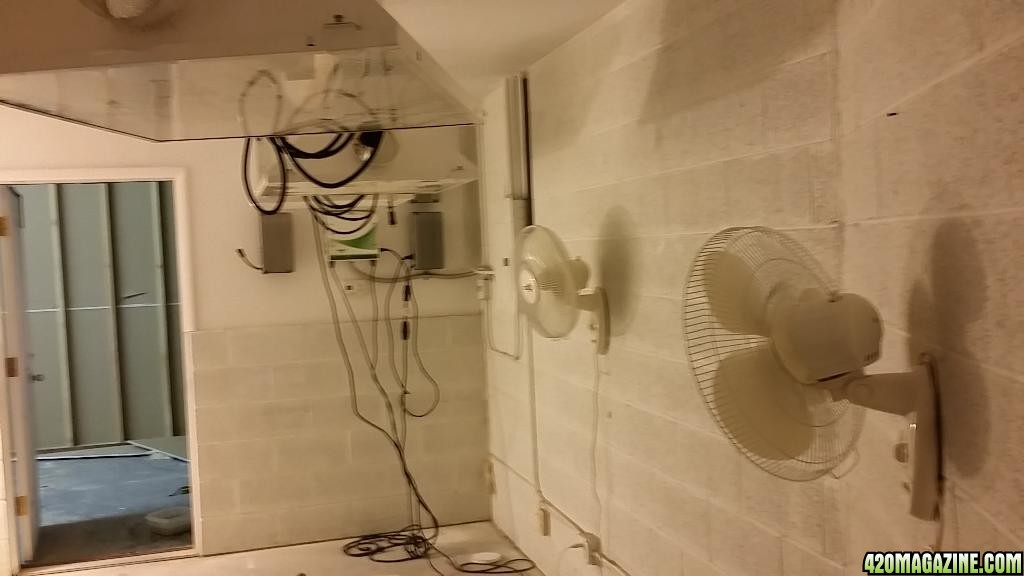
Picked up some wall mount fans in good condition on craigslist. Back to drilling concrete which takes a while.
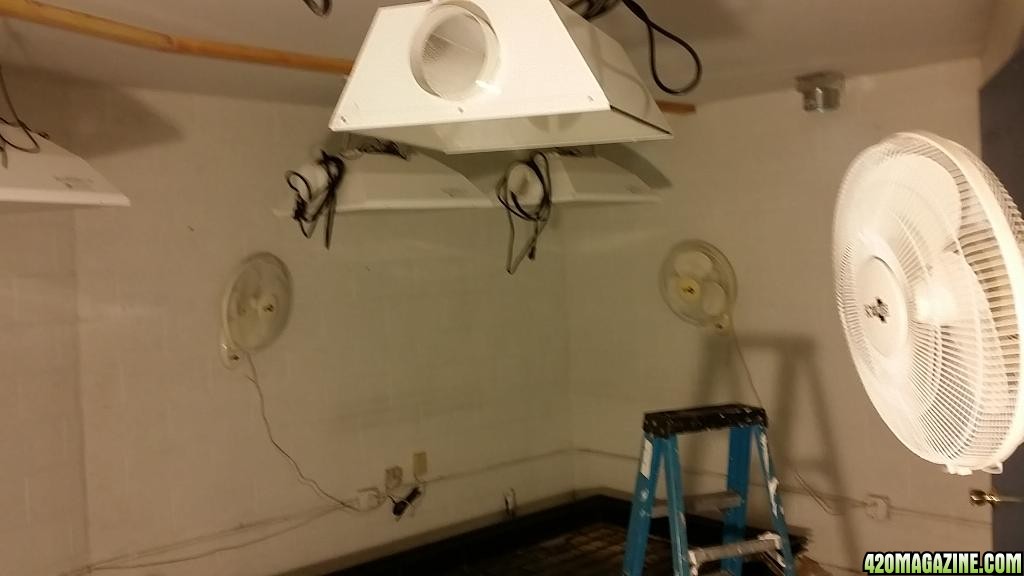
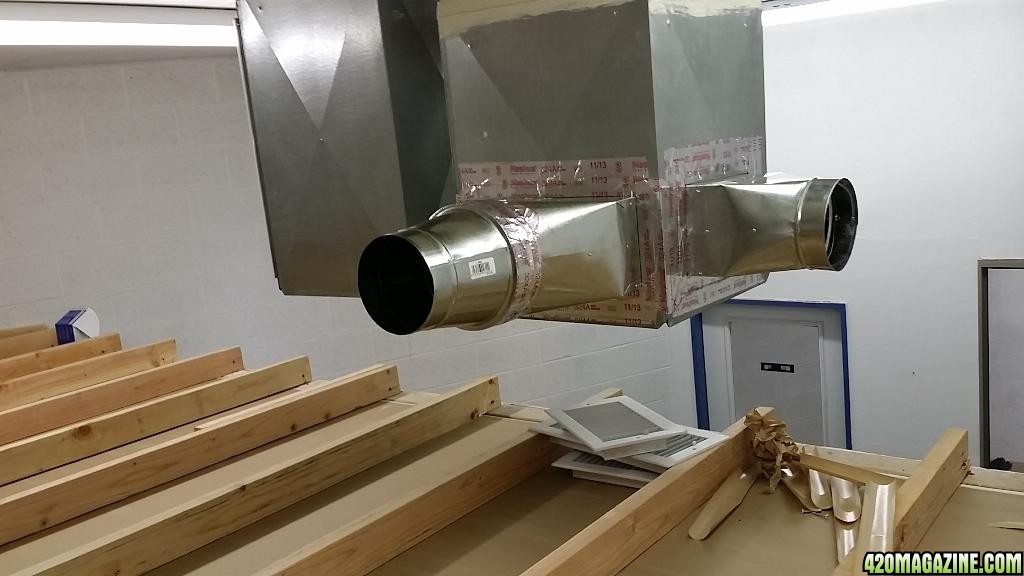
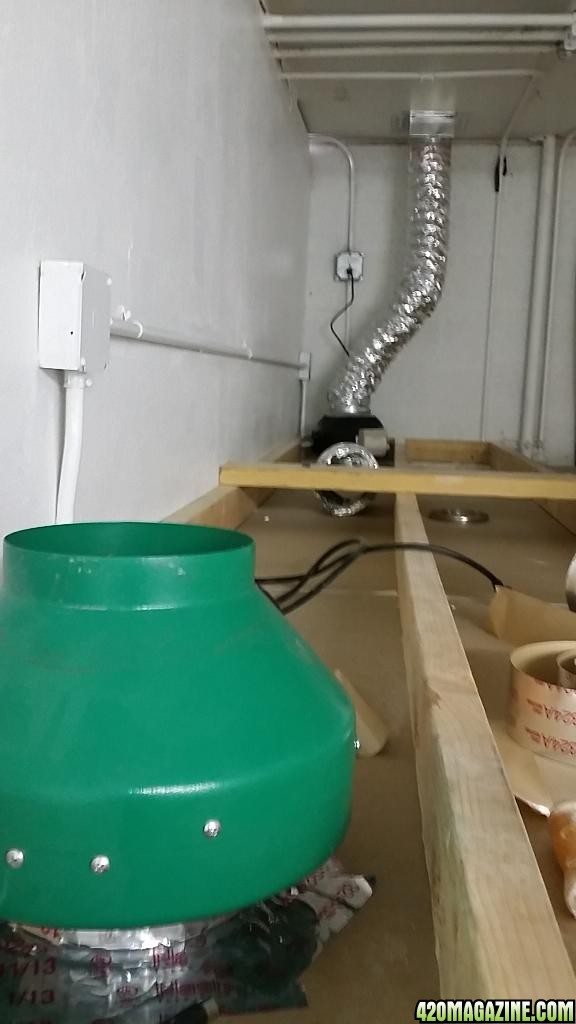
The Lights airflow is closed loop, so i use the air from right above the false ceiling to cool the lights, and then the hot air vents into the attic
Everything is working great! Im actually surprised at how many problems i DIDNT run into. Or.. maybe my problem solving skills are just becoming natural. I guess i just work with what i got. Try to do things right the first time so that i dont need to go back and do them again.
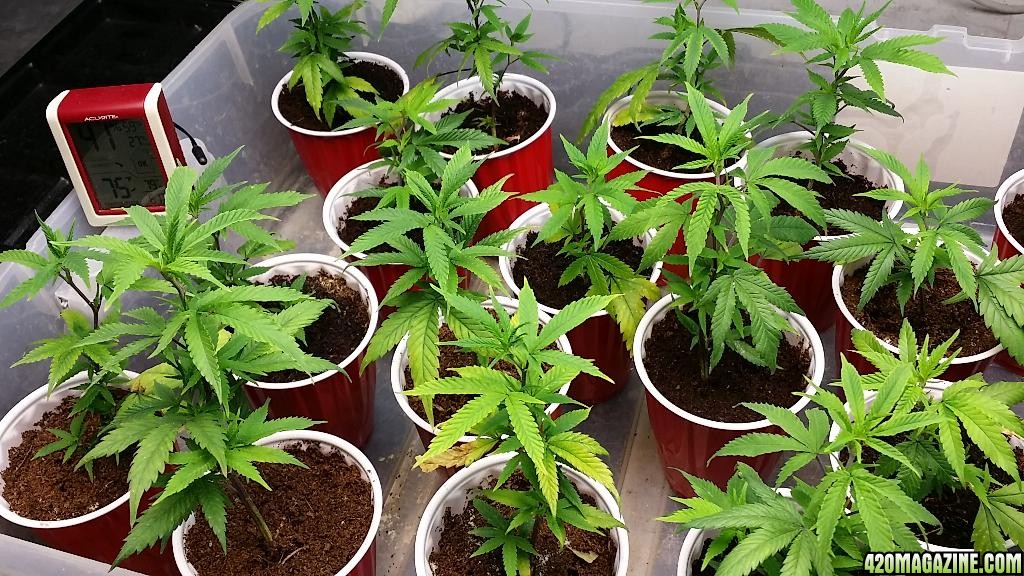
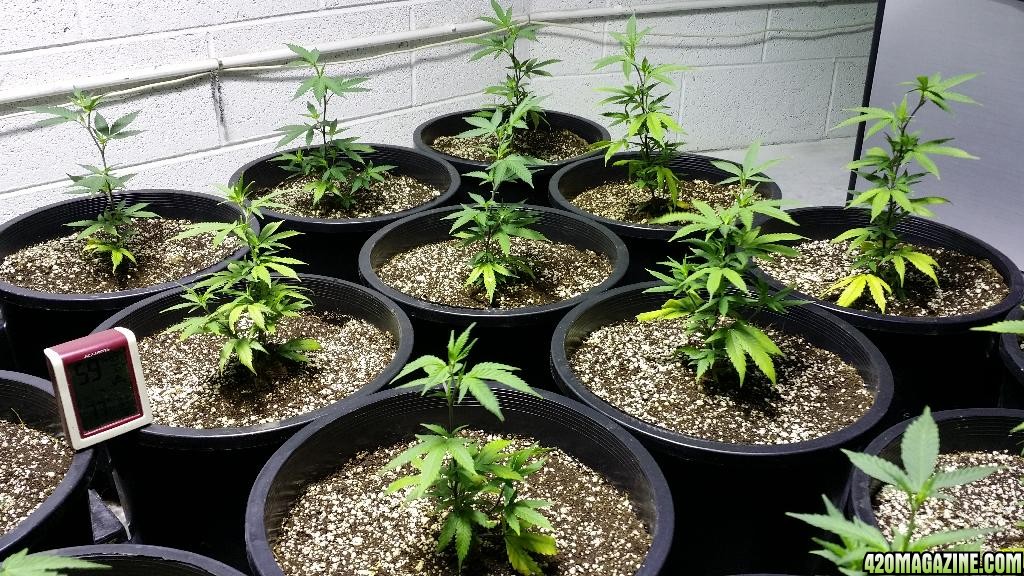
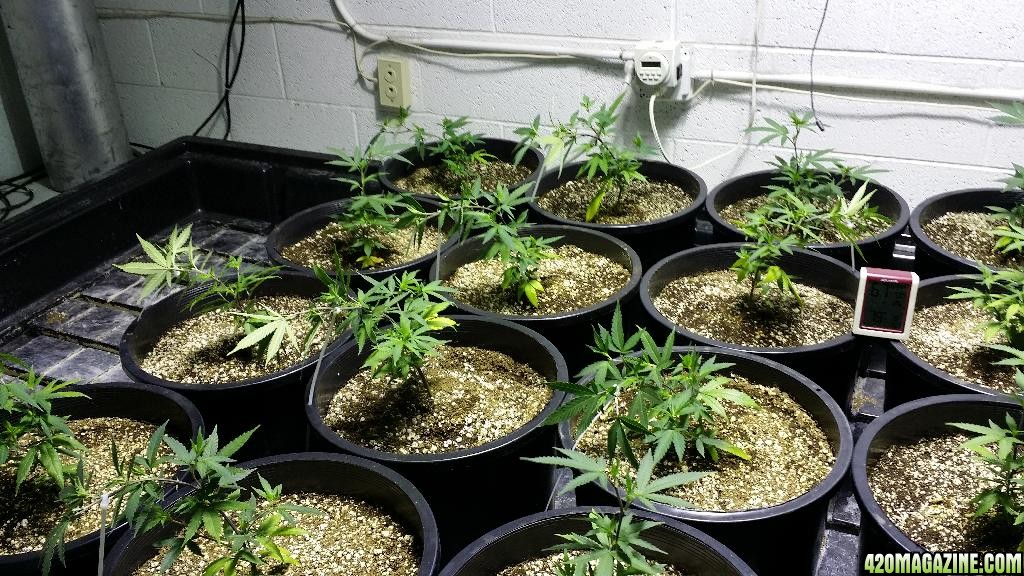
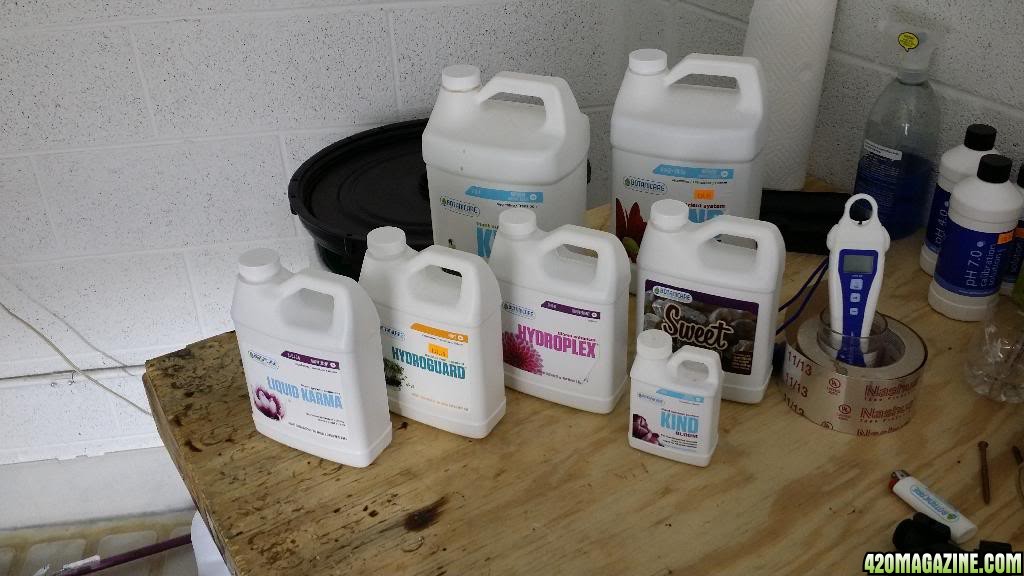
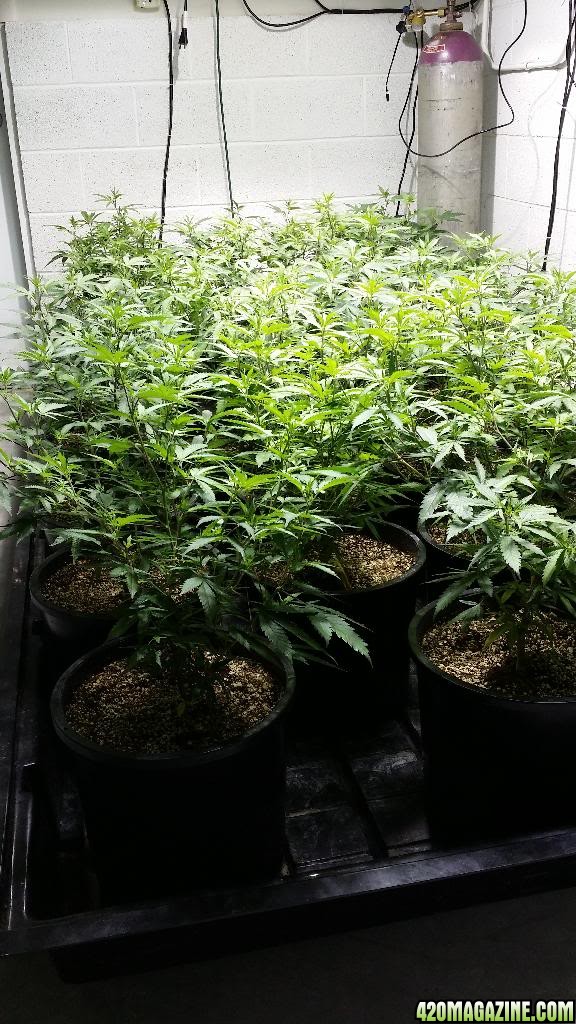
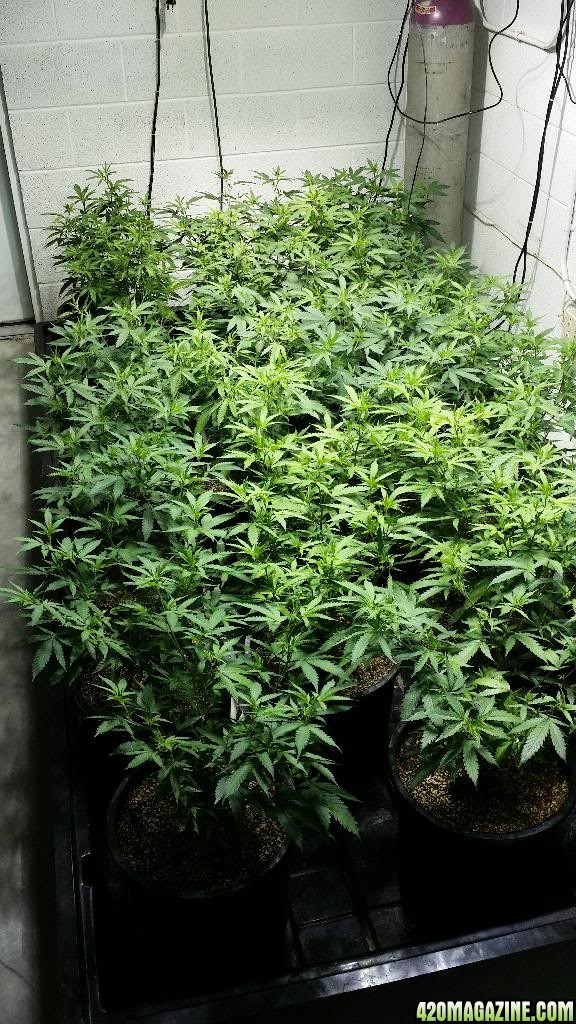
This is my first time using co2 enrichment. I have my 50 lb. tank and CAP ppm3 controller keeping the room at around 1100 ppm in early veg. Running a sealed room is actually easier than a fresh air room, plus you keep the temps a bit higher so the cost of co2 is made up in AC savings. I'm glad i made the investment. Got all my equipment for co2 used on craigslist.
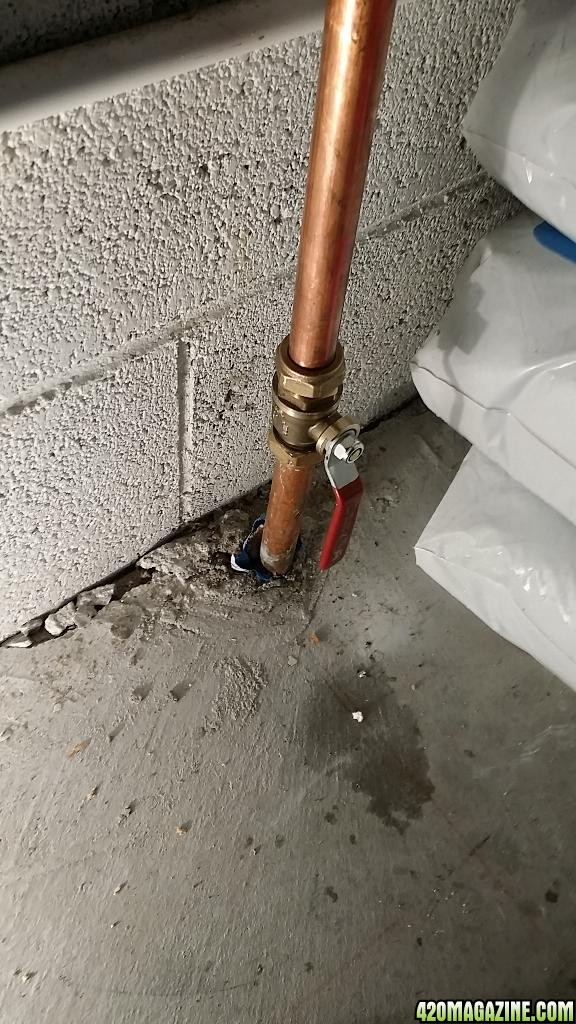
There was a copper pipe coming right into my flower room, but i had to set up the plumbing myself. Shut off the water, install a ball valve, run it to a garden hose spigot. So happy to have water!!

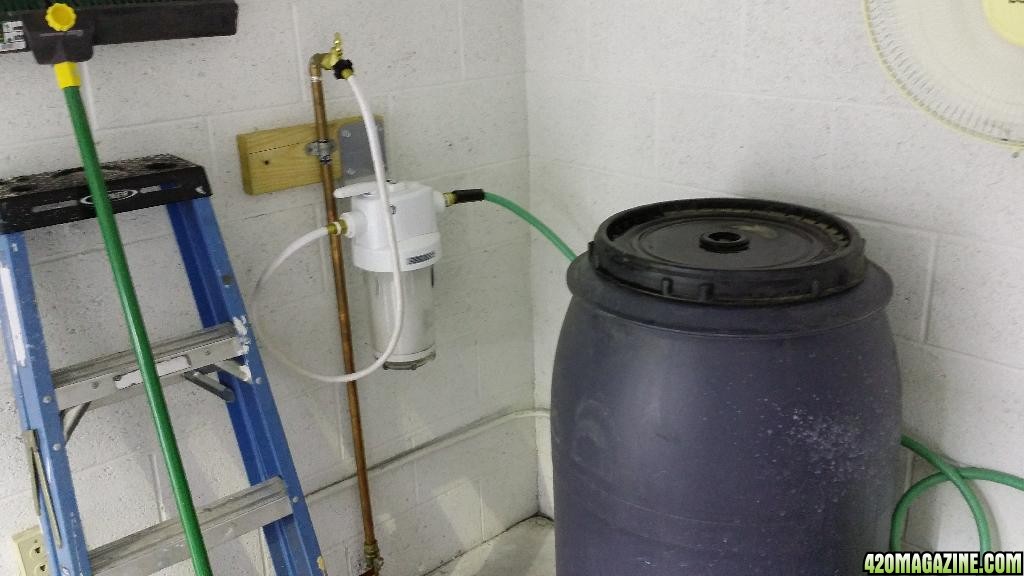
I picked up a large prefilter from home depot, which i will soon be running to a 300 gpd Reverse osmosis system
Another Kind neighbor gave me a couple of work tables he didn't need. Makes this room look pro haha.

So that pretty much Covers the Grow build! This warehouse is still a work in progress, I'll be setting up the veg room after the first harvest.
Before i was ever able to set foot in my grow warehouse, i needed to finance and get licensing/ insurance for everything. I called on a warehouse location and was very upfront with the owners. They require general business liability insurance, so I had to get coverage. Dispensary insurance is now available to people who want to lease and insure a grow facility. My insurance agent was very knowledgeable and helpful about medical marijuana law, and i am able to sleep at night knowing i am covered if things go wrong. I also pay a premium for crop coverage against theft and accidents. All I can say is i am happy to be state legal and covered.
Once i finally Got the property, I had no clue how i was going to set everything up! I literally had no experience with electric, framing, drywall, or really any hardware for that matter. I spent nights watching YouTube videos, and days asking questions at home depot. I had some greatly needed help from my new neighbors, and after about 3 weeks i was able to set up most of what i need for this first grow.
Anyways now for all the fun stuff. In this post I'll Cover the Grow build, and my next post will be the start of my grow journal. Hope you guys like it!
The Unit They had available was perfect! Two rooms buillt, with a large roll up door to the open area. Only a hundred amp breaker box, but i can install another one if i need to expand! Time to get to work.
Just Aquired All of my new (Mostly used) Equipment! Phantom Ballasts, Blockbuster Hoods, Intake fans.. Etc.
I needed to Frame and finish a false ceiling to seal the Flower room. This would help keep co2 usage low, bugs out, lightproof, and secure the main grow area. Home depot is my second home:
I borrowed a lot of tools and help from my new neighbors, who happened to be growers a few years ago before they relocated.
For some reason i was concerned about attaching wood to cinder block for weeks before actually did it. Turns out its pretty easy. I used a rotary hammer to drill the entry holes for some concrete screws. A lot of measuring and cutting to get around the electrical conduit.
The flower room is a polygon shape, so the roof and the entire grow room had to be designed around the angles of the room. Framing is easy once you learn how. I have come to learn that most building and grow room modification can be done easily with a little common sense and a dedicated effort.
The two rooms were only divided by an eight foot wall, so there was open space between them originally. I built the new false ceiling on to that wall.
Hanging the drywall to the frame was the most physically taxing and dangerous part of this project, I will go with thinner drywall if there is a next time. 1/2 inch was a little cheaper, but more expensive on my back LOL. Seriously.
After Hanging the drywall i Caulked and sealed every corner and double checked for light leaks. Then i painted two coats of mold resist paint on the drywall, and weatherstripped the doors for light leakage.
I considered paying an electrician a few hundred dollars to install my light controller, Turns out i could do it myself in 30 minutes including youtube video time. Just needed some wire and a 50 amp breaker.
Only a week after i rented the unit did i find it was the only one with a brand new dedicated air conditioner, installed by the last tenant. SCORE!!! I'm assuming its like 50,000 BTU. the thing is a monster. I removed the vents and ducted the cold fresh air directly into the grow room. Now the thermostat keeps the room right where i want it.
A little bit of metal Tape Works well for anything you dont want to come off. Its a new favorite tool in my toolbox.
After Rearranging the 4x8 grow trays ten times, i found the most efficient use of space and lighting was different than i had anticipated. time to hang the lights. I attached 2x4s to the ceiling for accurate light hanging.
Finally... this place is starting to look like a grow room!
I Hung the Ballasts from the studs next to the light controller. One light cord wouldn't reach so i ended up re-hanging the ballast halfway down the light row.
Picked up some wall mount fans in good condition on craigslist. Back to drilling concrete which takes a while.
The Lights airflow is closed loop, so i use the air from right above the false ceiling to cool the lights, and then the hot air vents into the attic
Everything is working great! Im actually surprised at how many problems i DIDNT run into. Or.. maybe my problem solving skills are just becoming natural. I guess i just work with what i got. Try to do things right the first time so that i dont need to go back and do them again.
This is my first time using co2 enrichment. I have my 50 lb. tank and CAP ppm3 controller keeping the room at around 1100 ppm in early veg. Running a sealed room is actually easier than a fresh air room, plus you keep the temps a bit higher so the cost of co2 is made up in AC savings. I'm glad i made the investment. Got all my equipment for co2 used on craigslist.
There was a copper pipe coming right into my flower room, but i had to set up the plumbing myself. Shut off the water, install a ball valve, run it to a garden hose spigot. So happy to have water!!
I picked up a large prefilter from home depot, which i will soon be running to a 300 gpd Reverse osmosis system
Another Kind neighbor gave me a couple of work tables he didn't need. Makes this room look pro haha.
So that pretty much Covers the Grow build! This warehouse is still a work in progress, I'll be setting up the veg room after the first harvest.


")