Grow room air flow and temp

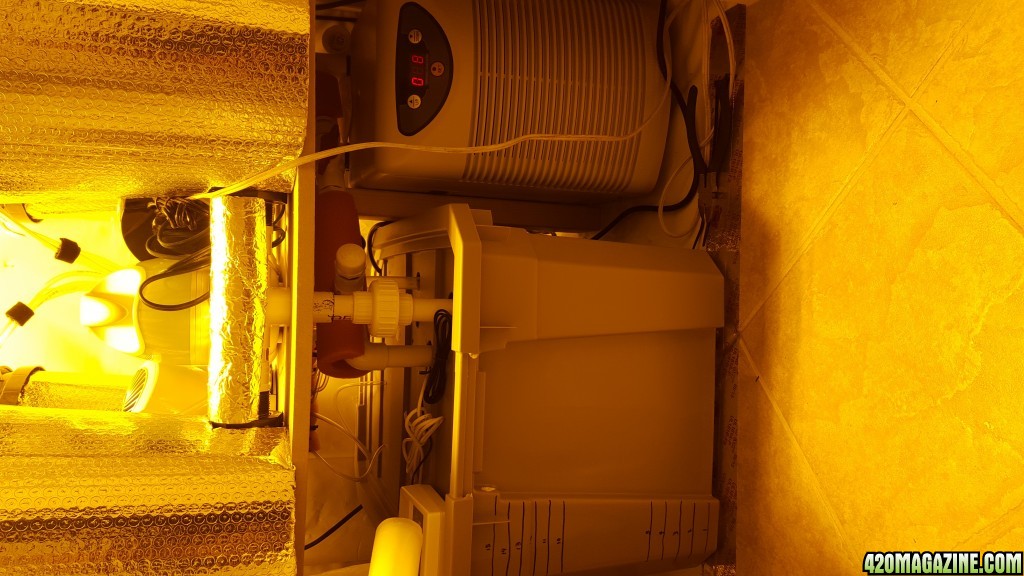
Ok, I am stuck with what I have currently with the exception of getting an extra blower to replace the 2 small 4" ones.
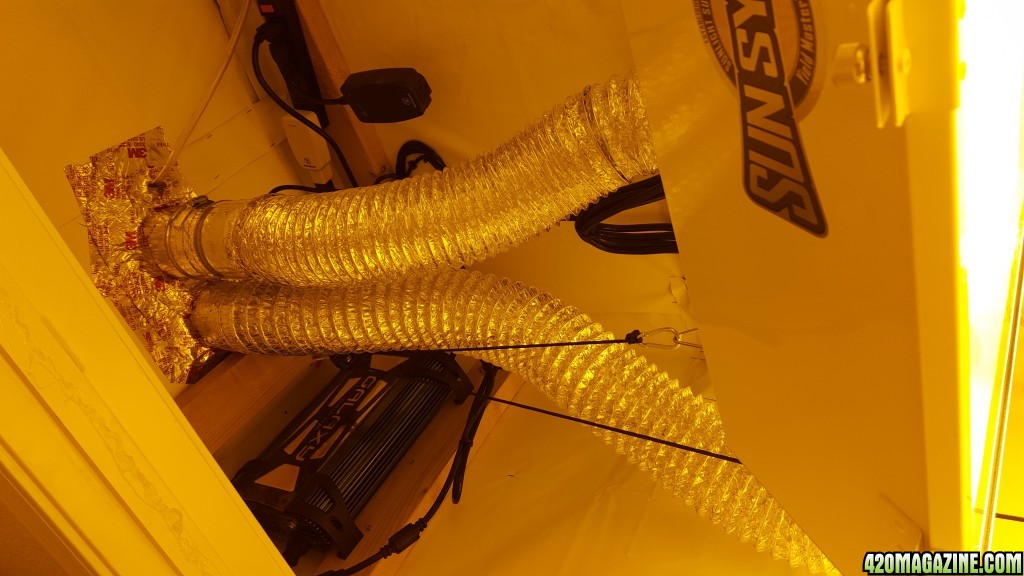
I will try having the blower suck from top of area (DISCONNECT FROM COOL TUBE) an let the intake one just hang down low to the buckets ? Or split it and have 2 ends hanging low
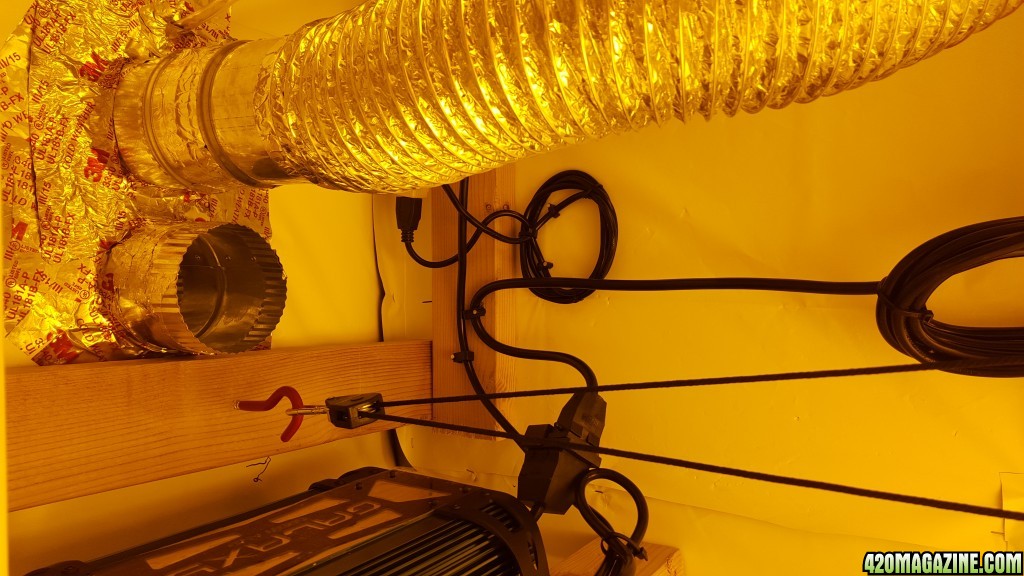
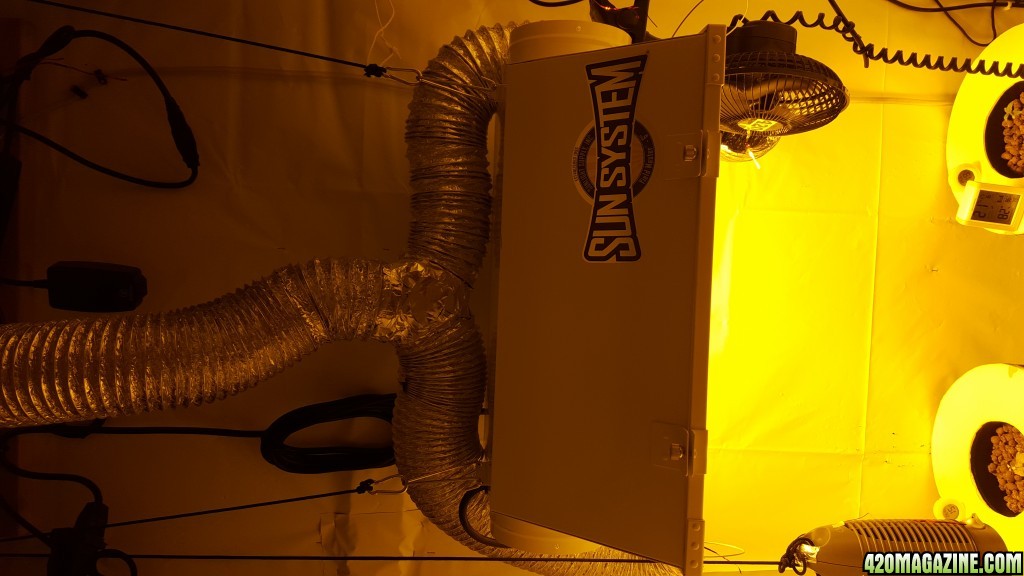
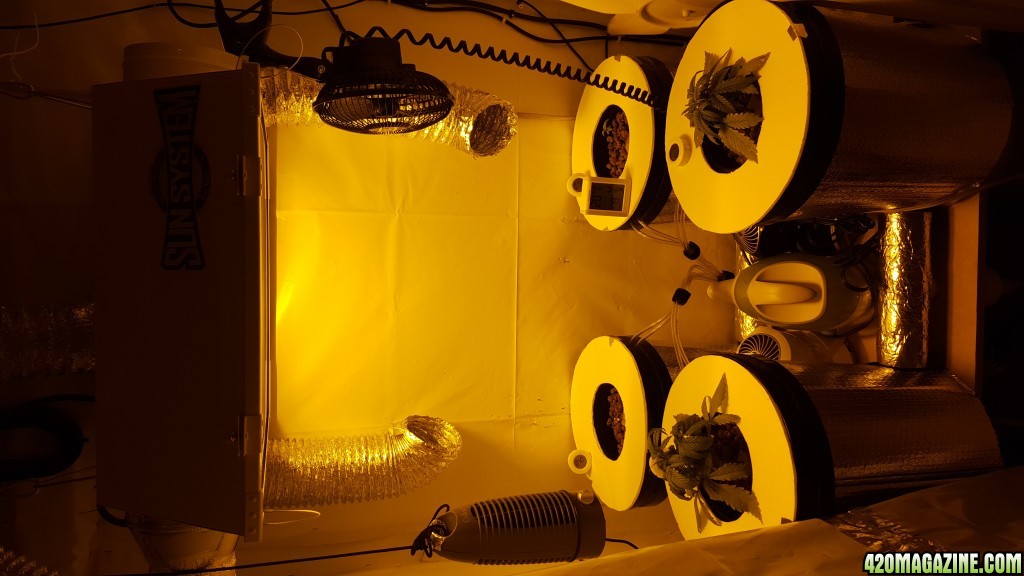
Room size is 3.7ft (L) x 8ft (H) x 2ft(W) 59.2 cubic feet
 
14511841521991231814099.jpg
1451184173406-41636652.jpg
1451184222831-886385539.jpg
1451184239564320893575.jpg
1451184304132-911283491.jpg


The attic air is 56-57 with 40 humidity
Right now the room area is at 82 it dropped 2 degrees once I removed the vent from the cool tube unless I had a temp drop in the attic I usually wait a day when I change something not sure yet also thanks for the help.
The 2 vent runs from the connector to the attic is about 4-5 feet run they both have 1 90 degree angle and then slightly rises up
 
Also to verify the temp and stability should I seal it so that no outside air can get in from the bottom of the door and molding of the door. Or would I get the same results with just the door closed

Seal it means dropping my plastic mylar sheet in the doorway which connects to the inside molding down to the floor where i tape it. Then I shut the door. By doing this will the temp regulate ? Or go down even though I am at 82-84 with plastic up and door wide open
 
Last thing before calling it a night I went ahead and sealed it to see what it would do it went from 88-93 right now in about 40 min so I will open it back up and try something new tomorrow
 
when you get the air in and out corrected look into this one. look it up on google. Temperature Controller Thermostat 220V Digital Control Switch -40℃~120℃ cost about 12$ or so. i got one in my small closet. it does the job very well. active air in and out goes on when the temps hit 27c just under my plant canopy and goes of when it comes to 26c you can also add a heating device if needed.
20160104_111545.jpg


Its the small box in upper left corner.
 
u shouldnt be pushing cold air into the area. you need 1 fan pulling air out of the room. have an intake duct coming from a cooler area and extract the warm air away from this area.

Exactly. Use extraction (pulling) fans, no intake (pushing) fans. Ensure unobstructed and unimpeded air flow (using a mass airflow exhaust passive intake ventilation system) and size intake registers about 4 times the area of the exhaust (the 4x is an arbitrary rule I made for small grow cab/ grow tent conditions, 3X even works for larger areas like 6' x 8' x 6'6" and greater) using the circle area formula Pi r squared.

If you had a 4" round exhaust you would want a 8" round passive intake hole that is actually fed from a plenum (air space) that can supply the maximum amount of air that your exhaust fan/filter combo is actually pulling through the carbon filter and blowing out of the register (duct opening spewing air from the fan). The area of a 4 inch circle is 12.56 inches. The area of a 8" circle is 50.24 inches. Just a hair over 4x the area of the exhaust. That is the maximum passive intake area you would ever need and the minimum I found to be approximately 3x the exhaust round register area.

Worth mentioning, be careful to use thermally conductive uninsulated material for any ducting. The friction from moving hot air through un-insulated conductive (or somewhat conductive plastic covered aluminum flex duct) pulling or pushing through an enclosed light fixture or not, amounts to an unintended DIY grow room radiator and sometimes you are better off without such a set-up. I would recommend insulated duct with minimal bends to stop the radiant effect from the duct. The longer the uninsulated duct, the longer your unintended DIY radiator becomes.

To reduce unintended friction heat transfer even further, you are able to slightly enlarge the exhaust ducting coming from the fan just a bit to increase cfm output and decrease friction (heat). Don't enlarge too much or else you will decrease cfm even though friction will greatly be reduced as well it doesn't make up for the cfm losses. Also, flex duct must be pulled taught to reduce unintended friction that also reduces cfm output.

Here is an example of increasing exhaust duct diameter above and beyond the diameter of the fan. Vortex 6" fan on a can filter 100 blowing(filter standing vertically upright on the floor) straight up a taught and silenced 15' flex duct into a gigantic non-pressurized plenum. Using a Kestrel velocity meter while this set-up is supplied from a super unimpeded unobstructed plenum, the meter (when set for 10" round duct) reads 462 cfm. When I test the same fan on an 8" duct side by side but in another room having the same exact features, super assembly line identical) I read 449 cfm. Full Disclosure: The Kestrel meter is a bit inaccurate but constant in its inaccuracy when measuring and comparing values that were all recorded (measured) at about the same battery % and that's one of the reasons why many meters display battery percentage. The 6 to 10 increase in this case is the winner.

Example of enlarging duct too much beyond the diameter of the fan. 4" HO Can Fan pulling air through a vertically upright can filter 66 and blowing that air through a 10" flex duct trunk as described above (matter of fact, the same exact duct was used to make this test conclusive!). The output of the fan goes down to about 129 cfm even though sound coming from the output of the duct is virtually eliminated 100% and friction is also greatly reduced. The same 4" fan pulling through the same size filter but blowing through an 8" flex duct (as above) will extract 188 cfm.
 
Back
Top Bottom