

Navigation
Install the app
How to install the app on iOS
How To Use Progressive Web App aka PWA On 420 Magazine Forum
Note: This feature may not be available in some browsers.
More options
You are using an out of date browser. It may not display this or other websites correctly.
You should upgrade or use an alternative browser.
You should upgrade or use an alternative browser.
Grow Tent - Access Hydroponics - Product Review
- Thread starter Truth Seeker
- Start date
Just put together this tent. It was so easy, I did it TWICE! lol! The instructions are kinda generic, so here's a tip: The wall with-out the zipper is left of the door. I didn't know this, and ended up taking it apart to rotate it. Kinda sucked, but no big deal (no, I was NOT medicated  ). It has 3 beams up top (No plastic! All metal!). One is the hanger, the other 2 are for support. It holds up my vented hood just fine. I taped all the ends of the hangers and supports to the rods. It made assembly so much easier. It has 3 vents on the bottom that have screens. All the socks for the vents and cords are double socks. This was a nice surprise. Other than a few pinhole leaks around some of the stitches, this this is pretty light proof. I'm going to leave these alone, as they won't effect me, but if you wanted it 100% lightproof, you could seal these up with some black RTV (sensor safe=safe on plastics). Here's the link for anyone interested Reflective Interior 48x48x79 inch Hydroponic Grow Tent Box - Access Hydroponic
). It has 3 beams up top (No plastic! All metal!). One is the hanger, the other 2 are for support. It holds up my vented hood just fine. I taped all the ends of the hangers and supports to the rods. It made assembly so much easier. It has 3 vents on the bottom that have screens. All the socks for the vents and cords are double socks. This was a nice surprise. Other than a few pinhole leaks around some of the stitches, this this is pretty light proof. I'm going to leave these alone, as they won't effect me, but if you wanted it 100% lightproof, you could seal these up with some black RTV (sensor safe=safe on plastics). Here's the link for anyone interested Reflective Interior 48x48x79 inch Hydroponic Grow Tent Box - Access HydroponicLeafGnosis
New Member
woo-hoo Arizona... my 48 x 48 x 79 should be here by Wednesday so I am happy with the reviews so far... on their site there is one review about pin hole leaks around stitching, have you seen this at all? Getting black silicone sealant for this "possible" issue.
I haven't seen any pin holes around the stitching its just on one side door just in the middle area. I have been having a hard time keeping the tent dog hair free lol the mutt's never been in the tent so I must be tracking it in so for now its vacuum vacuum vacuum.
Getting ready to LST the young mothers tomorrow.
Getting ready to LST the young mothers tomorrow.
LeafGnosis
New Member
My tent is in a storage closet, so I'm not worried about it. I only notice the light leak when it is pitch black in there with my 600 hps watt light on. That was my review on the site. If you have any other questions, feel free to ask.
Thank you voucher, as I must say that your review helped a lot. I hope it helps others as well!
LeafGnosis
New Member
I haven't seen any pin holes around the stitching its just on one side door just in the middle area. I have been having a hard time keeping the tent dog hair free lol the mutt's never been in the tent so I must be tracking it in so for now its vacuum vacuum vacuum.
Getting ready to LST the young mothers tomorrow.
Hehehe, I have a DIY veg/flower room that I am currently using on bag seed (1 plant) which is in day 25 flowering. I used the plastic mylar with the white/black sides and am constantly patching pin holes from the staples (used duct tape under the staple) due to constant in and out.. so the tent will help greatly on that aspect. Every time I open the door my dogs are like... whats that smell and try and get into the tent.. quite funny. They know the deal
") I will keep this as my veg room since I do not have to worry about light leaks once I have the tent for flowering. Using CFL's for vegging, since they seemed to work very well on the two plants I had in there for vegging. One plant went hermi on me, most likely genetics, and I had to get it out right away.
I will keep this as my veg room since I do not have to worry about light leaks once I have the tent for flowering. Using CFL's for vegging, since they seemed to work very well on the two plants I had in there for vegging. One plant went hermi on me, most likely genetics, and I had to get it out right away.LeafGnosis
New Member
Got my tent today... set it up and it looks great!!! The reflection alone is a lot better than the white mylar plastic. There are some pin hole leaks around the seams, but being short.. I may have caused that by pulling the tent over... though probably not. I have a tube of black silicone sealant and will be using it around the seams. The material is very durable and she looks nice in the room. Have to wait to get my 600 watt setup so that I can proceed to patch holes. Very anxious to get a grow going.. but will not move the current flowering plant over as it has some root aphids (get my nematodes on Sat. ) and do not want to get the new room buggered (pun intended). I am also purchasing some met 52 to mix into my soil once I get the good seeds in, as I hope that this will kill the aphids. I will give more of a review once I get the light/ventilation all set up and running.
Good luck Leaf on the nematodes doing there thing. I love how nature provides all the answers. I can't wait for next years outdoor season to open as I plan on doing something big via organics. Gotta love them fish and the bats
Have I got a review for you, I have recently just acquired a new Grow Tent, compliments of one of our loyal sponsors Access Hydroponic. Now if you have been in my journals, you know about my DIY setup, although there is not really much difference in design wise, but material wise, WOW! Let's just say this is a major step up. Follow me on the unpacking of a Grow Tent from Access Hydroponic.
First off, I was very impressed with the super speedy shipping, I got notification that the tent was sent out and the next morning, I awoke to find it at my front door. Brought it in the house and got to opening it.
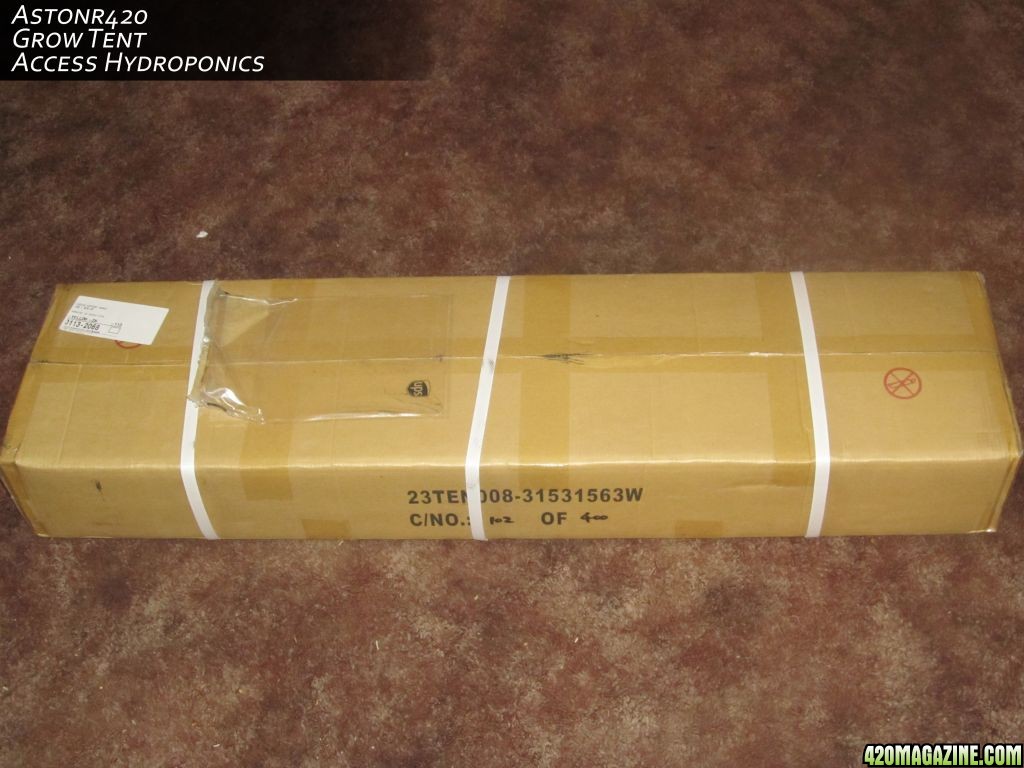
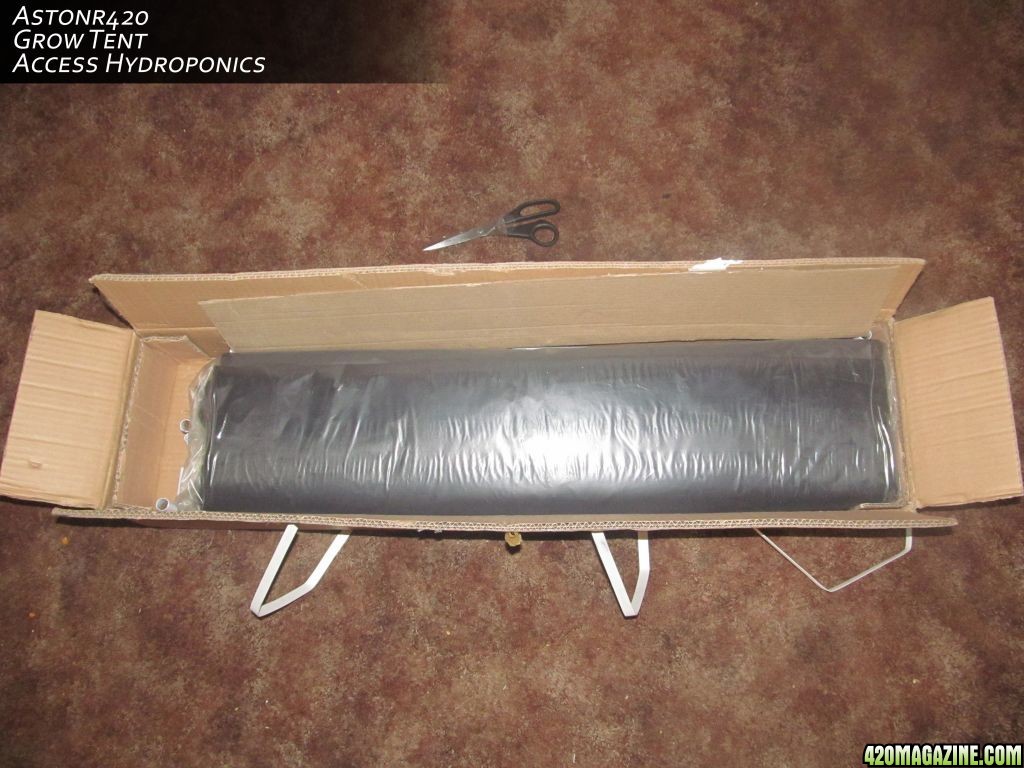
As you can see here, they pack these boxes very tightly for secure shipping, the Heavy Duty Oxford Cloth and the connecting rods are all packed in plastic seals for extra security.
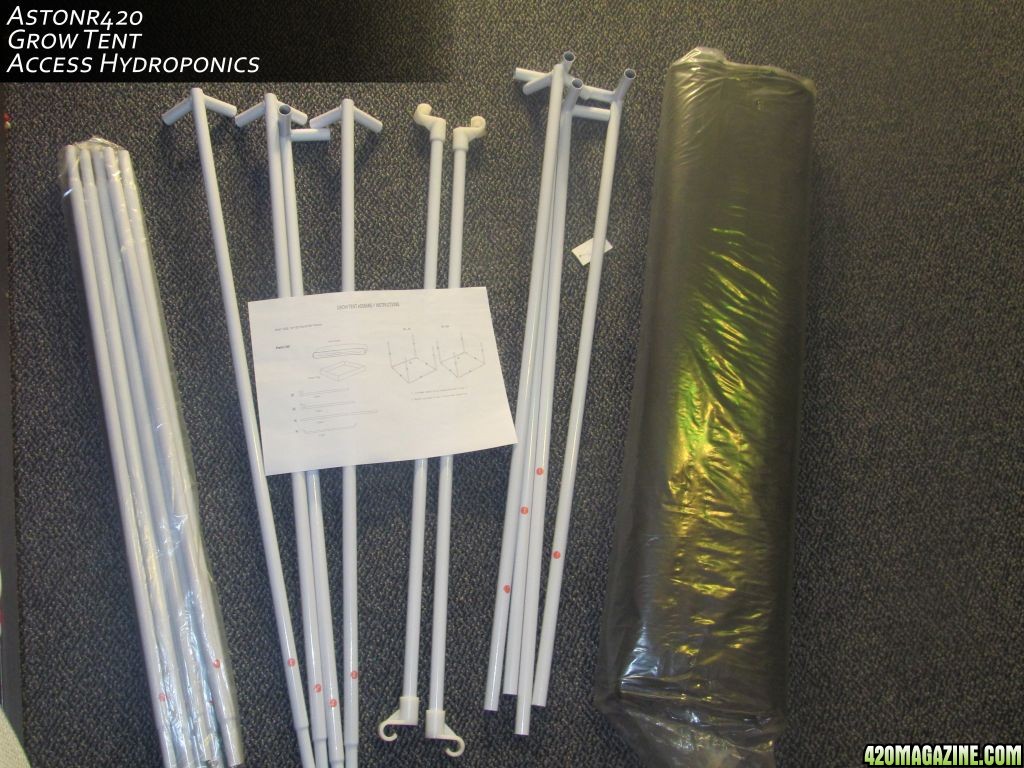
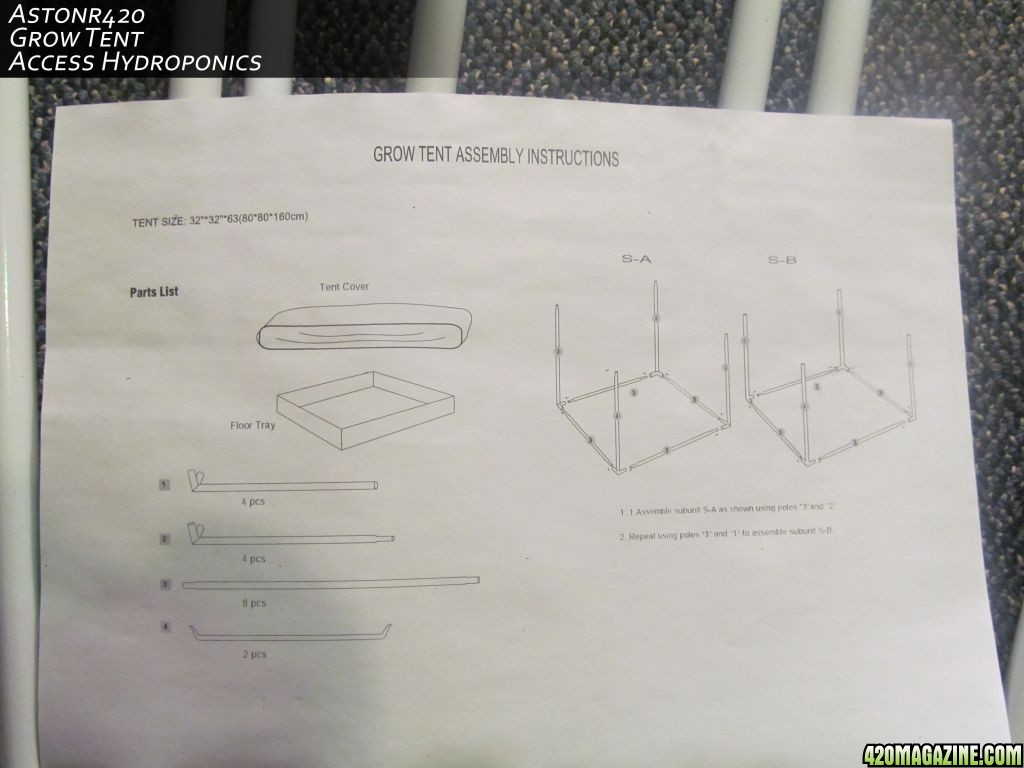
Comes complete with all the rods and instructions on assembly.
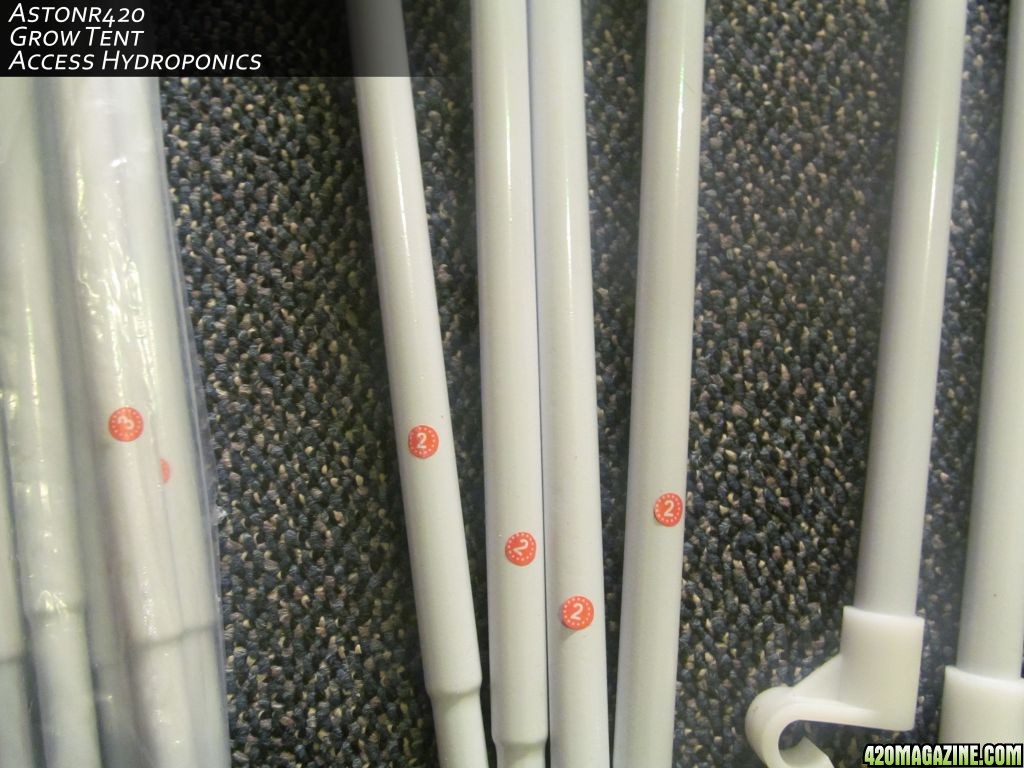
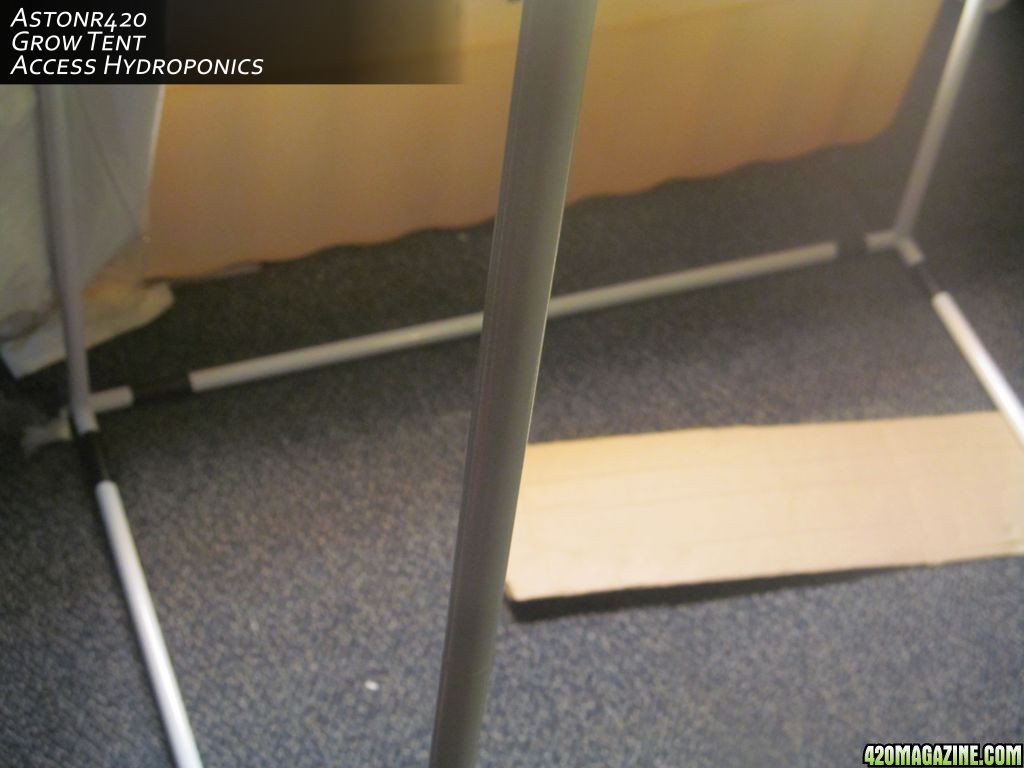
The cloth is inner lined with 100% reflective mylar which also has a floor panel which is also lined with the mylar and is waterproof for easy clean ups, you have your power cords up high, right? The rods are metal rods that have little clips on the inside of them, now this is probably my only issue that I had with the tent, when assembling the tent, the clips wouldn't hold the pieces together in which a little bit of electrical tape came in handy, other than the clips, setup is wonderful.
Along with the frame rods, this tent comes with 2 hanger bars for your lights. It also comes with 5 vent holes which can fit either 4, 5 or 6 inch fans or exhaust. These vent holes also come with drawstrings to close them off or open when need extra venting. The cloth has a zipper opening that allows for easy access into the tent, which also has a strap that can be Velcro to the side of the tent which allow the user to keep the door out of the way. Along the bottom of the tent on the sides and 1 on the back, are some vents that are mesh covered, on the outside there are cloth covers that are secured in place, and can be removed easily, with Velcro as well.
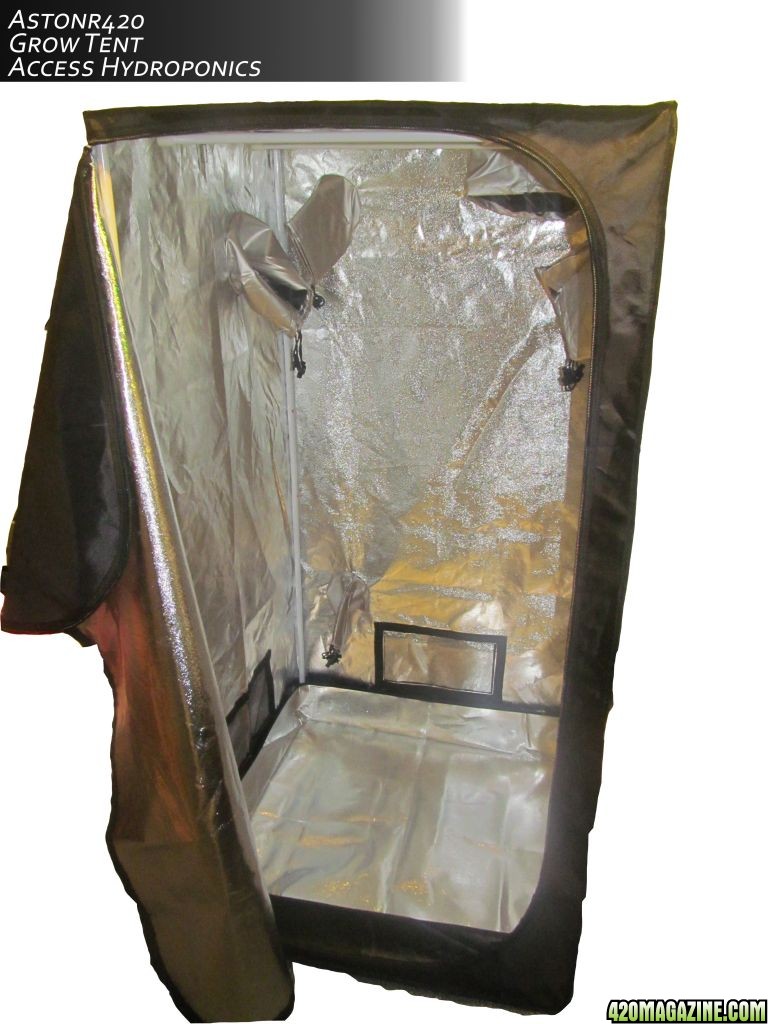
Fully setup after a bowl and 1/2 hour.
As for the test run, I had yet to setup my fan inside it yet, and with a CFL fixture going, the tent got to 82 degrees, still without the intake fan going, I turned on the exhaust fan and opened 2 of the mesh vents half way, and it cooled back down inside to a nicely comfortable 73 degrees. I placed my plants in there for the light, and I looked through the vents and I could actually see movement on the leaves. I was amazed. Now with the fan, air circulation inside is amazing, it is so much better than my DIY setup. I totally recommend anyone looking for a tent, to get one of these from Access Hydroponics. I got the space restrictor as I like to call it, the 32 x 32 x 63 tent. It fits nicely in my room where the old setup used to be. But if you are looking for something bigger, they have multiple sizes ranging from 3 x 3, 4 x 4, 2 x 4, and all the way up to the 10 x 10.
Thank you again to Access Hydroponic for the wonderful Grow Tent!
Source: Accesshydroponic.com - Grow Tents
I will post up pictures of the plants inside really soon...

THIS TENT IS WORTHLESS FOR KEEPING LIGHT IN OR OUT. EVERY SEAM AND ZIPPER LEAKS. IT LOOKS GOOD SET UP AND HAS A STRONG FRAME BUT THERE ARE NO ZIPPER FLAPS AND YOU WOULD NEED AT LEAST A ROLL OF BLACK DUCT TAPE TO FIX THE LEAKING SEAMS HALF ASSED.

ChristineAR
New Member
You can get a decent tent for about $100. Ofc, fancier ones are more expensive, but whatever you can afford is worth. Hydro Tent, Hydro Supplies, Hydro Systems, Rouge Hydro
Similar threads
- Replies
- 5
- Views
- 5K
- Replies
- 134
- Views
- 101K