Hello from Germany

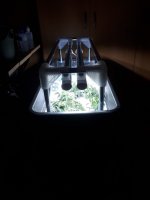
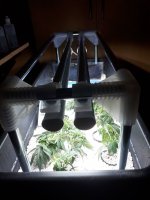
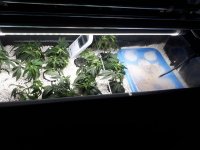
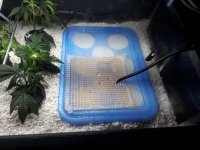
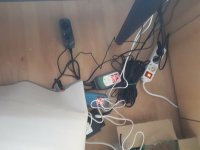
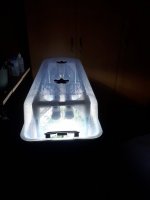
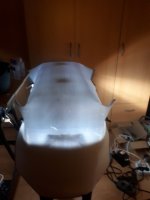
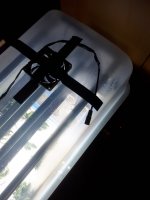
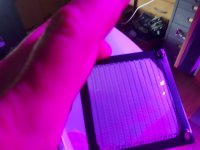
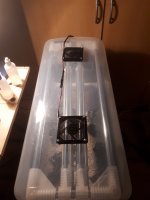
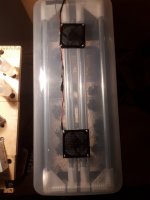
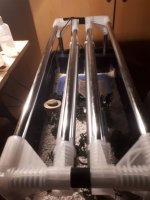
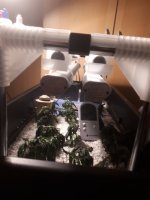
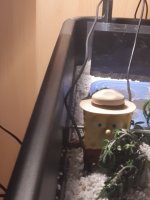
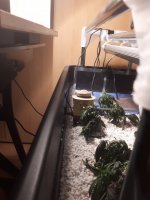
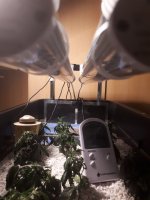
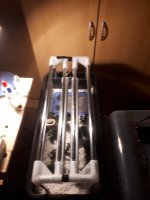
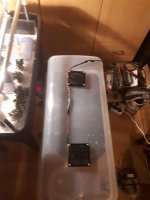
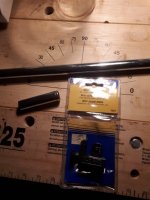
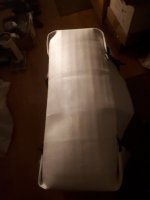
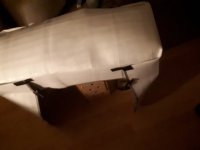
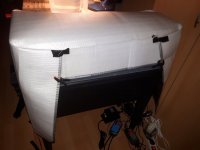
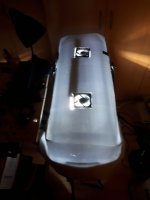
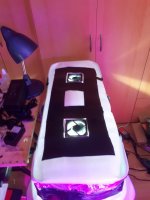
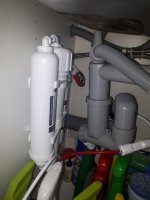
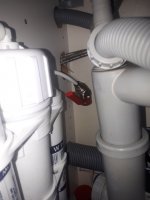
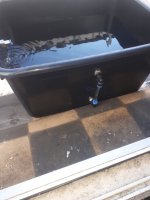
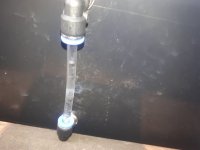
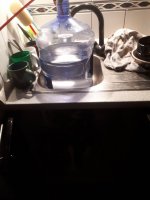
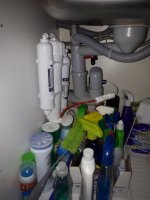
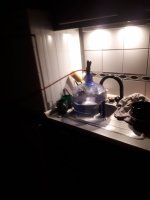
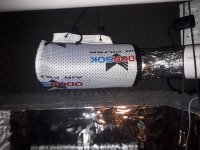
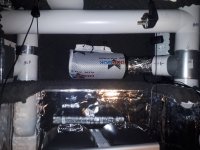
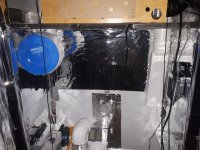
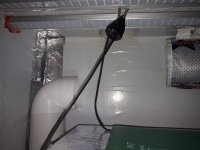
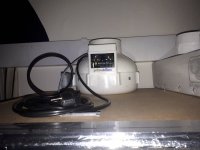
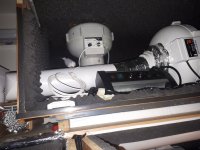
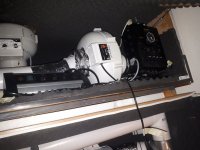
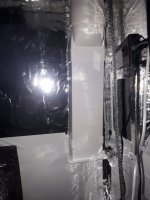
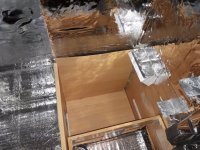
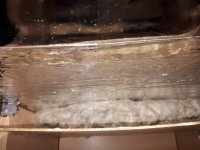
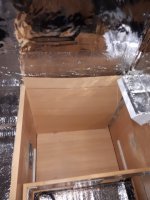
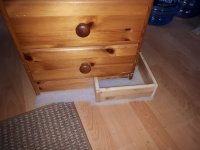
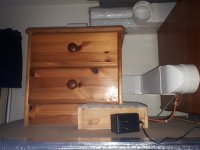
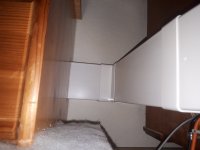
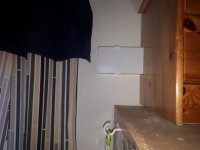
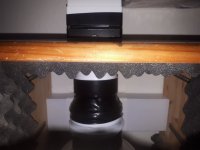
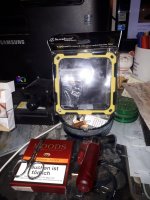
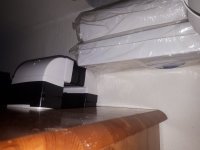
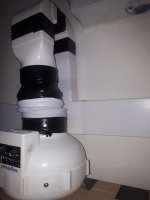
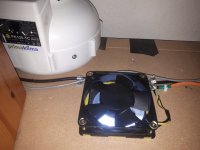
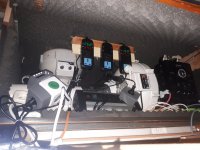
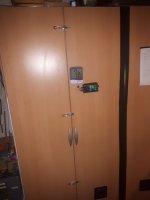
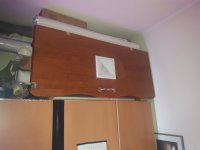
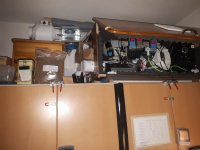
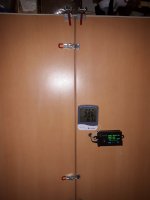
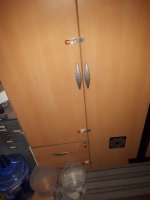
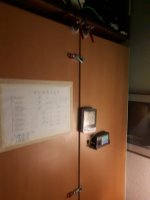
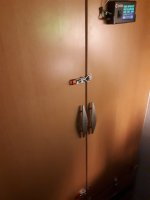
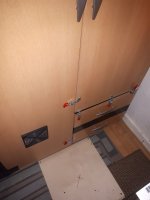
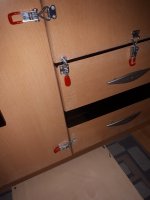
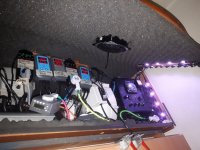
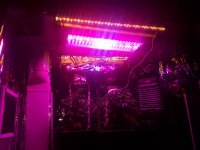
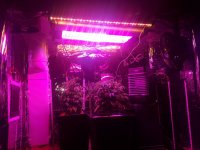
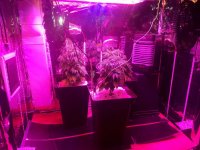
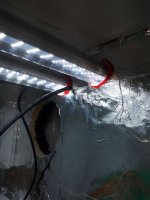
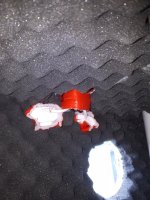
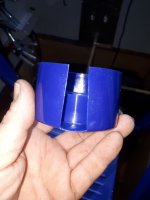
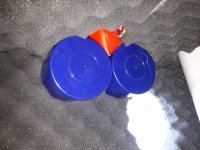
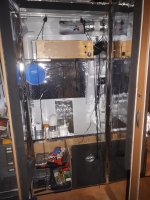
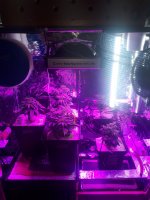
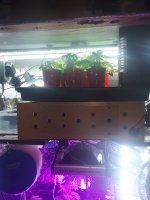
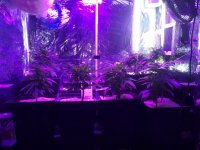
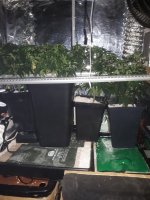
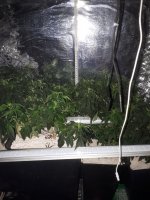
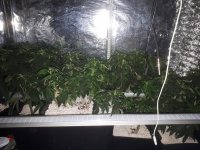
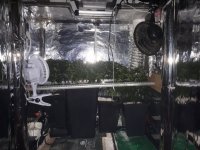
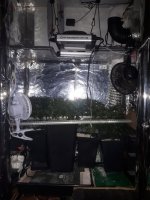
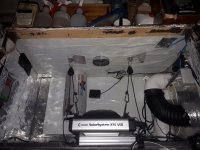
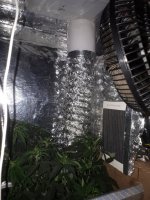
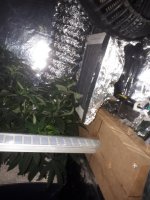
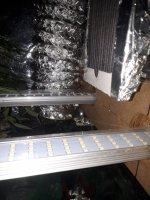
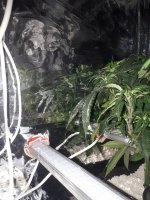
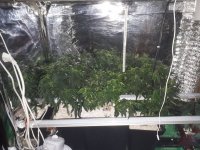
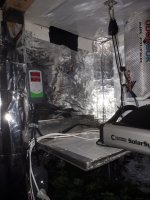
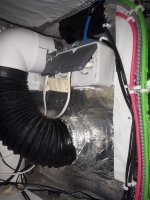
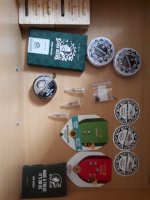
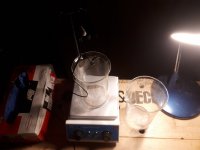
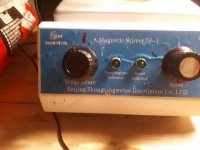
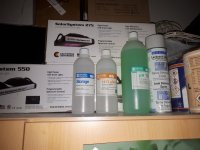
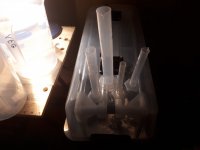
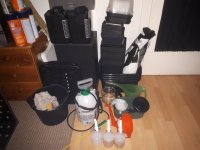
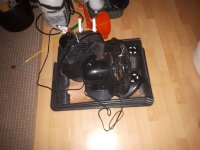
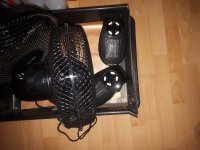
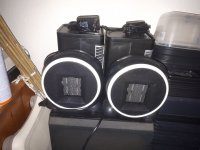
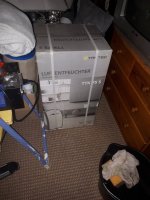
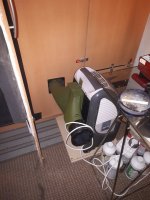
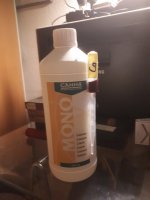
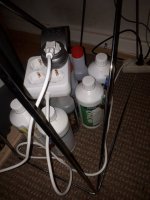
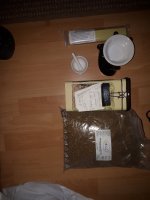
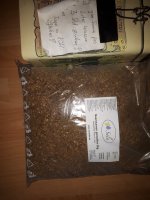
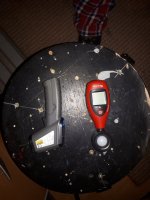
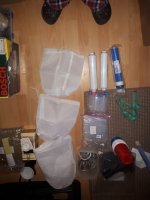
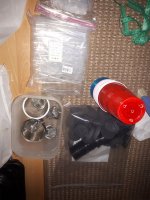
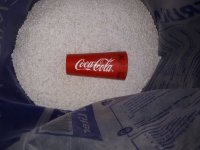
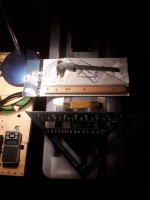
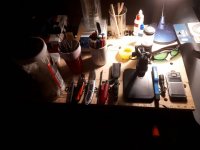
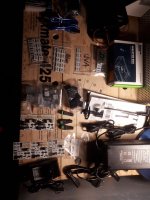
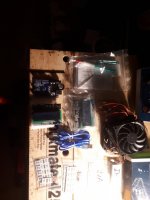
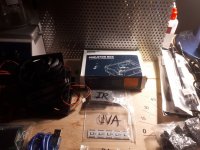
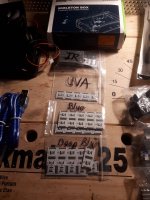
I believe I had shown the chest I had placed upon my cupboard as a control-centre? Therein lies the brains of this grow. Heat/Humi controllers, suction/blow fans. timers etc.
1-8: Chest/Closet filled with equipment
 

Attachments

  • 20181020_081745.jpg
    20181020_081745.jpg
    545.8 KB · Views: 72
  • 20181020_081755.jpg
    20181020_081755.jpg
    481.2 KB · Views: 77
  • 20181020_081829.jpg
    20181020_081829.jpg
    567.2 KB · Views: 69
  • 20181020_081836.jpg
    20181020_081836.jpg
    381.3 KB · Views: 69
  • 20181020_081842.jpg
    20181020_081842.jpg
    357.3 KB · Views: 69
  • 20181020_081853.jpg
    20181020_081853.jpg
    542.3 KB · Views: 69
  • 20181020_081858.jpg
    20181020_081858.jpg
    540.5 KB · Views: 73
  • 20181020_082130.jpg
    20181020_082130.jpg
    446.1 KB · Views: 77
For the aforementioned 120mm vent, I had built a filter type sys for it to only draw in clean/dust free, as best, air. I had added yet another larger suction fan, so each half of the closet has its own suction sys. They are joined together, via ducting to blow the hot/humid/used air out the window.. more to that later/unfinished.
There is pretty well only one "feed/blow" fan, for both halves. (NVP should be somewhat higher.. sucking more out than being blown in. There is actually a small hiss when I open the doors)
1-8: More equipment/ducting
 

Attachments

  • 20181025_072126.jpg
    20181025_072126.jpg
    680.8 KB · Views: 61
  • 20181025_072141.jpg
    20181025_072141.jpg
    443.6 KB · Views: 30
  • 20181025_072326.jpg
    20181025_072326.jpg
    419.4 KB · Views: 67
  • 20181025_113227.jpg
    20181025_113227.jpg
    516.5 KB · Views: 59
  • 20181107_112710.jpg
    20181107_112710.jpg
    415.9 KB · Views: 71
  • 20181107_112719.jpg
    20181107_112719.jpg
    308.5 KB · Views: 65
  • 20181107_112737.jpg
    20181107_112737.jpg
    303.8 KB · Views: 70
  • 20181107_112826.jpg
    20181107_112826.jpg
    389.1 KB · Views: 64
Just a few more, then I am going to bed. it is just after 0400 here...
1: Micro filter with anti vibes frame installed under the small vent
2-4: More equipment/ducting
5-8: Closet + Chest from the front, not up to date
 

Attachments

  • 20181025_195023.jpg
    20181025_195023.jpg
    582.4 KB · Views: 65
  • 20181107_112853.jpg
    20181107_112853.jpg
    323.1 KB · Views: 74
  • 20181107_112942.jpg
    20181107_112942.jpg
    285.8 KB · Views: 65
  • 20181107_112949.jpg
    20181107_112949.jpg
    456.3 KB · Views: 59
  • 20181107_112700.jpg
    20181107_112700.jpg
    599.9 KB · Views: 68
  • 20181223_171320.jpg
    20181223_171320.jpg
    327.3 KB · Views: 71
  • 20181223_172010.jpg
    20181223_172010.jpg
    299.4 KB · Views: 66
This is what the closet looks like from the front. I have added a few clamping/holding levers. The bloom side has a few more than the veg side, to ensure proper sealing. (Air and light).
1-8: Closet and/or Chest

Info: Added 3 LED Light strips to the Chest so I can see what on earth I am doing. (Top R/H Side)
 

Attachments

  • 20190202_050952.jpg
    20190202_050952.jpg
    463.6 KB · Views: 61
  • 20190202_051004.jpg
    20190202_051004.jpg
    349 KB · Views: 68
  • 20190202_051012.jpg
    20190202_051012.jpg
    371.3 KB · Views: 69
  • 20190202_051019.jpg
    20190202_051019.jpg
    320.4 KB · Views: 62
  • 20190202_051022.jpg
    20190202_051022.jpg
    331.8 KB · Views: 67
  • 20190202_051030.jpg
    20190202_051030.jpg
    386.1 KB · Views: 65
  • 20190202_051043.jpg
    20190202_051043.jpg
    402.1 KB · Views: 64
  • 20190202_051317.jpg
    20190202_051317.jpg
    583.4 KB · Views: 64
Just a quick recap of the lighting:
Veg has a CLW SS 275W
Bloom has a CLW SS 550W
Added to Veg: 2 ea 42 w Tleds, 2 ea 26 w Tleds (Removed again for elsewhere)
Added to Bloom: 2 ea 26 w Tleds, 12 ea 12v/25w LED stripes (red - blue = 4:1)
1-8: Lighting in Bloom Area
Note: Silver Foil now installed
 

Attachments

  • 20181223_171414.jpg
    20181223_171414.jpg
    598.7 KB · Views: 69
  • 20181223_171939.jpg
    20181223_171939.jpg
    657.3 KB · Views: 72
  • 20181228_100047.jpg
    20181228_100047.jpg
    649 KB · Views: 75
  • 20181228_105529.jpg
    20181228_105529.jpg
    458.9 KB · Views: 76
  • 20181228_105535.jpg
    20181228_105535.jpg
    535.8 KB · Views: 68
  • 20181228_130214.jpg
    20181228_130214.jpg
    644.8 KB · Views: 70
Took the lids from 2 Paintcans, cur slits in the sides, covered with foam/insulation, to cover the protruding 46w Tleds (96cm length!!! 1/2 Closet is 88cm wide..)
1: 46w Tleds for Upper/Prop Area (Has been revised/changed since)
2: Tleds protruding into Bloom Area, cables/wires being led out of the veg/bloom areas, into the chest/control centre
3 + 4: Paintcan lids used as covers for the protruding Tleds
5: Veg + Prop Areas, lights off
6-8: Veg Area Lights on. 26w/54cm Tleds installed in rear right corner, where "Mom" resides, hoping to give her more/extra light. Has since been revised
 

Attachments

  • 20181014_200451.jpg
    20181014_200451.jpg
    453.4 KB · Views: 68
  • 20181014_200509.jpg
    20181014_200509.jpg
    775 KB · Views: 67
  • 20181014_201938.jpg
    20181014_201938.jpg
    350.8 KB · Views: 64
  • 20181014_202016.jpg
    20181014_202016.jpg
    809.3 KB · Views: 67
  • 20181020_081917.jpg
    20181020_081917.jpg
    577.4 KB · Views: 67
  • 20181223_171346.jpg
    20181223_171346.jpg
    613.5 KB · Views: 65
  • 20181223_171356.jpg
    20181223_171356.jpg
    495 KB · Views: 70
  • 20190108_154408.jpg
    20190108_154408.jpg
    687.6 KB · Views: 71
I have taken/moved the Tleds completely around.
1) Prop area now has its own space/external to the closet, own lighting/heating/cooling/humi control
2) 46w Tleds now reside as extra lighting in the Veg plant foliage. I have them come on later than the CLW, around 10:00 - 14:00, "High Noon" so to say. The main/larger of the suction fans is off for a while at this time aswell, creating a rise in heat, a true high noon.
1-8: 46w Tleds now used as extra/under foliar lighting
 

Attachments

  • 20190131_231037.jpg
    20190131_231037.jpg
    526.8 KB · Views: 63
  • 20190131_231046.jpg
    20190131_231046.jpg
    721.6 KB · Views: 63
  • 20190131_231052.jpg
    20190131_231052.jpg
    708.2 KB · Views: 64
  • 20190131_231100.jpg
    20190131_231100.jpg
    636.2 KB · Views: 64
  • 20190131_231111.jpg
    20190131_231111.jpg
    539.5 KB · Views: 67
  • 20190131_231124.jpg
    20190131_231124.jpg
    512.7 KB · Views: 65
  • 20190131_231133.jpg
    20190131_231133.jpg
    738.3 KB · Views: 65
  • 20190131_231141.jpg
    20190131_231141.jpg
    503.6 KB · Views: 60
Instead of drilling thru to the Bloom Area again, to install the long Tleds, I screwed 2 boards together, drilled out 2 holes to accommodate the ends of the Tleds, drilled thru only the outside of the Veg Area, Tleds protrude outwards now approx. 8cm/3 inch. This protrusion covered with tape/foil. Lights are adjustable, in a rotational axis.
1-5: More Tled fun. In Nr. 5, Mom is the Gal in the middle. They have pretty well all stayed short, not stunted, look to healthy for that, IMO. I gather the usage of more blue light has caused this. I do not mind. Mom is/was cropped/FIM'd, and tied down. Quite the girth, and this is after cutting 13 clones off her!!
6: 2 plants in one pot. Seems not to bother them
7: Cable Salad. Anyone hungry??
8: Tleds protruding outwards, covered
 

Attachments

  • 20190131_231201.jpg
    20190131_231201.jpg
    283.2 KB · Views: 73
  • 20190131_231207.jpg
    20190131_231207.jpg
    499 KB · Views: 63
  • 20190131_231254.jpg
    20190131_231254.jpg
    598.7 KB · Views: 62
  • 20190131_231319.jpg
    20190131_231319.jpg
    752.6 KB · Views: 58
  • 20190131_231404.jpg
    20190131_231404.jpg
    775.3 KB · Views: 74
  • 20190131_231428.jpg
    20190131_231428.jpg
    544.4 KB · Views: 57
  • 20190131_231507.jpg
    20190131_231507.jpg
    422.5 KB · Views: 64
  • 20190131_231810.jpg
    20190131_231810.jpg
    564.3 KB · Views: 64
  • 20190130_103355.jpg
    20190130_103355.jpg
    438.3 KB · Views: 64
In the Bloom area I too have installed Tleds. 2 ea 26w/54 cm Secret Jardin specific for bloom. Also used as high noon, under leaf/extra lighting.
The LED stripes I have installed, I use as morning/evening lights. They come on 30 min before the reactor/CLW 550 comes on. It too I have set, via controller to 'Ramp up' 30 min, to full strength. (R=99%, W=99%, B=60%). The overcut between the stripes and the CLW is 15min, meaning after the CLW starts ramping up/down, the stripes are on another 15 min. 45min morns, 45min eve's. Lighting time bloom is 0600-1800. Tleds are on again from 1000-1400.
1: Old set-up of Propagation. Did not work out either. Again too hot
2: 2 ea 26W Bloom Tleds
3: Wachstum means Veg/Growth
4: Speaks for it's self
5: Seamstress measuring tape, to control growth and/or lamp height adjustment
6 + 7: 'Moin' means 'Morning/Good Morning' in German/Hamburger Dialect
8: 'Morgenroete' means as much as Morning Red (Sky)

20190113_172543.jpg
20190130_062957.jpg
20190130_103816.jpg
20190130_103853.jpg
20190130_104705.jpg
20190130_105013.jpg
20190130_105108.jpg
 

Attachments

  • 20190130_104244.jpg
    20190130_104244.jpg
    999.8 KB · Views: 62
SCROG'd
1: huge pots!!! (3 plants in bloom taking up as much as 8 + Mom in Veg.. pots are too big!!
2-4: Self explanitory
 

Attachments

  • 20190130_105226.jpg
    20190130_105226.jpg
    535.7 KB · Views: 58
  • 20190130_105254.jpg
    20190130_105254.jpg
    526.8 KB · Views: 61
  • 20190130_105330.jpg
    20190130_105330.jpg
    475.9 KB · Views: 63
  • 20190130_105403.jpg
    20190130_105403.jpg
    481.3 KB · Views: 64
Equipment. Like it or love it...
pH/EC/Temp Tester, with calibration liquids, Test tubes for keeping probes of cal liquids. I change these once a month.
nutrient bottles all have their own eye dropper, as not to mix/contaminate the goods. I hot glued a small piece of garden hose as a holder for the eye droppers.
pH plus/minus I filled into smaller, more handly drip bottles
Magnetic Mixer, heated. Canna nutes says that mixing parts A and B together is a no-go, they 'clump'. Using the mag mixer, with heat, I have not seen this...
Measuring devices: Cups, beakers, pitchers, watering cans etc.
Pots, saucers etc.
Did I say that I've gone the Perlite route? 100% Perlite. Ok, Ok, Germination is in jiffy pads. Netcups/neoprene holders didn't work for me yet, 2 tries. Jiffys work just fine. Soaked/expanded them (and further 'fed' the babies) in a Neem-Tea/Seed solution, diluted. This can also be used as foliar spray. Smell is not nice, but covers the plants own odour nicely.
Heaters, fans, mini humidifiers. used here and there, somewhat overkill... oopps
Bag full of extra eye droppers, drip bottles.
3x 2 pcs tea bags in various micron counts. For screening the Neem seeds after making tea.
Tea 'eggs', for making neem seed tea with loose material. The smaller ones will be used as screens to keep Perliote out of the water reservoirs/pumps.
Extra filters for the Reverse Osmosis sys.
Tupperware for anything/everything that needs holding/putting away.
Mini propagators, with driptrays.
Light and Heat Meters
Perlite
Sulpur wafers, Aroma oil/Sulphur 'burner', Morser and Baton for crushing up Sulphur
Etc., Etc.
 

Attachments

  • 20180907_162914.jpg
    20180907_162914.jpg
    454.7 KB · Views: 68
  • 20190130_112851.jpg
    20190130_112851.jpg
    478.4 KB · Views: 60
  • 20190130_112919.jpg
    20190130_112919.jpg
    489.5 KB · Views: 57
  • 20190131_233848.jpg
    20190131_233848.jpg
    274.7 KB · Views: 60
  • 20190131_233856.jpg
    20190131_233856.jpg
    392.2 KB · Views: 62
  • 20190131_233906.jpg
    20190131_233906.jpg
    327.2 KB · Views: 68
  • 20190131_233911.jpg
    20190131_233911.jpg
    493.3 KB · Views: 68
  • 20190131_234026.jpg
    20190131_234026.jpg
    390.9 KB · Views: 61
etc. (1)
 

Attachments

  • 20190131_234045.jpg
    20190131_234045.jpg
    429 KB · Views: 59
  • 20190131_234048.jpg
    20190131_234048.jpg
    425.6 KB · Views: 63
  • 20190131_234101.jpg
    20190131_234101.jpg
    477.5 KB · Views: 59
  • 20190131_234125.jpg
    20190131_234125.jpg
    462.6 KB · Views: 59
  • 20190131_234434.jpg
    20190131_234434.jpg
    239.9 KB · Views: 59
  • 20190131_234509.jpg
    20190131_234509.jpg
    188.3 KB · Views: 61
  • 20190131_234515.jpg
    20190131_234515.jpg
    224.1 KB · Views: 55
  • 20190131_234813.jpg
    20190131_234813.jpg
    430.9 KB · Views: 62
etc (2)
 

Attachments

  • 20190131_235238.jpg
    20190131_235238.jpg
    484.6 KB · Views: 63
  • 20190131_235244.jpg
    20190131_235244.jpg
    546.5 KB · Views: 58
  • 20190131_235253.jpg
    20190131_235253.jpg
    451.5 KB · Views: 62
  • 20190131_235312.jpg
    20190131_235312.jpg
    527.3 KB · Views: 54
  • 20190131_235335.jpg
    20190131_235335.jpg
    541.5 KB · Views: 70
  • 20190131_235405.jpg
    20190131_235405.jpg
    353 KB · Views: 61
  • 20190131_235451.jpg
    20190131_235451.jpg
    456.3 KB · Views: 55
  • 20190131_235802.jpg
    20190131_235802.jpg
    436.7 KB · Views: 55
etc. (3)
 

Attachments

  • 20190131_235808.jpg
    20190131_235808.jpg
    530.4 KB · Views: 63
  • 20190131_235821.jpg
    20190131_235821.jpg
    479.1 KB · Views: 64
  • 20190131_235834.jpg
    20190131_235834.jpg
    477.9 KB · Views: 61
  • 20190201_000430.jpg
    20190201_000430.jpg
    304.3 KB · Views: 65
  • 20190201_000454.jpg
    20190201_000454.jpg
    469.4 KB · Views: 62
  • 20190201_000520.jpg
    20190201_000520.jpg
    411.2 KB · Views: 54
  • 20190201_000536.jpg
    20190201_000536.jpg
    554.5 KB · Views: 60
  • 20190201_001247.jpg
    20190201_001247.jpg
    512.4 KB · Views: 67
etc. 4
Last few pix are items for my newest project/idea: UVA, Far/IR Red, and Deep Blue (NM off top of my head =..???)
 

Attachments

  • 20190201_001307.jpg
    20190201_001307.jpg
    513.7 KB · Views: 66
  • 20190201_003411.jpg
    20190201_003411.jpg
    294.5 KB · Views: 56
  • 20190201_003435.jpg
    20190201_003435.jpg
    349.4 KB · Views: 59
  • 20190201_005133.jpg
    20190201_005133.jpg
    519.3 KB · Views: 69
  • 20190201_005138.jpg
    20190201_005138.jpg
    384.5 KB · Views: 61
  • 20190201_005146.jpg
    20190201_005146.jpg
    507.9 KB · Views: 53
  • 20190201_005201.jpg
    20190201_005201.jpg
    551.5 KB · Views: 65
NEW Propagation area. Bought some Secret jardin Tent poles and corners, and built a frame that fits inside the Growbox, to hang 2 ea Secret Jardin 26w/54cm Tleds. The lid of the Box came only with little plastic rotateable air vents. I removed these and installed 2 mini 5v fans. One blows in (above the fogger, to spread the fog around), the other sucks out. Heating mat installed under approx. 6-8 cm/3 inches of Perlite. Tupperware with clear water buried into the Perlite so the edge/top is equal to the Perlite/Plant base height. The screen above the fogger holds back larger drops/droplets. Otherwise the reservoir would empty in no time and/or splash the young plants.
Mounty Sponge Bob stands 'en garde' for me!! :)>
Heating mat controlled via controller (duh!!!)
Fogger/Mini vents controlled by another controller.
Built a heat/light cover for the box, using an automobile anti-ice/snow windshield cover. Holes cut out for the vents.
 

Attachments

  • 20190131_003429.jpg
    20190131_003429.jpg
    197.2 KB · Views: 62
  • 20190131_003435.jpg
    20190131_003435.jpg
    426.6 KB · Views: 57
  • 20190131_003449.jpg
    20190131_003449.jpg
    477.3 KB · Views: 61
  • 20190131_003455.jpg
    20190131_003455.jpg
    533.2 KB · Views: 58
  • 20190131_003459.jpg
    20190131_003459.jpg
    391.5 KB · Views: 52
  • 20190131_003533.jpg
    20190131_003533.jpg
    205.5 KB · Views: 61
  • 20190131_003616.jpg
    20190131_003616.jpg
    326.6 KB · Views: 55
  • 20190131_215600.jpg
    20190131_215600.jpg
    319.2 KB · Views: 59
Prop box (2)
 

Attachments

  • 20190131_220108.jpg
    20190131_220108.jpg
    355.8 KB · Views: 56
  • 20190131_222408.jpg
    20190131_222408.jpg
    337.5 KB · Views: 63
  • 20190131_222414.jpg
    20190131_222414.jpg
    315.4 KB · Views: 60
  • 20190131_233008.jpg
    20190131_233008.jpg
    361.6 KB · Views: 62
  • 20190131_233031.jpg
    20190131_233031.jpg
    344.3 KB · Views: 52
  • 20190131_233045.jpg
    20190131_233045.jpg
    380.3 KB · Views: 51
  • 20190131_233052.jpg
    20190131_233052.jpg
    413.2 KB · Views: 54
  • 20190131_233102(0).jpg
    20190131_233102(0).jpg
    415.9 KB · Views: 58
Prop box (3) - Finale for now, gotta go to work... hrmpf!
 

Attachments

  • 20190131_233114.jpg
    20190131_233114.jpg
    337.9 KB · Views: 57
  • 20190131_233117.jpg
    20190131_233117.jpg
    409.3 KB · Views: 57
  • 20190131_233606.jpg
    20190131_233606.jpg
    417.2 KB · Views: 58
  • 20190201_001601.jpg
    20190201_001601.jpg
    326.6 KB · Views: 53
  • 20190201_001609.jpg
    20190201_001609.jpg
    330.1 KB · Views: 56
  • 20190201_001755.jpg
    20190201_001755.jpg
    369.4 KB · Views: 55
  • 20190202_051104.jpg
    20190202_051104.jpg
    287.8 KB · Views: 57
  • 20190202_134701.jpg
    20190202_134701.jpg
    397.7 KB · Views: 55
The tap water here in my City is pretty rough. I know from our coffee machine, that there is a lot of Calcium in the water. Coffee machine had to be decalcified once a month or go broke. We now rteceive 5 gal/20 Litres bottled water delivered to the door. This is for drinking/eating only. ANY food that needs contact with water, for cooking (Noodles/rice/washing salads etc) this water is used. It is a bit too much to also use this water for feeding the gals, so I bought a 3 stg. Reverse osmosis sys. It is installed under my kitchen sink, where the water valve and/or connections are. If the weather allows, I fill up one of these 5 gal/20 L bottles on the balcony, incase water does run over. It takes a good 3 hrs to fill the bottle. If I had a pump installed, before/infront of the filters, I could raise the flow, but for me, it\s fine as it is. Perhaps I will install a floater/swimmer valve, to shut it off when the bottle is full. Perhaps later...
1, 2, 3, 6, 7 + 8: Osmosis sys and 20 l bottle/reservoir
4 + 5: Nutrient reservoir (17l), with self built water level gauge
 

Attachments

  • 20181107_112547.jpg
    20181107_112547.jpg
    350.5 KB · Views: 62
  • 20181107_112555.jpg
    20181107_112555.jpg
    303.9 KB · Views: 56
  • 20181107_112602.jpg
    20181107_112602.jpg
    553.9 KB · Views: 59
  • 20181107_112611.jpg
    20181107_112611.jpg
    443.1 KB · Views: 69
  • 20181107_112618.jpg
    20181107_112618.jpg
    295.8 KB · Views: 56
  • 20190201_001410.jpg
    20190201_001410.jpg
    313.6 KB · Views: 54
  • 20190201_001420.jpg
    20190201_001420.jpg
    360.3 KB · Views: 60
  • 20190201_001508.jpg
    20190201_001508.jpg
    224.8 KB · Views: 58
I will probably harvest a shit storm for this, but let me explain: I have heard and/or read about people saying that foliar spraying should not be done during lights on. Also, I hear Pigeons420 in one of his YouTube videos exclaiming, Loud and Clear: NO TOUCHY TOUCHY!!
I tend to foliar spray when the lights are on... BUT I 1) Set up an oscilating fan, infront of open doors, to "Blow dry" the girls, as not to burn the leaves due to refracted light in the water.
2) I also tend to, after about 30 min of "Drying/Airating", go ahead and literally "grab' the girls and give them a good shaking, rub vigorously across their heads, to rid them of any larger droplets of water, left over from spraying, that the fan didn't blow off/away. YES I wash my hands before, no sanitizing sprays/sharp alcohol, just soap and water.
1+2: Foilar spray by night.
3: Filming myself giving the girls a shake/rub down after foliar spraying.

Dropbox - 20190202_043705.mp4
Dropbox - 20190202_050336.mp4
Dropbox - 20190202_044213.mp4
 
Back
Top Bottom