the1culturist
New Member
Hey everyone!
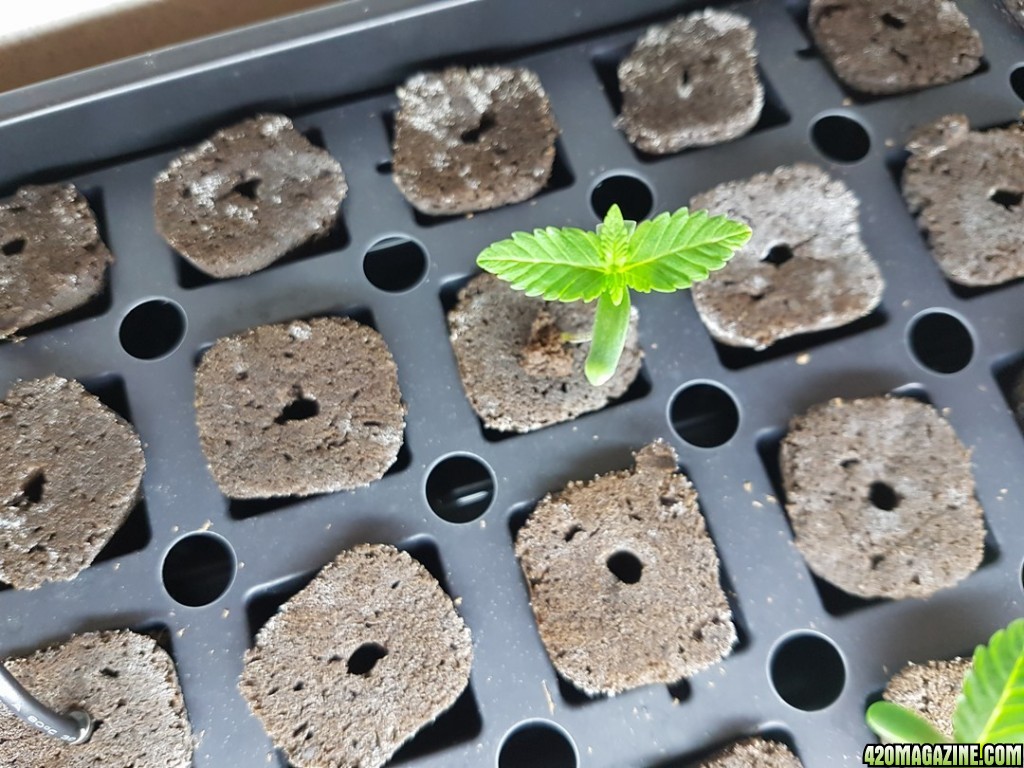
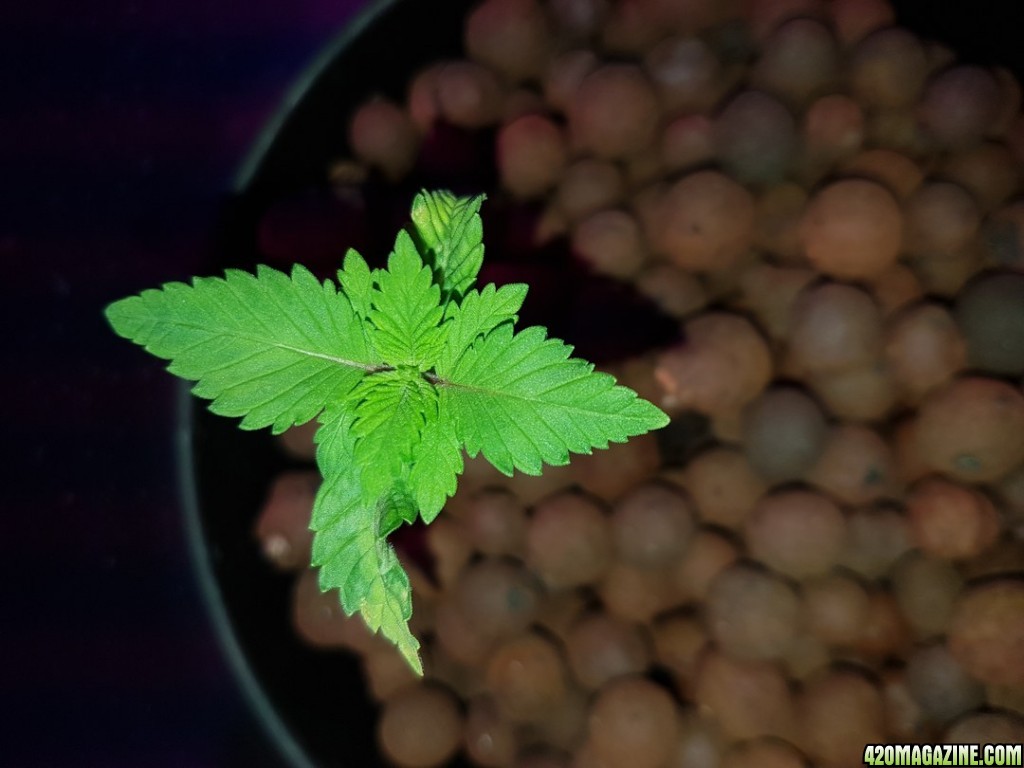
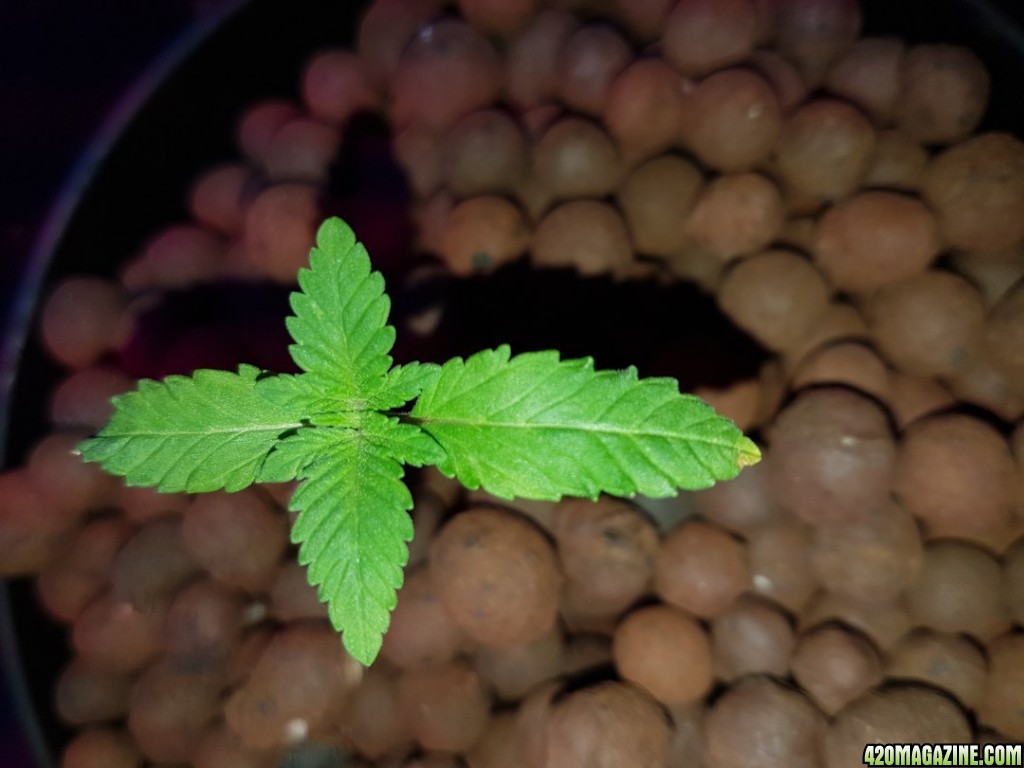
I'm a couple weeks deep into my very first foray into the wild world of growing but better late than never! I've kept good logs since day one, so we'll play a little catch up over the next few posts.
Relevant Info!
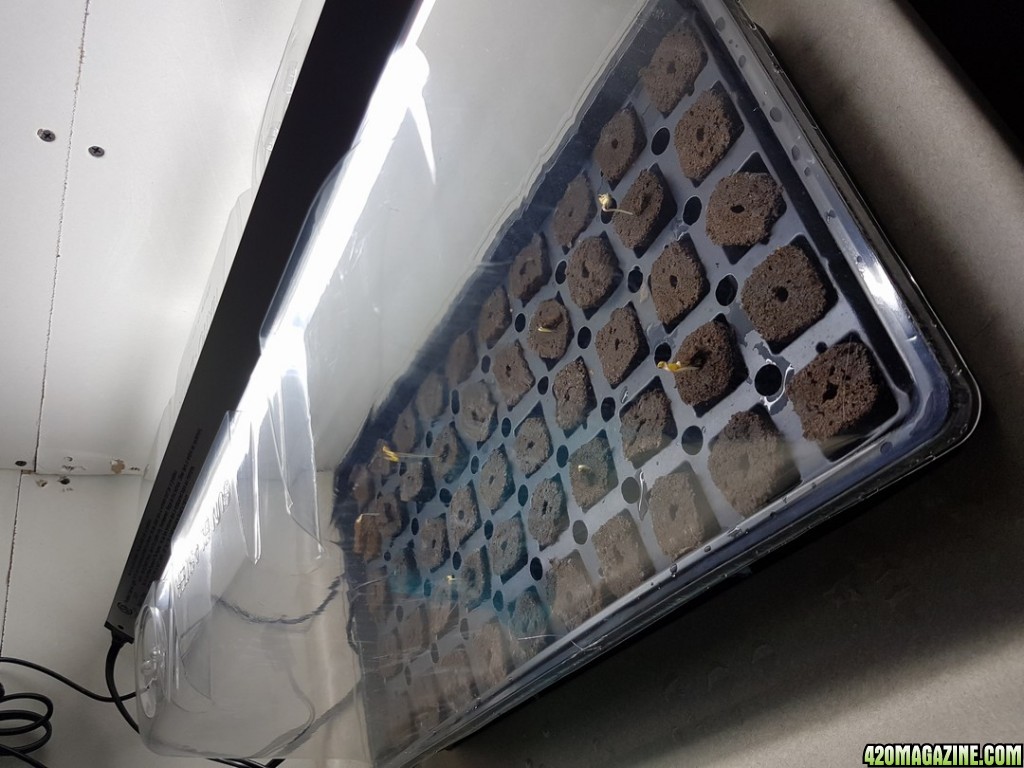
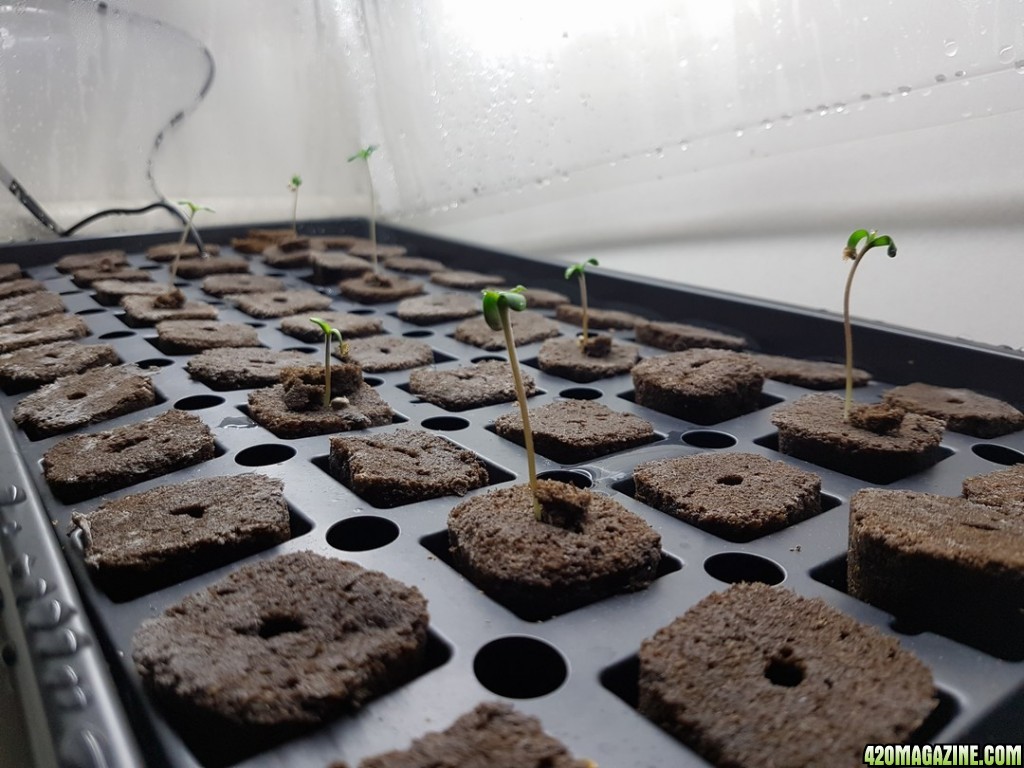
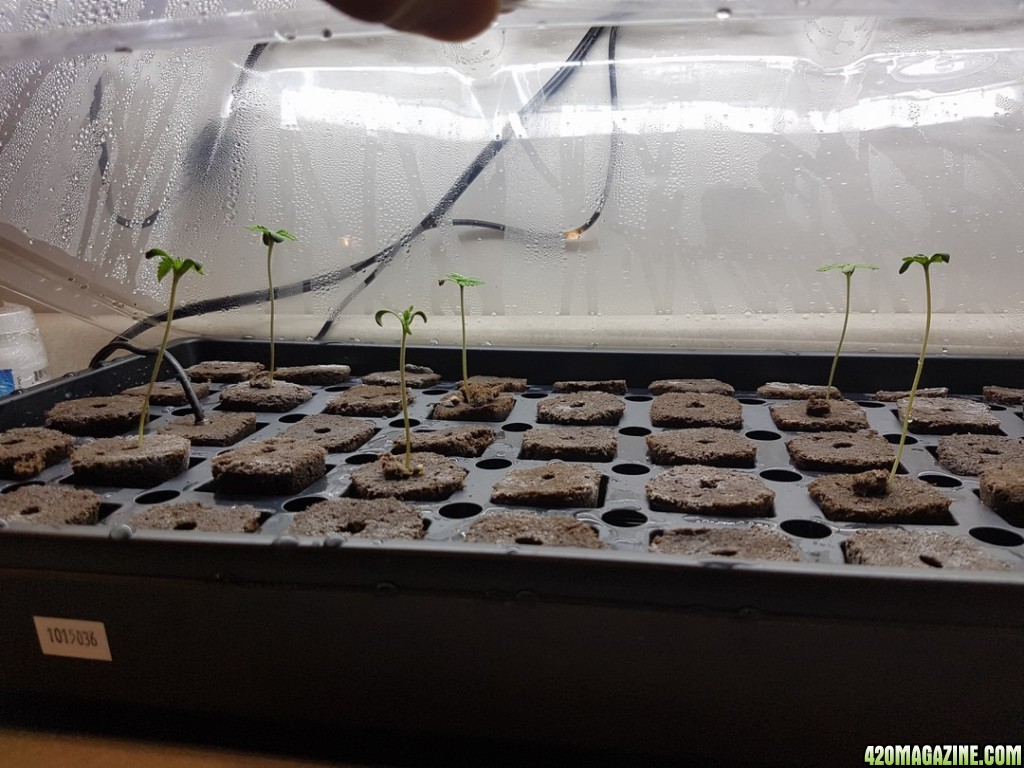
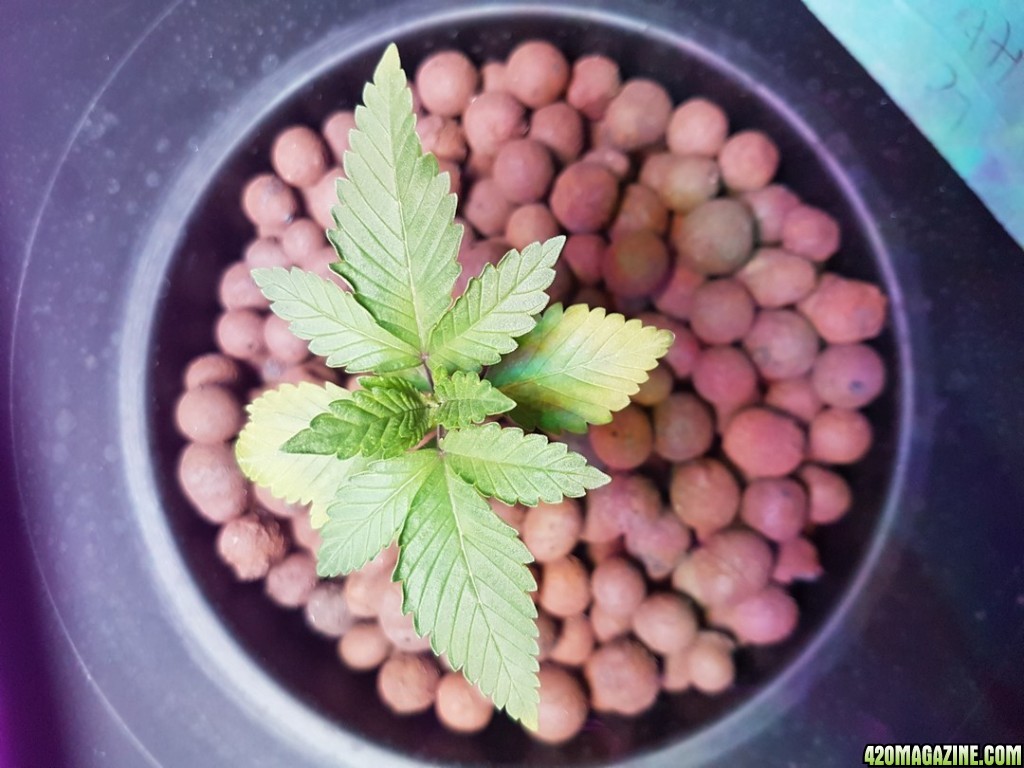
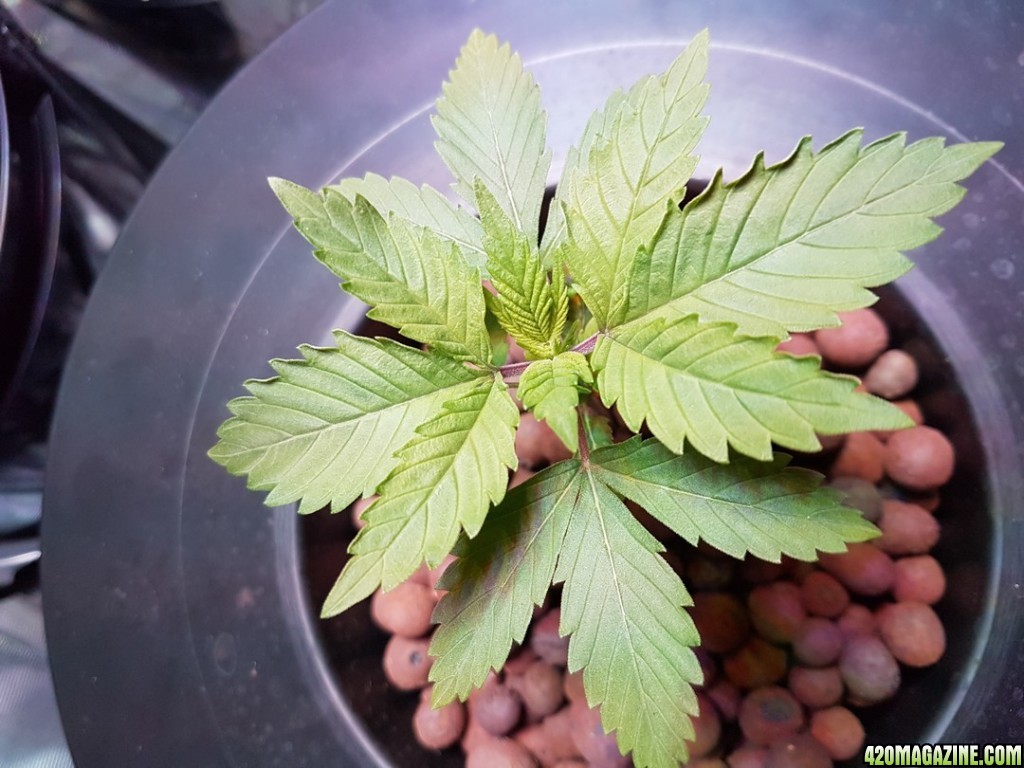
Strain: (4) Green Crack and (2) Lost Coast Hash Plant from Humboldt Seed Org (both fem)
- Green Crack: Sativa dominant hybrid
- LCHP: Hybrid
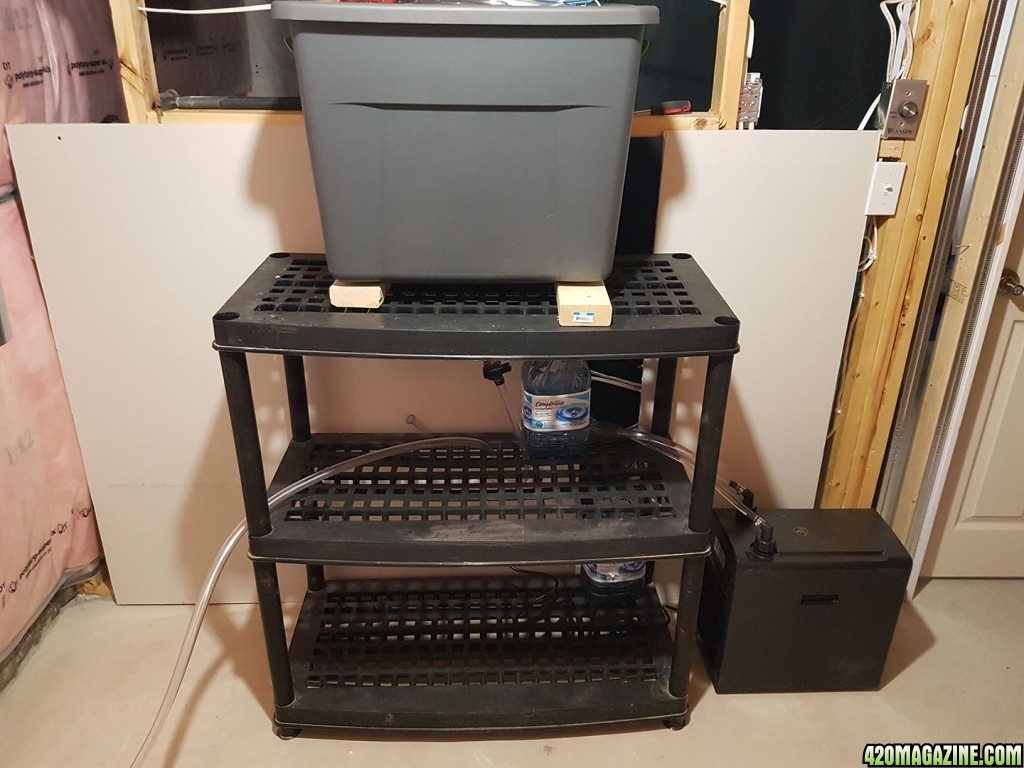
System
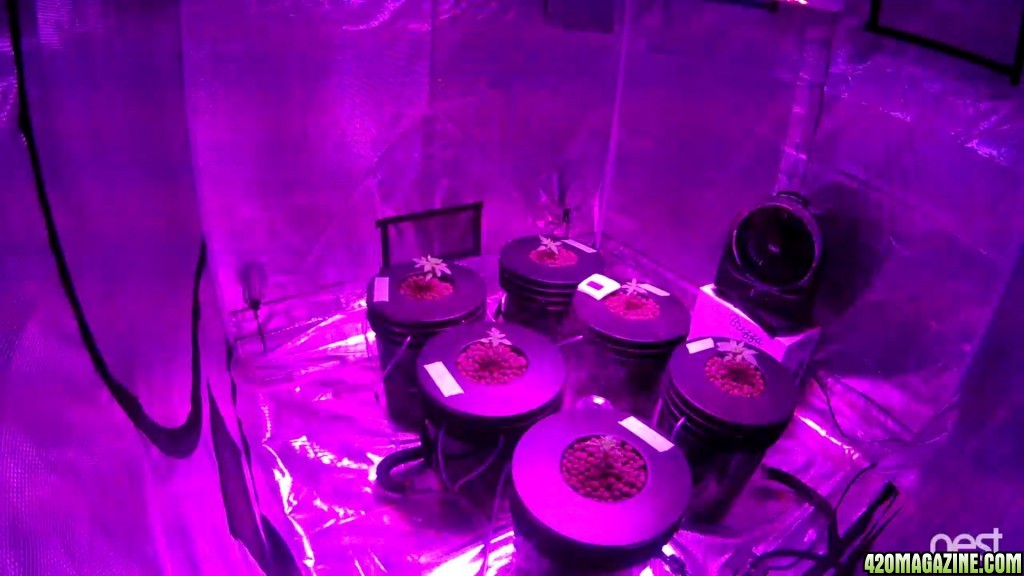
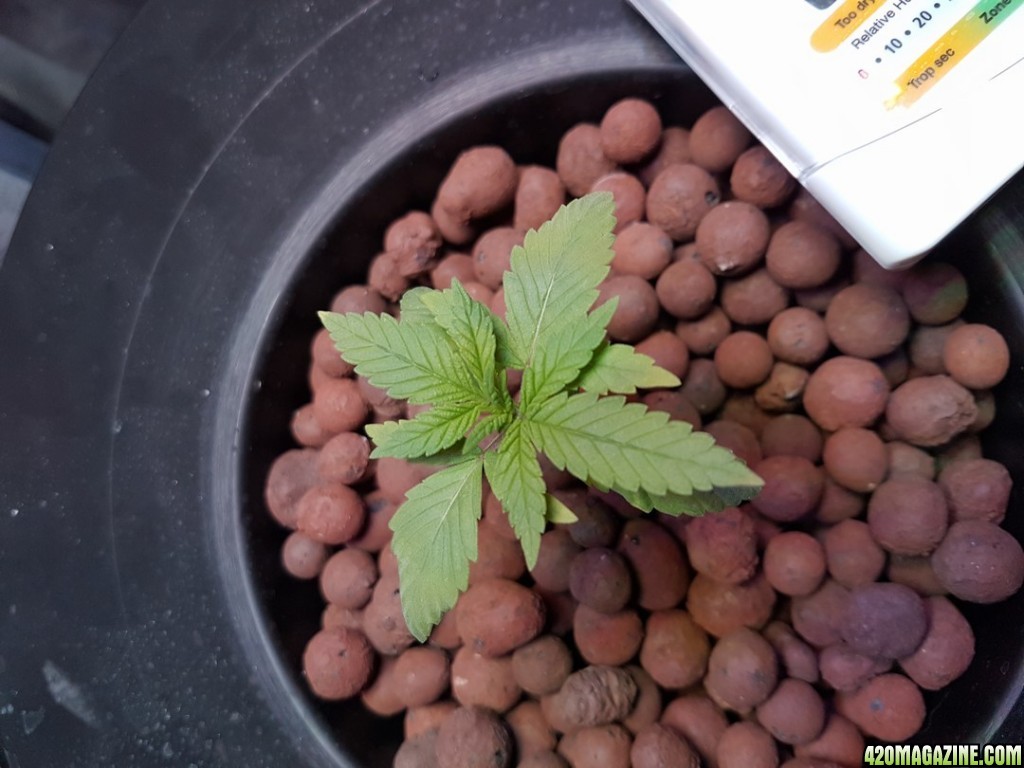
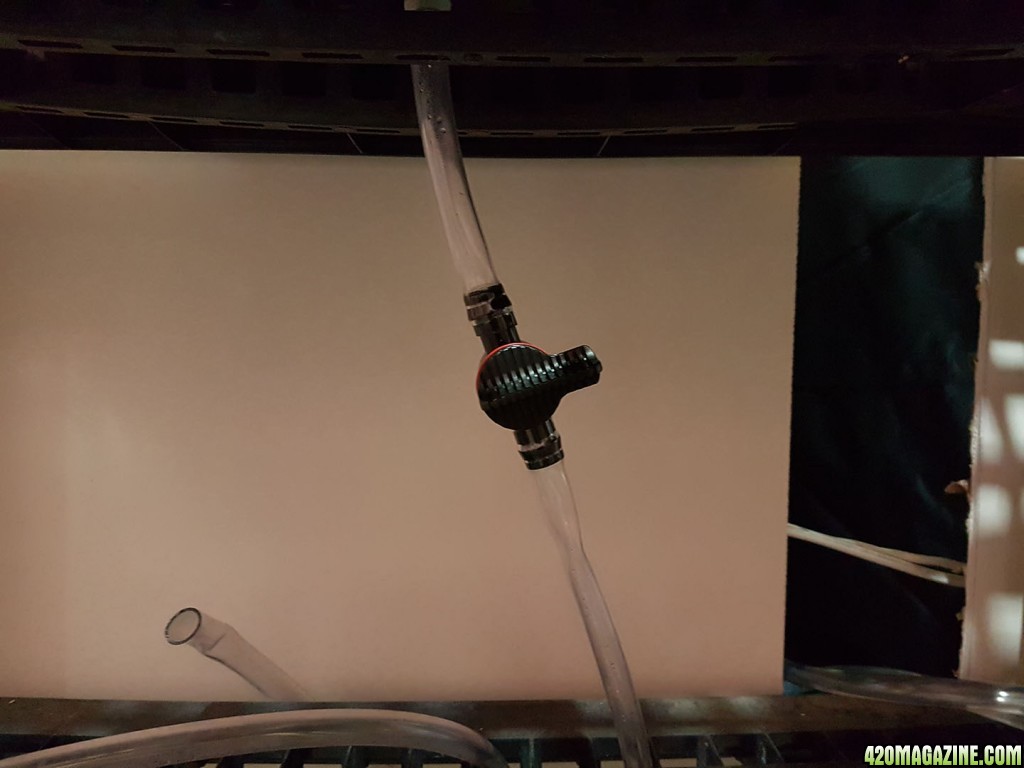
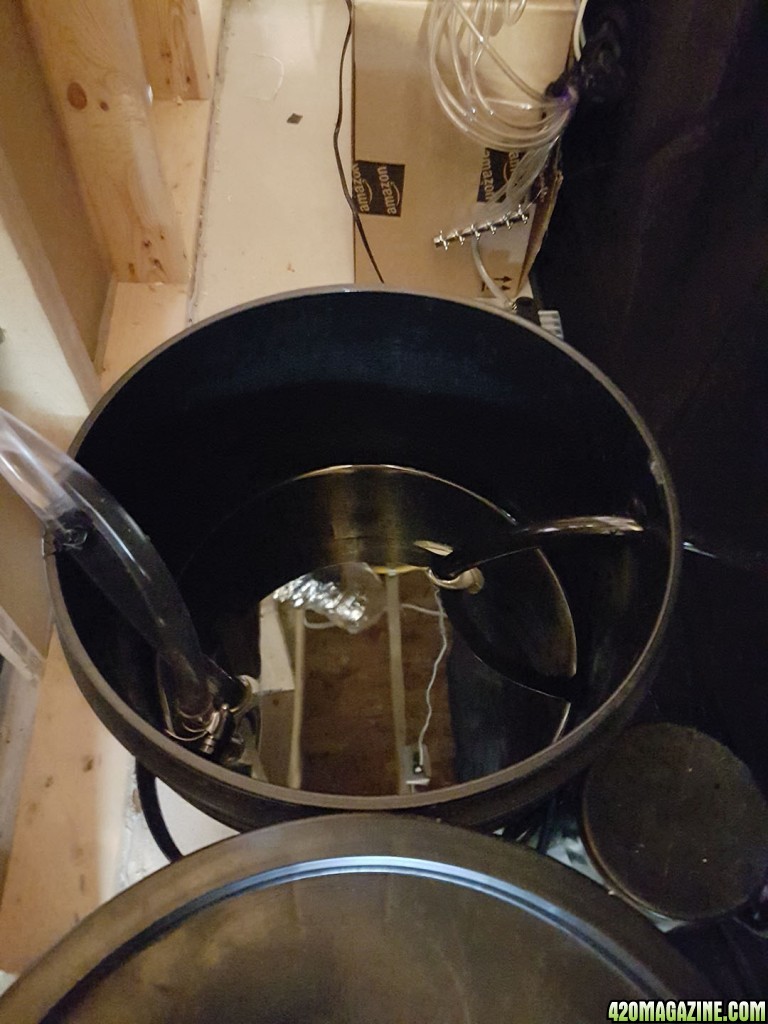
- Recirculating Deep Water Culture (Undercurrent, no top feeding)
- 6 x 5gal buckets plus 1 x 5gal bucket for reservoir
- Kind LED XL1000 light
- 5x5 Gorilla Grow tent
Additional System Info
- 1/10hp chiller
- Independently controlled heat/AC into tent
- Optimum Hydroponix Nutrients (Veg A/B)
- 2 x air pumps, running a total of two large airstones to each of the 6 buckets
Environmental Info
- Reservoir Temp: Steady at 69 degrees
- Air Temp: 74-80 (day), 68-72 (night)
- Humidity: 40-60% (occasionally can dip to 30% and as high as 70%)
I chose the strains because Green Crack has been a favorite of mine and LCHP cause it sounds like a fun plant that I haven't come across prior.
Like I said at the top, this is my first time growing but I've done many months of research and room/system layouts prior to diving in. However even with the design and redesigns, the setup was not without a few hiccups. In the end though I feel very confident in the system I've put together, however my knowledge of diagnosing problems and correcting them is very limited but I'm looking forward to learning!
In my next post I'll run through my system, how it works, how the water changes happen etc.
Peace!
the1culturist
I'm a couple weeks deep into my very first foray into the wild world of growing but better late than never! I've kept good logs since day one, so we'll play a little catch up over the next few posts.
Relevant Info!
Strain: (4) Green Crack and (2) Lost Coast Hash Plant from Humboldt Seed Org (both fem)
- Green Crack: Sativa dominant hybrid
- LCHP: Hybrid
System
- Recirculating Deep Water Culture (Undercurrent, no top feeding)
- 6 x 5gal buckets plus 1 x 5gal bucket for reservoir
- Kind LED XL1000 light
- 5x5 Gorilla Grow tent
Additional System Info
- 1/10hp chiller
- Independently controlled heat/AC into tent
- Optimum Hydroponix Nutrients (Veg A/B)
- 2 x air pumps, running a total of two large airstones to each of the 6 buckets
Environmental Info
- Reservoir Temp: Steady at 69 degrees
- Air Temp: 74-80 (day), 68-72 (night)
- Humidity: 40-60% (occasionally can dip to 30% and as high as 70%)
I chose the strains because Green Crack has been a favorite of mine and LCHP cause it sounds like a fun plant that I haven't come across prior.
Like I said at the top, this is my first time growing but I've done many months of research and room/system layouts prior to diving in. However even with the design and redesigns, the setup was not without a few hiccups. In the end though I feel very confident in the system I've put together, however my knowledge of diagnosing problems and correcting them is very limited but I'm looking forward to learning!
In my next post I'll run through my system, how it works, how the water changes happen etc.
Peace!
the1culturist

")