- Thread starter
- #21
OGDanimal
New Member
Sat Night...
Work was hell, no time to spend on my box! (sigh) Well not that much at least, but as I sat medicating and defragging from working 14 hours between 2 jobs I sketched out my light hood design.
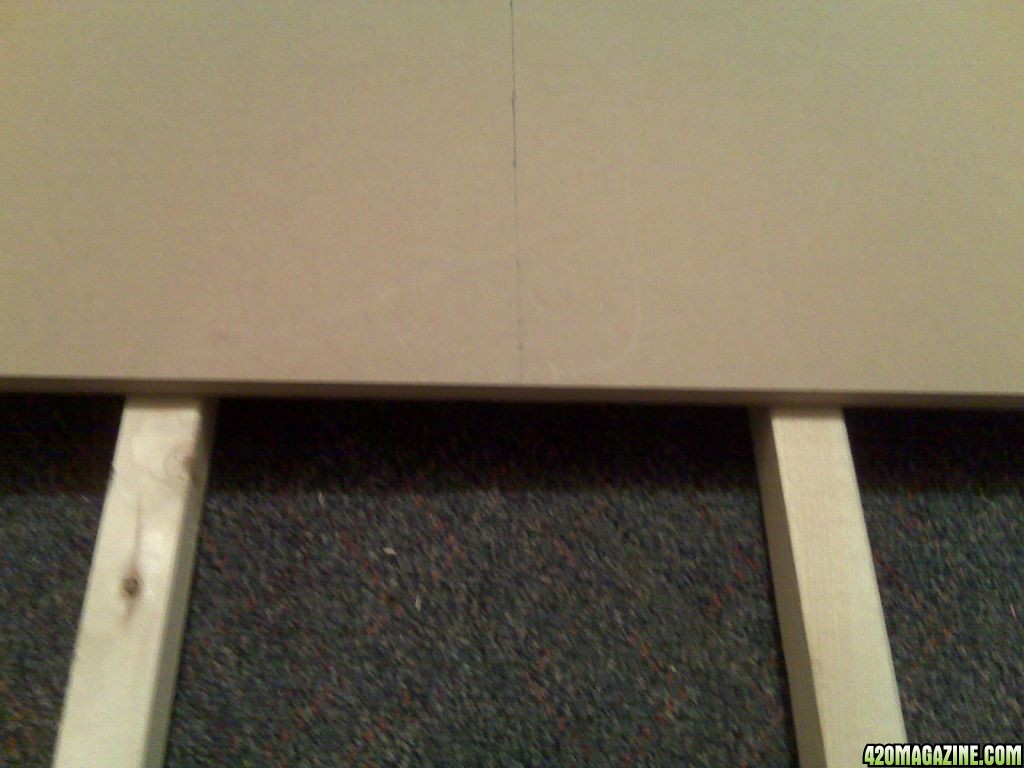
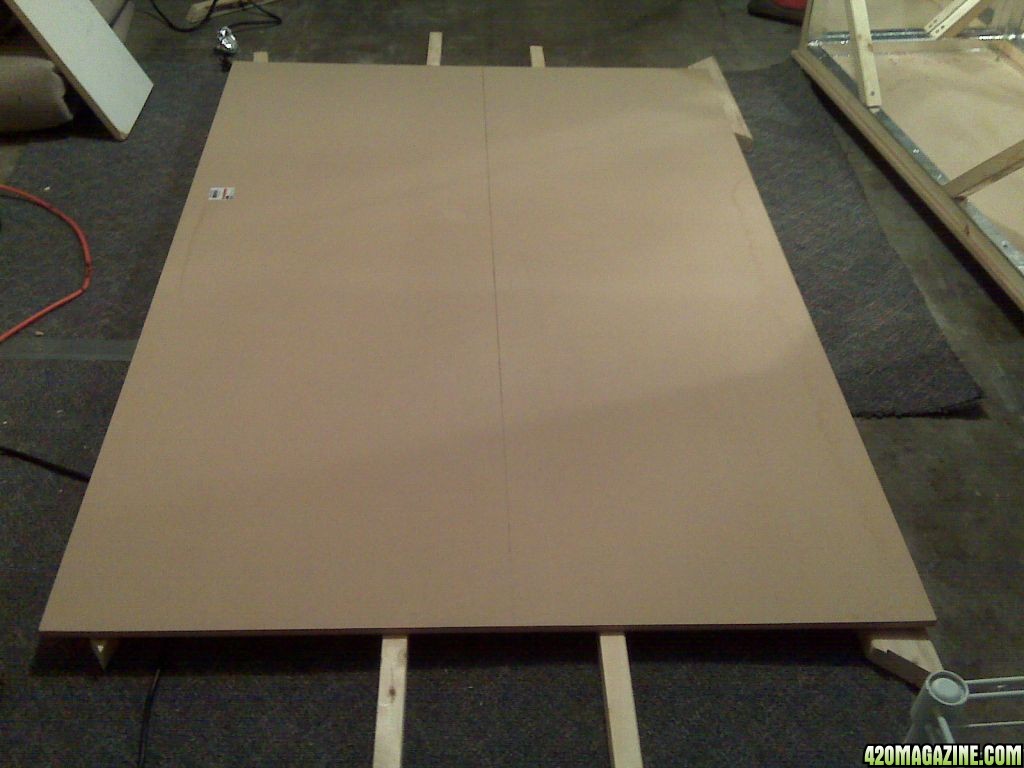
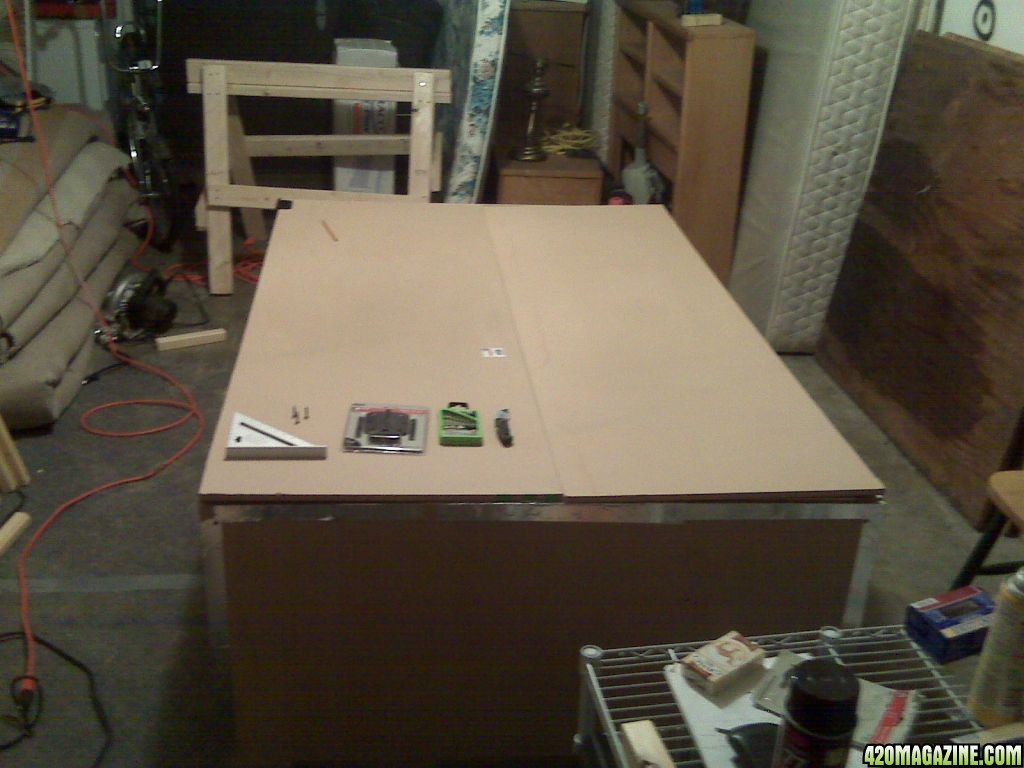
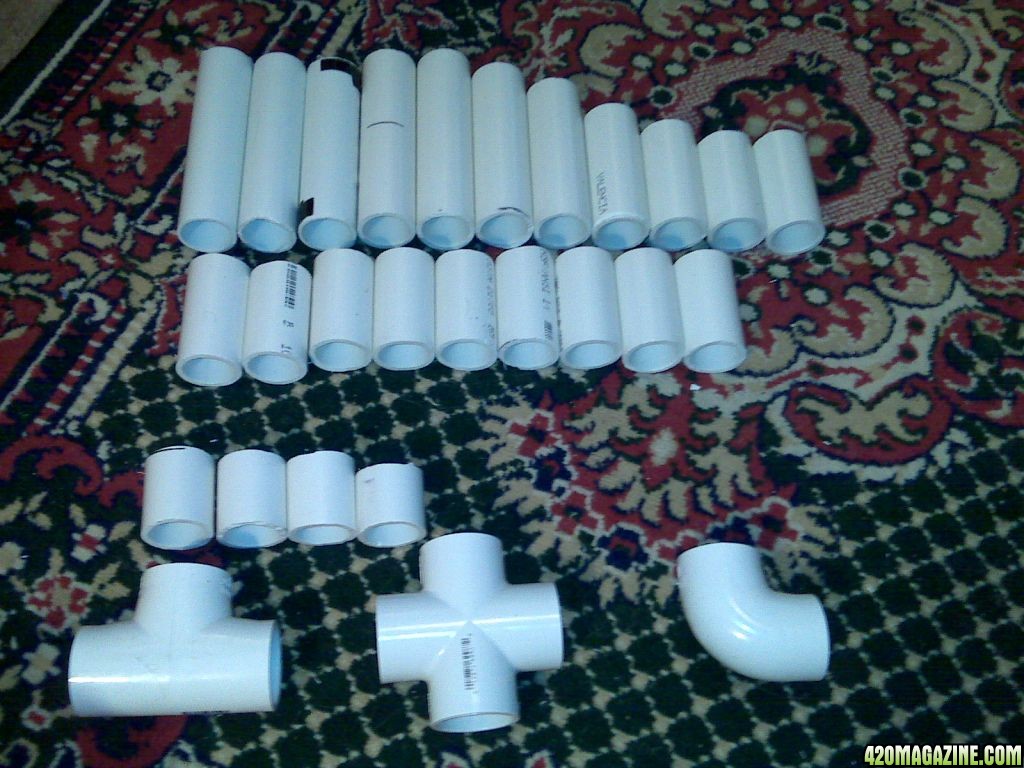
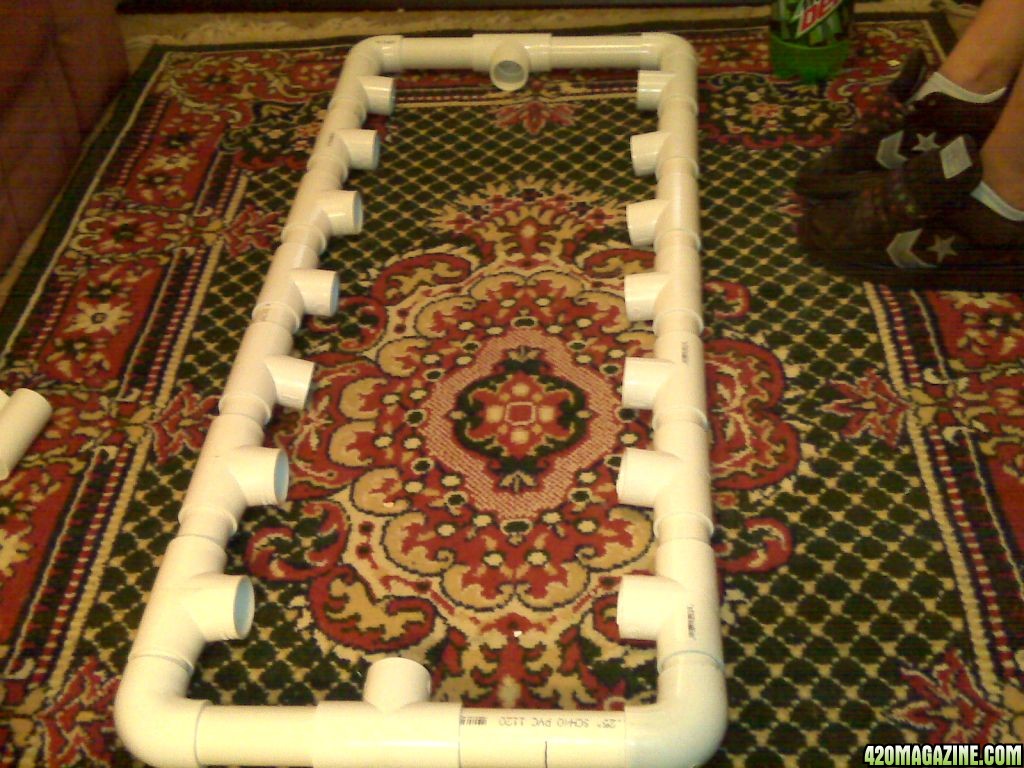
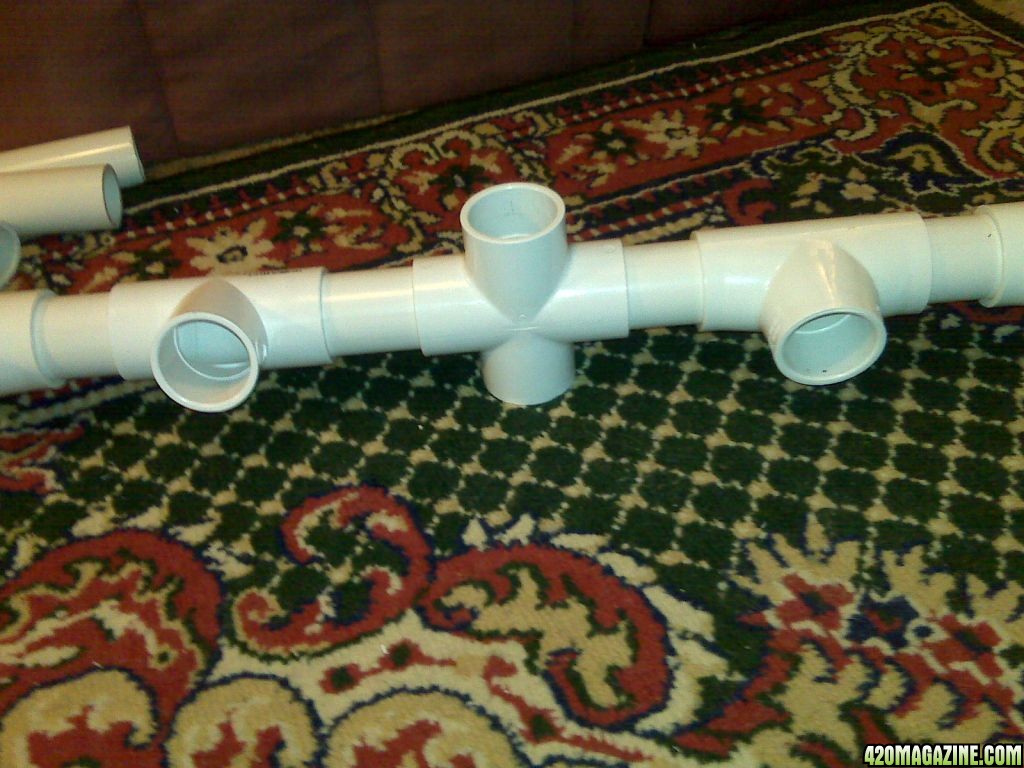
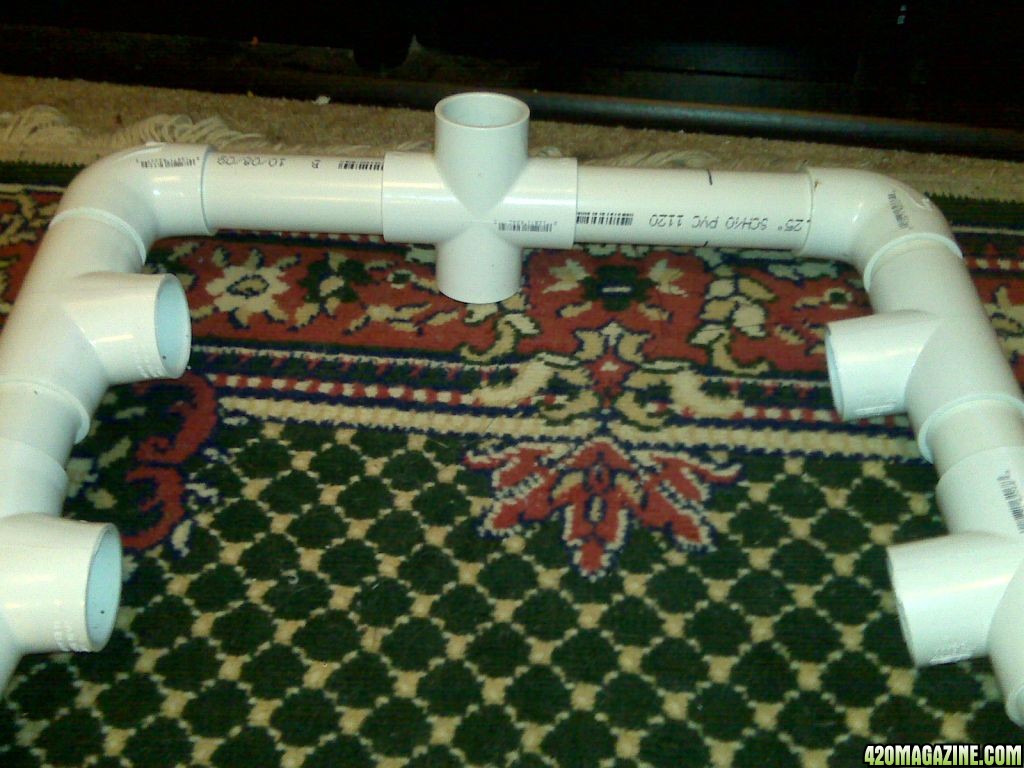
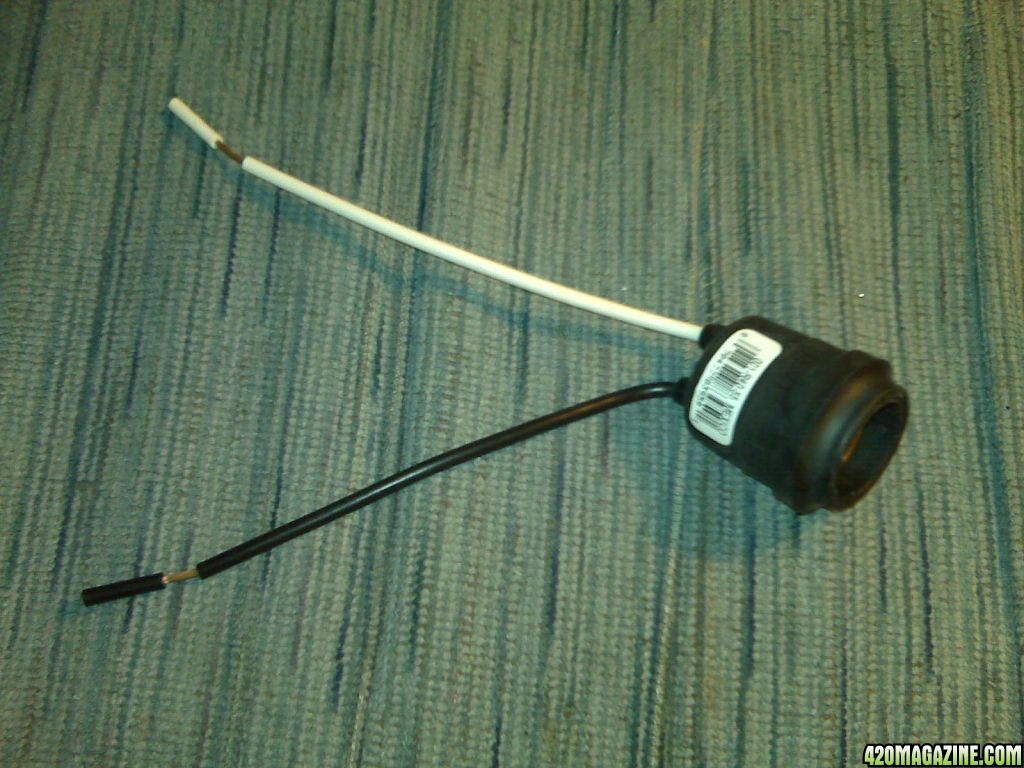
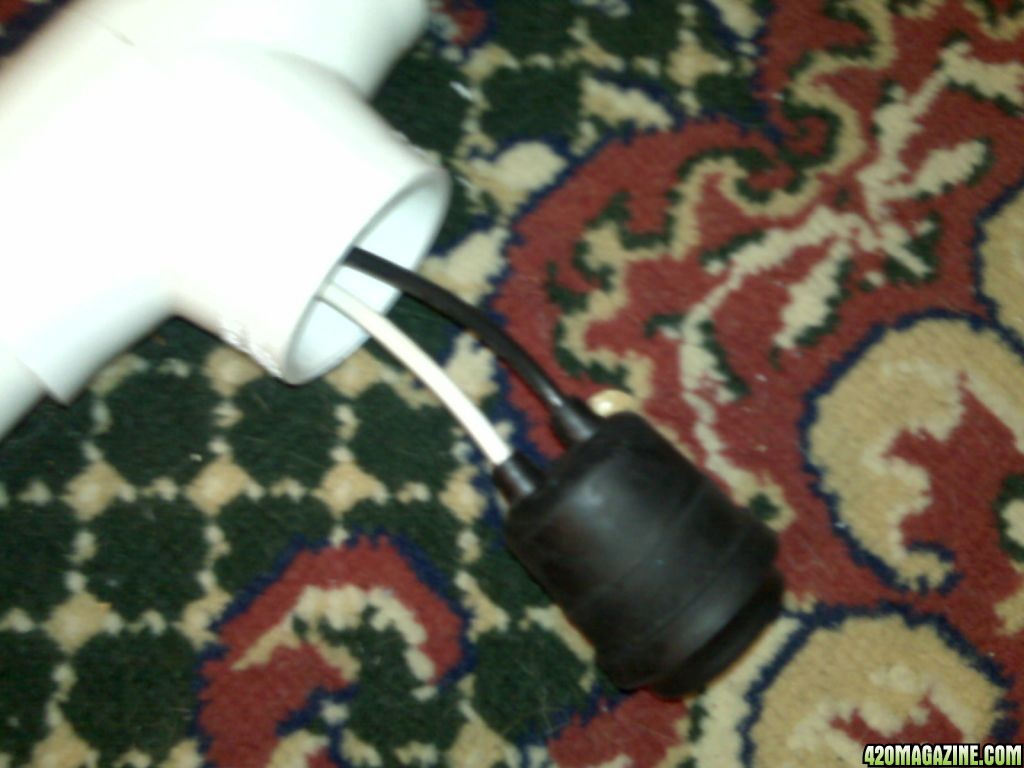
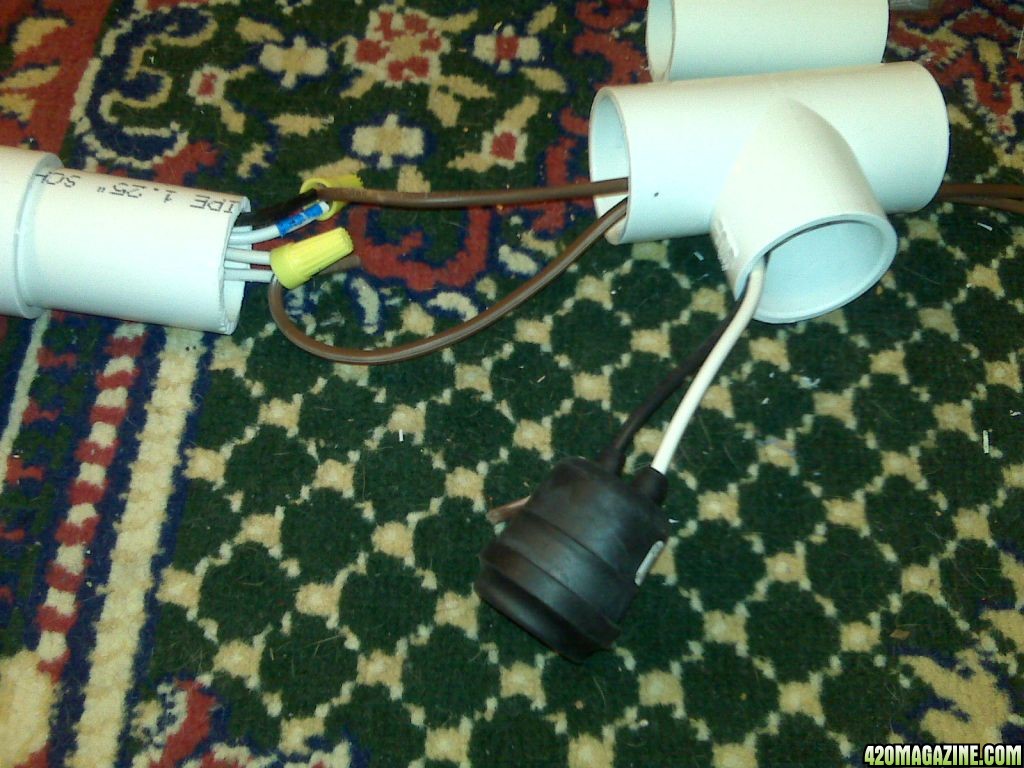
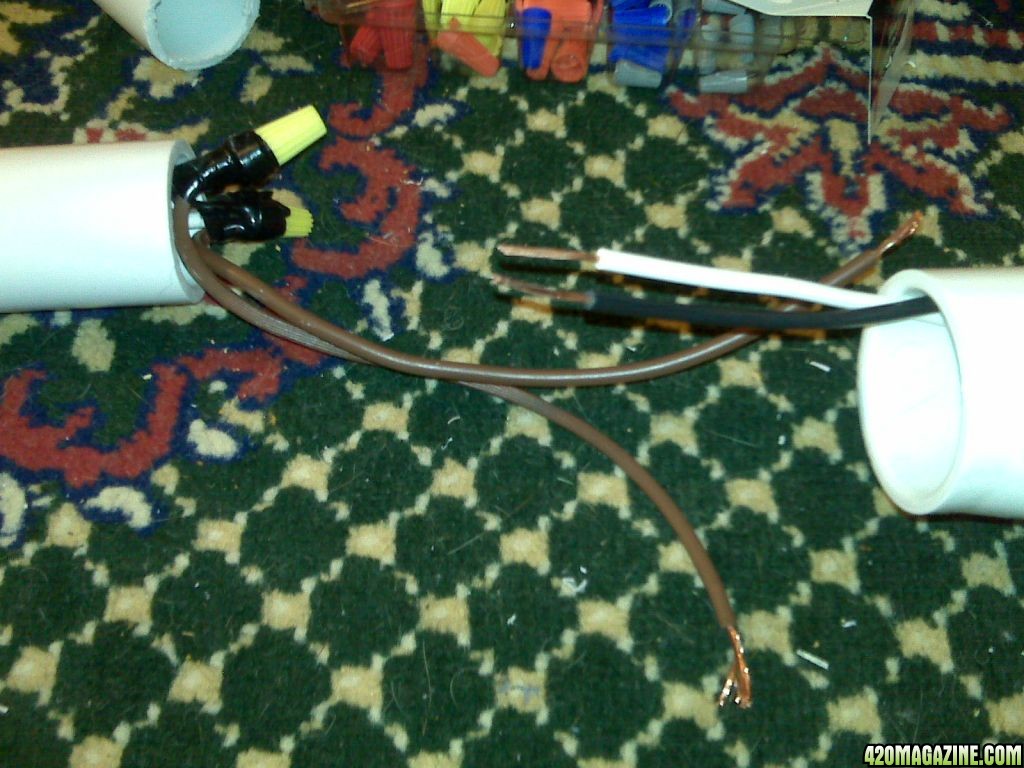
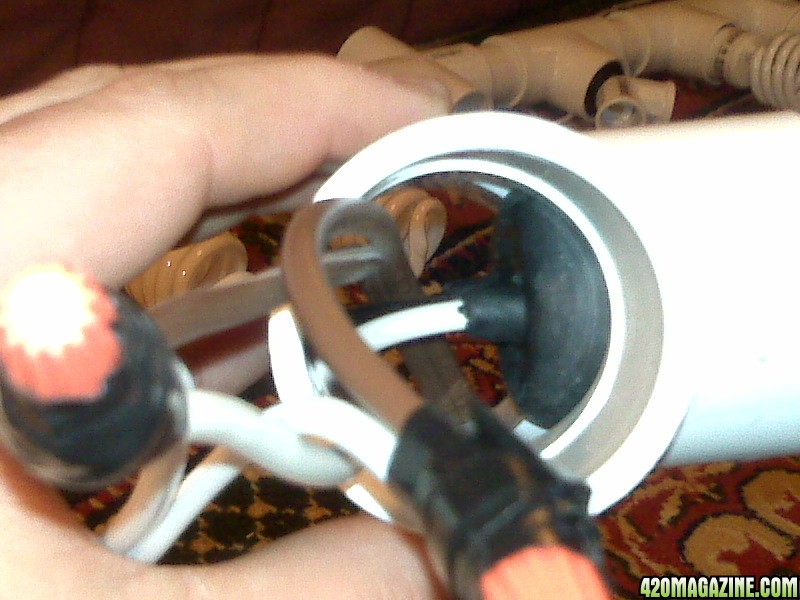
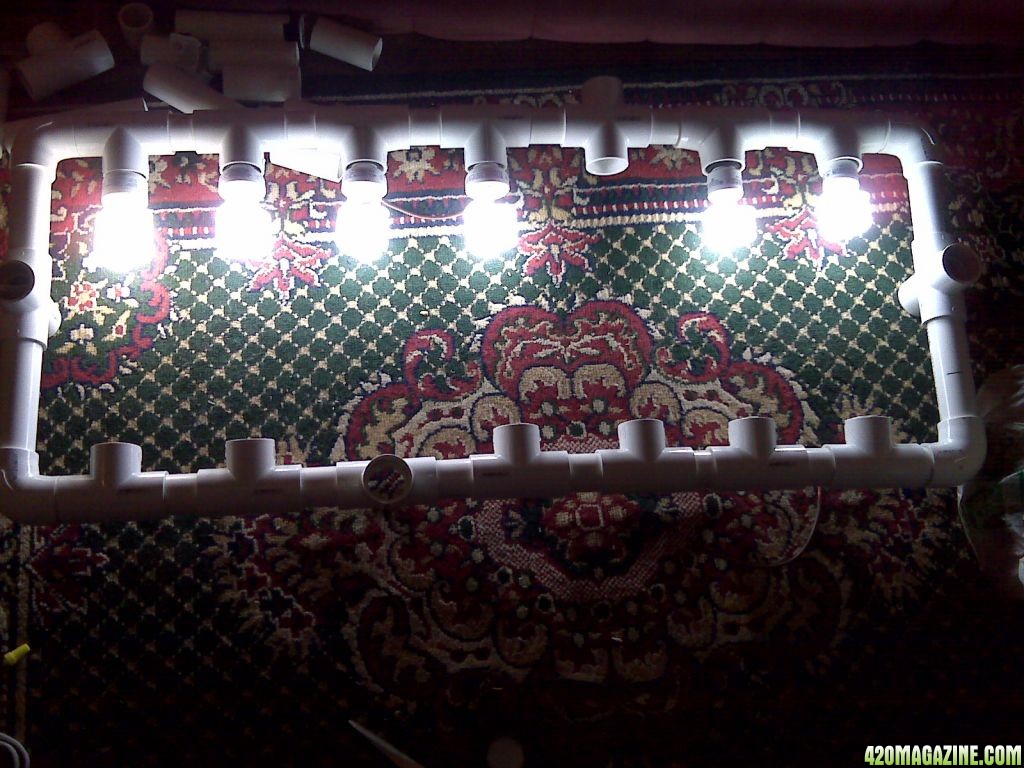
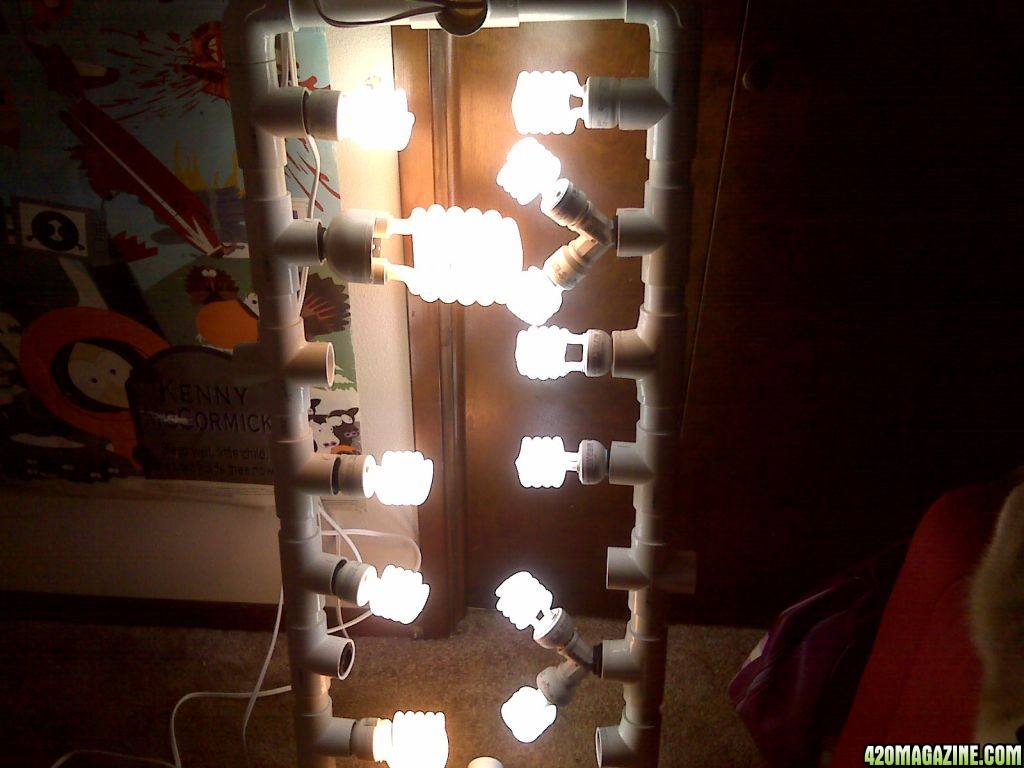
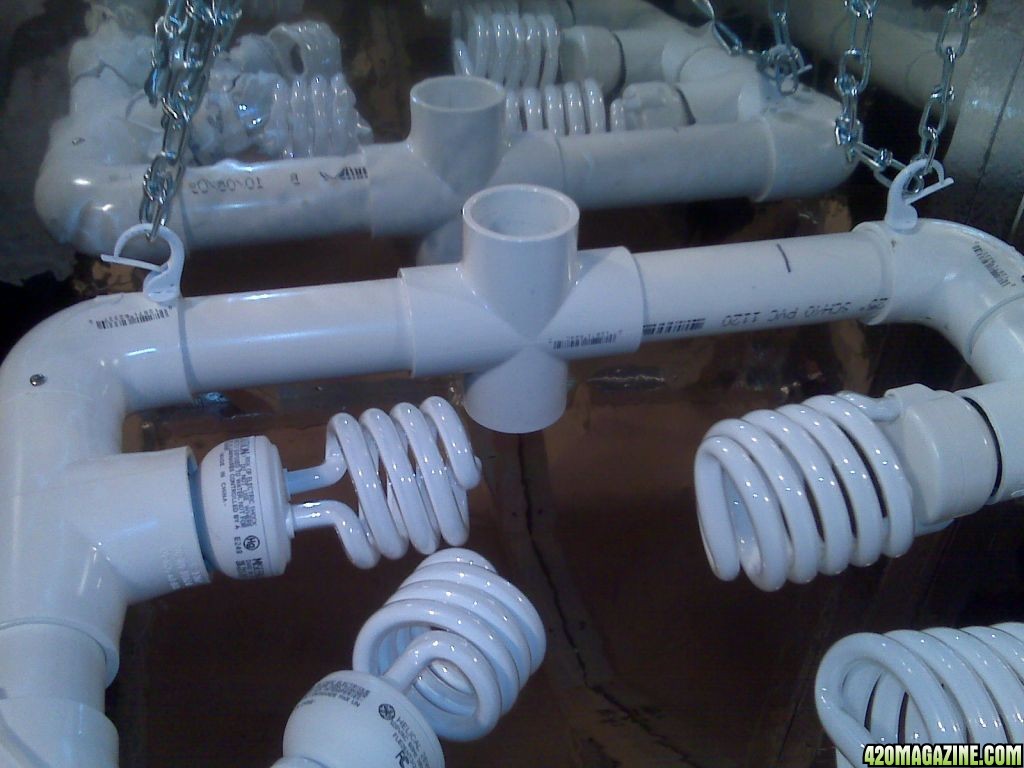
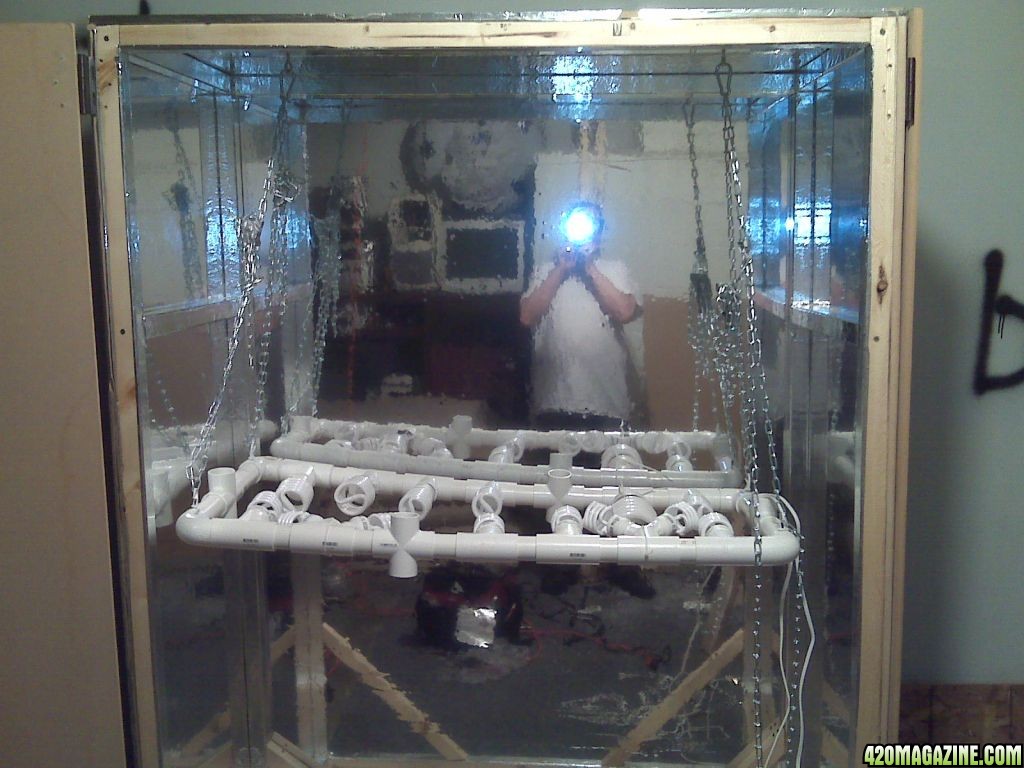
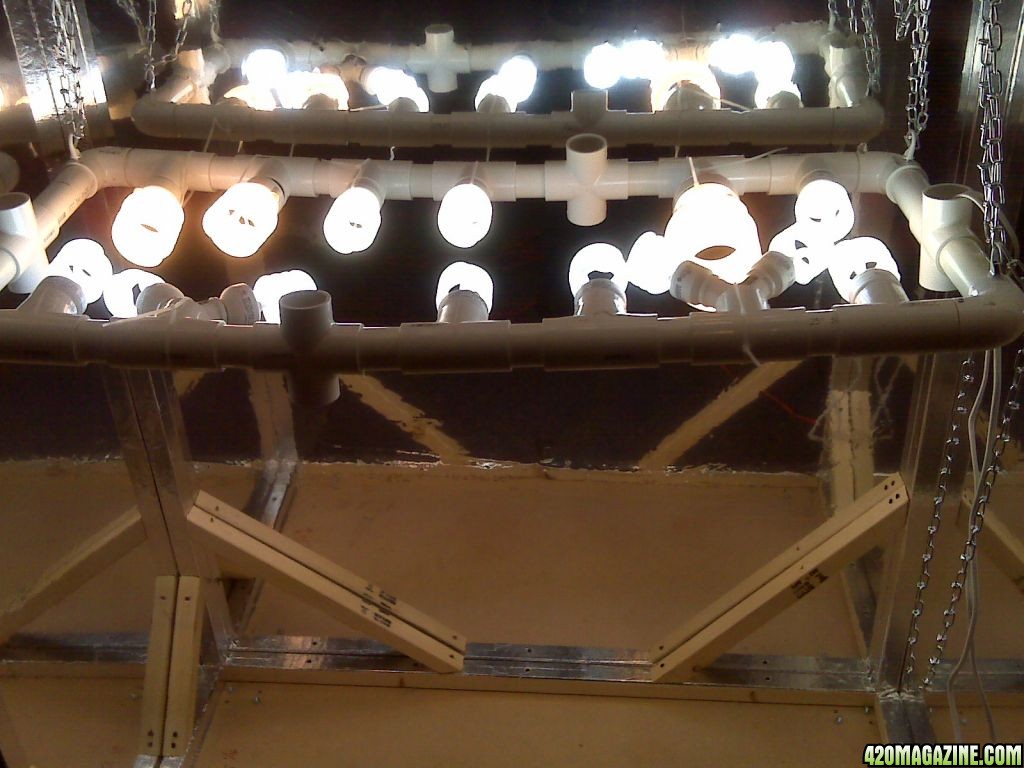
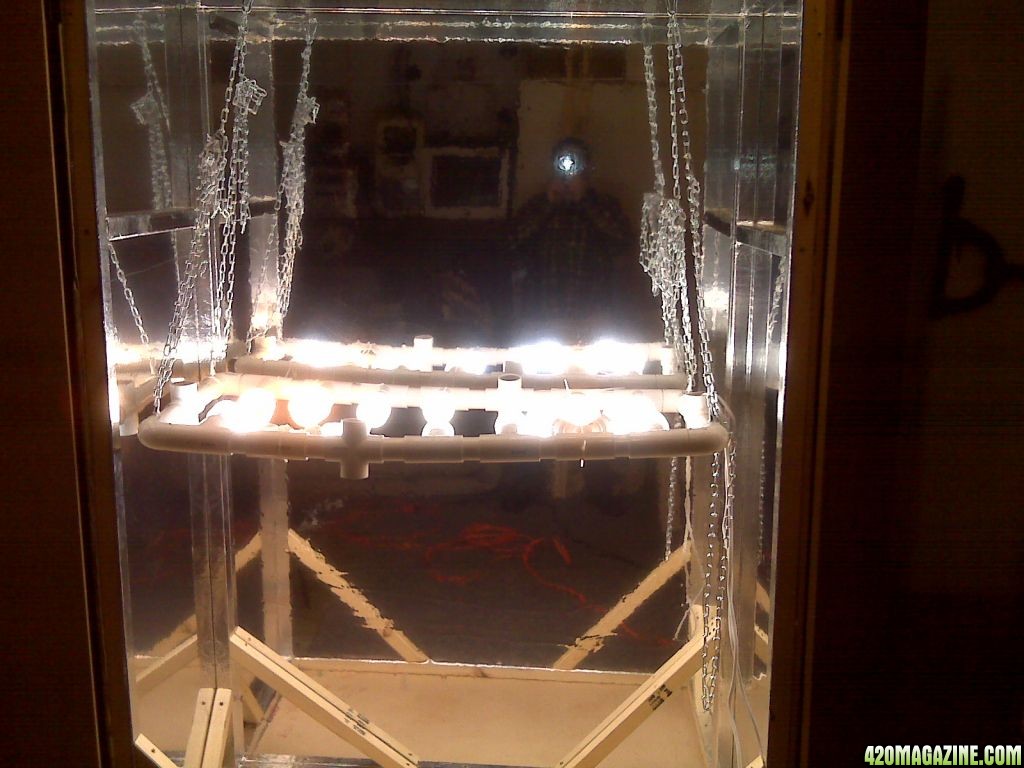
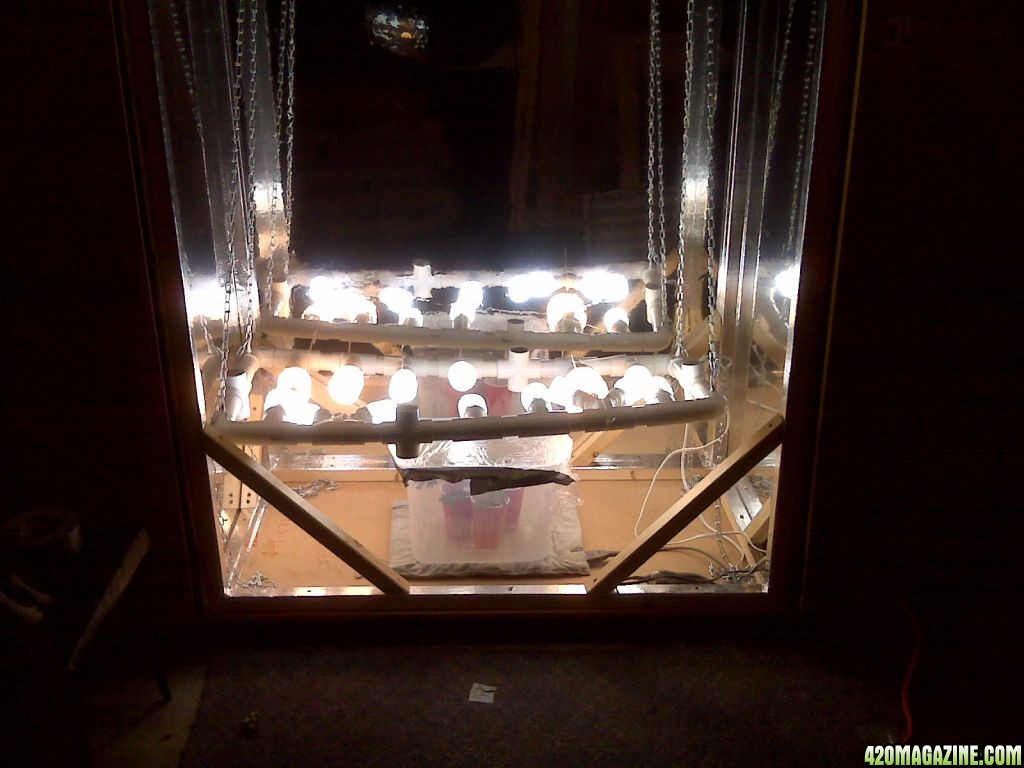
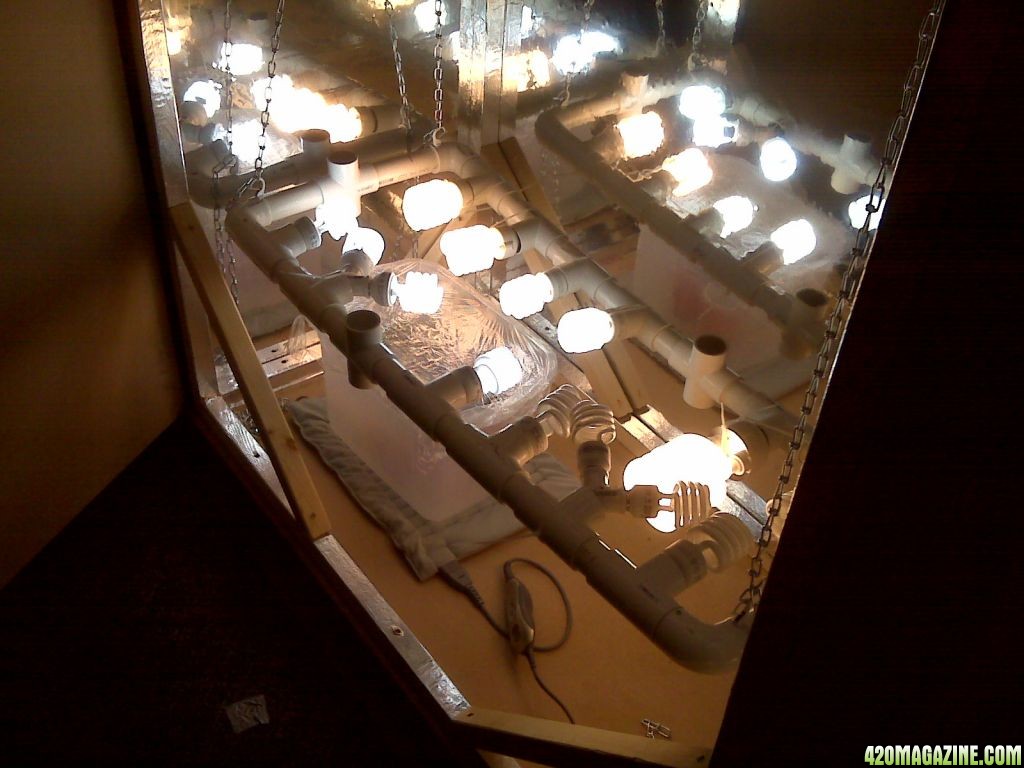
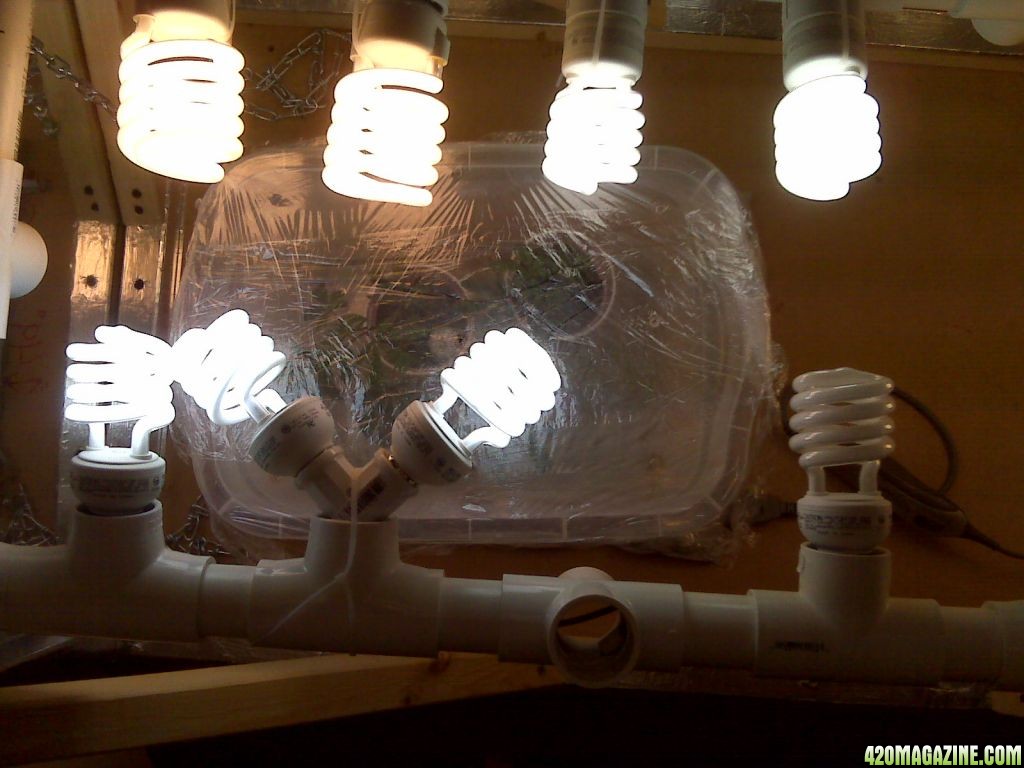
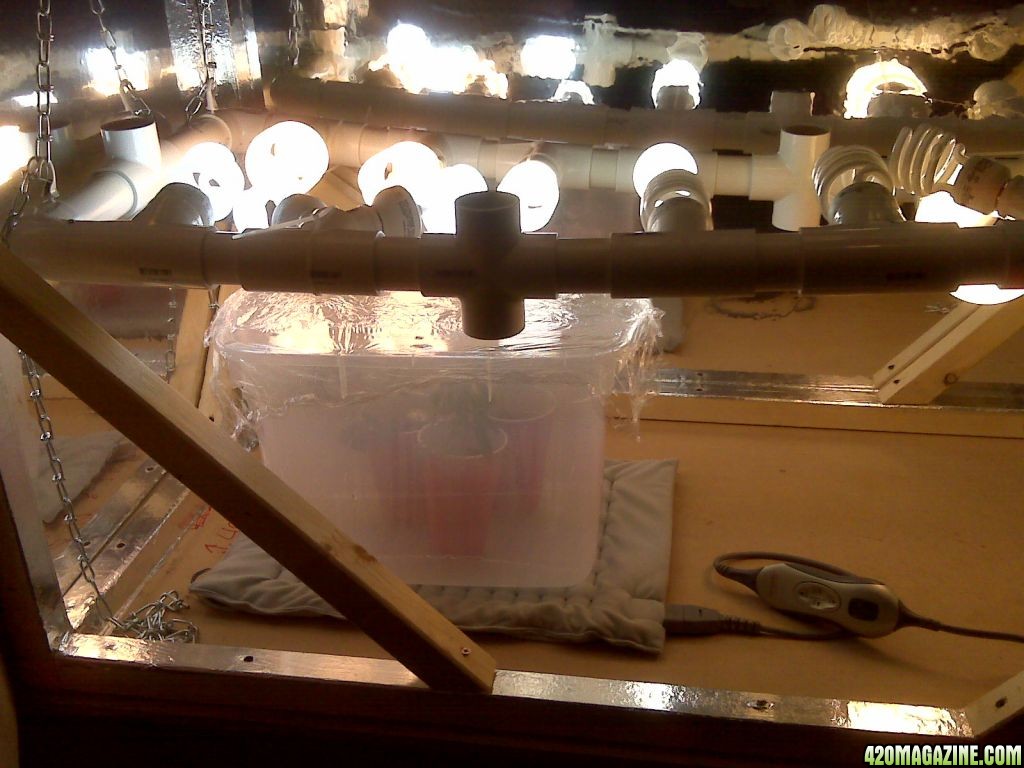
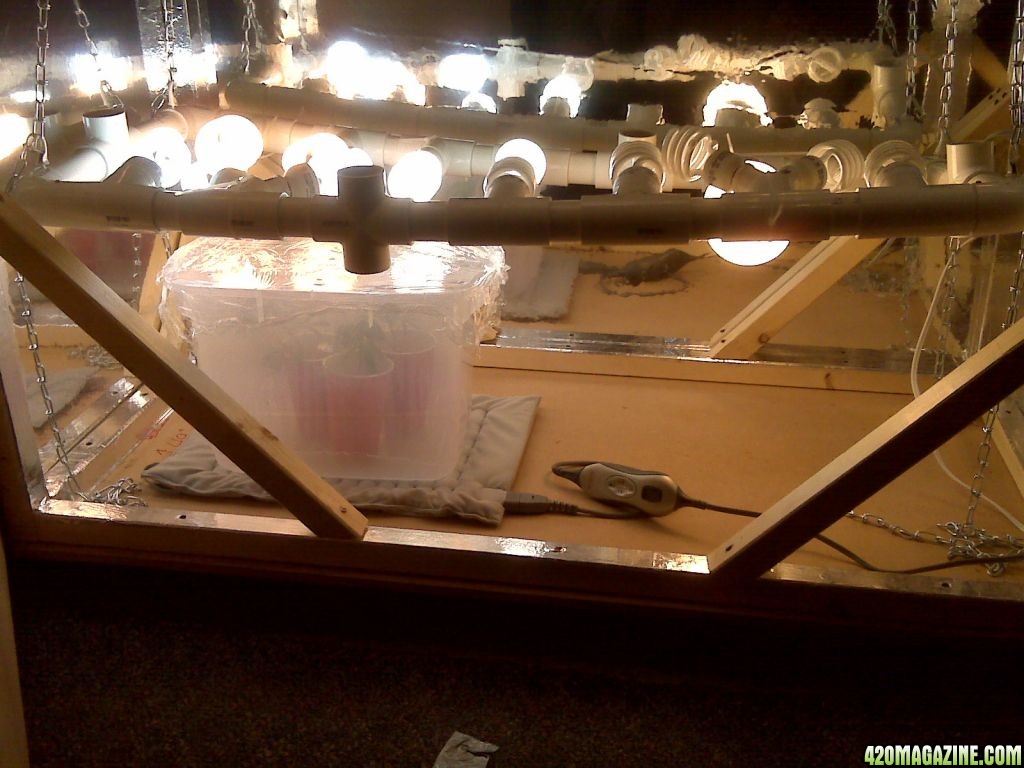
No pics to upload but I did start My CFL light hood. The design and setup is going to make waves. Imagine a cage made out of PVC tubes that surround the plants in all 3 dimensions and penetrate into the interior as it grows....
I will document and discuss this in the appropriate place in time in the coming days.
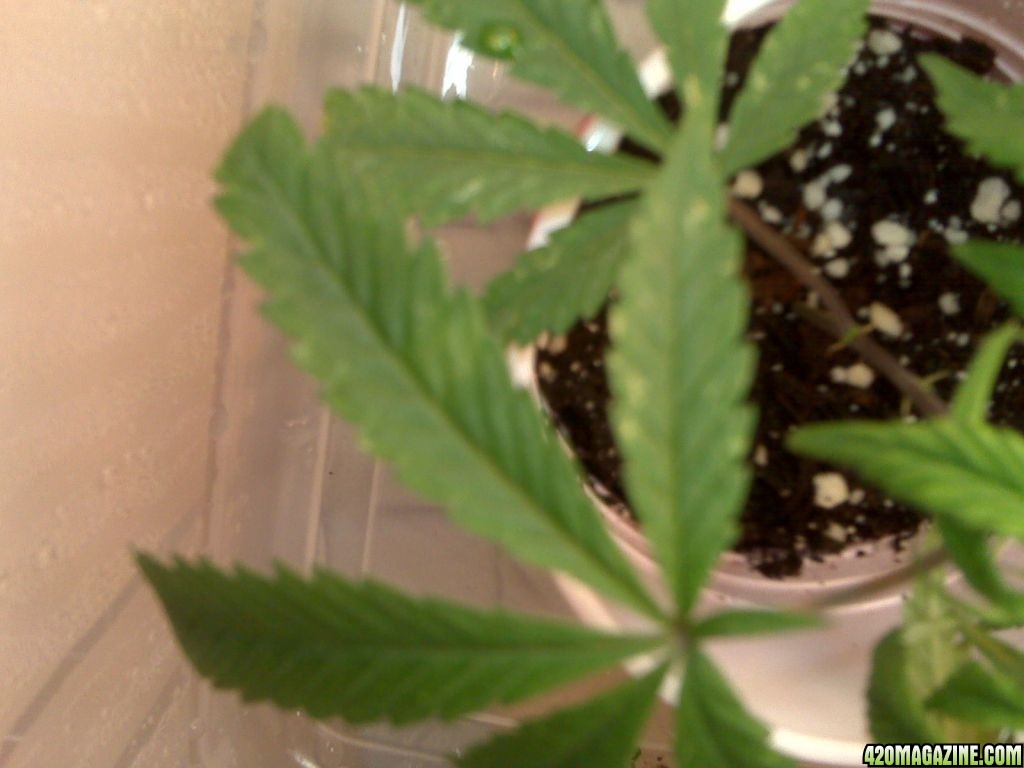
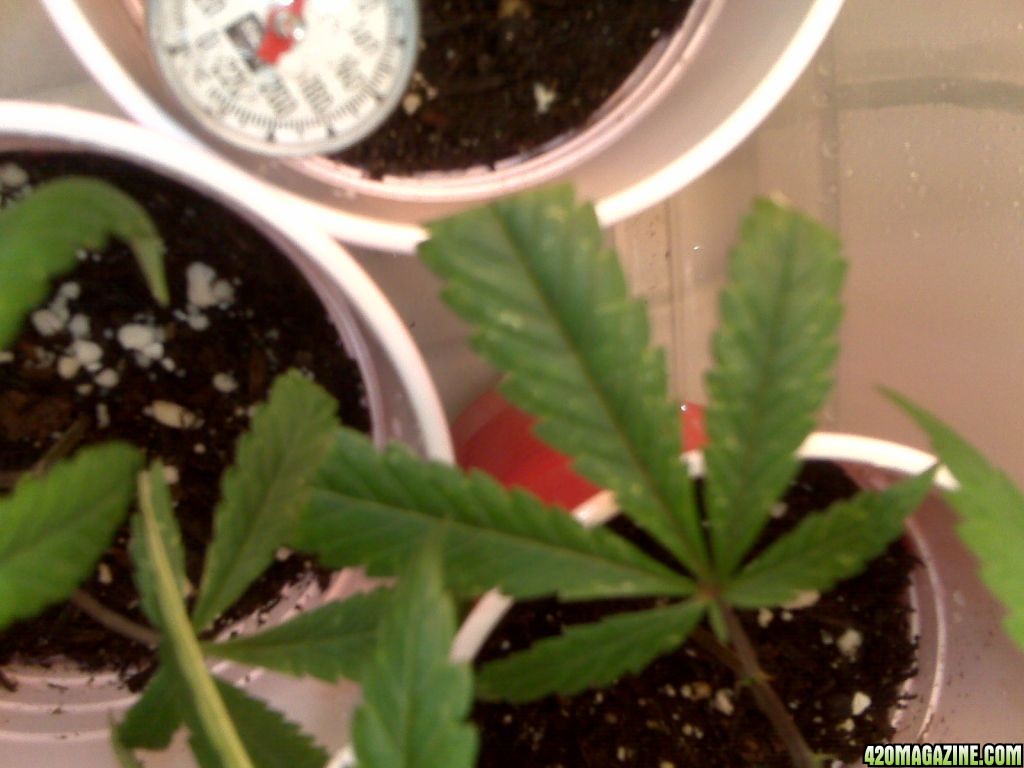
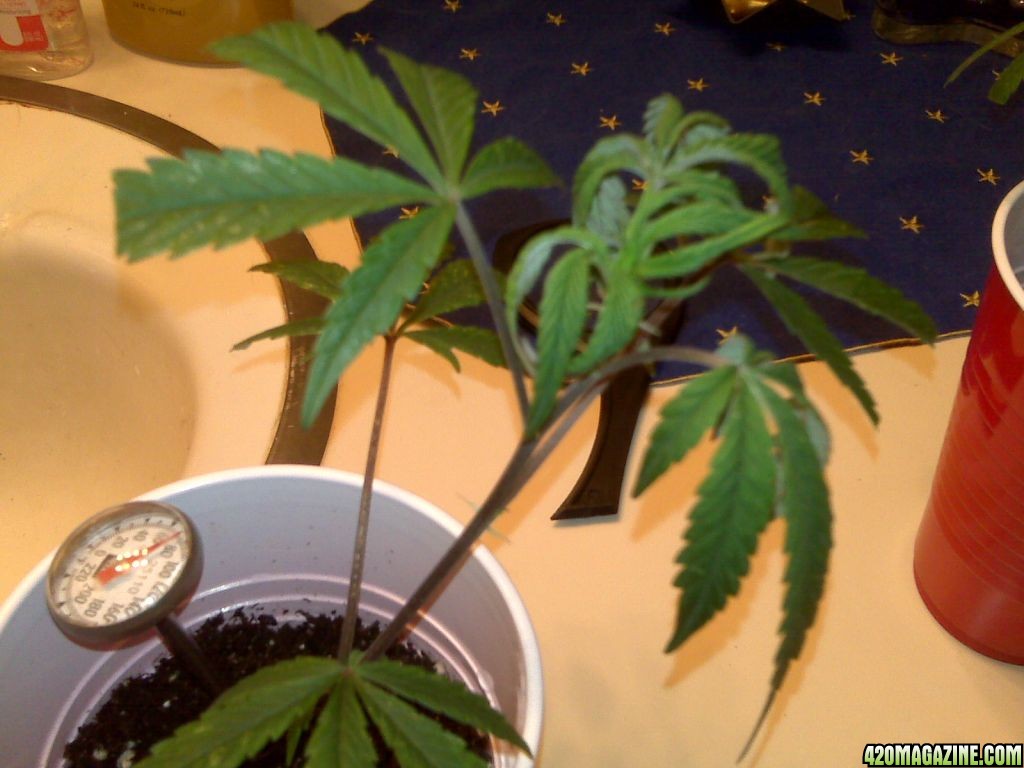
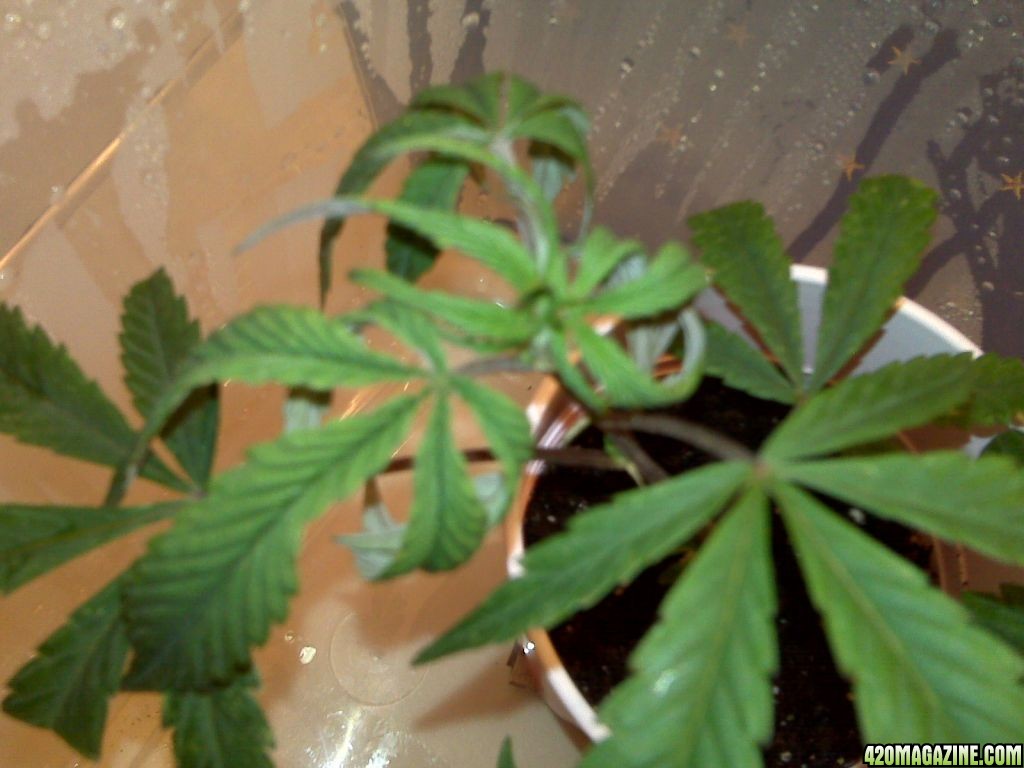
I have spent over a decade planning this very moment, toiling over forums, and reading books, talking to old growers and getting tips just dreaming of designing and growing my first garden.
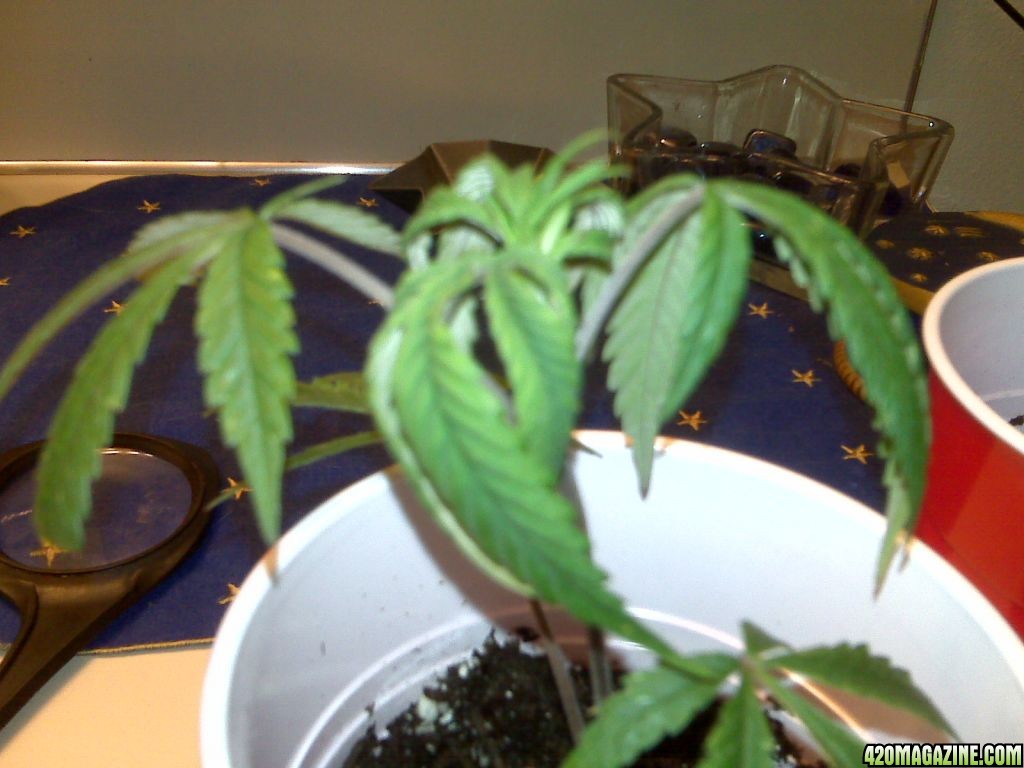
As for a T5. Money is not really a HUGE problem and I could buy a T5 and very well might do so to line the narrow sides of my box at a later date but I really wanted to show how a good of a harvest and respectable yield one can achieve with CFL's and how to setup a box with CFL's as the main light source. The one thing with a T5 is it is no where as configurable as my CFL cage I will be building and I want to be able to send light ANYWHERE I desire as the plant grows, in all 3 dimensions not just one plane (horizontally or vertically)
I want others to be able to see the trials I am experiencing and how I overcame them. Using scientific process and trial and error, learning from my mistakes.
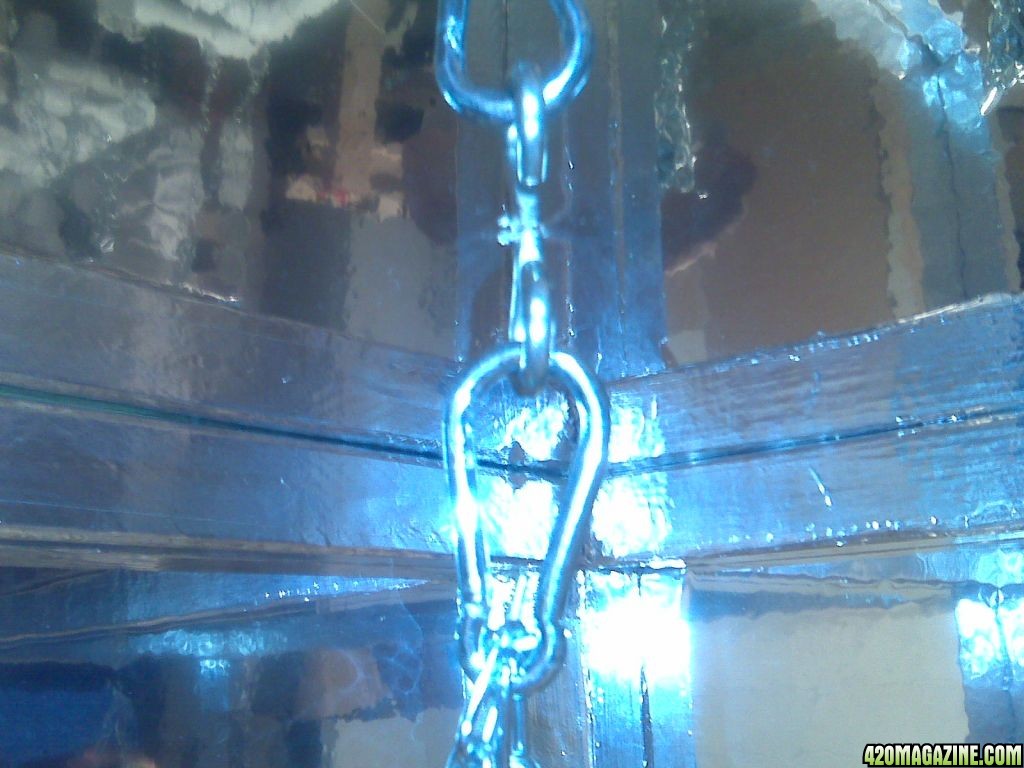
I am off ALL 3 JOBS tomorrow. I will sleep until 11 or noon (we do loose an hour tonight for daylight savings) and then do some major work (building and hanging doors and setting up the DWC and getting the light hood started.
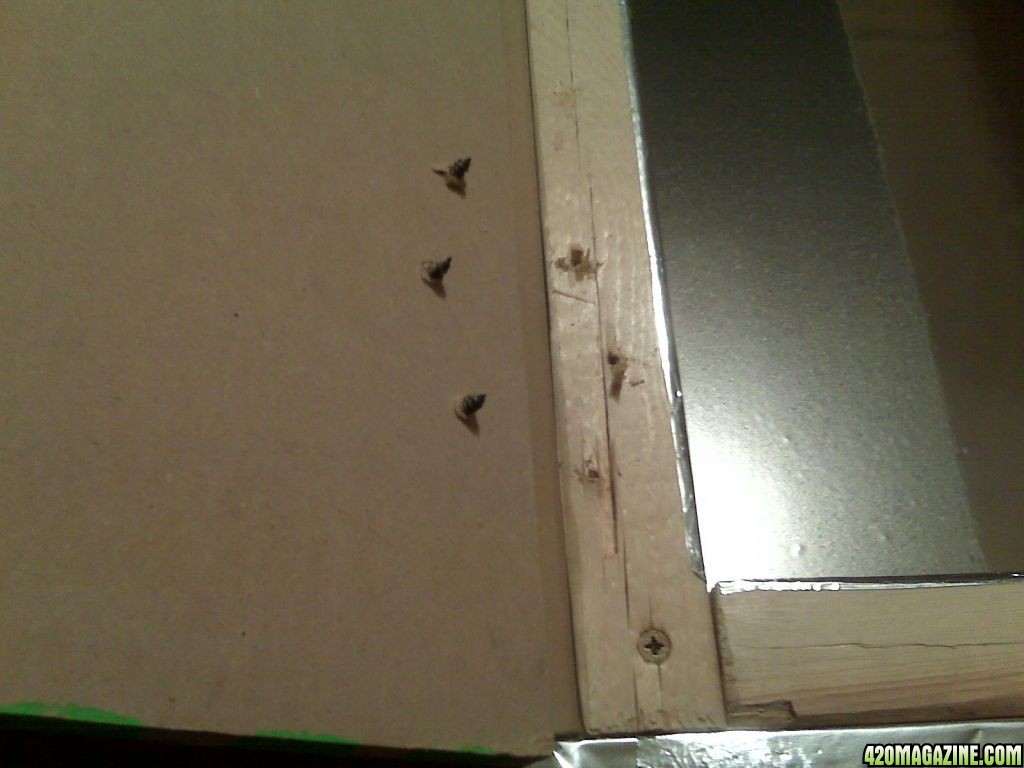
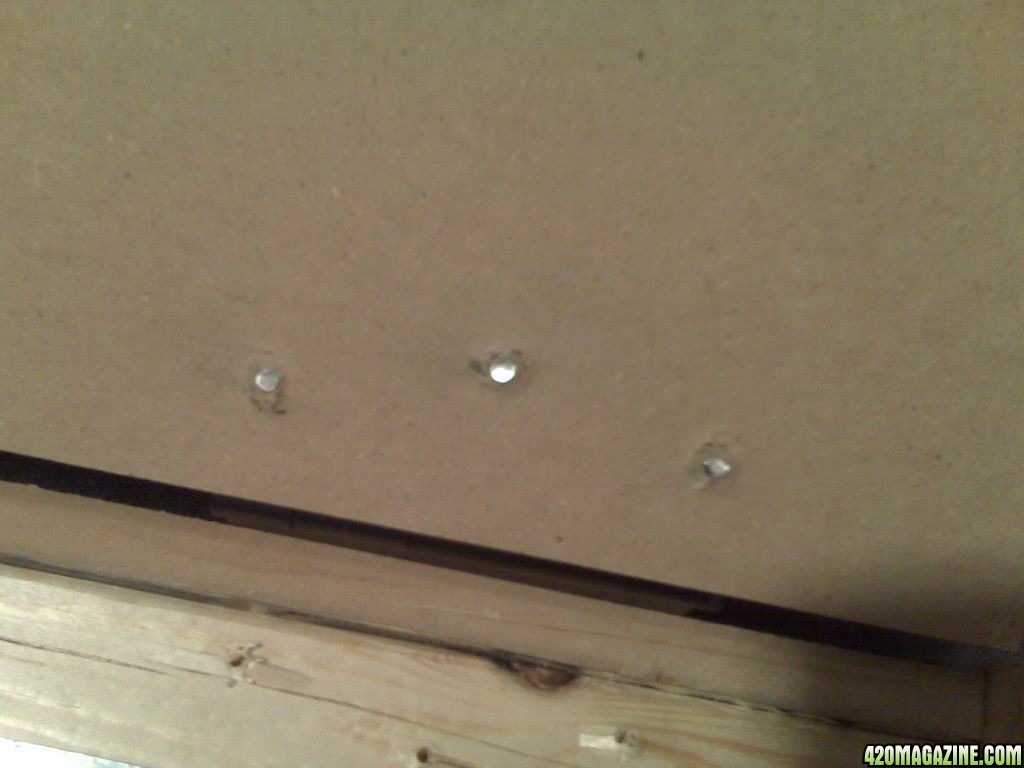
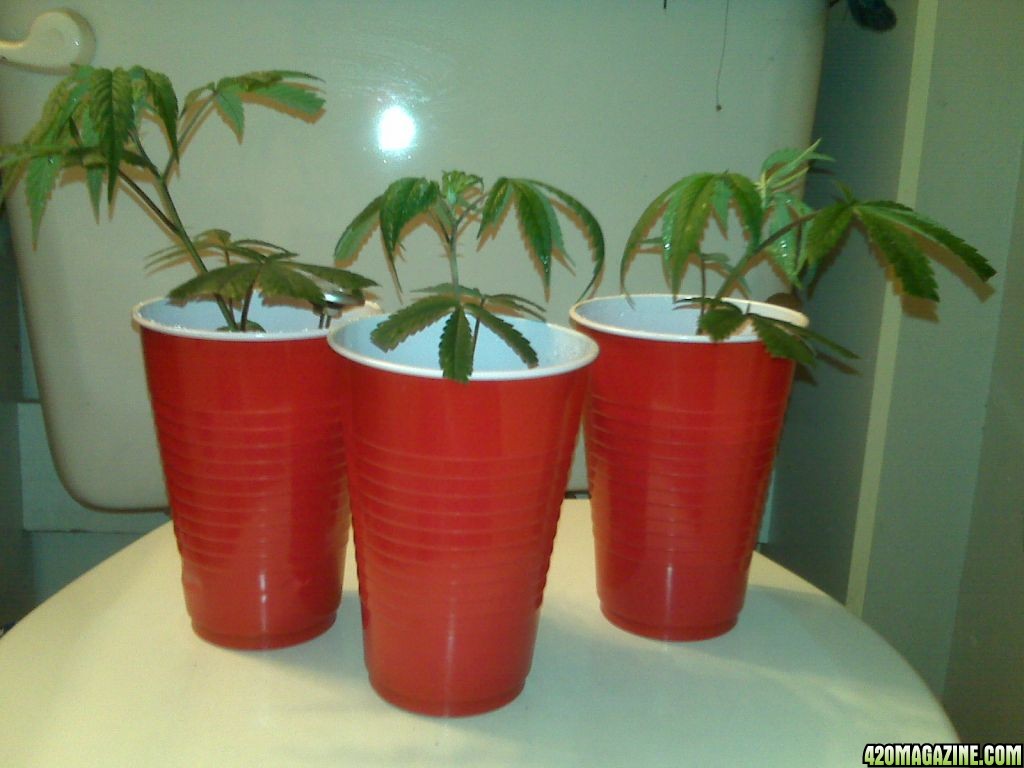
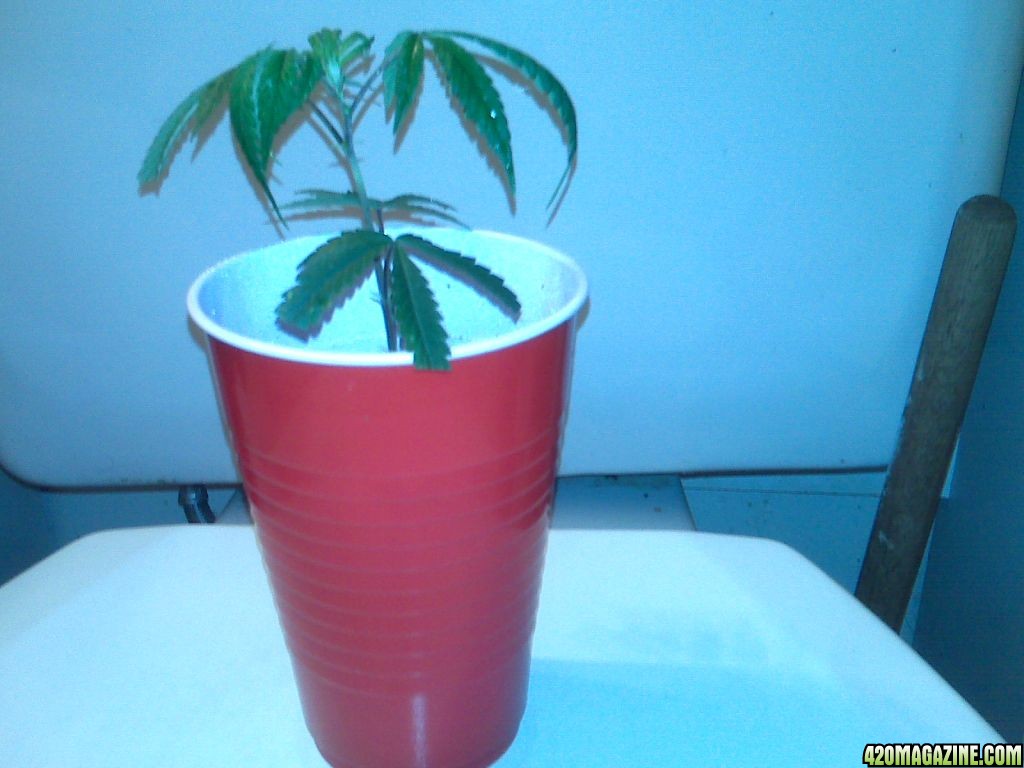
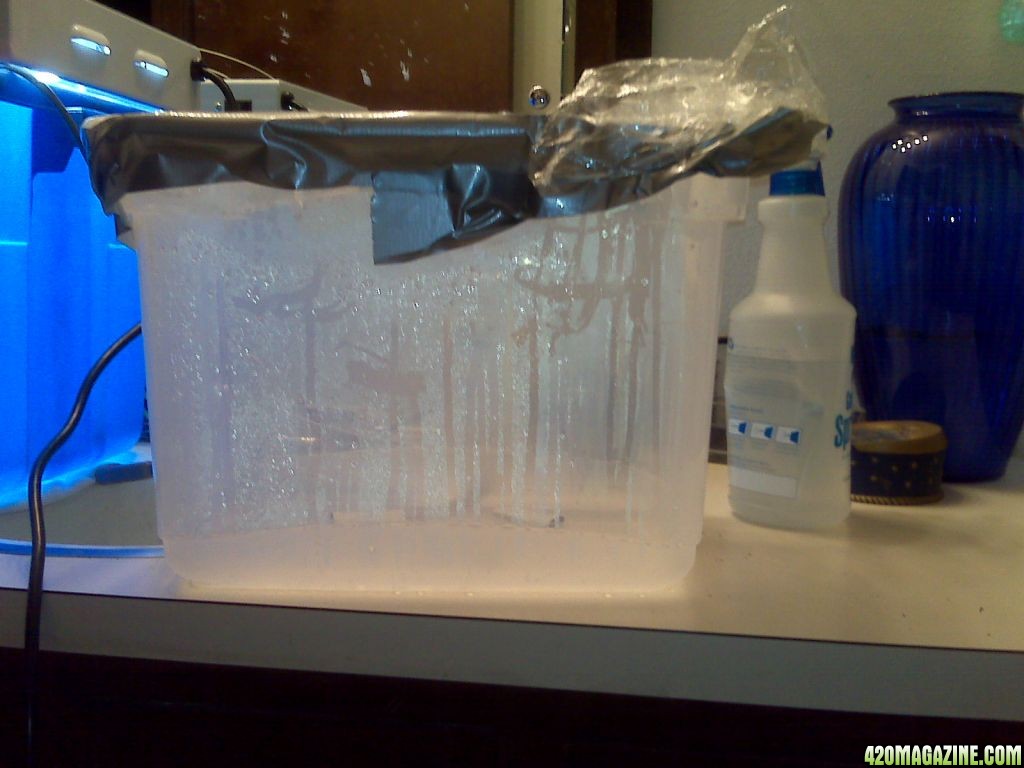
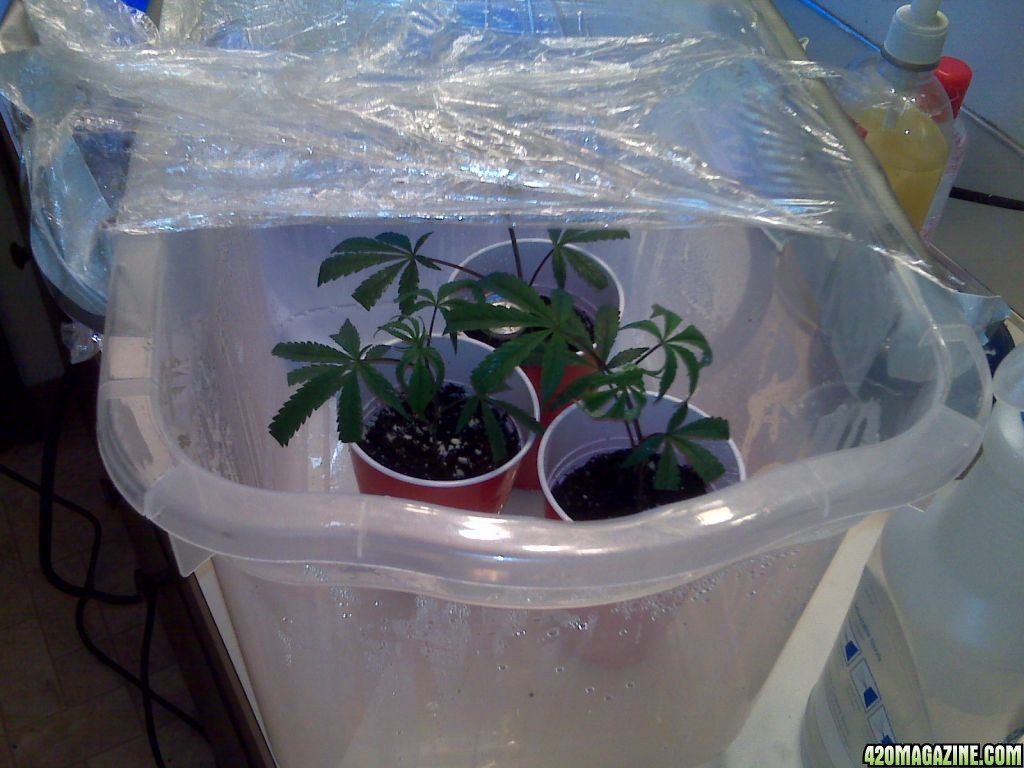
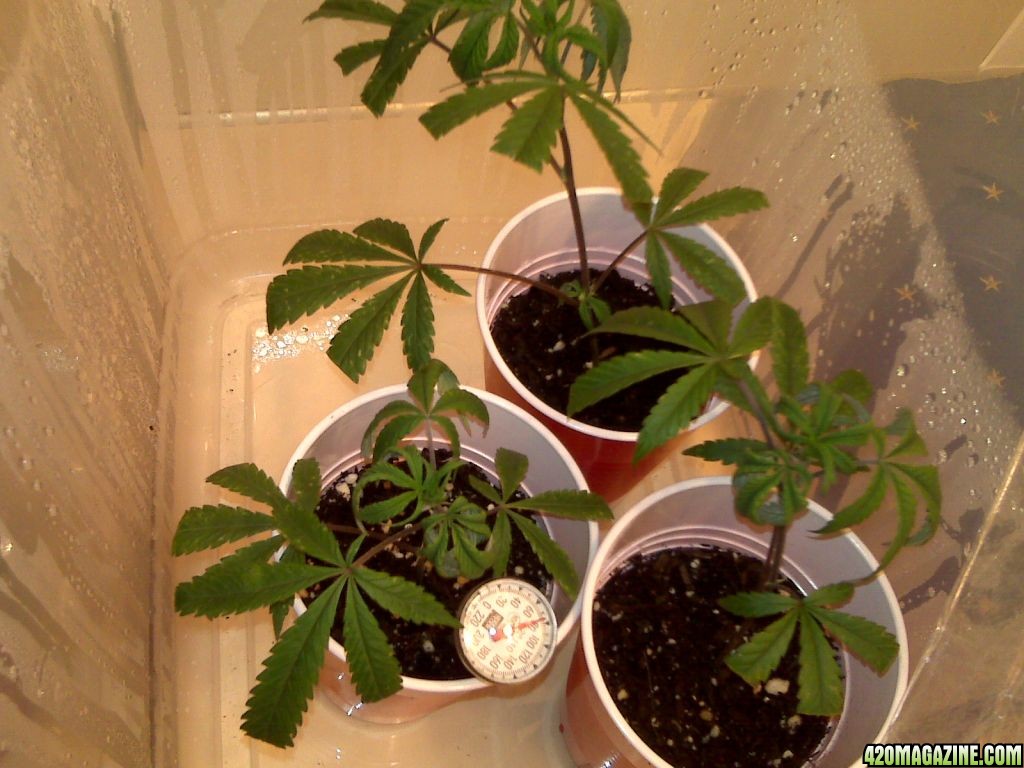
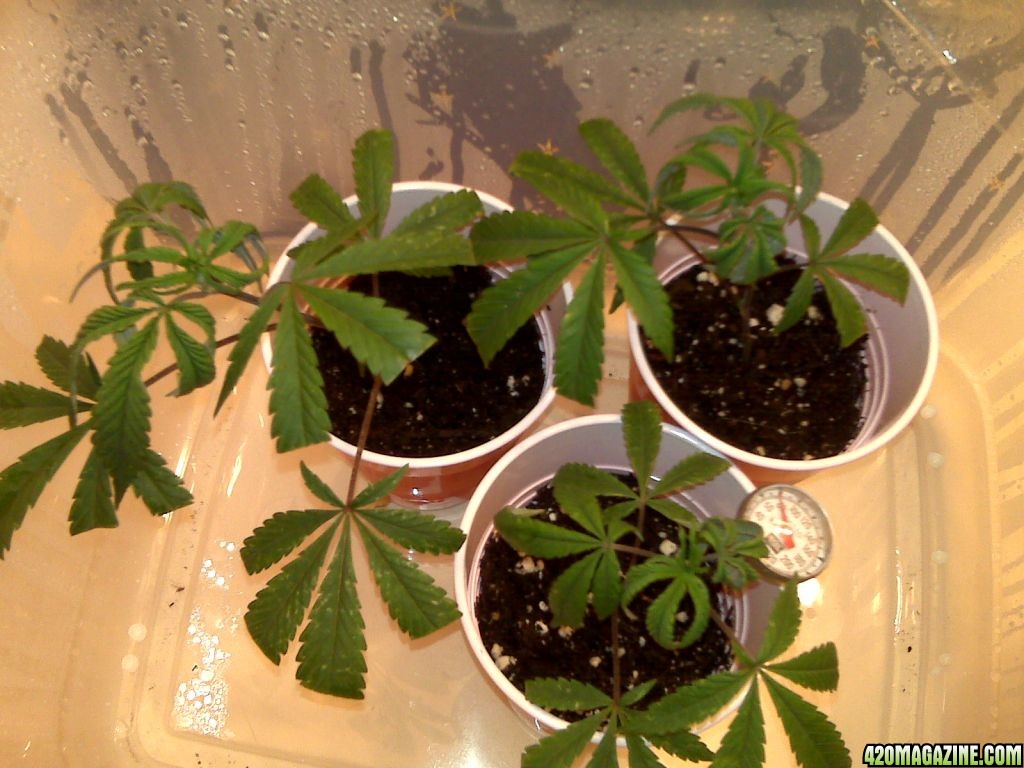
I expect this journal to be very informative on many different levels by the time it is over. I Intend to cover such subjects as the design and build of the box, Mylar, DWC, lighting, venting, carbon scrubber, wiring of fans, starting plants (clones and seeds) and other odds and ends discovered along the way
Just got to hurry and get the box done (has been fun so far)and get to the tedious waiting of the plants to be done and time for the SUPER FUN part......harvest!
Thanks for keeping up! Just wait till tomorrow! I am sooo giddy with excitement to have 8 whole hours to set aside to get stuff done!!!
Work was hell, no time to spend on my box! (sigh)
Well not that much at least, but as I sat medicating and defragging from working 14 hours between 2 jobs I sketched out my light hood design.No pics to upload but I did start My CFL light hood. The design and setup is going to make waves. Imagine a cage made out of PVC tubes that surround the plants in all 3 dimensions and penetrate into the interior as it grows....
I will document and discuss this in the appropriate place in time in the coming days.
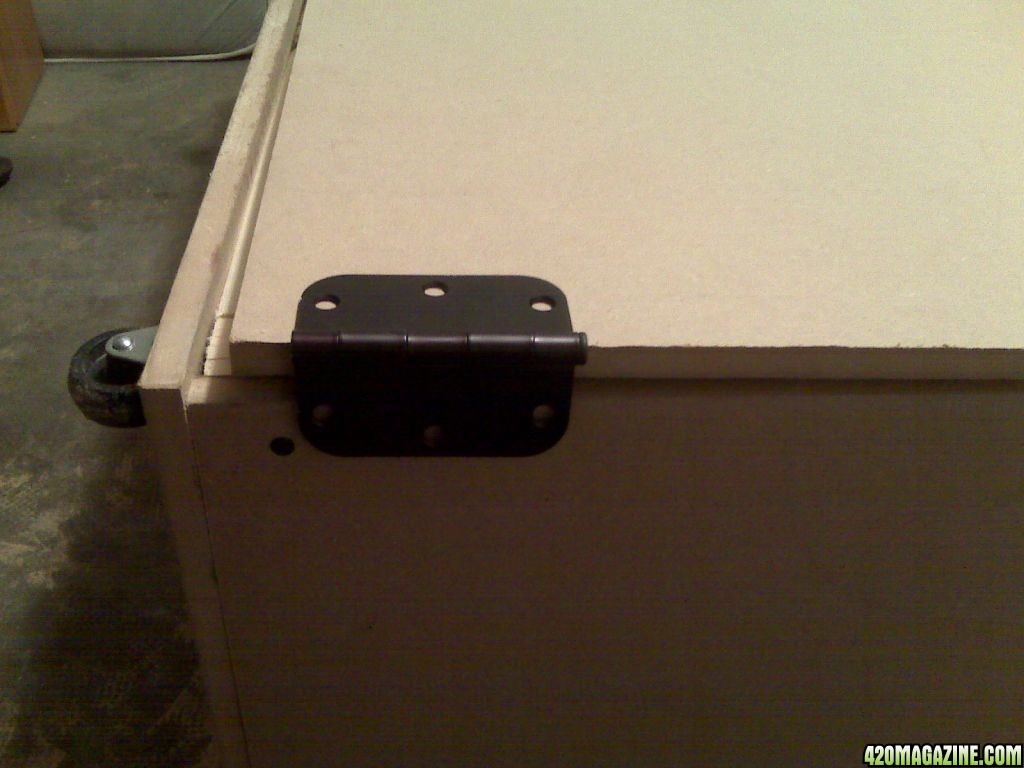
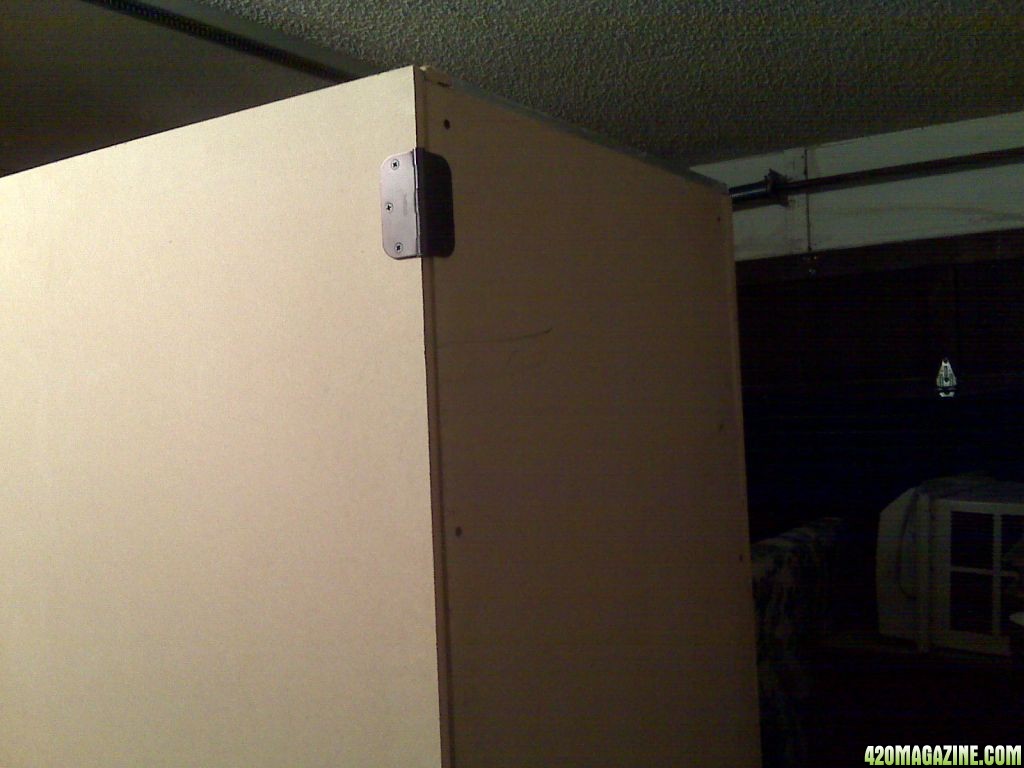
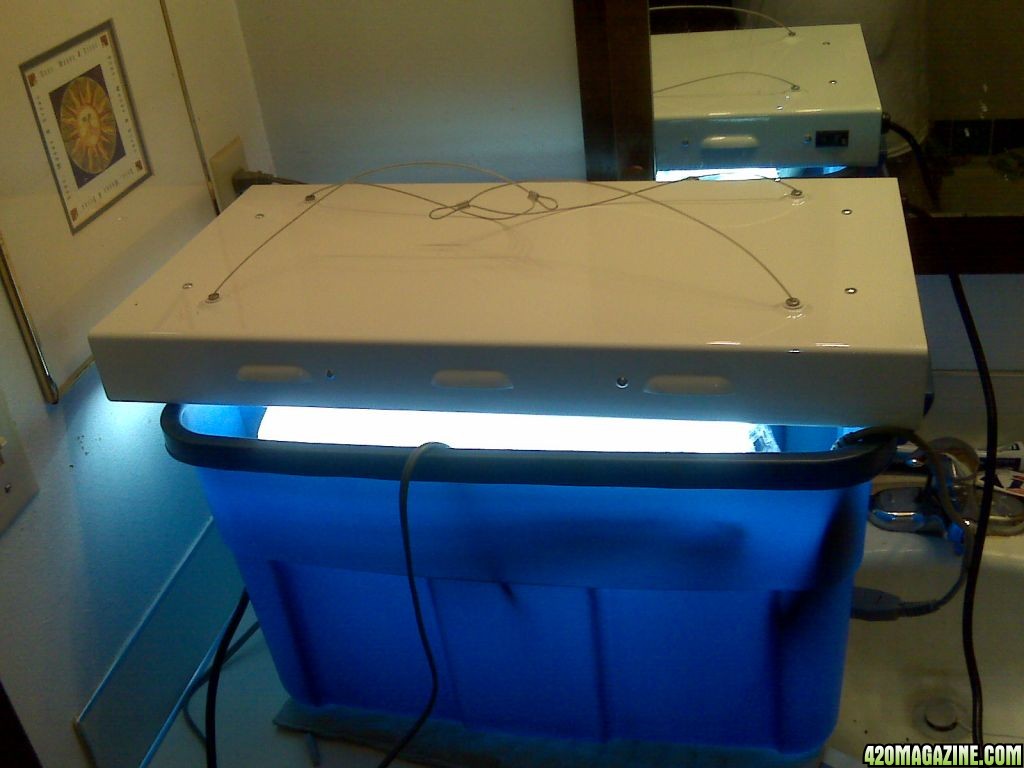
Thats a mighty shiny box you got there
I think you are going to be able to grow some pretty descent size plants in there.
Love how you are documenting everything, very meticulous.
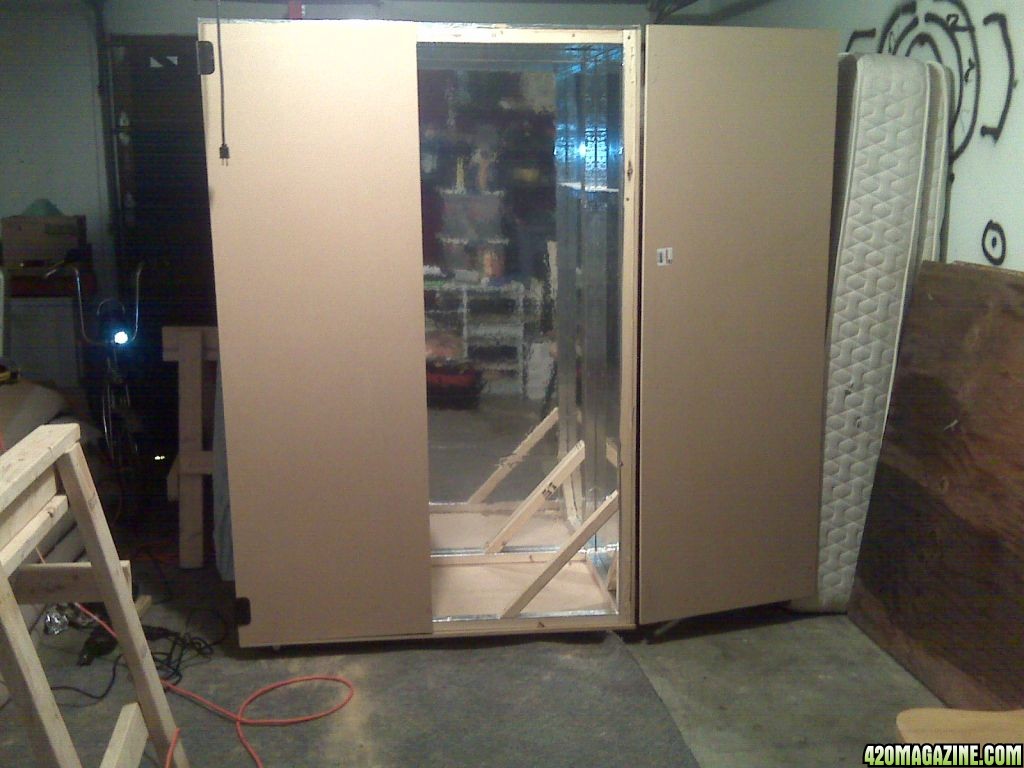
Grabbed somepulling up a seat, this looks like a well thought out plan.
Many famous roman commanders had the philosophy that if the planning was good enough the result was foregone conclusion. You have definetly planned well. You planning on doing any LST? Seems to me that you may have some extra room on the sides to bush em out a little. Though you said something about lining the box with lights. Kinda medicated getting ready for bed so ramblin...
Edit to add:IDK what finances are like and also you already bought lights, but...A 8 tube T5 fixture would fit perfectly in the top of that box. Same dimensions. I got mine for like 260 at the local grow shop but you can find em quite a bit cheaper on-line. I love mine, it's a beast. And i can run in my veg closet with the door closed and nothing but a fan blowing air around in there and it never gets above 85. Maybe for the next grow with the money you save growing your own.


I have spent over a decade planning this very moment, toiling over forums, and reading books, talking to old growers and getting tips just dreaming of designing and growing my first garden.
As for a T5. Money is not really a HUGE problem and I could buy a T5 and very well might do so to line the narrow sides of my box at a later date but I really wanted to show how a good of a harvest and respectable yield one can achieve with CFL's and how to setup a box with CFL's as the main light source. The one thing with a T5 is it is no where as configurable as my CFL cage I will be building and I want to be able to send light ANYWHERE I desire as the plant grows, in all 3 dimensions not just one plane (horizontally or vertically)
I am definitely going to make this box. It is exactly what I had in my head. Thanks for logging everything down as you go.
I want others to be able to see the trials I am experiencing and how I overcame them. Using scientific process and trial and error, learning from my mistakes.
I am off ALL 3 JOBS tomorrow. I will sleep until 11 or noon (we do loose an hour tonight for daylight savings) and then do some major work (building and hanging doors and setting up the DWC and getting the light hood started.
I expect this journal to be very informative on many different levels by the time it is over. I Intend to cover such subjects as the design and build of the box, Mylar, DWC, lighting, venting, carbon scrubber, wiring of fans, starting plants (clones and seeds) and other odds and ends discovered along the way
Just got to hurry and get the box done (has been fun so far)and get to the tedious waiting of the plants to be done and time for the SUPER FUN part......harvest!
Thanks for keeping up! Just wait till tomorrow! I am sooo giddy with excitement to have 8 whole hours to set aside to get stuff done!!!
") :
: