OGDanimals 4'X2'X6' NL/Lowryder DIY All The Way Setup and Grow

Sat Night...

Work was hell, no time to spend on my box! (sigh) :trance: Well not that much at least, but as I sat medicating and defragging from working 14 hours between 2 jobs I sketched out my light hood design.

No pics to upload but I did start My CFL light hood. The design and setup is going to make waves. Imagine a cage made out of PVC tubes that surround the plants in all 3 dimensions and penetrate into the interior as it grows....

I will document and discuss this in the appropriate place in time in the coming days.

Thats a mighty shiny box you got there:thumb:
I think you are going to be able to grow some pretty descent size plants in there.
Love how you are documenting everything, very meticulous.

Grabbed some :popcorn: pulling up a seat, this looks like a well thought out plan.
Many famous roman commanders had the philosophy that if the planning was good enough the result was foregone conclusion. You have definetly planned well. You planning on doing any LST? Seems to me that you may have some extra room on the sides to bush em out a little. Though you said something about lining the box with lights. Kinda medicated getting ready for bed so ramblin... :peacetwo:

Edit to add:IDK what finances are like and also you already bought lights, but...A 8 tube T5 fixture would fit perfectly in the top of that box. Same dimensions. I got mine for like 260 at the local grow shop but you can find em quite a bit cheaper on-line. I love mine, it's a beast. And i can run in my veg closet with the door closed and nothing but a fan blowing air around in there and it never gets above 85. Maybe for the next grow with the money you save growing your own.

I have spent over a decade planning this very moment, toiling over forums, and reading books, talking to old growers and getting tips just dreaming of designing and growing my first garden.

As for a T5. Money is not really a HUGE problem and I could buy a T5 and very well might do so to line the narrow sides of my box at a later date but I really wanted to show how a good of a harvest and respectable yield one can achieve with CFL's and how to setup a box with CFL's as the main light source. The one thing with a T5 is it is no where as configurable as my CFL cage I will be building and I want to be able to send light ANYWHERE I desire as the plant grows, in all 3 dimensions not just one plane (horizontally or vertically)

I am definitely going to make this box. It is exactly what I had in my head. Thanks for logging everything down as you go.

I want others to be able to see the trials I am experiencing and how I overcame them. Using scientific process and trial and error, learning from my mistakes.

I am off ALL 3 JOBS tomorrow. I will sleep until 11 or noon (we do loose an hour tonight for daylight savings) and then do some major work (building and hanging doors and setting up the DWC and getting the light hood started.

I expect this journal to be very informative on many different levels by the time it is over. I Intend to cover such subjects as the design and build of the box, Mylar, DWC, lighting, venting, carbon scrubber, wiring of fans, starting plants (clones and seeds) and other odds and ends discovered along the way

Just got to hurry and get the box done (has been fun so far)and get to the tedious waiting of the plants to be done and time for the SUPER FUN part......harvest!

Thanks for keeping up! Just wait till tomorrow! I am sooo giddy with excitement to have 8 whole hours to set aside to get stuff done!!!
 
A Week later from last post... Days 9-12 of Build

Hang in there this will be a long post. I worked 65 hours since my last post and have had NO time to post daily what I have been doing so I am going to document what's been going on.

Hanging the doors.

I cute my front panel into two pieces, each equal in dimensions to cover the front of my box and to be doors.

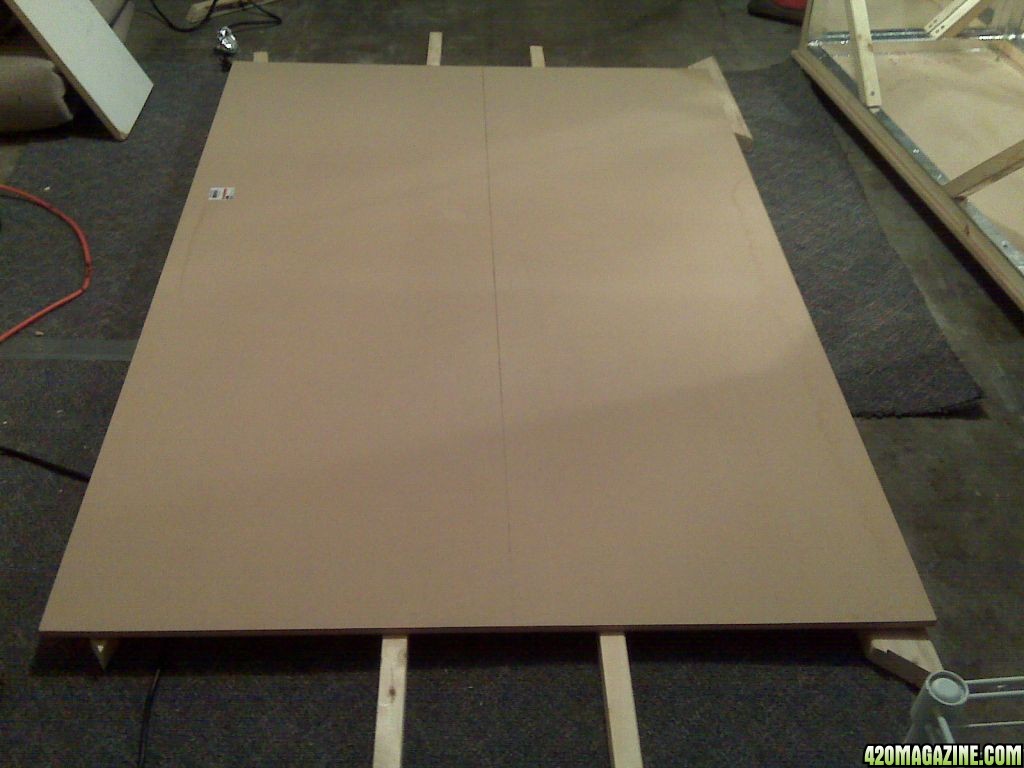
In order to cut the panel I am going to have to lay this large sheet of MDF board on the ground, BUT I do not want the blade of my circular saw to hit the ground/concrete.

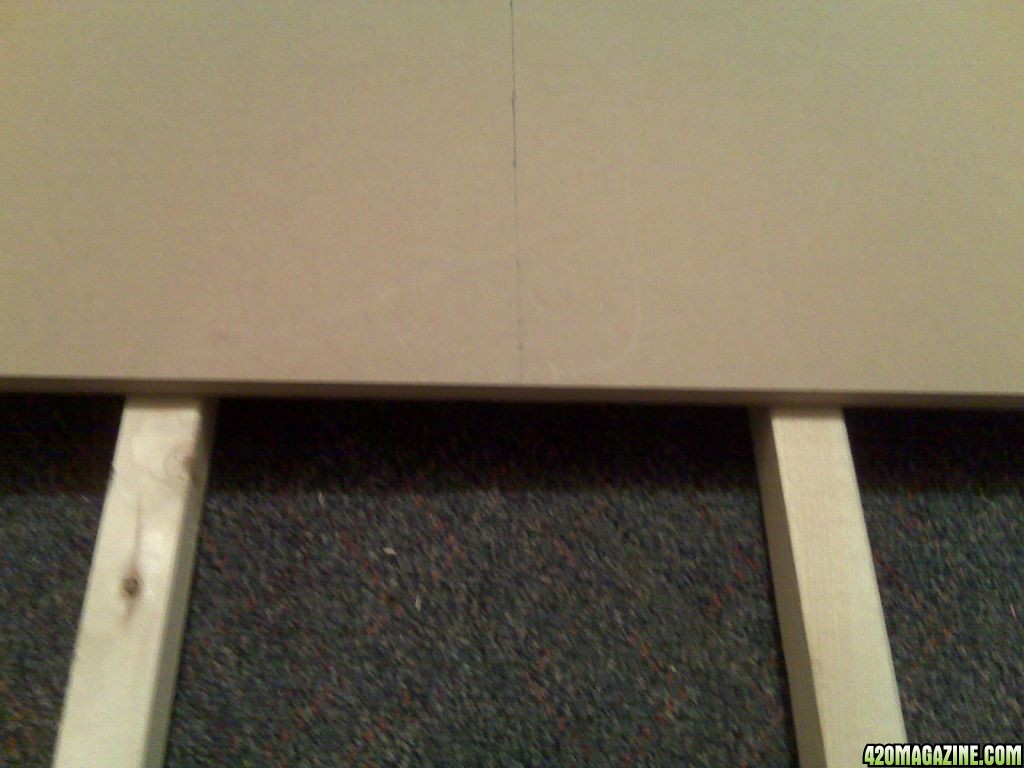
I laid down 2 long sections of 1.5X1.5 studs to bring the panel off the floor.
Notice I already penciled in my line to cut along.
cutbrace.jpg


By putting the studs down to lay my panel onto I will be able to rip cut the whole length of the board with out hitting the floor.
cutbrace2.jpg


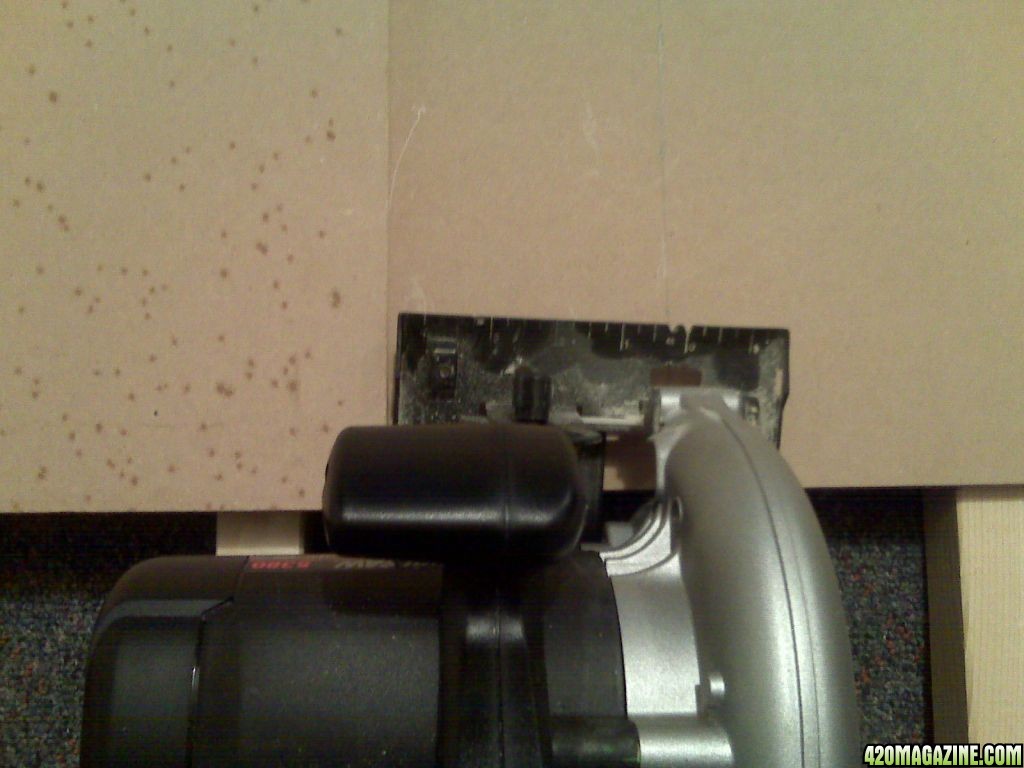
I have a extra piece of MDF board so I lay that on the left to act as a side brace against my saw to help me make a straight line cut.
side_brace.jpg


The brace enables me to make a fast easy straight but I highly recommend using something like this to help you make long cuts.

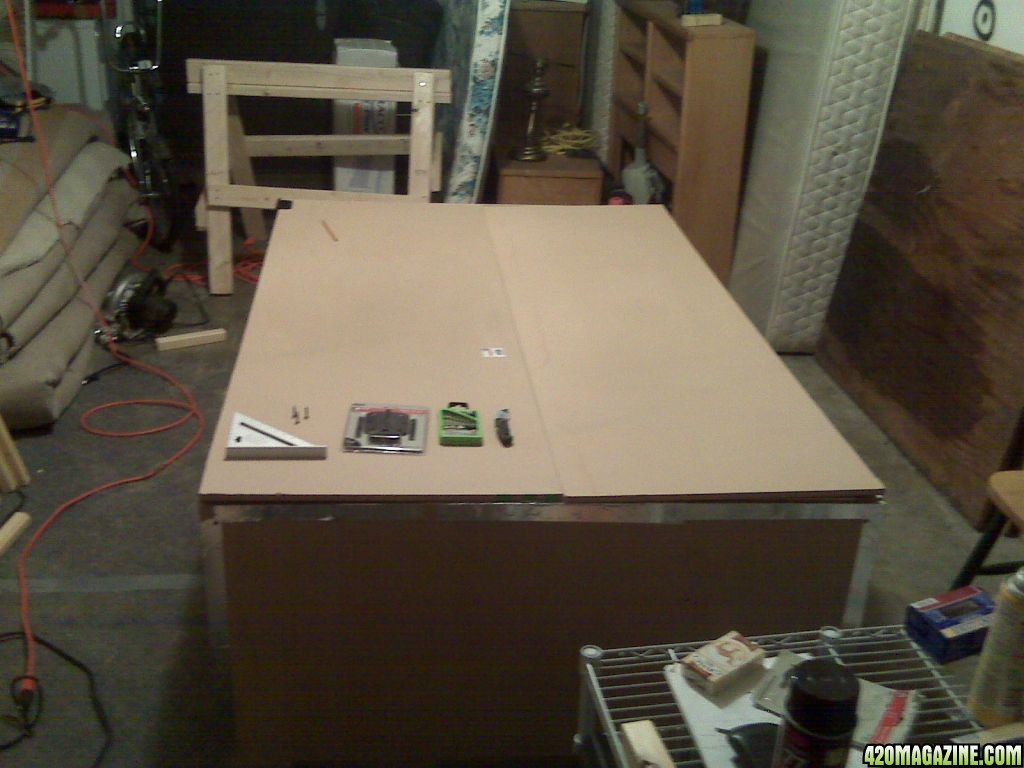
Now that the doors are cut I lay my box on its back and put the panels on top and see how it looks.
IMG00282.jpg


ARRRRGGGHHH

Ok so the panels do not make an exact square on the box. It sees that the mix of Home Depot not cutting my boards exactly correct and me over tightening my frame and not having an exact 90 degree corners has resulted in the box not being exactly the the same dimensions on all sides.


See here this is what I come up with when I line my doors up I cannot get the doors to sit on with all edges lined up to the frame of the box
IMG00283.jpg


No problem. As long as the sides that the hinges will be attached to are square to the sides of the frame AND then the top and bottom are within tolerance of the 1.5X1.5 frame meaning the top and bottom of the doors are within the frame I will be ok.

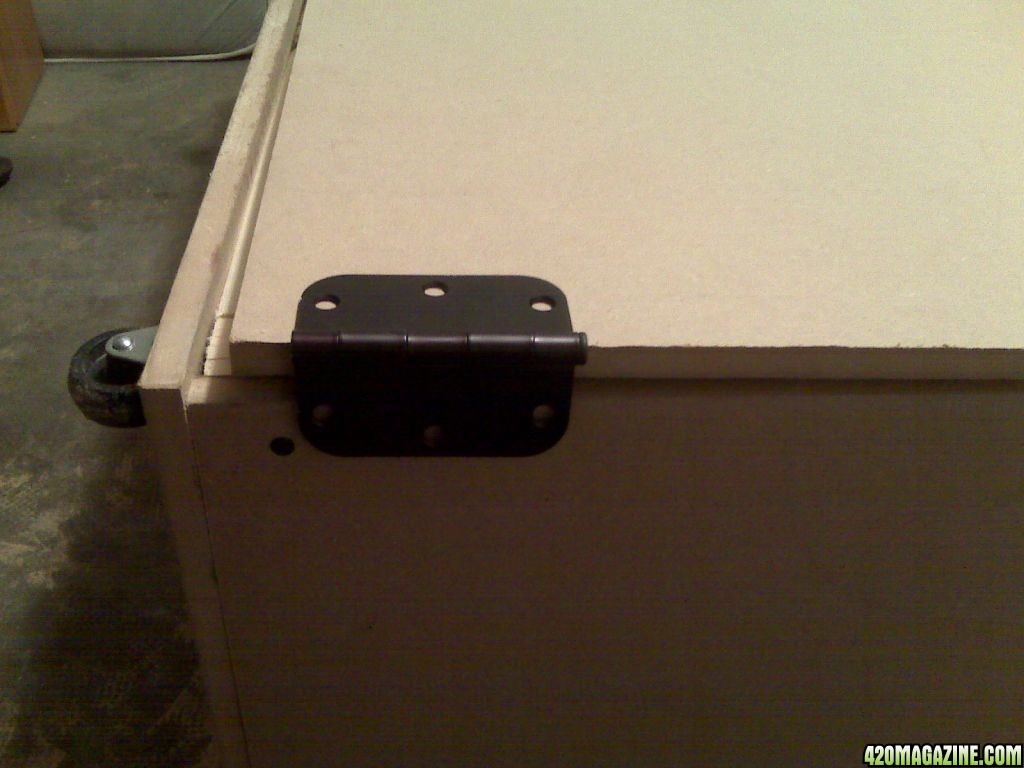
So I aligned the doors to the left and right sides of the box and attached the hinges.

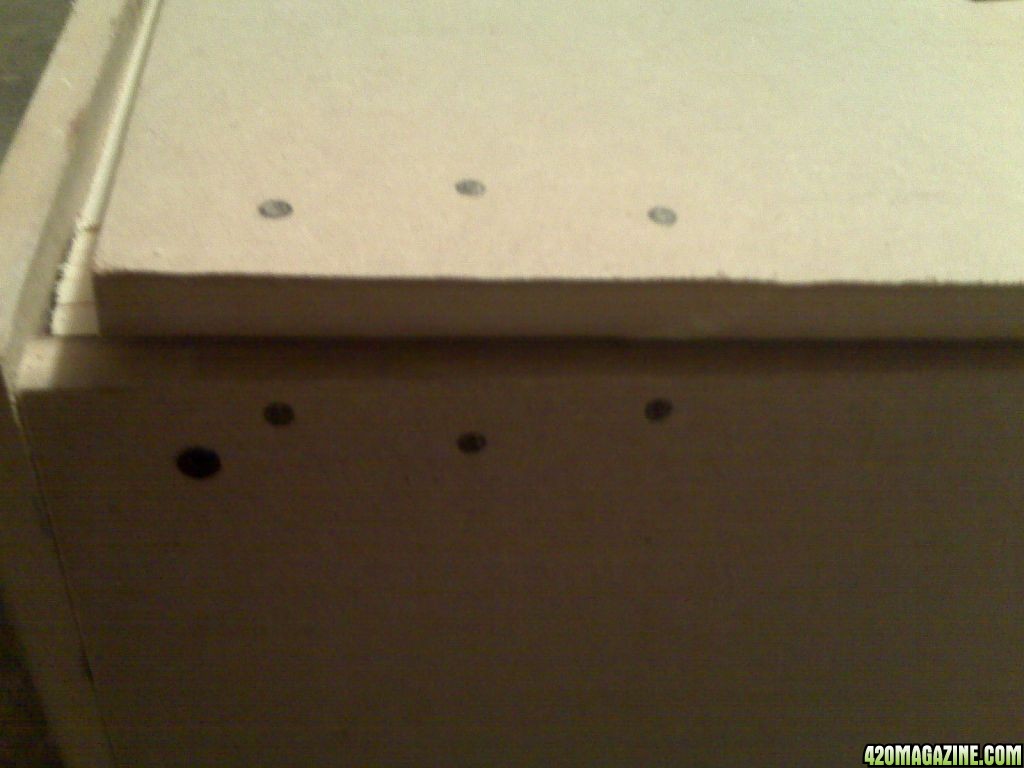
I set my hinges where I want them to attach to the box and penciled in the screw holes.
IMG00281.jpg

I will drill pilot holes a size smaller than my screws to make screwing in the screws easier

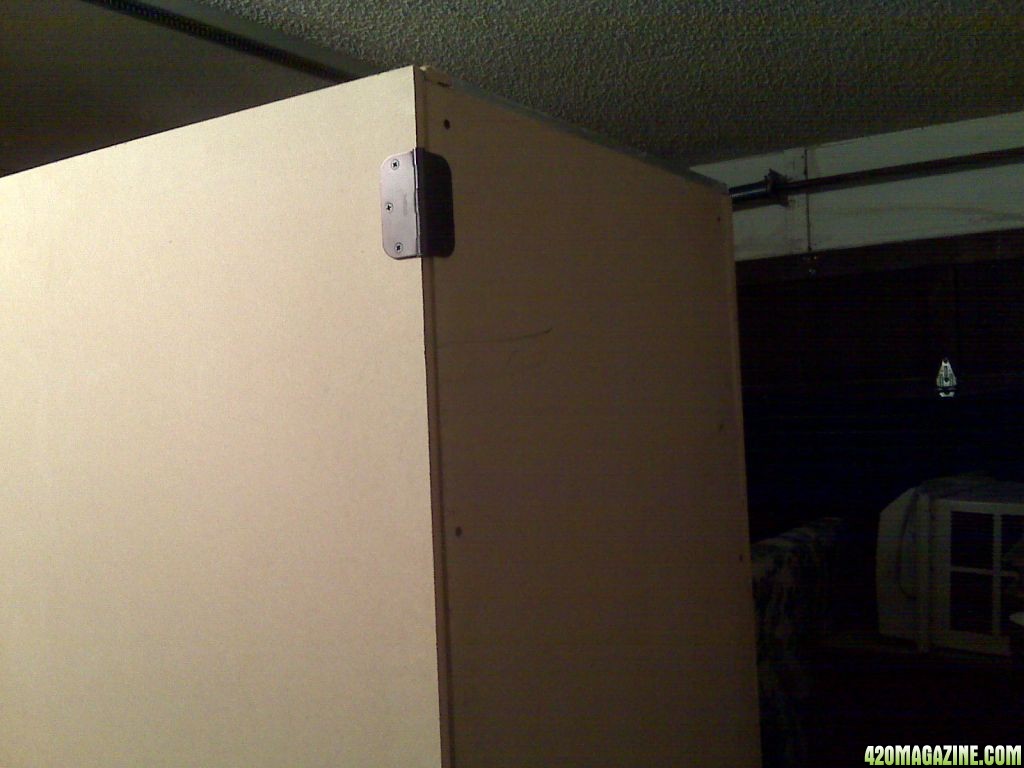
The hinges will be screwed into the frame on the sides and the front of the hinge will be screwed into the front of the panel alone.
IMG00279.jpg


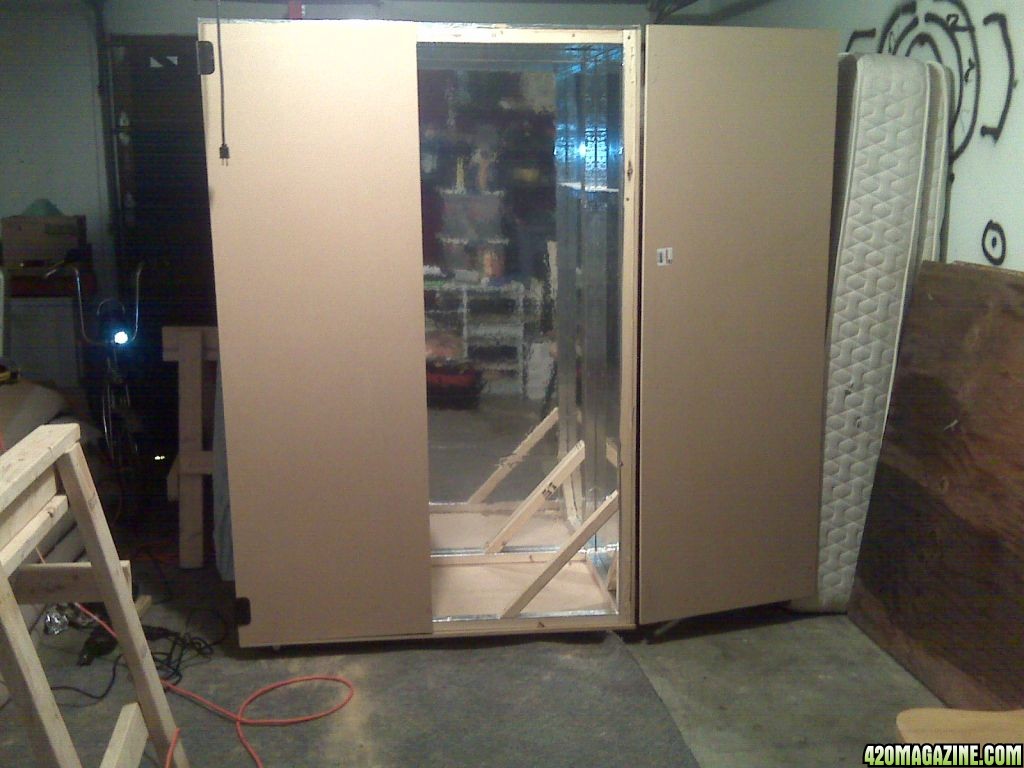
I did this at the top and bottom of both doors and here is what it looks like when done
IMG00292.jpg

yaydoors.jpg


Ok I need to document a problem I ran into.

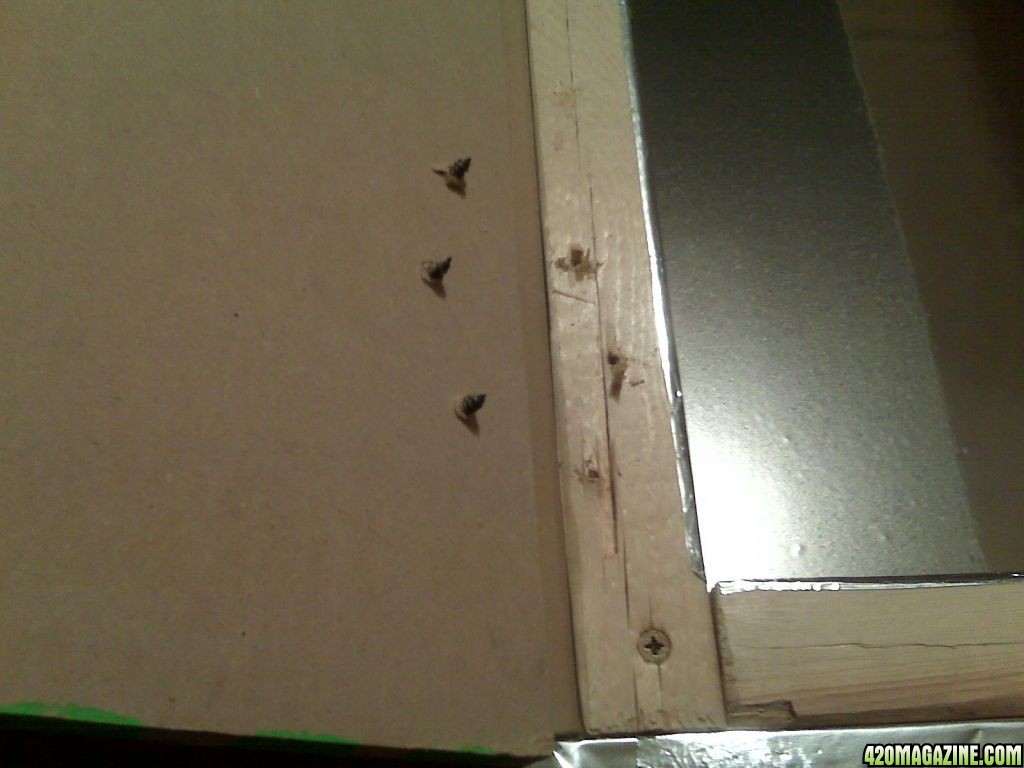
When I was screwing in the door hinges The screws on the front of the doors screwed into the front of the frame and when I went to open the doors they were stuck as the door was in effect screwed into the frame and would not come off.

IMG00284.jpg


See here The door is open and the you can see the screw hole in the frame and the screws are too long on the inside of the door. So that I will not have a problem with the screws penetrating the frame on the inside and getting the doors stuck I cut the screws off with a dremmel tool

IMG00290.jpg


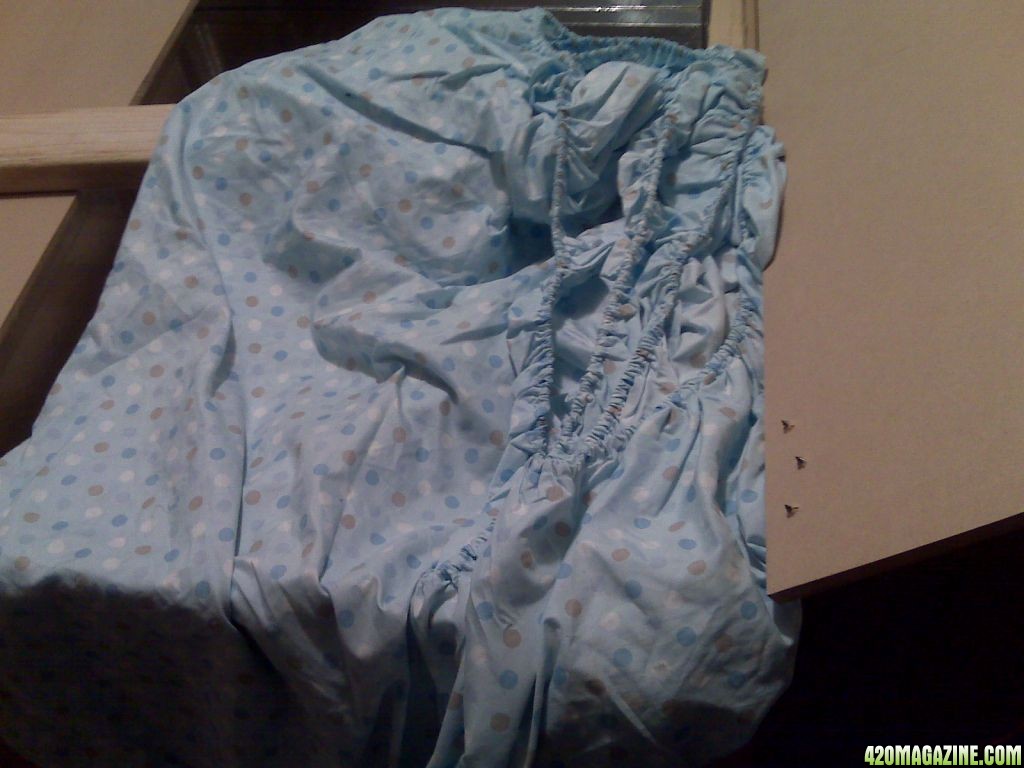
I used a drop cloth to protect the interior Mylar from the sparks of metal from the cutting of the screws.
IMG00289.jpg


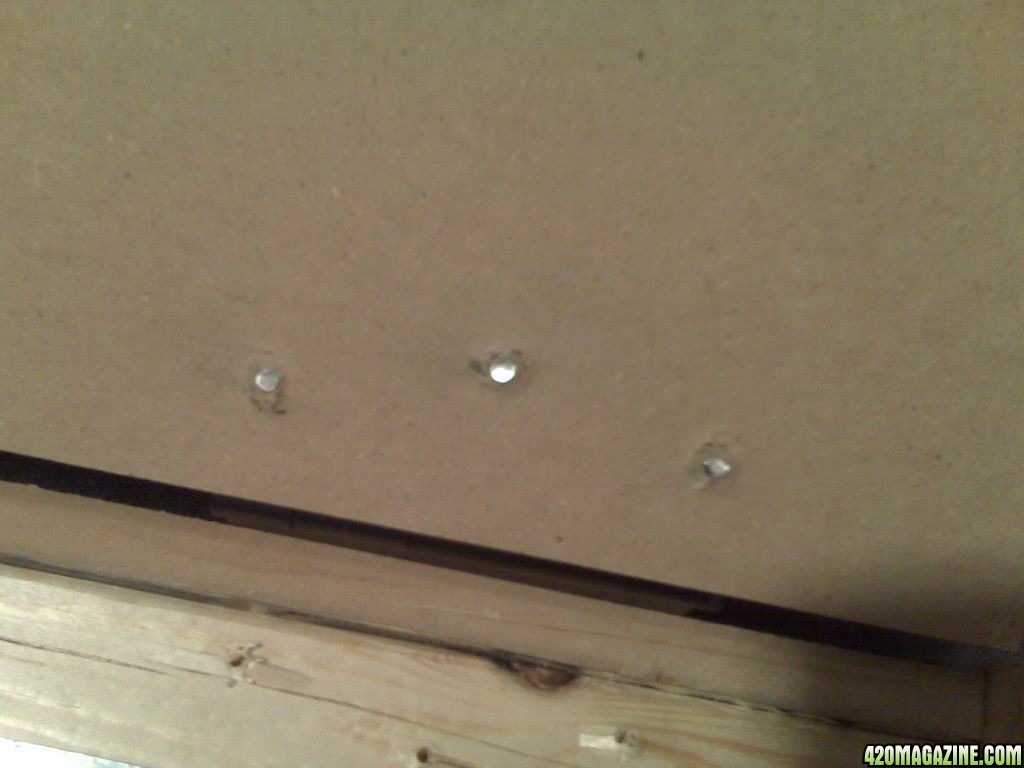
Here is what it looks like with the screws cut on the inside so they are flush with the interior of the door
shaved_screw_off.jpg


Ok now that the doors are done on to making the lighting fixture!!!!
 
Making the lighting fixture Days 9-12 of building

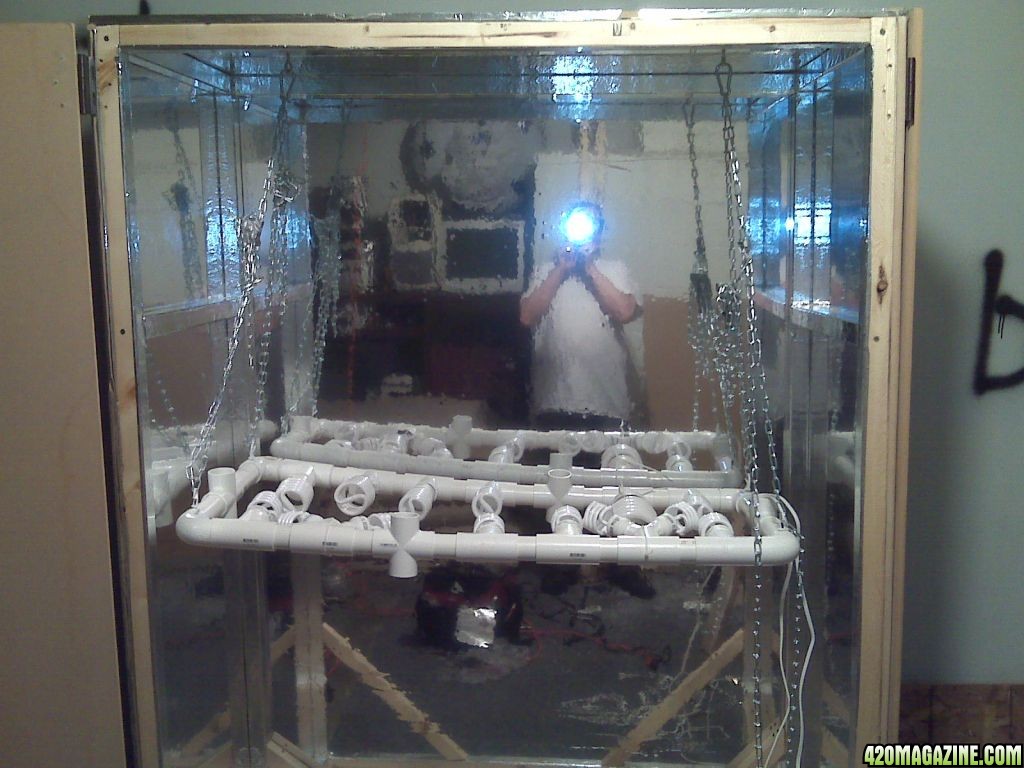
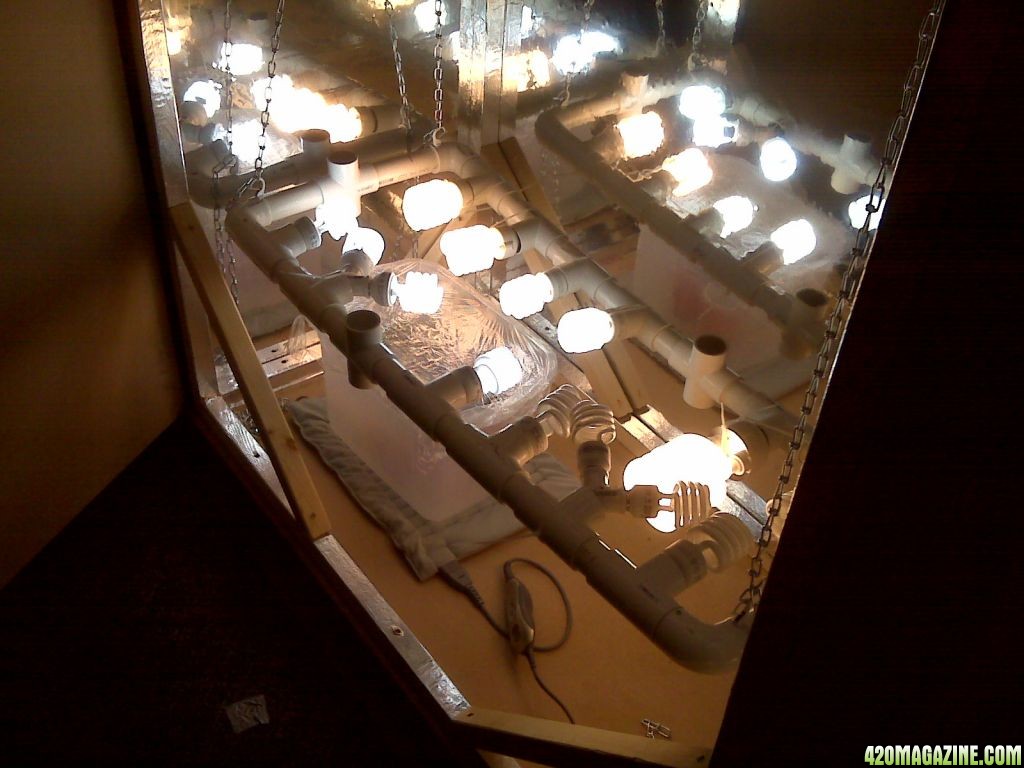
I am using the CFL light hood array as documented in the DIY

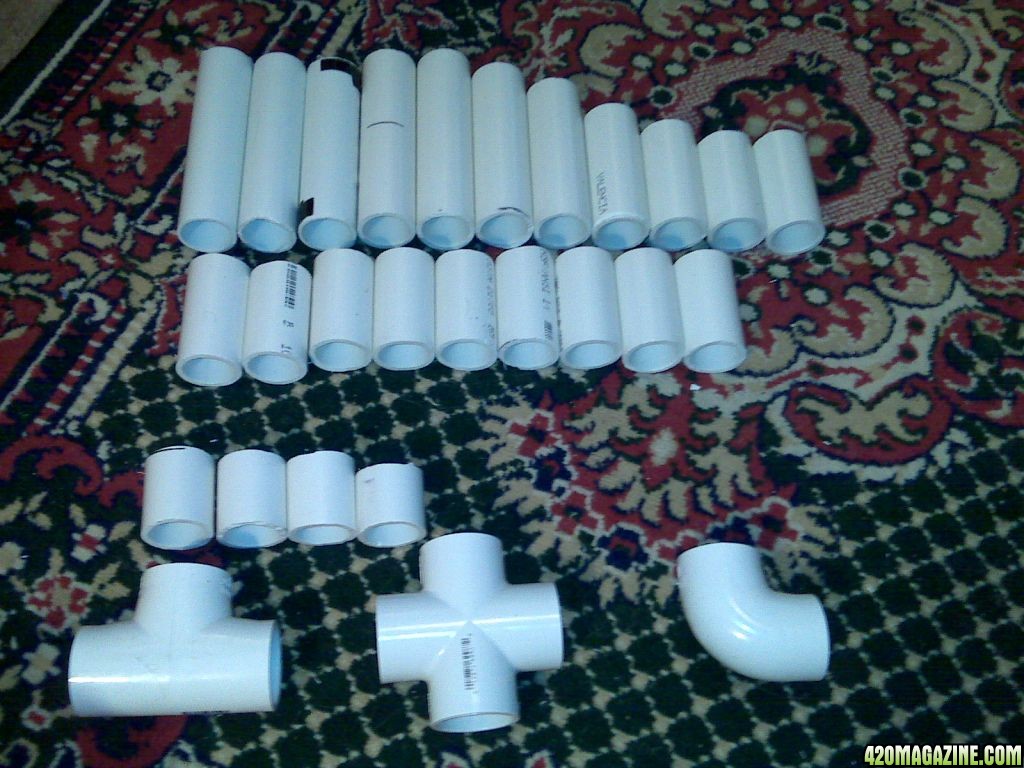
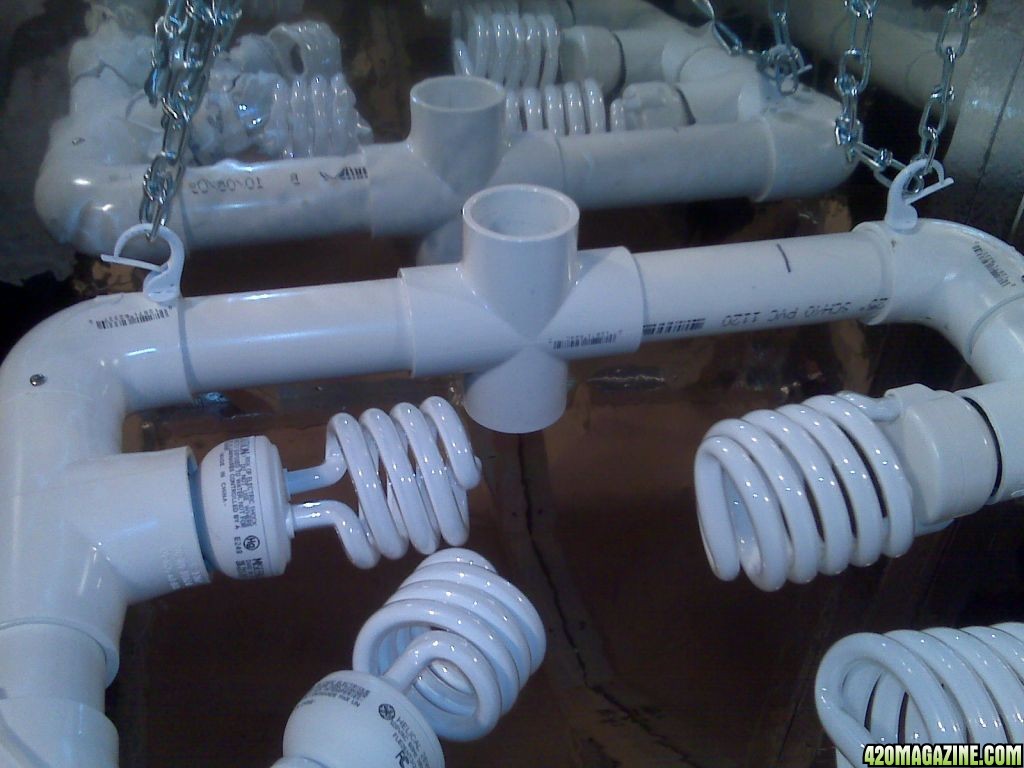
I got a bunch of PVC 1 1/4 T's (enough for 1 for each lCFL light) and 90 degree elbows 4 crosses, and about 15 feet of 1 inch PVC pipes. The T's will act as my light socket holders and all the wiring will be fed through the 1 inch PVC pipes.

Here is a group shot of the components that will make up my light hood frame
peices.jpg


The 1 1/4 T's, crosses and elbows will fit around the 1 inch PVC pipes.

I cut 20 or so 3" sections of 1 PVC pipe and 6 2" sections of pipes and 6 6" sections of pipe these will be the connecting pieces of T's, crosses and elbows.

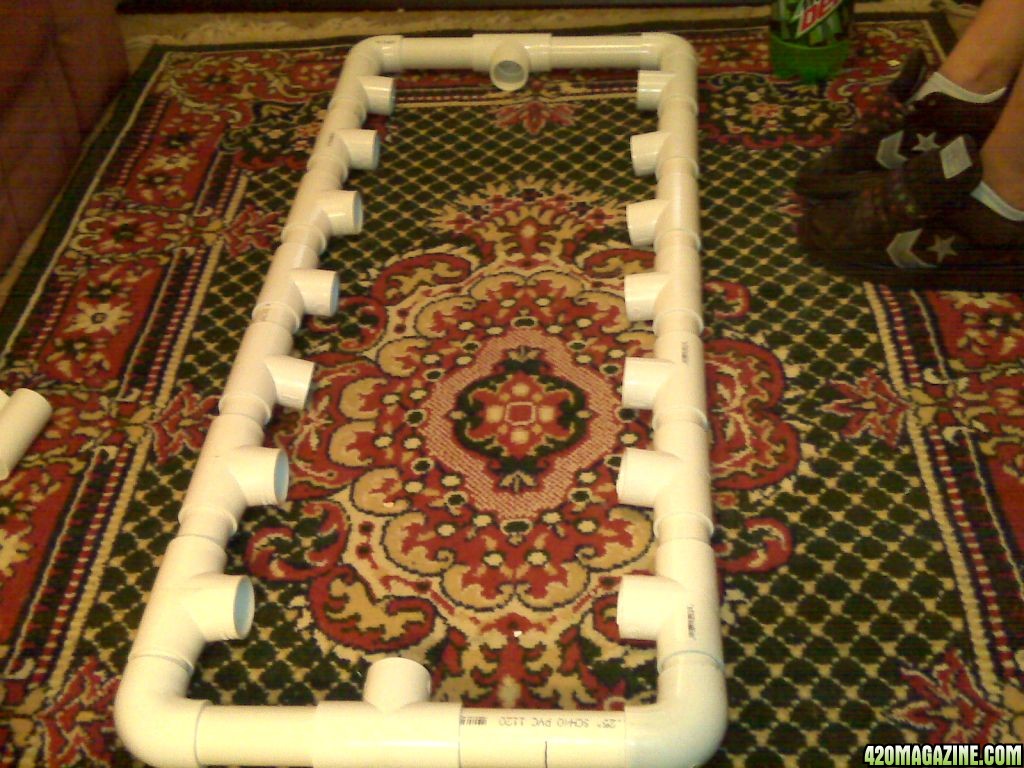
After I had made all my cuts I put them together to see what the light hood will look like.
skeleton.jpg


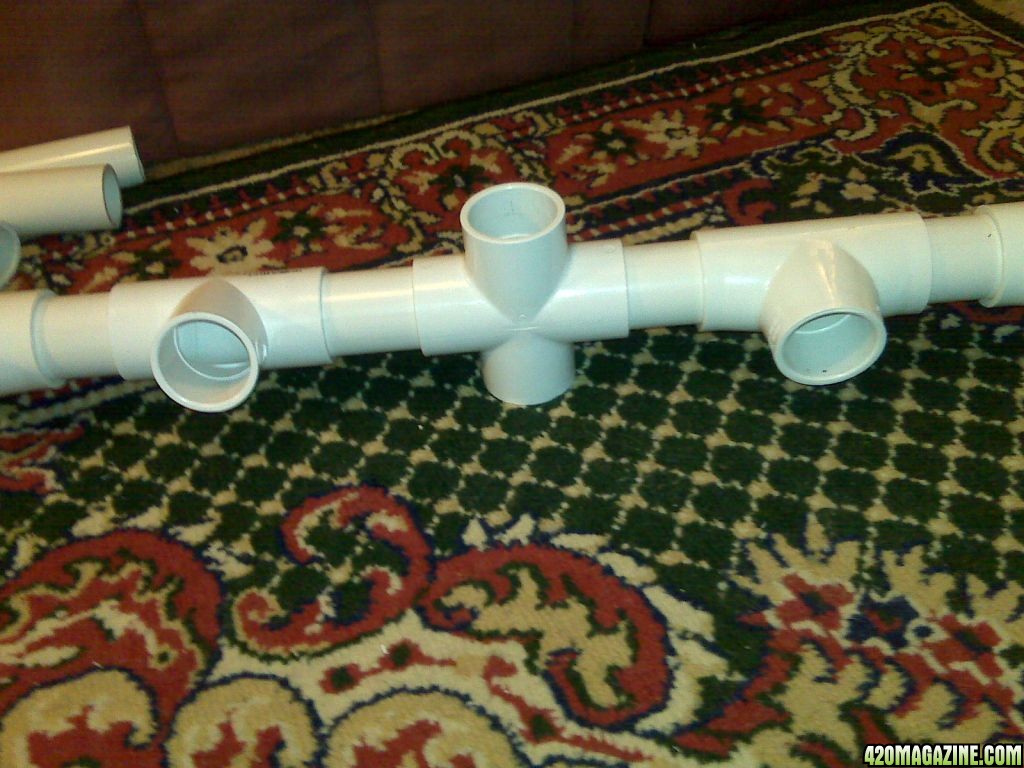
Oops! I forgot to put in the crosses. The crosses will be used later during the grow to expand my lighting to the interior of the canopy and spread light to places that the top lights cannot get to.

Here is what the crosses look like when included
sidepvc.jpg

I will make some more light sockets out of PVC pipes and PVC T's later to make interior and under canopy lighting and attach them from the bottom of the crosses.
Each side gets a cross. This is what the end looks like
end.jpg


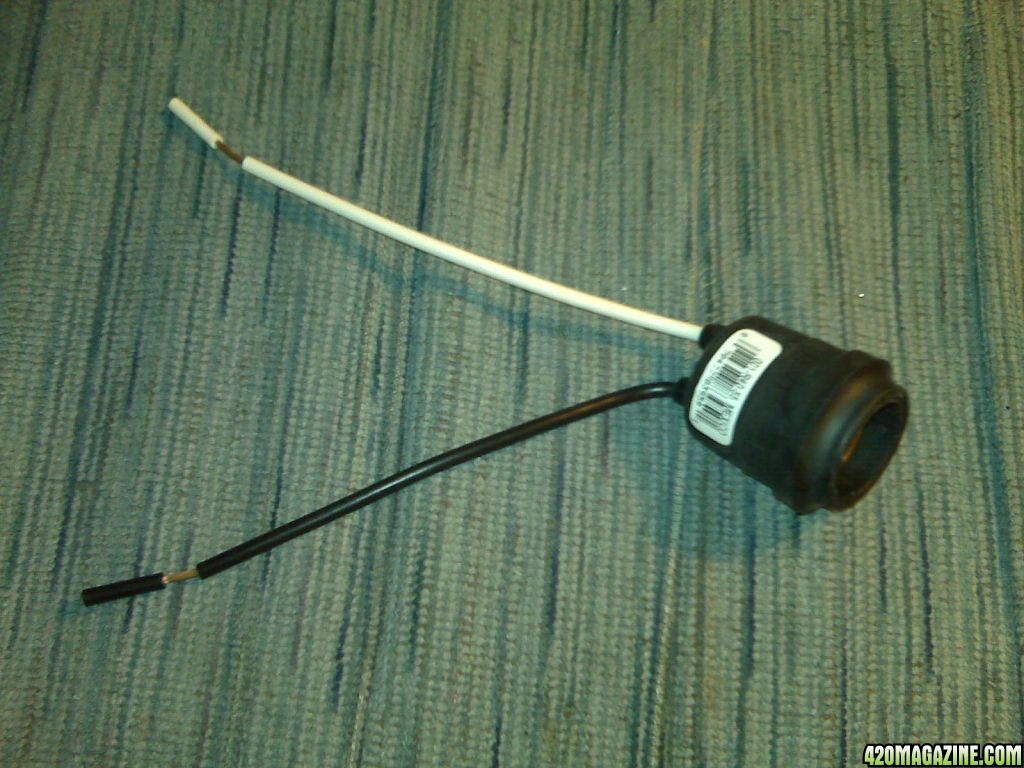
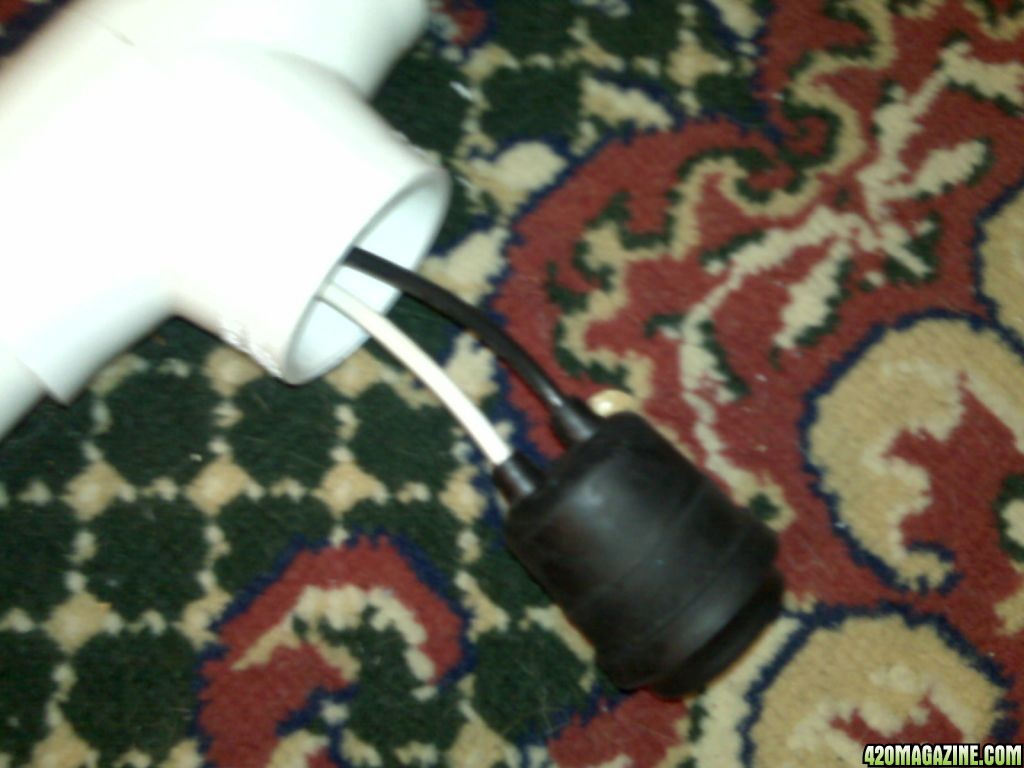
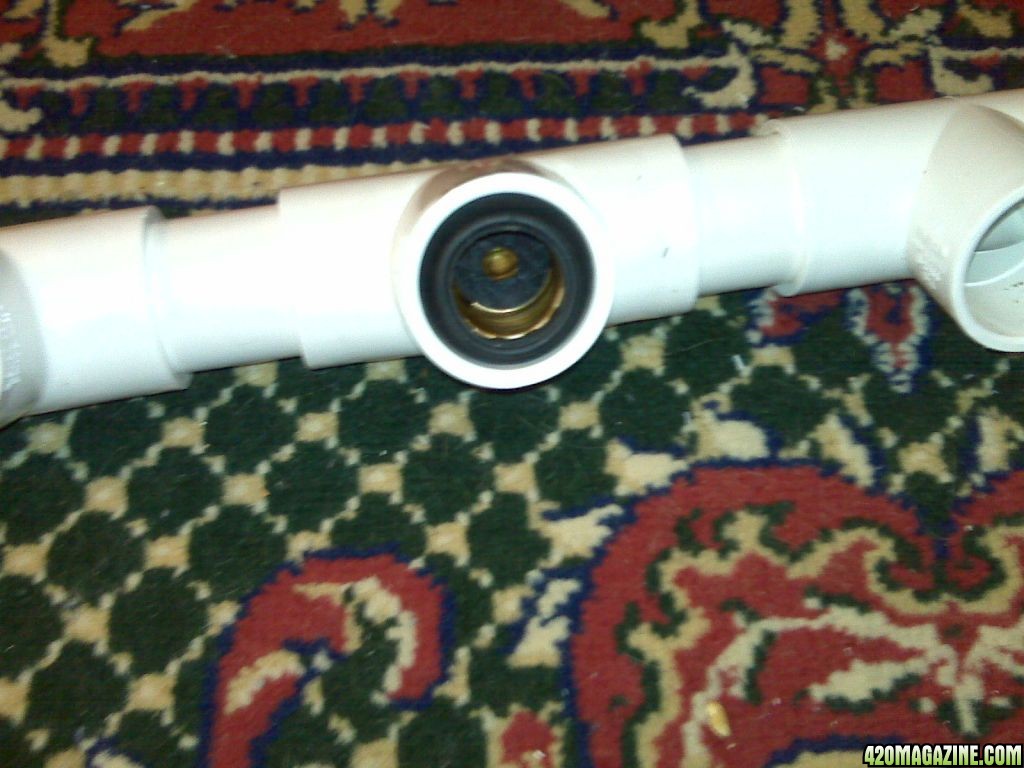
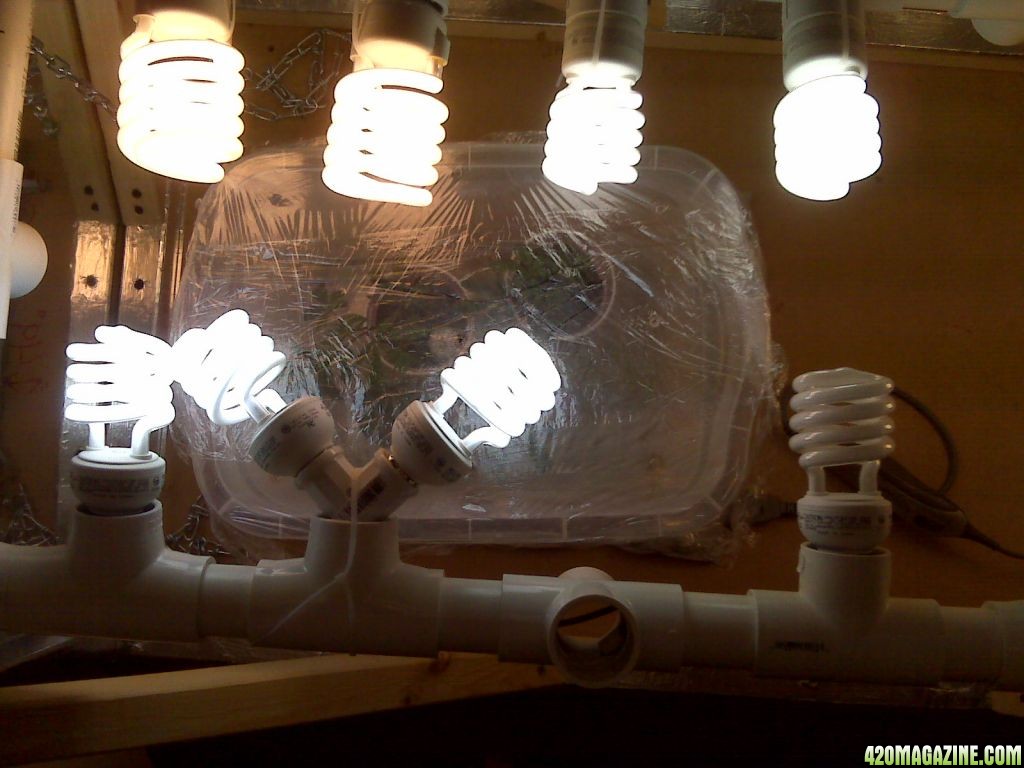
The Light sockets I am using are from Home Depot and are Waterproof and fit PERFECTLY into 1 1/4" PVC T's!! UPC# 078477839591 you can find them online use that UPC to search google
IMG00298.jpg

going_in.jpg

in.jpg


Onto WIRING.

Without going into a long diatribe about electricity all I can say is do your research and reading online about circuits, amps, wiring, and general safety with electricity and electrical working.

I found wiring sockets was fairly straight forward and easy with a little knowledge.

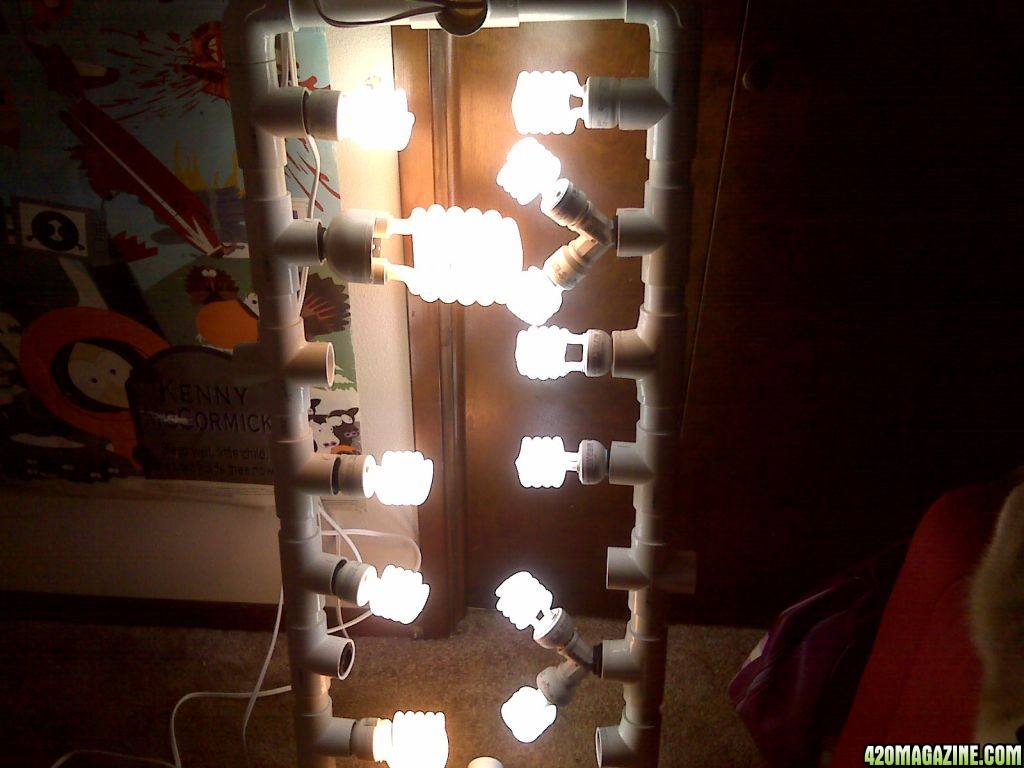
I know that my hood will be using at a max 400-600wof electricity spread out between 12 wired light sockets (I will be using Y splitter adapters to make 2 sockets out of one so I will have more than 12 CFL lights how many will be configurable as I grow along).

I want to have 2 wall plugs, one for each side of the hood, each plug will have a max load of 300 watts. All my wiring, sockets, and plug are rated for WELL ABOVE this load, but I am being SUPER careful, and who knows maybe I will buy higher watt CFL's later and will need to have some extra head room.

I started at the corner. Taking a 15 foot extension cord rated at 13 amps, 16 Gage wire, I cut of the female end and stripped the wires this will be the beginning of my first circuit. I wire in the first socket AND a 9" piece of lamp cord WHITE TO WHITE, BLACK TO BLACK.

A Bit Of Info. wide spade on the plug = ribbed wire = white/common/silver

narrow spade on plug = smooth wire = black/hot/gold
20000901_Ask_Handy_page003img001_size2.jpg


So my first wiring connection looks like this
wiring1.jpg


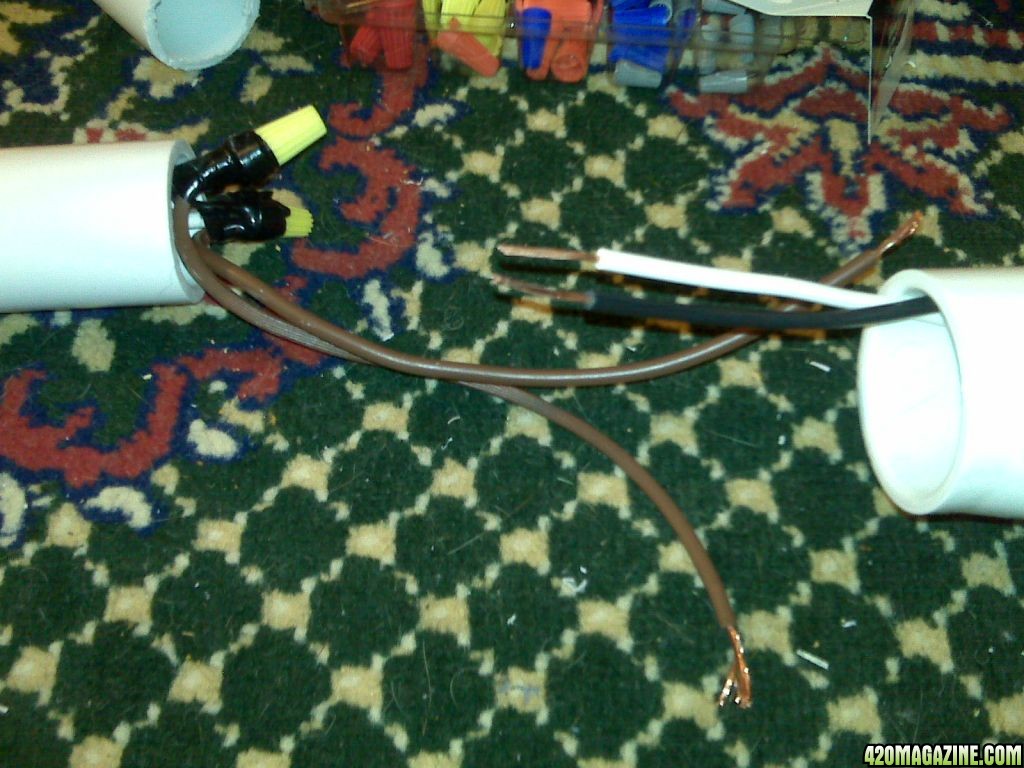
Each wire connection from here will consist of 3 wires, the white and black wire from my lamp cord attached to the previous connection and the white and black wire from the current socket, and then the white and black wires from the lamp cord to the NEXT socket all the way to the end.

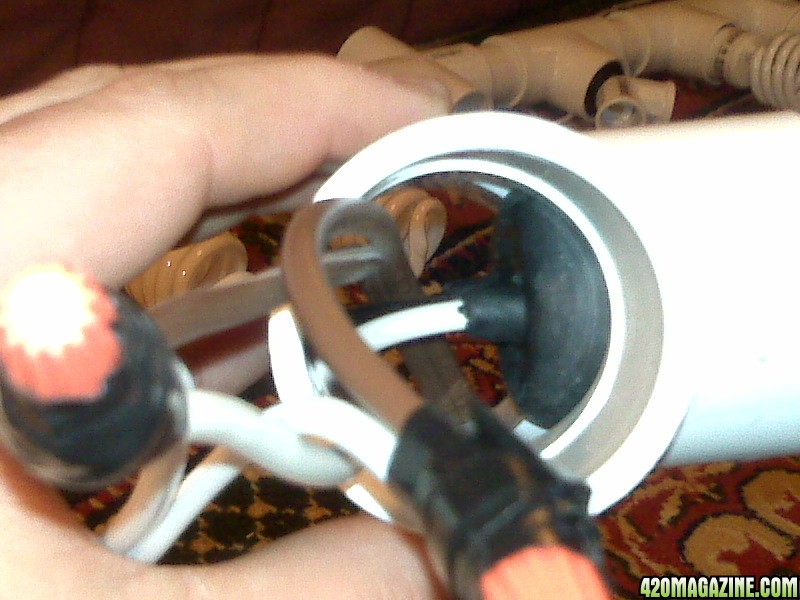
I used the YELLOW wire nuts and electrical tape to fasten each wired connection and stuffed them CAREFULLY into the PVC pipes.
IMG003091.jpg

inside_tube1.jpg


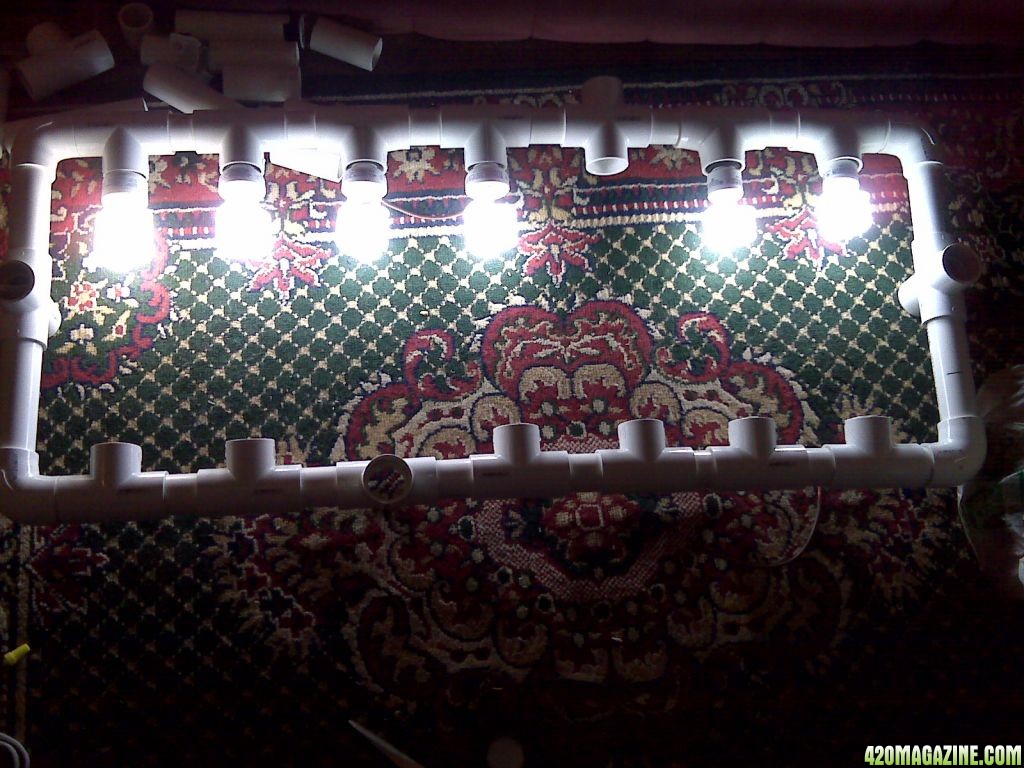
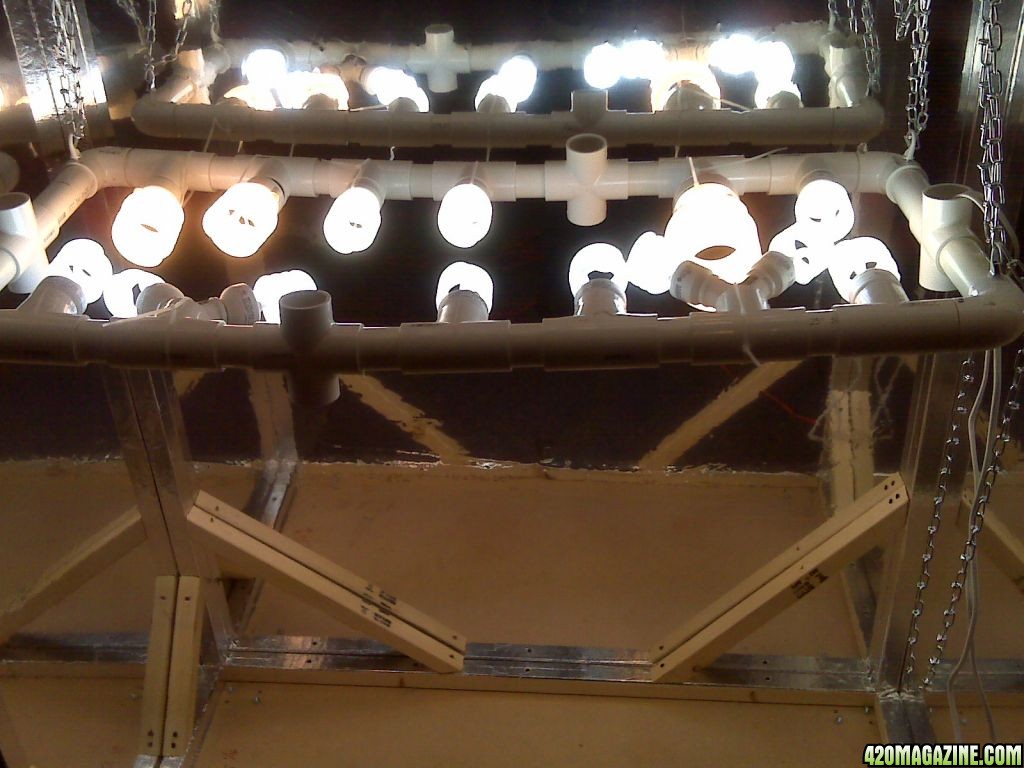
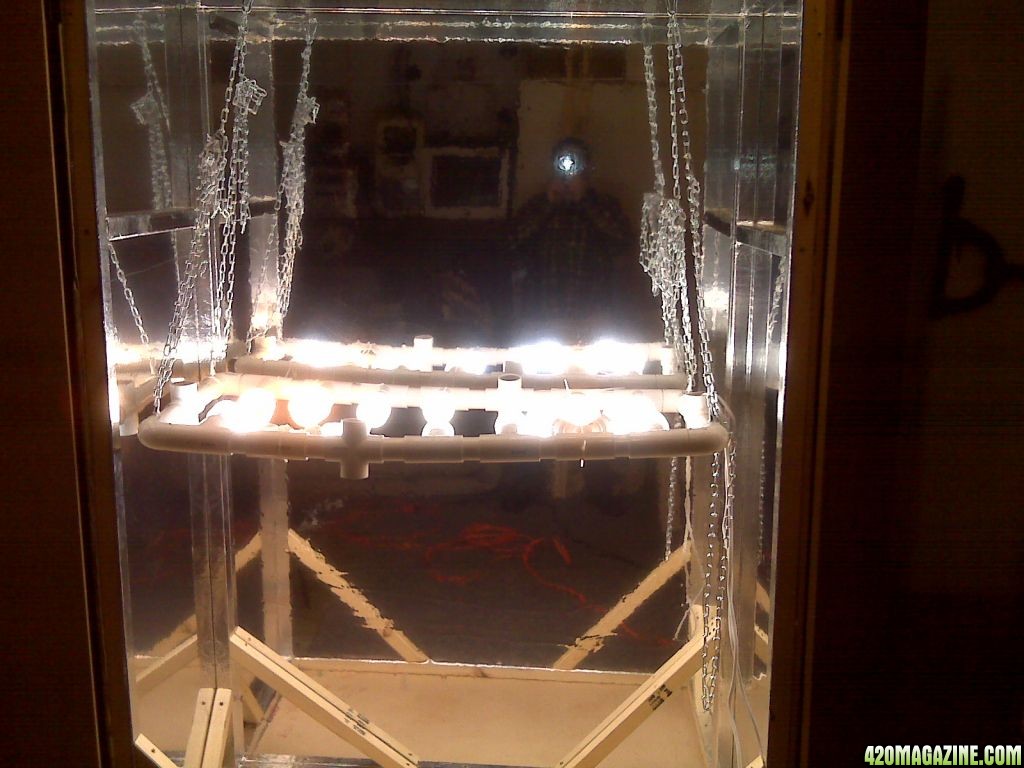
After getting one whole side done I plugged it in to see what it would look like!

half_done.jpg


Don't get intimidated I have absolutely NO building skills BUT if I can do this YOU CAN TOO!

When you make a wire connection make sure when you screw on the wire nut you hold the three wires together with one hand with the exposed stripped end facing out and then screw on the wire nut till it will not screw on anymore. THEN wrap the whole things with electrical tape. Electrical tape is stretchy so you can put it on pretty tight by stretching it a bit.

I did the same thing for the other side. So now I have two cords to plug in, one for each side!

IMG00319.jpg

Oh yeah! I ran the plug cords out through the top of one of the cross section PVC connectors which was perfect cause that's what they are for, running out the plugs and expanding later for more lights!

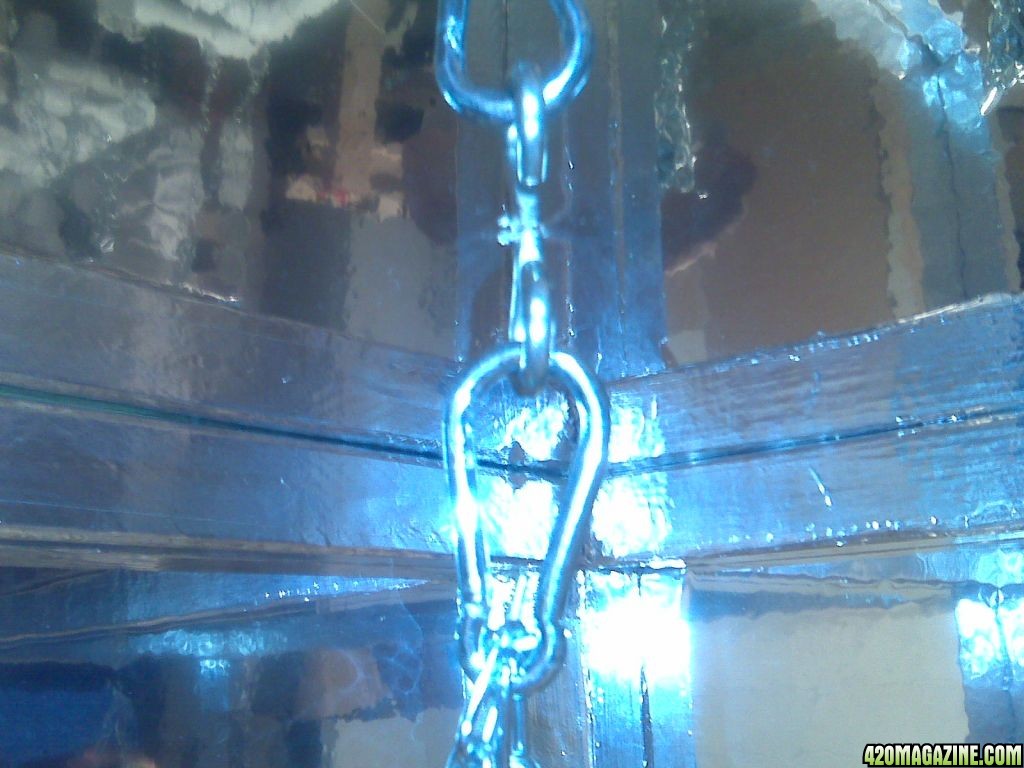
Got to make sure it doesn't fall apart so I used very small, 1/4" screws to fasten the ends 4 screws, one for each corner, and then put in the hanging hooks. For hooks I am using cup hooks with a protector clamp so the hanging chains will not come off
side_hooks1.jpg


Then I put up the hanging hooks in the ceiling of my box, in dead center 7 inches away from the walls.

hooks1.jpg


Notice how nicely the Mylar was able to be drilled through since I glued it on with spray adhesive?


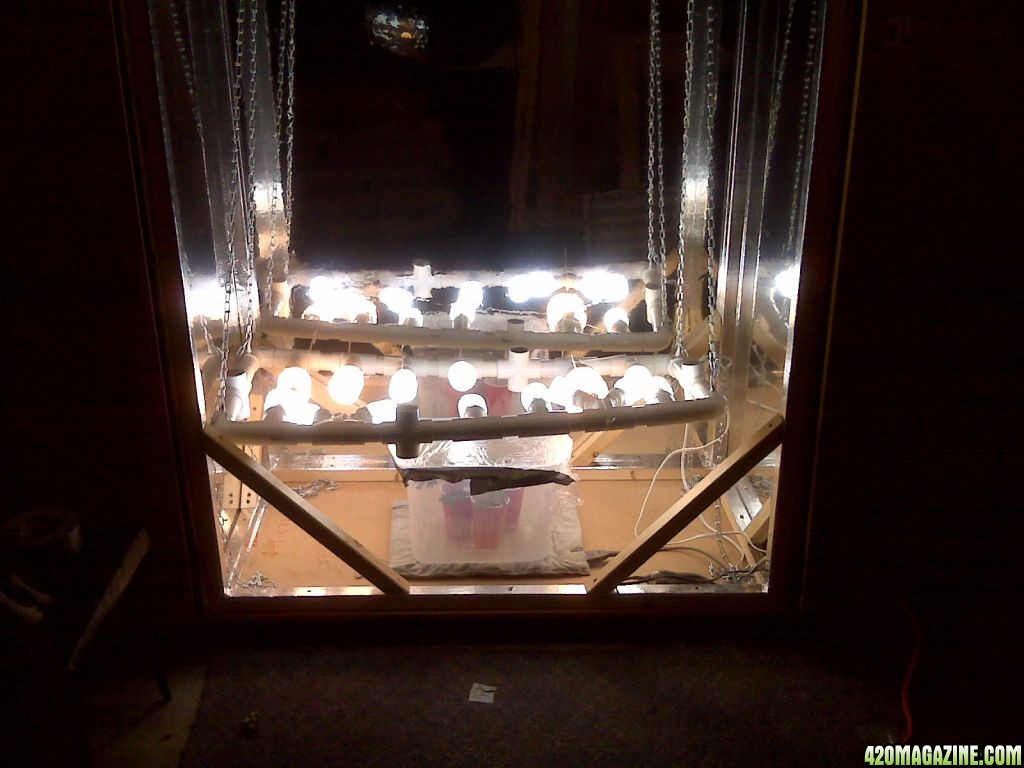
WOW the light hood is now hanging up!
hanging3.jpg


It's a little caddy wompus but with some adjustment (the PVC T's DO MOVE for adjustment of the lights.

IMG003382.jpg

IMG003361.jpg


It comes out pretty good!

Well during all this Door hanging and light fixture making and hanging I got my first 3 clones!

Lets Update than now...
 
CLONES!!! Day 9-12 of build

So I had to work 65 hours, and finish my box build and light build AND my clones arrived!
ARRRGHHH

Well I couldn't put my clones in my box since it was not done. ALSO they arrived in a soil/pearlite mixture! I am not well versed on clones (this is my first grow)

Can you transplant rooted clones from dirt to a DWC bubbler Hydro setup?
I will jump this hurdle next week!

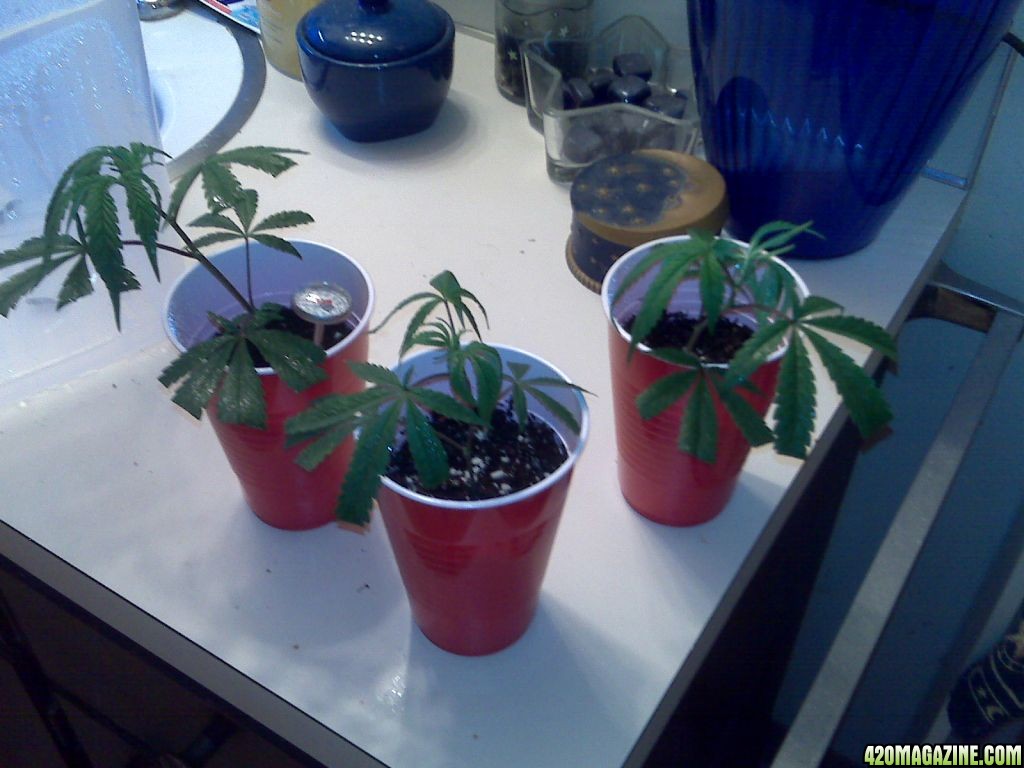
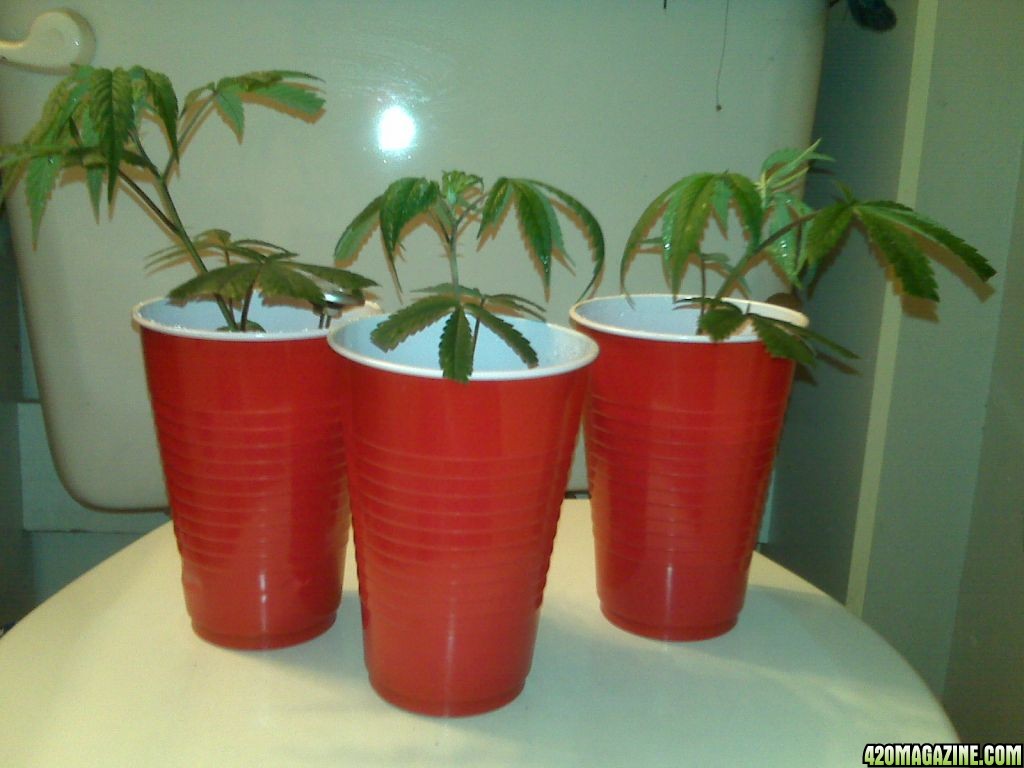
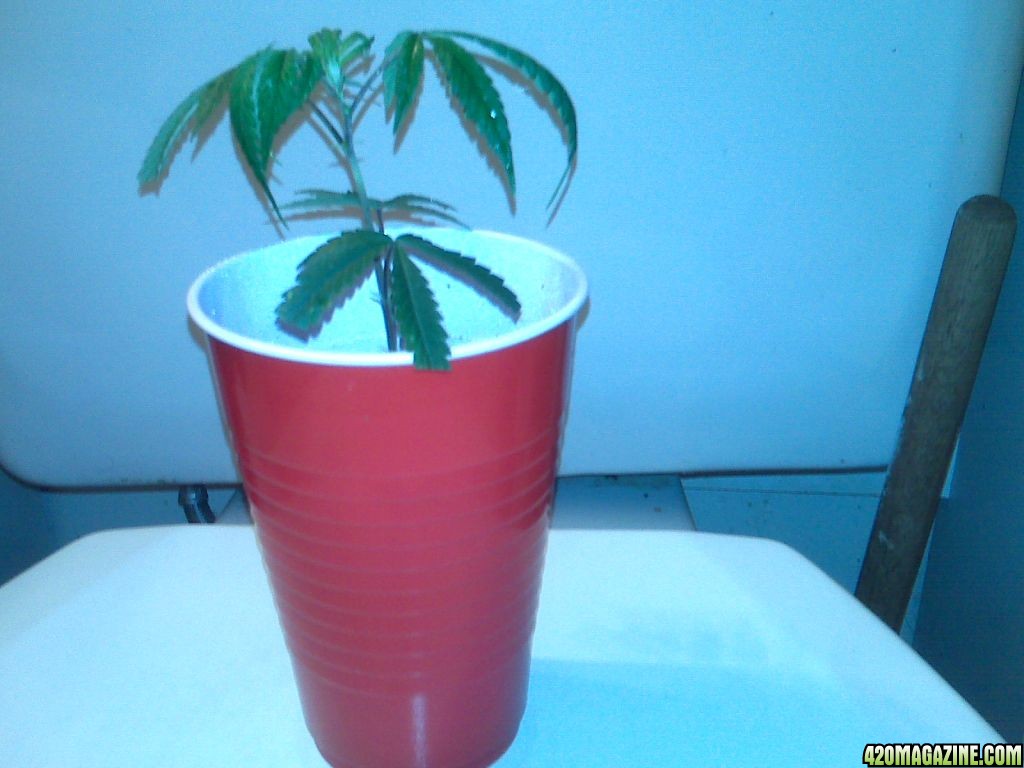
Anyway. Here's the clones!
plants_wide.jpg

plants_3.jpg

plant64.jpg


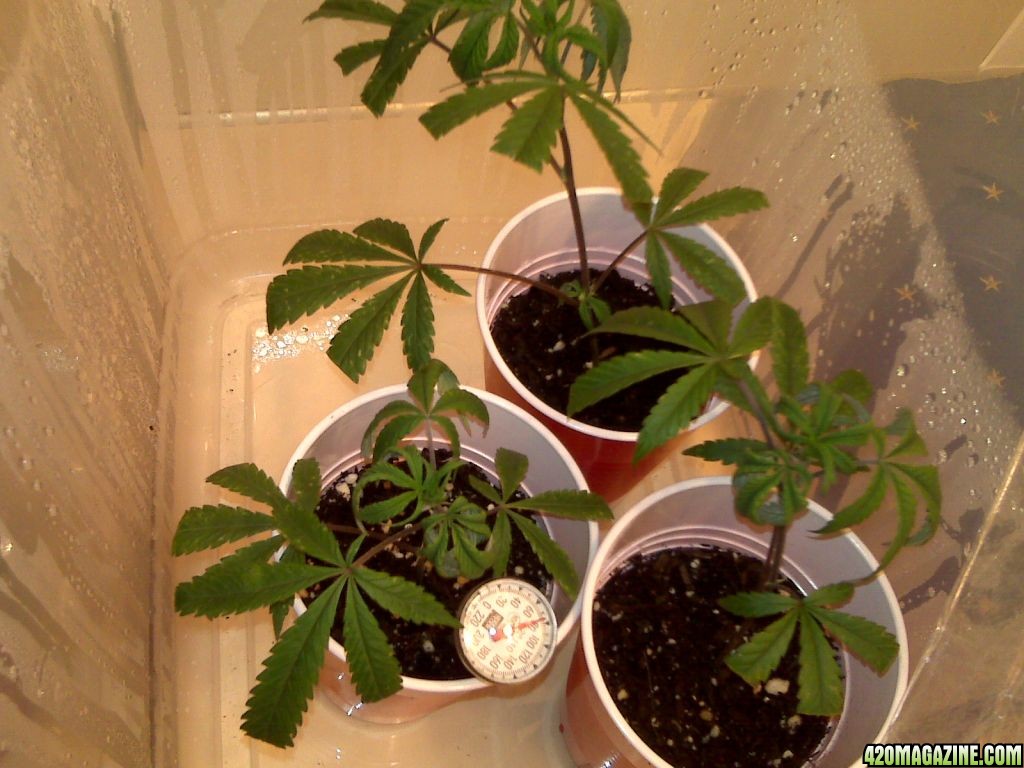
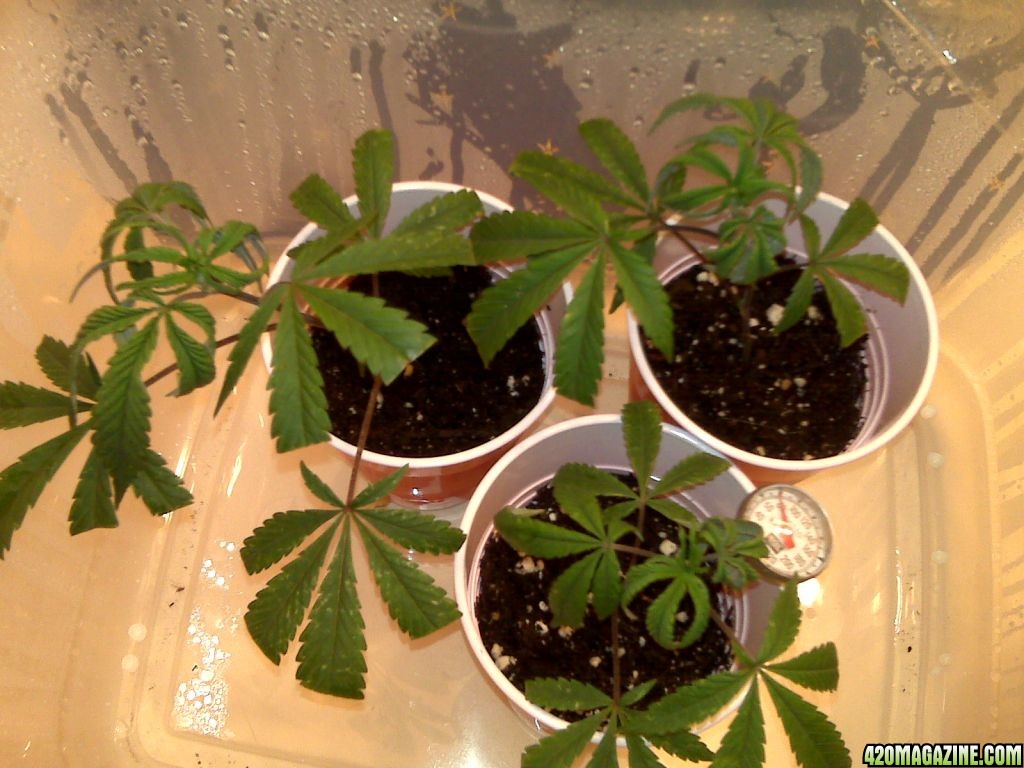
They are a little droopy! I need to get them into my humidity dome container and under lighting with a "Little" heat to warm the soil to promote root growth.

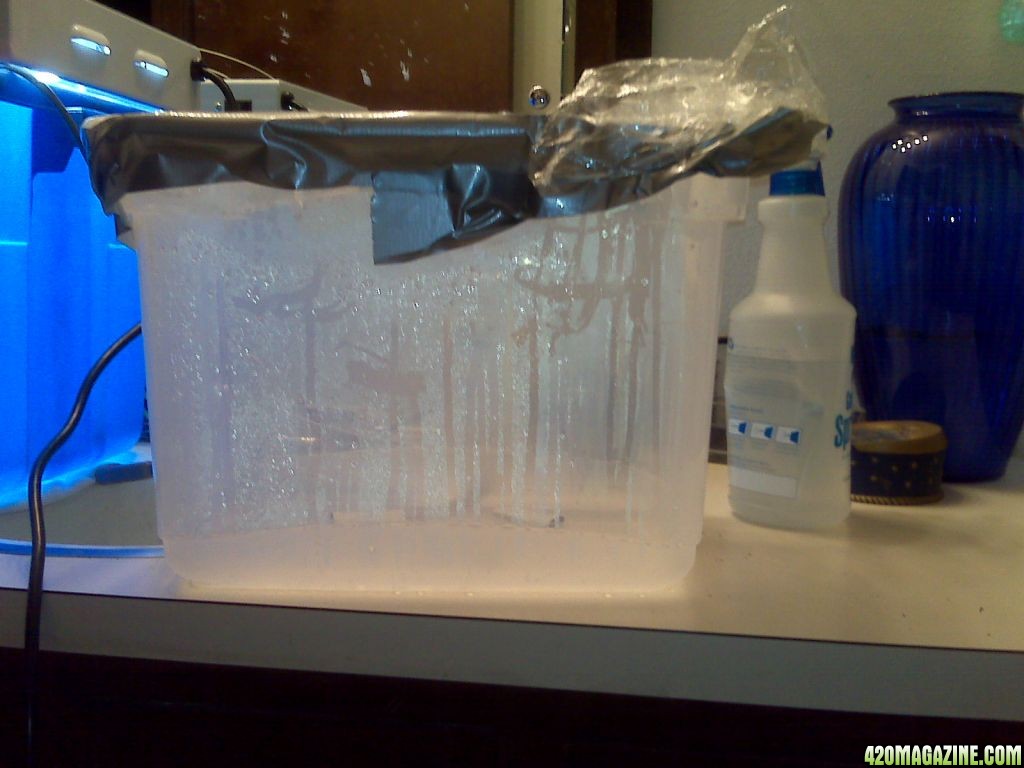
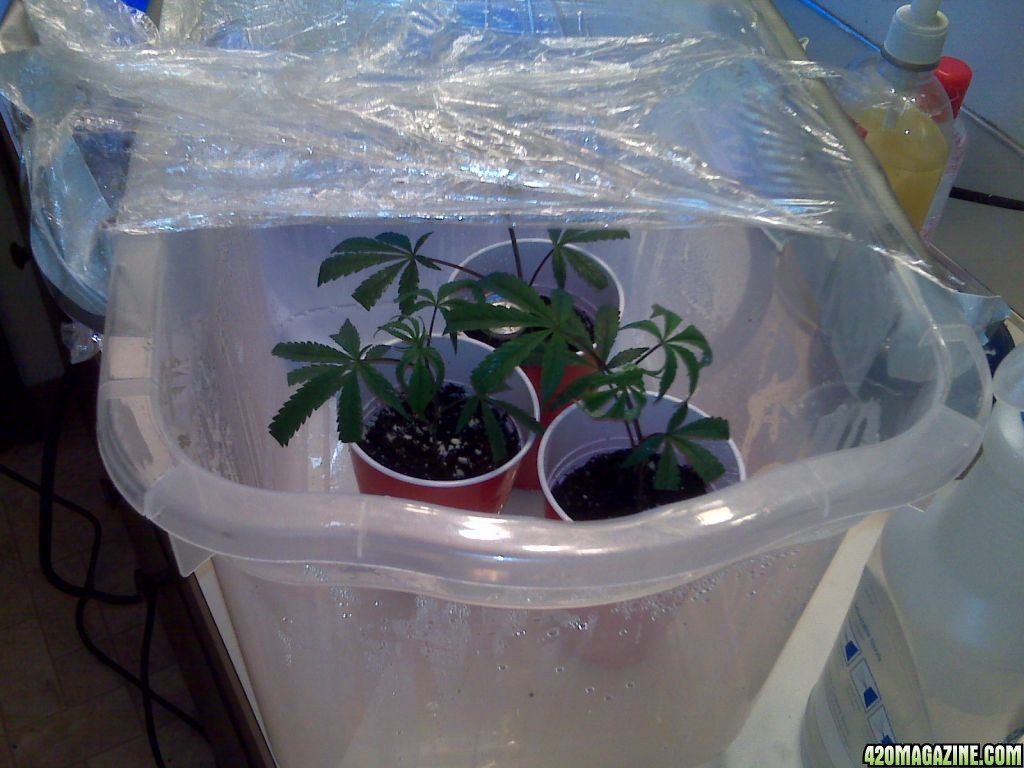
I placed them into a plastic rubbermaid clear container, spray them with store bought filtered water and cover it with saran wrap to keep in the moisture.
Before this I washed out my humidity dome rubbermaid container with rubbing alcohol to prevent mold and fungus and other ickies from getting to the clones when they put inside. Don't worry the rubbing alcohol will wash out with a little water and work well at steralizing.

See all the water drops? They will help keep it humid!
umidor.jpg

in_humidor.jpg


The clear plastic container is on top of a heating mat so I can make the bottom of the plant containers nice and warm.

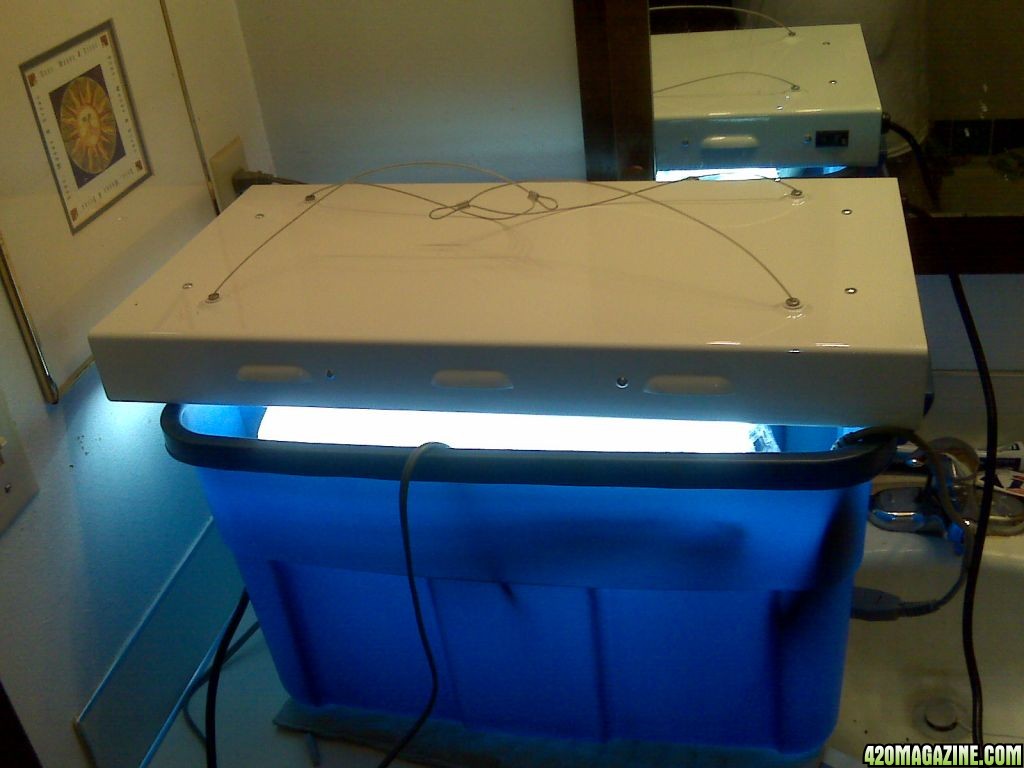
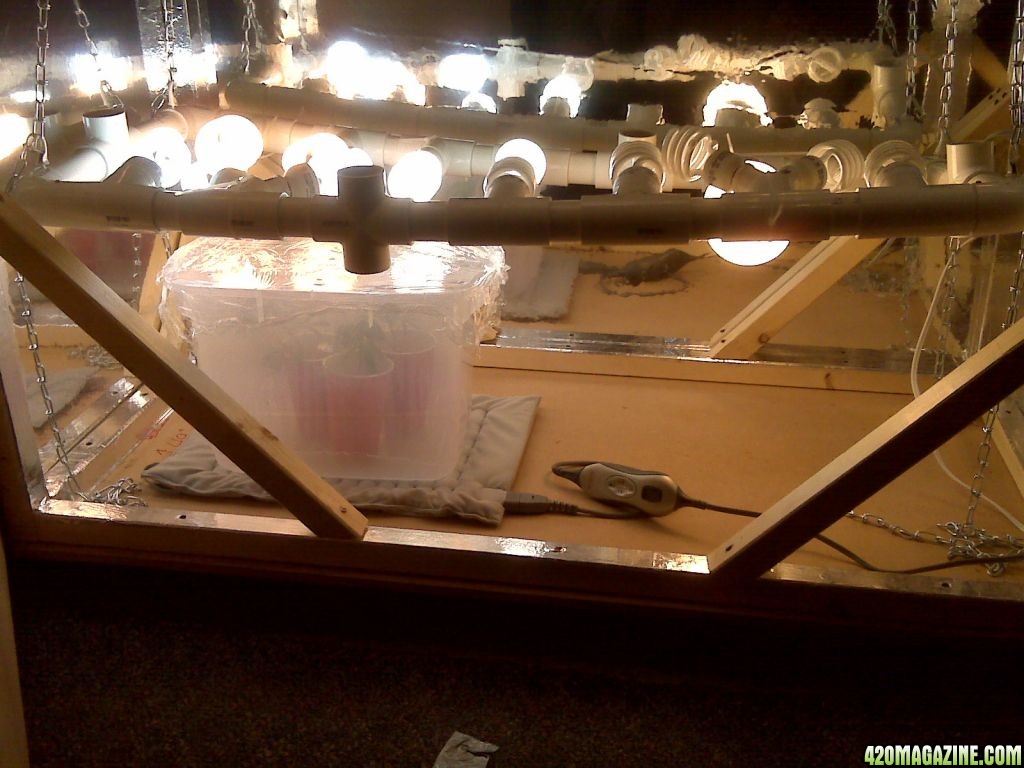
I then placed this into the blue rubbermaid container that will be my DWC and put a 2 foot T5 4 bulb light panel on top
setup211.jpg


NOTES clones like high humidity, and around 80 degrees temp. I put in a meat thermometer into the soil about 3/4 the way to the bottom of the cup so I could gage the soil temps at all times. The clones need high humidity because they are going to breathe through their leaves and to do so need pretty high humidity since they have no roots to bring in water (YET). You want the ambient air around the plants inside the humidity dome to be a few degrees less than the soil temps the heating pad works wonders to do this!.

I have had this in my bathroom since my box was not yet done.
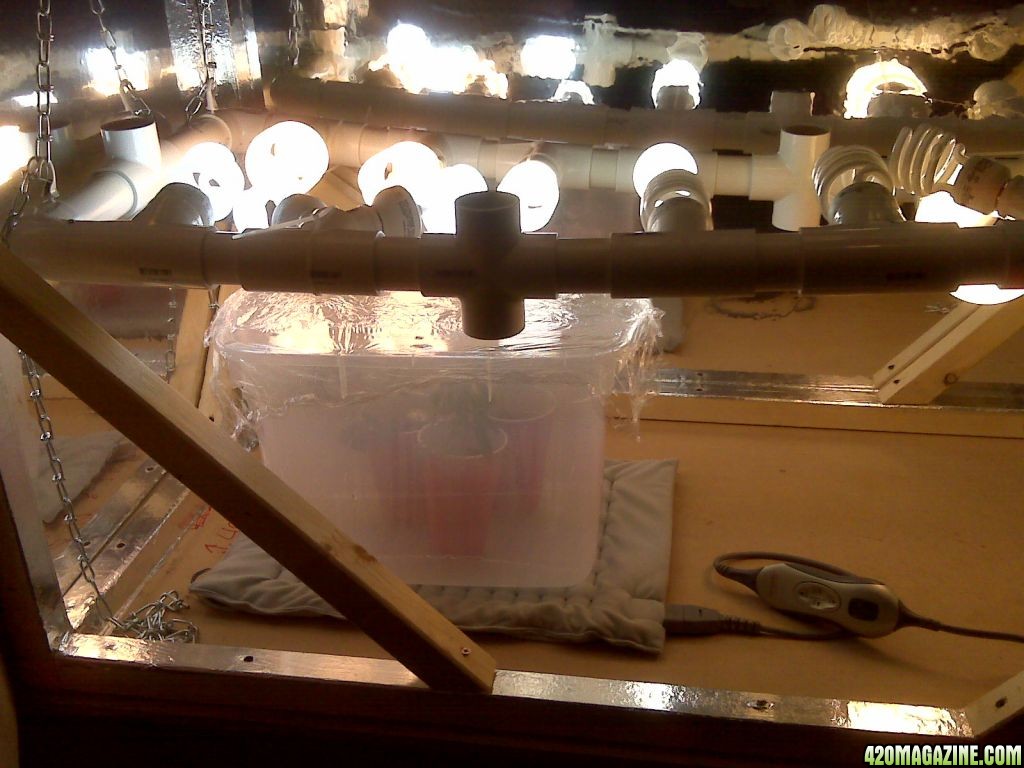
Here it is in my box now that it IS done!

clones_in_box.jpg

IMG00345.jpg

IMG00344.jpg

IMG003433.jpg

IMG003422.jpg

Some of these lights are unscrewed to turn them off because they are not being used yet and its getting a little hot in here with no venting yet.

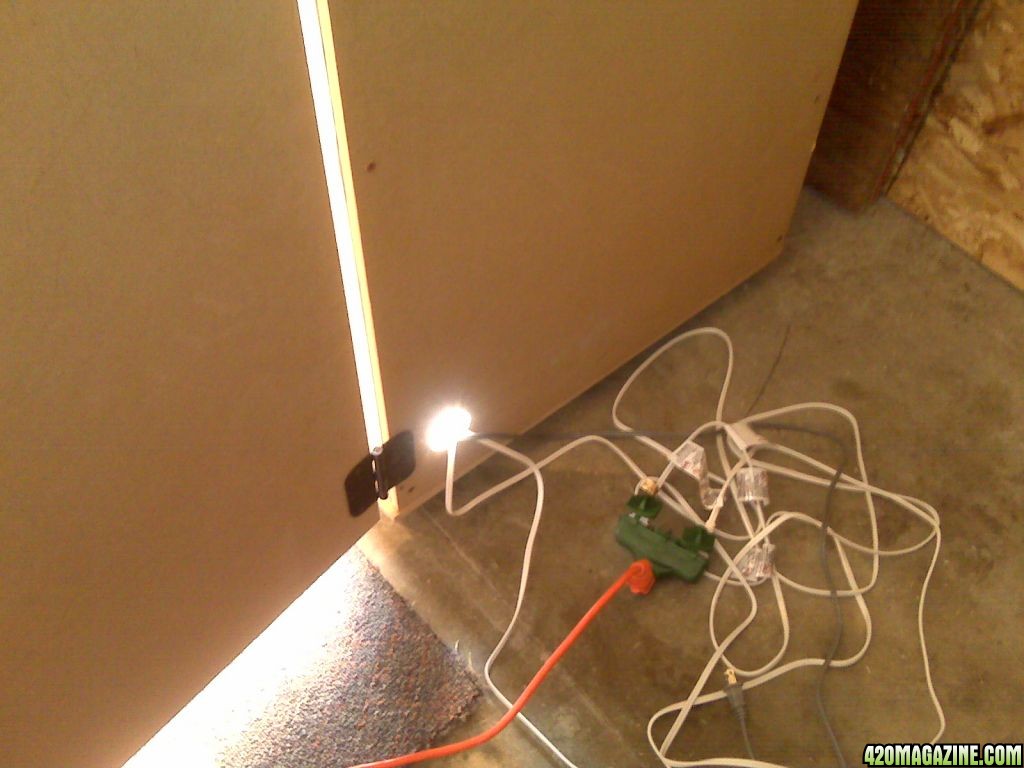
I made my first passive air intake and used it to run the cords out of. Later this 3 inch hole will be used to mount a PC fan as an active air intake as the plants get bigger and I will need active intakes and exhausts. Remember I will be making a carbon scrubber later on!
IMG003401.jpg


I Bought 2 2 foot 4 bulb T5 fixtures also during this time. I will use them mounted to a side wall later on to increase the lighting and lumens later on during the build. I plan on 16,000 lumens from T5's and 40,000 to 50,000 lumens from CFL's for a total of about 7000 lumens per square foot spread ALL OVER the interior and on top of the grow!

Well that's what's happened this past week. Doors, Wiring and Hanging of Lights AND dealing with Clones.

I only got 3 clones, I will be expecting more this week, and some seeds I will be cracking and rooting and some then putting into my DWC build setup!

What y'all think of this so far?
 
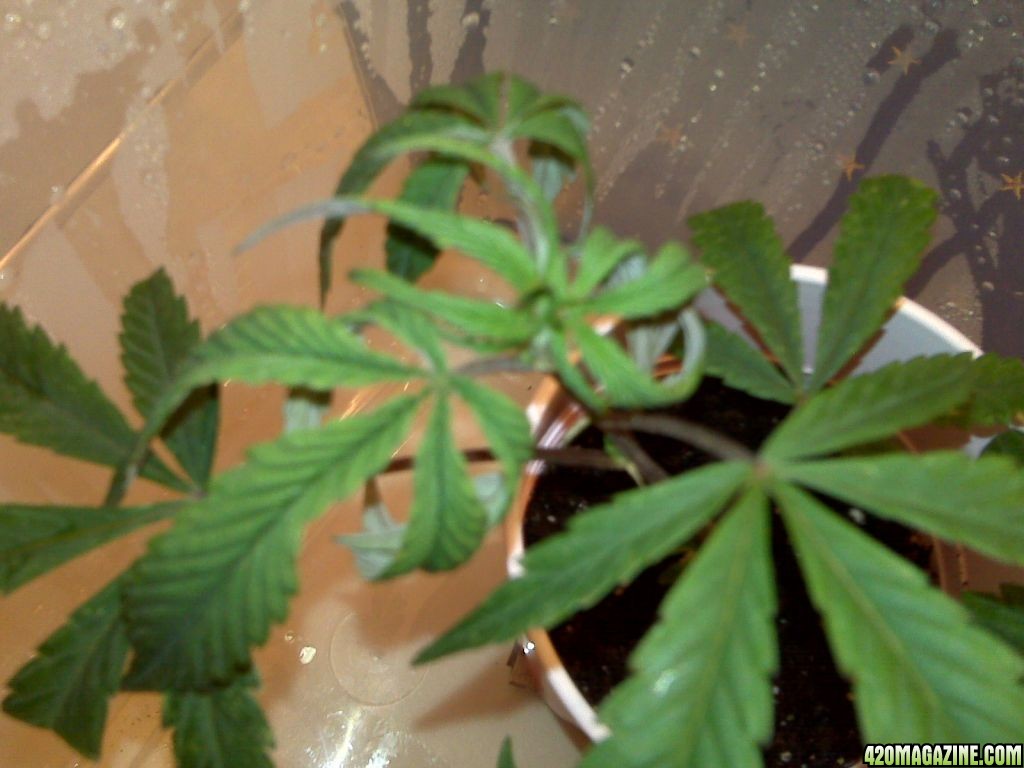
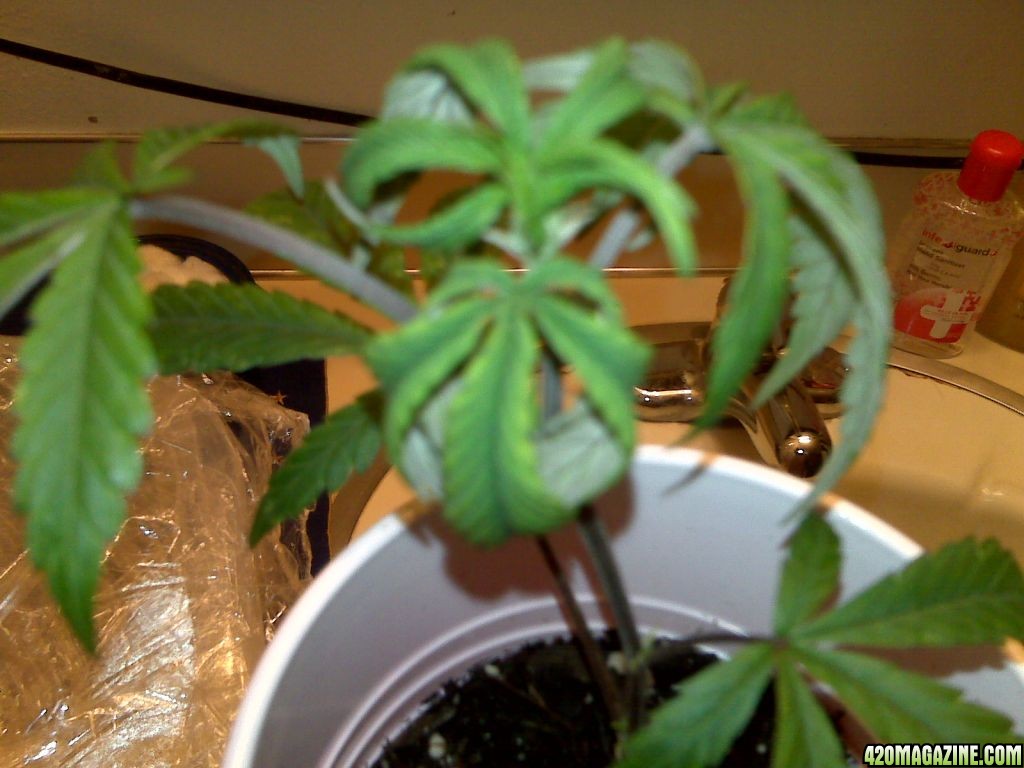
My clones have been in a soil/vermiculite mix since I got them 4 days ago. When I got them they were very green and a 'lil droopy but I figure that's normal since they have no roots and will be a little droopy until established.

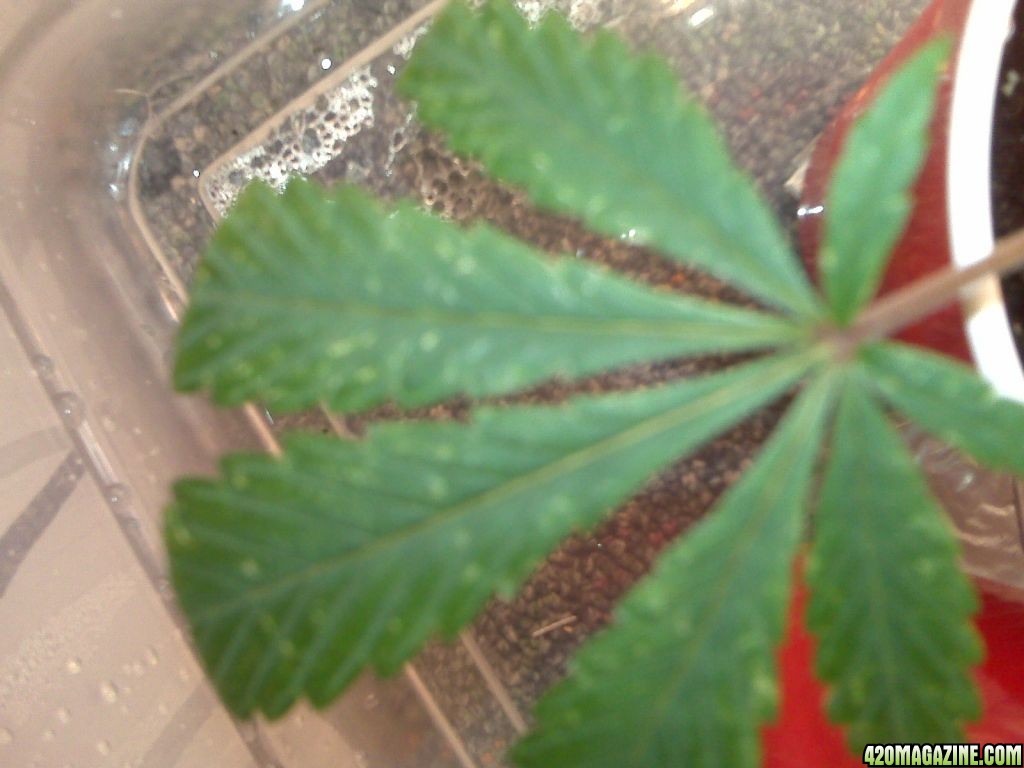
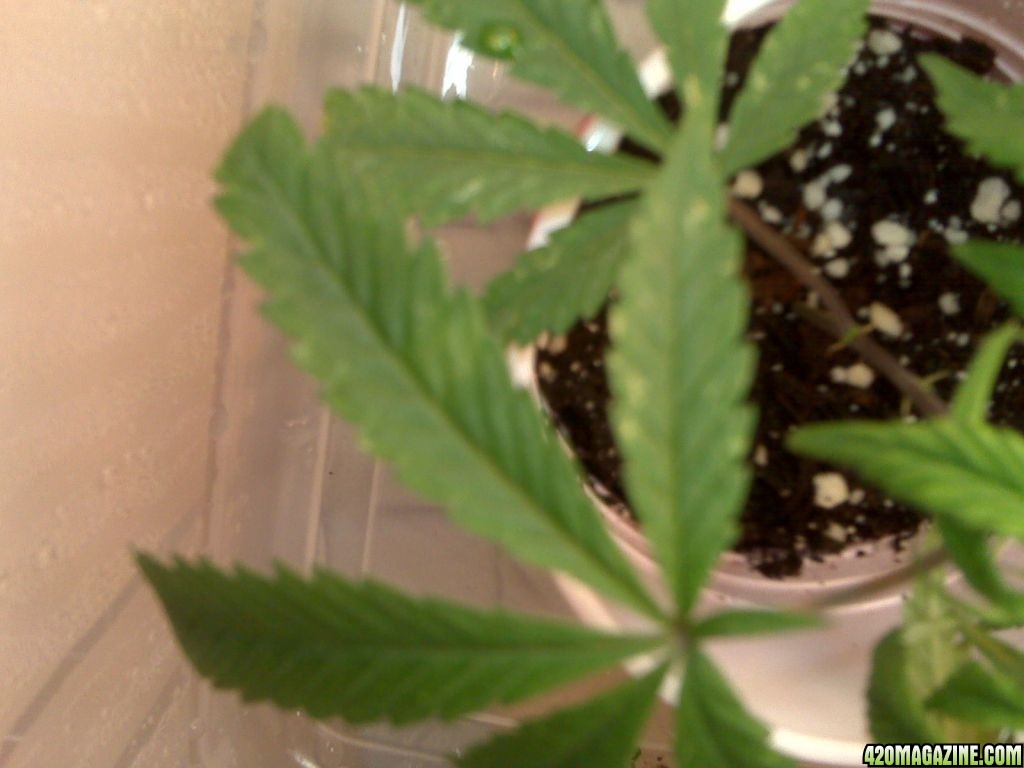
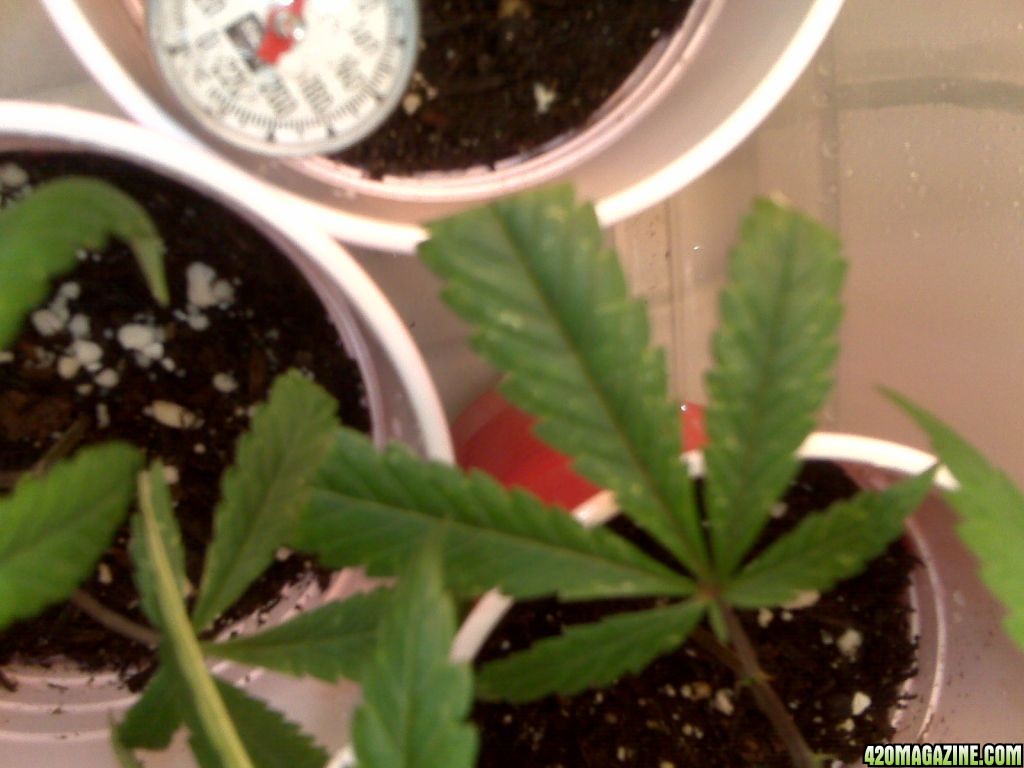
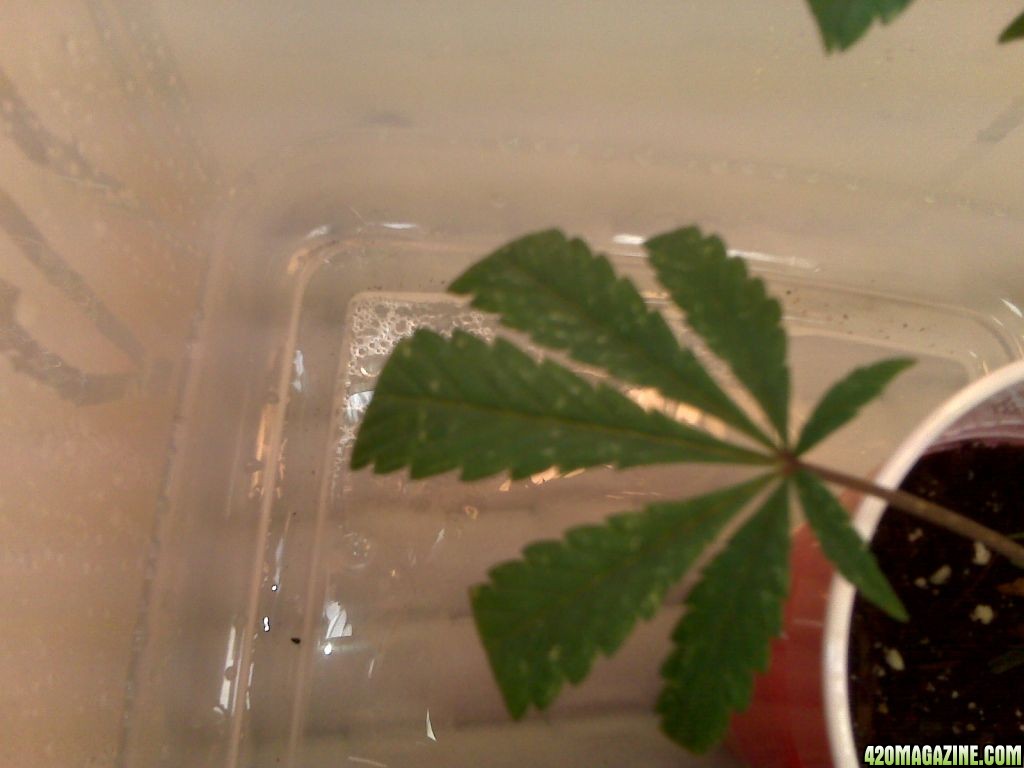
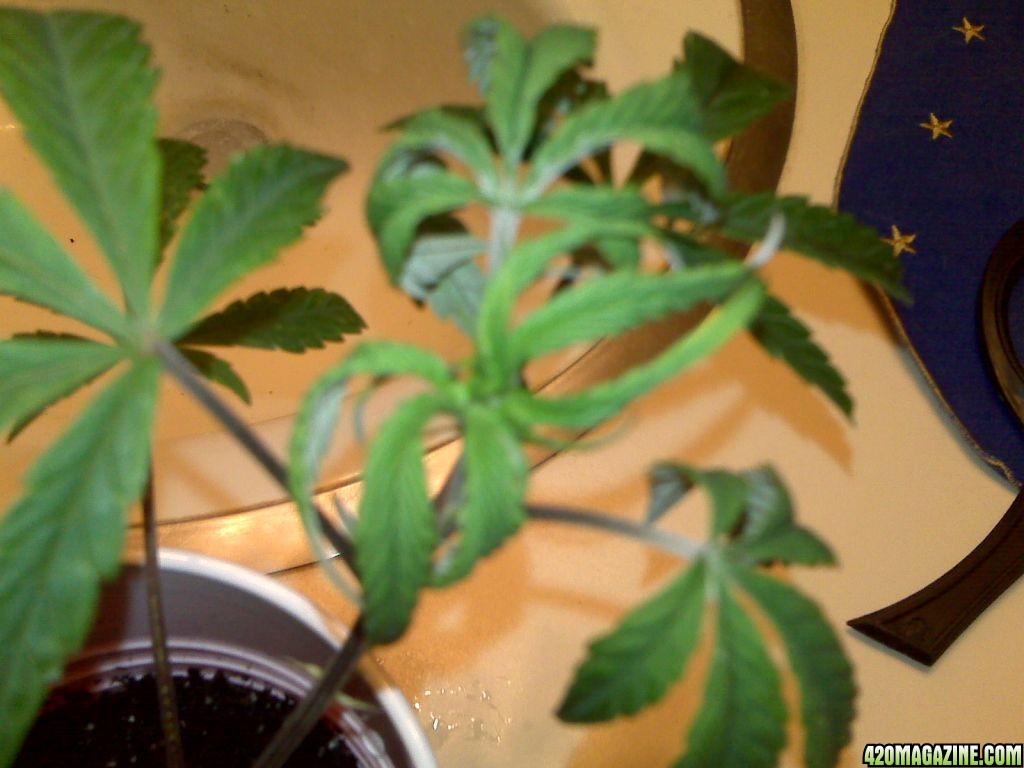
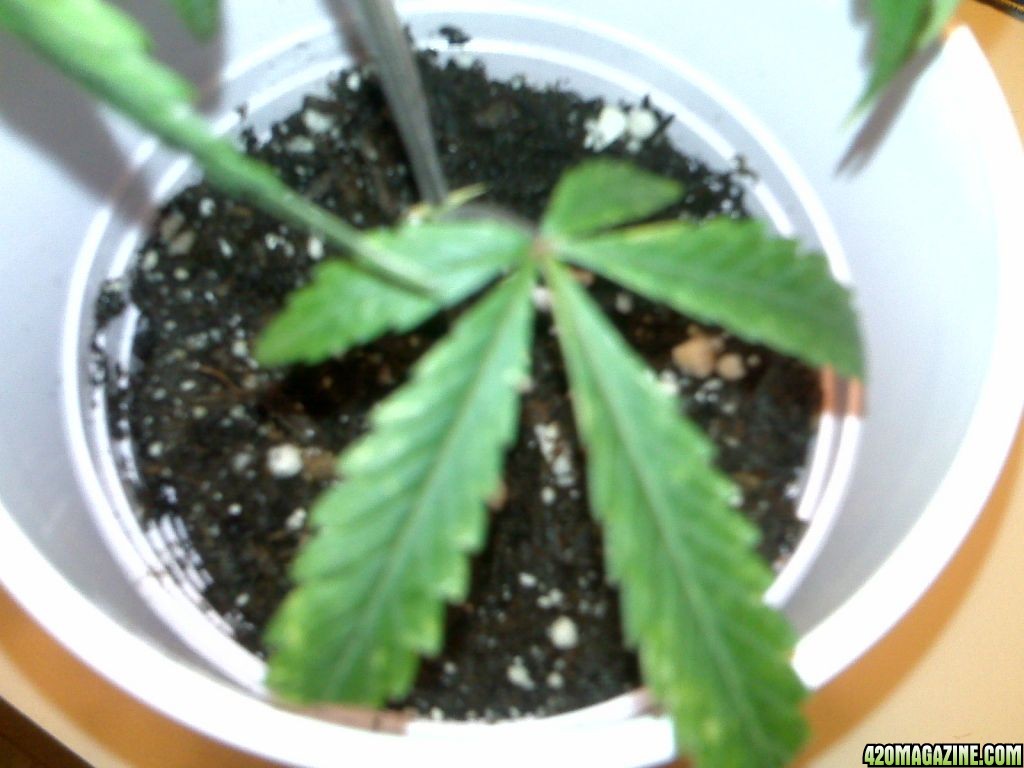
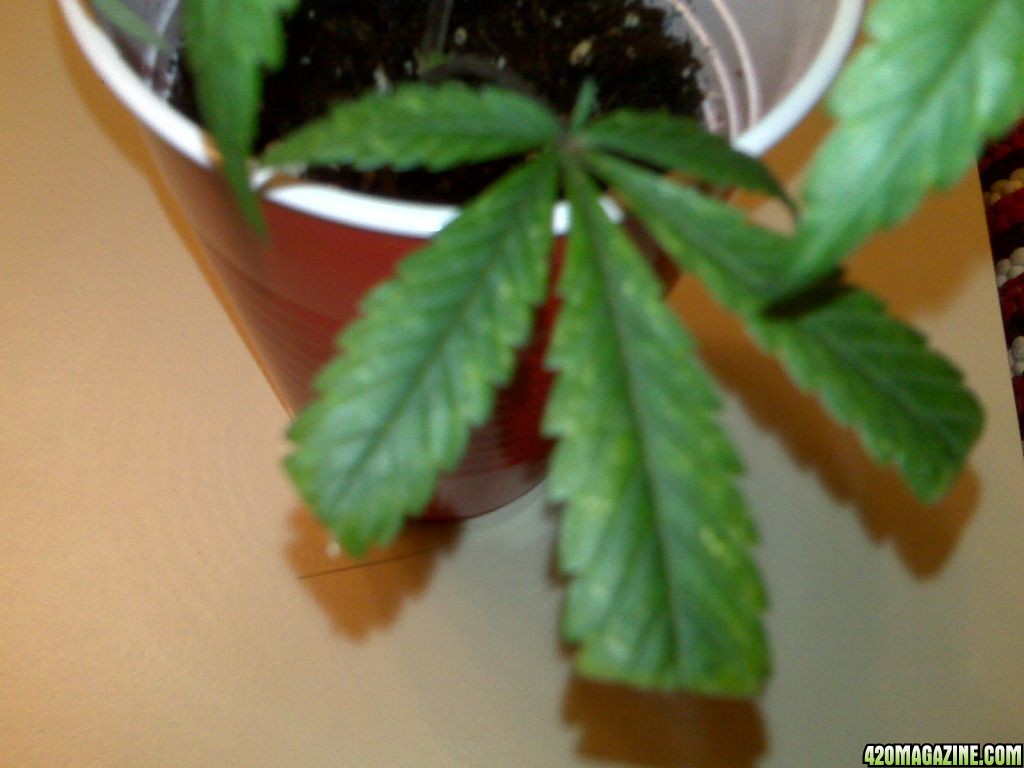
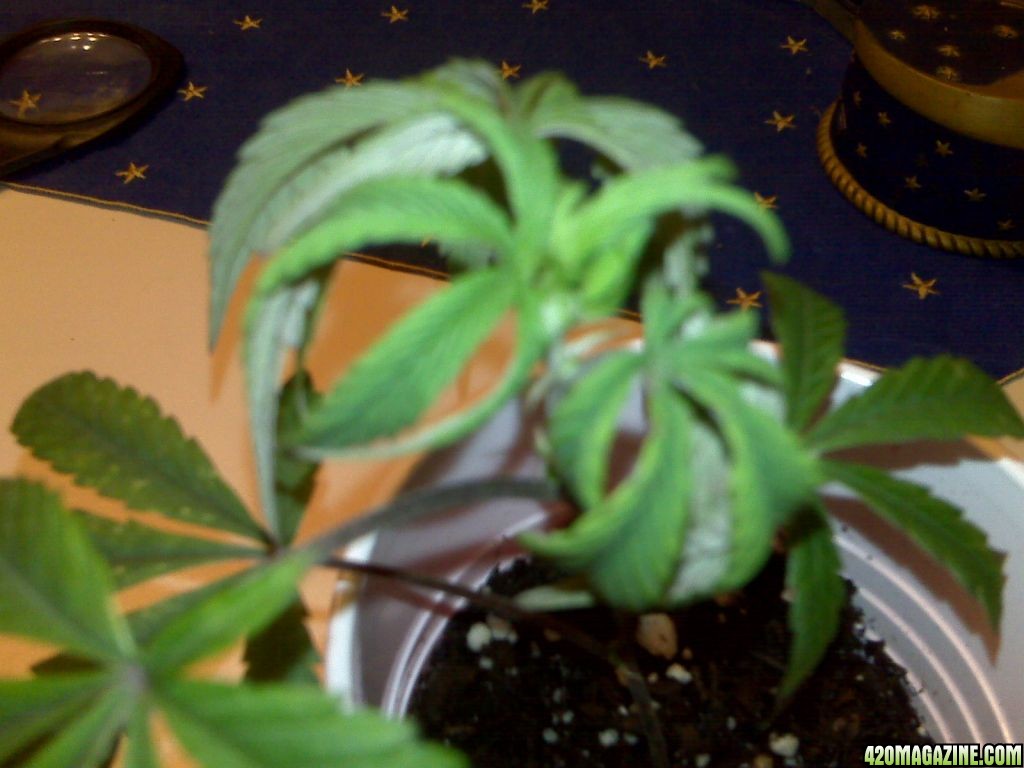
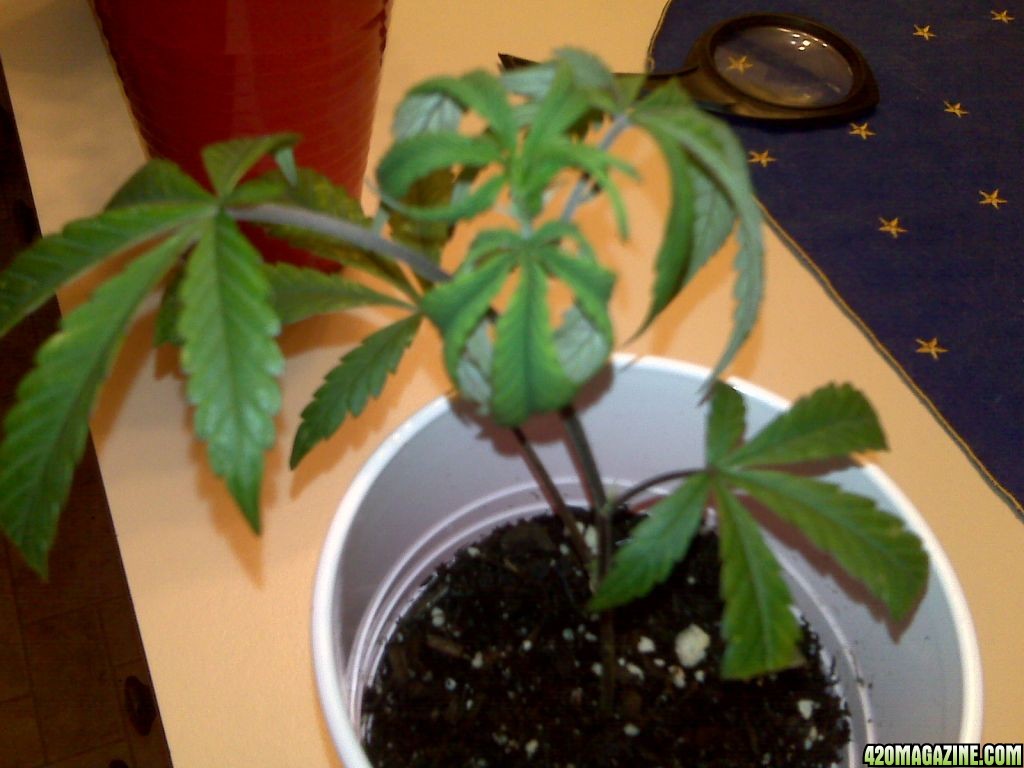
There are these yellow discoloration spots on the lower leaves, it kinda looks like over nute issues but there are no roots yet. I am using store bought filtered water, and they only have about 8000 lumens from CFL's mixed spectrum 1/2 2700K and 1/2 6700K the lights are about 8 inches above the plants inside the humidity dome.
The ambient air temp in the clone box is about 75 degrees F and the soil is warmed by a heating pad to about 75-85 degrees F the temp varies over the day/night.

The spots have been getting bigger and more prevalent over the past couple days and I am worried that there might be a problem.

please see pics and reply with any suggestions thoughts.
IMG00346.jpg

IMG00347.jpg

IMG00348.jpg

IMG00349.jpg
 
I have to say, for not being good at DIY you sure are good at DIY. Great step by step, mad props for the light rail. It is amazing.

Lets get to the clones. Make sure you are misting them as many times a day as you can think about it. DO they have any roots yet? It is not that hard to go from soil to hydro. This is my method. It prolly isn't the only way to do it as there is always more than one way to skin a cat. Saturate the soil with water then gently, gently, gently pull the clone away and out of the soil. Then wash off all the roots gently in lukewarm water until all soil is washed away. If you are careful and take your time is isn't hard to do. The less roots you have the the easier it is. After you get the roots clean you can put it in your net-pot or whatever you are using.
 
I'm late but I am here. And hey, I like your philosophy.

You are going to want to rinse the soil off of the roots until not one grain of dirt remains, then hurry and get them in the grow cups in the reservoir..

Being in soil, I'd check them over real good for insects and larvae.
 
OGD that is a nice grow box and I also like how you made that light!! From the looks of it your gonna have some real nice plants. +reps for the DIY:smokin:
:bravo::nicethread:
 
hey man. great box. *snicker* i really like the set-up. the super reflective sides are impressive!

as for you clones, i don't know if you've looked, but turn the leaf over and see if there are a bunch of little white things on the underside. i'm fearing that you may have a bug problem. the faster you know, the faster you can deal with them. good luck!
 
Day 5 of Clone Rooting.

OGD that is a nice grow box and I also like how you made that light!! From the looks of it your gonna have some real nice plants. +reps for the DIY:smokin:

:bravo::nicethread:
Thanks for the reps guys!

Glad to see I have some good followers on board for this ride.

I have thoroughly inspected my 3 clones. I took them out and under bright lighting and an magnifying glass looked at the leaves and under surfaces of all 3 prospective plants. I found nothing to indicate any insects. No larva, little web strands, or insects.

I'm late but I am here. And hey, I like your philosophy.

You are going to want to rinse the soil off of the roots until not one grain of dirt remains, then hurry and get them in the grow cups in the reservoir..


Being in soil, I'd check them over real good for insects and larvae.

Being only 5 days into rooting the clones in soil should I pull them out NOW and place them into the net pots into my DWC bubbler? Do they have roots already?

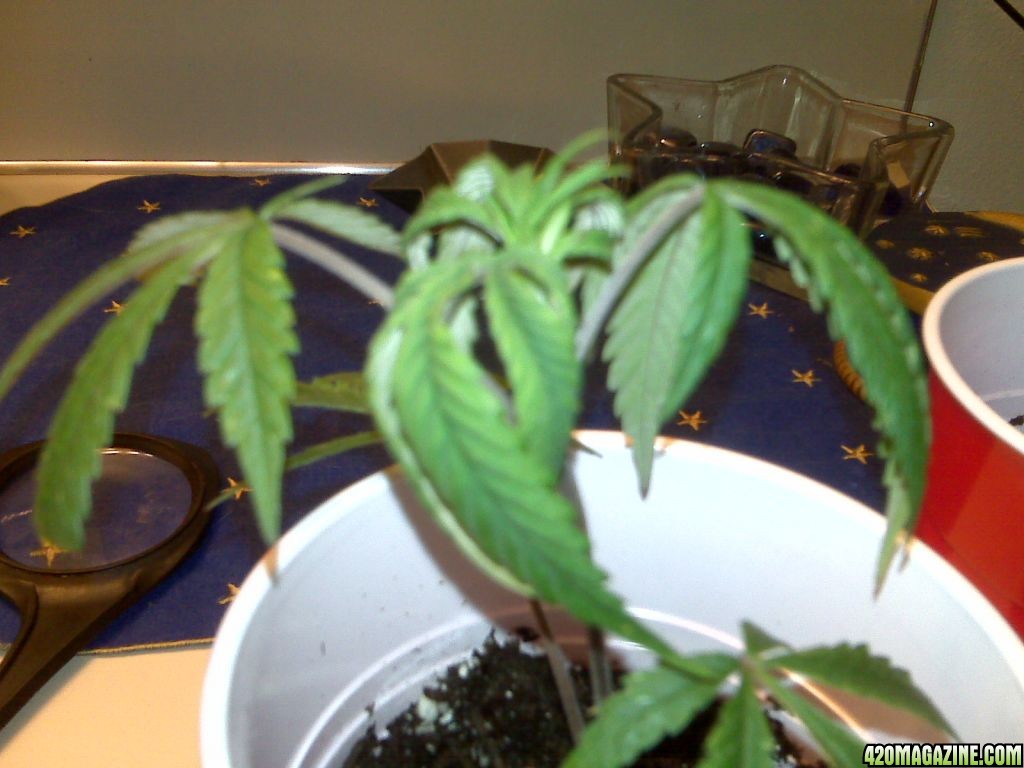
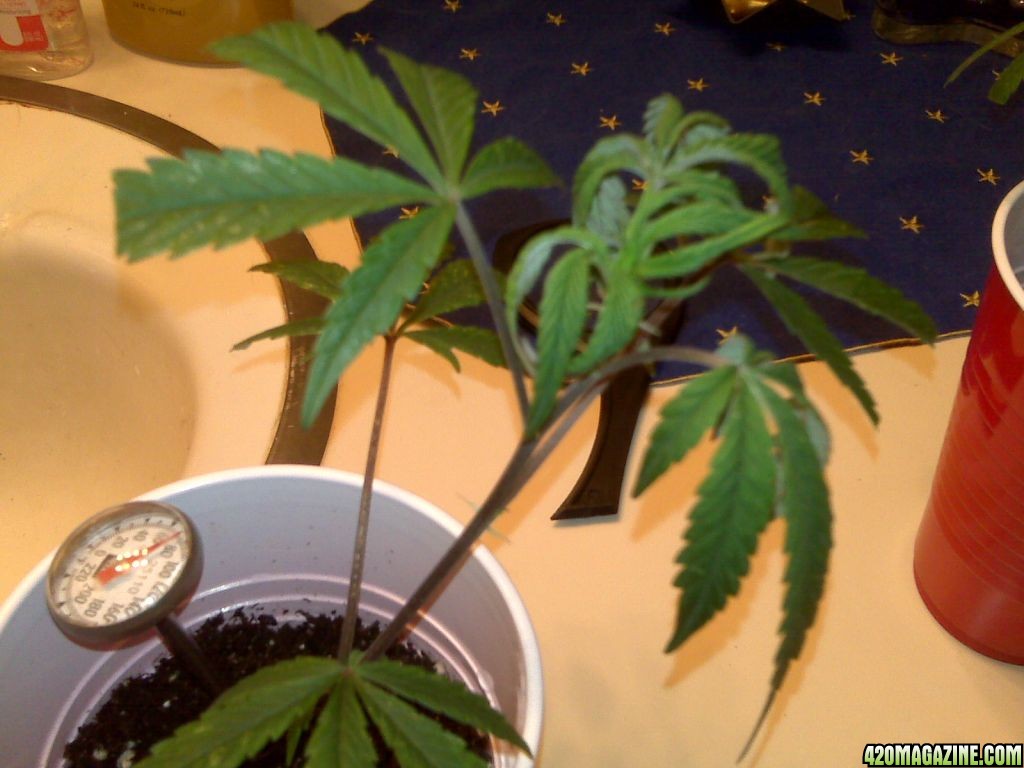
The leaves are drooping allot today IMHO.
here's the pics...
IMG00354.jpg

IMG003531.jpg

IMG00364.jpg

IMG00363.jpg

IMG00362.jpg

IMG00361.jpg

This one is blurry
IMG00360.jpg

IMG00359.jpg

IMG003581.jpg

IMG00357.jpg

IMG00356.jpg

IMG00355.jpg


So with no bugs, soil and interior fairly humid, and maintaining 80 degree temp. I am leaning towards this is normal for clones until they are rooted OR I just got some weak, bad clones, or it's the soil medium I received them in (or I'm just being overly nervous).

I have to say, for not being good at DIY you sure are good at DIY. Great step by step, mad props for the light rail. It is amazing.

Lets get to the clones. Make sure you are misting them as many times a day as you can think about it. DO they have any roots yet? It is not that hard to go from soil to hydro. This is my method. It prolly isn't the only way to do it as there is always more than one way to skin a cat. Saturate the soil with water then gently, gently, gently pull the clone away and out of the soil. Then wash off all the roots gently in lukewarm water until all soil is washed away. If you are careful and take your time is isn't hard to do. The less roots you have the the easier it is. After you get the roots clean you can put it in your net-pot or whatever you are using.

I do not know if they have roots yet, I GENTLY tugged on one today while inspecting and it did not seem anchored well, it pulled out just a little bit and I stopped....If I'm going to do the soil transplant I will only germinate 3 more seeds as my bucket will hold 6 plants (unless I make 8 spots for net pots)

But what ever happens I am preparing to germinate my first round of purchased "practice" seeds and place them in rockwool cubes to be rooted and then into some hydronton filled net pots, in my bubble bucket (all documented in the coming couple days).
 
[Day 6 of clone growth[/U]

Okay peeps. I visited the grow shop today on my lunch hour between jobs.

The three clones are doing exactly the same as yesterday's post. Quite limpy and leaves droopy and curling under. Seems like this might be normal... We will see

I picked up some supplies at the Grow shop today on my lunch break between jobs.
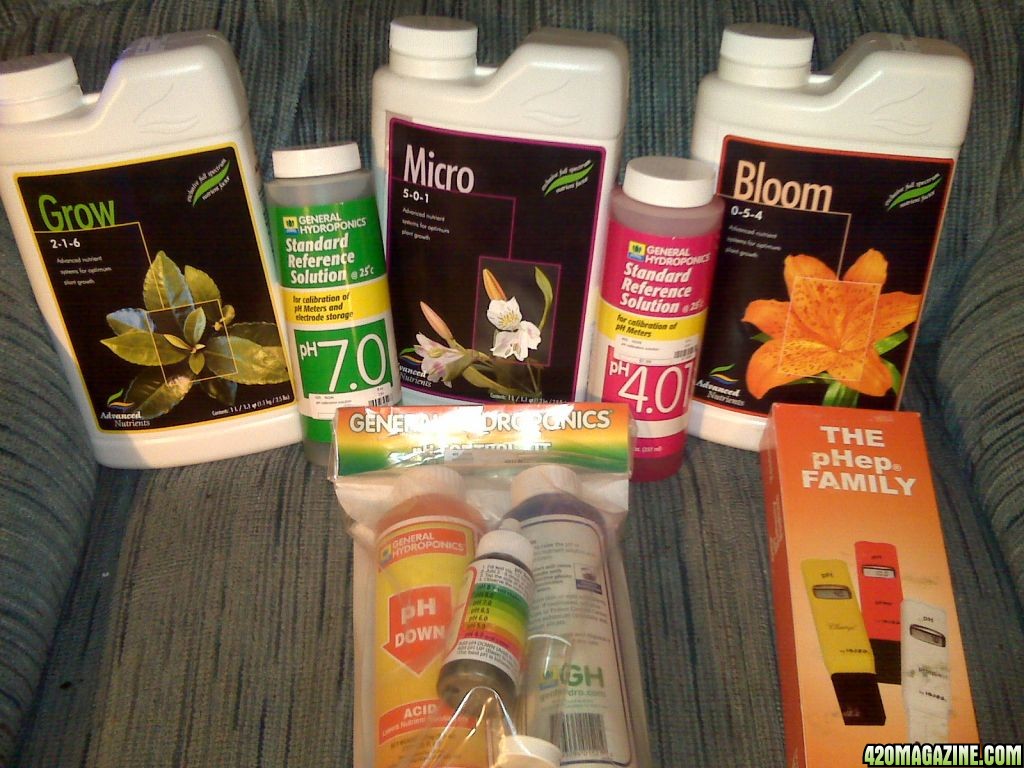
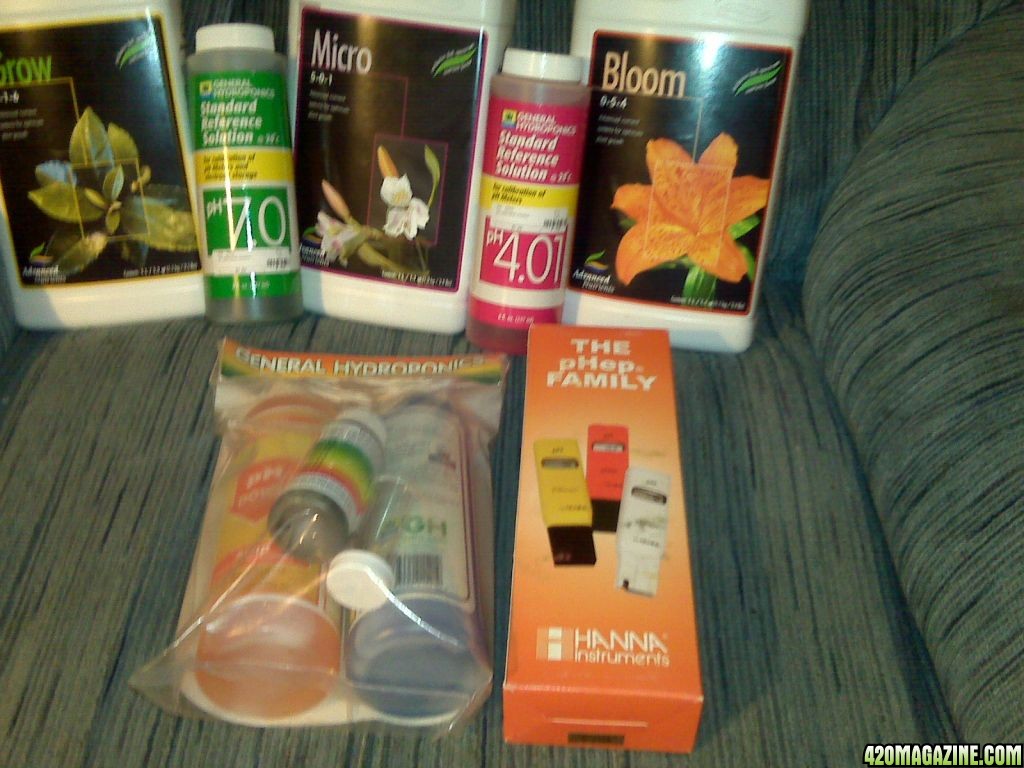
I got Advanced Hydroponics 3 part nutes. Grow Micro And Bloom, A Hanna PHep digital PH tester, some General Hydroponics PH Control kit with up and PH down and a liquid PH tester vial, also got some General Hydroponics 7.0 general reference and 4.0 general reference Solution to calibrate my Hanna digital PH tester, some Grodan 2" rockwool cubes for about $145 total , the Hannah PH tester cost $55 and the nutes were $15.0 each, and PH up and down were $8 each, and the calibration solution was 8.00 each
IMG00366.jpg

IMG00365.jpg

I also got some seed s yesterday. cost $80 for 10 seeds at my local dispensary. I will be using the nutes and solutions for my DWC and start germination my seeds tomorrow. hopefully to start my DWC with them in 5-6 days.

I will be getting a scale or ml/dropper to dose out the nutes and PH up and Down but...

QUESTION:


what is the general consensus about GH PH up and down and AH 3 part nutes?

How much PH up and down per gallon does the GH PH up and down take to raiser or lower the PH up or down 1 whole number? The documentation I received did not tell me exactly how much to use, it just says use sparingly...how much is sparingly?

I'm getting REALLY excited I'm done purchasing the MAJOR components for my grow. from here on out I should only be buying small priced items, so no more major spending. (EXCEPT for the active exhaust fan and carbon scrubber...estimated about $50-100)

It's time to star growing!

Any feedback so far on anything?

I have experience with the pH DOWN. Use one level teaspoon to move 6 gallons of water one whole point down. 1/6 teaspoon for one gallon of water.
 
Thanks Roseman for the reply. I will check the PH up by testing a gallon of water before adding PH up several times, then add 1 tsp of PH up and recheck the PH several times and note the average difference.

I'm using distilled water from the store. I buy 10 gallons at a time.
 
Back
Top Bottom