Miasma
New Member
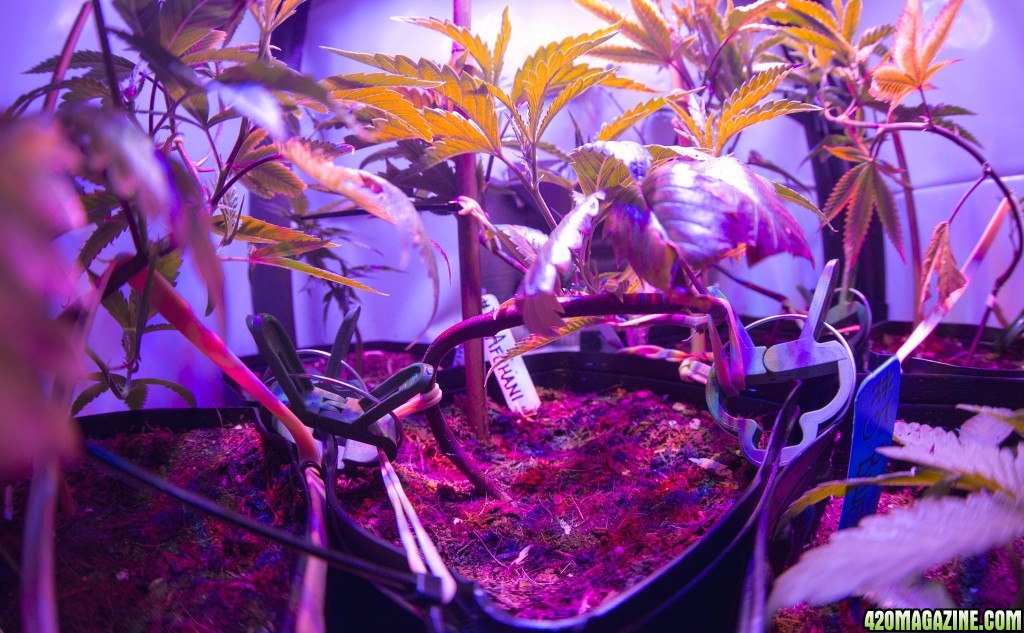
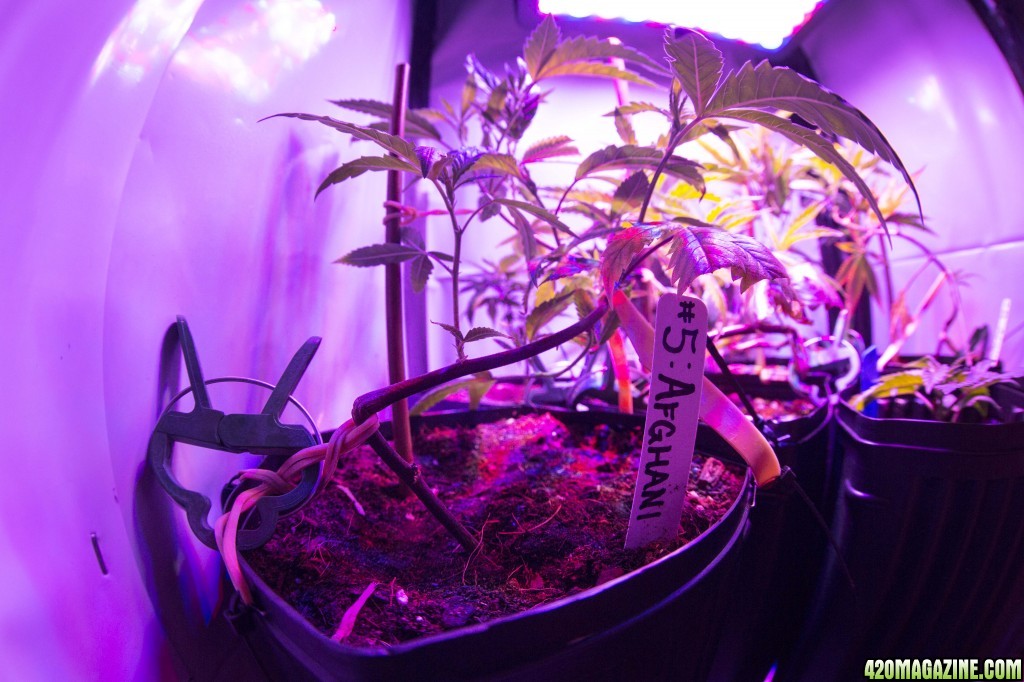
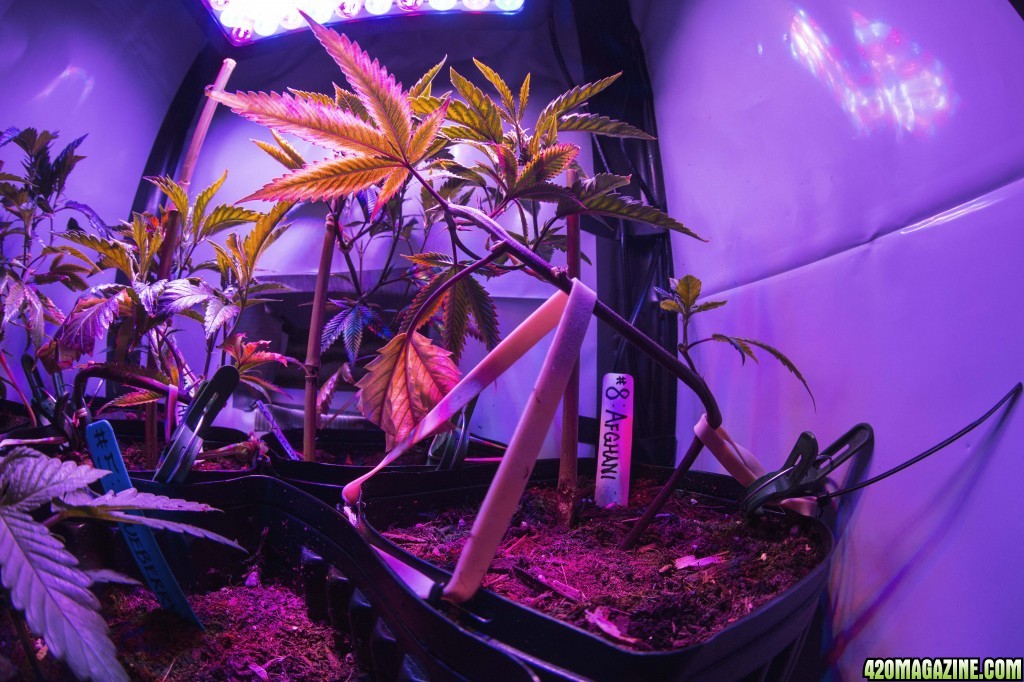
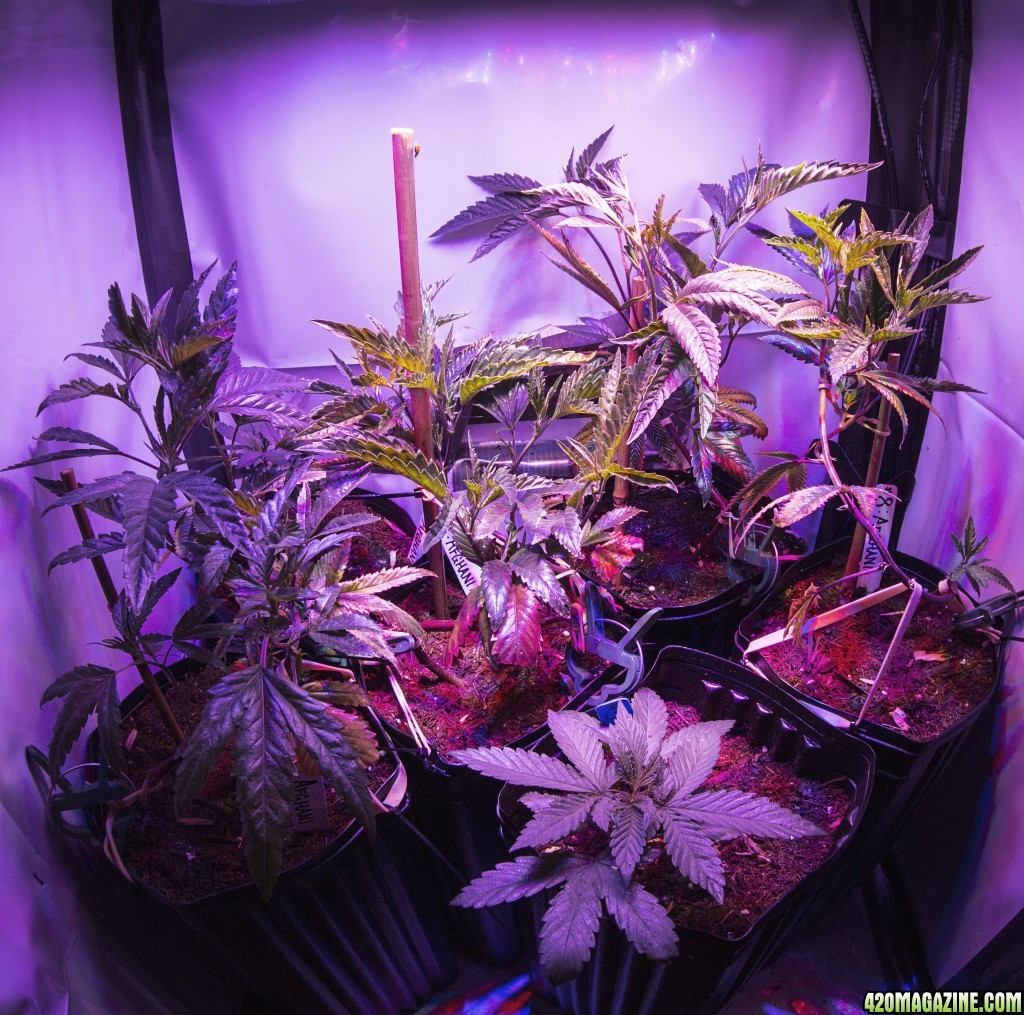
Afghani Clones - Day 1
I am incredibly stoked today; I finally found a source for Afghani land-race clones in Los Angeles and have been searching for a way to obtain these plants in the USA for a few months. My first purchase of this strain was for 10 seeds through Attitude in the UK, but they were taken by customs and burned; I blame it happening so soon after the election, and given the current Federal stance on marijuana I doubt I will try this again. Thankfully, I finally found these.
What strain is it? Afghani
Is it Indica, Sativa or Hybrid?
What percentages? Pure Indica
Is it in Veg or Flower stage? Vegetative Growth Stage
If in Veg... For how long? Mother Plant Age: 5 months
If in Flower stage... For how long? N/A
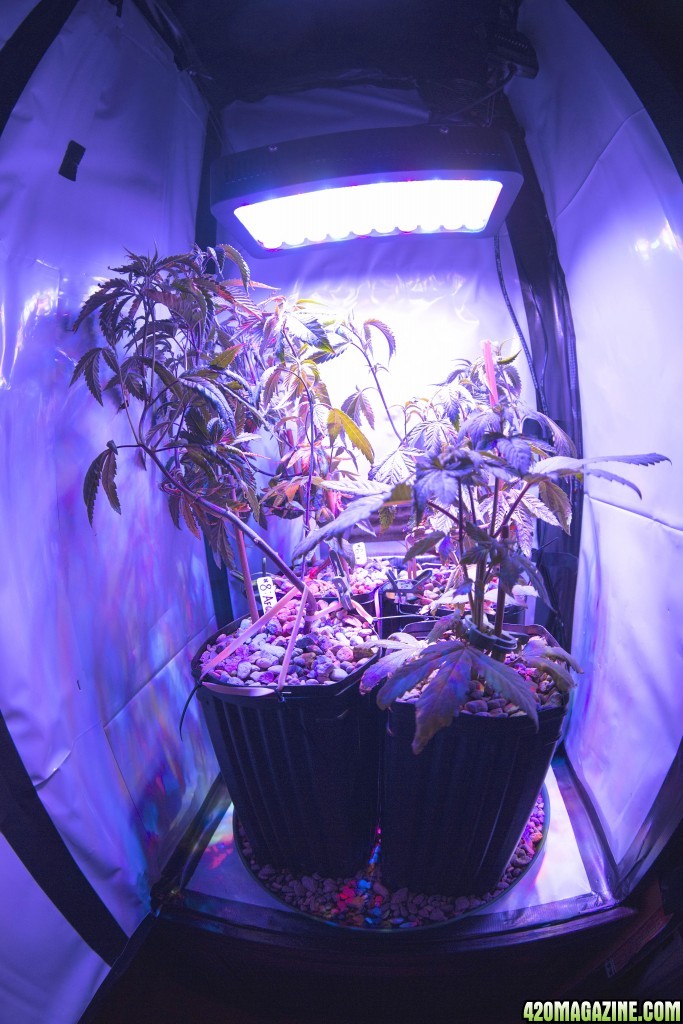
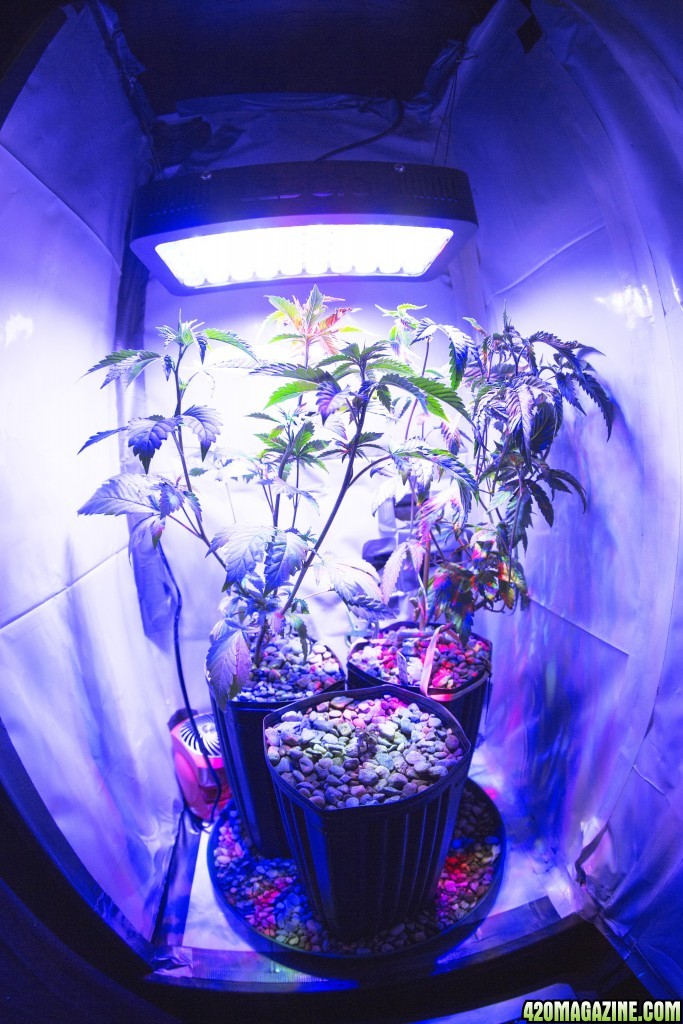
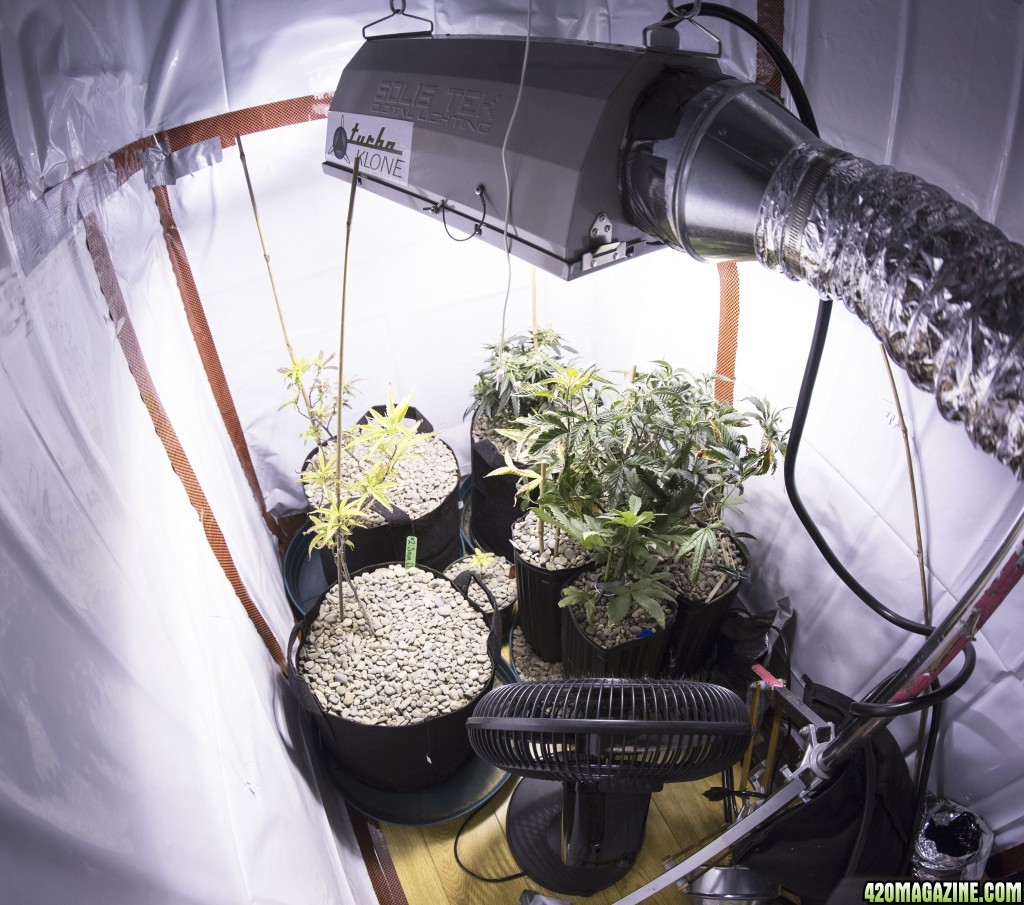
Indoor or outdoor? Indoor/Cabinet-Grow
Soil or Hydro? Soil
If soil... what is in your mix? Ecoscraps Natural & Organic Potting Mix, 1/8 tsp Vermiblood, 1/4 tsp Bone Meal, 1/4 tsp Espsom Salt.
If soil... What size pot? They are currently vegetating in standard-sized Solo Cups.
Size of light? These clones are assigned a larger vegetative cabinet with 24"-30" raised fan-cooled 300W LED. For bloom, each will jump into the HPS Bloom Room with a 400W HPS air-cooled, ducted light.
Is it aircooled? Yes.
Temp of Room/cab? Currently, the temperature is 78 degrees Fahrenheit.
RH of Room/cab? 50%
PH of media or res? 6.5-7.0
Any Pests ? I have not seen any pests so far through planting these clones; lucky, they will get to remain in cabinet quarantine through their vegetative process, even with organic pest control application.
How often are you watering? I will be watering every two to three days, starting today.
Type and strength of ferts used? 1/8 tsp Vermiblood, 1/4 tsp Bone Meal, 1/4 tsp Espsom Salt.