First Grow - RDWC - Big Buddha Blue Cheese - FEM - Winter/Spring 2017

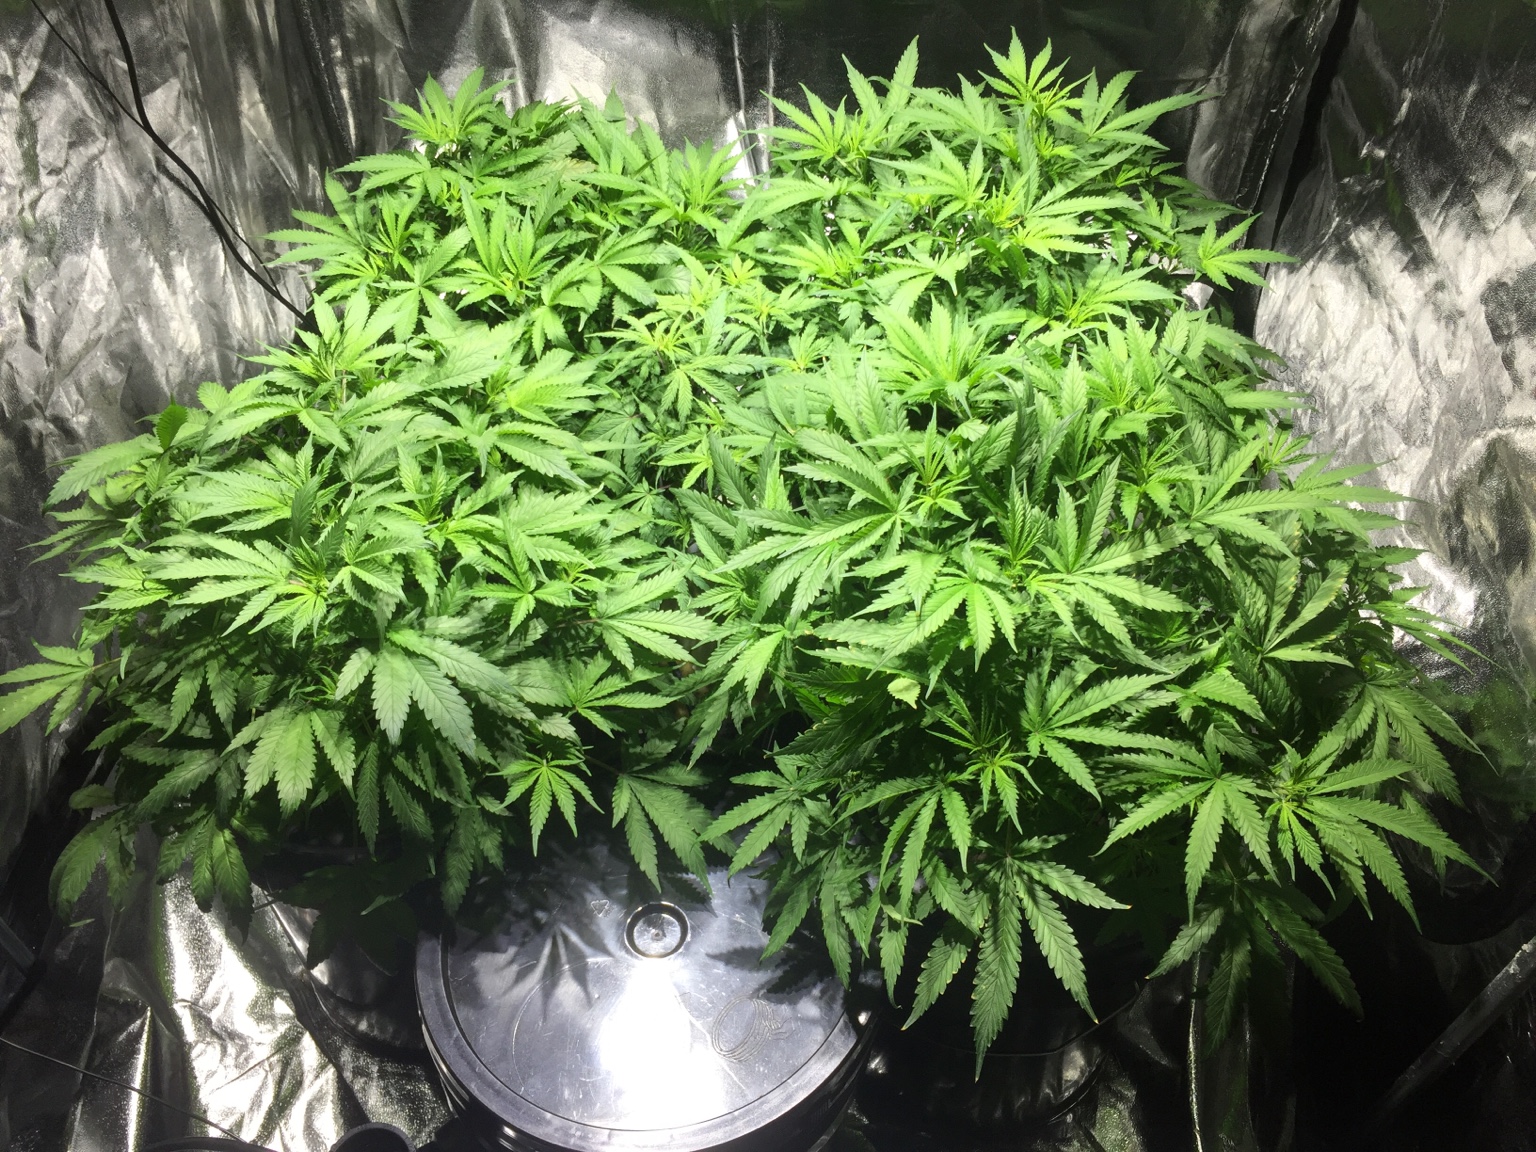
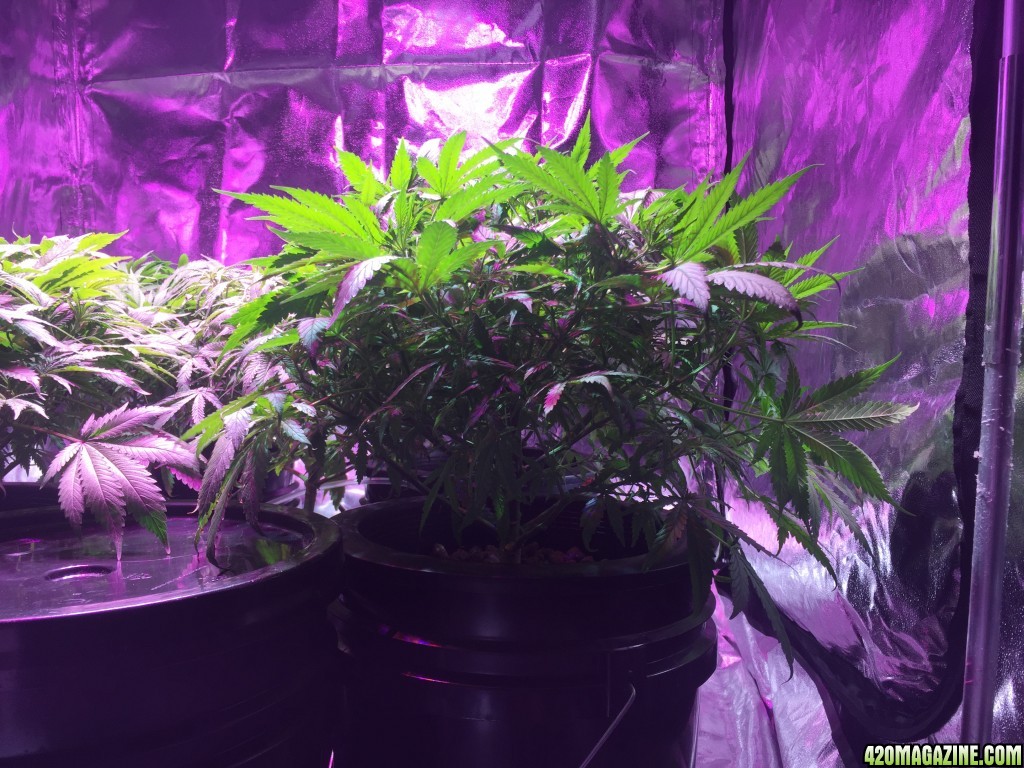
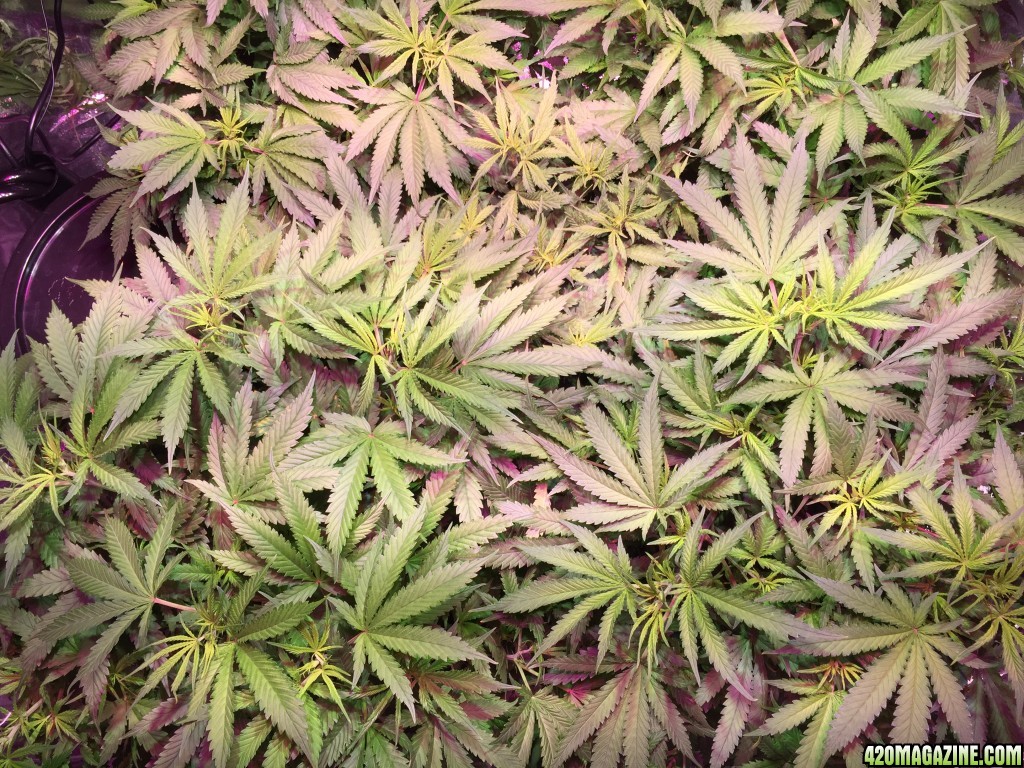
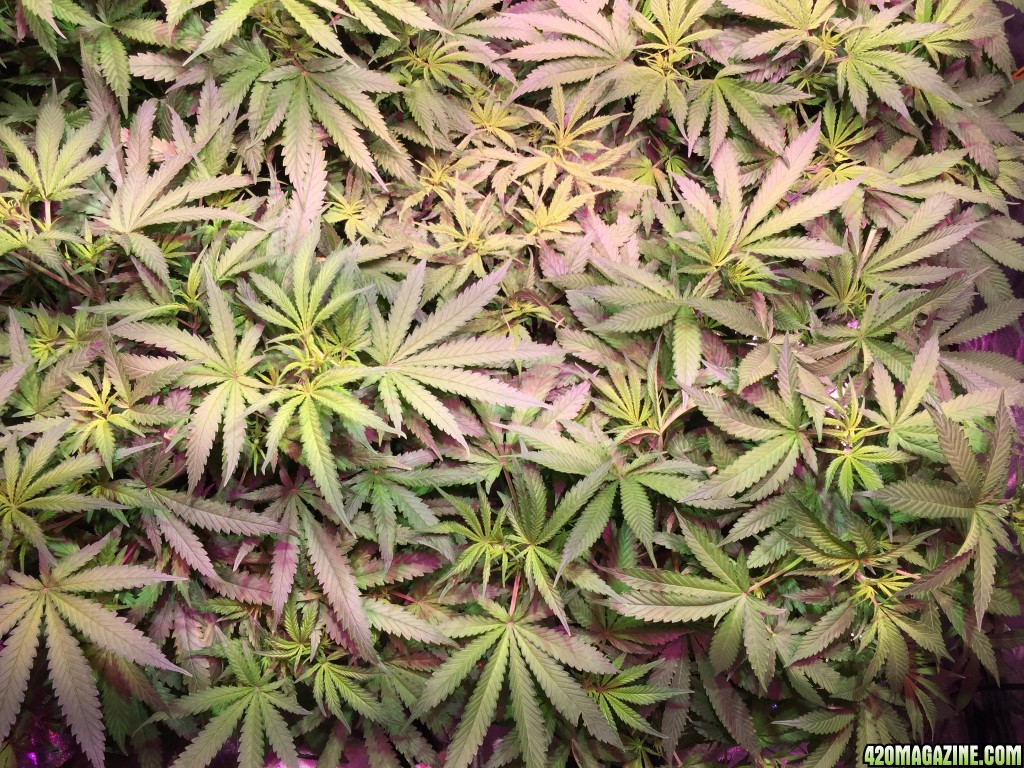
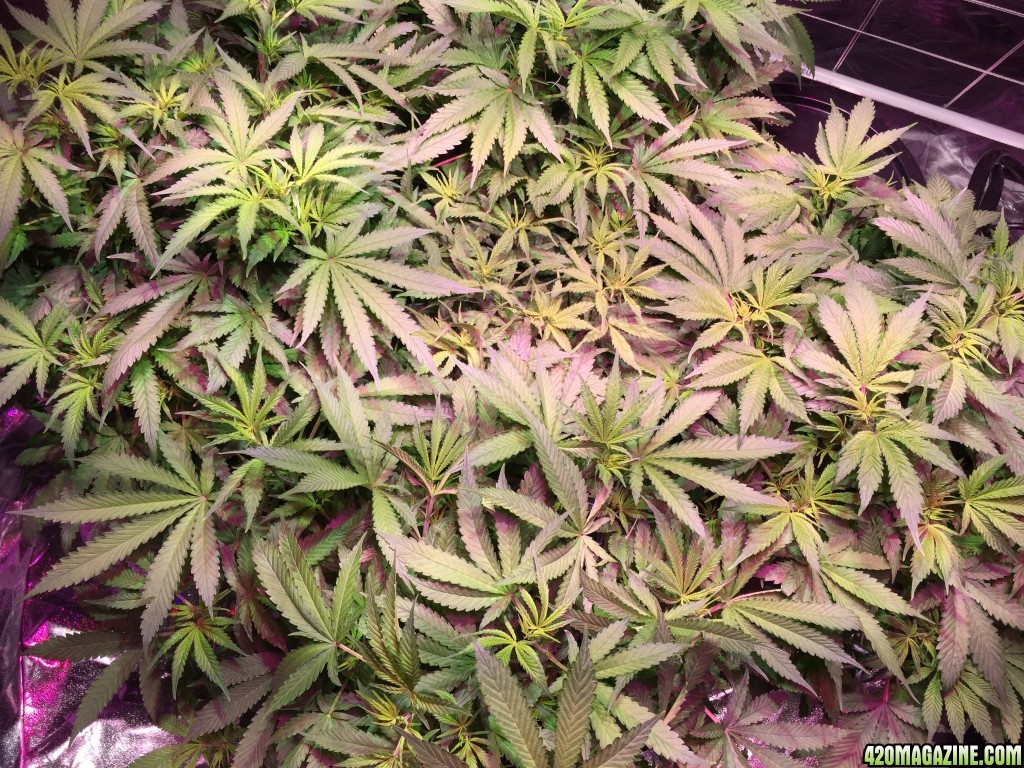
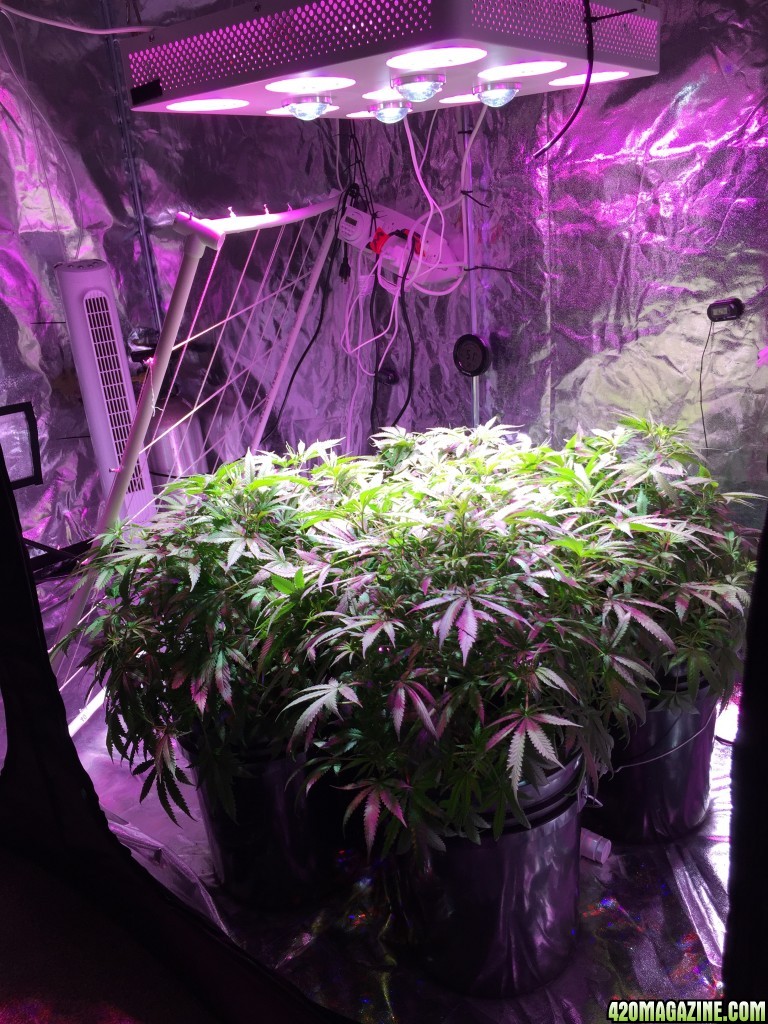
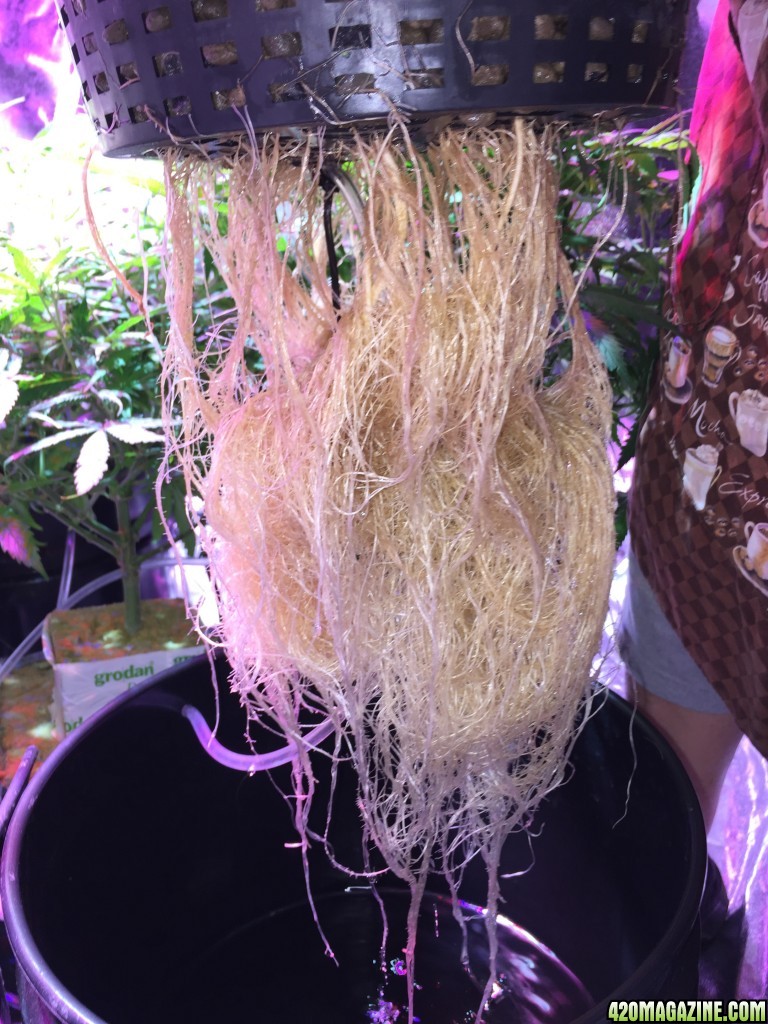
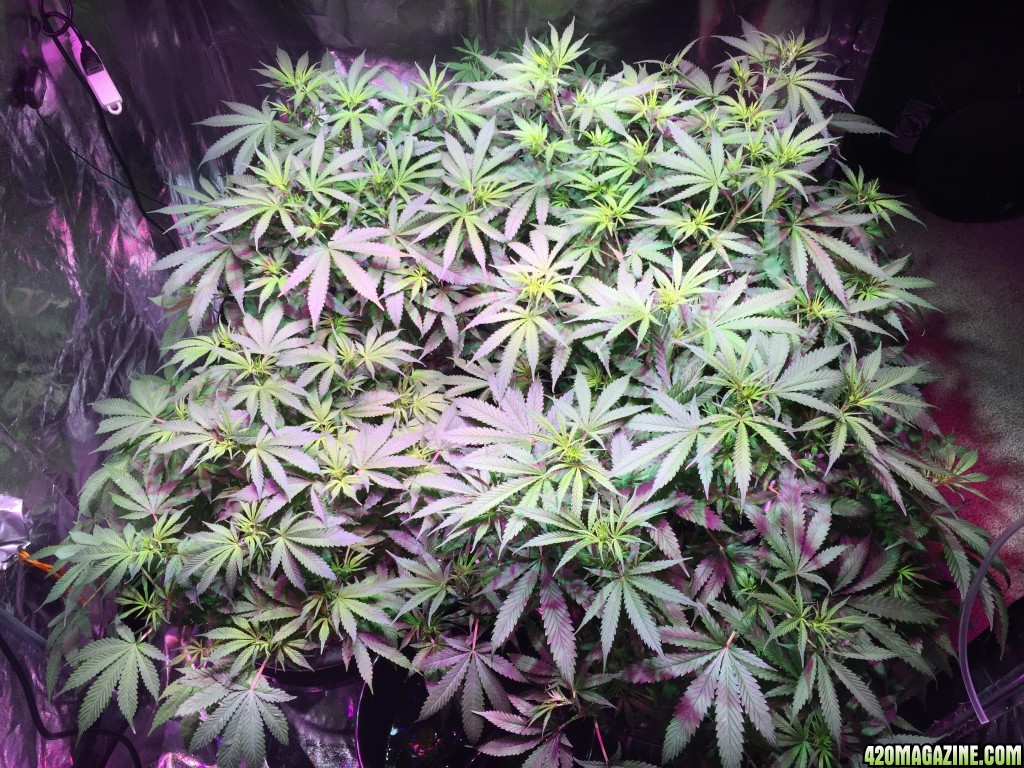
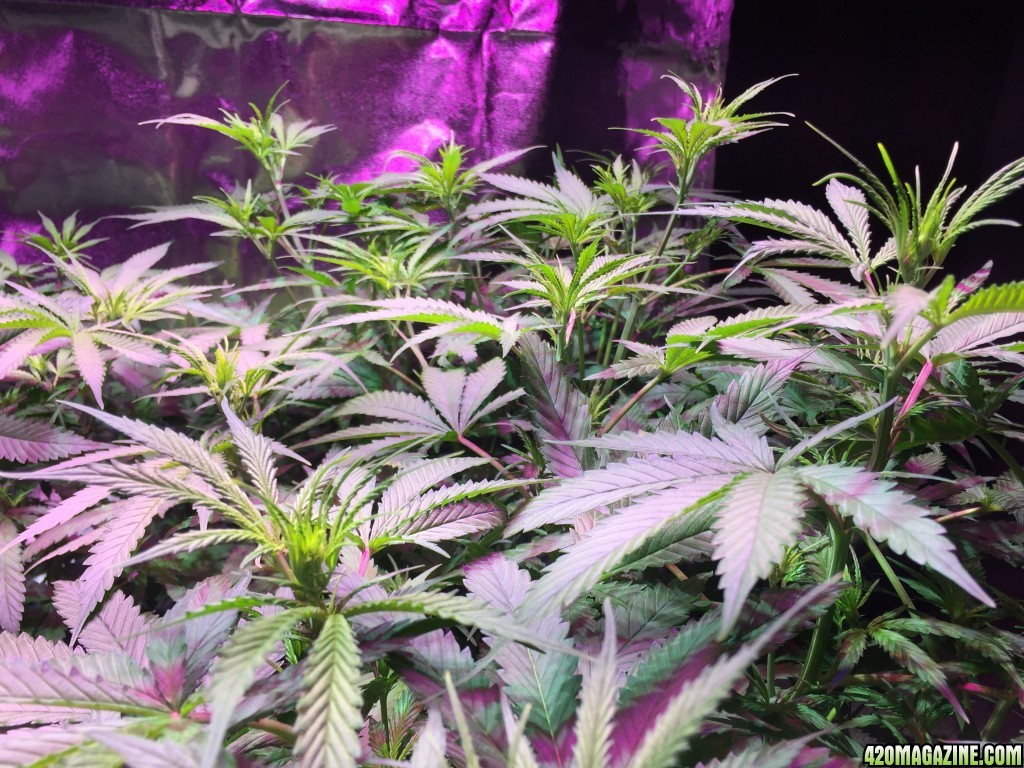
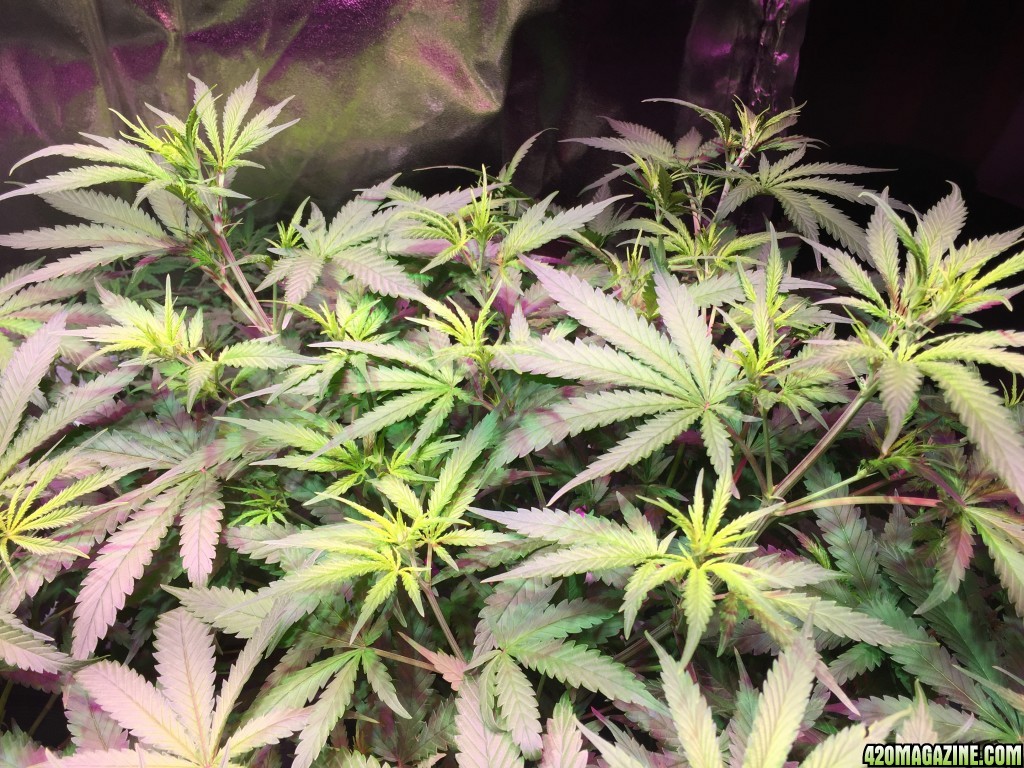
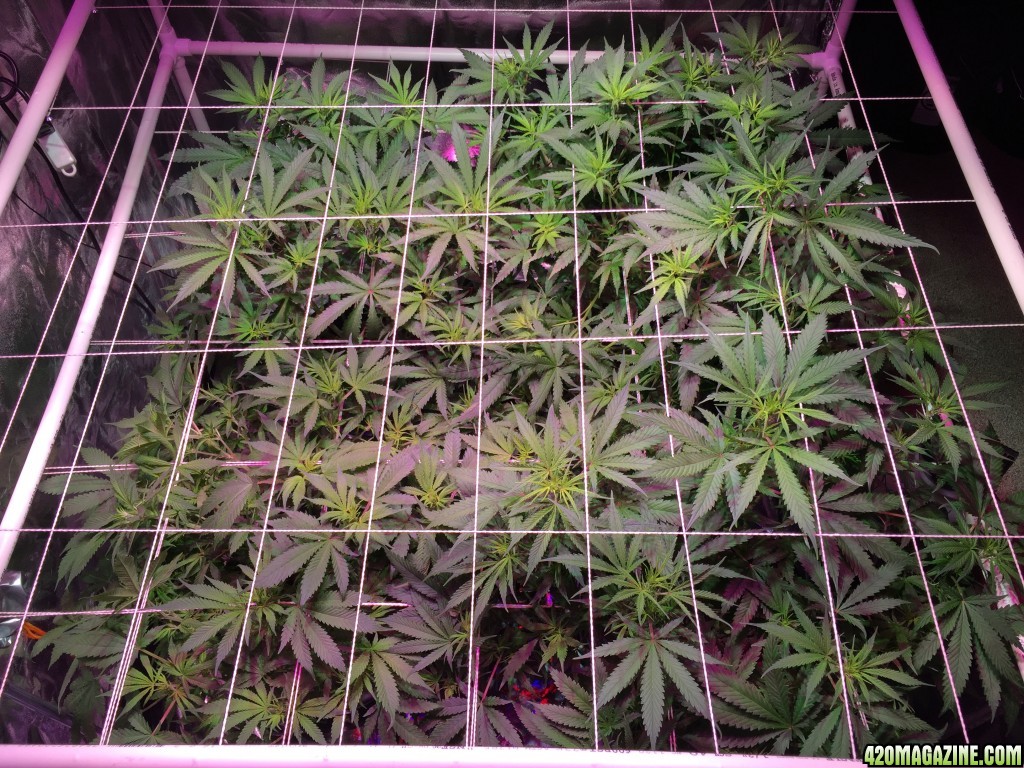
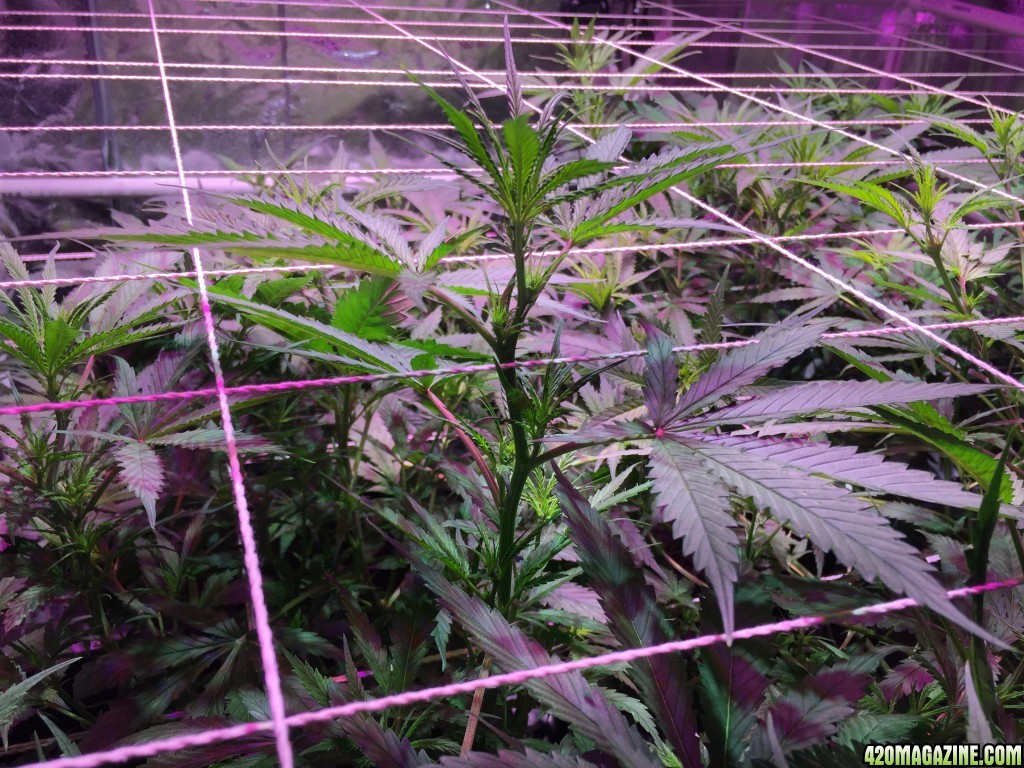
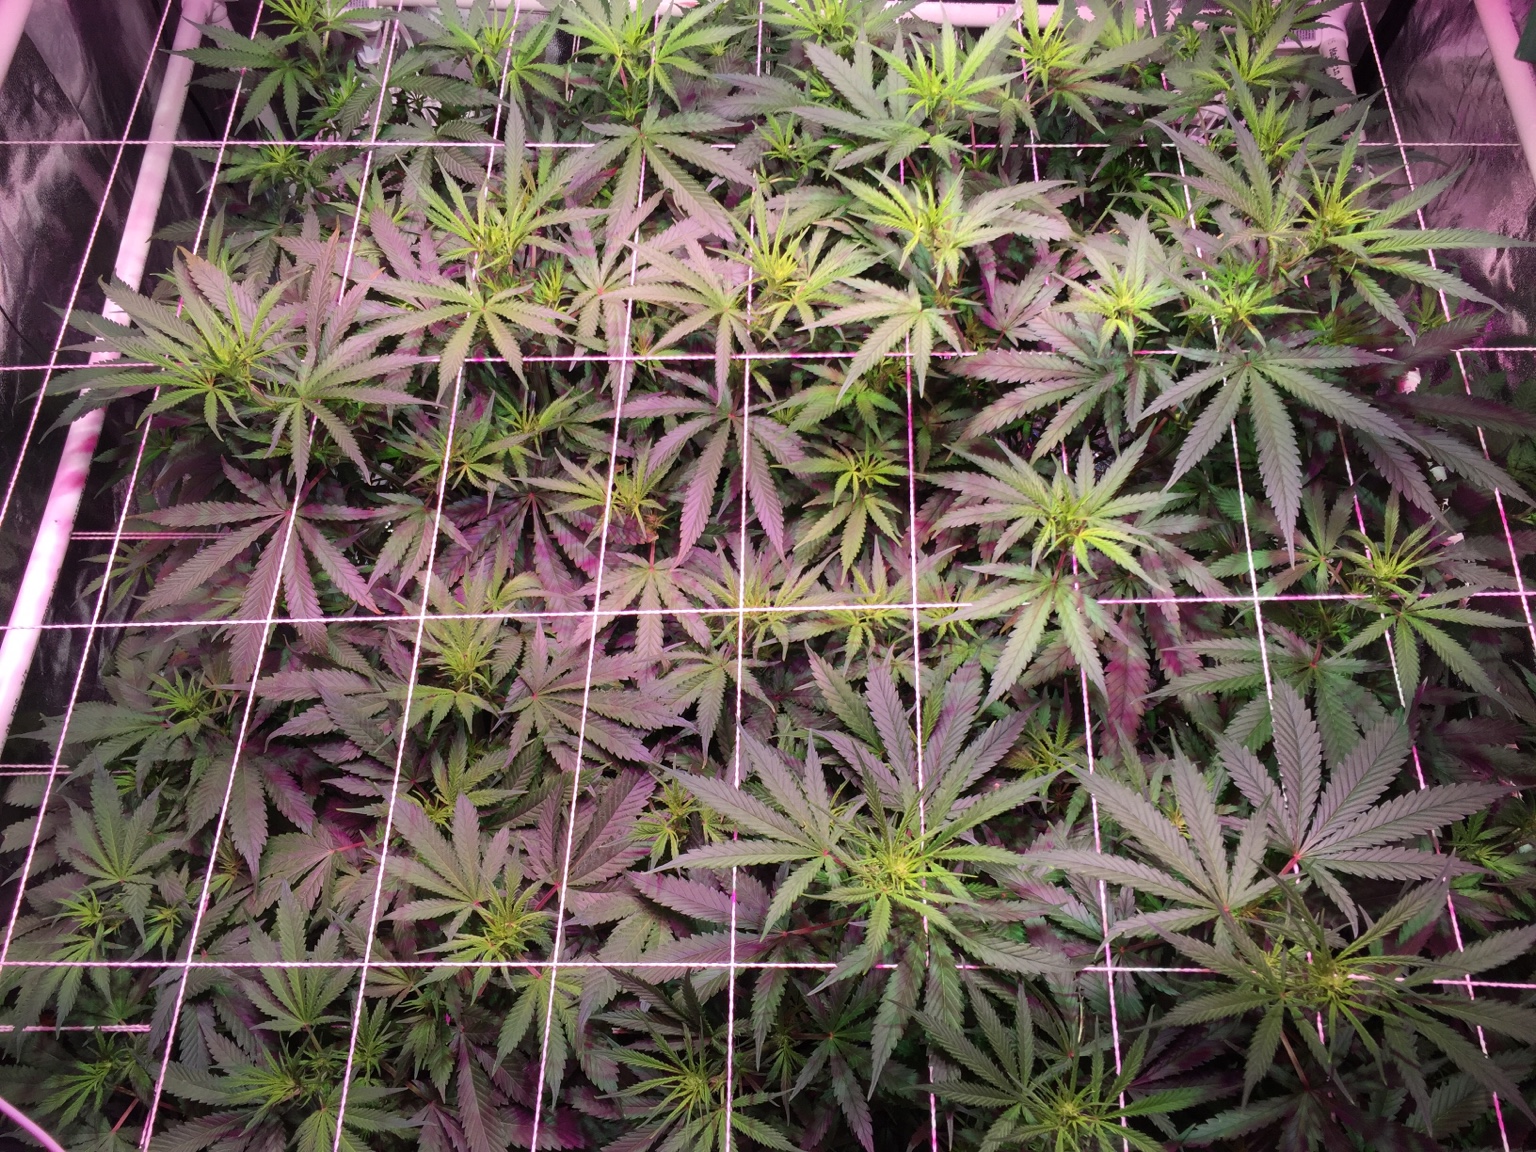
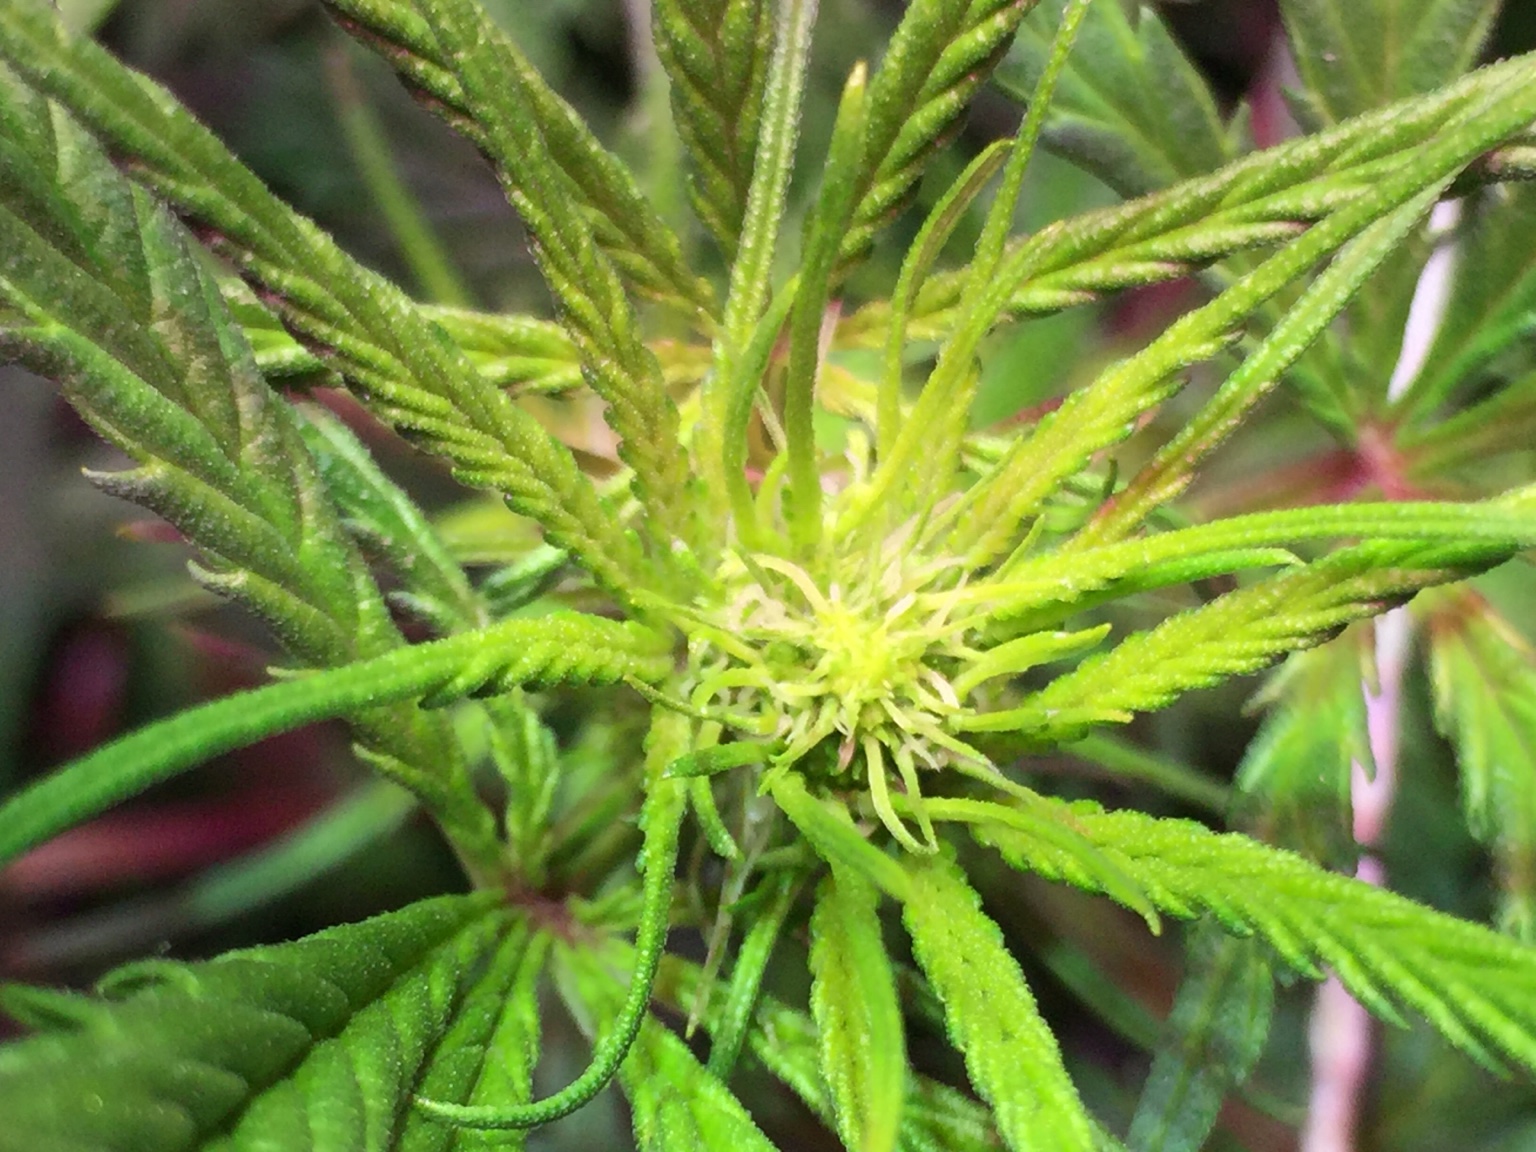
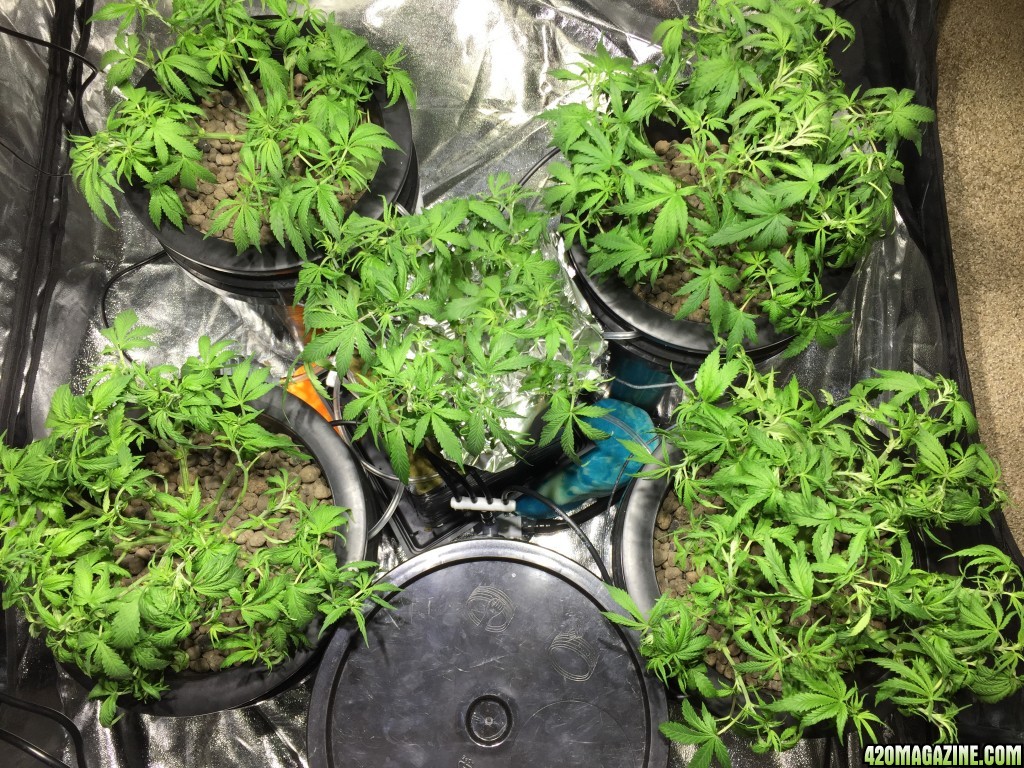
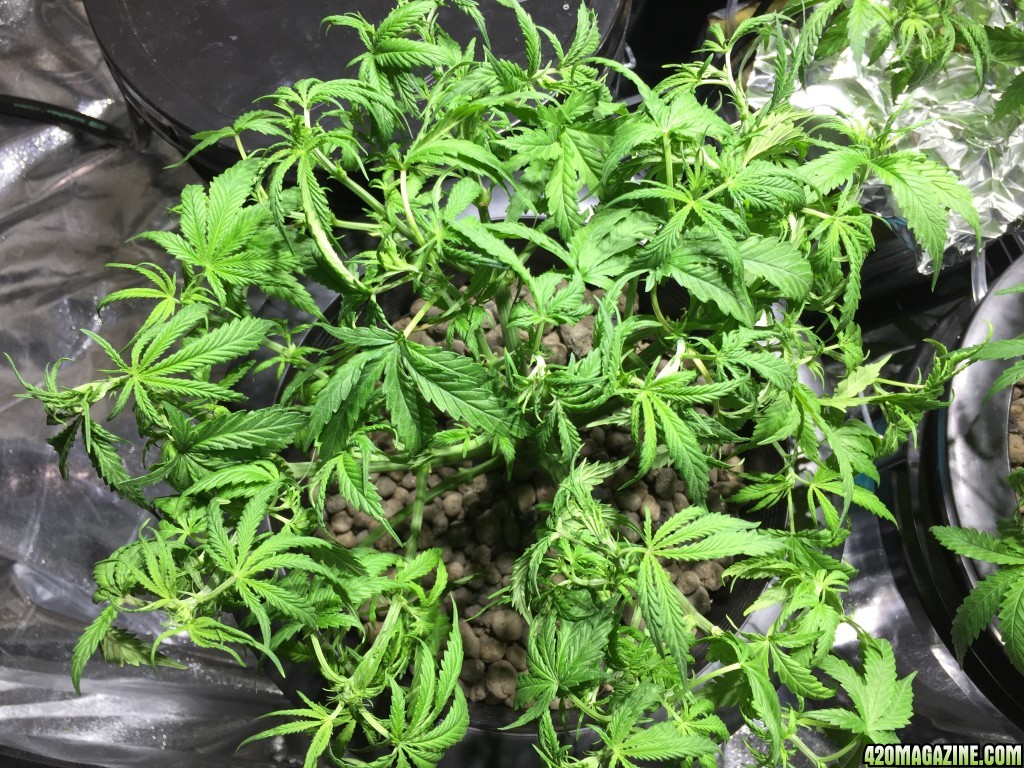
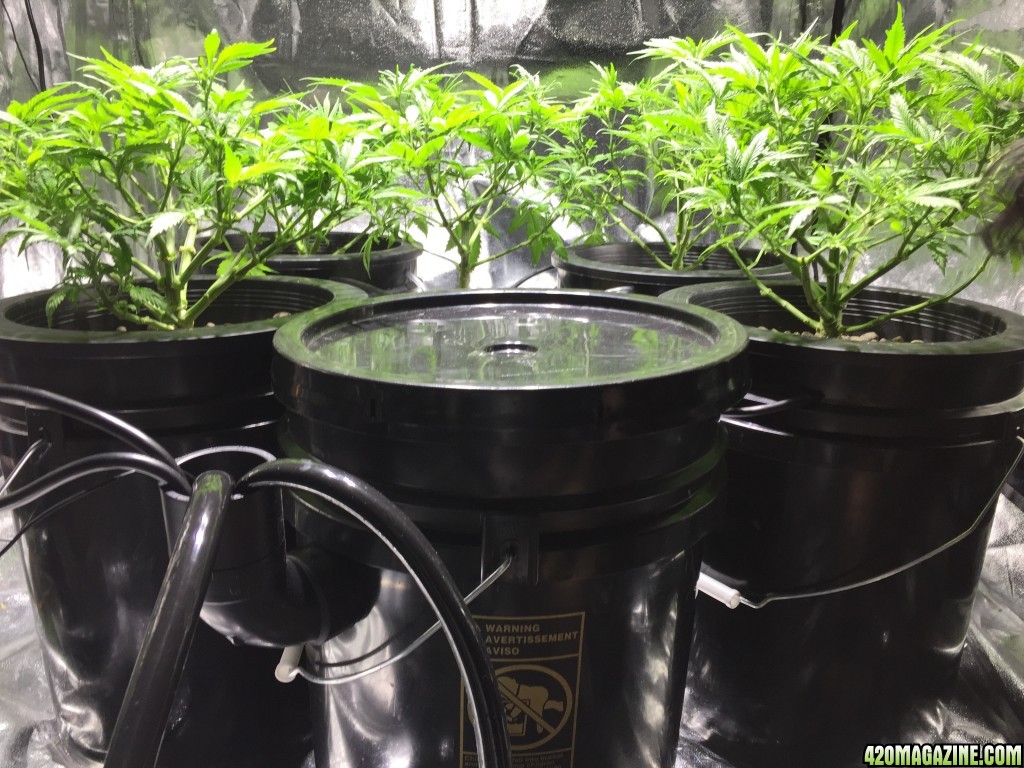
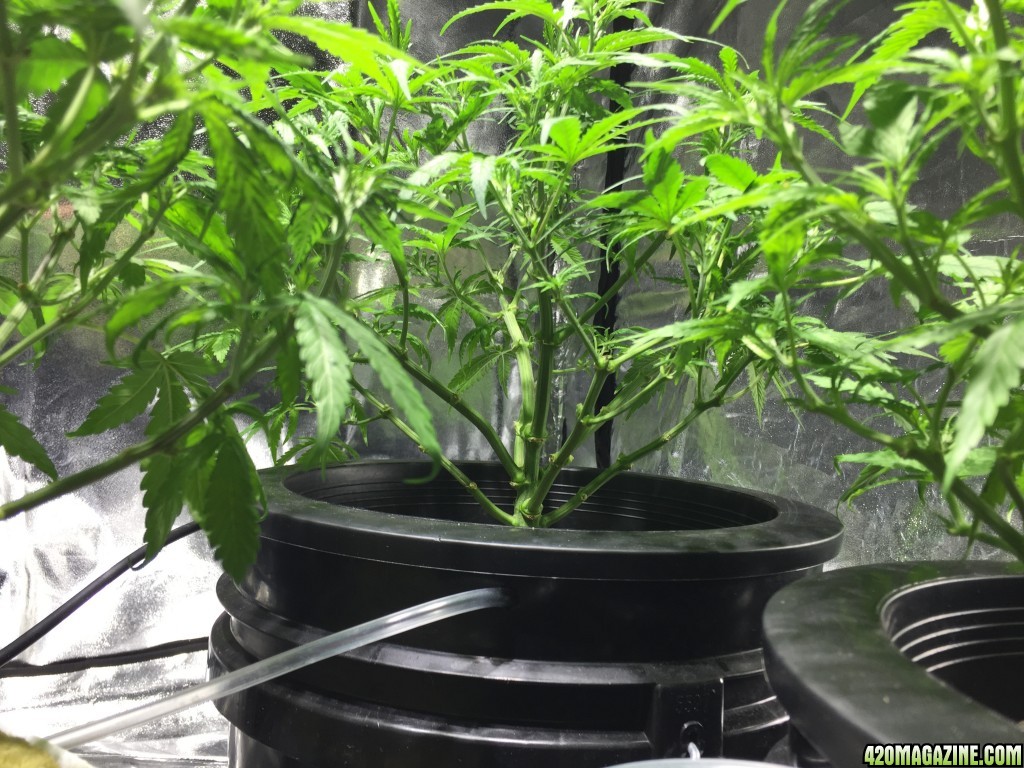
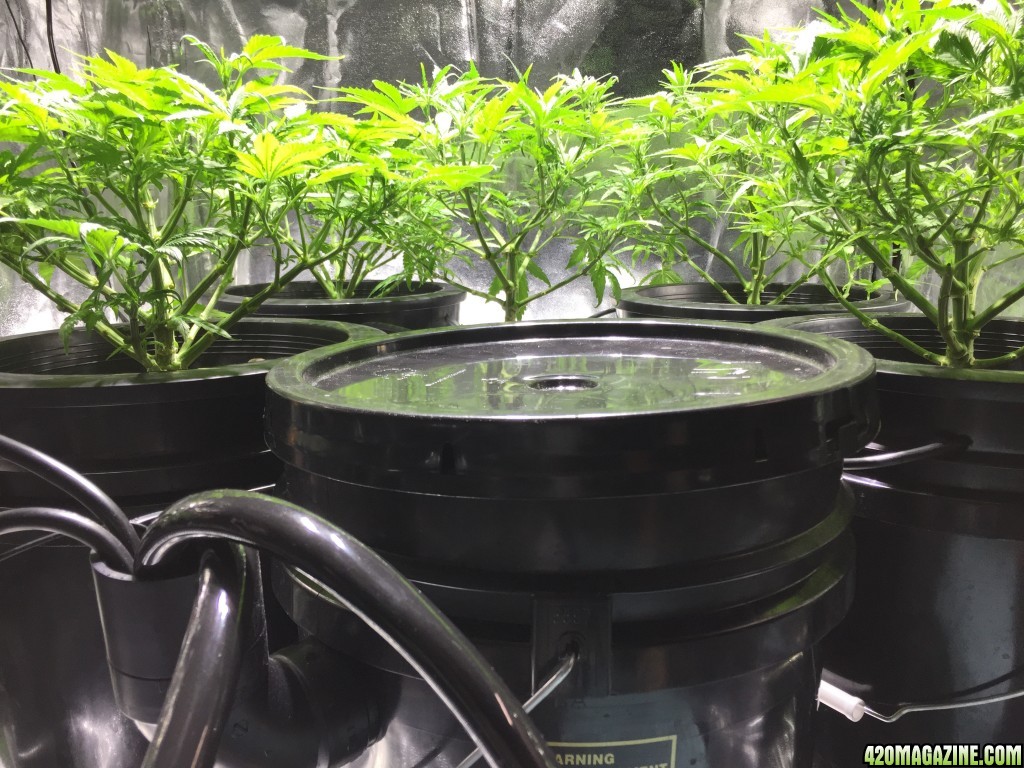
Yeah adding an extra couple weeks of veg time was a good call for sure :thumb: They are getting pretty massive and fluffy, so many bud sites, yay!

Glad to hear they are smelling tasty already too, isn't that just the best when you open the tent for the first time of the day and that wave of terpenes floats out to greet you? :love:

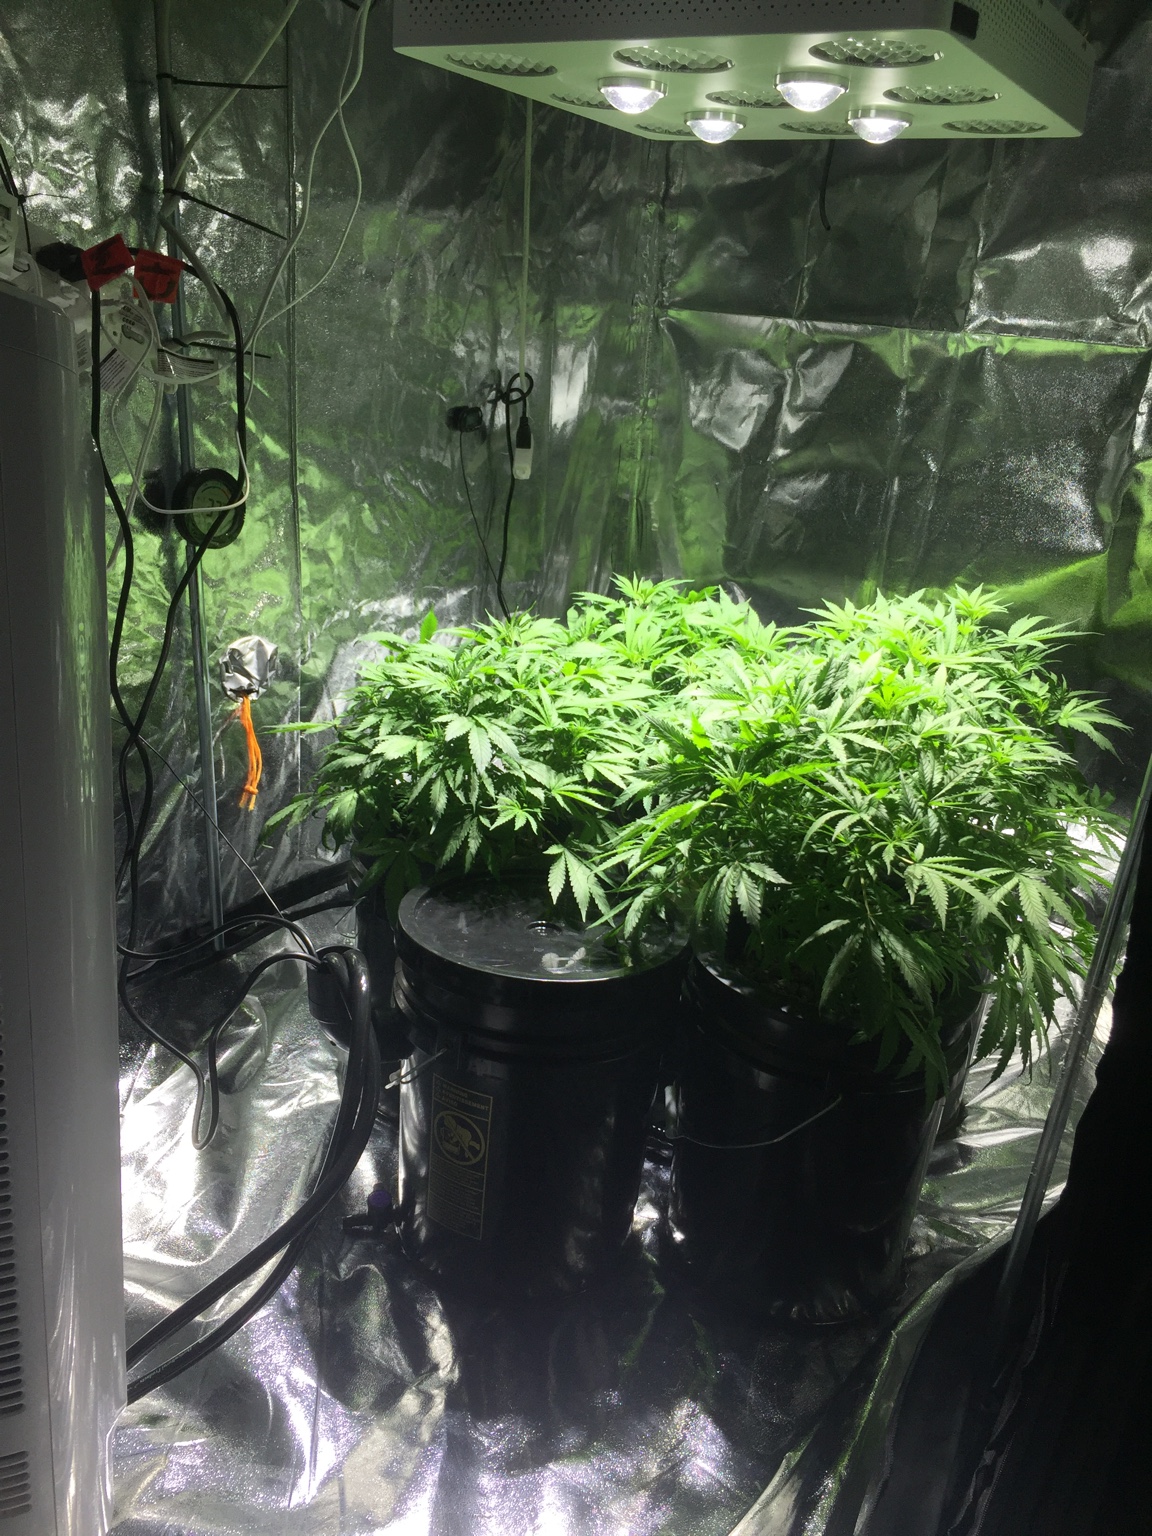
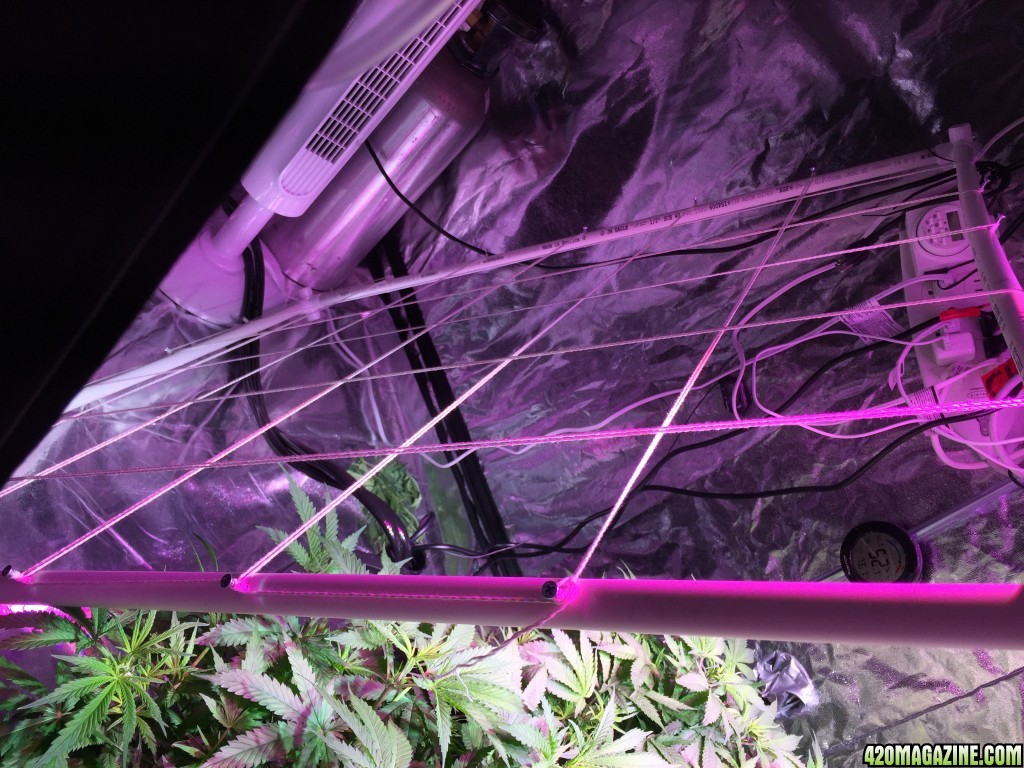
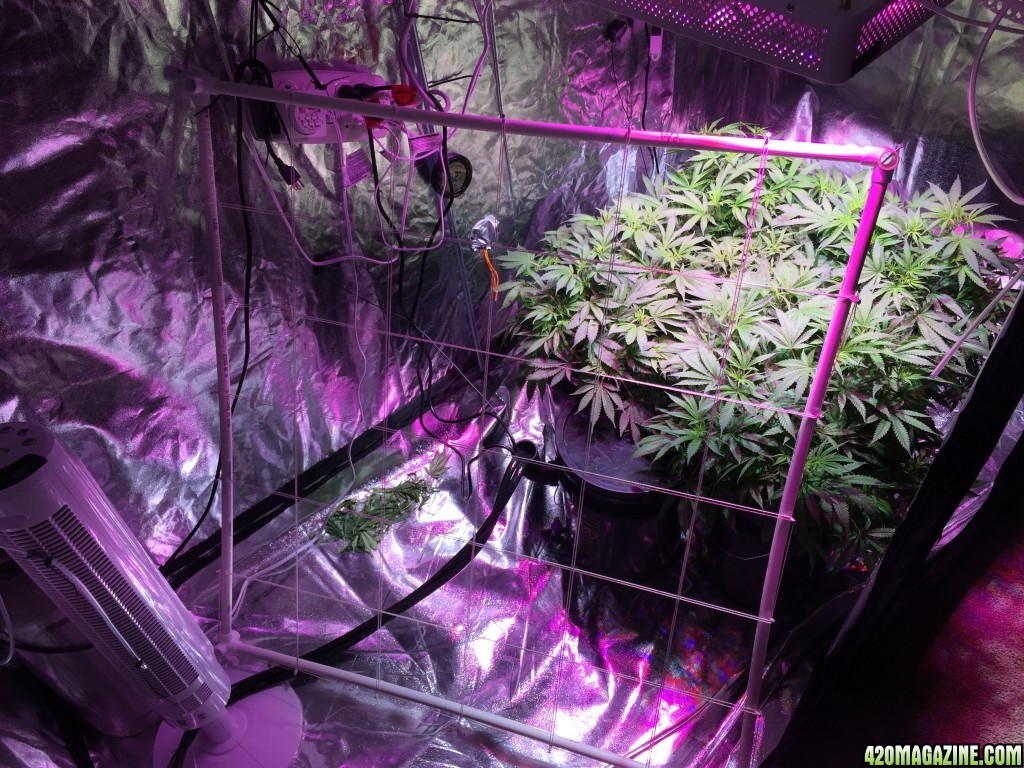
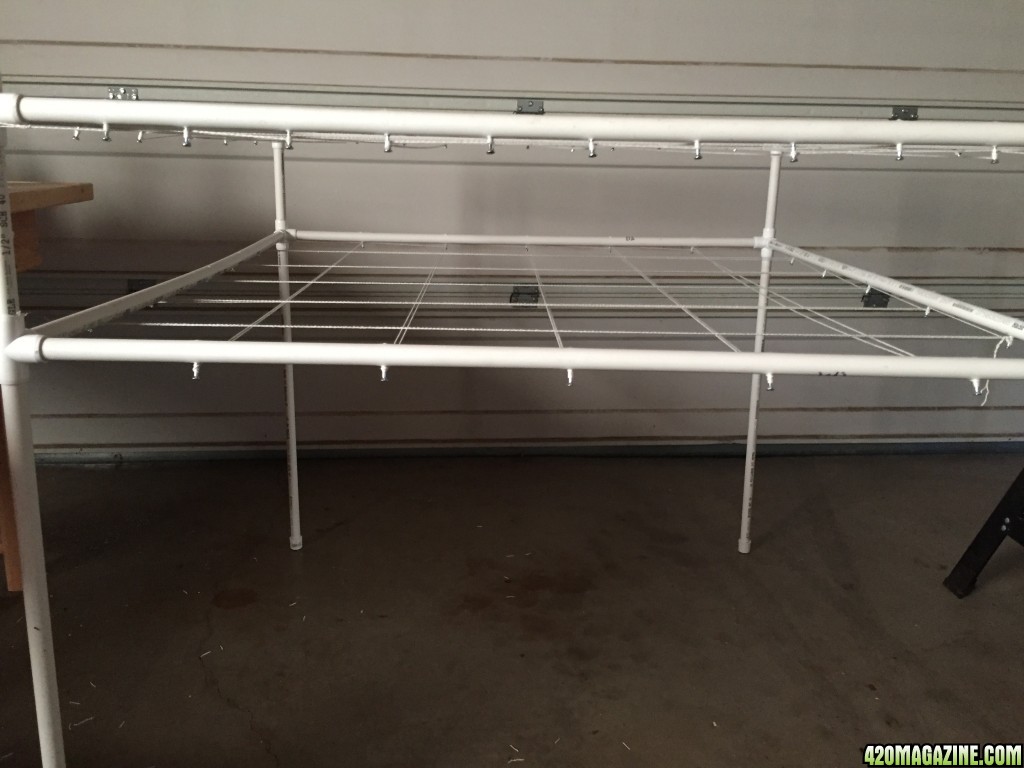
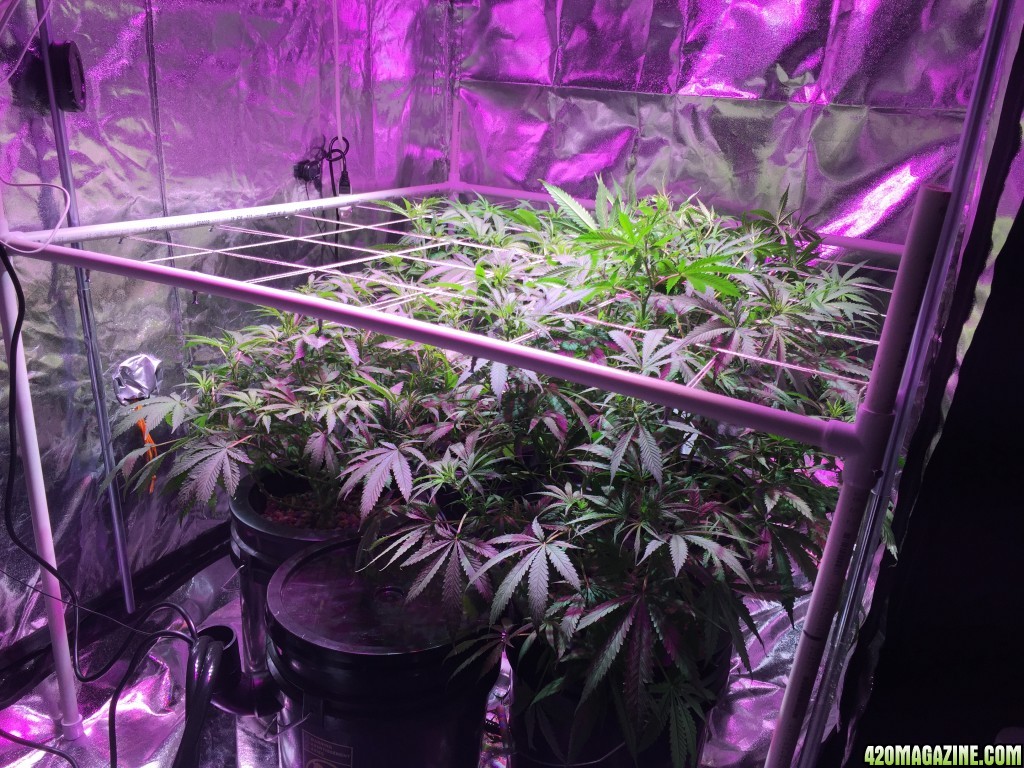
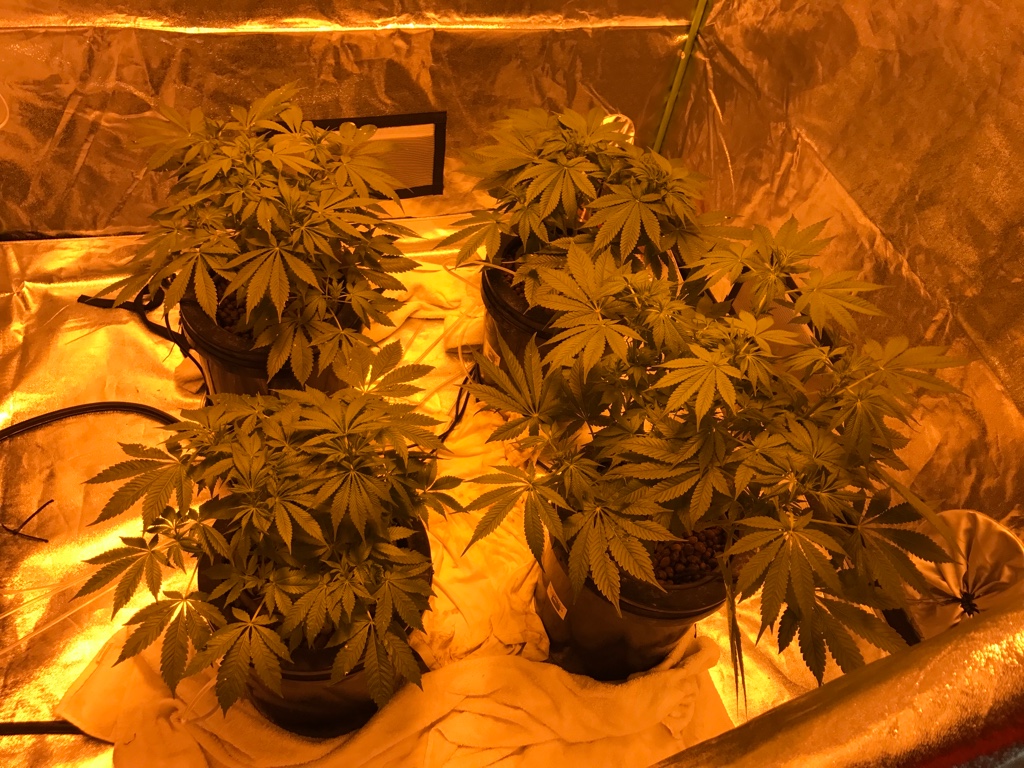
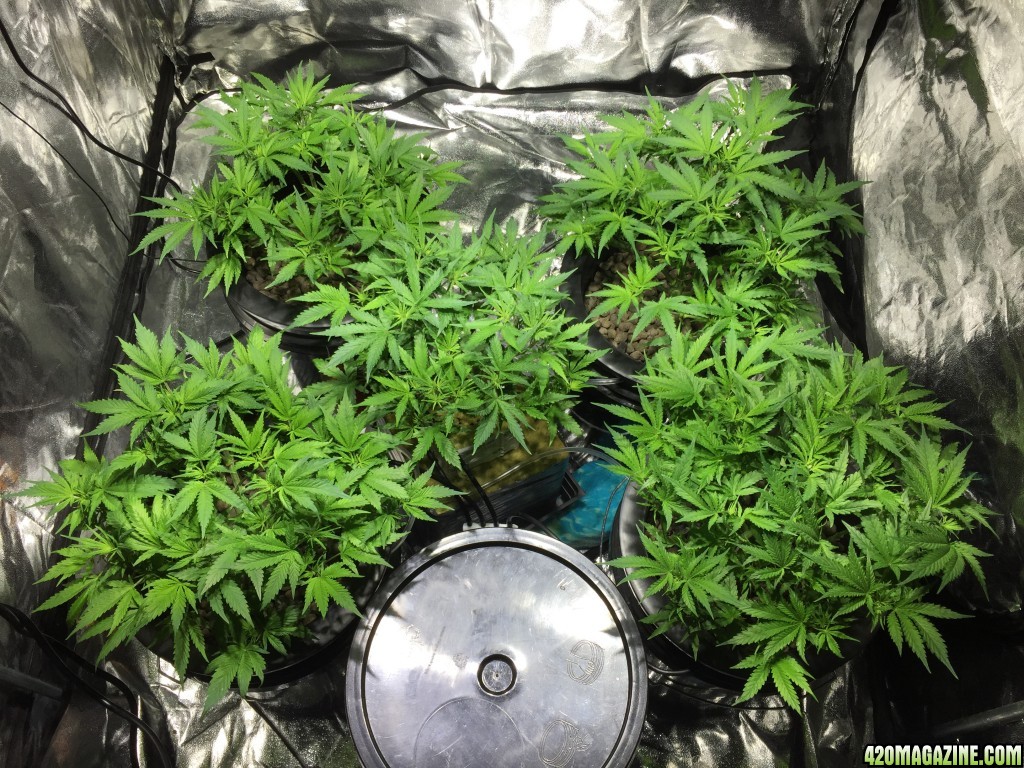
Looking forward to your next update and seeing how you choose to setup your SCROG :)

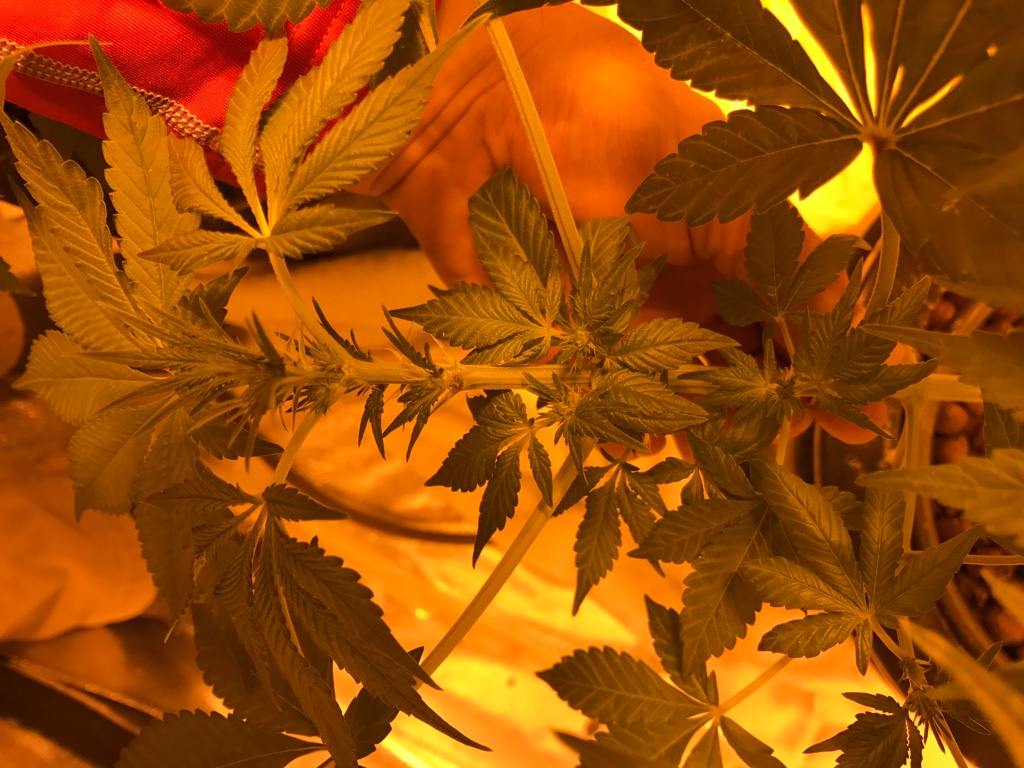
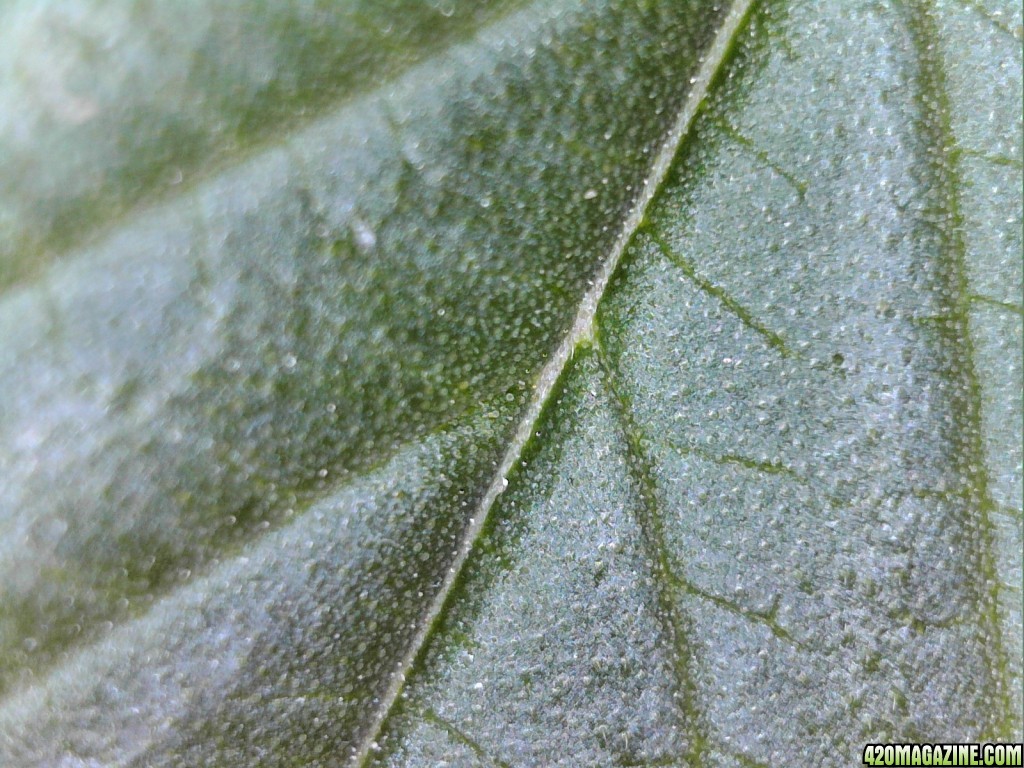
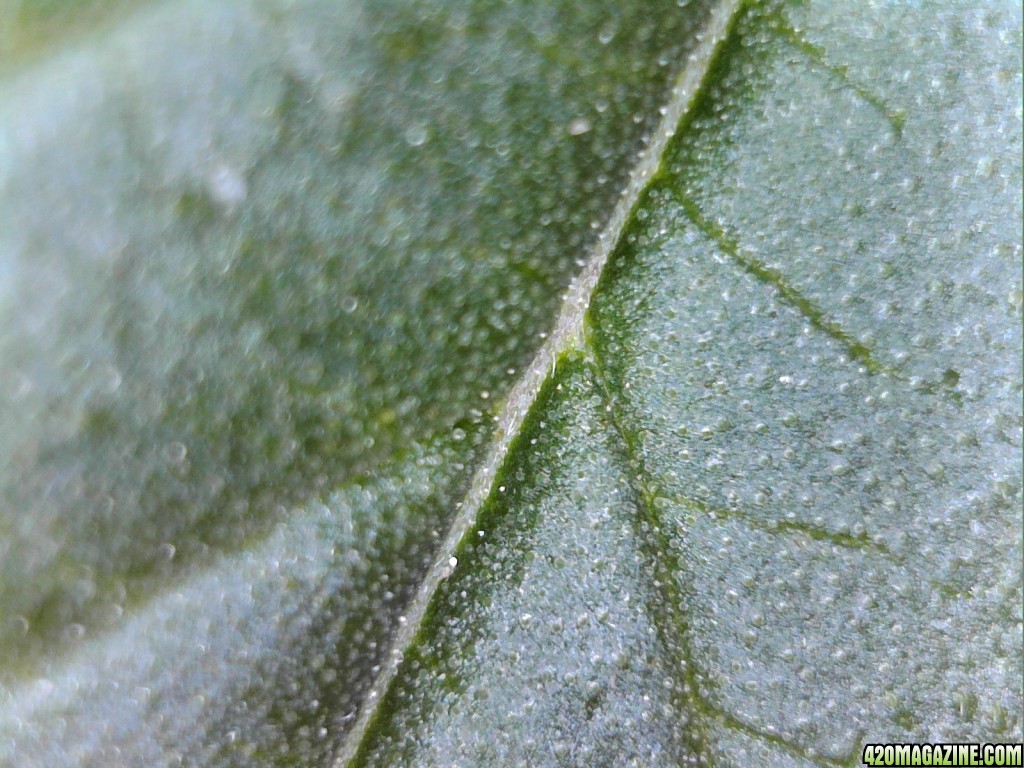
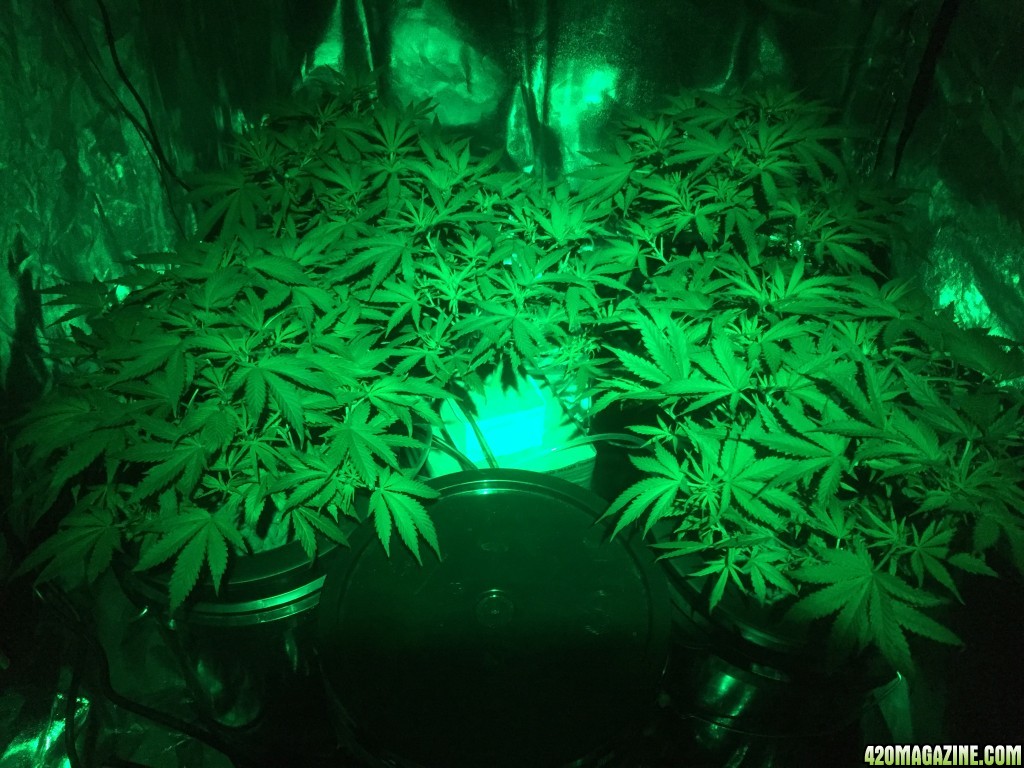
Indeed! And it only got better. After the Defol I did on Tue night it was even better. And my hands were all sticky. I will be doing an update this evening or tomorrow evening for sure. Saturday will be the flip for sure and getting a green LED bulb so I'm not shut out during lights out.

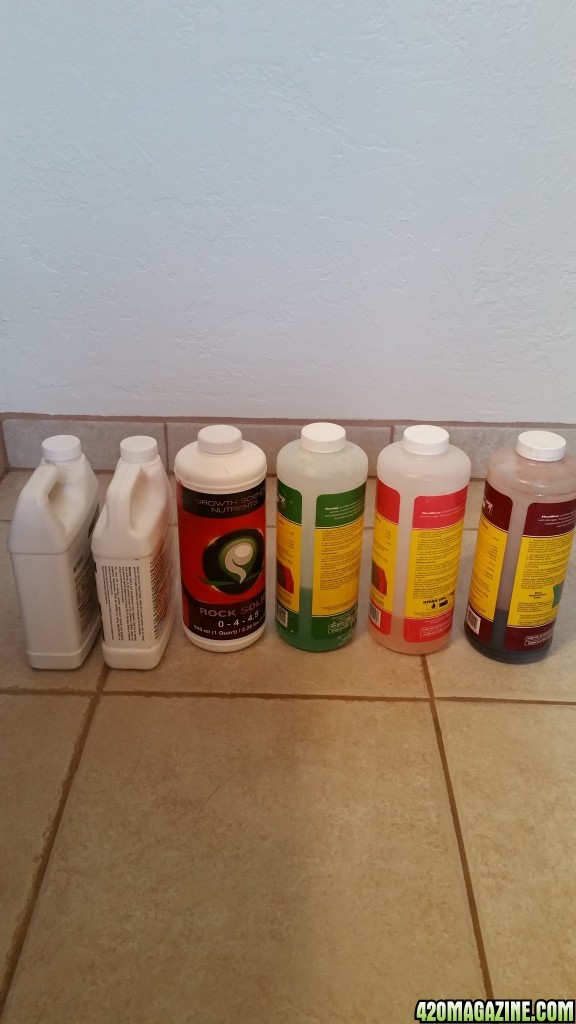
I don't think I need to, but I am prob going to change the water as well, just to make sure I have it dialed in for.


Sent from my iPhone using 420 Magazine Mobile App
 
DAY #52 | FLOWER # 1:

Been a busy week! Finally got some time to do an update. The ladies are doing great! They got another defol back on the 28th and I wasn't exactly gentle with them, as you can see by the aftermath:


But they didn't even blink...the next morning they were bright-eyed and bushy-tailed:


And then 24 hours after that:


And as of 6:30 last night, they are in 24 hours of darkness before we flip them at 6:30pm TODAY! :bravo:


Picked up a green LED headlamp at the grow shop today and can't imagine doing this without it now.

Next project for the weekend is the scrog build. I'm going to make this as simple as possible. Using 1/2" pvc with screws and twine and some PVC fittings to create a frame and legs. I'm going to make the top first and wait a week or more into flower to try and judge the stretch before deciding on the height I will cut the legs to. Also, with this method, I can just create different sizes of legs to reuse the scrog for other grows and adjust when needed.
 
Yay for flowering time!! :circle-of-love: 
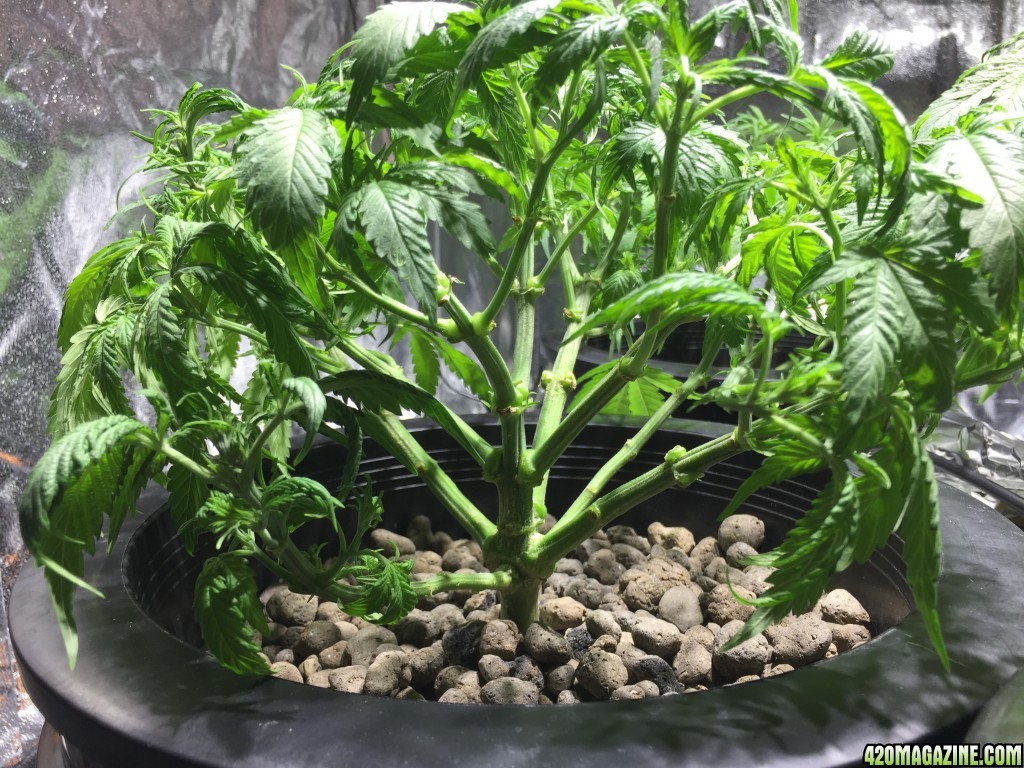
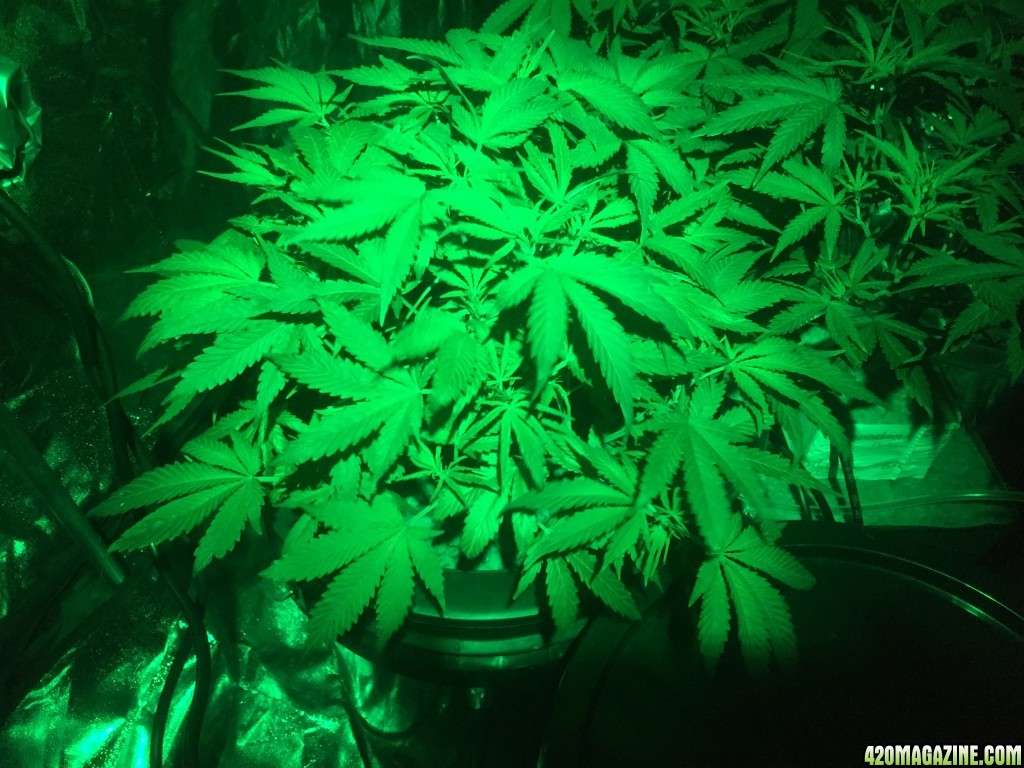
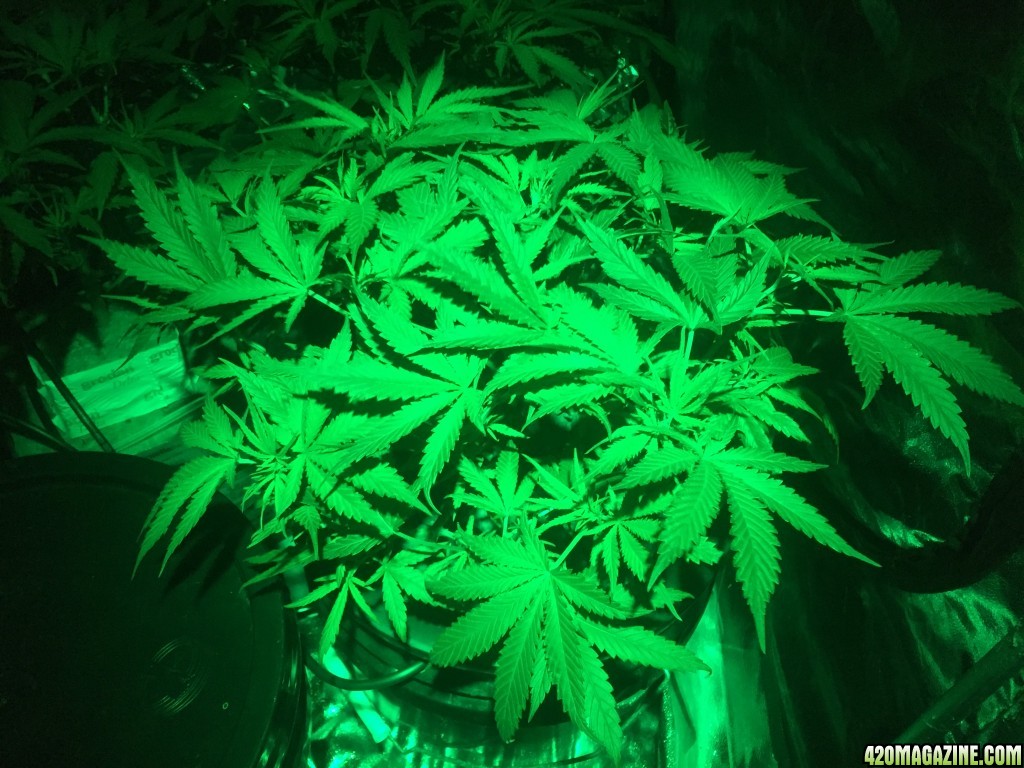
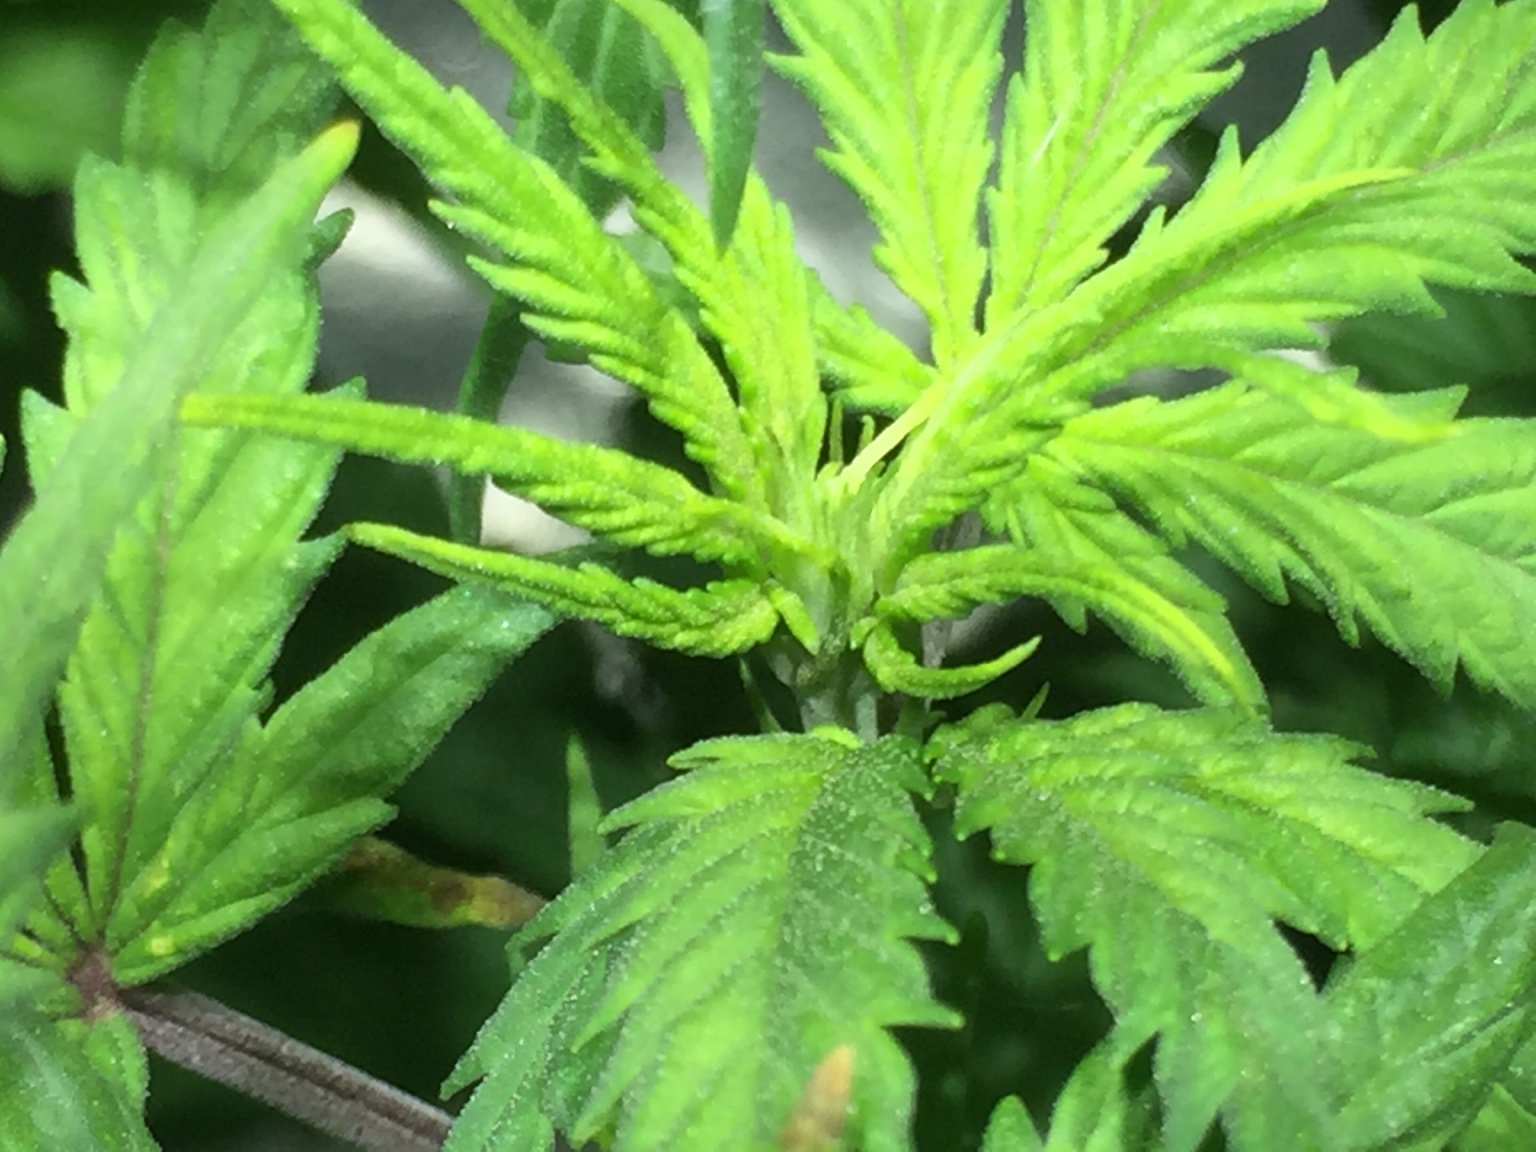
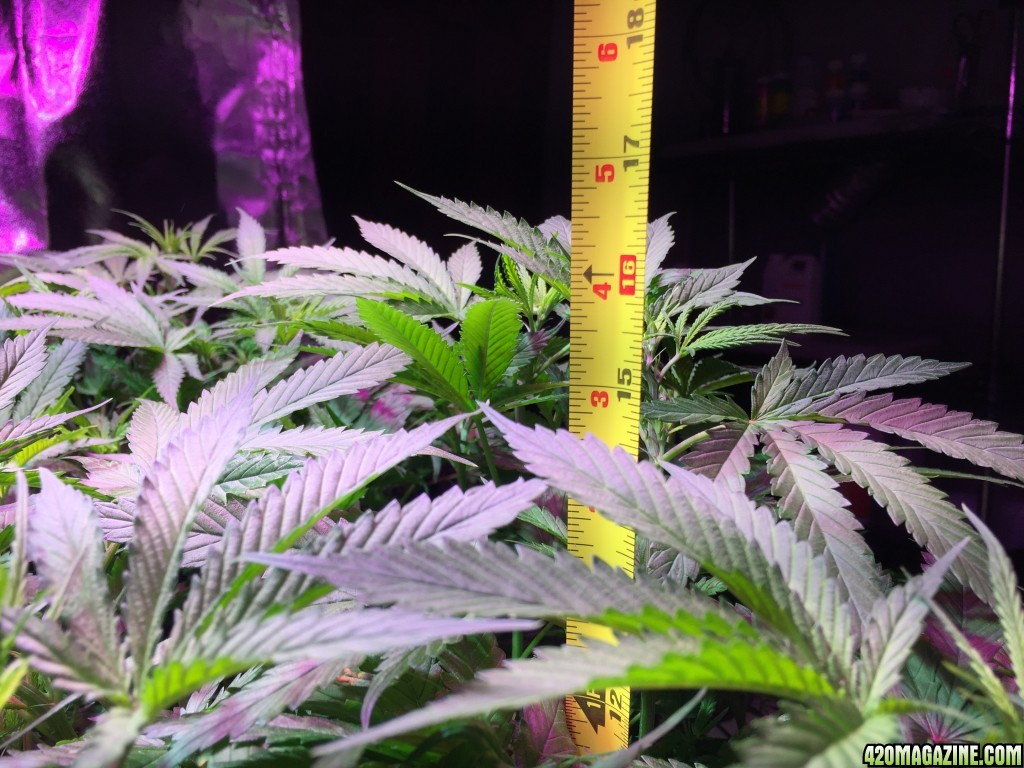
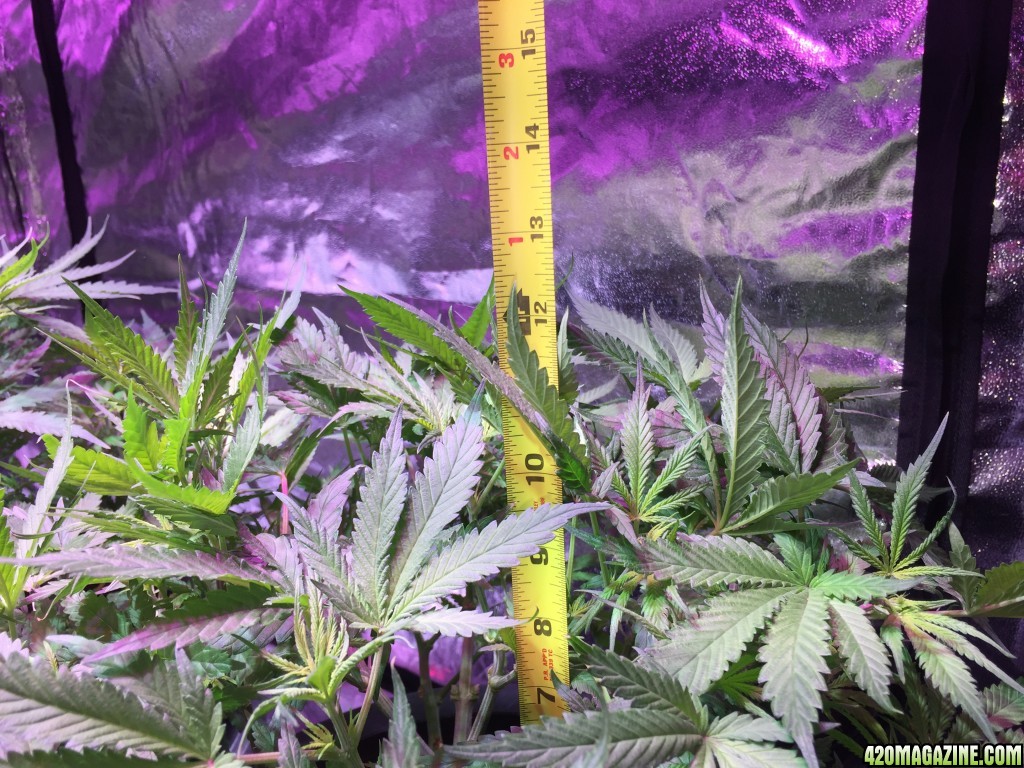
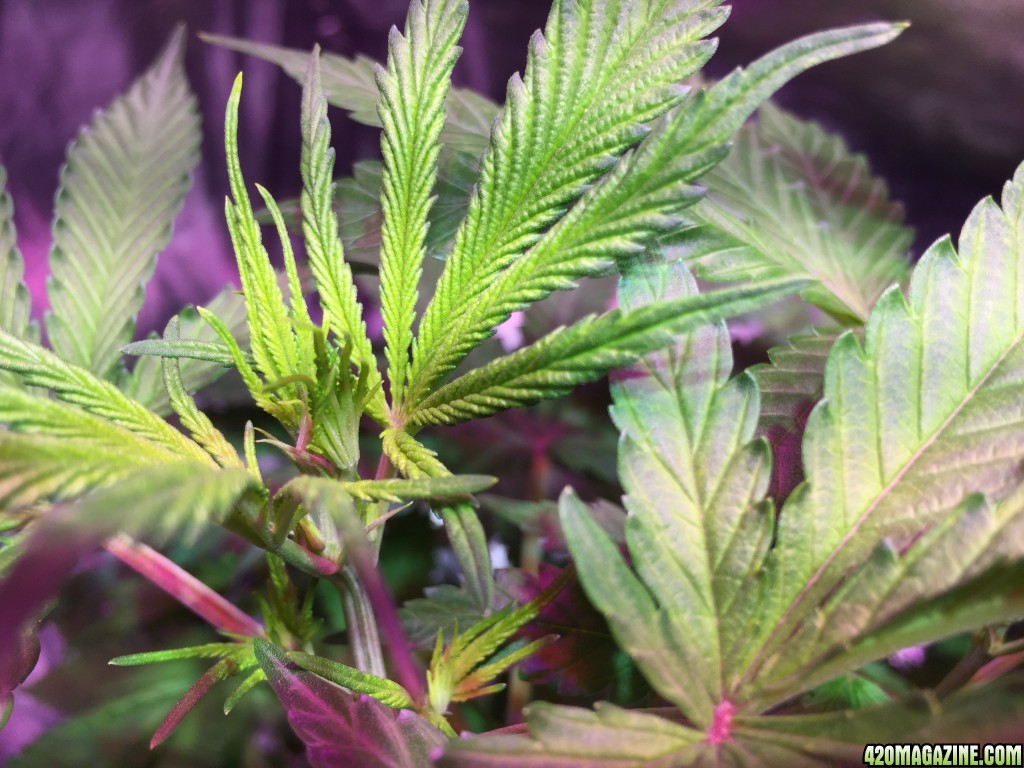
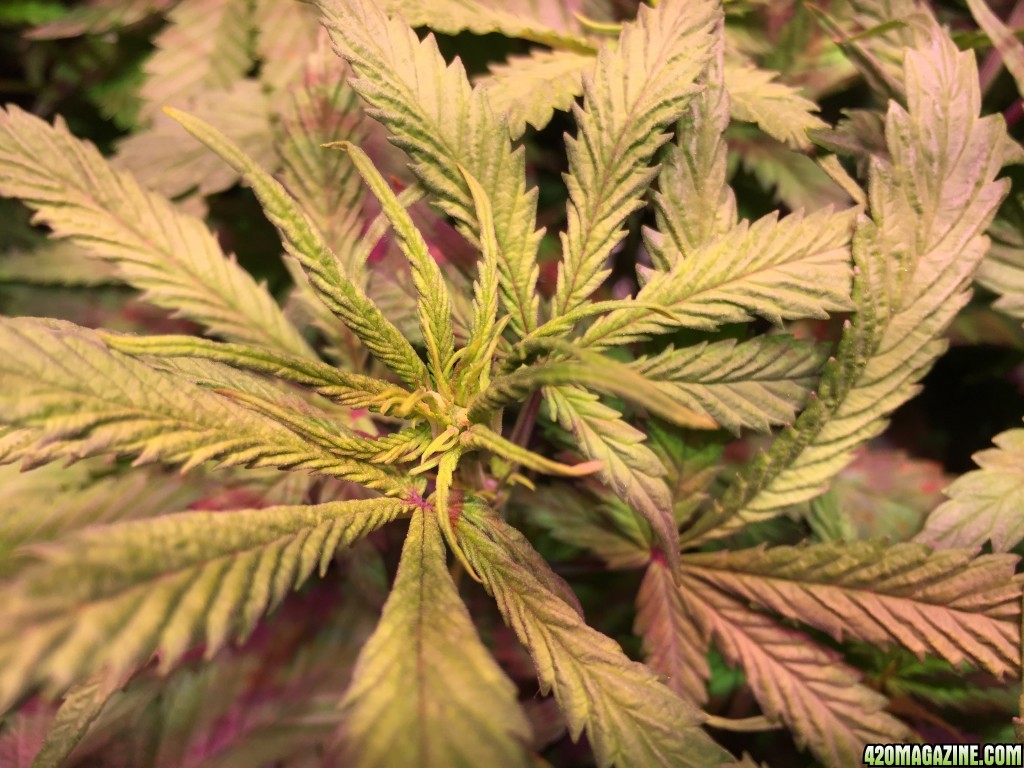
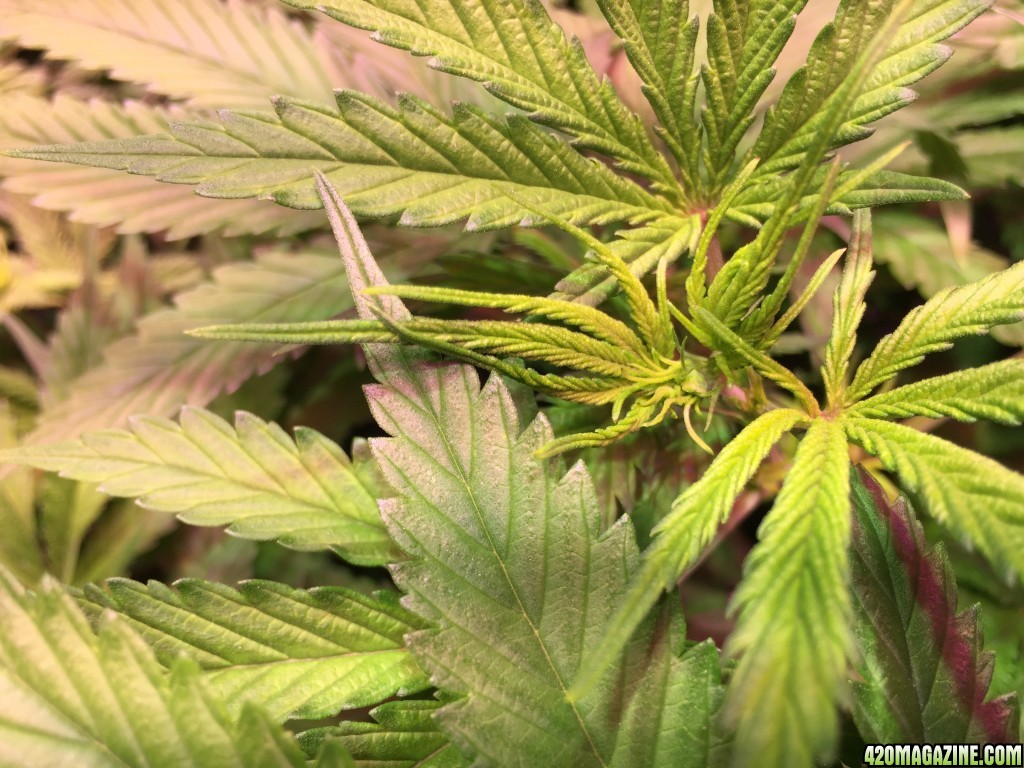
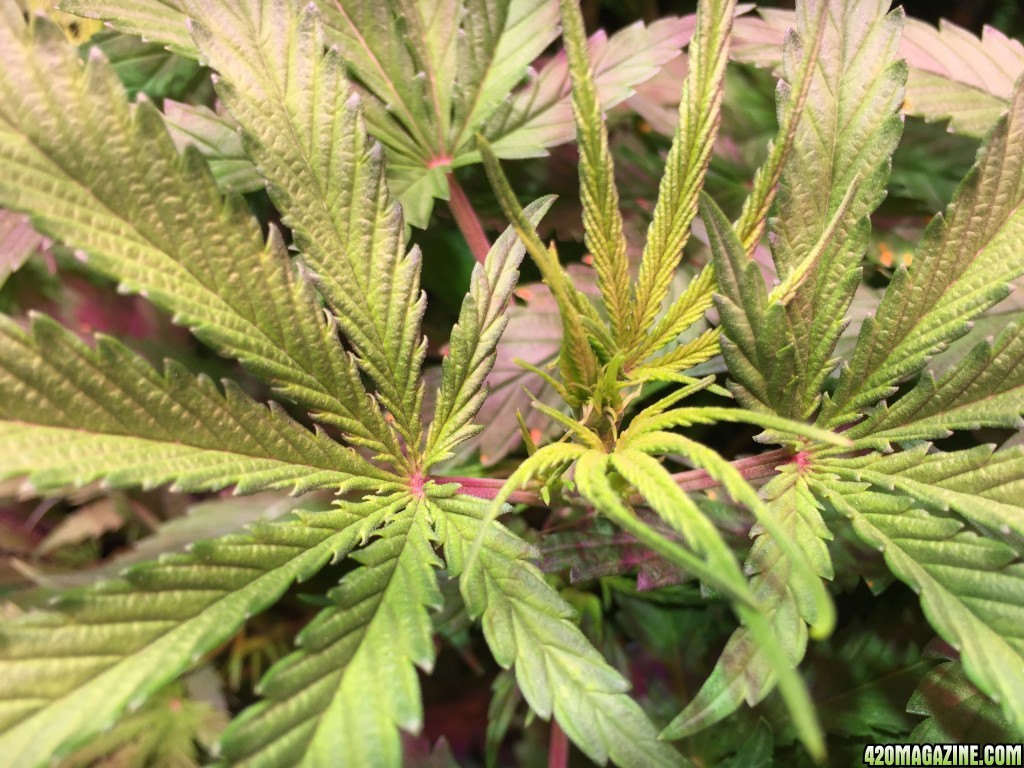
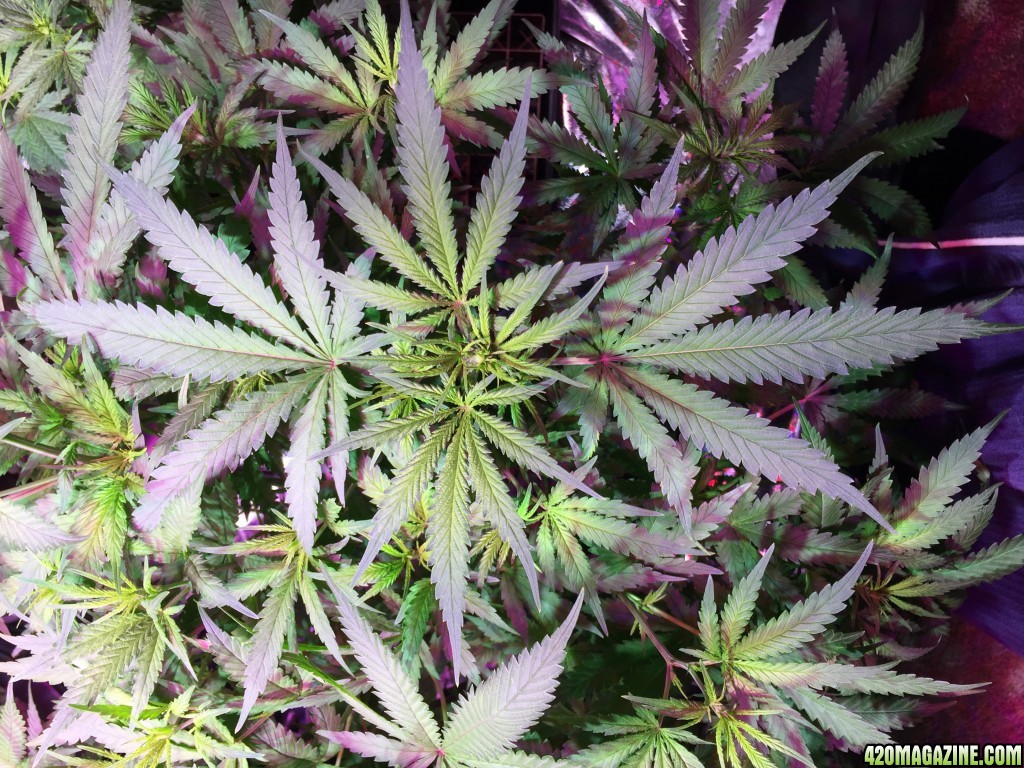
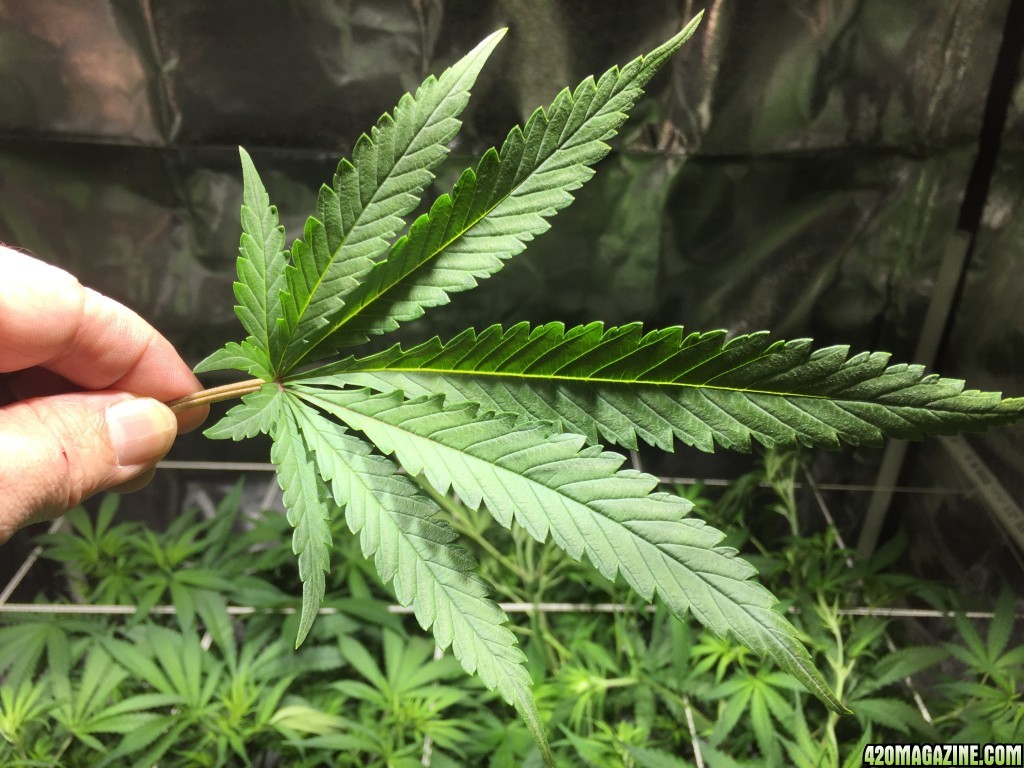
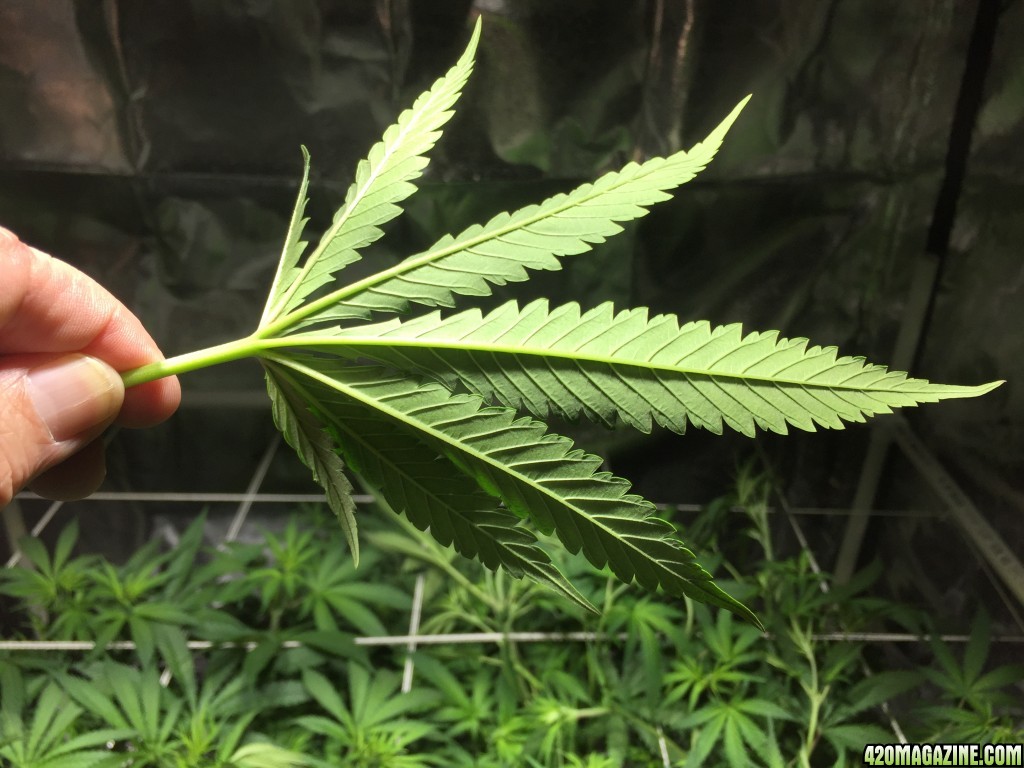
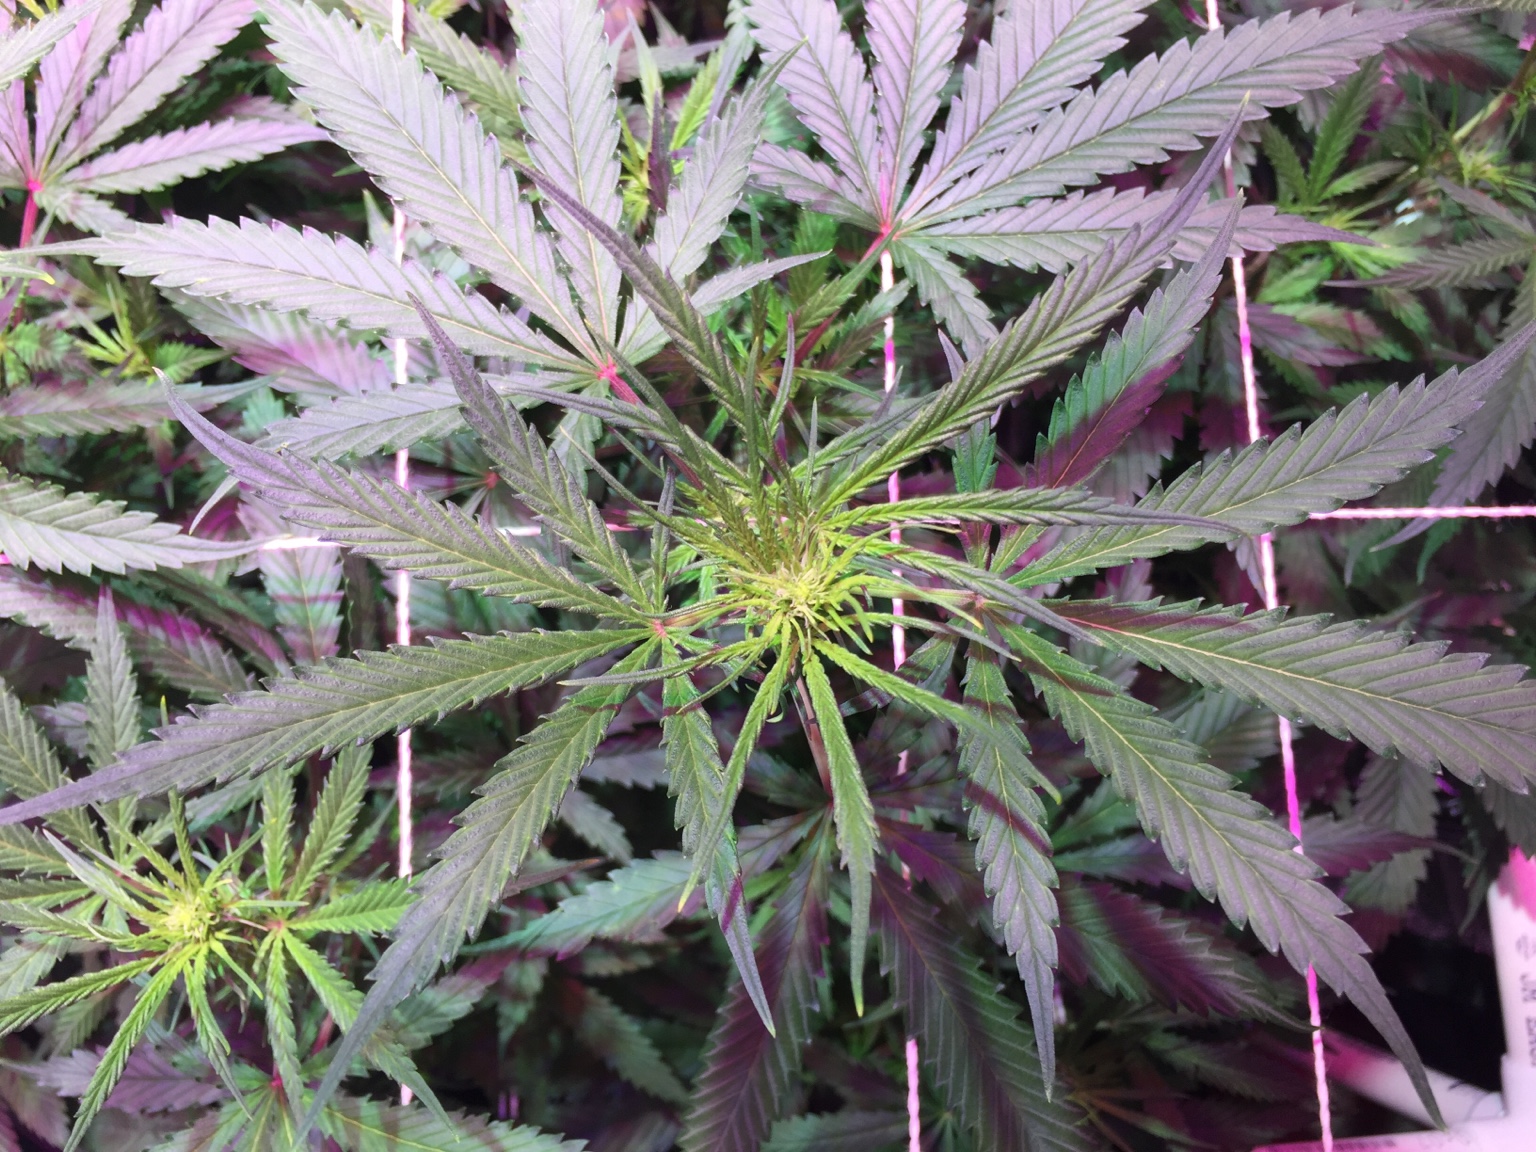
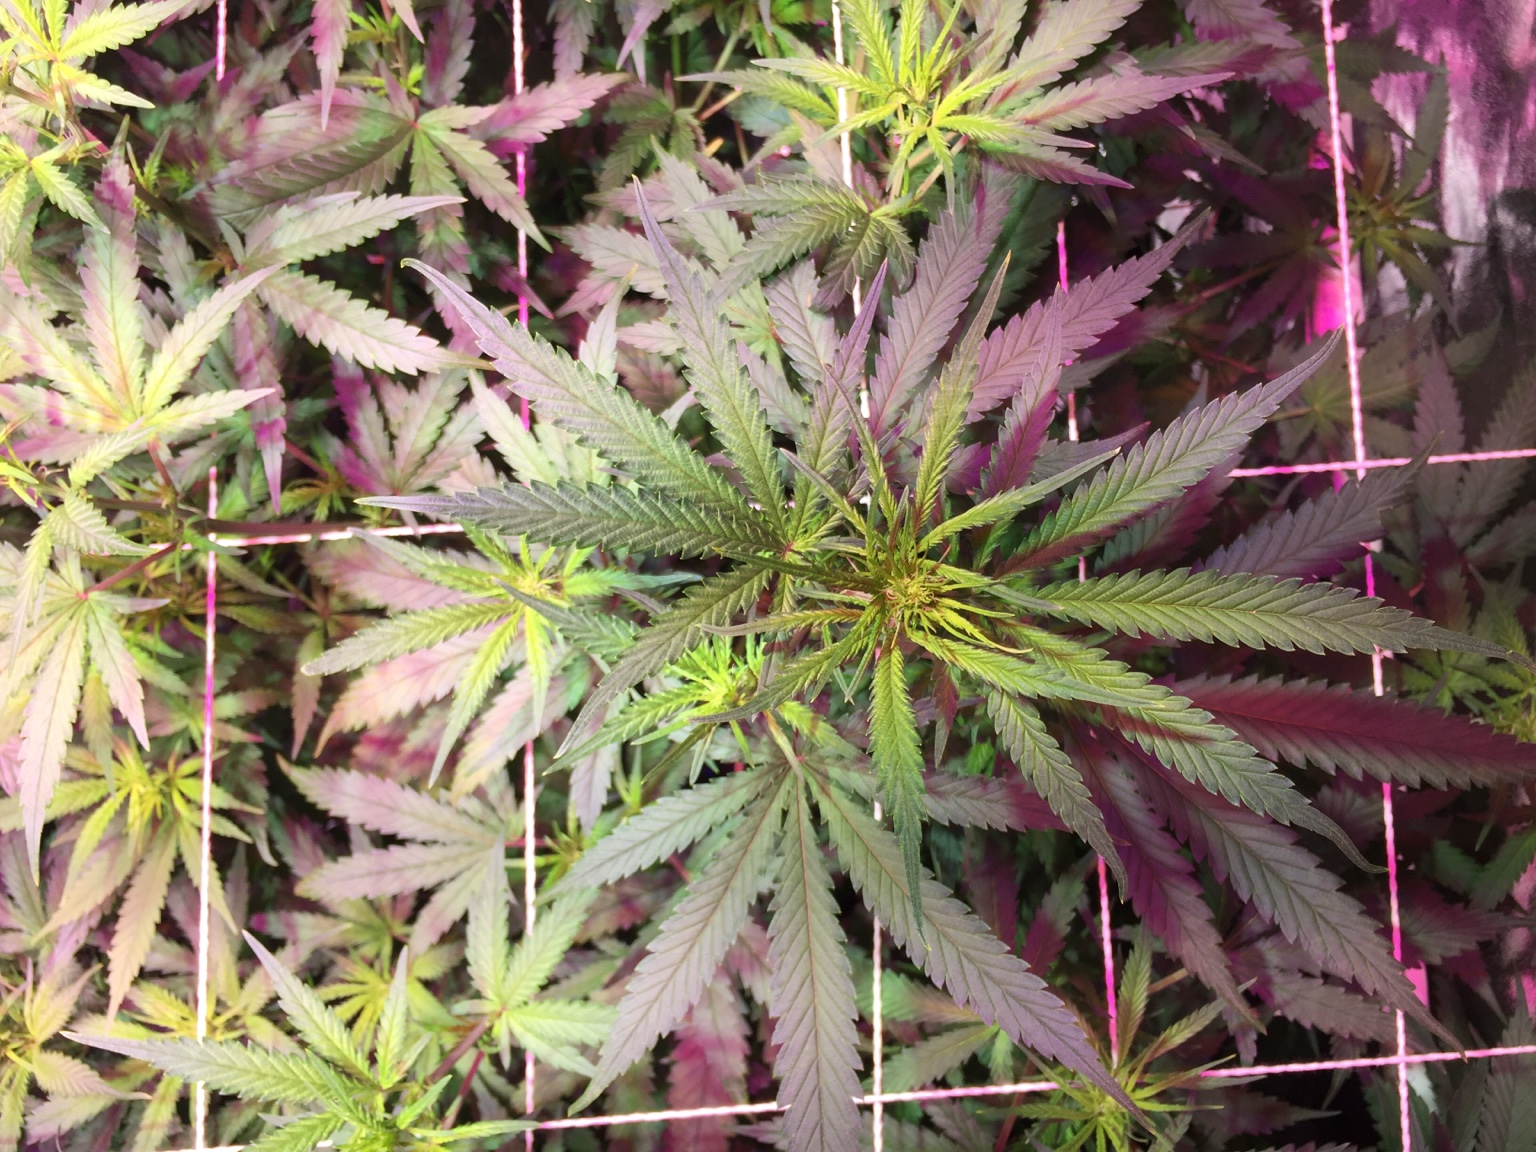
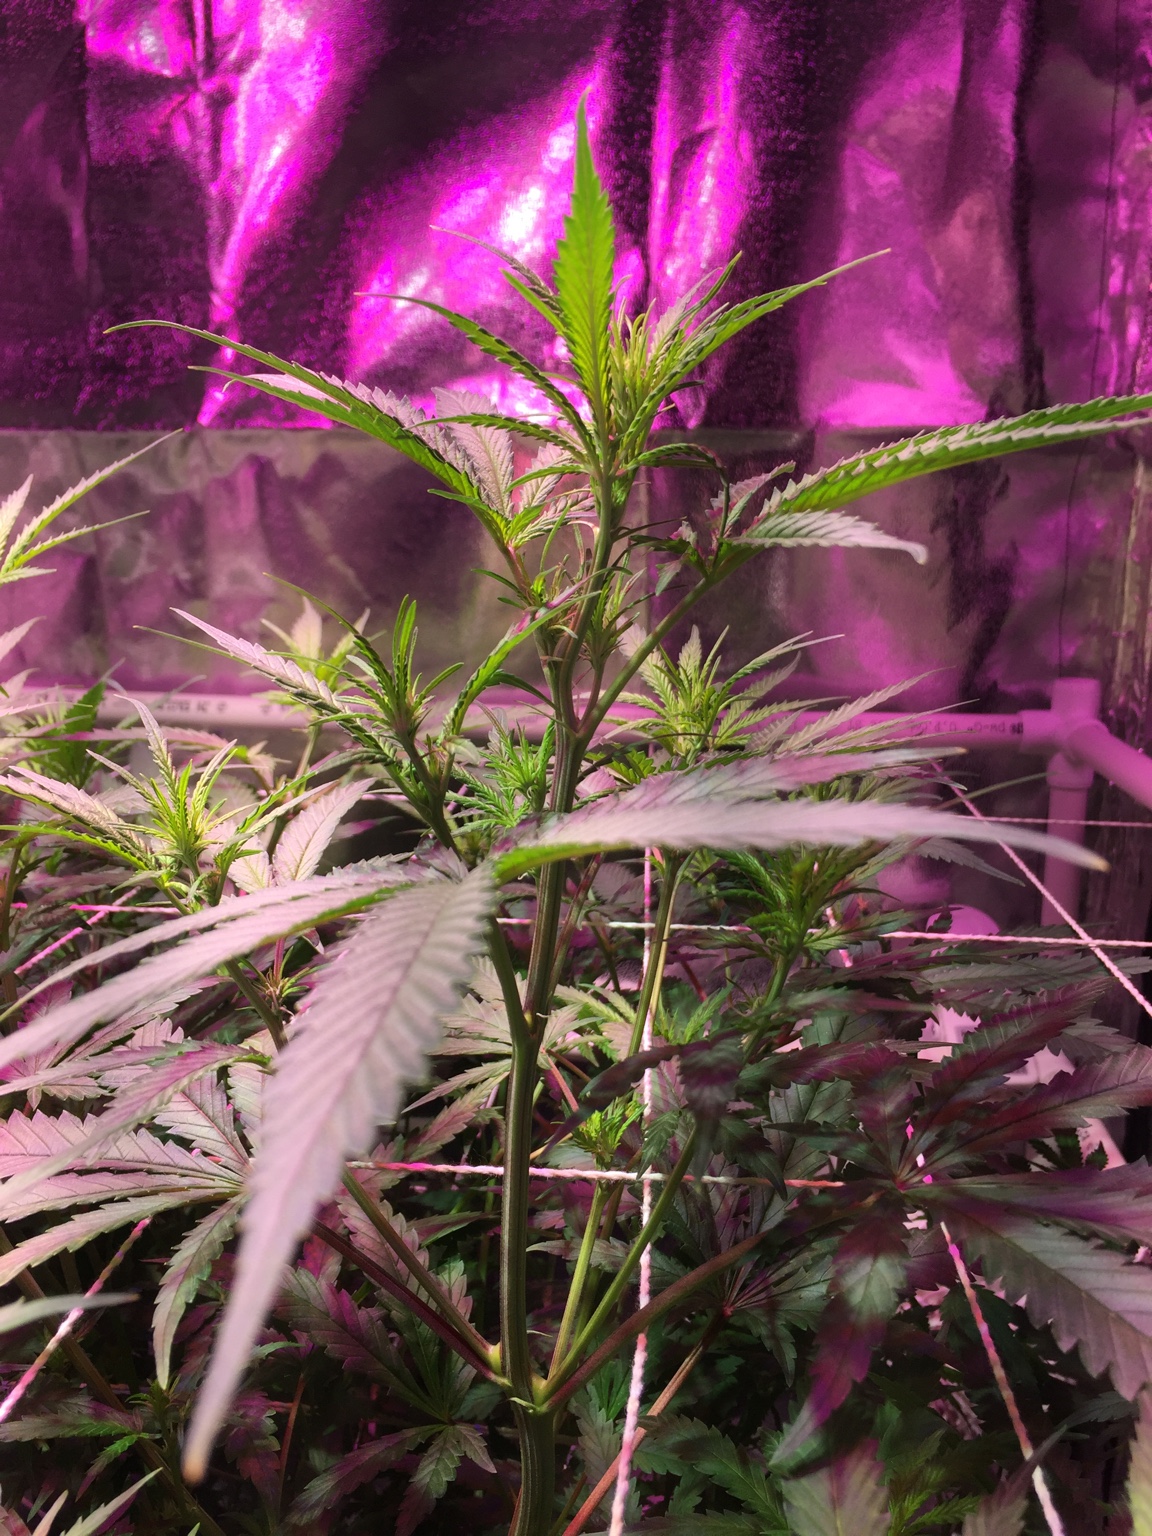
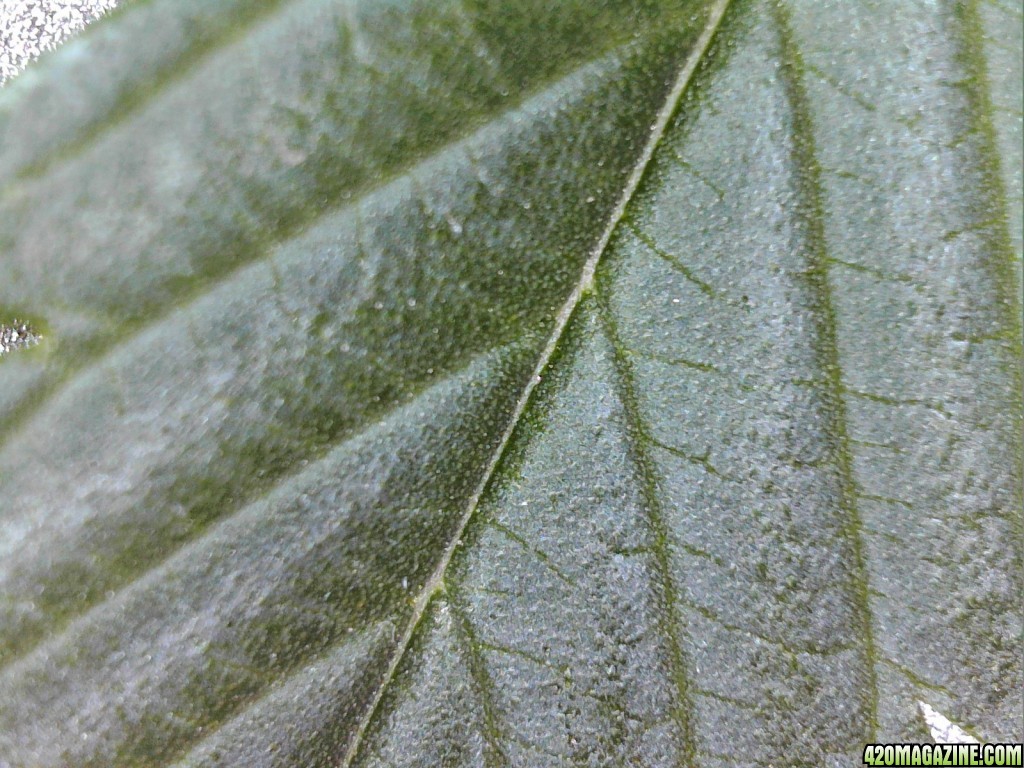
Nice fan leaf pics, fun to see some with 11 tips! ....until they get torn off, mwahahaha!! :laughtwo:

In regard to your scrog, I'll throw in my 2 cents based on what I learned from my first grow:

1.) Using disposable netting is the way to go because it makes harvest so much easier (just cut the strings and pull them out of the canopy). So using twine sounds like a good idea!

2.) Rather than using screws, as most do with their scrogs, I just used duct tape to attach each loop of string to the PVC pipe frame. This enabled the entire "construction" of the scrog frame to take less than 10 mins start to finish, and it held up quite well :)

3.) When deciding a height, visualize in your head what you want your final canopy to look like. Your scrog net should be placed at the height you will be "lollipopping" at and is basically like you are saying "I want buds above this, and stems below this".

The biggest mistake I made with my first grow was setting the SCROG net too high. My PVC legs were 30 inches long which left about 16 inches above each bucket (way too much). The reason I did this is because I was training one cola into each square, and I wanted them to be spread out before I flipped to flower.

See all that bare stem growth? That could have been bud growth on every cola if the scrog net was lower. I think this resulted in about 4-6 inches less of "bud canopy height" across the entire tent which could have added up to another 6-8 oz at the end.

LED_undercanopy_shots_001.jpg


This grow I learned from my mistake and am lollipopping across the tent at 8 inches (rather than 14-16 inches) above the buckets. I think a scrog height of around 6-8 inches above the buckets would work really well for your girls size and structure, but definitely get input from some other folks too! :thumb::Namaste:
 
Thank you Frizz, for taking the time and for such great feedback. I will definitely take it all into consideration. I haven't started building it yet...probably start later tonight after the lights come on and I can bask in the glory of bloom lighting! :)
 
A few details about this first grow, that I left out inadvertently due to the late start on the journal and being busy, but thought it might help others:

1. I modified my 4 site set of buckets by drilling two small holes in each for the water and air lines. I made sure the holes were just barely big enough to squeeze the lines in so no light would get through to the res. So far this seems to have worked out well for me, for two reasons. 1: It is easy to pull a water line and use it at the beginning to top water the girls while waiting for the roots to drop into the water. 2: it allowed me to zip-tie my air lines to the bottom center of the baskets so air stones could hang directly below and center of the basket...the roots seem to love this as they circle around the air stone and as you can see by the pics...seem to be doing very well. I'm also sure the chiller has helped with the roots as well as the HydroGaurd.

2. I introduced Co2 to the grow via tank and regulator early on...but being the newb I am, didn't realize running high for 18 hours a day was not going to be feasible. The tank ran out within 3-4 days! LOL...I re-introduced the co2 about 2 weeks ago, this time I run it low for only 6 hours of peak light time and only around 1300-1400 PPM. I have no clue if this helped at all, but I was able to make a tank last two weeks at that level. Not sure if I am going to refill the tank or not...was planning on doing it 2 weeks into flower, but we shall see if I want to spend the money.

For what it's worth, I don't plan on using CO2 until I have completed at least 5 grows start to finish. The cost-benefit analysis is such that CO2 supplementation really only pays off if you have all other variables maxed out. But yes it can increase yields substantially when applied in the correct conditions :)
 
For what it's worth, I don't plan on using CO2 until I have completed at least 5 grows start to finish. The cost-benefit analysis is such that CO2 supplementation really only pays off if you have all other variables maxed out. But yes it can increase yields substantially when applied in the correct conditions :)

I've heard this as well. C02 should be the last thing you do once all other variables are maxed out. Unless of course one wants to have a sealed room and needs to supplement it.
 
Been a busy work week .

Have lots to get done this weekend to finish my scrog build and get it setup...but here are a few pics from this morning before lights out. The ladies are taking off! .
420-magazine-mobile1505550186.jpg


420-magazine-mobile1876055565.jpg
420-magazine-mobile963434817.jpg
 
DAY #59 | FLOWER # 8:

One week into flower and the ladies are going strong. By my measurements they have stretched at least 4 inches.

BEFORE & AFTER:


BEFORE & AFTER:


THE SCROG FRAME IS FINALLY DONE! :cheer:


I'm going to let them stretch some more before I make the final cut on the legs. And here are the ladies now:


DAY #66 | FLOWER # 15:

:byebye:


Happy Saturday! 5 Days To 4/20! :allgood:

I finished up the measurements and got the scrog ready for install:


Two weeks in and the ladies are stretching. Looks like I got the thing done just in time!


Easy Does It!


Purty! :yummy:


All Tucked In And Ready For Bed:

 
Looking super solid overall, your roots look whiter and more spotless than any I have ever grown! :love: The top sets of fans are gorgeous as well, symmetrical and a nice lush green.

Based on your current node spacing it looks like you still have nearly 1 week of stretch left. Then the buds will really start to take off and fatten up! :drool:

What nutes have they been given since changing the lights? I would say that the plants look a bit nitrogen heavy, hence the super lush dense canopy and relatively sparse/green bud sites. Erring on the side of extra phosphorus and potassium is a good idea for the remainder of the grow, since those nutrients help with bud development and also aid in the plant's cellular function (potassium) and root development (phosphorus). Nitrogen is great for stems and fan leaves.

Thus my recommendations are as follows:

1.) Make sure you are providing the plants with more P and K than N. This will promote bud growth over leaf and stem growth.

2.) Remove significantly more fans from the middle of each plant. Here is my rule for flowering this grow: "If I can't see the bud from the top, neither can the light". :laughtwo:


Heck, try it on half the tent if you want to compare! I just nipped off the vast majority of fans with a stem longer than 1 inch. The ones nestled in the buds got to stay because they are hard to remove and also covered in trichomes! I would also recommend you then remove any fan leaves that are in the dark at the bottom of the canopy (if there are any). Air flow and light = great buds!

Again, overall they look amazing, especially for your first grow. :bravo: The best course of action is therefore to take my recommendations with a grain of salt, because I have had wayyy too much wine, and listen to what your plants are telling you :circle-of-love:

Thank you for taking the time!

I was planning on another defol this weekend and already started nipping at the big ones, was just hesitant as I didn't want to stress them too much. But if I have learned anything in my nearly 50 years, I should know ladies are often much tougher than they seem .

I have adjusted my feeding to include more bloom and less micro and grow. But I agree, still seems like a bit much on the N by the looks of the leaf . color.

Other than the GH 3 part, I have only added CalMag and HydroGuard.

Are there other bloom supplements you would suggest to help with the two Ps?

Being the newb I am at this, how do you know what you need if you don't change the water? And what is a good PPM for this kind of four site setup? I am about to start my 4th week without a water change.

One thing about the scrog...no more root shots! .

Damn right, ladies can handle a lot! :cheer: I do have a suggestion for defol/plant training timing to reduce plant stress- do it in the last hour before the light goes off. I started doing this because the stems are softer and more flexible at the end of the day so it is harder to break a branch off by accident. Also, the fan leaves have done their "work" for the day making sugars and sending them to the roots for storage. The plant can use those sugars to recover and rebuild throughout the night :love:

As far as nutes go, your setup is very similar to my 1st grow (GH trio + Hydroguard). I did include silica as well though and a "bud booster" called Rock Solid. Rock Solid has a fertilizer ratio of 0 - 4 - 4.5, so pretty darn close to FloraBloom in terms of chemical composition.

I maintained a ppm between 1000-1500 across 4 separate buckets, by adding either plain water if the ppm was too high, or adding more nutes if the ppm dipped too low. Overall I added about as much of the Rock Solid/FloraBloom as the other two (FloraMicro and FloraGrow) combined.

Here's a pic from a previous post so you can see how much was used. The Rock Solid bottle is about 2/3rds full.
Rebloom_4_002.jpg


Maybe you could do a partial water change? Siphon out 5 or 10 gallons and add a fresh batch of bloom nutes to the res. Then you get to keep your 4 weeks of friendly bacteria growth and your plants will get what they need to make tasty fat buds :)

:Namaste:

Cool...will do...but that means an early rise for me...lights go out at 6:30am...but luckily I'm a morning person and even more so as the years wear on. .

Wow...I haven't gone over 1000 much at all...more like 800-1000...sometimes lower because I'm adding water almost every day due to the ladies drinking it all up. Probably close to a gallon per day...sometimes more. I need to step up my ppm game.

Thank you so much for your feedback, very much appreciated! .

Glad to help but as always, take my advice with a grain of salt. If the plants start to show nute burn or stress at high ppm's, back off and let them find their happy level :) :love:
 
Just playing with my new USB scope...will have a new update on the grow this weekend.

Amazon.com : BrigTools-USA 500x 8 LED HD 2MP USB Digital Microscope, Aluminum Base : Camera & Photo

768929392_o.gif
768929779_o.jpg
768849137_o.gif


Back
Top Bottom