mountaingoat
New Member
Hello all!
After looking at several post for a long time and researching allot about how and why to grow. I have now started. This is the build i have done. I chose to build it myself instead of buying a tent, both cause I enjoy building things and to keep costs down. In total with two lights and all the supplies featured including grow mediums a total of around 500 dollars were spent
The supplies for it was bought from both my local hardware store and from a closely situated grow shop. As this grow will be situated in a home smell and noise had to be kept to a minimum. Furthermore this grow is in one of the cantons of Switzerland where cultivation of 4 plants per resident is legal.
 I give you my grow cabinet
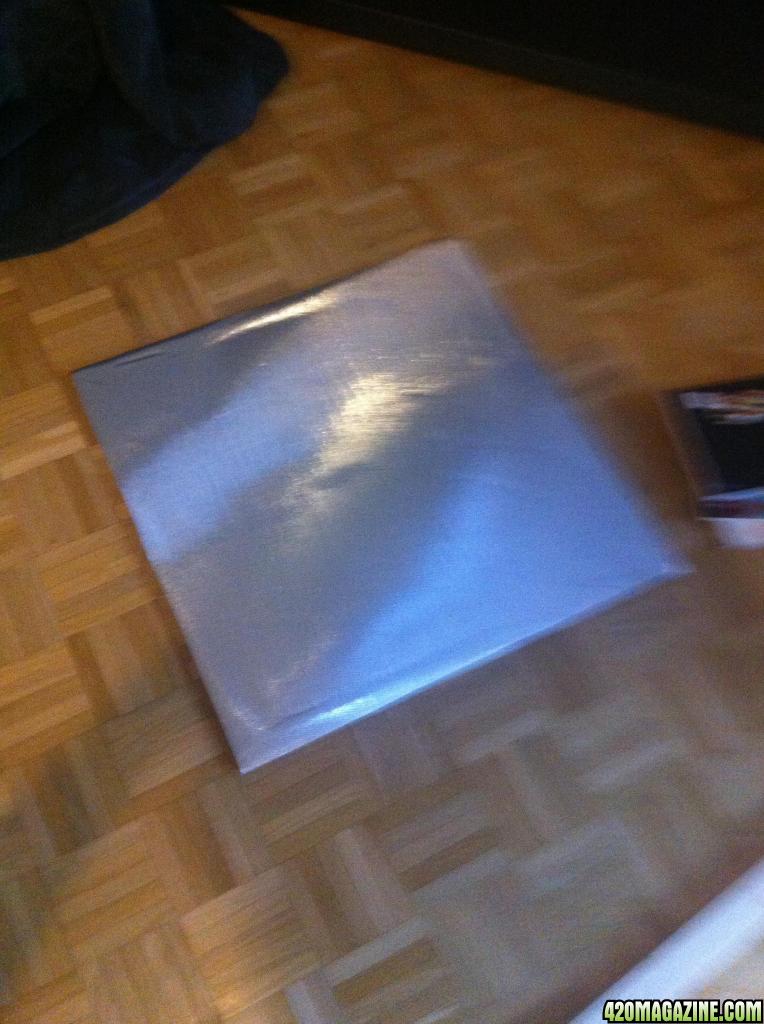
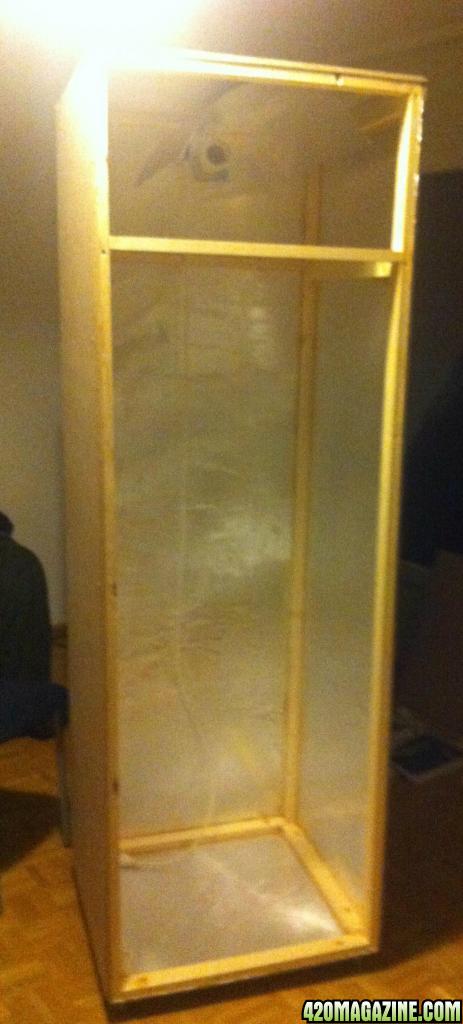
Starting point was the base and the top which after some thoughts was made with the size 60x60 cm. All the panels were made out of 8mm thick mdf wood. Mylar film was glued to the base to increase reflective value and to increase the airtight seal of the box.
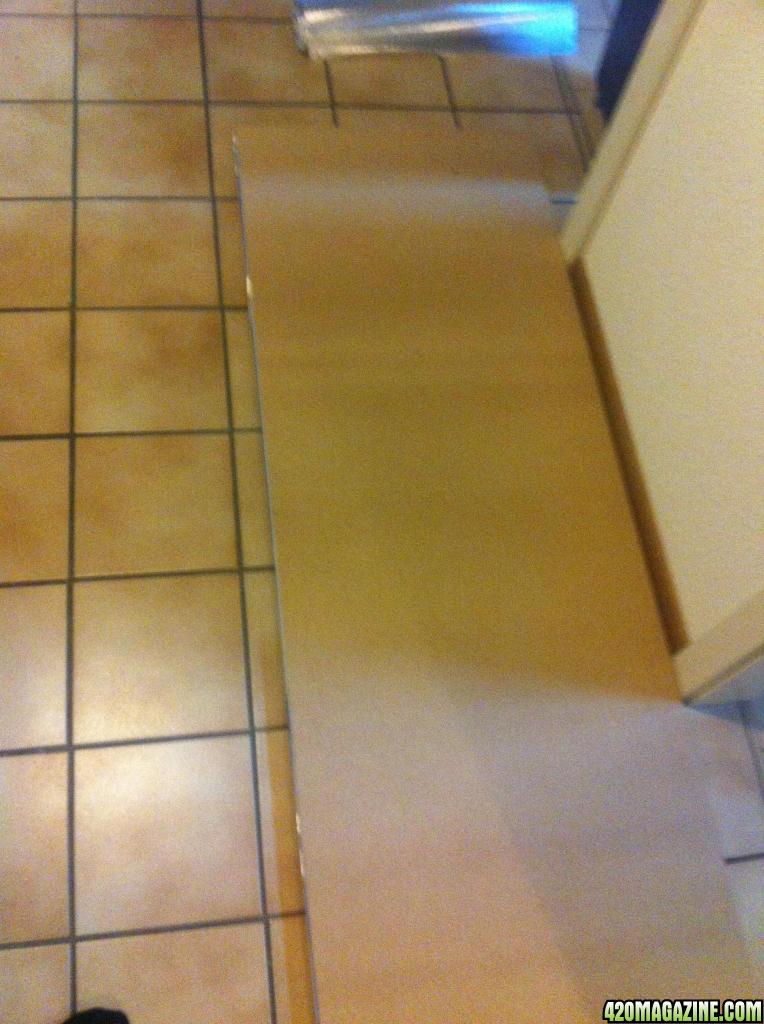
The front back and side panels was also given a layer of mylar for reflective and "airtightness" qualities. By adding the mylar before it was easier to measure and to ensure it would stay at the same spot and not peal off. Plus cutting and measuring when it was put together was going to be a hassle.
The bottom of the box was given four pieces which will connect to the skeleton of the box.
The skeleton was made with wood which I bought cause it was the right size and on sale.
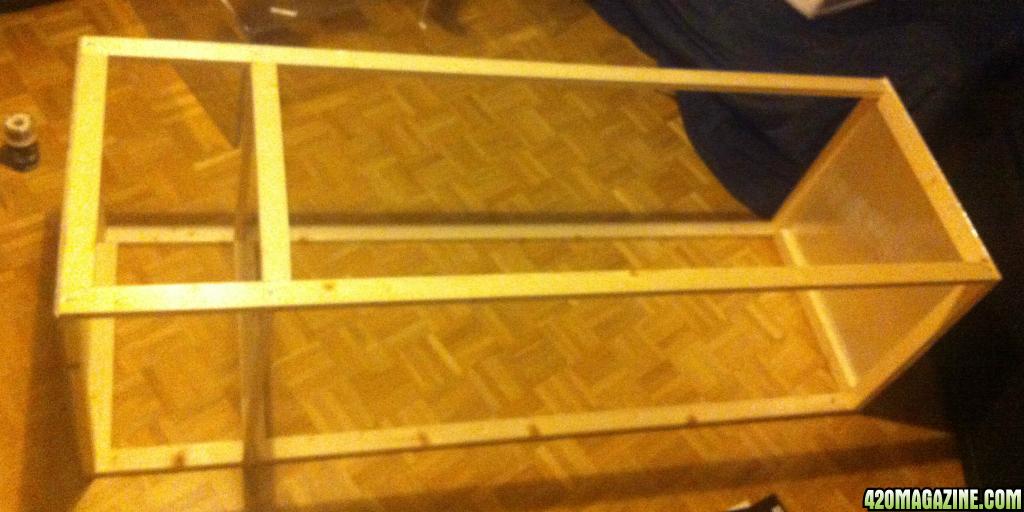
The wood was sized 2 x 4 cm
The long pieces of the wood were 175 cm
4 pieces were 54 cm
4 pieces were 50 cm
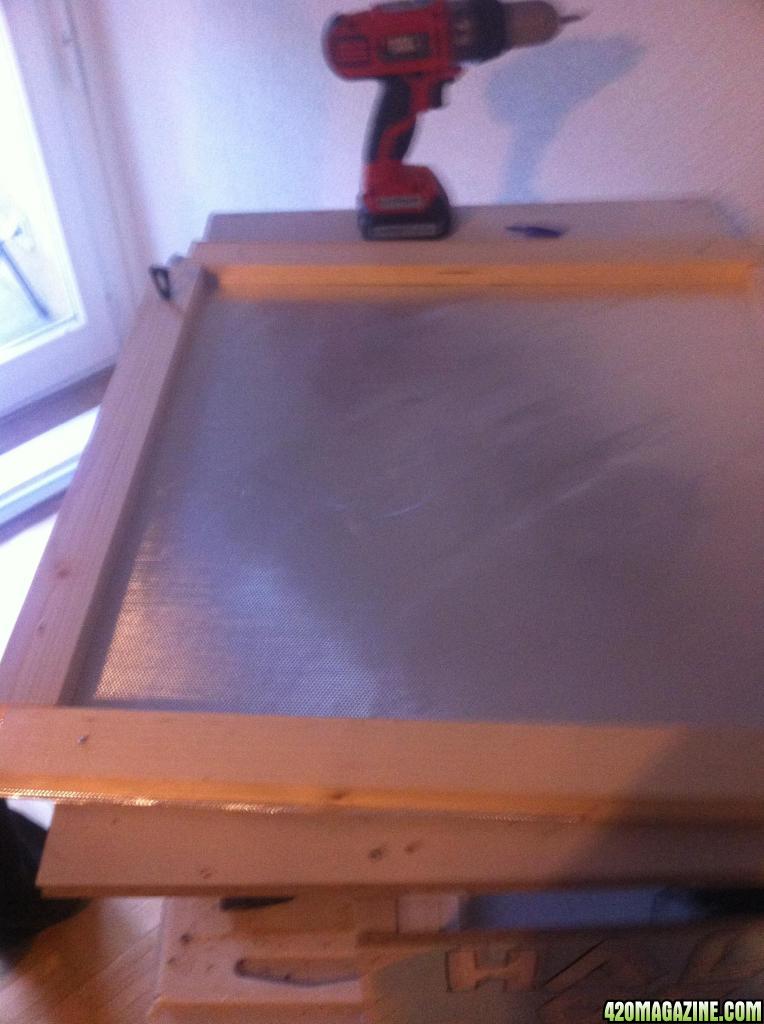
These 8 pieces makes the top of the skeleton which will house the light. The light will have a protective piece of plexiglass which will protect the plants from direct contact with the light to avoid them burning.
5 pieces were 48, which will be placed at the base of the box to increase the "sturdyness" of the box since there will be pots with dirt and water which might be heavy.
After the skeleton was put together the bottom and top was screwed on.
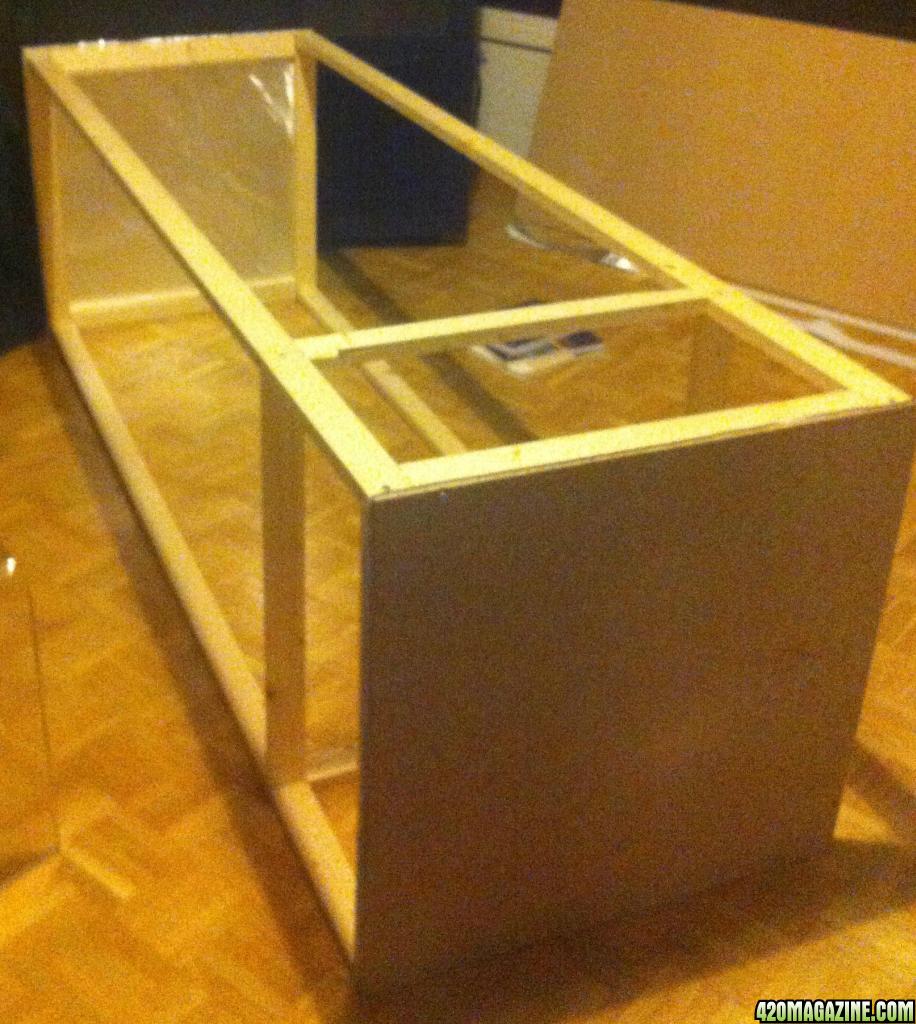
Then the 3 side panels were screwed on
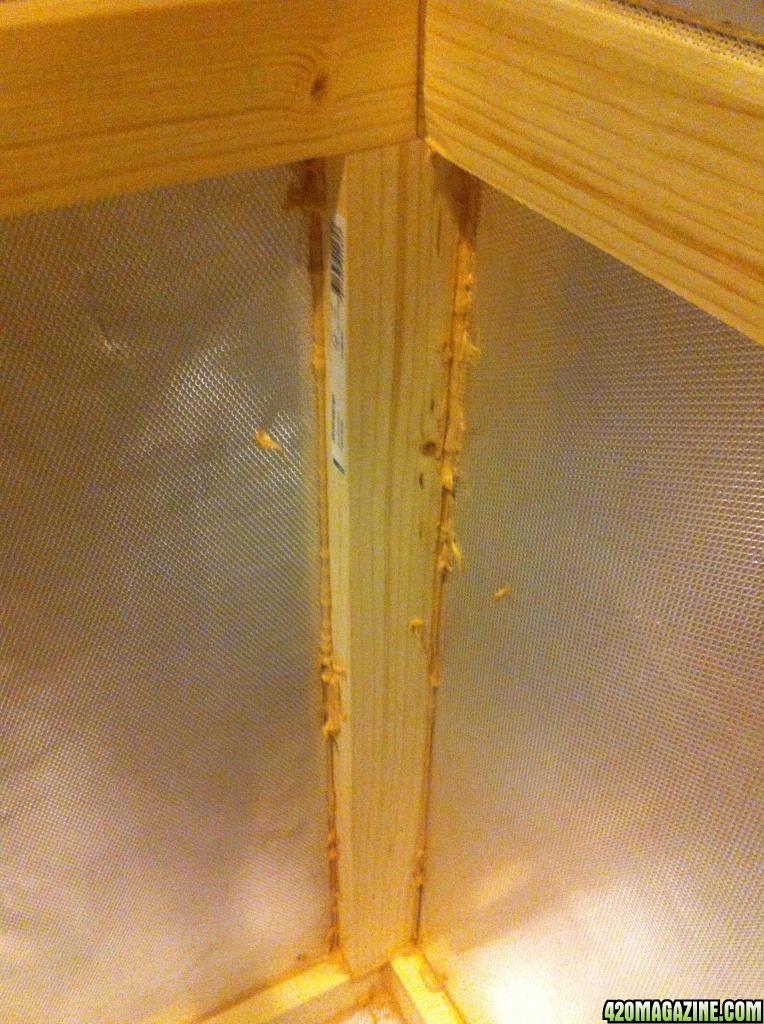
A wood silicone were added to seal the box to increase the "airtightness" this was applied in all the corners inside and outside the box.
Wheels were put on for mobility and the reflector were put in the roof
To ensure minimum amount of smell there will be a exhaust fan used. A passive air intake is made in the bottom of the right side of the box. To increase the air circulation i try to place the exhaust fan in the back of the box as high up as possible. The intake is smaller about 2/3rds of the size of the exhaust fan this to create a negative air-pressure within the box so the the fan is sucking fresh air from the intake and sending it out through the carbon filter and out through the back.
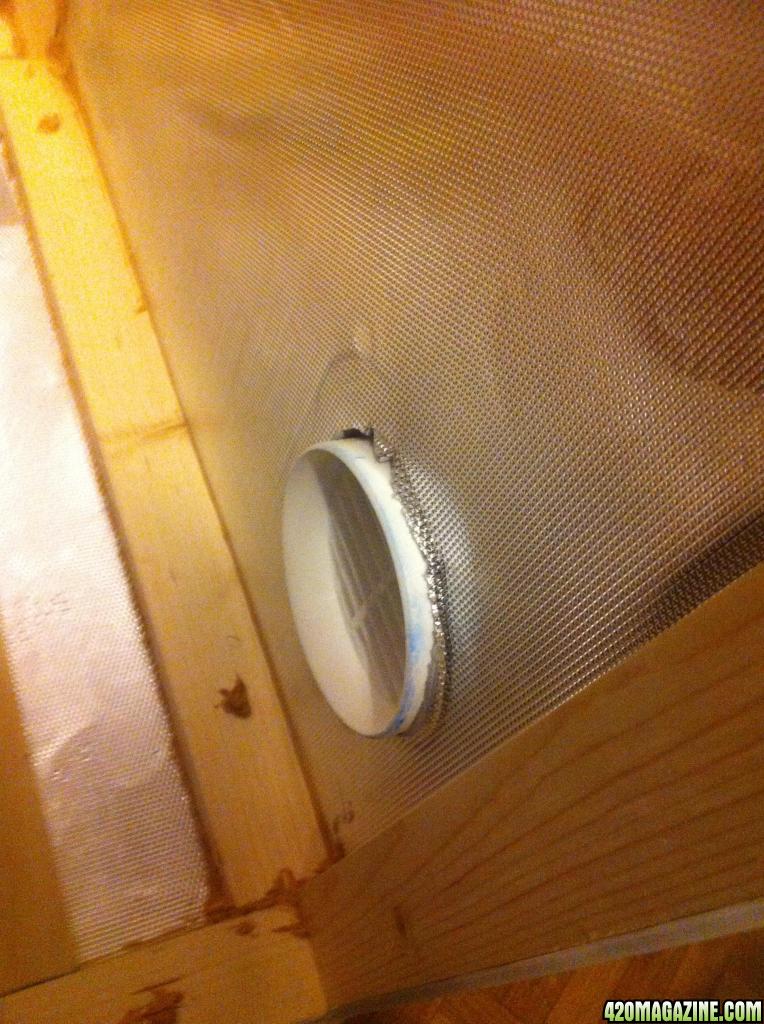
Passive air intake
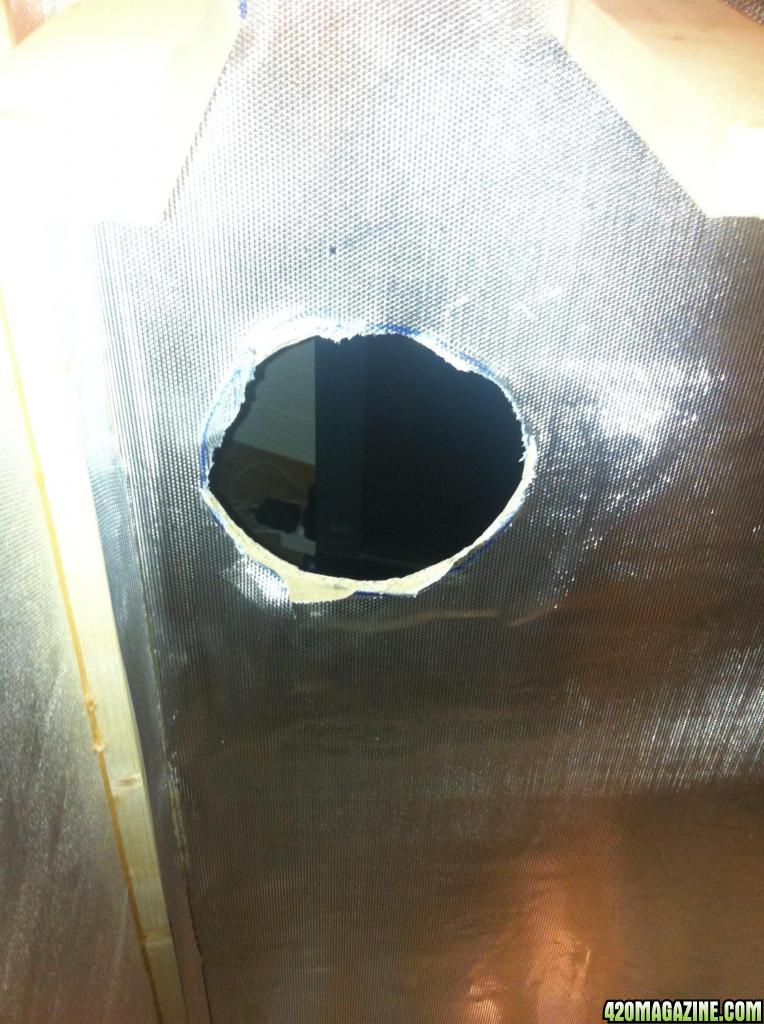
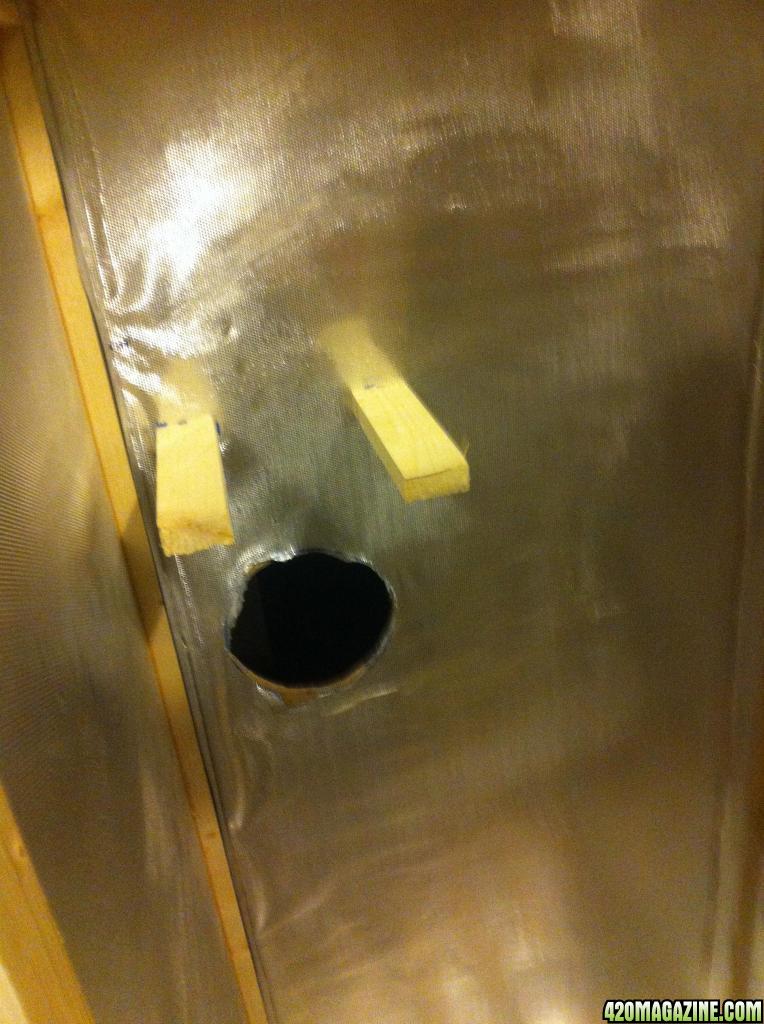
Exhaust-fan hole
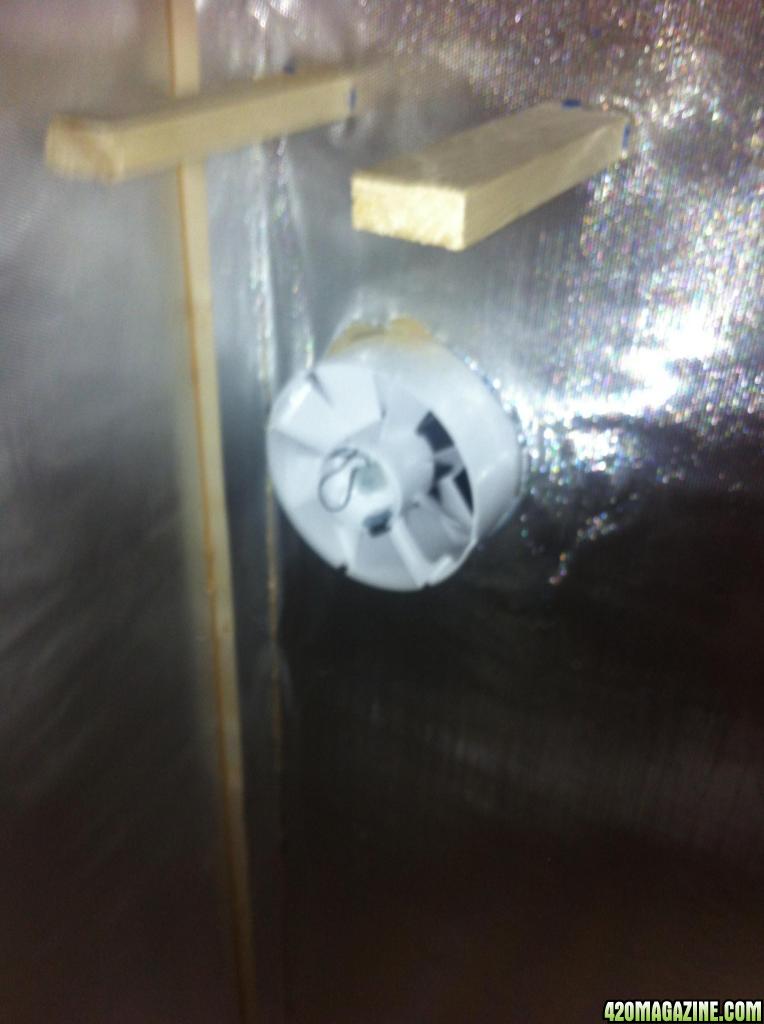
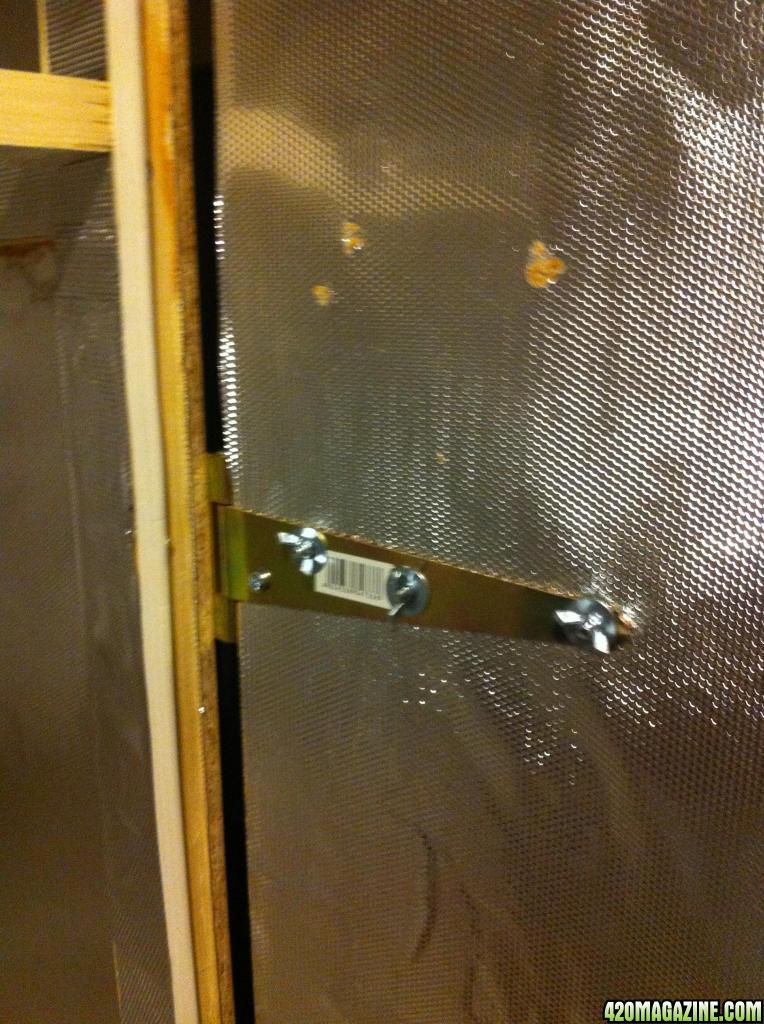
Two pieces of wood are added to hold the carbon filter
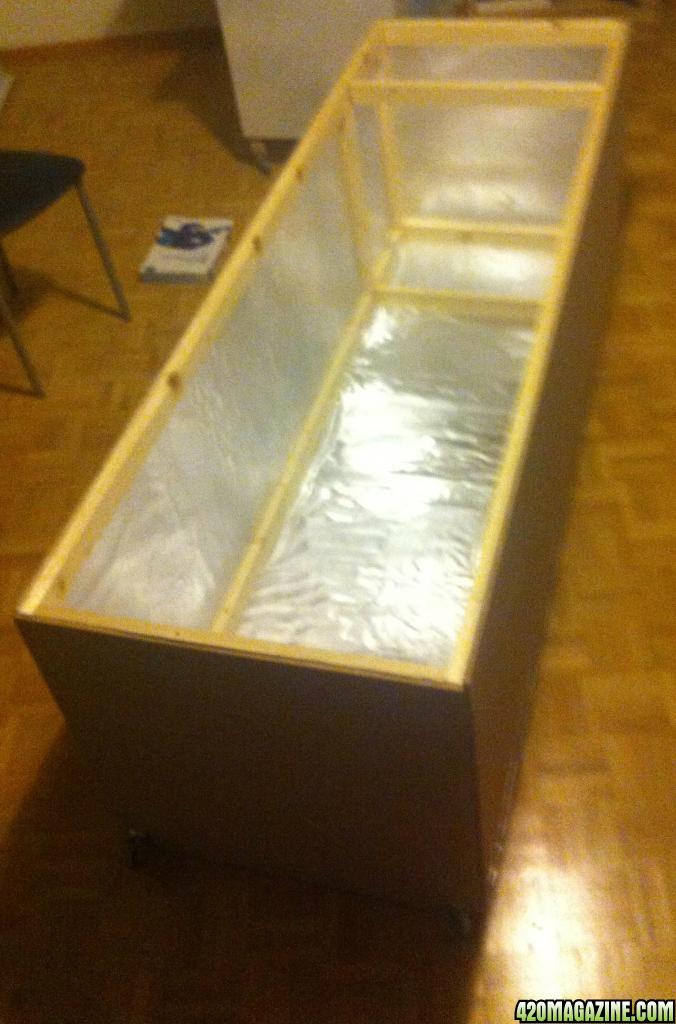
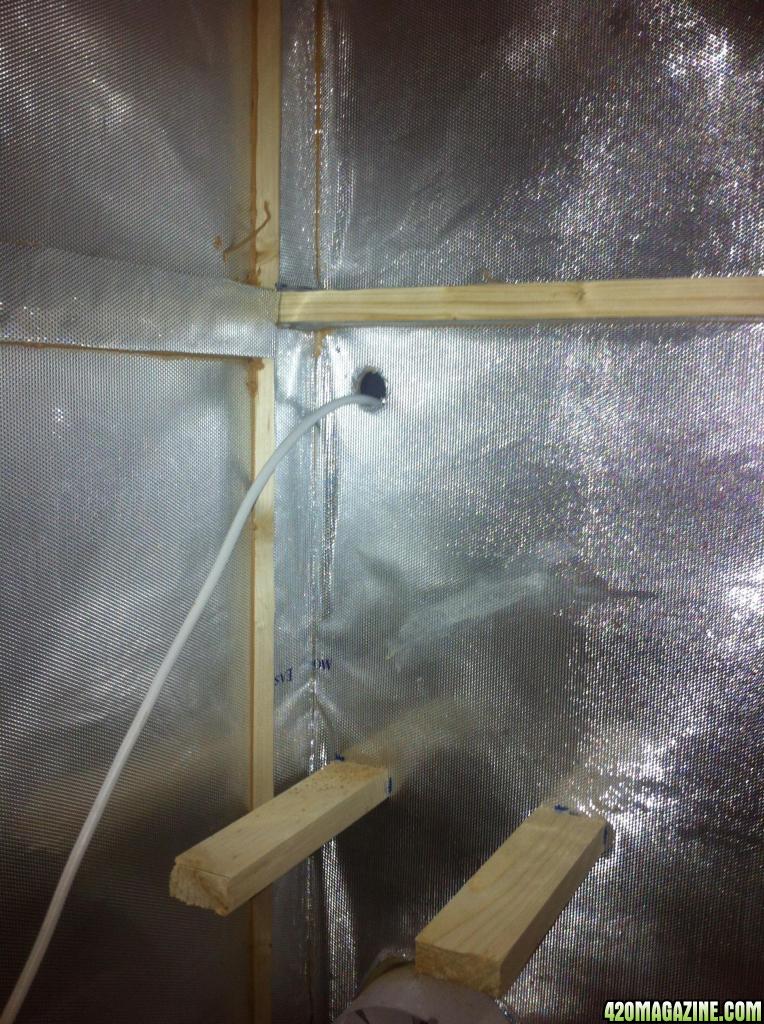
Mylar strips were put on the pieces inside the box to increase the reflectiveness and therefore utilize the light to the maximum. Also a hole for the two electricity cables which is for the light and the fan.
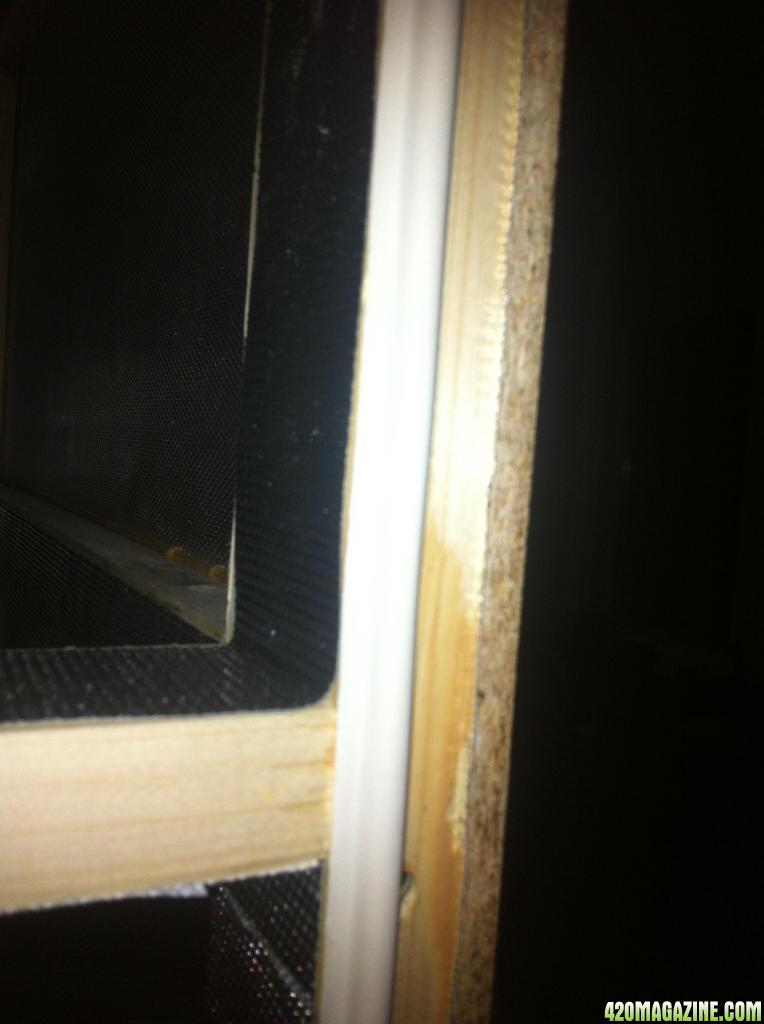
A sealant strip which you would usually find on a fridge is added around the rim where the door will go. This to further increase the airtightness. This reduces smell and also maintains the negative air pressure within the box.
Fan is placed.
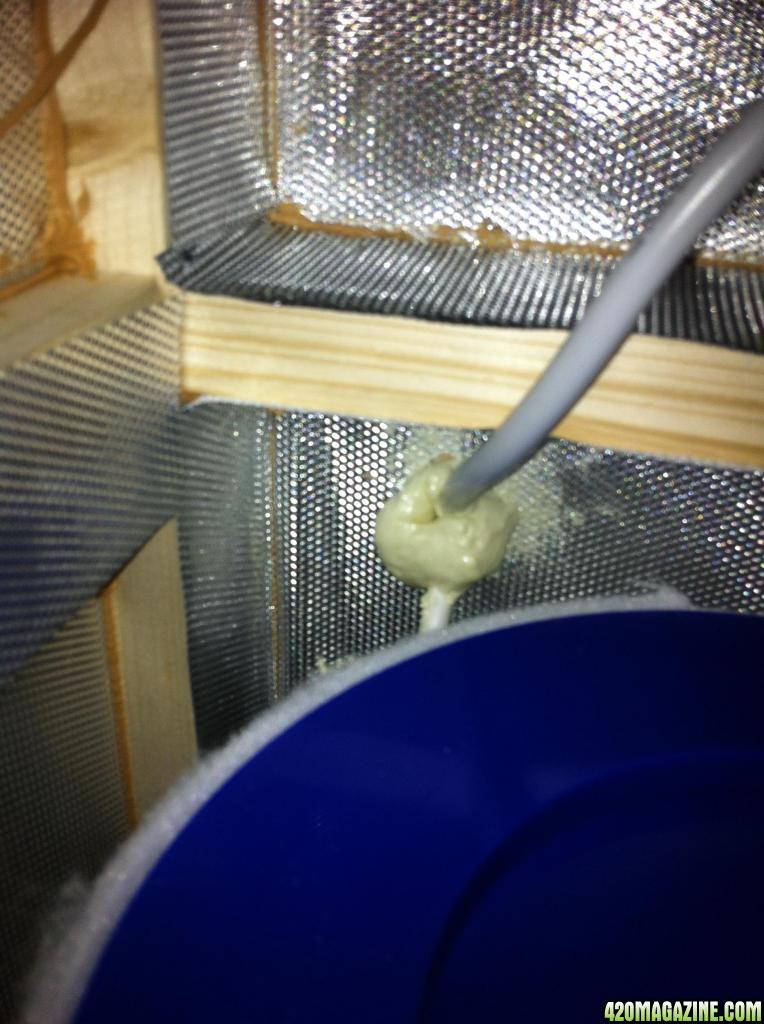
Expanding foam is added on the holes around the electricity cables and the fan.

Back of the box
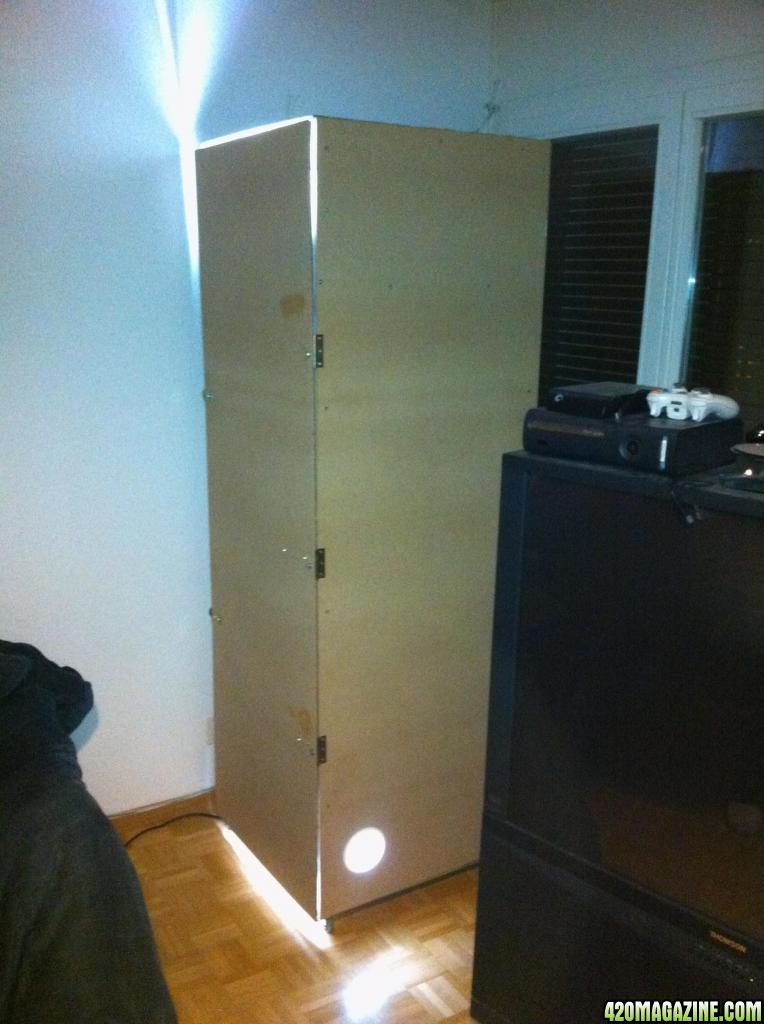
Plugged and ready however a door is needed. Having never put a door on something this was quite tricky.
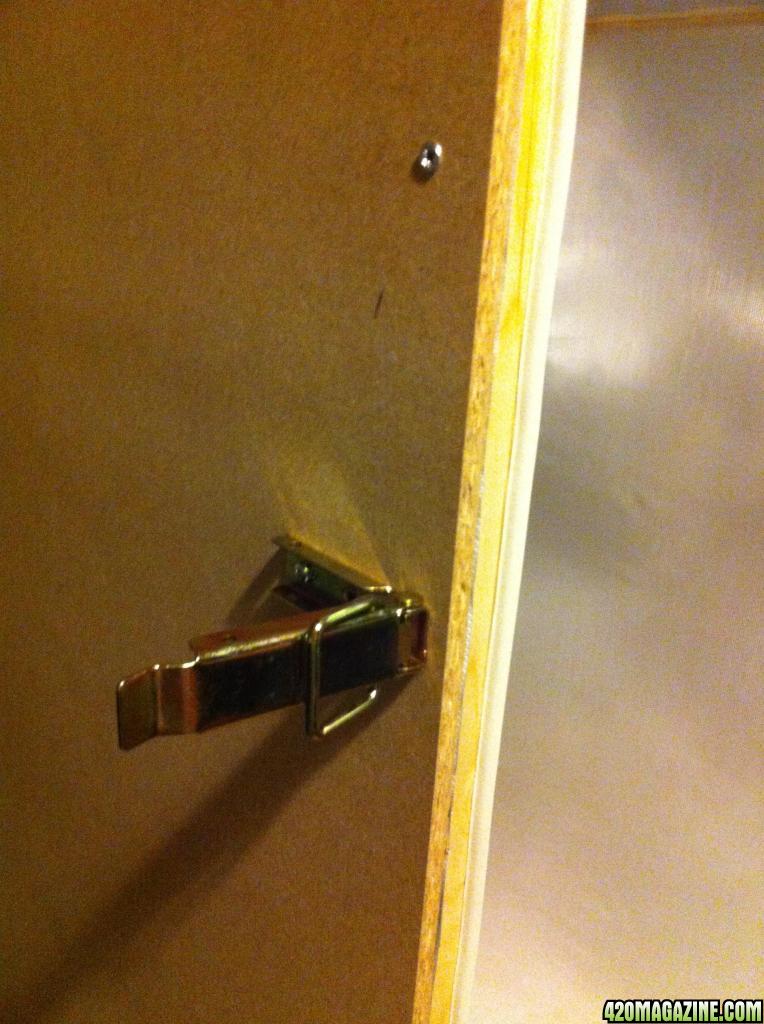
After some trials and errors the door was successfully added. Three hinges were attached with an equal length apart to make sure the weight is properly distributed.
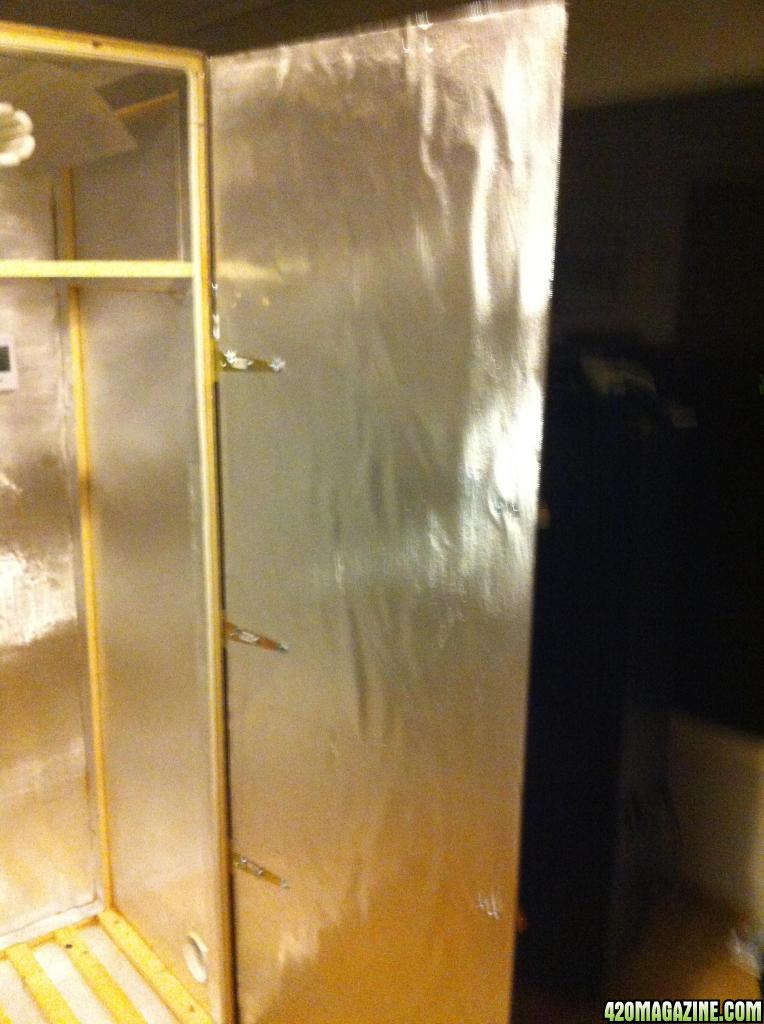
To make sure the fridge seal is completely utilized, these are the hinges used for the ability of seal with extra strength. Two were put on the side and one on the top which will increase the airtightness.
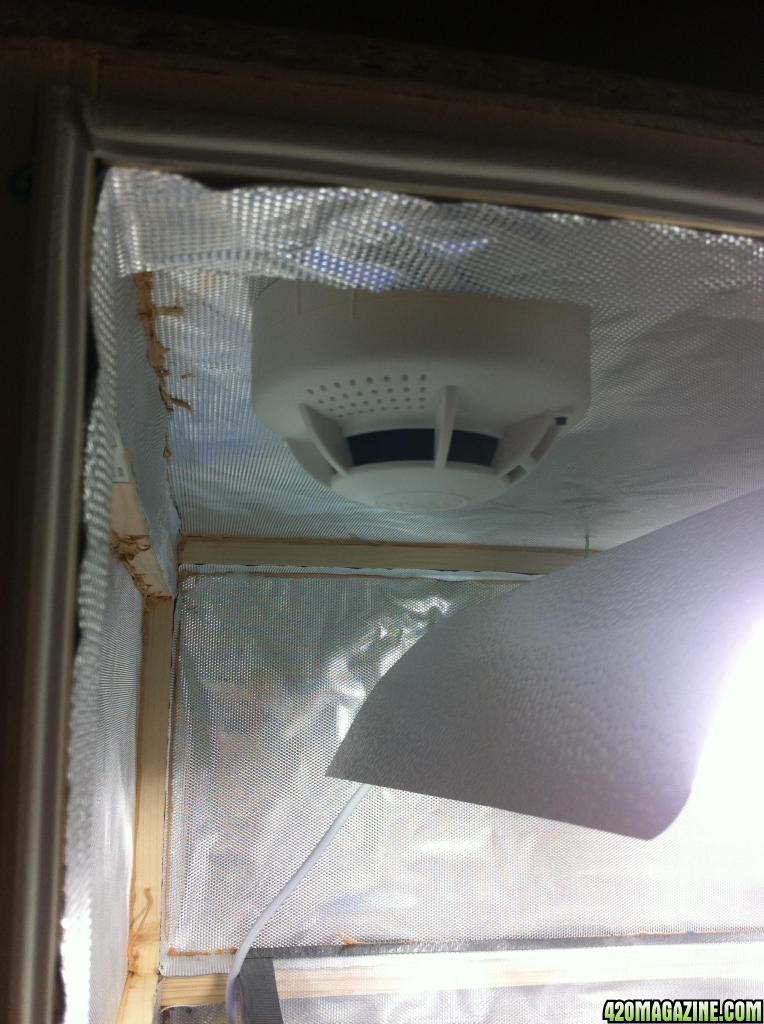
Safety first! A smoke detector was added to ensure that the resident would be woken up in case of fire or electrical faults with the box.
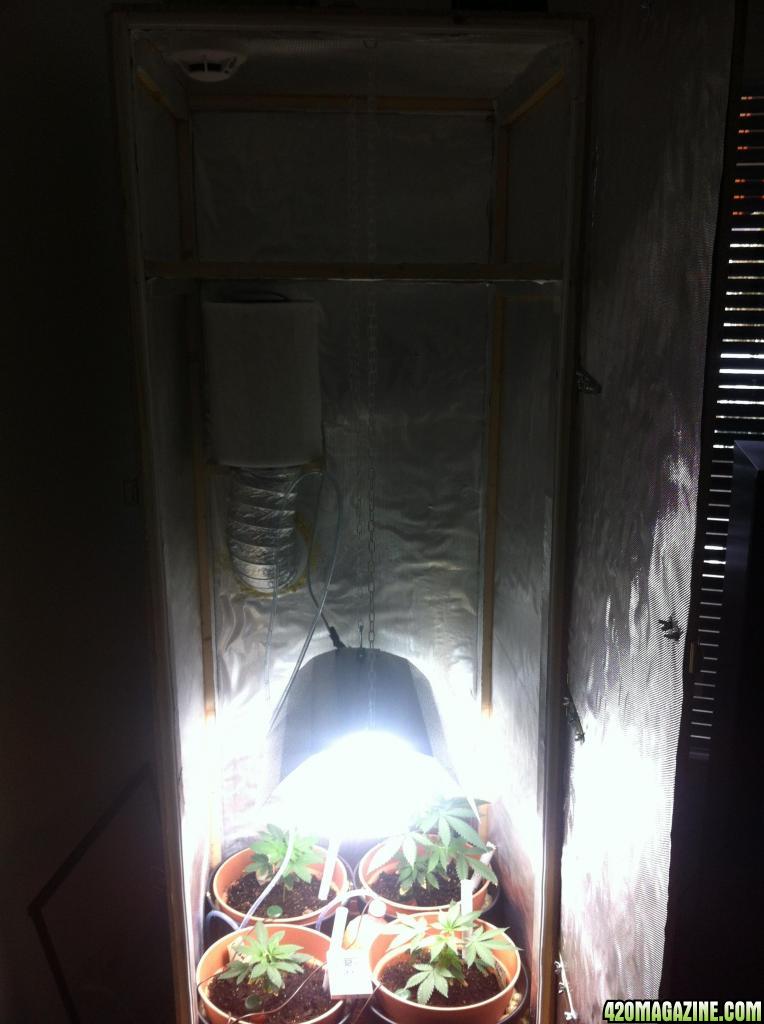
This is the finished product.
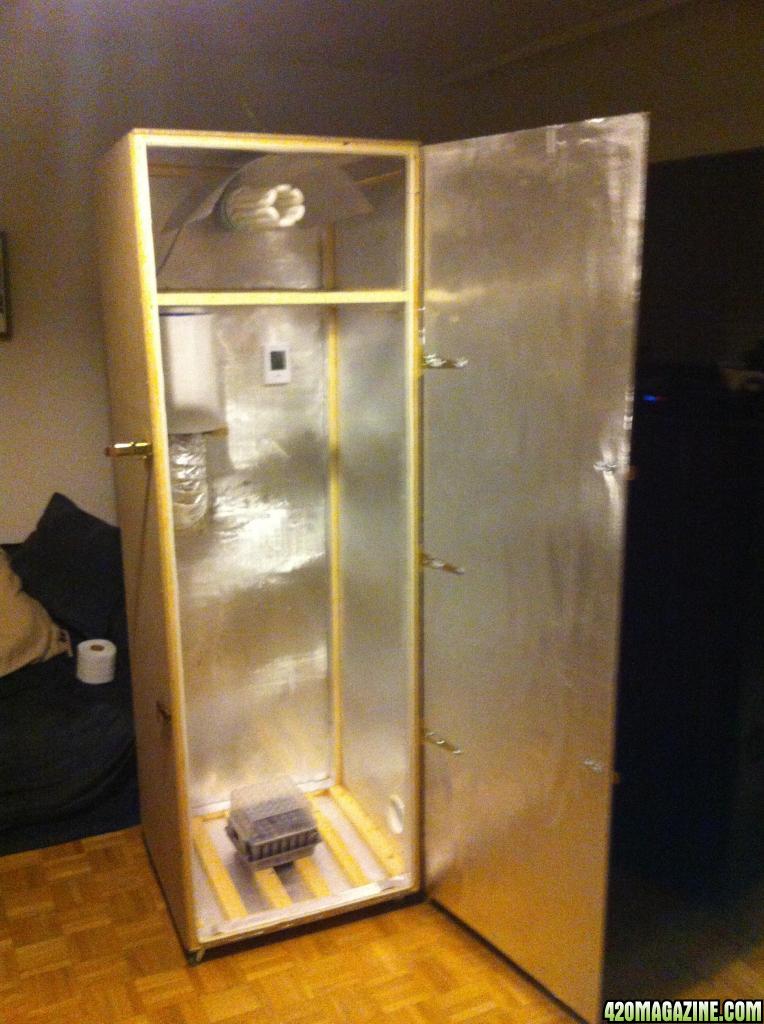
A hinge was added to the top of the box which kept the light from escaping upwards.
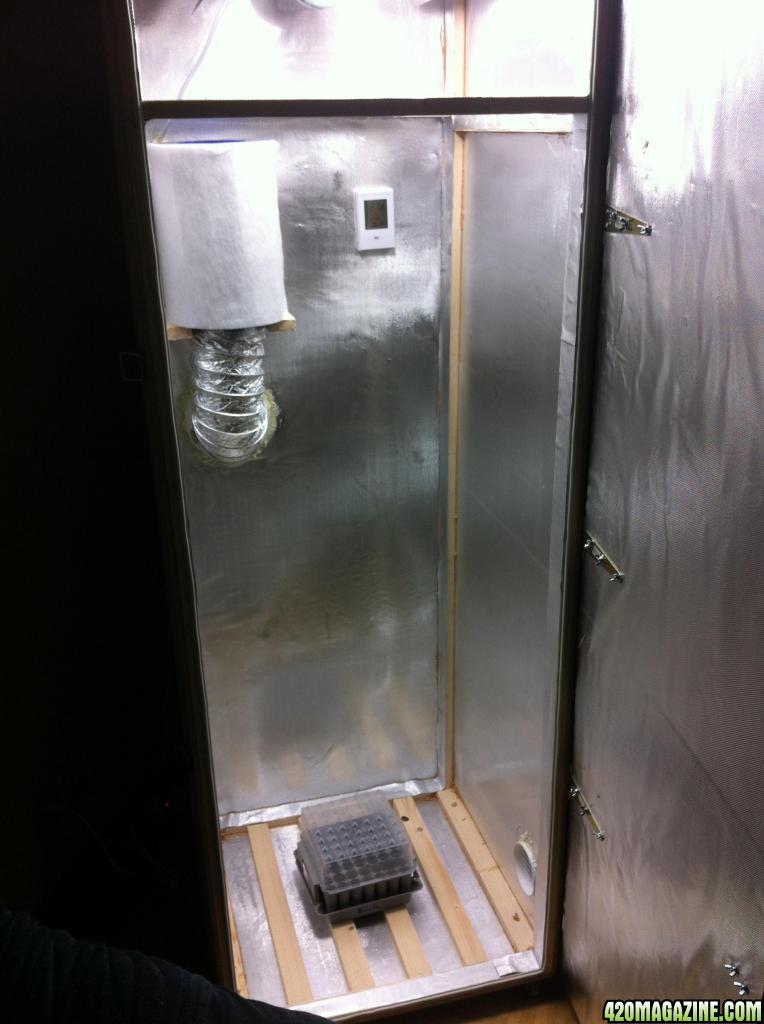
The thing at the bottom is the piece which will be used to grow the seeds called a "pluggbox". This gives seedlings a very developed root system which gives them a great start in life.
Also a humidity and temperature meter was added.
A set of 3 solar powered fans were purchased however these proved not to work with the light in the box. Possibly they will be able to run with the other light which will be used to the flowering stage.
This Growbox will be able to grow a wide range of plants in the comfort of ones own home. Paint will be added to reduce the conspicuousness. The temperature within the box when running stays between 25-28 Celsius. Around 40 in humidity.
Hope you like the work stay tuned for what will be grown.
Questions and comments are welcome.
Thanks to all the people before whom has shared and continue to share their experiences and projects.

"Please note: as Mountaingoat is a totally fictional character none of these things has actually happened and is completely fake."
After looking at several post for a long time and researching allot about how and why to grow. I have now started. This is the build i have done. I chose to build it myself instead of buying a tent, both cause I enjoy building things and to keep costs down. In total with two lights and all the supplies featured including grow mediums a total of around 500 dollars were spent
The supplies for it was bought from both my local hardware store and from a closely situated grow shop. As this grow will be situated in a home smell and noise had to be kept to a minimum. Furthermore this grow is in one of the cantons of Switzerland where cultivation of 4 plants per resident is legal.
I give you my grow cabinet Starting point was the base and the top which after some thoughts was made with the size 60x60 cm. All the panels were made out of 8mm thick mdf wood. Mylar film was glued to the base to increase reflective value and to increase the airtight seal of the box.
The front back and side panels was also given a layer of mylar for reflective and "airtightness" qualities. By adding the mylar before it was easier to measure and to ensure it would stay at the same spot and not peal off. Plus cutting and measuring when it was put together was going to be a hassle.
The bottom of the box was given four pieces which will connect to the skeleton of the box.
The skeleton was made with wood which I bought cause it was the right size and on sale.
The wood was sized 2 x 4 cm
The long pieces of the wood were 175 cm
4 pieces were 54 cm
4 pieces were 50 cm
These 8 pieces makes the top of the skeleton which will house the light. The light will have a protective piece of plexiglass which will protect the plants from direct contact with the light to avoid them burning.
5 pieces were 48, which will be placed at the base of the box to increase the "sturdyness" of the box since there will be pots with dirt and water which might be heavy.
After the skeleton was put together the bottom and top was screwed on.
Then the 3 side panels were screwed on
A wood silicone were added to seal the box to increase the "airtightness" this was applied in all the corners inside and outside the box.
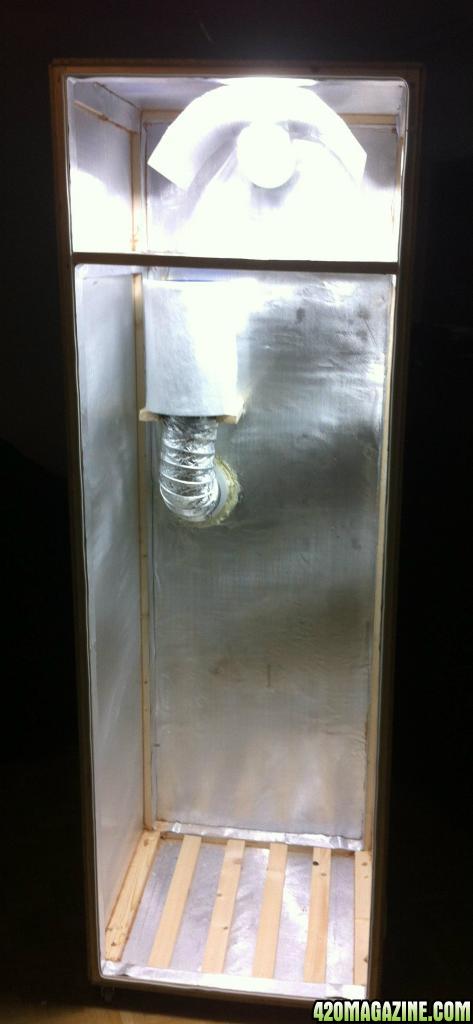
Wheels were put on for mobility and the reflector were put in the roof
To ensure minimum amount of smell there will be a exhaust fan used. A passive air intake is made in the bottom of the right side of the box. To increase the air circulation i try to place the exhaust fan in the back of the box as high up as possible. The intake is smaller about 2/3rds of the size of the exhaust fan this to create a negative air-pressure within the box so the the fan is sucking fresh air from the intake and sending it out through the carbon filter and out through the back.
Passive air intake
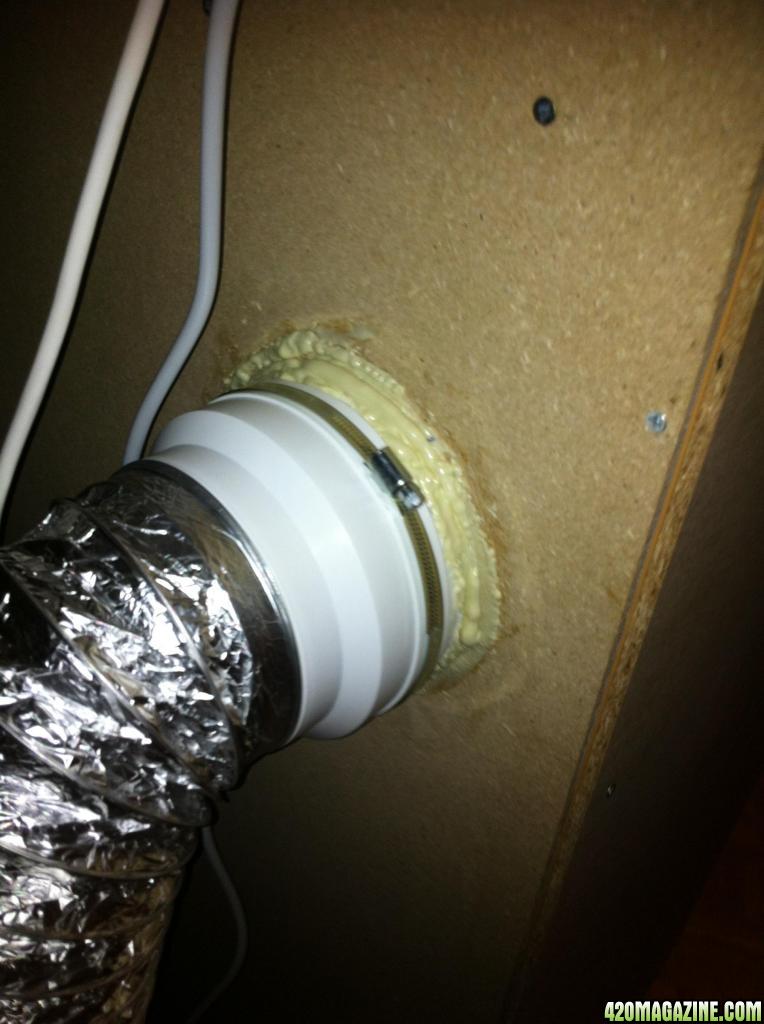
Exhaust-fan hole
Two pieces of wood are added to hold the carbon filter
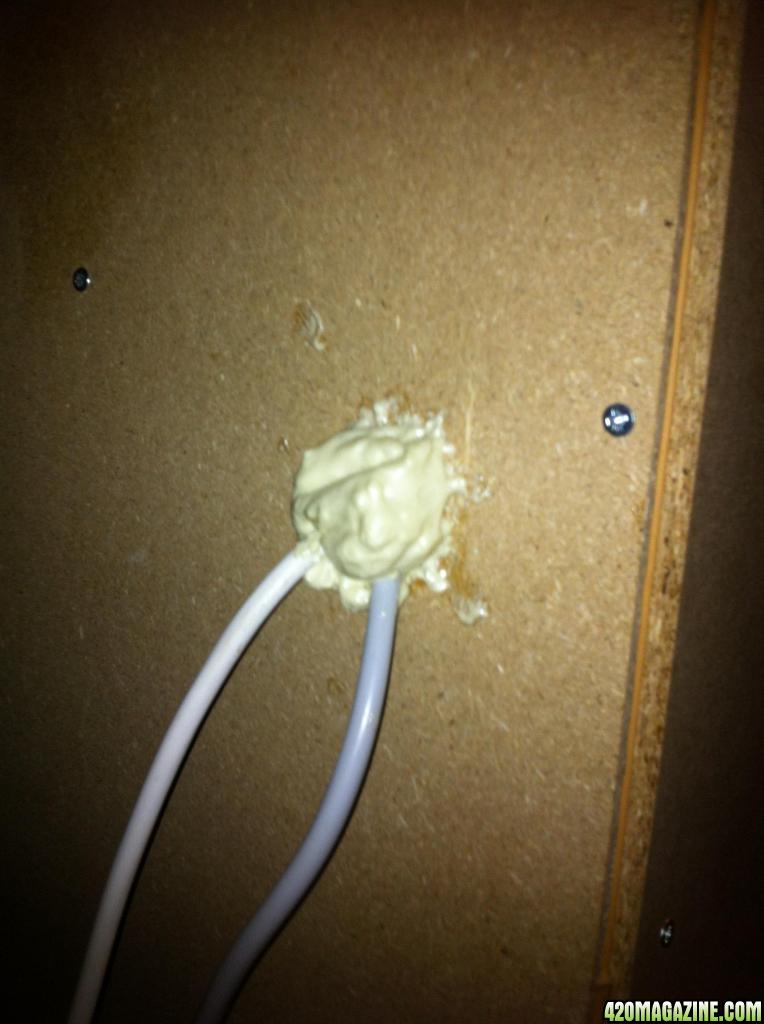
Mylar strips were put on the pieces inside the box to increase the reflectiveness and therefore utilize the light to the maximum. Also a hole for the two electricity cables which is for the light and the fan.
A sealant strip which you would usually find on a fridge is added around the rim where the door will go. This to further increase the airtightness. This reduces smell and also maintains the negative air pressure within the box.
Fan is placed.
Expanding foam is added on the holes around the electricity cables and the fan.
Back of the box
Plugged and ready however a door is needed. Having never put a door on something this was quite tricky.
After some trials and errors the door was successfully added. Three hinges were attached with an equal length apart to make sure the weight is properly distributed.
To make sure the fridge seal is completely utilized, these are the hinges used for the ability of seal with extra strength. Two were put on the side and one on the top which will increase the airtightness.
Safety first! A smoke detector was added to ensure that the resident would be woken up in case of fire or electrical faults with the box.
This is the finished product.
A hinge was added to the top of the box which kept the light from escaping upwards.
The thing at the bottom is the piece which will be used to grow the seeds called a "pluggbox". This gives seedlings a very developed root system which gives them a great start in life.
Also a humidity and temperature meter was added.
A set of 3 solar powered fans were purchased however these proved not to work with the light in the box. Possibly they will be able to run with the other light which will be used to the flowering stage.
This Growbox will be able to grow a wide range of plants in the comfort of ones own home. Paint will be added to reduce the conspicuousness. The temperature within the box when running stays between 25-28 Celsius. Around 40 in humidity.
Hope you like the work stay tuned for what will be grown.
Questions and comments are welcome.
Thanks to all the people before whom has shared and continue to share their experiences and projects.
"Please note: as Mountaingoat is a totally fictional character none of these things has actually happened and is completely fake."