

- Thread starter
- #21


So much awsome stuff on this site. Maybe we should do a 420 encyclopedia set.

 Thank you! I was beginning to think I was the only one left reading this thread since a few weeks ago.
How To Use Progressive Web App aka PWA On 420 Magazine Forum
Note: This feature may not be available in some browsers.
So much awsome stuff on this site. Maybe we should do a 420 encyclopedia set.
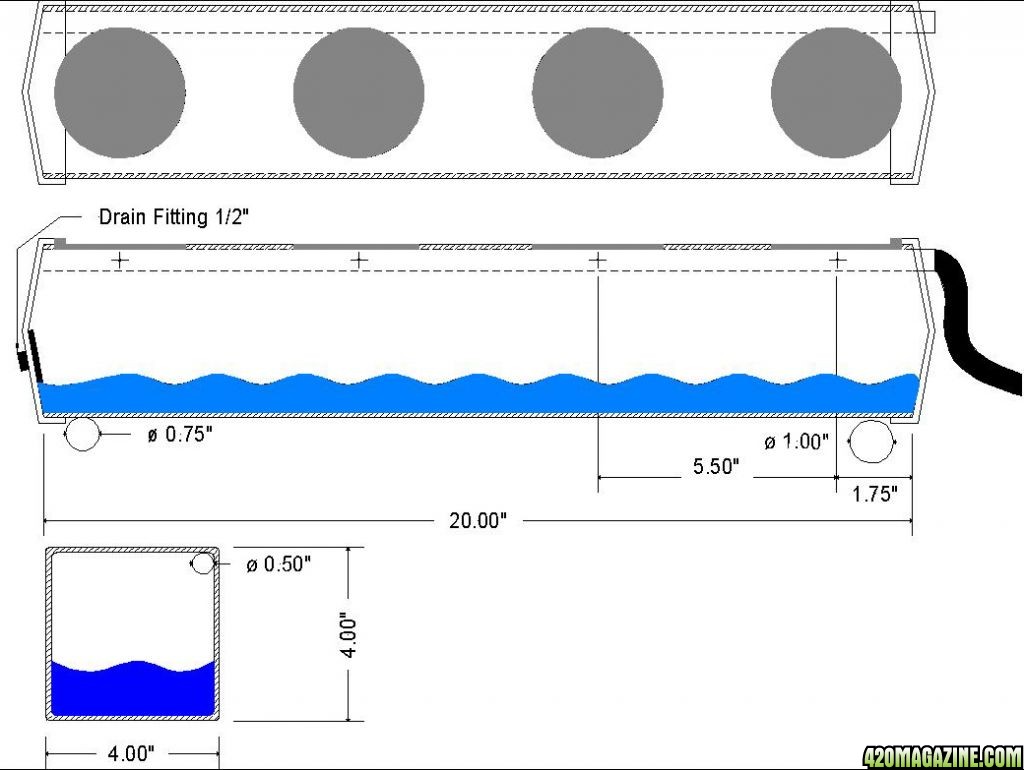
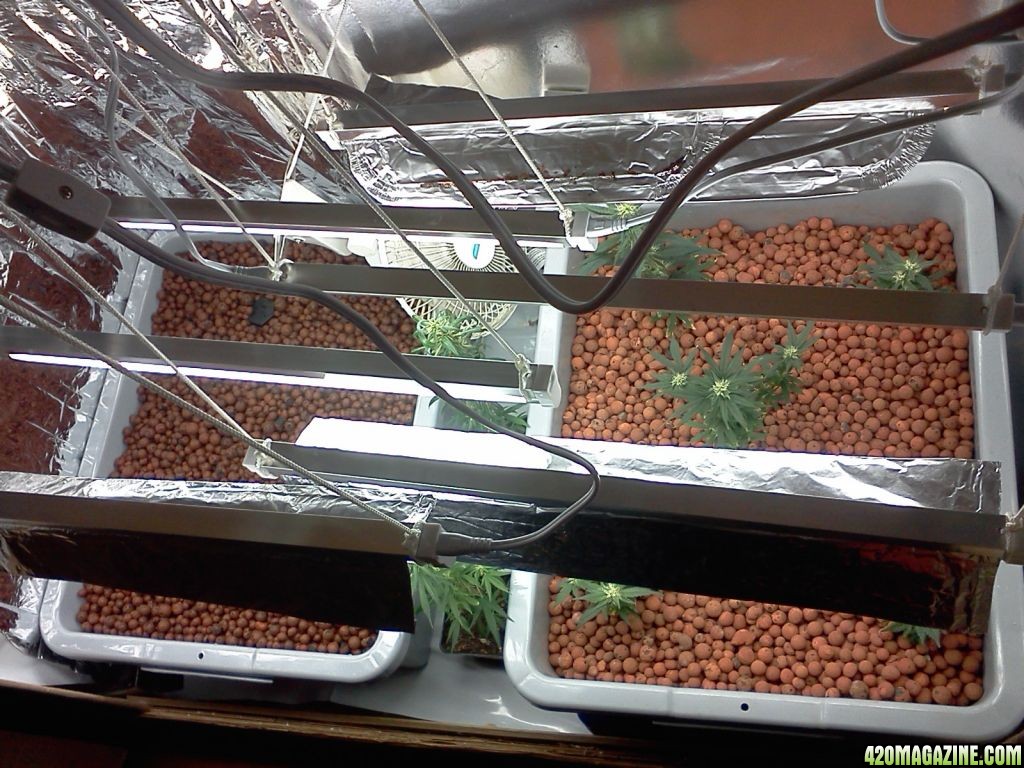
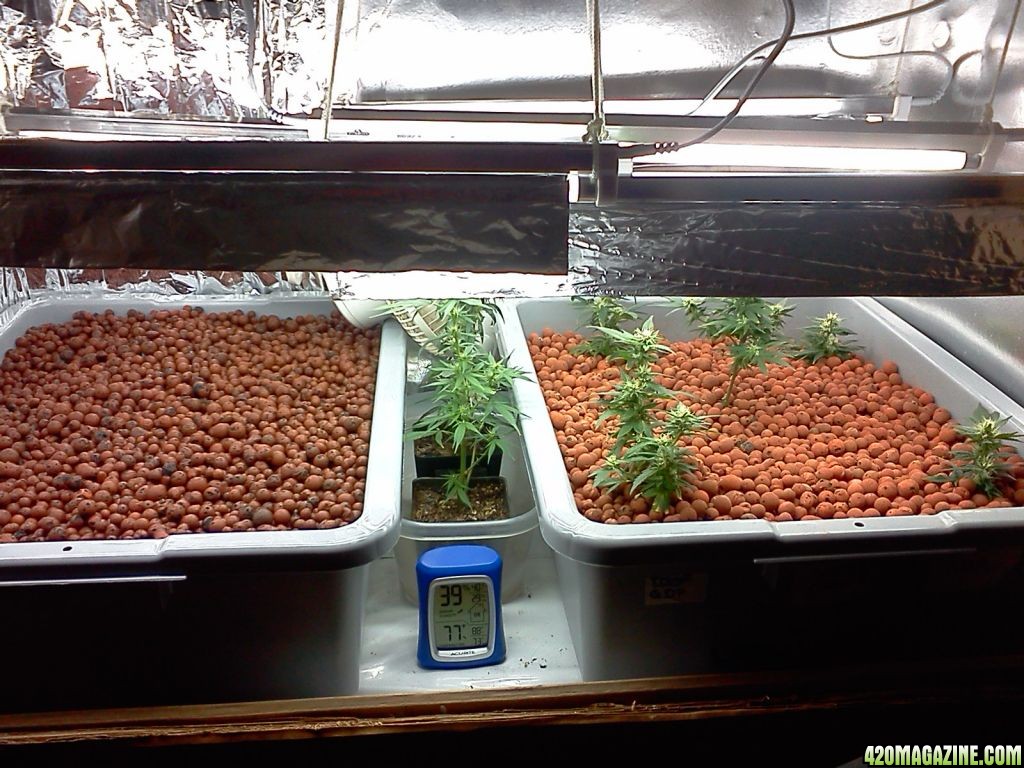
Thank you! I was beginning to think I was the only one left reading this thread since a few weeks ago.Very nice DIY flood-n-drain system. +rep


awesome diy build

 got my brain thinking ov idea's so hjow long do you veg and what are the strains you got going in your flower room Jandre2k3? also how long will you flower then m8, also i wish you all the best with your Experiment one word m8 AWESOME good set-up look forward to seeing more bro all the best tc
  !!!!
!!!!

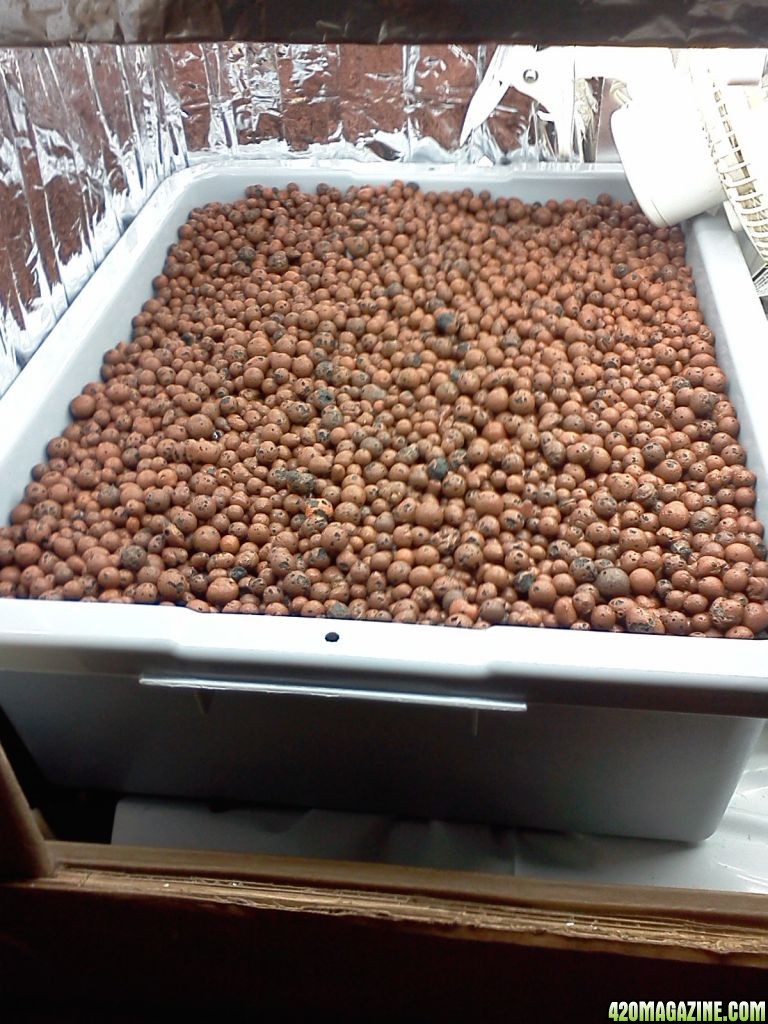


Loving it! How often do you have to replace the hydroton? every grow or couple grows?
jandre2k3 said:UPDATE:
Things should progress fairly rapidly from this point. Once test 1 is complete, there will be two simultaneous tests, followed closely, by a rapid succession of a series of other tests for this box... but first things first.
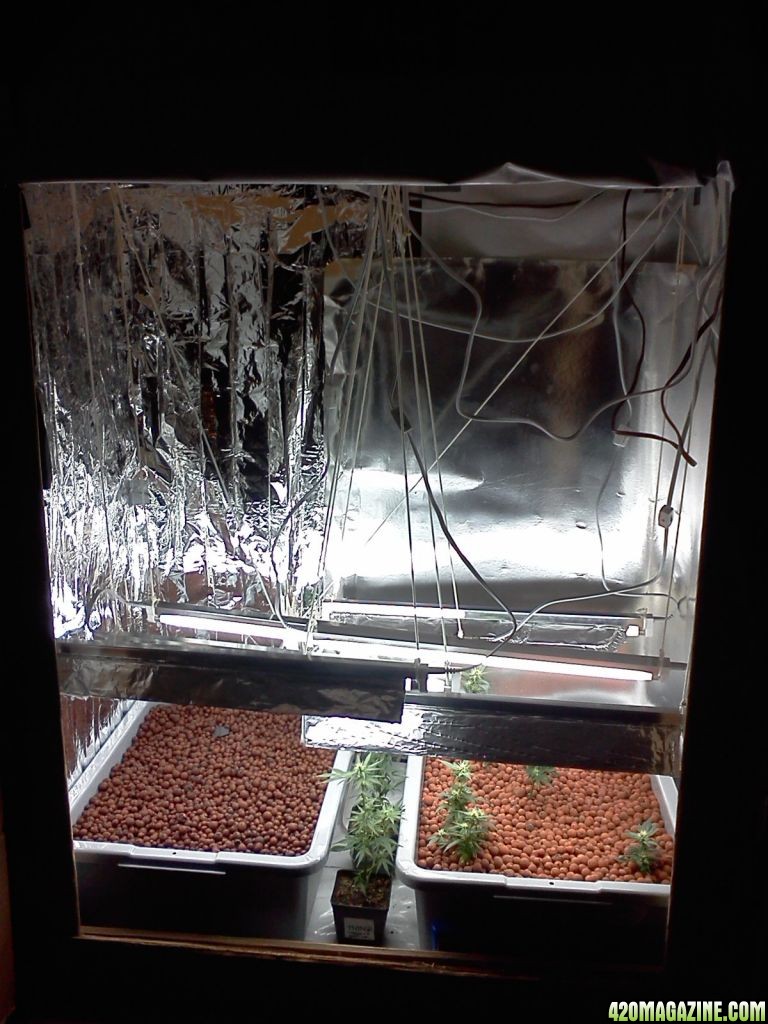
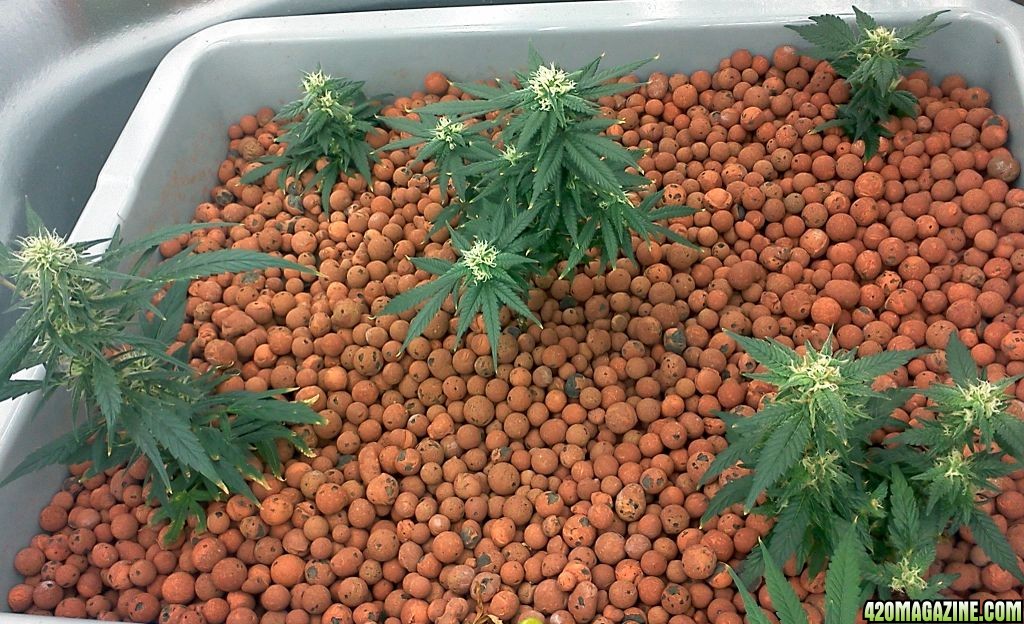
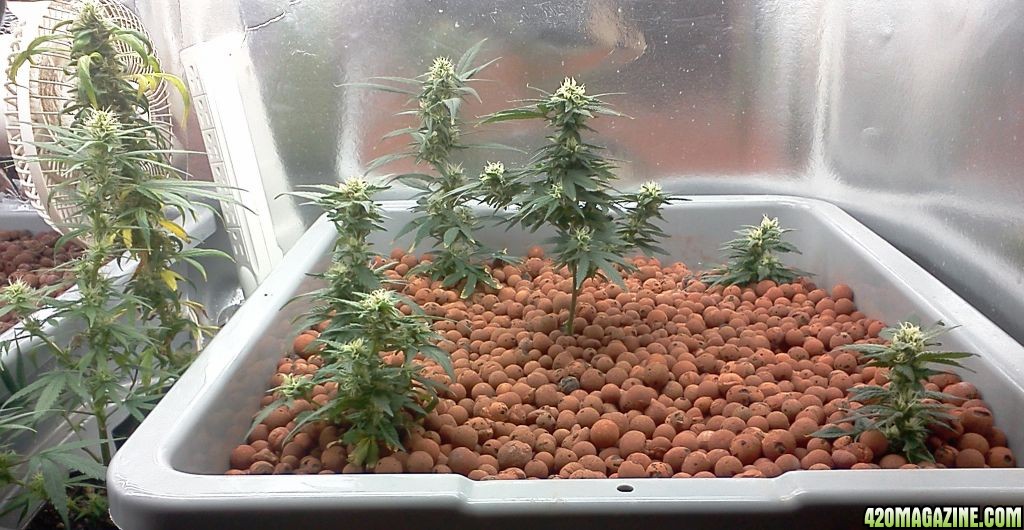
Week 4 and we're going along at a good clip now. Things are starting to happen. I noticed the tiniest bit of swelling in a few of the clones in this test, and it seems that the T5's are flowering pretty well. The fact that they get broadsided with the light not over them is helping as well. I think that the light configuration I finally settled on is going to work for getting at least what I have here to perform well.
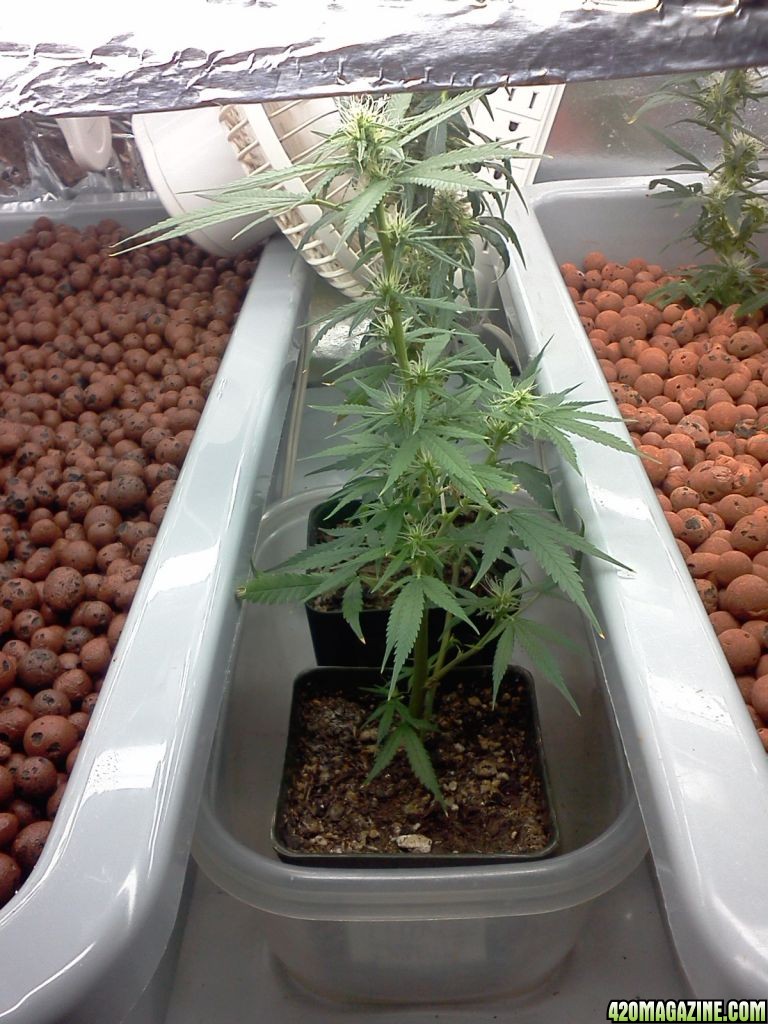
Yes, I still know they're small, but that's exactly what I wanted for this test. Just to see if T5's could be made to perform in this box, and to see how well the strains I have work for me. I will be trying out different types of flowering techniques for this box. Test 2 will have much larger clones in the box and we'll see how well it can handle the larger crops. Test 3 will be an thin LST, removing Thing2 from the Maternity Ward and flowering her out... A weak ScrOG, I guess. I performed no FIM/Topping on her once LST started, so internodes are naturally spaced. The next LST to be tested will be a Plush Berry(indica) or Ken's Granddady Purple(indica) trained to be tight and full, with thick growth utilizing lots of topping/FIM to test the penetration of my light configuration. And of course there will be a full SOG and a full ScrOG to test for light hotspots, and dim areas.
All this is to get a feel for the box and its capabilities. If I have to run several short plants to get a good yield, or if I can run one or two that I let become bushes, or if I need to run 2 to 4 that received LST or what. All will be recorded for posterity, and the knowledge of this box's strengths and weaknesses will only serve to shape my own grow style that will develop because of it for this box. ONLY HIGHLIGHTS AND RESULTS of each test will be compiled here, the detailed journal for each test will remain separate.
I know this seems like a lot of useless testing, but understanding your grow space is KEY to getting the most out of your crop that you put into a space. You can't just stick anything anywhere and expect it to be the highest yield you've ever seen. You think, you test, you watch, you record, you adjust. That's the nature of the beast we call pain management. It stands to reason that what we find to alleviate the pain is just as temperamental as we are. It's a gift from the Mother, but as I always say, it comes with the price of understanding nature and working with the given environment to receive the most form this gift.
Detail