I'm starting this thread to share ideas about ways to improve the performance, functionality and usability of LED grow lighting. I'll start off the thread with details on how I modified my Mars Hydro 48x3W reflector series light mounts to allow me to raise them to the top of my grow tent.
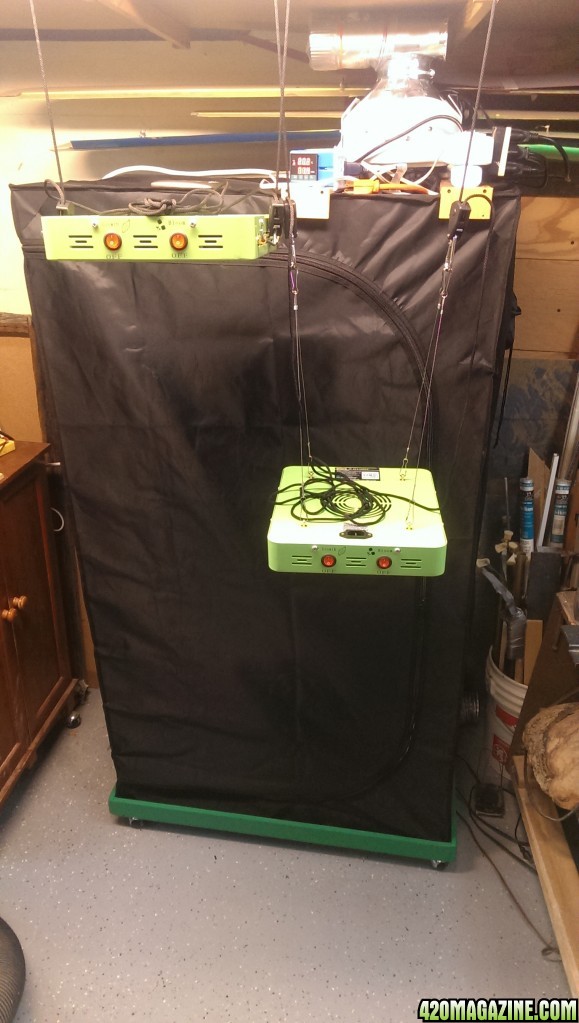
First, here's a picture showing my problem. I've got a small closet sized grow tent with only 60 inches of height.
The plants (sitting in the dark for this photo) are about at the height of the crease above the light on the right.
On the right is the stock hanger mounts, on the left are my modified mounts. You can see there is 9-17" more usable headroom available when using my mounting scheme.
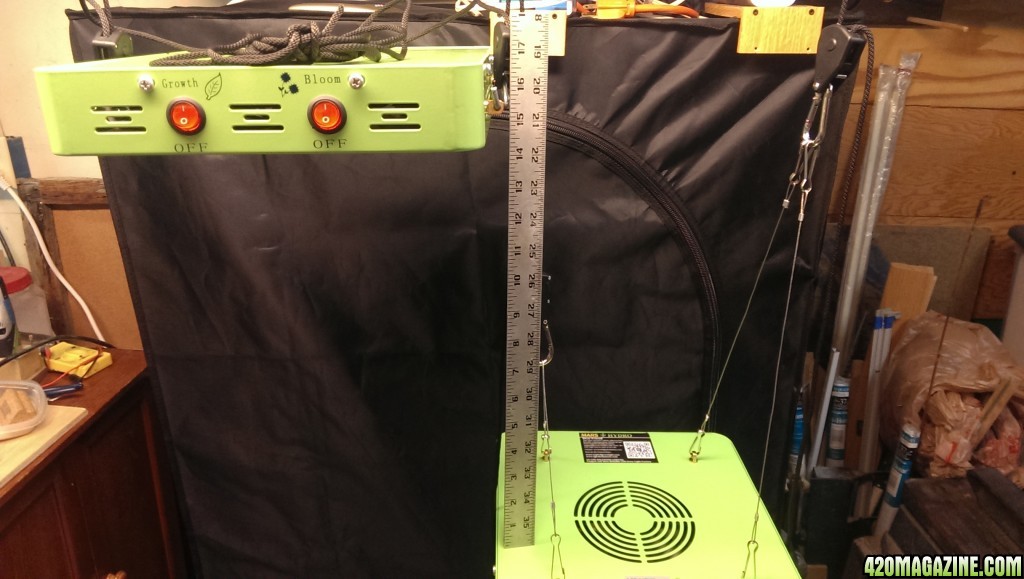
At first, I copied what I saw most people doing; connecting two mount points with one cable. This saves about 7 inches of head room.
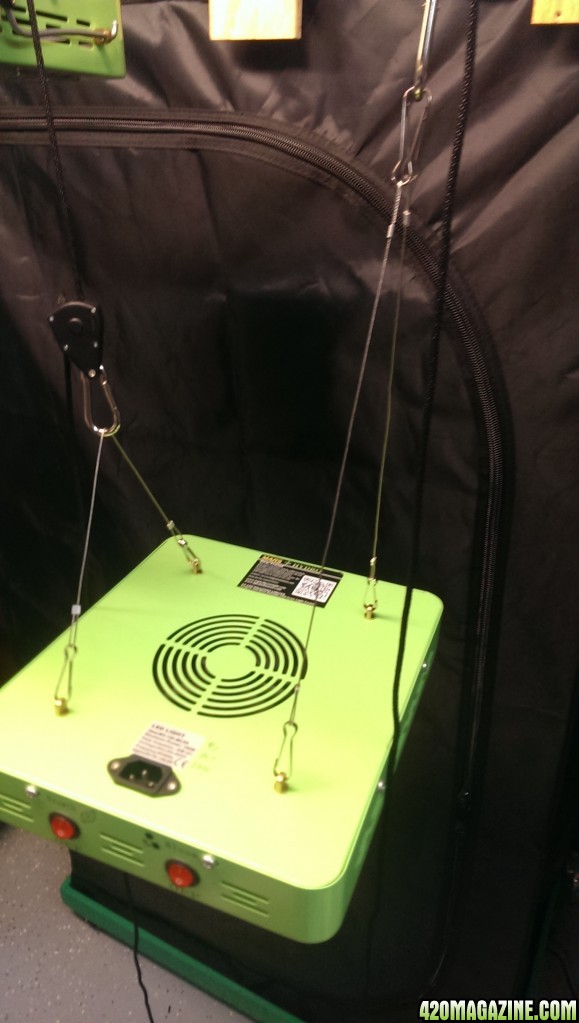
This also allows the light to be tilted by adding a cinch plate or tie. It's much better but still uses lots of headroom.
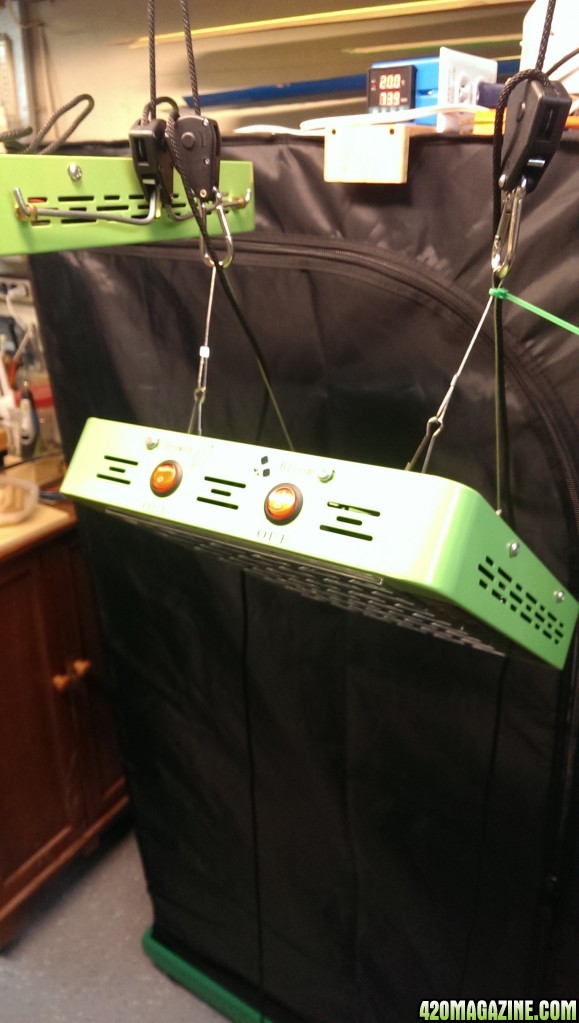
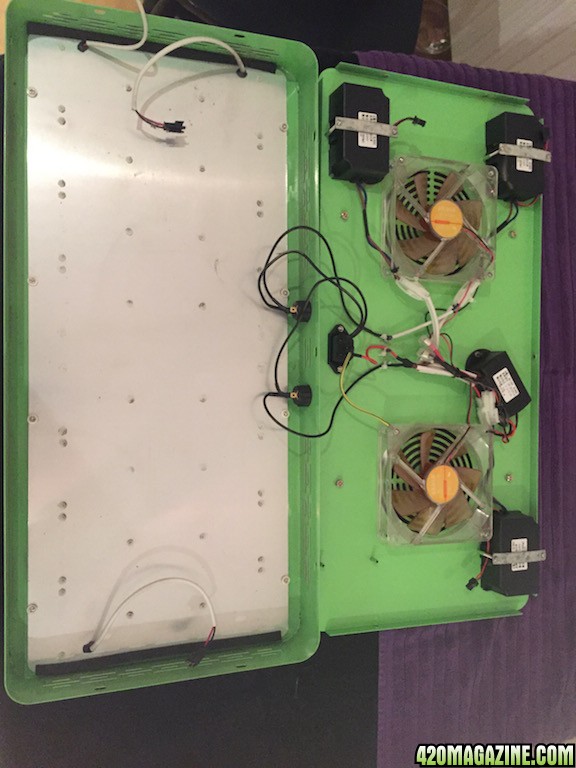
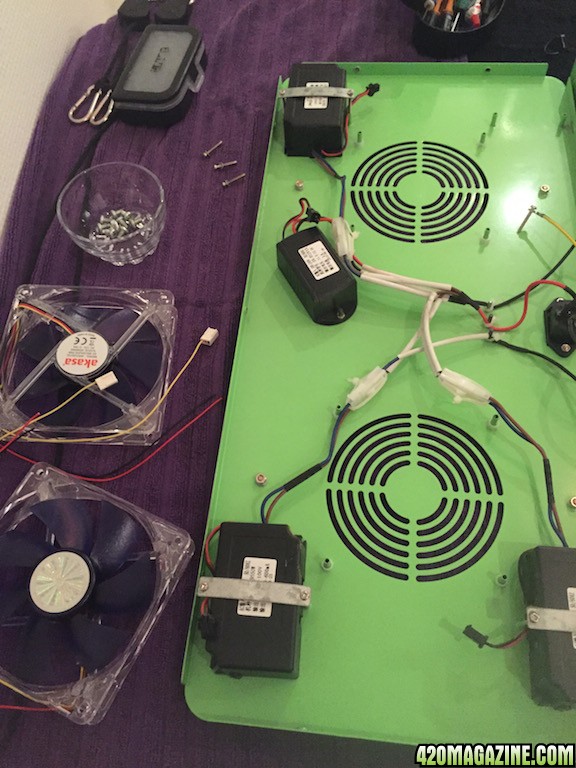
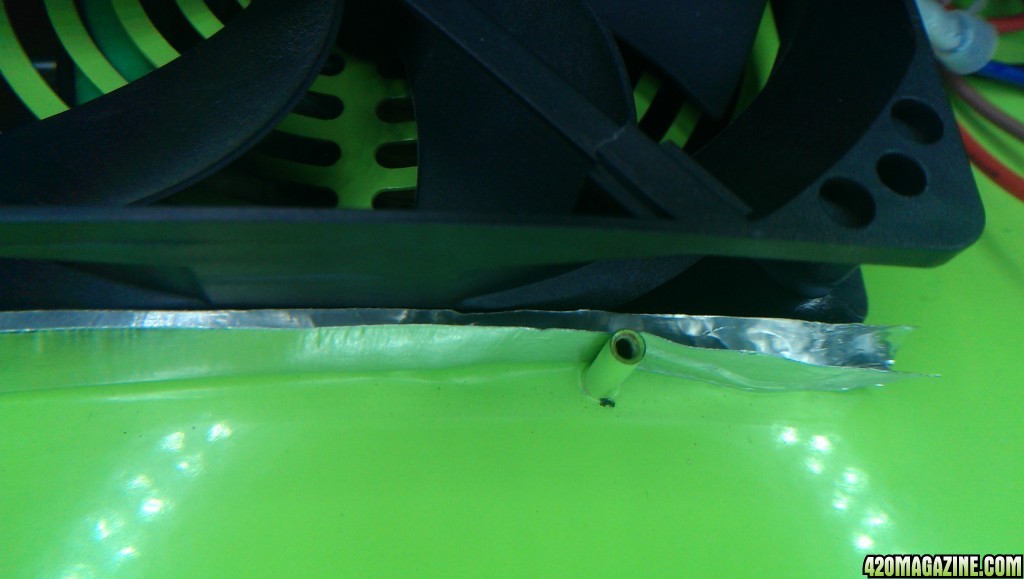
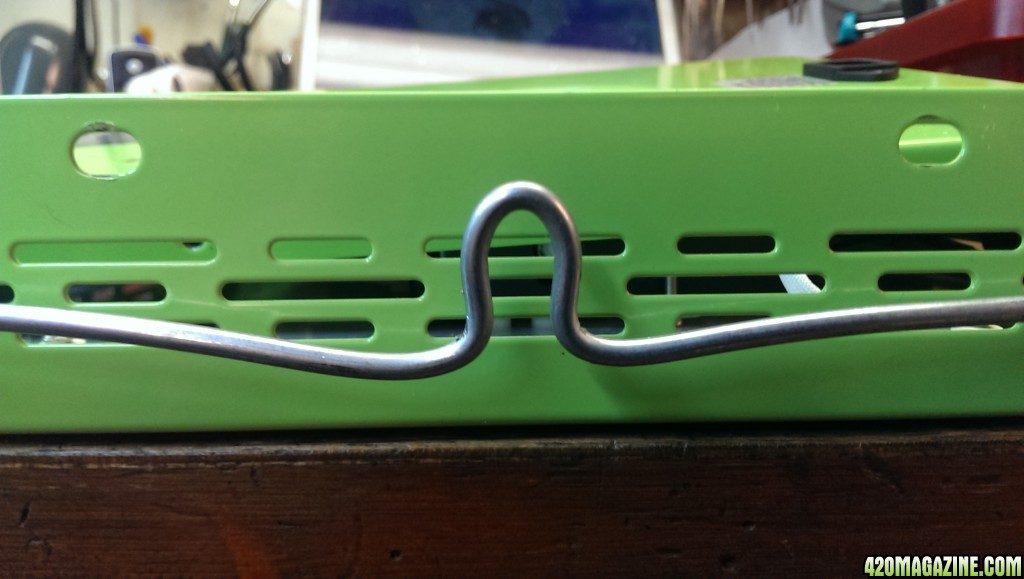
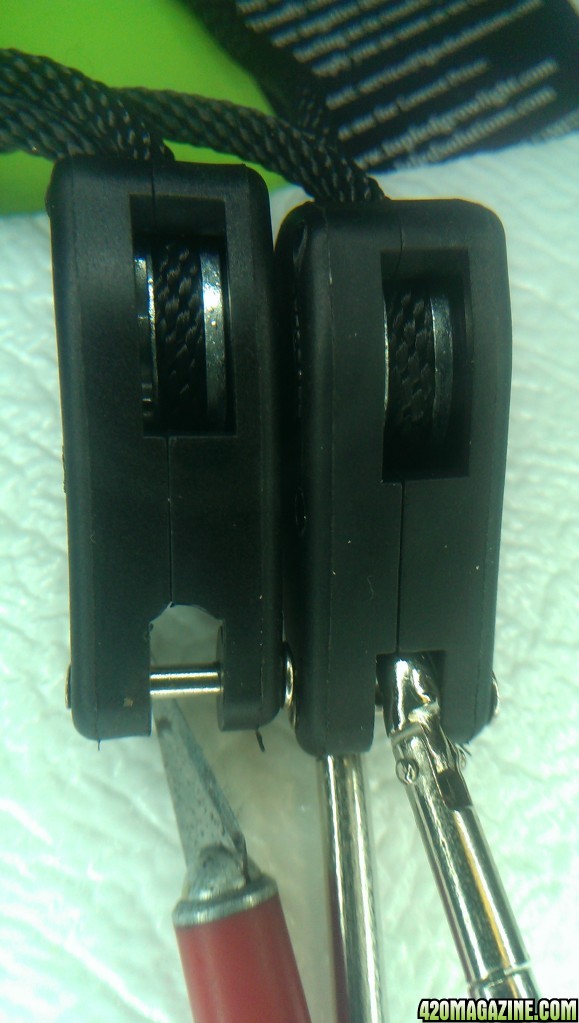
After 3 weeks, my plants had grown too tall and I decided to abandon the cables and attach the rope ratchets directly light mounts positioned closer to the lights center of gravity. I opened the case and moved the brass mounts to the side, below the COG and made 2 wire brackets. I used some mild .148inch galvanized steel wire I had on hand. I believe I got it in the fencing supplies of my local lumber store many years ago in a 50' roll. Piano wire (high carbon steel) would also work well, but is much more difficult to cut and bend.
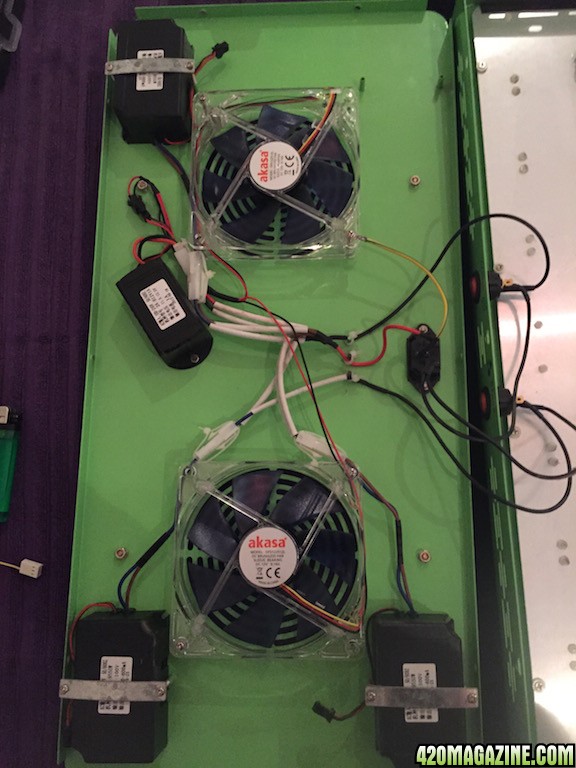
The bent wire brackets are used to support the light and hang directly through the ratchet without using the clips. I positioned the support loop pivot to be just above the enter of gravity of the light.
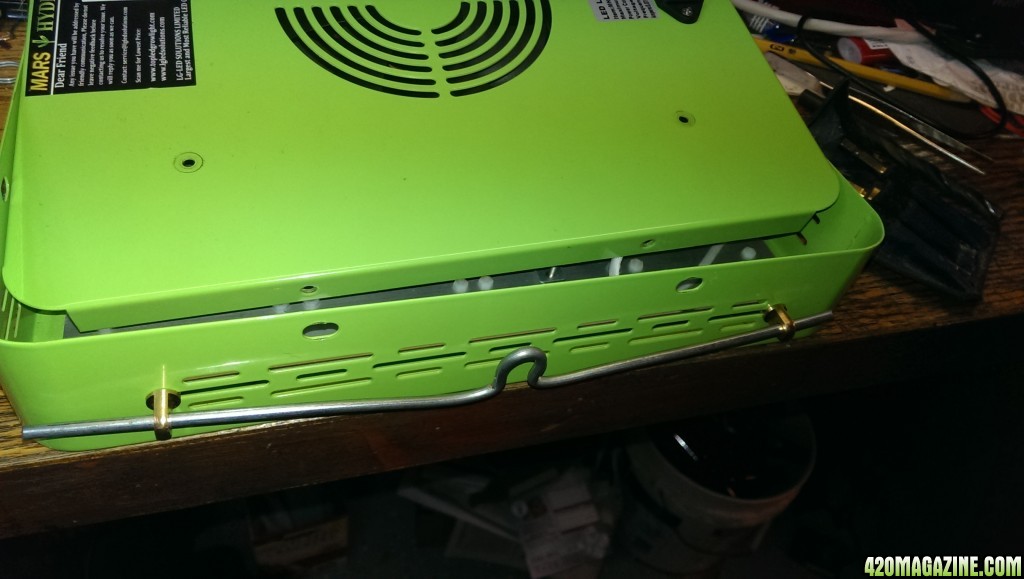
I use a combination of hand power, a hammer and vise or a wire bending tool to put the desired bends in the wire.
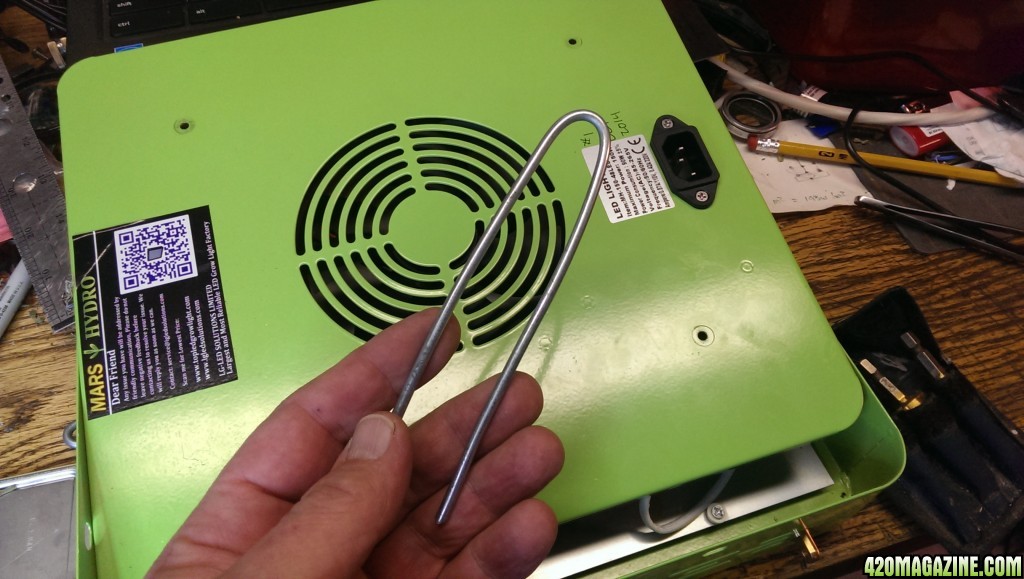
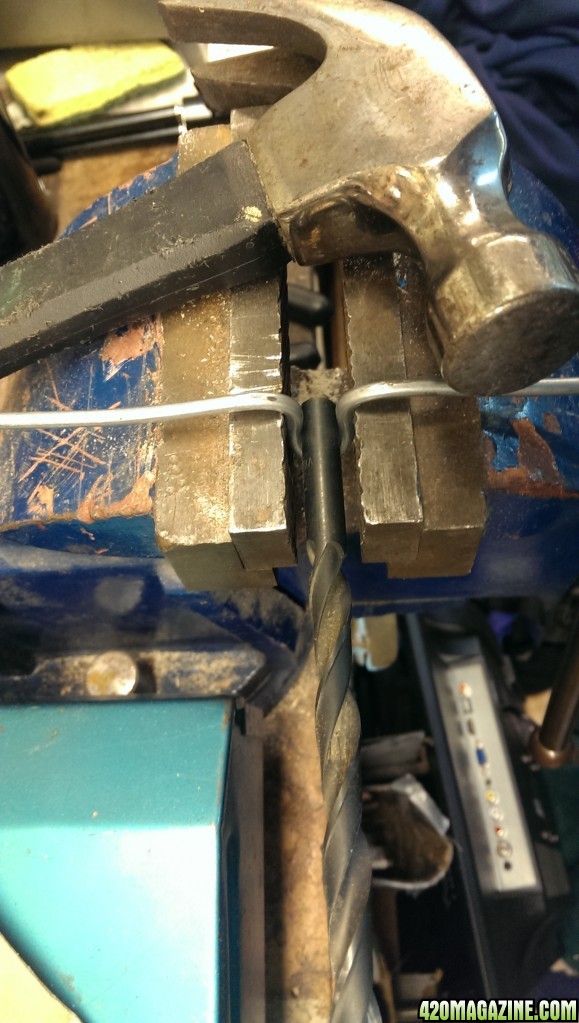
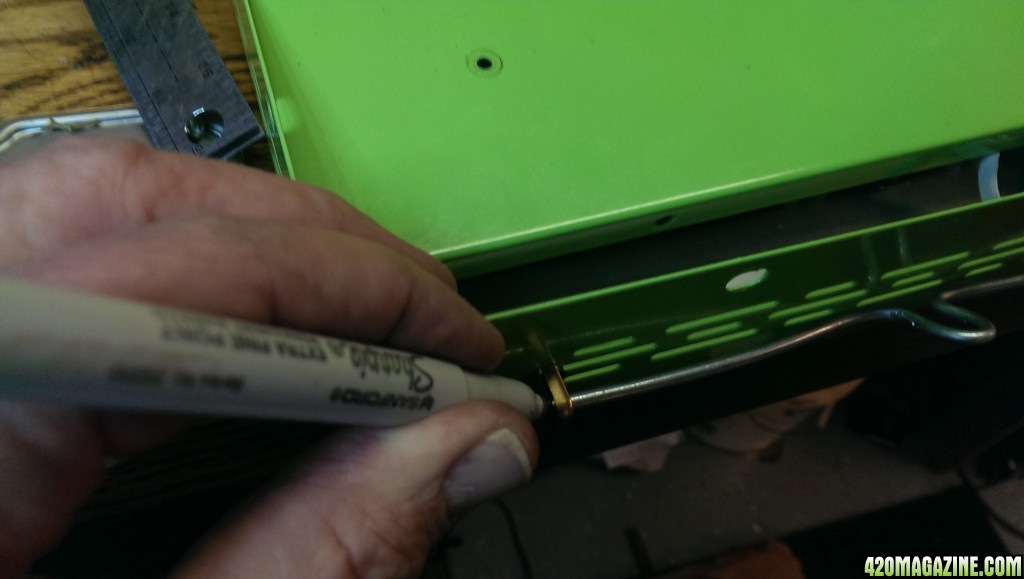
Mark the places to put the last bends after bending the support loop because each one is slightly different.
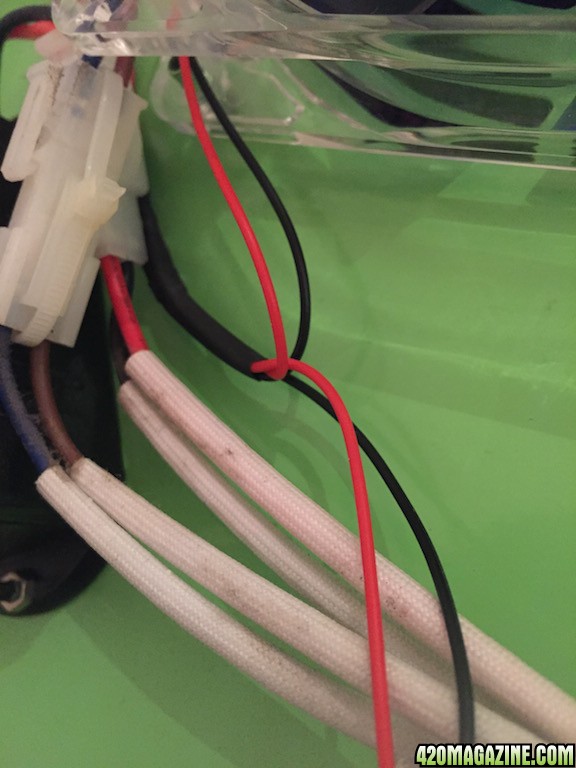
Don't forget to dress the ends of wire cuts so there's no sharp edges to draw blood.
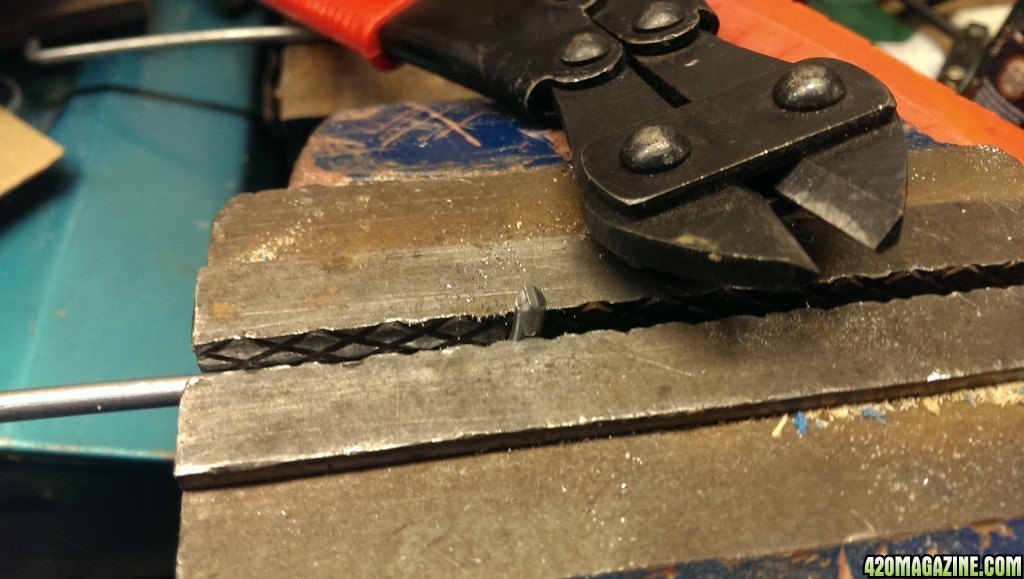
I used my wire bender on the top version and only the vise on the bottom one. It's easier to bend it nicely with the right tool. It doesn't have to be perfect.

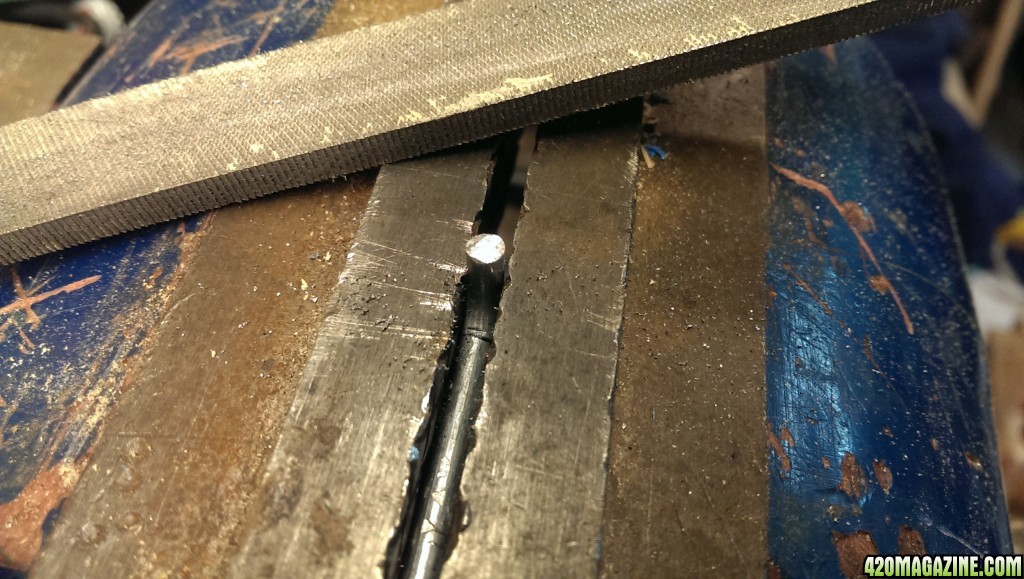
In order to remove the clip from the ratchet, I had to trim away some plastic with a small knife.
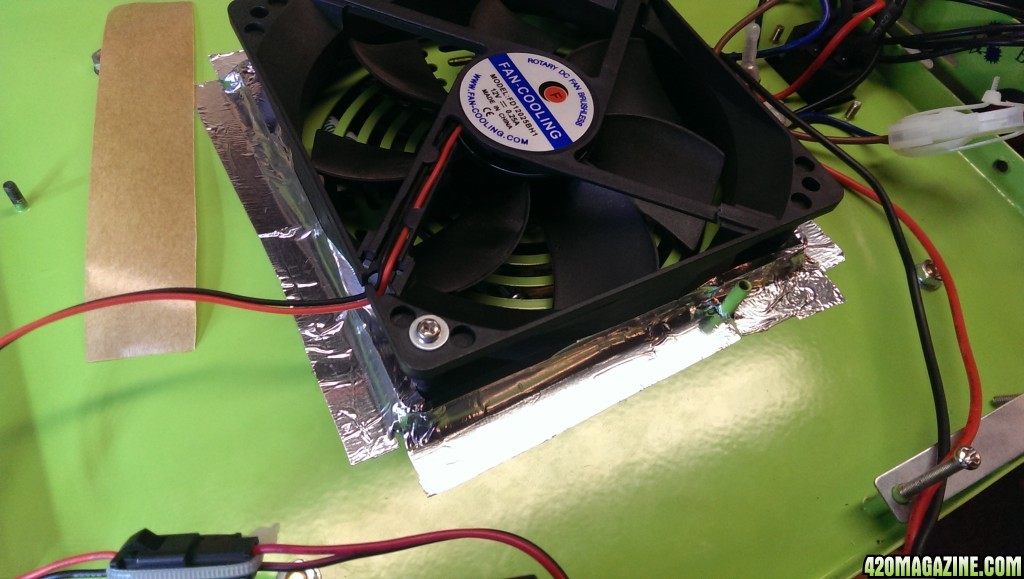
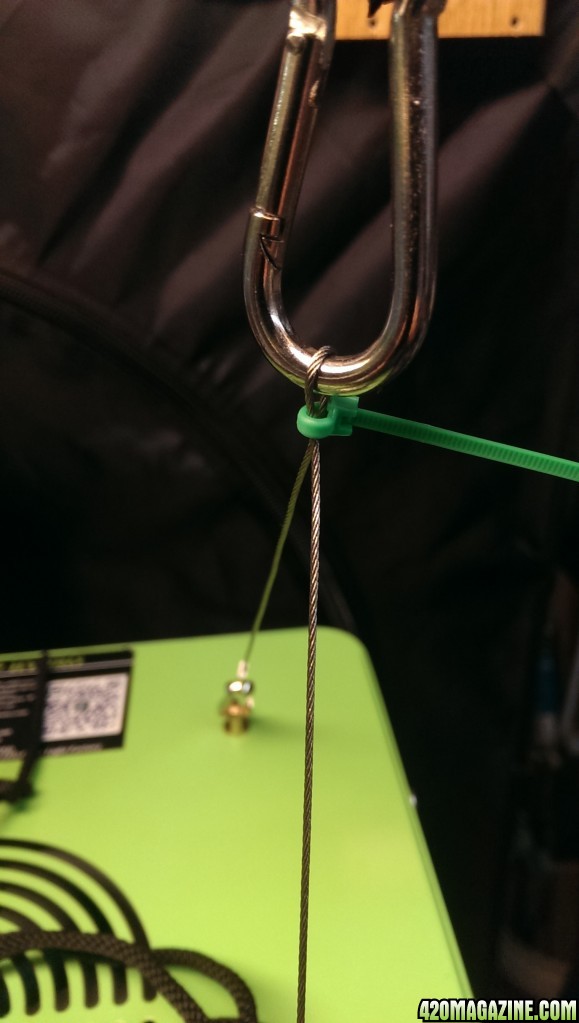
After making the modifications, I started thinking about doing this as simply as possible, without having to make any changes to the light. I realized, that a simple hole in the case could be used as the mount point if the wire were bent accordingly. I put together the next light using a coat hanger and the existing vent holes in the sides. The blue flocking is still on the hanger wire and I used some cable ties to prevent the mount from popping out as I assembled the other side and hung the light up.
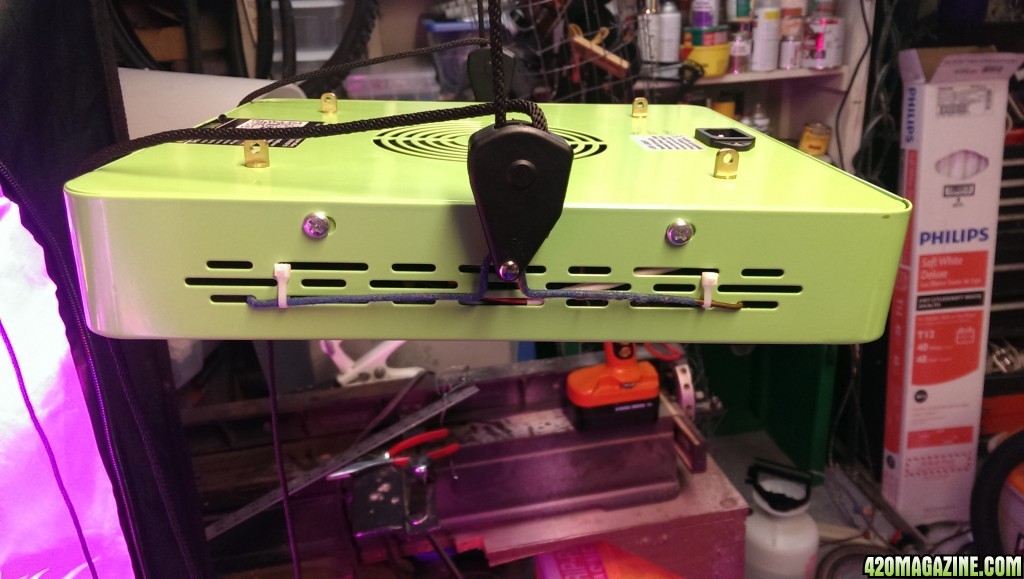
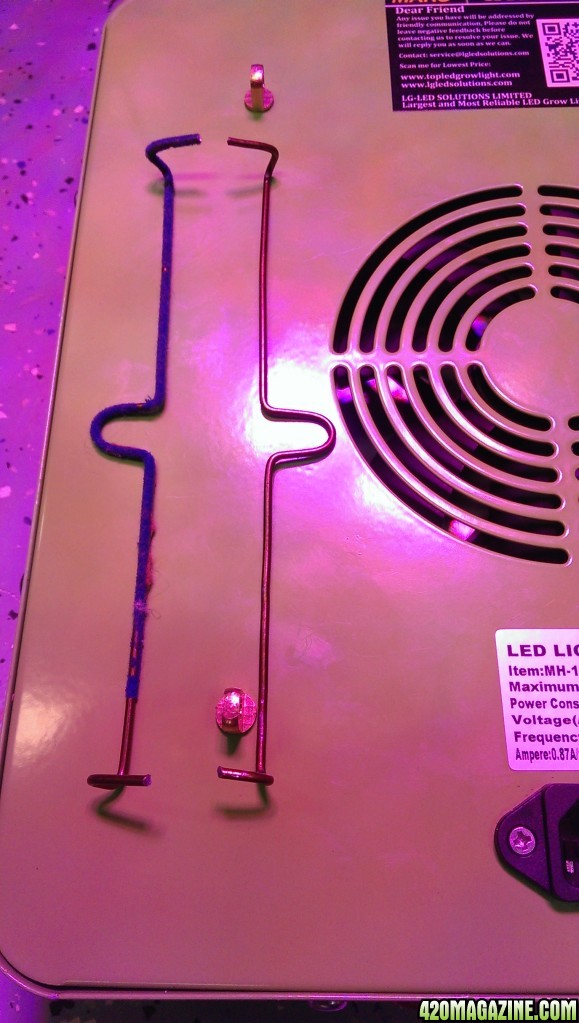
In the end, I like the simplicity of the through-the-case-hole mount point, but would want to use the larger diameter wire as it's stiffer and centers itself better in the ratchet. By positioning the mount point at the COG, it's easy to tilt the light and hold it in place. Currently, I'm using the power cord with a velcro strap to fix the lamp's angle.
More and better ideas are
First, here's a picture showing my problem. I've got a small closet sized grow tent with only 60 inches of height.
The plants (sitting in the dark for this photo) are about at the height of the crease above the light on the right.
On the right is the stock hanger mounts, on the left are my modified mounts. You can see there is 9-17" more usable headroom available when using my mounting scheme.
At first, I copied what I saw most people doing; connecting two mount points with one cable. This saves about 7 inches of head room.
This also allows the light to be tilted by adding a cinch plate or tie. It's much better but still uses lots of headroom.
After 3 weeks, my plants had grown too tall and I decided to abandon the cables and attach the rope ratchets directly light mounts positioned closer to the lights center of gravity. I opened the case and moved the brass mounts to the side, below the COG and made 2 wire brackets. I used some mild .148inch galvanized steel wire I had on hand. I believe I got it in the fencing supplies of my local lumber store many years ago in a 50' roll. Piano wire (high carbon steel) would also work well, but is much more difficult to cut and bend.
The bent wire brackets are used to support the light and hang directly through the ratchet without using the clips. I positioned the support loop pivot to be just above the enter of gravity of the light.
I use a combination of hand power, a hammer and vise or a wire bending tool to put the desired bends in the wire.
Mark the places to put the last bends after bending the support loop because each one is slightly different.
Don't forget to dress the ends of wire cuts so there's no sharp edges to draw blood.
I used my wire bender on the top version and only the vise on the bottom one. It's easier to bend it nicely with the right tool. It doesn't have to be perfect.
In order to remove the clip from the ratchet, I had to trim away some plastic with a small knife.
After making the modifications, I started thinking about doing this as simply as possible, without having to make any changes to the light. I realized, that a simple hole in the case could be used as the mount point if the wire were bent accordingly. I put together the next light using a coat hanger and the existing vent holes in the sides. The blue flocking is still on the hanger wire and I used some cable ties to prevent the mount from popping out as I assembled the other side and hung the light up.
In the end, I like the simplicity of the through-the-case-hole mount point, but would want to use the larger diameter wire as it's stiffer and centers itself better in the ratchet. By positioning the mount point at the COG, it's easy to tilt the light and hold it in place. Currently, I'm using the power cord with a velcro strap to fix the lamp's angle.
More and better ideas are
")