

No Pain
Well-Known Member
High pressure Aeroponics .
Your probably wondering what the big deal is . But first let me tell you a little bit about me . I started in soil in the early 90's , I did okay but I was looking for something different so I ventured into hydro as it really fascinated me . I started out with Emily's garden which was nothing more than a nute tray /res with an air stone and pots sitting in it and soon started reading on other methods such as ebb flow and then I came across an article at that time that was cutting edge " Aeroponics " . I was like holy shit I have to try this . So I bought a gh Aeroflow 20 and drove that for 10 years . The results I had from growth rate to root production and cloning where amazing to me . Then due to what was going on in my life at that time I had to push the pause button on my favorite hobby "feminized breeding and growing " of this wonderful plant.
So now here I was ready to get back to one of the things I loved . I have the areoflo20 propped up in the garage but I don't have the space for it . So off researching I go and I come across an article on High pressure Aeroponics and again I was like holy shit I have to try this . I did endless searching and came up with very little information in regards to a DIY guide and that's one of the reasons I have put this together.
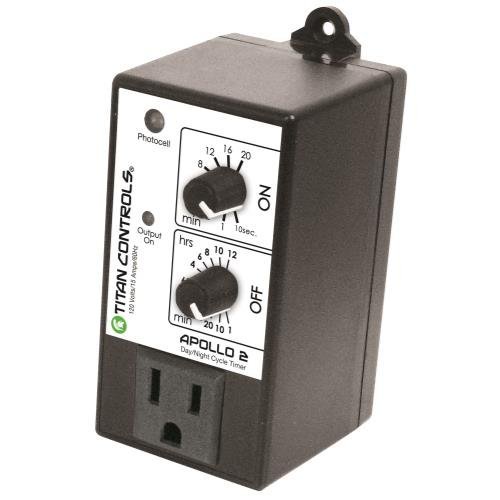
So now why high pressure and not ebb flow or a dwc system . Well it's all about the root zone and that's one of the main reasons you will see accelerated grown in hydro versus soil. High pressure is a much more efficient way of delivering nutes to your plant as long as you dial in the misting time and droplet size. Optimum droplet size is bettween 30&50 microns and pressures run from 80 to 150 psi. I currently run 10 sec on ( that's as low as my current timer goes , I'll talk more about that later. Some people will say if you aren't going for and don't achieve a fluffy fuzzy root zone there is no point in doing a high pressure system. I will tell them they are wrong simply wrong . With my current set up I only have a fish bone structured root zone and it really outperforms my aeroflo 20 and is more versatile for around the same cost , not to mention it saves on nutes . Saves on nutes you say ? How is this ? Well you spraying a 30-50 micron mist @ high pressure so you are delivering nutrients to the plant more efficiently so it's able to get more of what it needs by using less. To put it a different way you can look at a dwc/ ebb flow like a carbonated fuel system on a car compared to fuel injection .Not to mention overall water consumption is lowered because if this delivery system . My current set up with 4 plants 2 1/2 weeks into flower ( 8-13-16) uses about a gallon a day ! Click the link in my signature and you will see what I'm working with .
Now let's get on to the reason you stopped by the DIY part !
This was my first design and I will amend this later with changed I have made , which mainly consist of what my plants sit in .
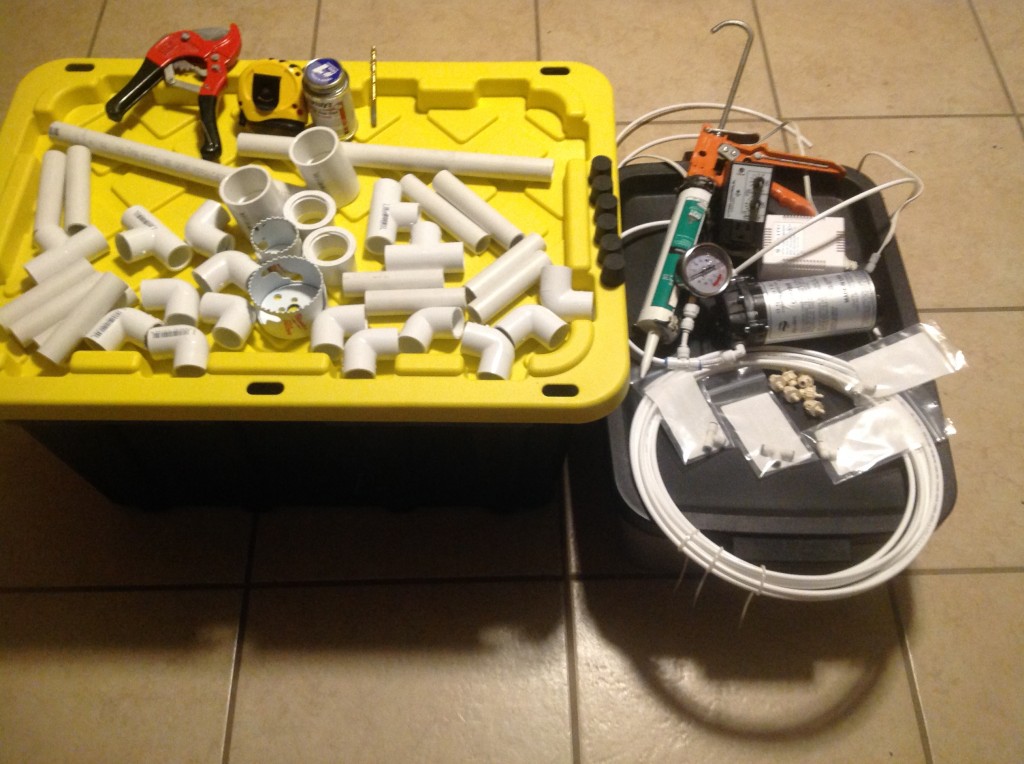
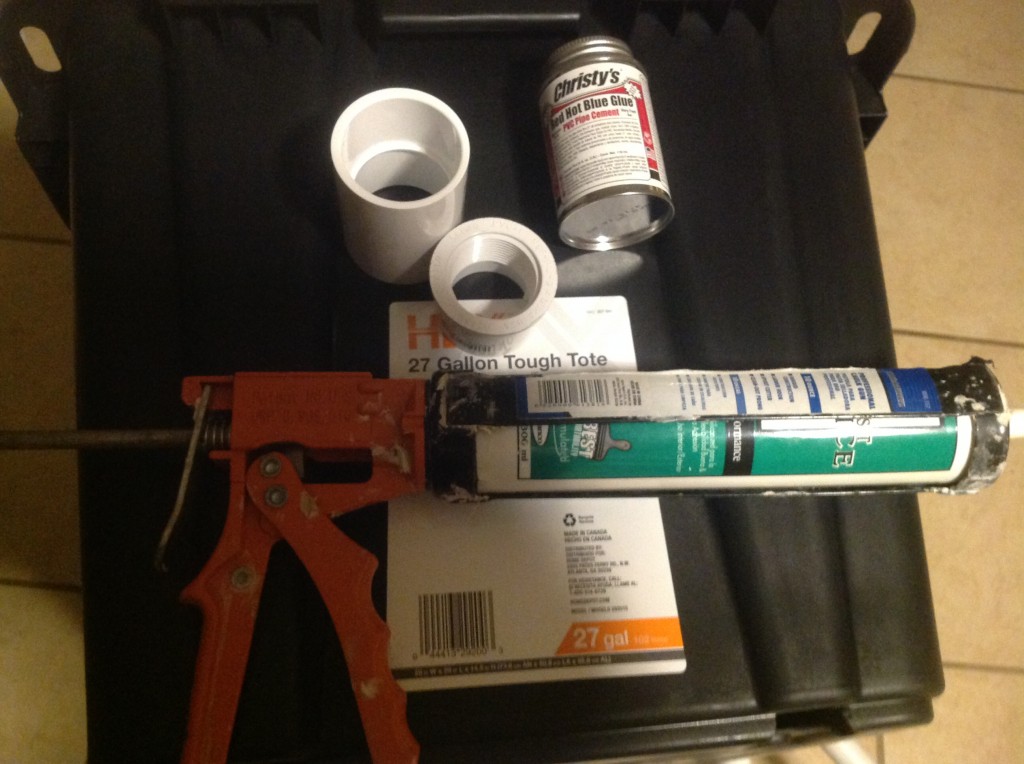
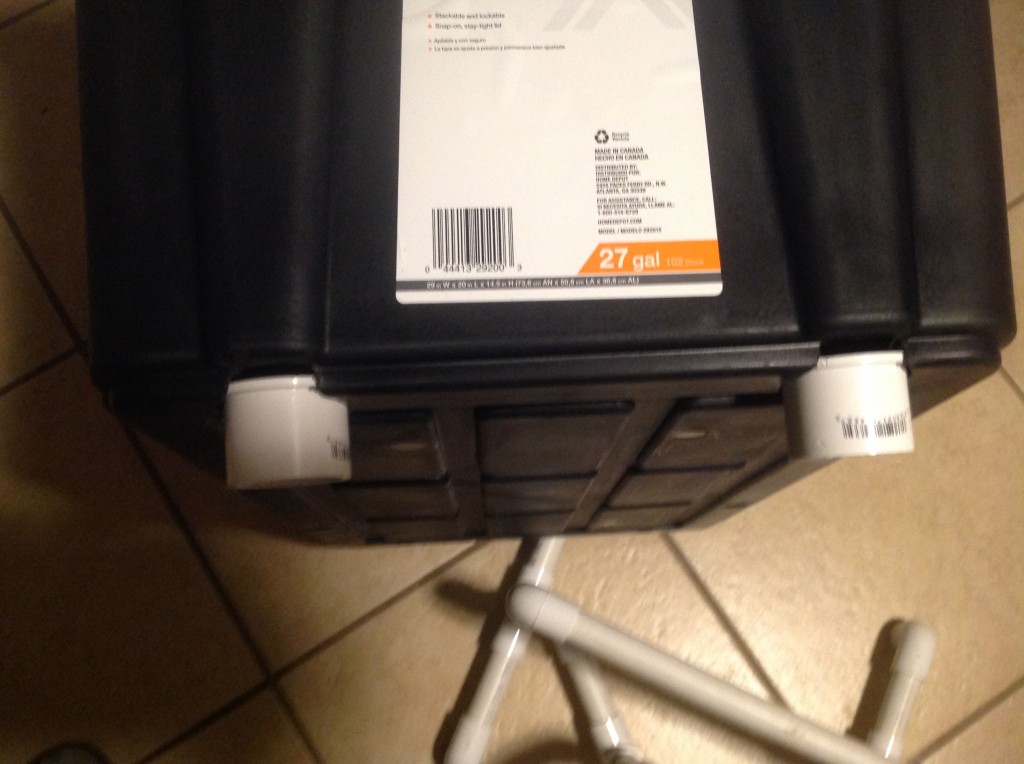
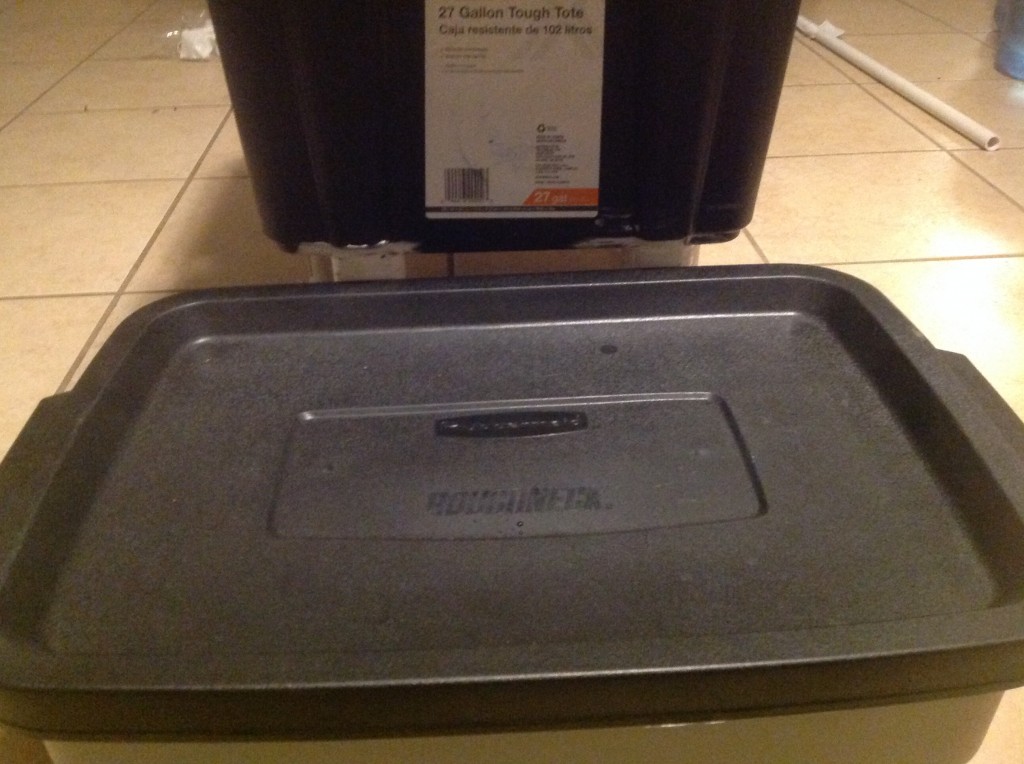
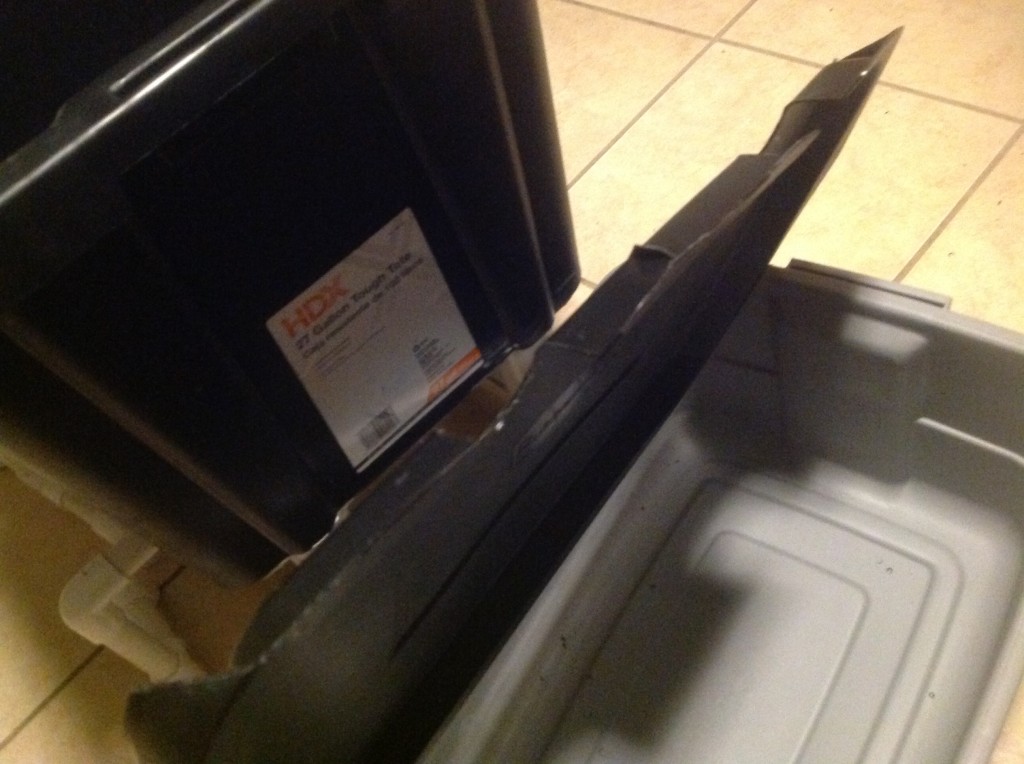
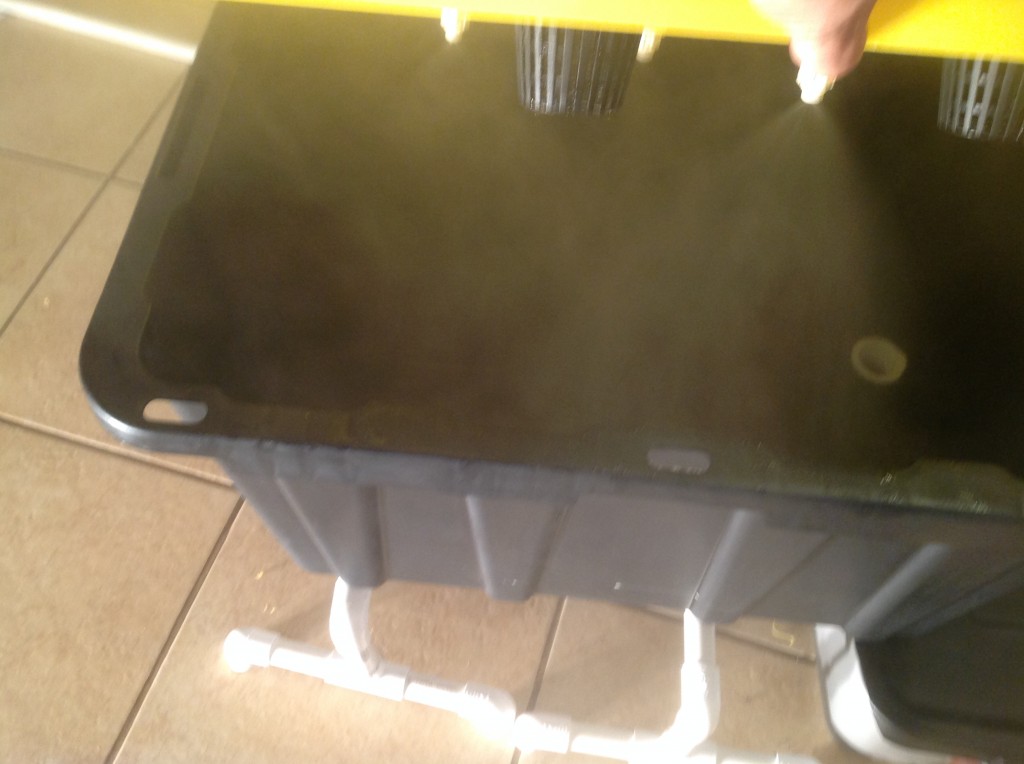
Here is a pic of everything you will need to build this . A tub of your choice , I liked this one because of its size , the lid snapped into place , it's sturdy and the root zone area is black.
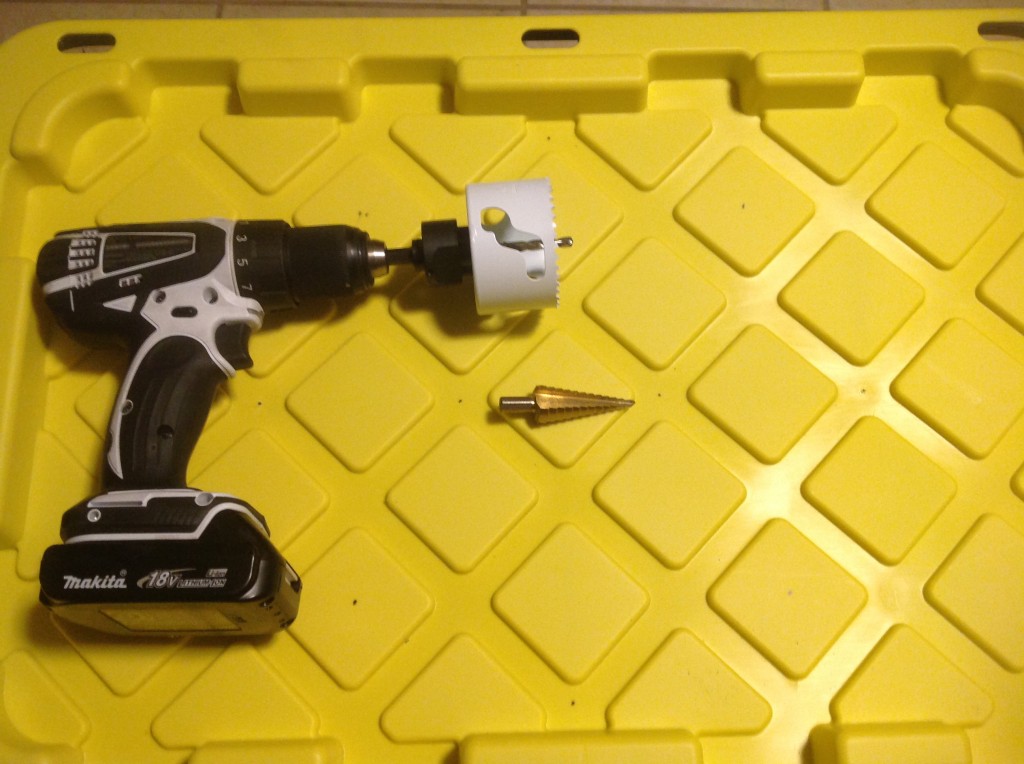
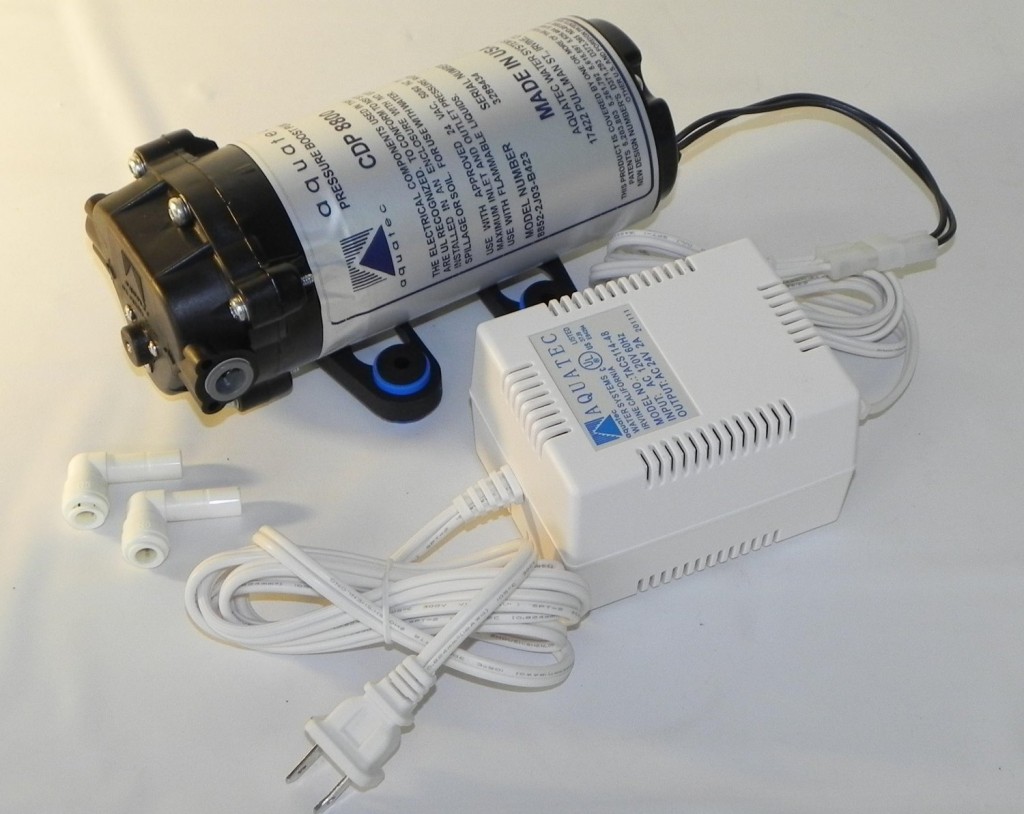
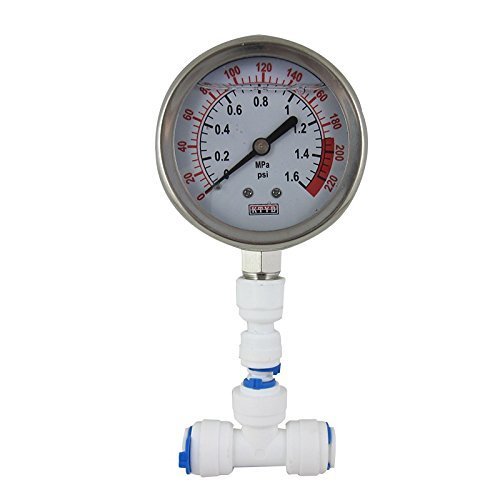
Some pvc pipe for a stand , pvc for drains , hole saws for whatever net up size you choose and for your drains . Pvc glue , silicone to seal drain areas , pvc cutters. 1/4 drill bit , 1/4 tubing and fittings , step down bit for drilling holes for your nozzles /misting heads, nozzles/ misting heads these are rated @ .8 gph and 50 micron . A high pressure diaphragm pump and pressure gauge along with a 100 micron prefilter. Last but not least a reservoir , this one is 10 gallons .
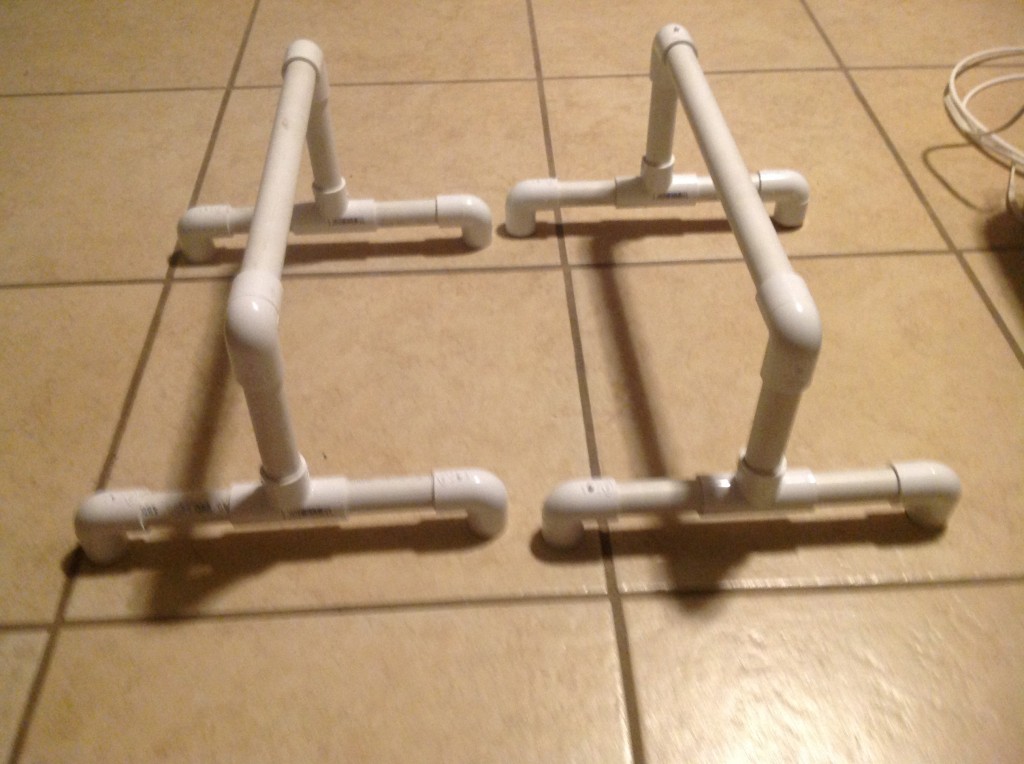
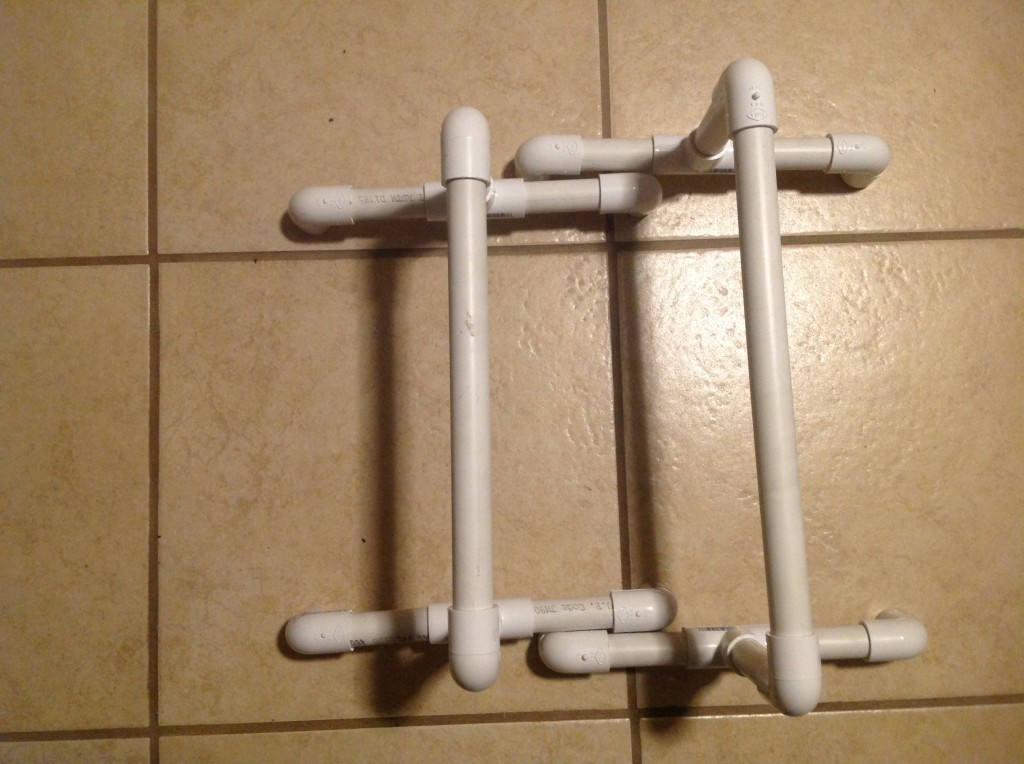
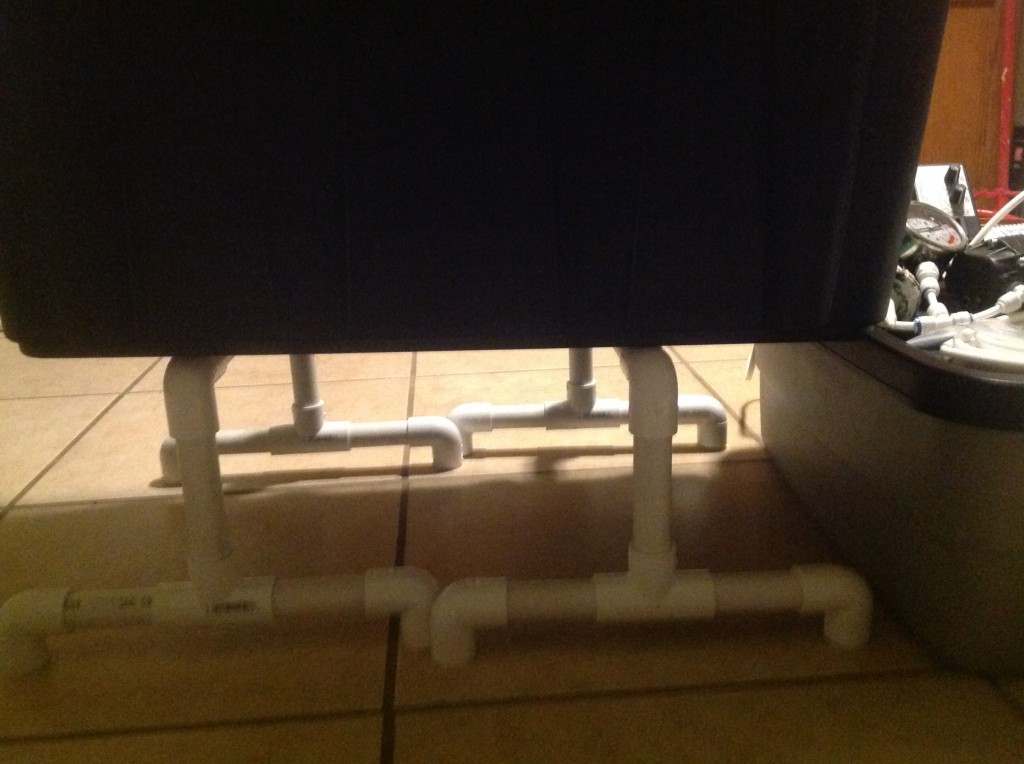
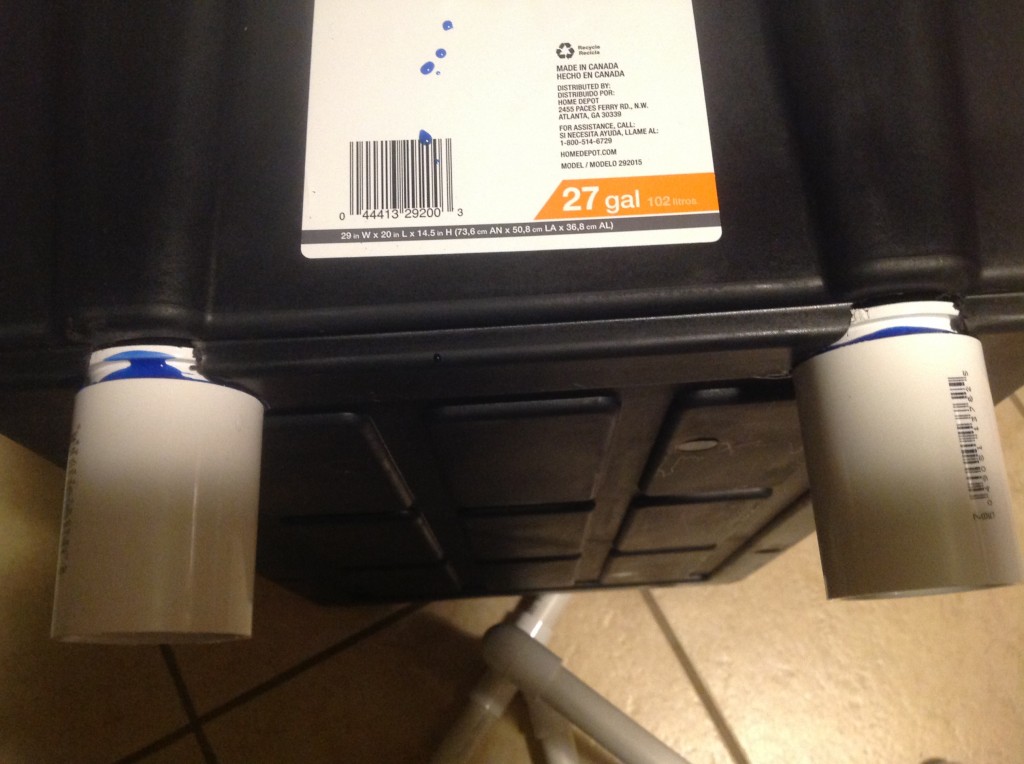
Alright let's build a stand . What you seen in the last picture was precut pic . I measured the width of my tub and measured the height of my res and designed the stand so the front of the tub just cleared the top of the res and the rear of the tub sat slightly higher to promote drainage .
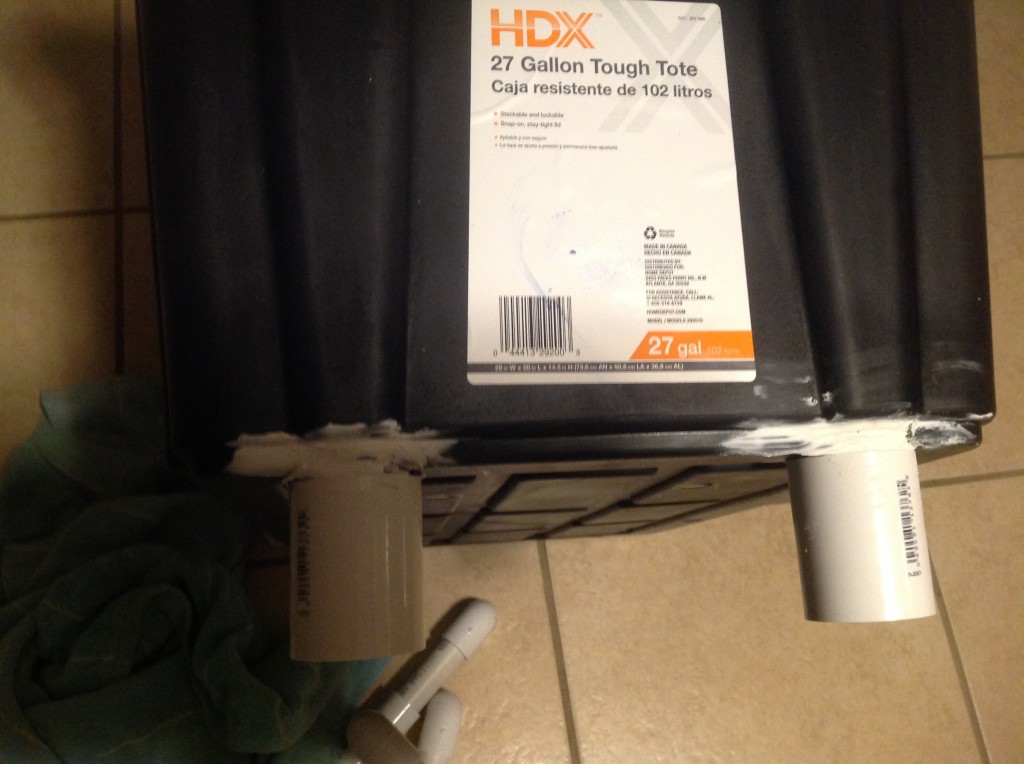
Next we will create drains . I chose to go with 1 1/2" drains so that I didn't have to worry about my roots clogging them .
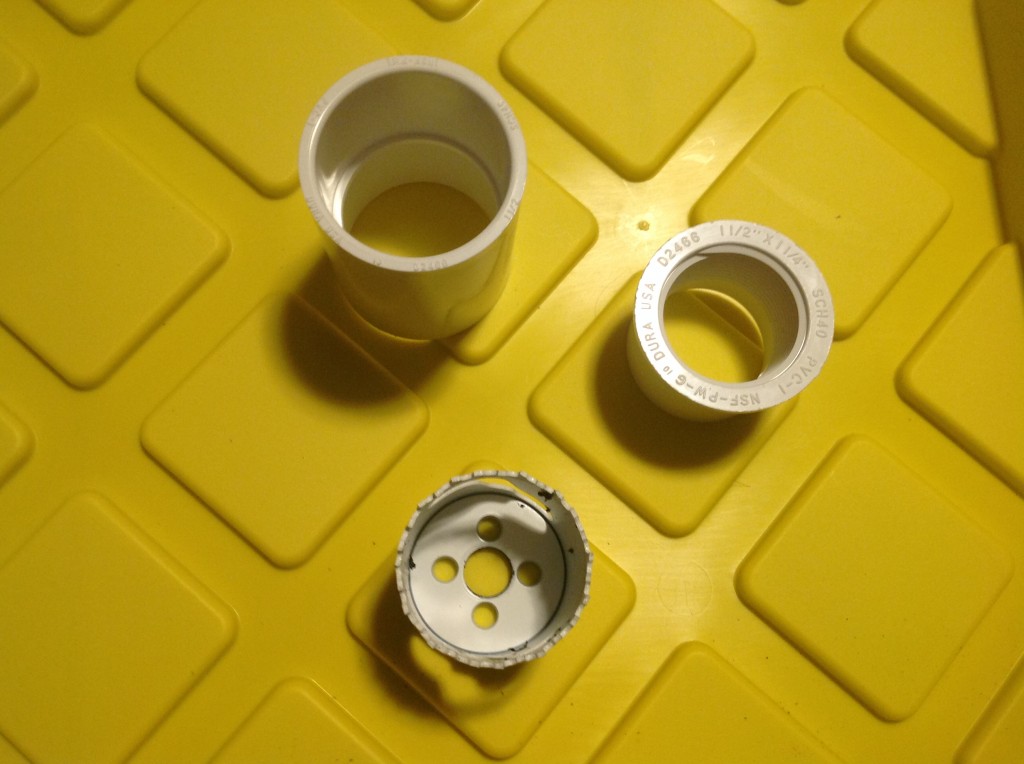
Take your whole saw and drill out an area in each corner for the size drain that you choose .
Next we will fit , secure and seal them in place .
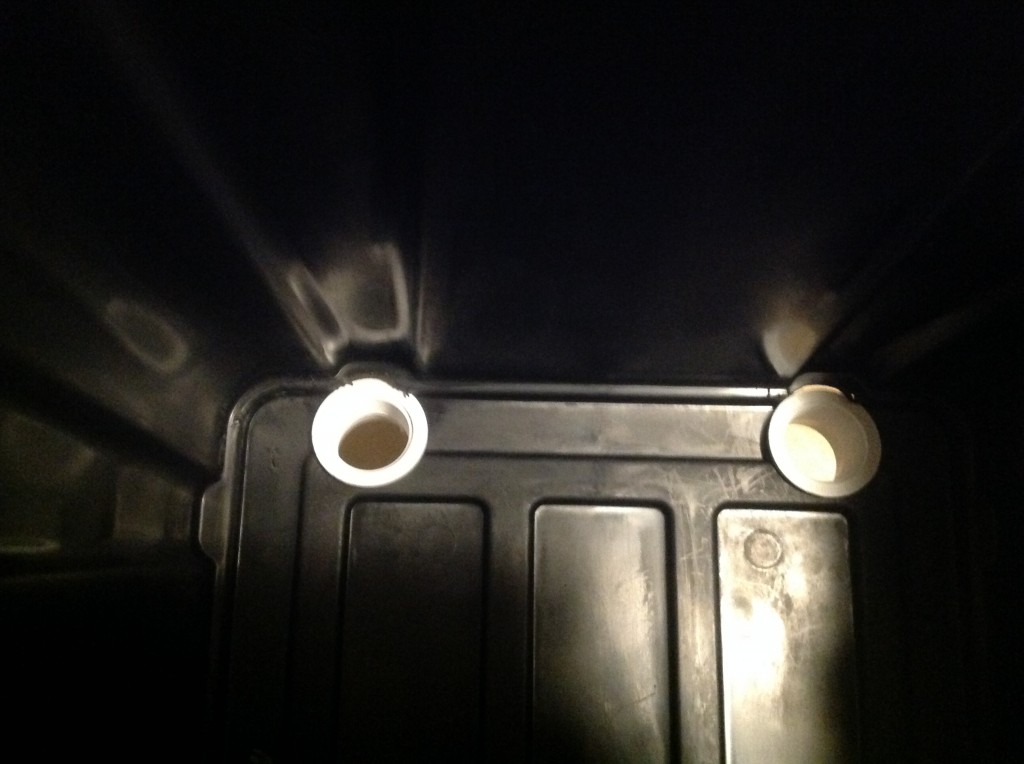
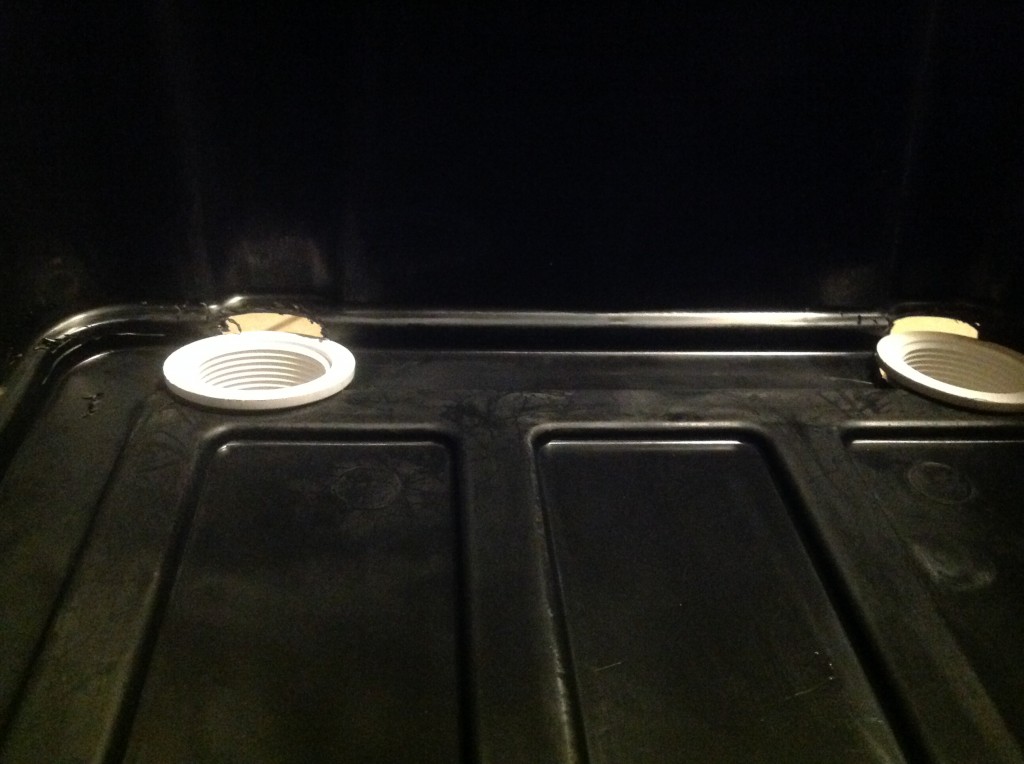
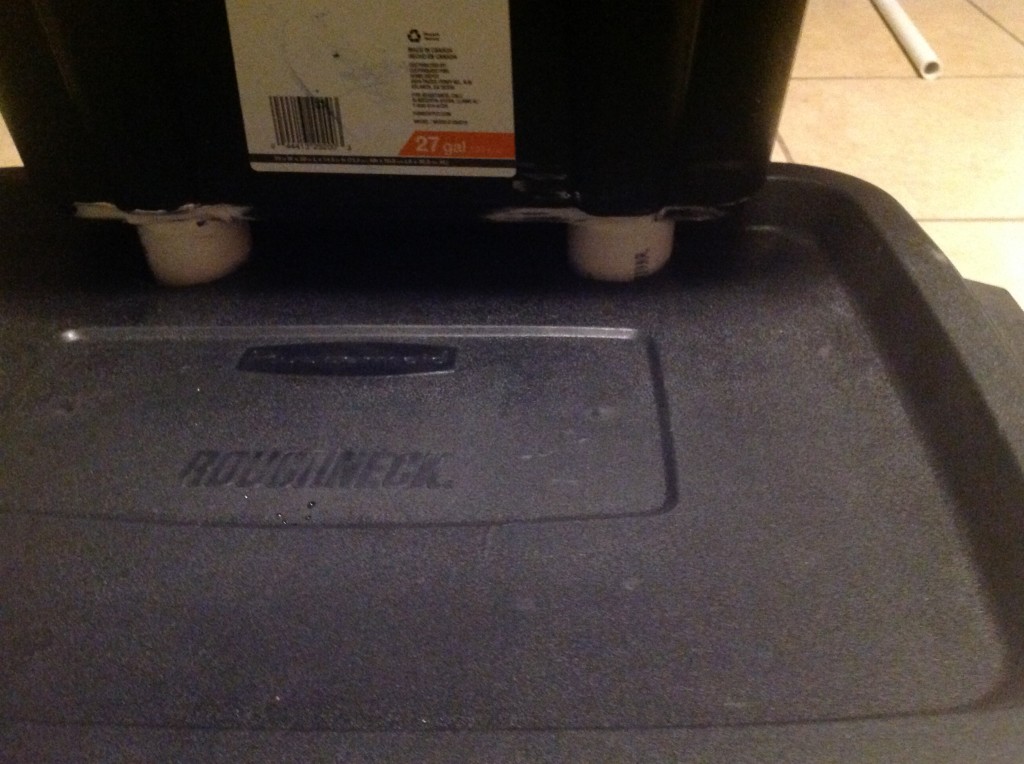
Now it's time to create a drop in point in the lid of our res . So put your tub on the stand you made and slide it up to your res , however you are going to have it situated in your grow area .
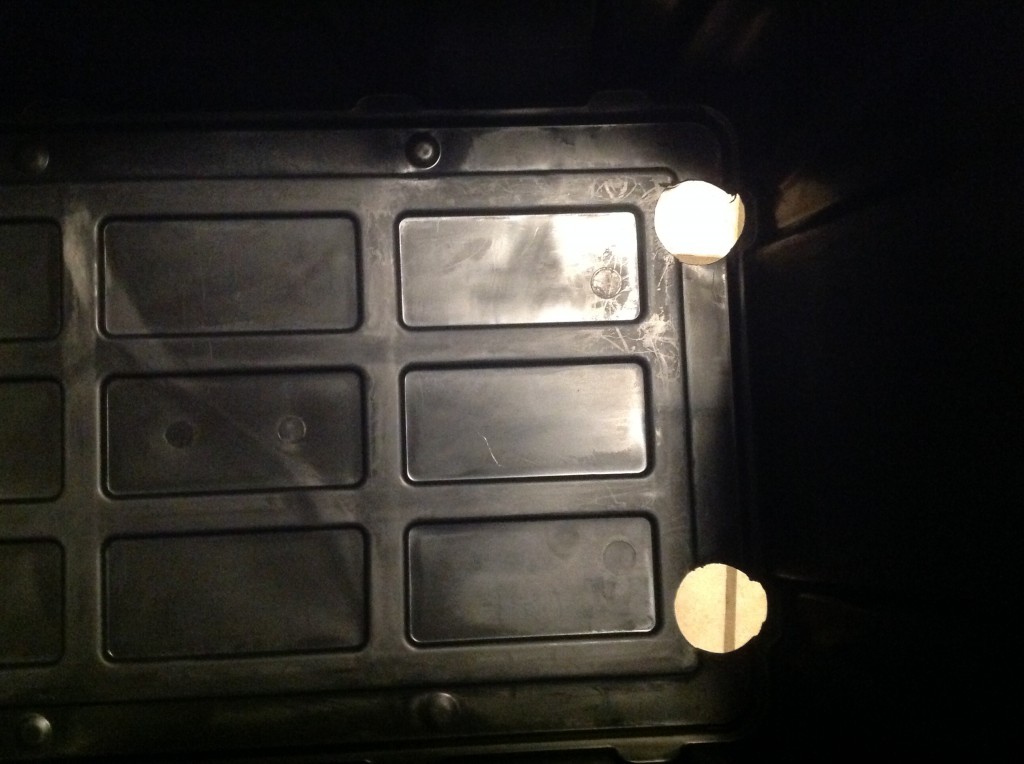
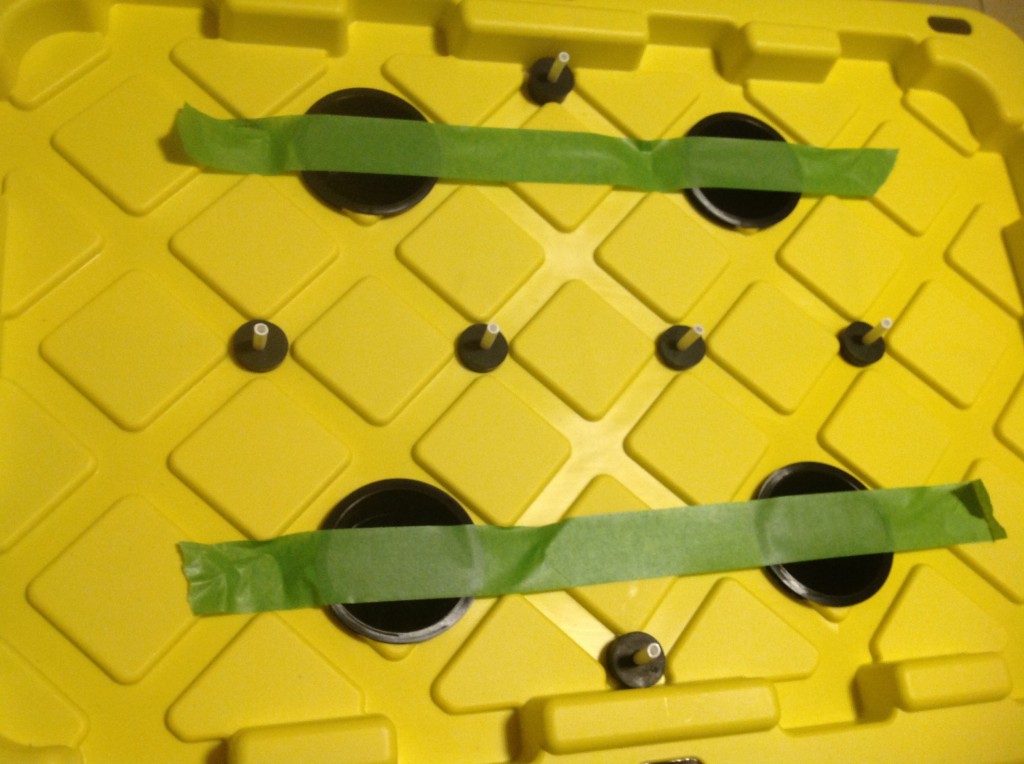
Now draw a line on each side of your drain pipe . I like using tape for this.
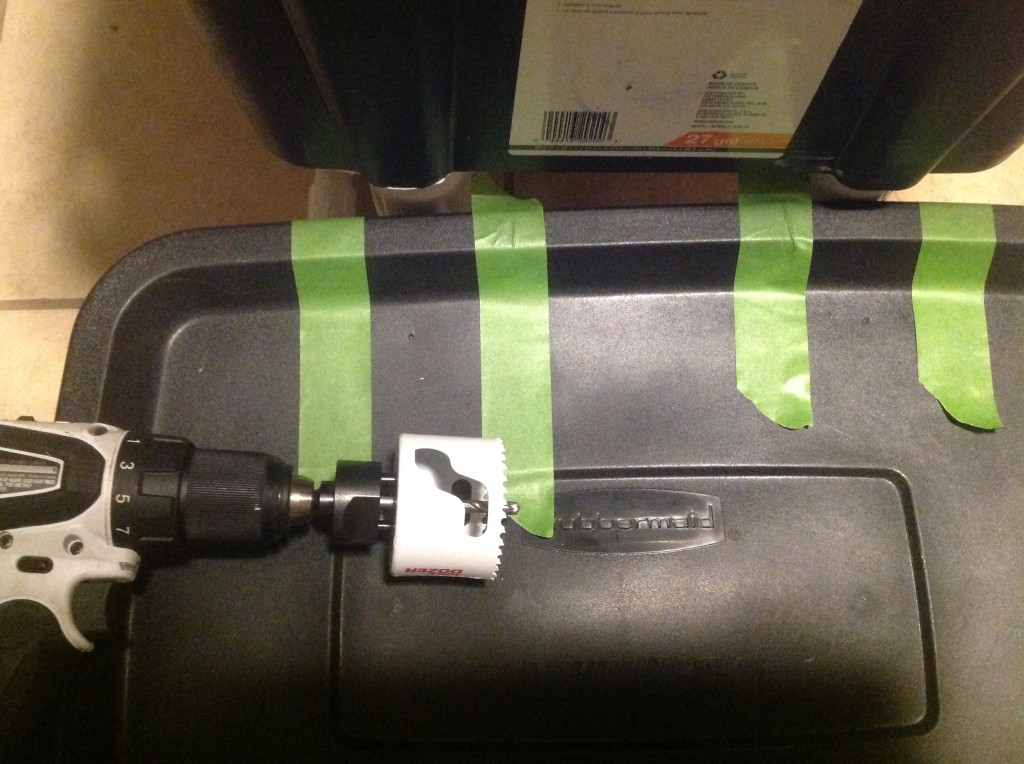
Now take the hole saw for your size drain and position it in the center of your markings with the edge of the hole saw just inside the lip of where your lid seals to the bottom of your res.
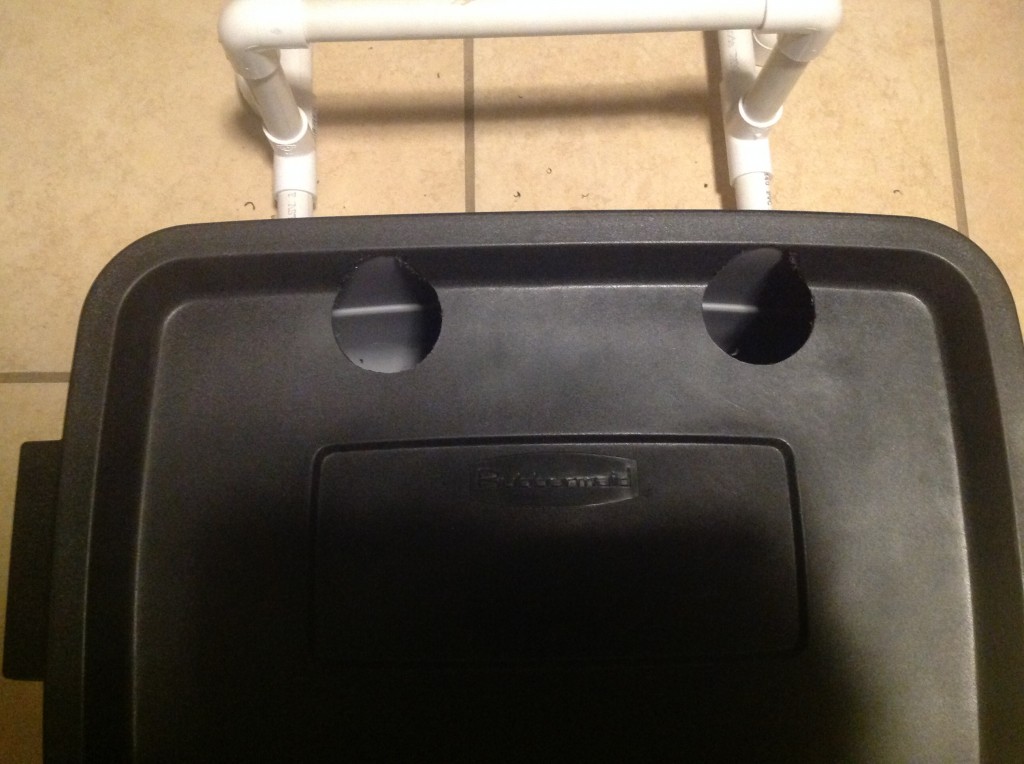
Now for a test fit .
Next cut the remaking portion of the lid with your tool of choice .
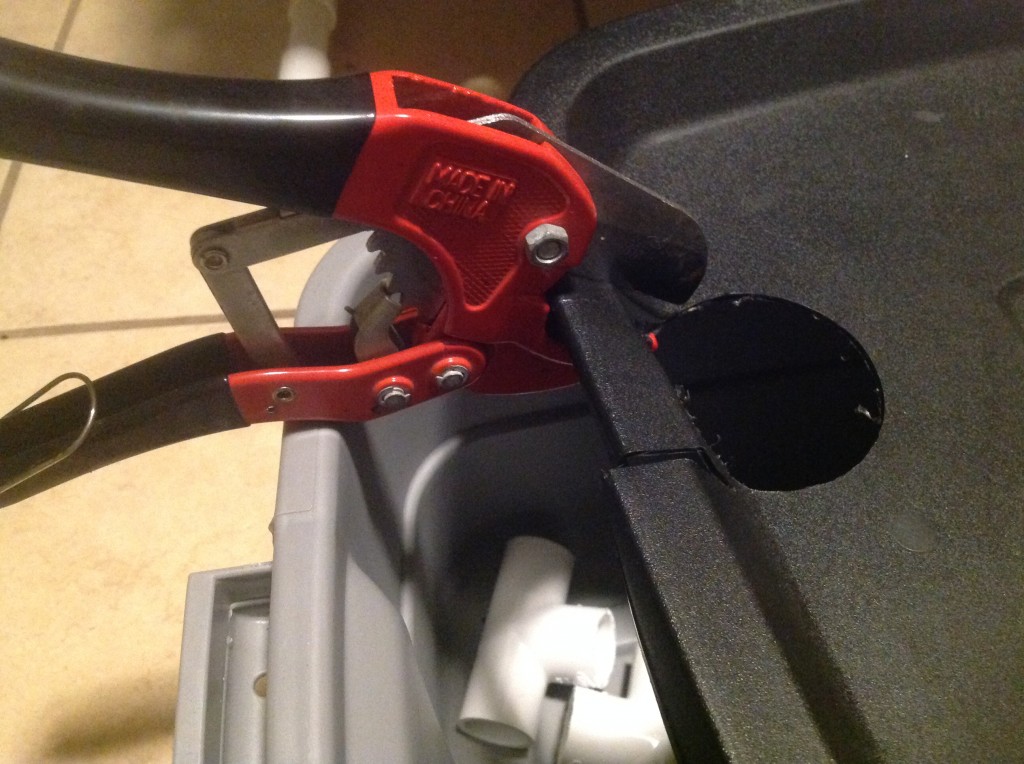
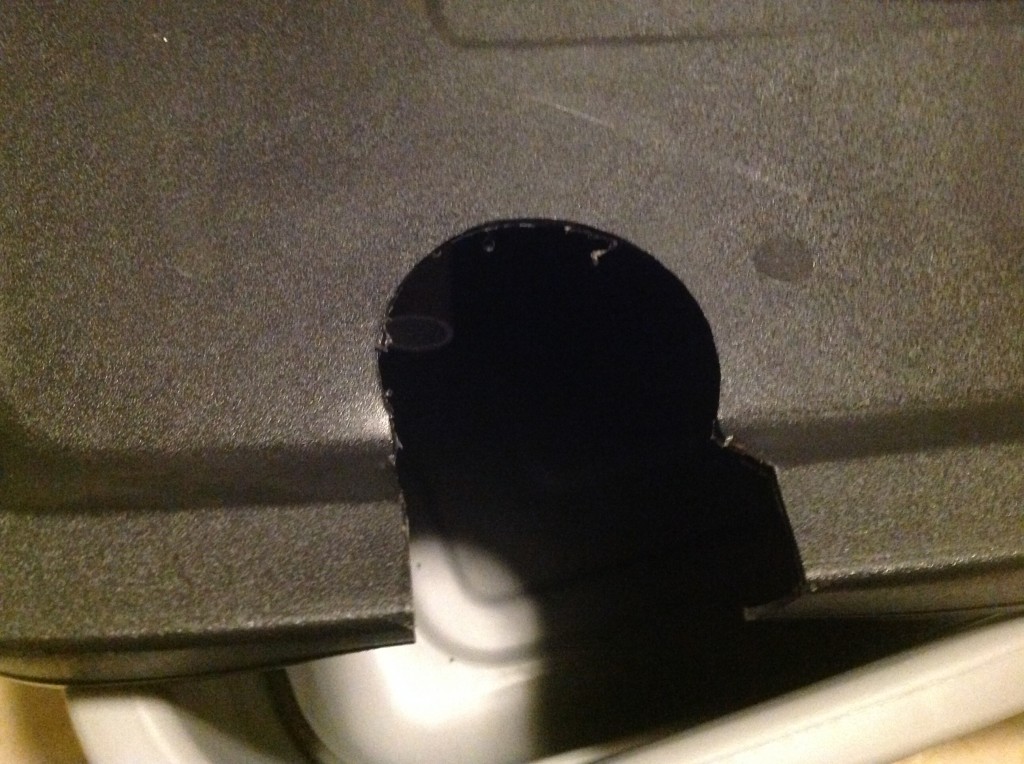
Now trim the remaining over hanging lip on the lid , this will help create easy access to your res.
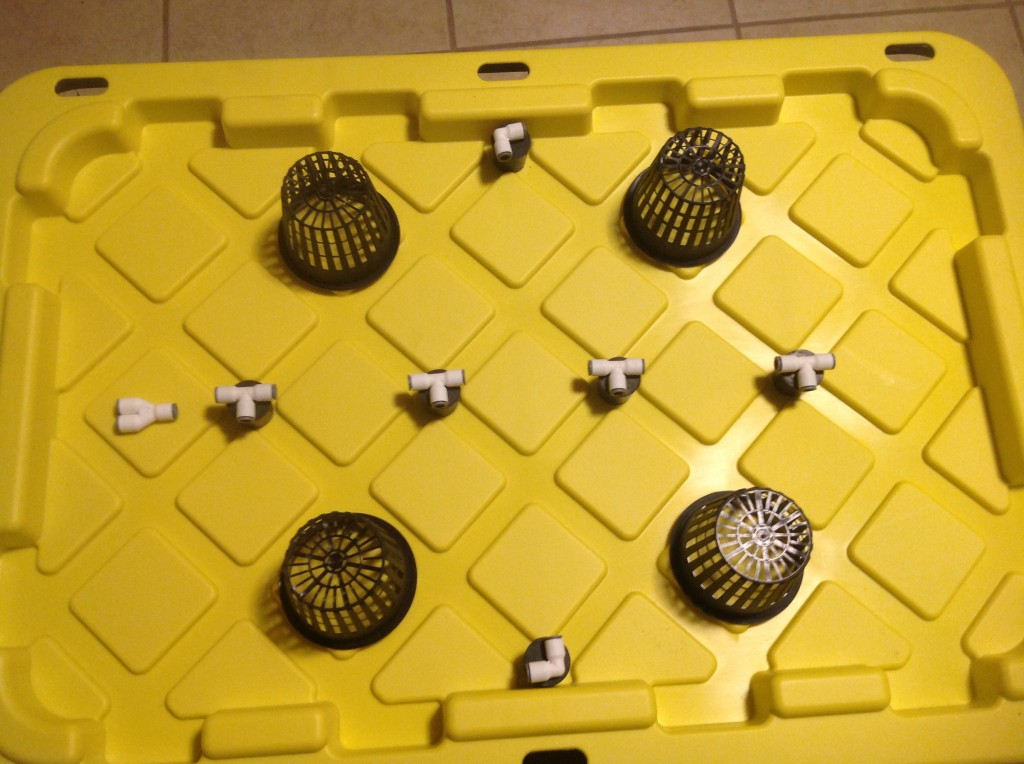
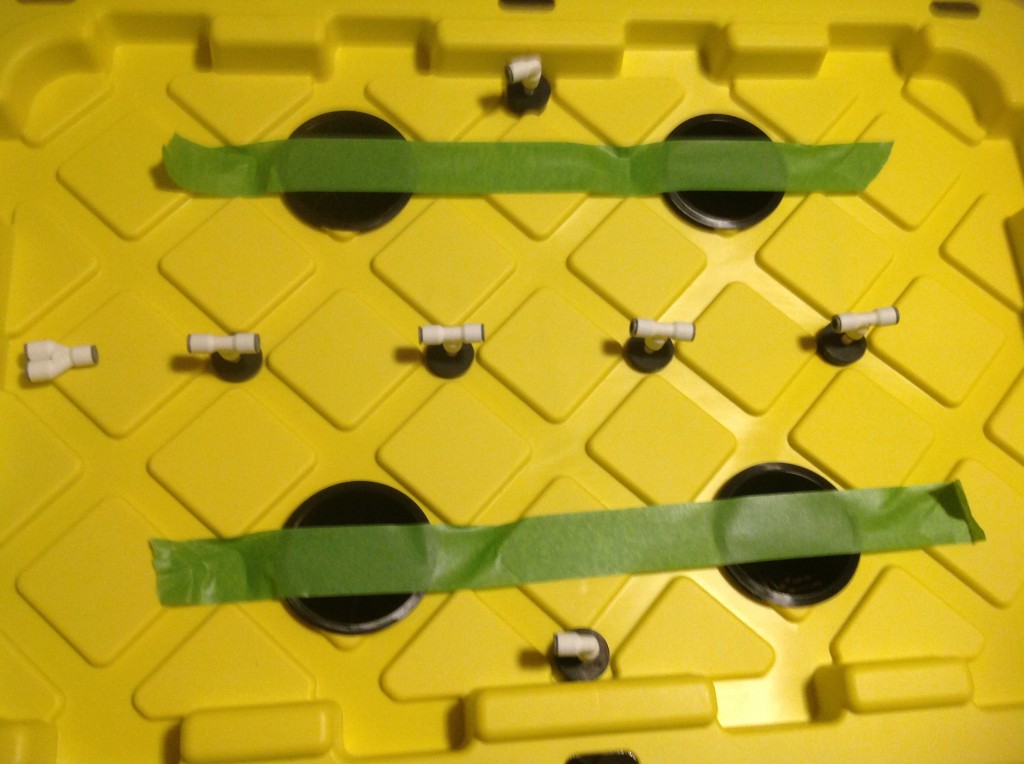
Next we will layout our net cups and fittings on the lid . I did my best to position the net cups at an equal distance from the edge of the tub as well as the center . I laid out my fittings in the area the nozzles will be positioned. I was looking to get 360 degree coverage of all the net pots using a minimum amount of nozzles. Your design may vary due to amount of net cups you decide to use .
Time for some drilling !
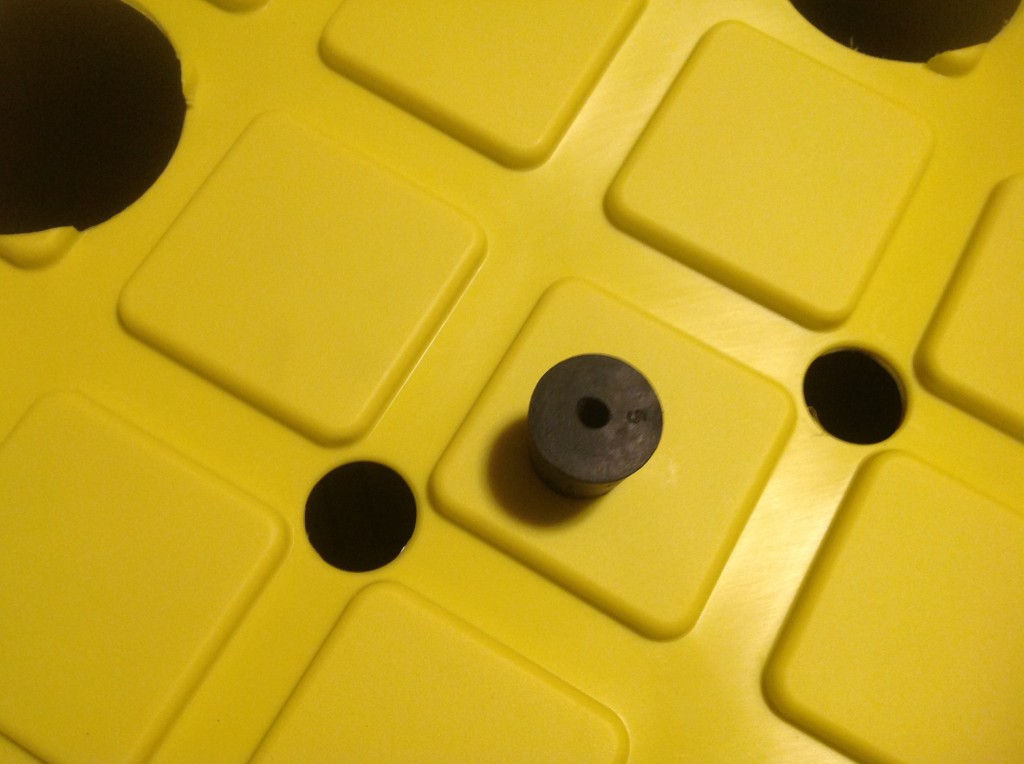
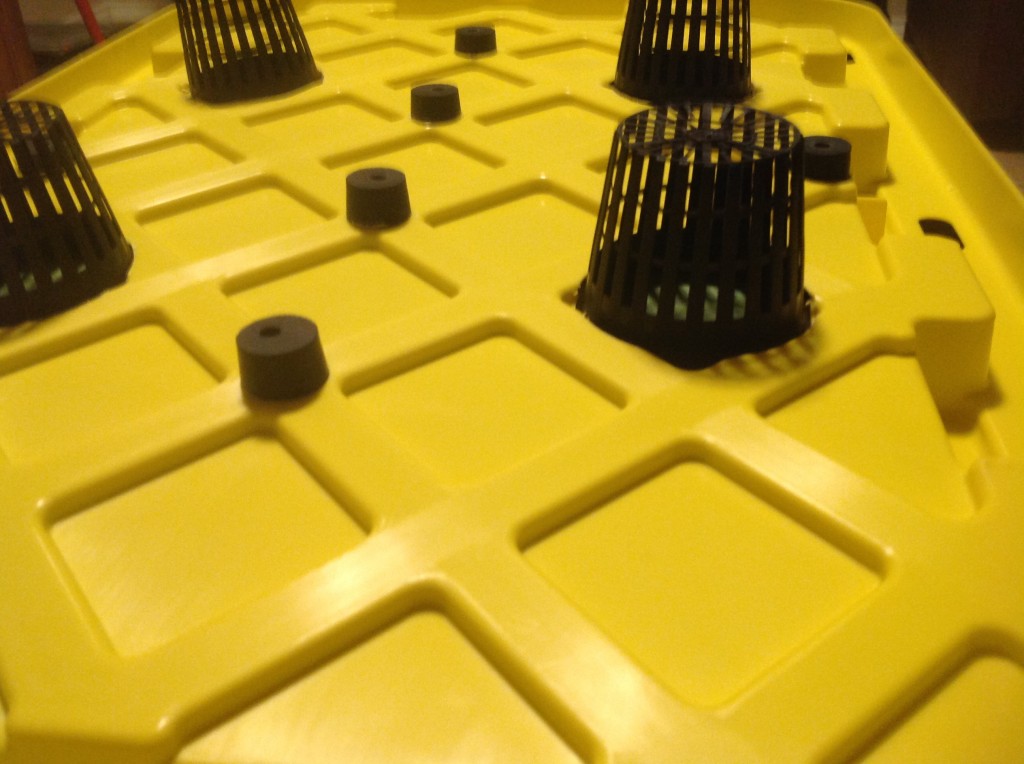
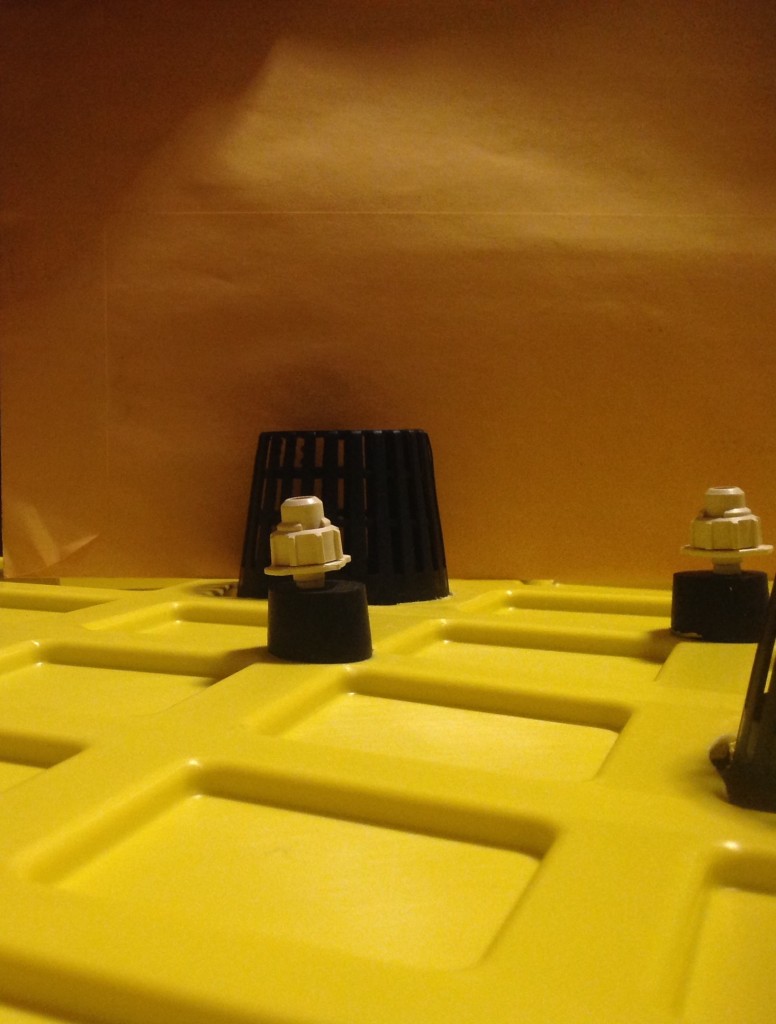
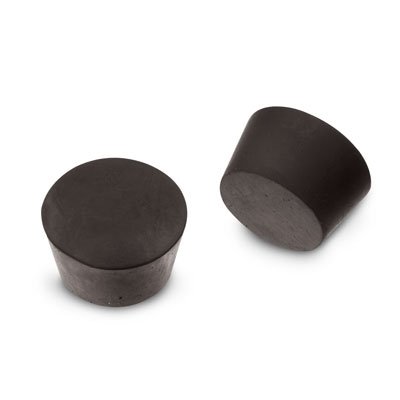
Now that we have our holes drilled it's time to focus on our nozzles . Take your stopper and your 1/4 drill bit and dill a hole through the center on the stopper . We will be installing some 1/4 line through this.
Next install your stoppers and netcups in the lid and turn it upside down . I used tape to hold my cups in place .
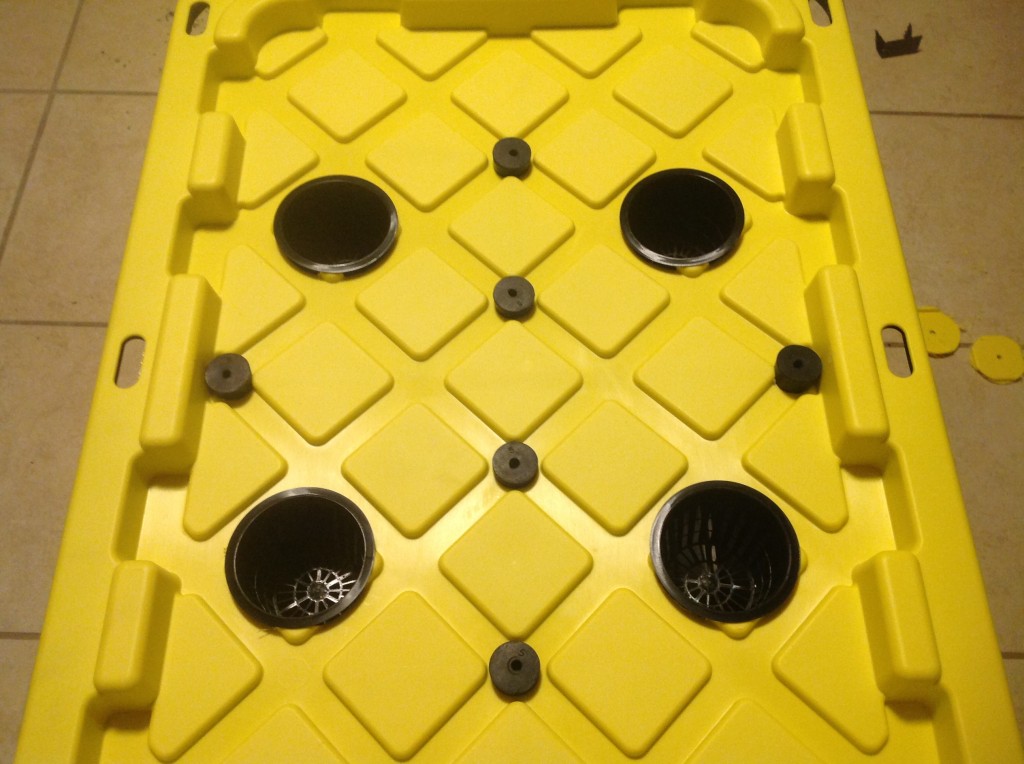
Now push a nozzle into the bottom of one of your stoppers and look at the position of the spray head in relation to the cup. We are doing this to determine the length of tubing we will be cutting for our spray head . I like my spray head right at about the center point of the cup so that when it mists it starts hitting the cup right around the bottom.
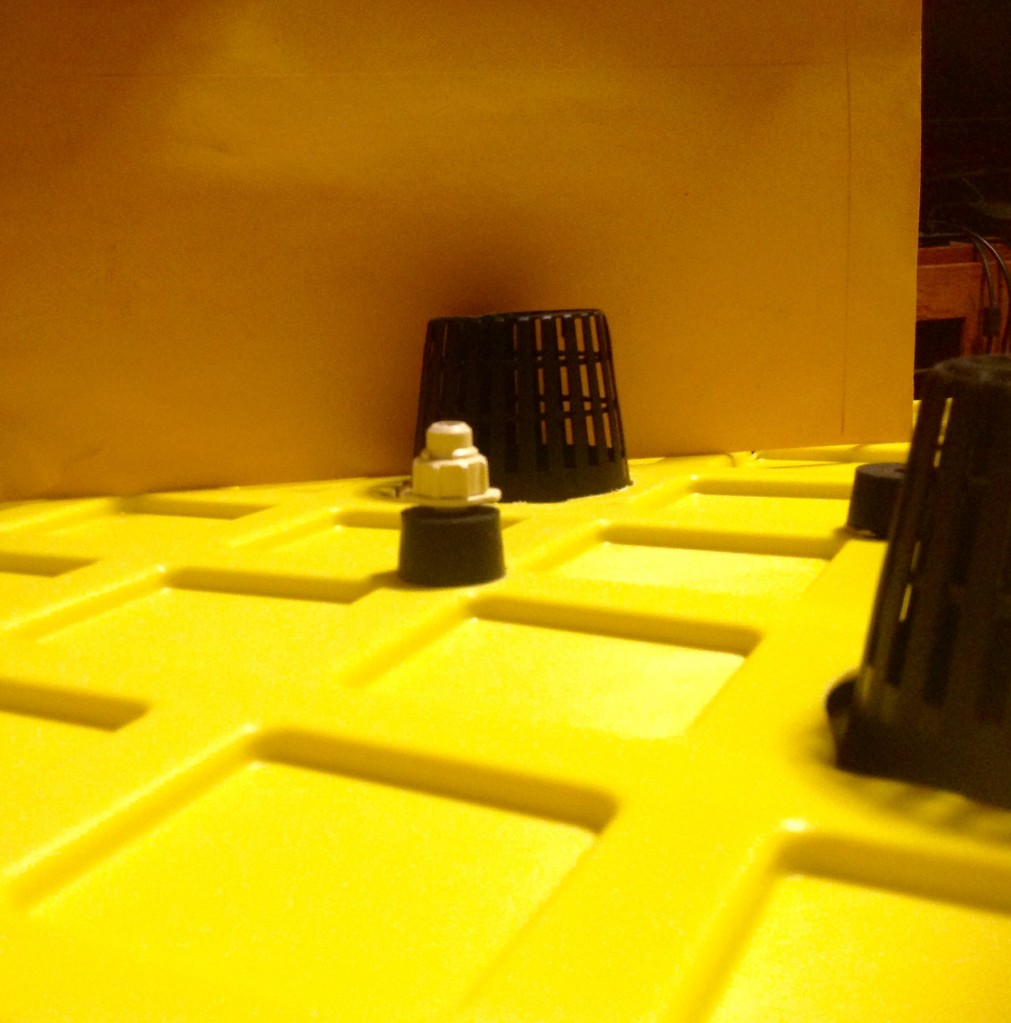
Now cut you length of line and install it through the stopper . You will want to find a hard surface to push the line through as it is a tight fit . Install the nozzle and place all the stoppers back in the lid and turn it over and recheck your distance .


Now we will install our 1/4 t's , y's and elbows based on our configuration .
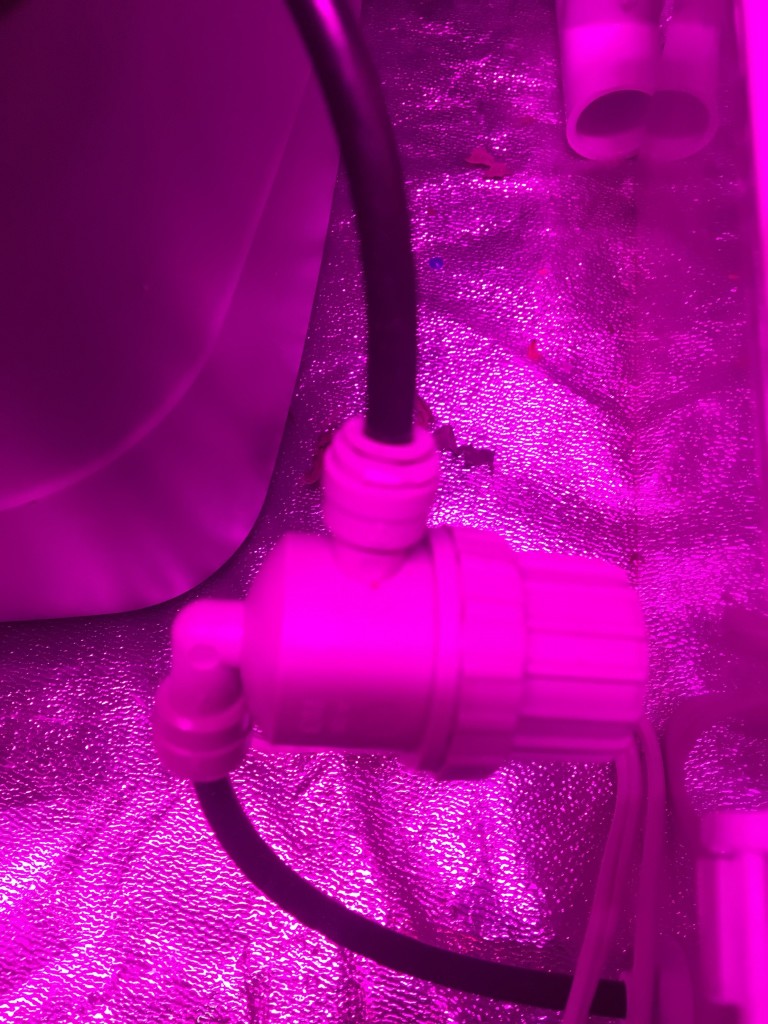
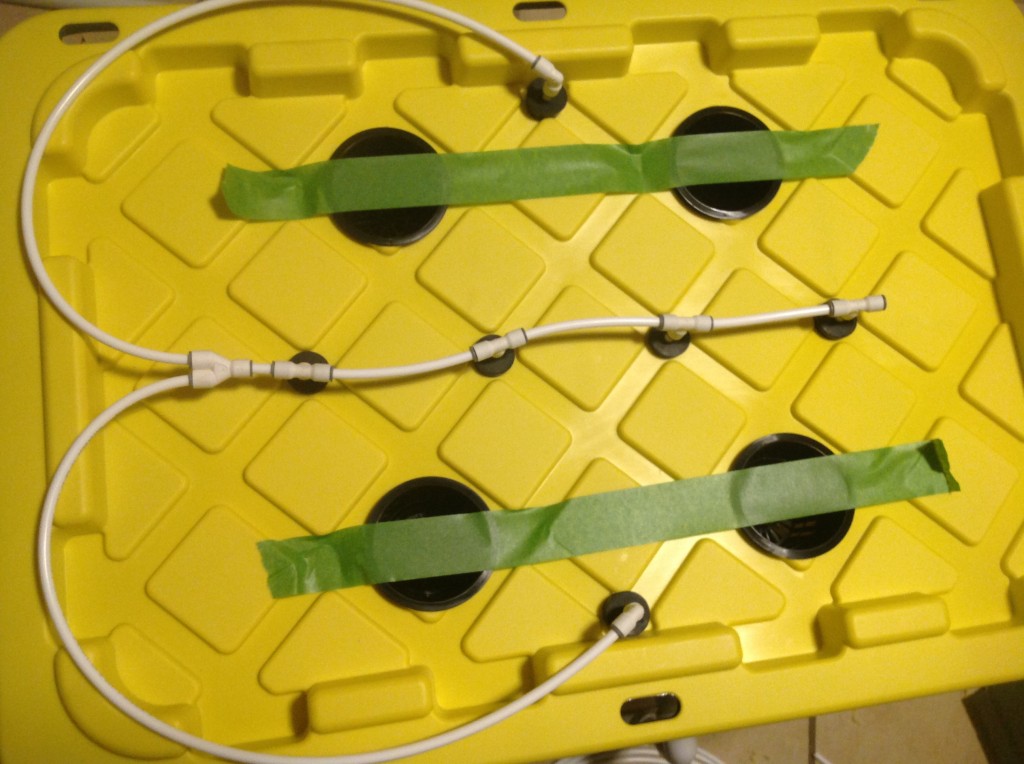
It's time to measure and install our water line .
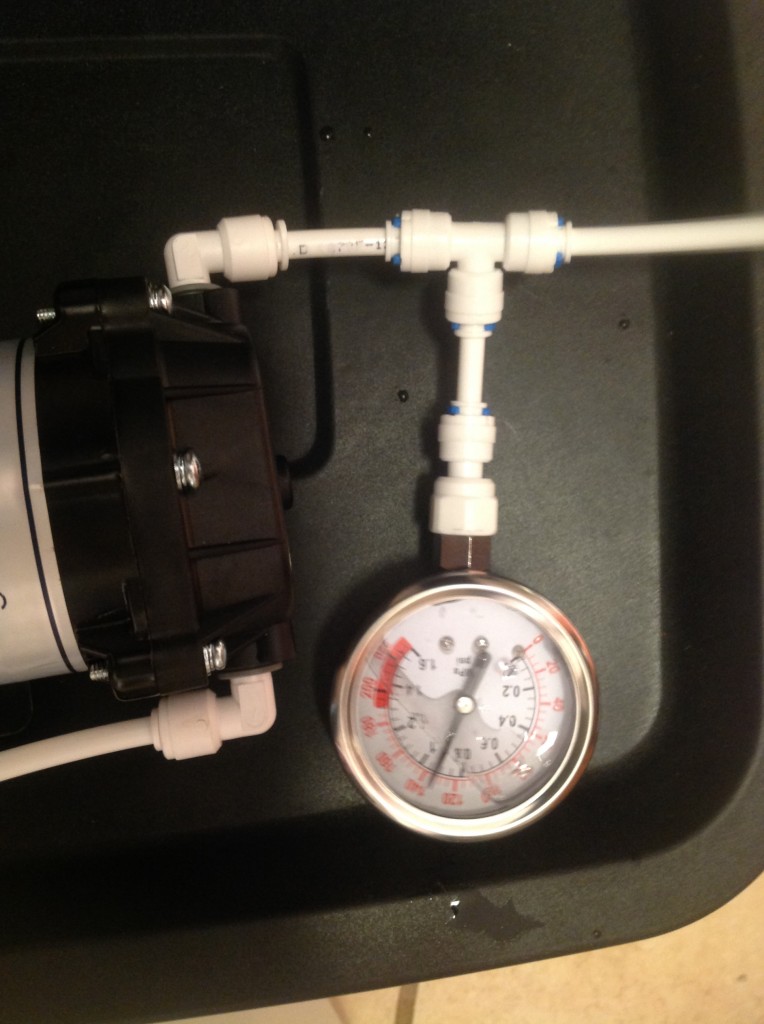
Now run it down to the pump with the pressure gauge , put some water in the res
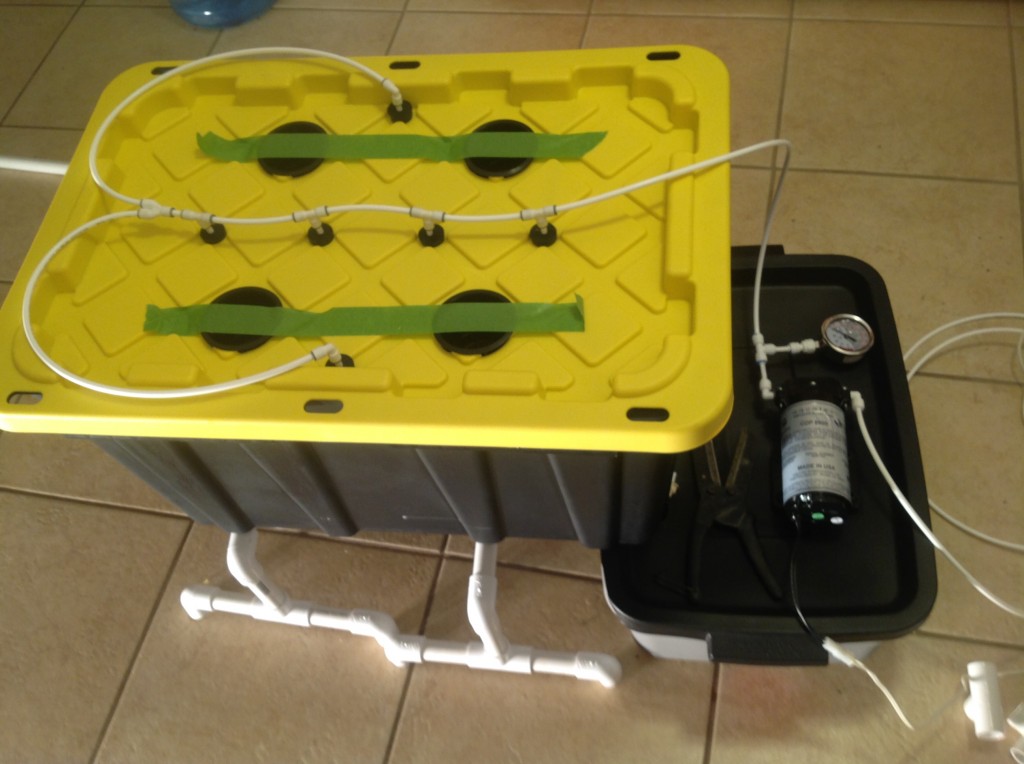
And MIST AWAY !!!
Last but not least check your pressure . I run mine at 140 ...the higher the pressure the finer the mist . These nozzles are rated at 50 micron @ 80lbs I believe . My theory is at 140 I'm probably spraying at 30 microns and a little bit longer of a spray cycle isn't going to increase my water droplet size past 50.
Well I hope you enjoyed this and that I didnt make things confusing as this was my first DIY guide .I will post what components I use later , the hardest thing to find was the misters .
Parts list
Below you will find the list of parts used for the high pressure Areo side of this DIY with the link embedded in the term , I wanted to edit my original post but no such luck
Pump -
Pressure gauge -
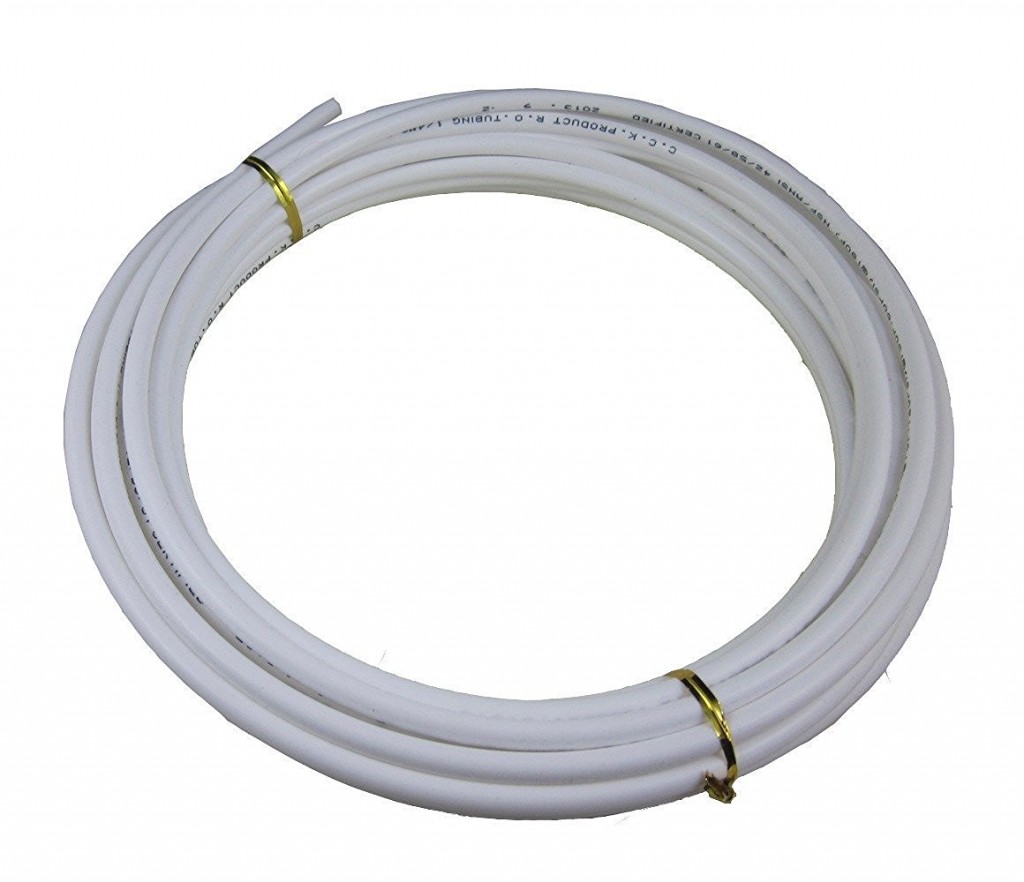
1/4 inch line -
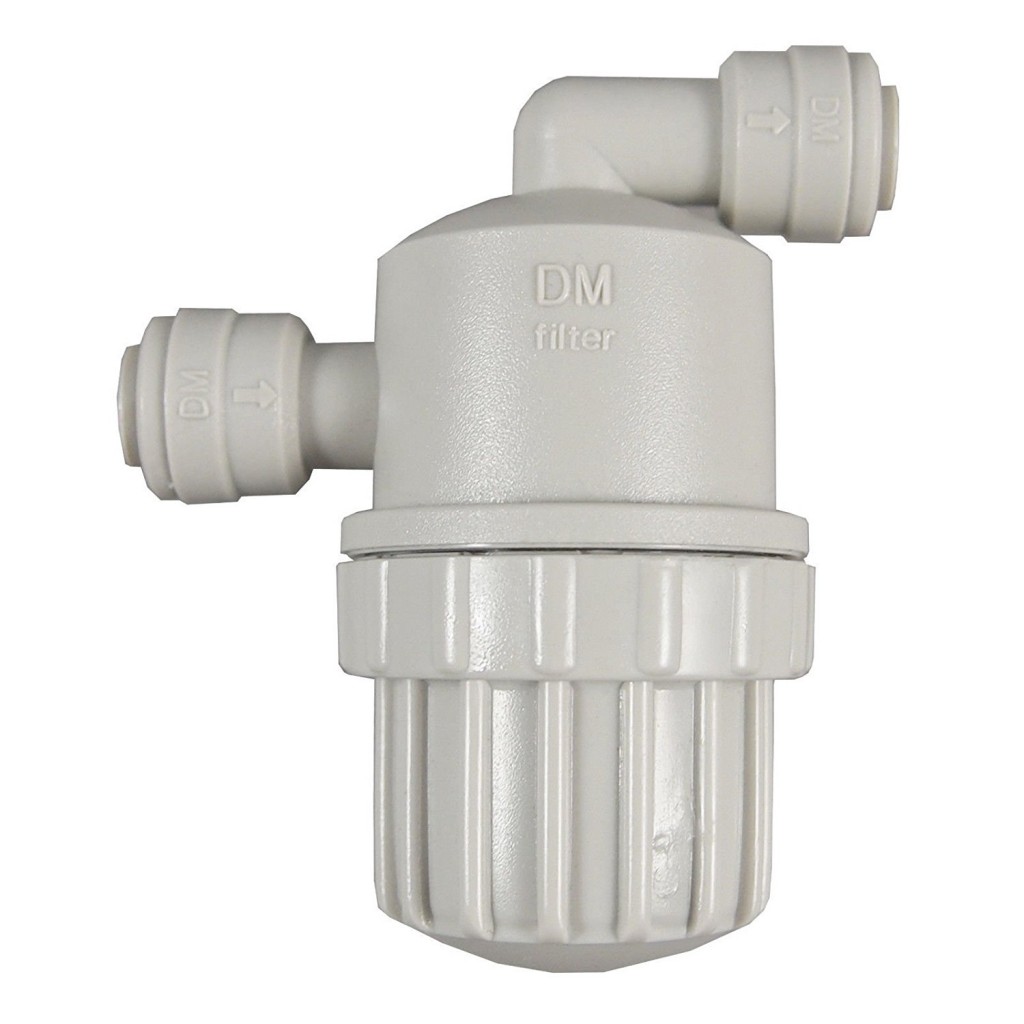
150 micron inline filter -
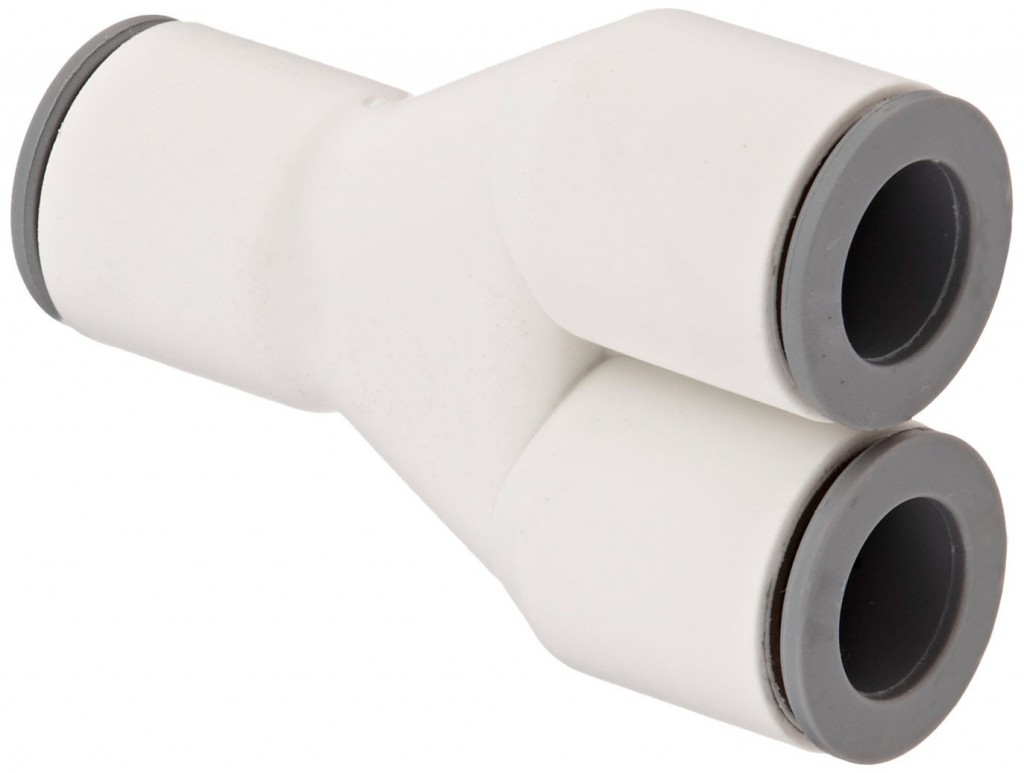
Y connector -
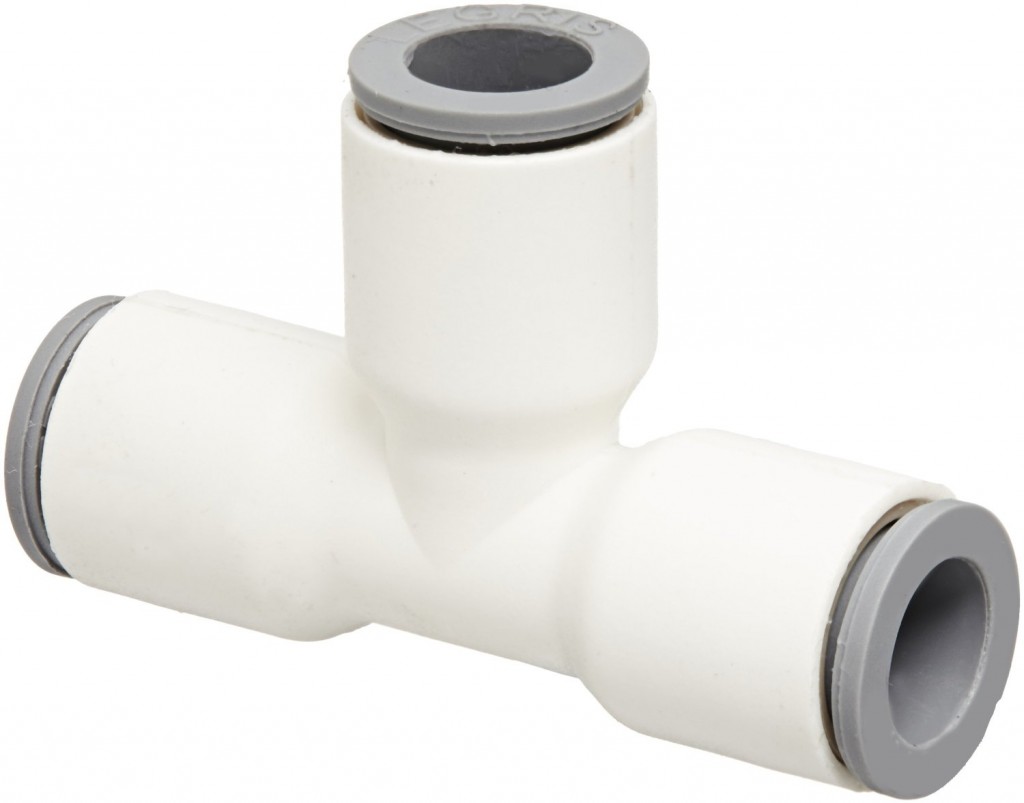
T connector -
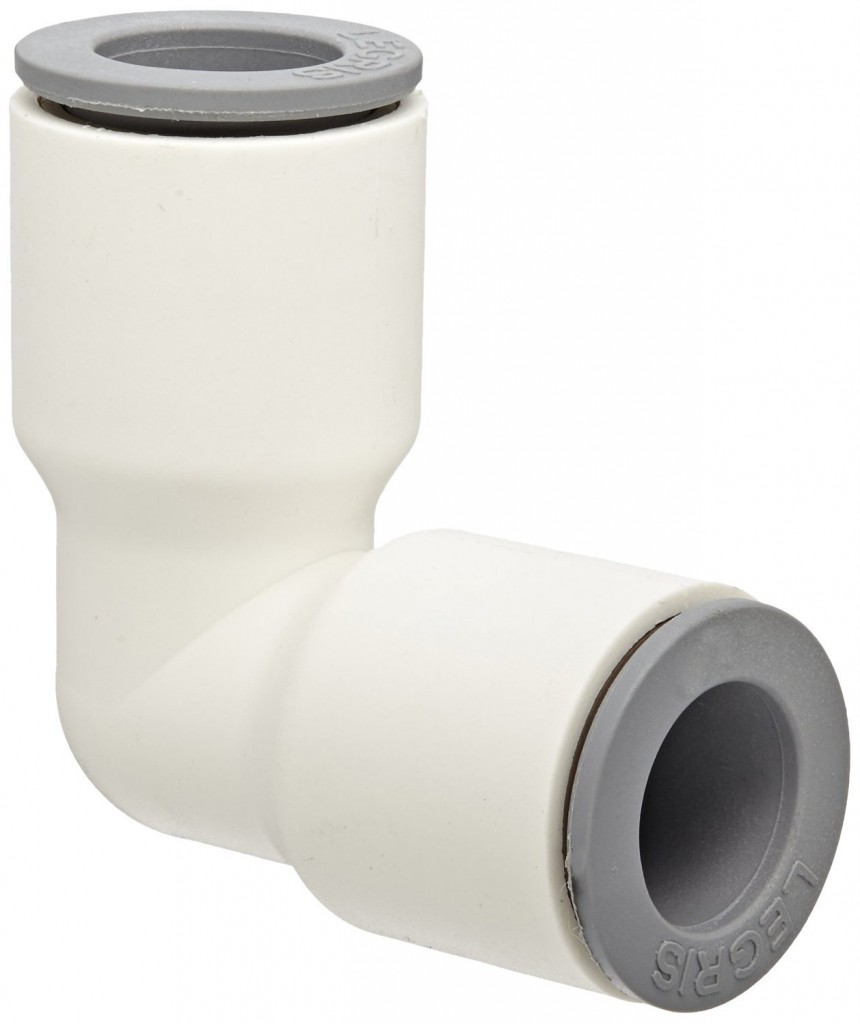
90 degree / elbow connector -
Rubber stoppers -
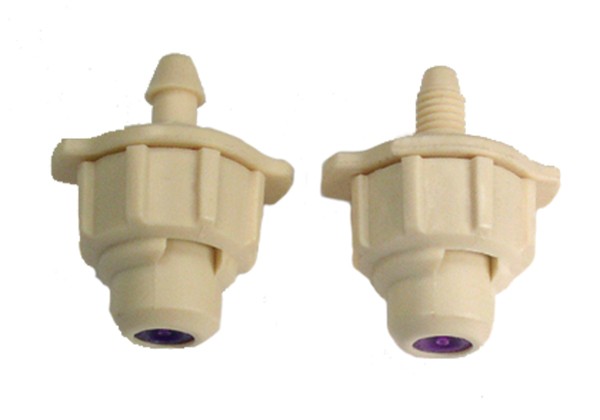
Misters -
Timer -
Your probably wondering what the big deal is . But first let me tell you a little bit about me . I started in soil in the early 90's , I did okay but I was looking for something different so I ventured into hydro as it really fascinated me . I started out with Emily's garden which was nothing more than a nute tray /res with an air stone and pots sitting in it and soon started reading on other methods such as ebb flow and then I came across an article at that time that was cutting edge " Aeroponics " . I was like holy shit I have to try this . So I bought a gh Aeroflow 20 and drove that for 10 years . The results I had from growth rate to root production and cloning where amazing to me . Then due to what was going on in my life at that time I had to push the pause button on my favorite hobby "feminized breeding and growing " of this wonderful plant.
So now here I was ready to get back to one of the things I loved . I have the areoflo20 propped up in the garage but I don't have the space for it . So off researching I go and I come across an article on High pressure Aeroponics and again I was like holy shit I have to try this . I did endless searching and came up with very little information in regards to a DIY guide and that's one of the reasons I have put this together.
So now why high pressure and not ebb flow or a dwc system . Well it's all about the root zone and that's one of the main reasons you will see accelerated grown in hydro versus soil. High pressure is a much more efficient way of delivering nutes to your plant as long as you dial in the misting time and droplet size. Optimum droplet size is bettween 30&50 microns and pressures run from 80 to 150 psi. I currently run 10 sec on ( that's as low as my current timer goes , I'll talk more about that later. Some people will say if you aren't going for and don't achieve a fluffy fuzzy root zone there is no point in doing a high pressure system. I will tell them they are wrong simply wrong . With my current set up I only have a fish bone structured root zone and it really outperforms my aeroflo 20 and is more versatile for around the same cost , not to mention it saves on nutes . Saves on nutes you say ? How is this ? Well you spraying a 30-50 micron mist @ high pressure so you are delivering nutrients to the plant more efficiently so it's able to get more of what it needs by using less. To put it a different way you can look at a dwc/ ebb flow like a carbonated fuel system on a car compared to fuel injection .Not to mention overall water consumption is lowered because if this delivery system . My current set up with 4 plants 2 1/2 weeks into flower ( 8-13-16) uses about a gallon a day ! Click the link in my signature and you will see what I'm working with .
Now let's get on to the reason you stopped by the DIY part !
This was my first design and I will amend this later with changed I have made , which mainly consist of what my plants sit in .
Here is a pic of everything you will need to build this . A tub of your choice , I liked this one because of its size , the lid snapped into place , it's sturdy and the root zone area is black.
Some pvc pipe for a stand , pvc for drains , hole saws for whatever net up size you choose and for your drains . Pvc glue , silicone to seal drain areas , pvc cutters. 1/4 drill bit , 1/4 tubing and fittings , step down bit for drilling holes for your nozzles /misting heads, nozzles/ misting heads these are rated @ .8 gph and 50 micron . A high pressure diaphragm pump and pressure gauge along with a 100 micron prefilter. Last but not least a reservoir , this one is 10 gallons .
Alright let's build a stand . What you seen in the last picture was precut pic . I measured the width of my tub and measured the height of my res and designed the stand so the front of the tub just cleared the top of the res and the rear of the tub sat slightly higher to promote drainage .
Next we will create drains . I chose to go with 1 1/2" drains so that I didn't have to worry about my roots clogging them .
Take your whole saw and drill out an area in each corner for the size drain that you choose .
Next we will fit , secure and seal them in place .
Now it's time to create a drop in point in the lid of our res . So put your tub on the stand you made and slide it up to your res , however you are going to have it situated in your grow area .
Now draw a line on each side of your drain pipe . I like using tape for this.
Now take the hole saw for your size drain and position it in the center of your markings with the edge of the hole saw just inside the lip of where your lid seals to the bottom of your res.
Now for a test fit .
Next cut the remaking portion of the lid with your tool of choice .
Now trim the remaining over hanging lip on the lid , this will help create easy access to your res.
Next we will layout our net cups and fittings on the lid . I did my best to position the net cups at an equal distance from the edge of the tub as well as the center . I laid out my fittings in the area the nozzles will be positioned. I was looking to get 360 degree coverage of all the net pots using a minimum amount of nozzles. Your design may vary due to amount of net cups you decide to use .
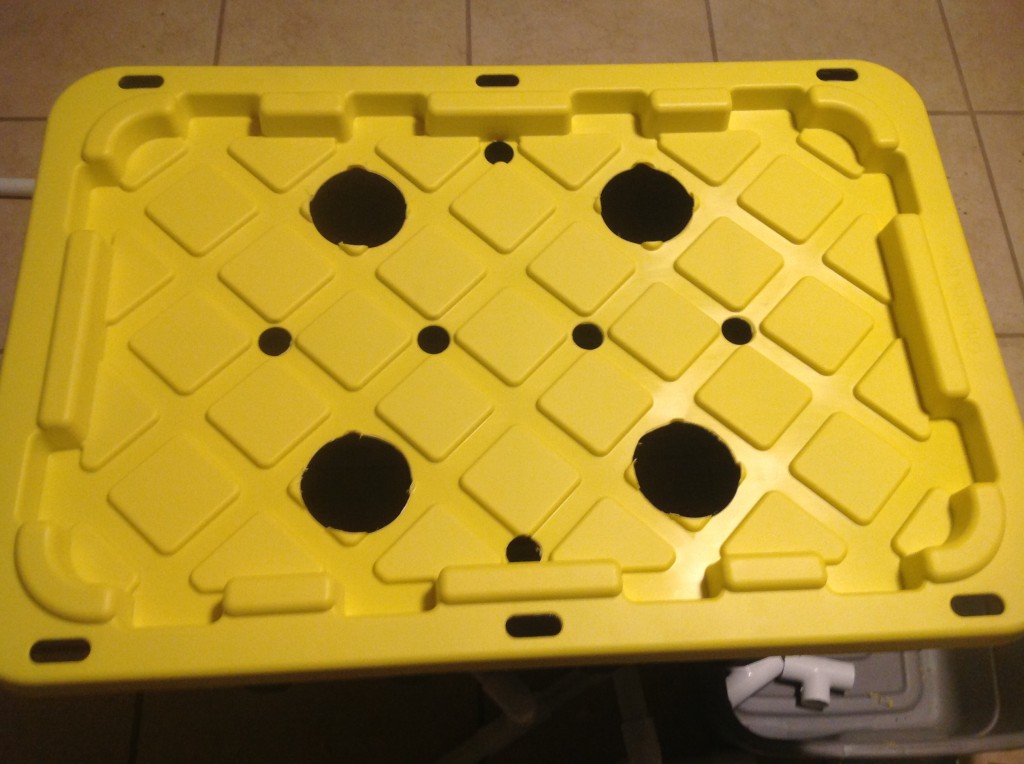
Time for some drilling !
Now that we have our holes drilled it's time to focus on our nozzles . Take your stopper and your 1/4 drill bit and dill a hole through the center on the stopper . We will be installing some 1/4 line through this.
Next install your stoppers and netcups in the lid and turn it upside down . I used tape to hold my cups in place .
Now push a nozzle into the bottom of one of your stoppers and look at the position of the spray head in relation to the cup. We are doing this to determine the length of tubing we will be cutting for our spray head . I like my spray head right at about the center point of the cup so that when it mists it starts hitting the cup right around the bottom.
Now cut you length of line and install it through the stopper . You will want to find a hard surface to push the line through as it is a tight fit . Install the nozzle and place all the stoppers back in the lid and turn it over and recheck your distance .
Now we will install our 1/4 t's , y's and elbows based on our configuration .
It's time to measure and install our water line .
Now run it down to the pump with the pressure gauge , put some water in the res
And MIST AWAY !!!
Last but not least check your pressure . I run mine at 140 ...the higher the pressure the finer the mist . These nozzles are rated at 50 micron @ 80lbs I believe . My theory is at 140 I'm probably spraying at 30 microns and a little bit longer of a spray cycle isn't going to increase my water droplet size past 50.
Well I hope you enjoyed this and that I didnt make things confusing as this was my first DIY guide .I will post what components I use later , the hardest thing to find was the misters .
Parts list
Below you will find the list of parts used for the high pressure Areo side of this DIY with the link embedded in the term , I wanted to edit my original post but no such luck
Pump -
Pressure gauge -
1/4 inch line -
150 micron inline filter -
Y connector -
T connector -
90 degree / elbow connector -
Rubber stoppers -
Misters -
Timer -


") .
.


 Awesome stuff!