After a long break, and moving states I am now growing again. Grab a joint and get ready, because you need to get caught up. We are on Day 18 now!!
On 6/19 I had 10 seeds at DAY 1
I was 10/10 on
3 - Twlight by Dutch Passion (feminized)
2 - Super Lemon Haze by GHSC (feminized)
2 - Super Skunk by White Label (feminized)
3 - Bagseed from an ok bag
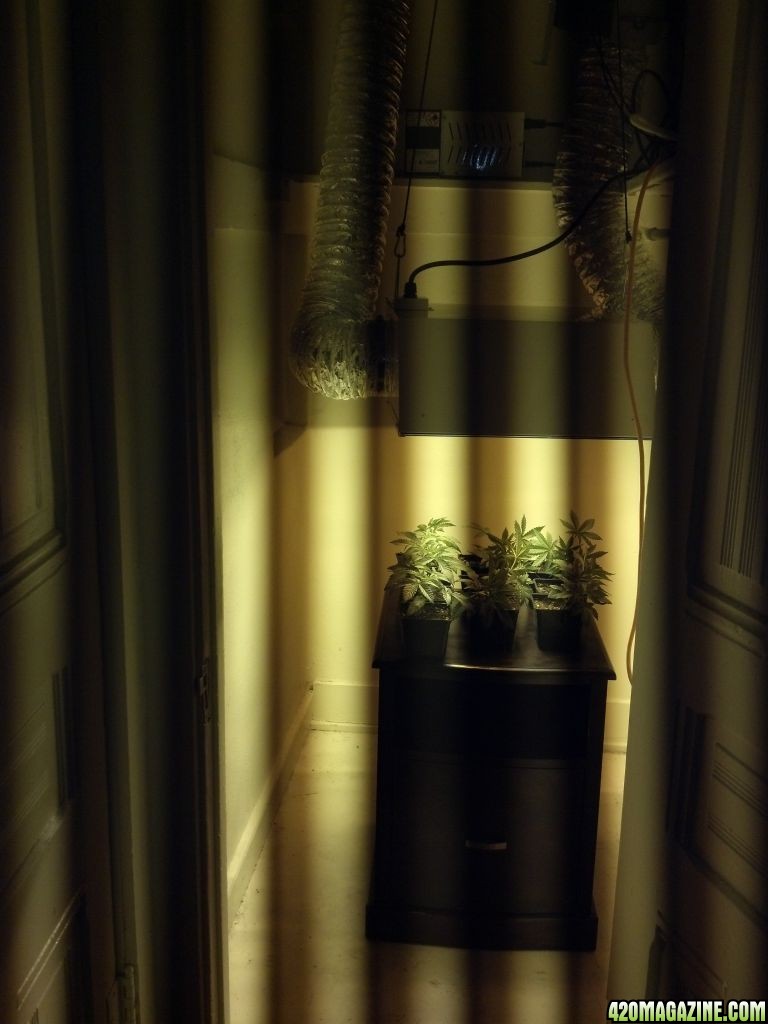
Here is the closet!
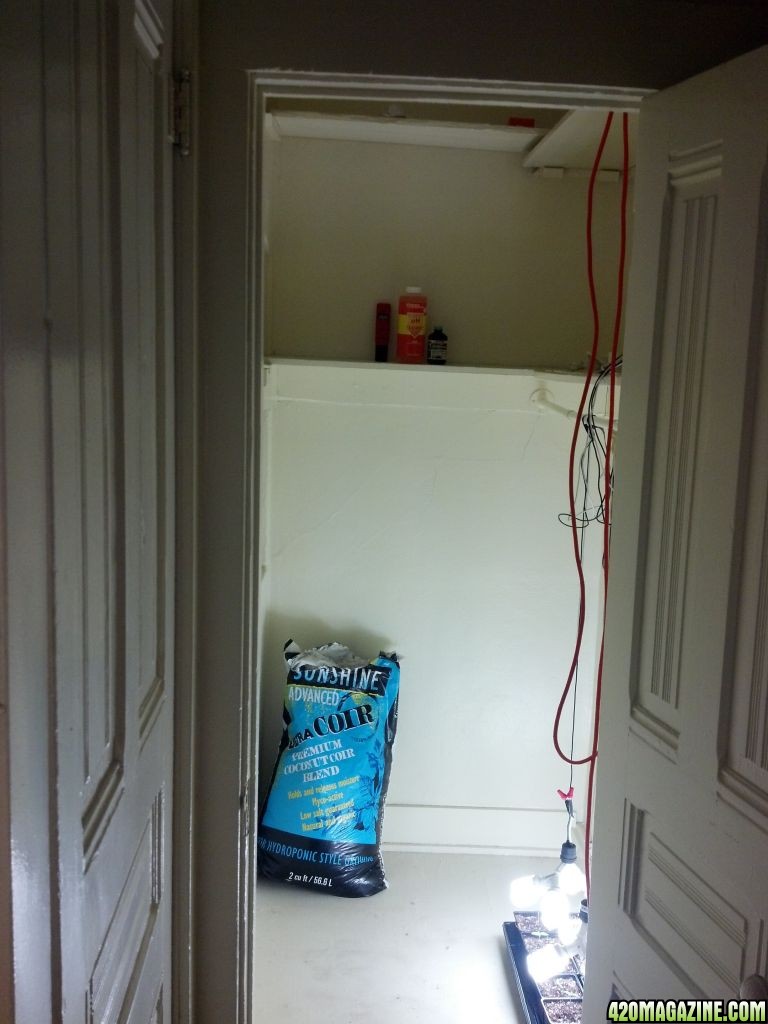
The closet is 3.5' wide x 4.5' deep and about 8.5' tall... height will not be an issue.
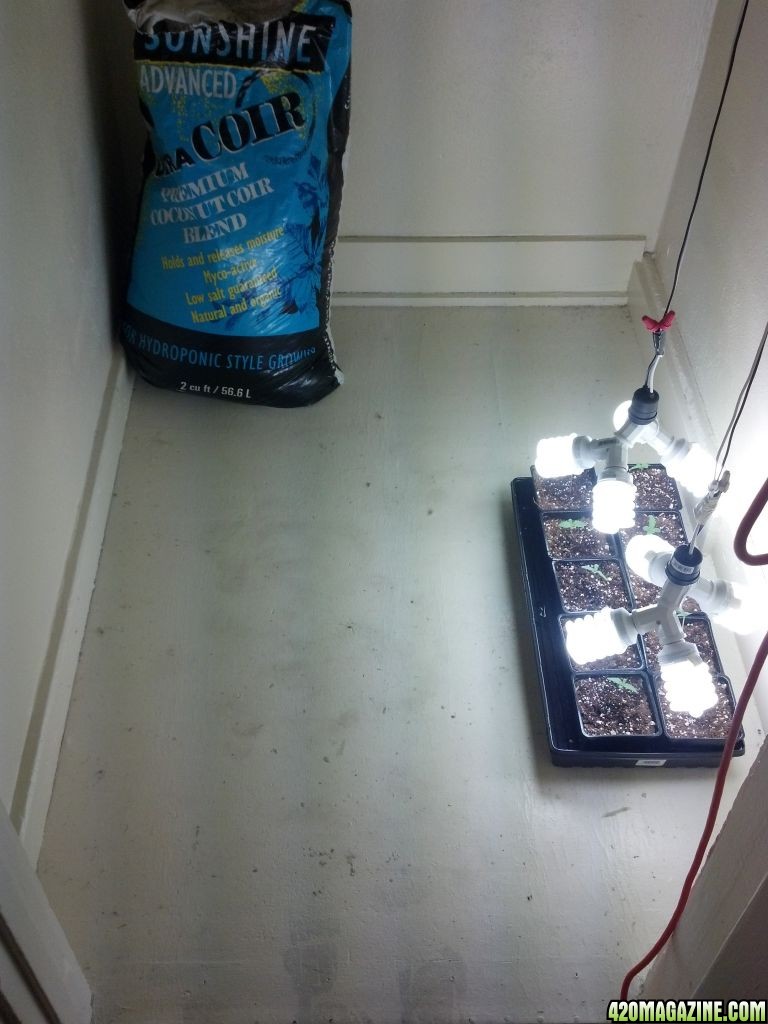
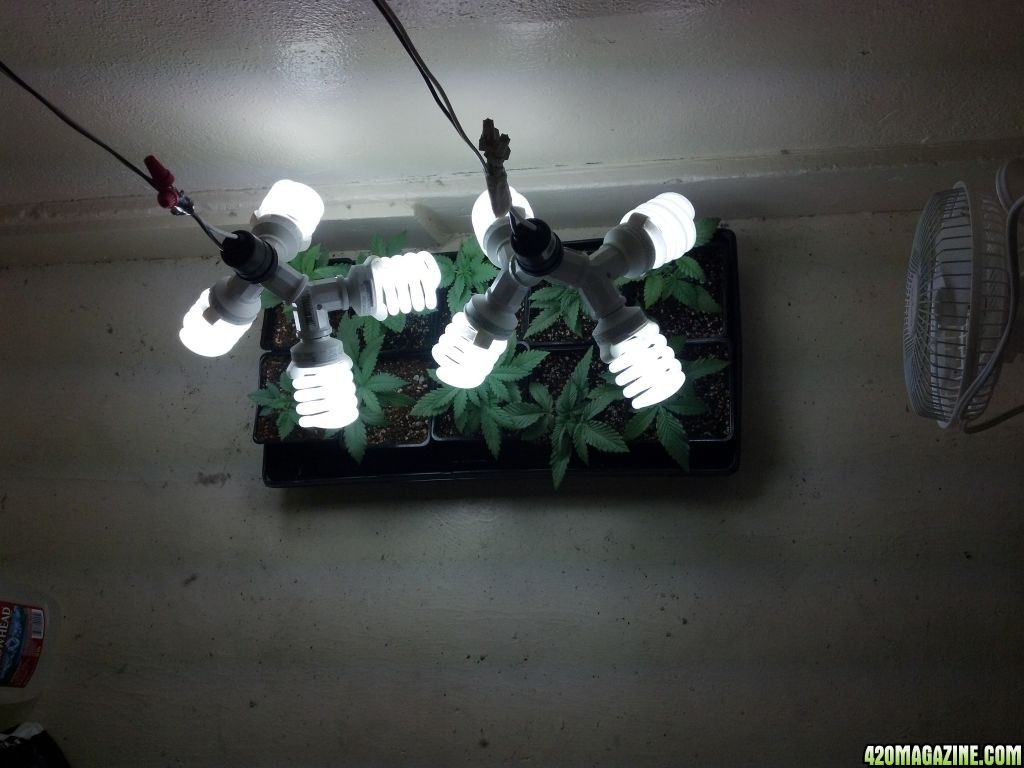
I had them under 8 - 23watt 6500k CFLs. I totaled it up to be about 12k lumens. More than enough for 10 babies for about 15 days or so.
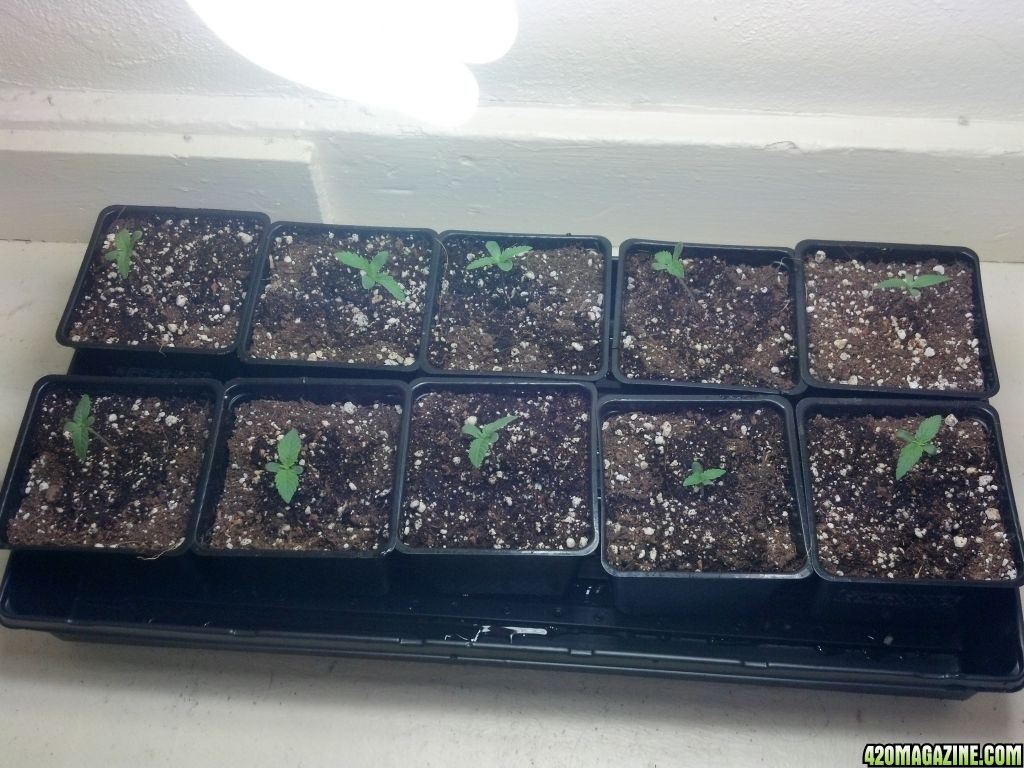
Here they are on DAY 6
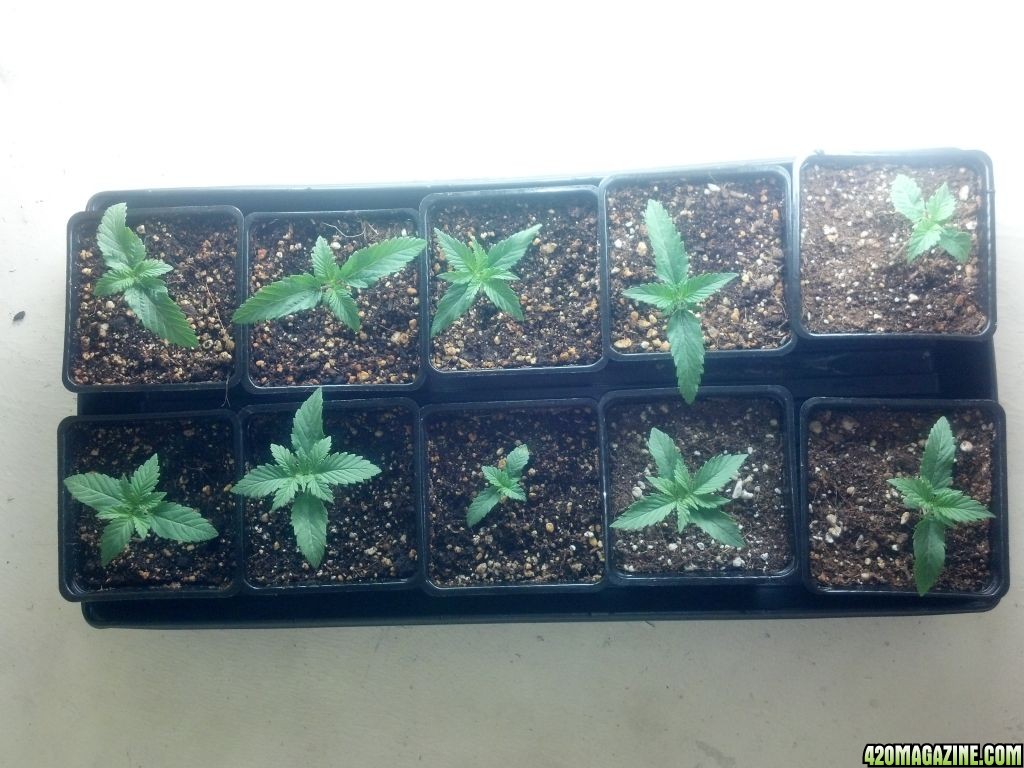
The bottom middle is 1 of the superskunks... she is a runt for sure.
They get watered to saturation when they are about bone dry with pH ~6.3 water and SUPERTHRIVE.
The medium I chose, as you can see above is Sunshine Advanced Ultra Coir.
Here they are on DAY 11
I added 5ml per gallon of Botanicare's Cal-Mag to the watering now, and will continue with it. I already began to see small Mag issues with 2 of them.
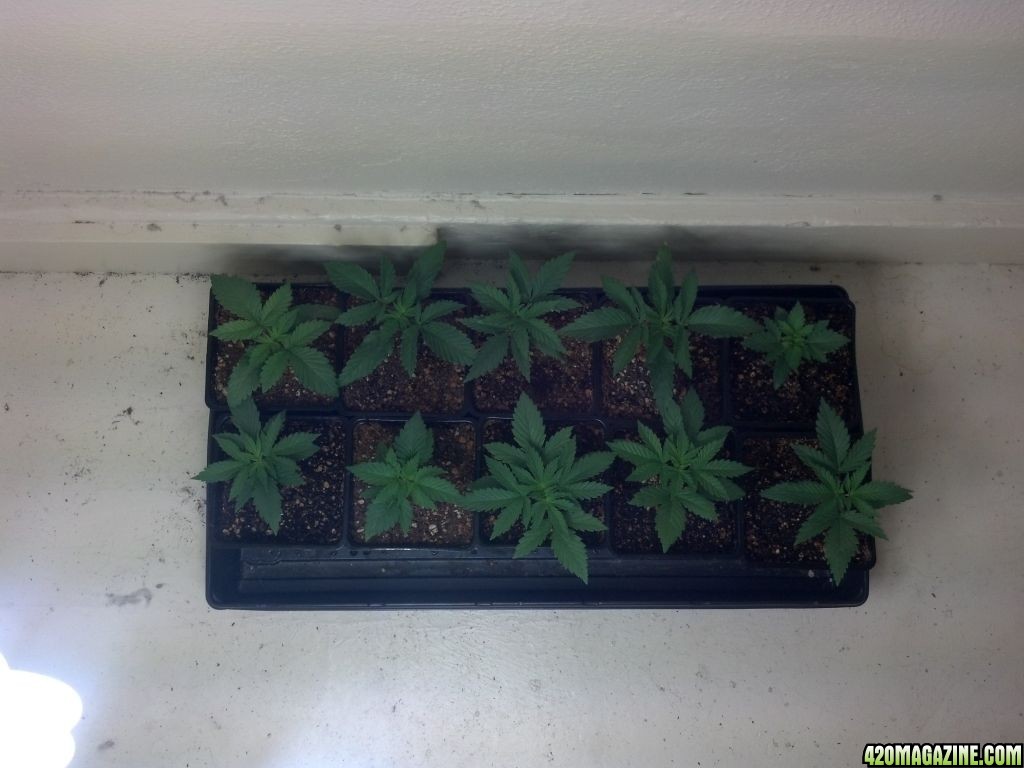
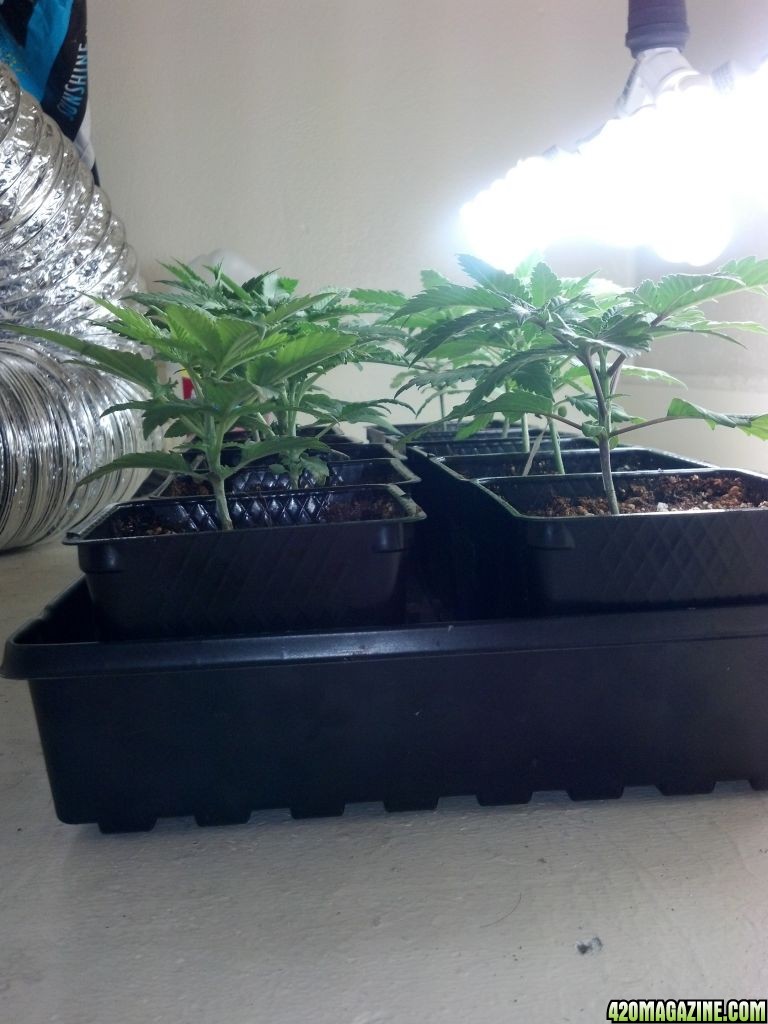
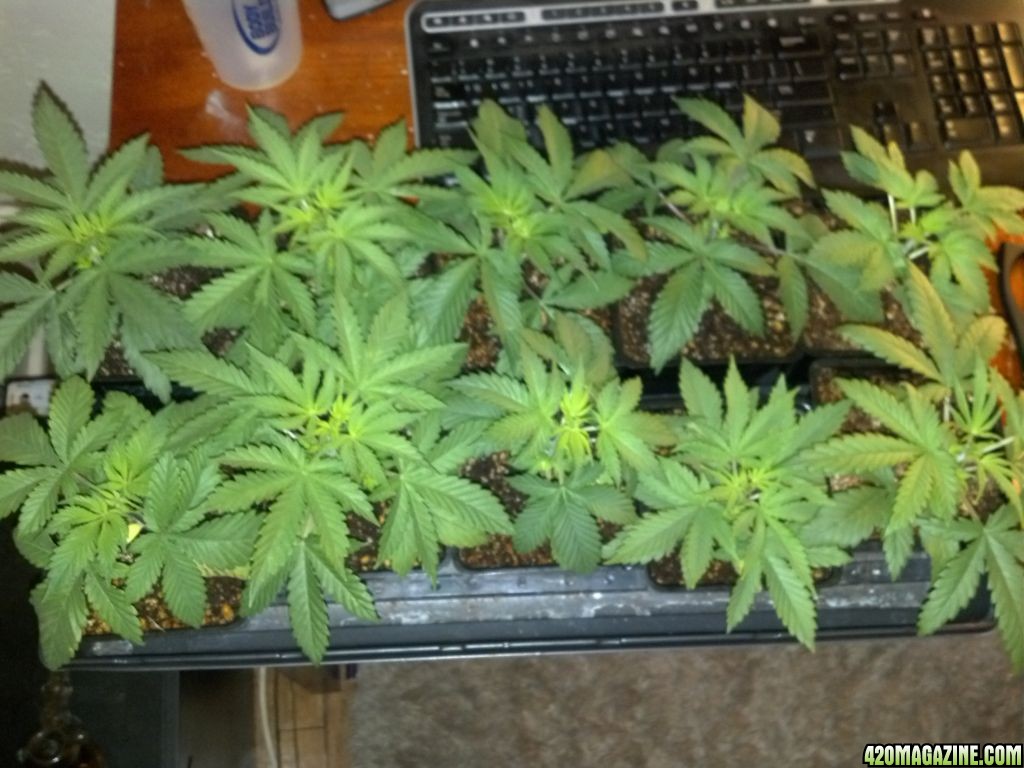
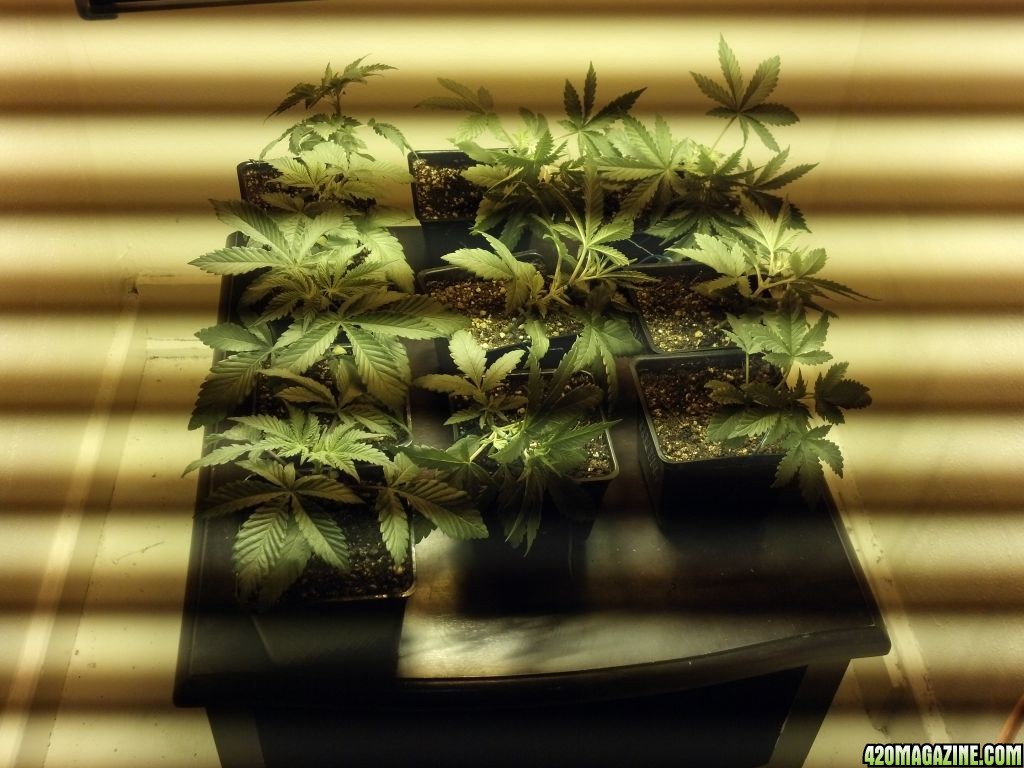
Here they are on DAY 13
Here they are on DAY 16
The key to early vegging from seed: KEEP THAT CFL/T-5 CLOSE!!!
In my situation, it is important I keep the nodes tight and the plants bushy. NO STRETCHING ALLOWED
I do not have a giant room, which is a good and a bad thing.
They also received their first dose of nutrients on DAY 16. A half strength serving of AN's Iguana Juice Grow. One of the more expensive blends of veg nutes, I have heard nothing but good things about it and I have wanted to use it for quite some time.
I will talk about what nutes I will use for flower as time goes on, but as of now, they will be fed Iguana Juice Grow, Cal-Mag and SUPERTHRIVE. I will probably pick up some great white mycorrhizae on monday and begin with that as well, but I don't see me adding much more than that in veg. AN has a number of products I'm very excited to try for flower though, so stay tuned to that!!
So Day 17 is here in a flash and it is time to get my exhaust hole cut out, and to get the real hardware going!!
First, the hole is drilled with a 6" flange attached.
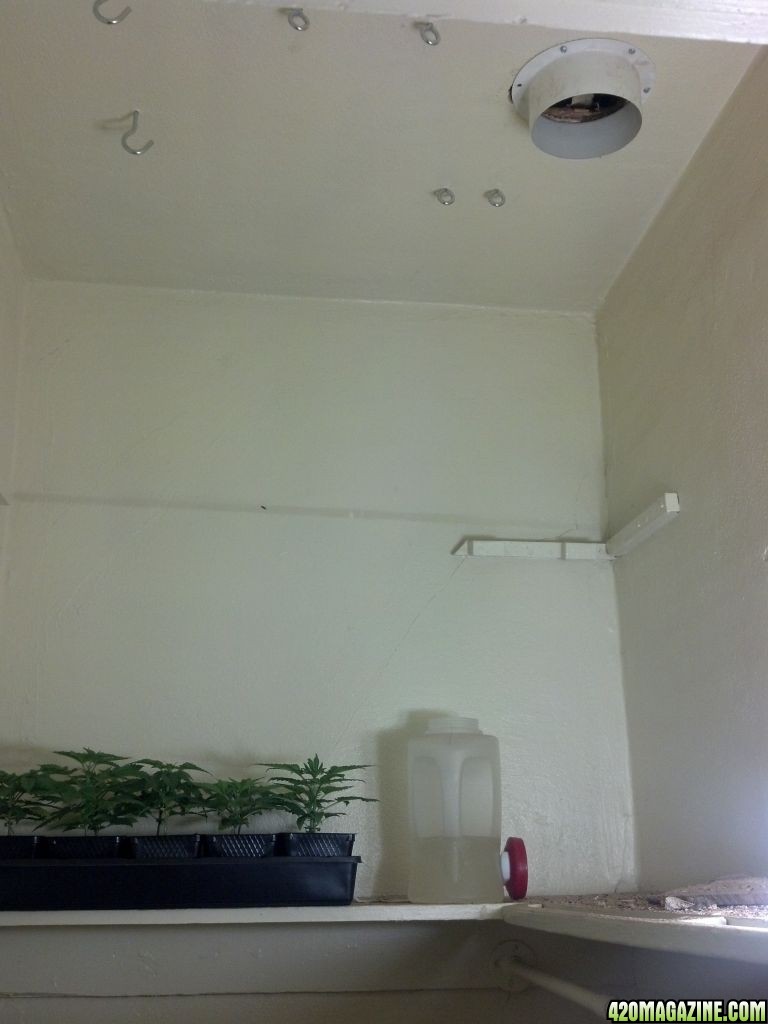
Notice the hole was not perfect, and there was a slight opening... no big deal, nothing a little GORILLA TAPE can't fix (you will see later). The hooks were also installed.
And the mess that was created from the hole
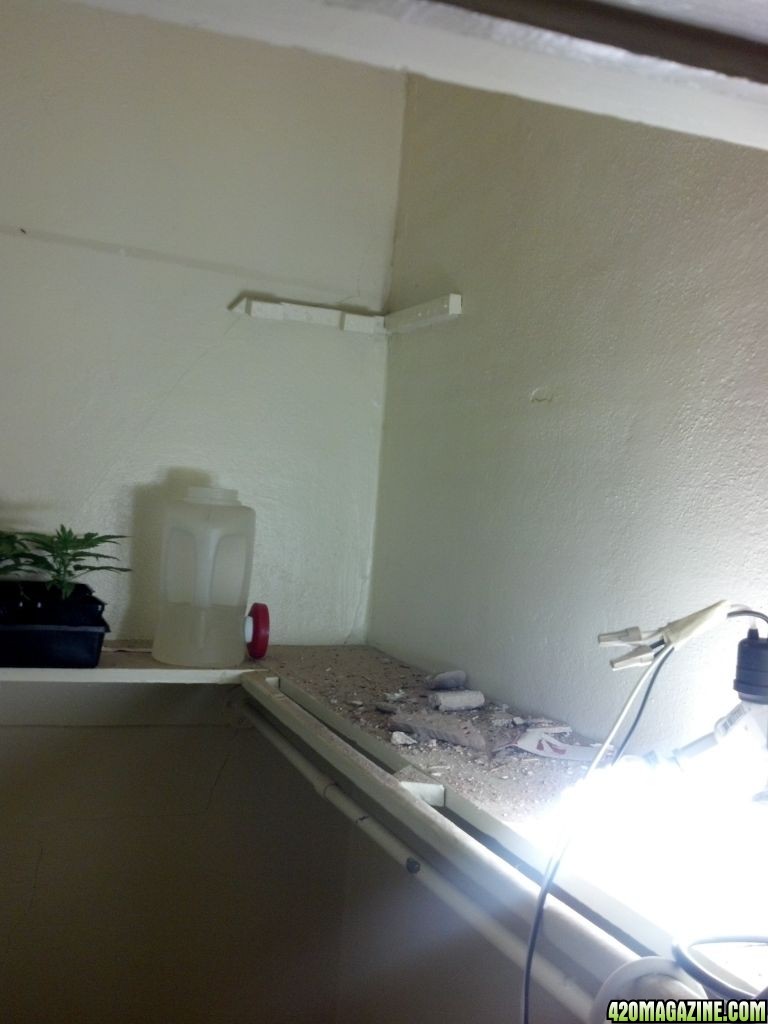
Don't worry, the girls were not in there when the hole was drilled.
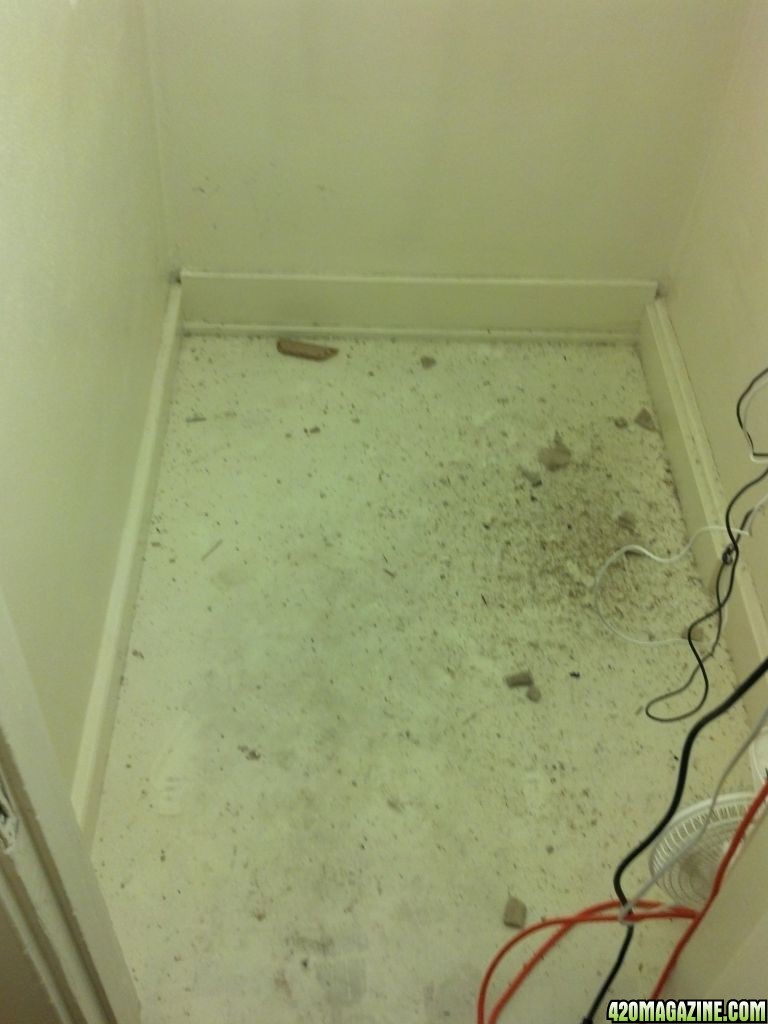
I did not mind the debris at all... I wanted to give the closet a quick scrub before I setup the hardware anyway.
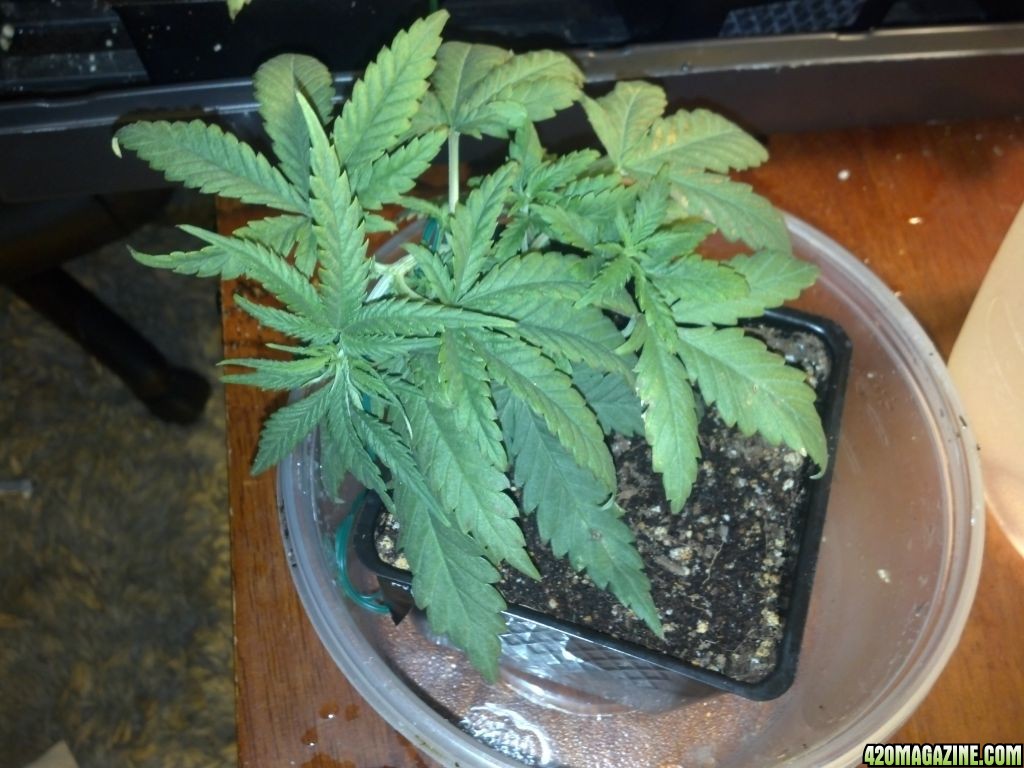
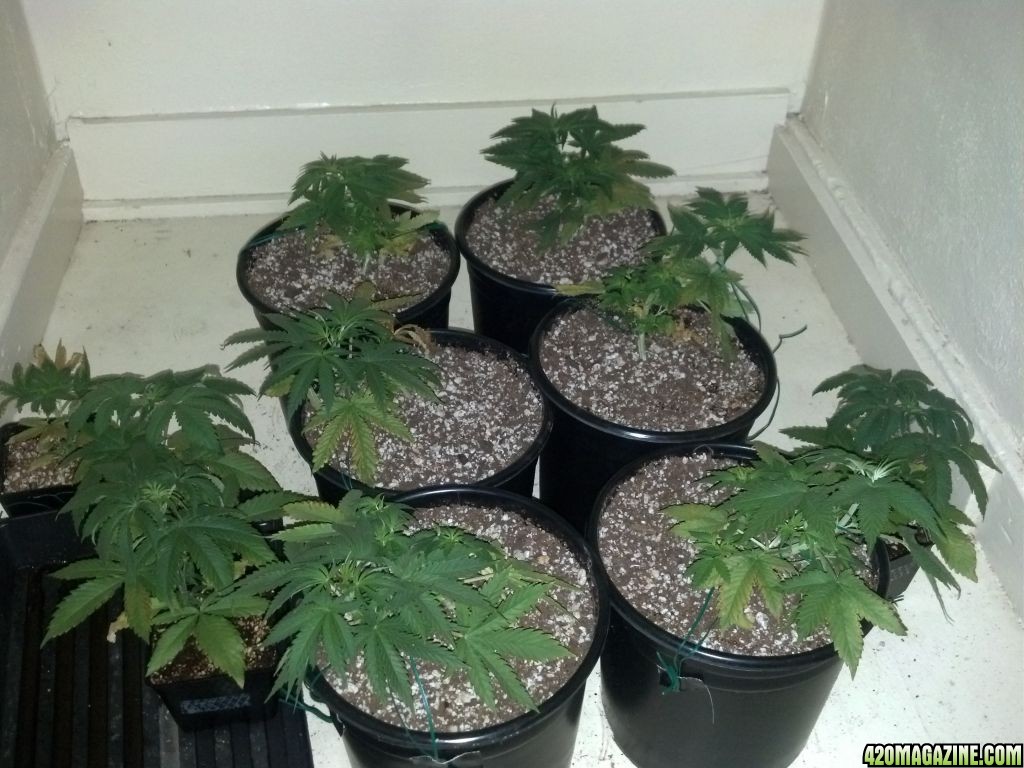
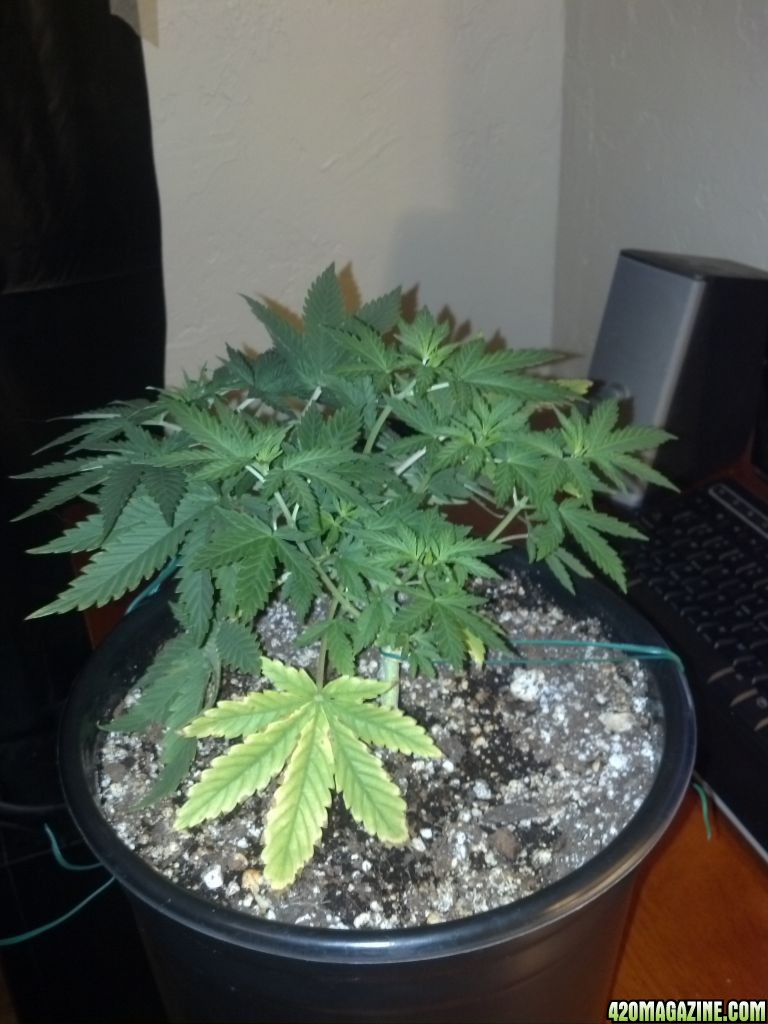
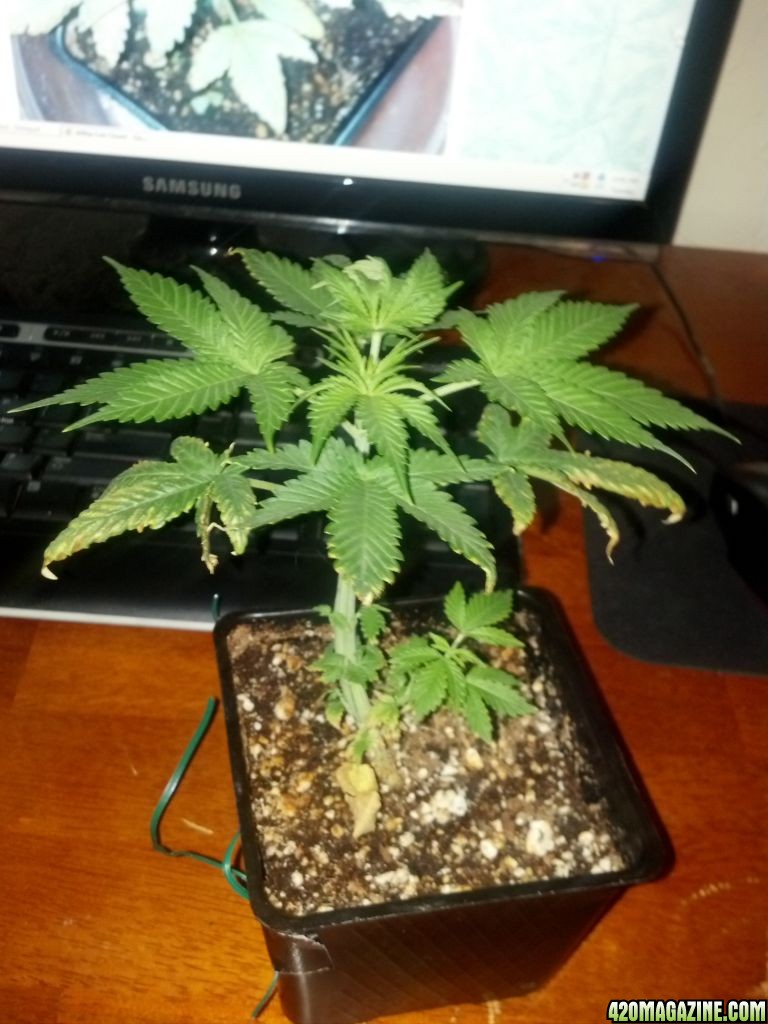
Here they are on DAY 17
This is right before I tied down all of the girls but the 3 bagseed.
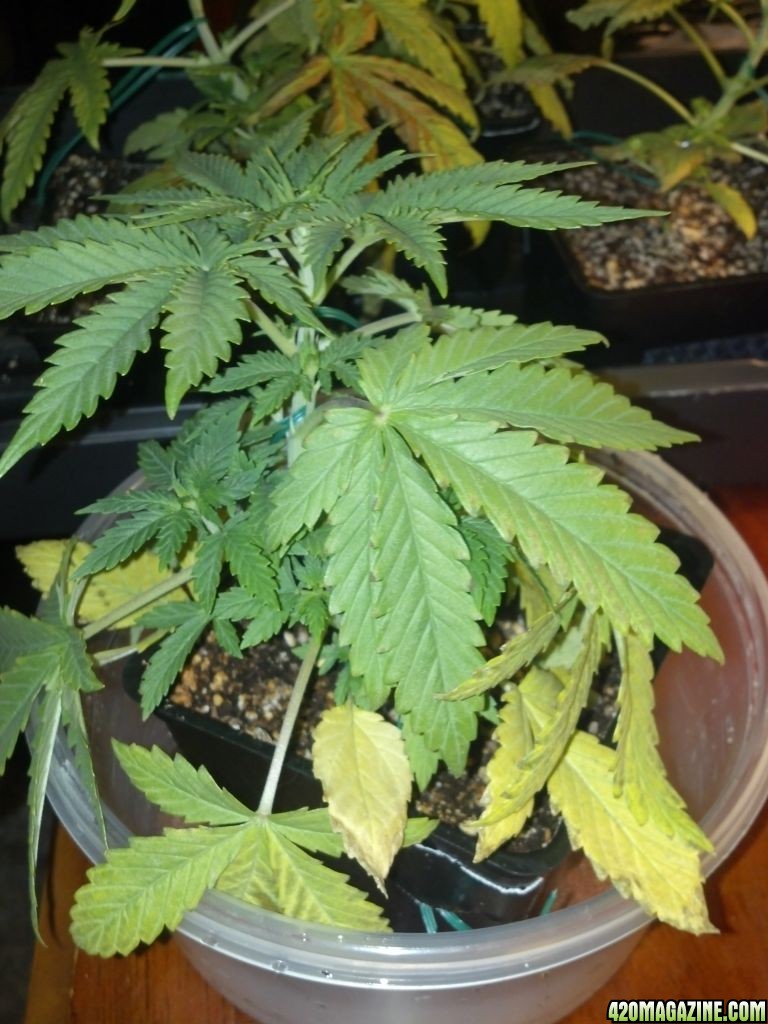
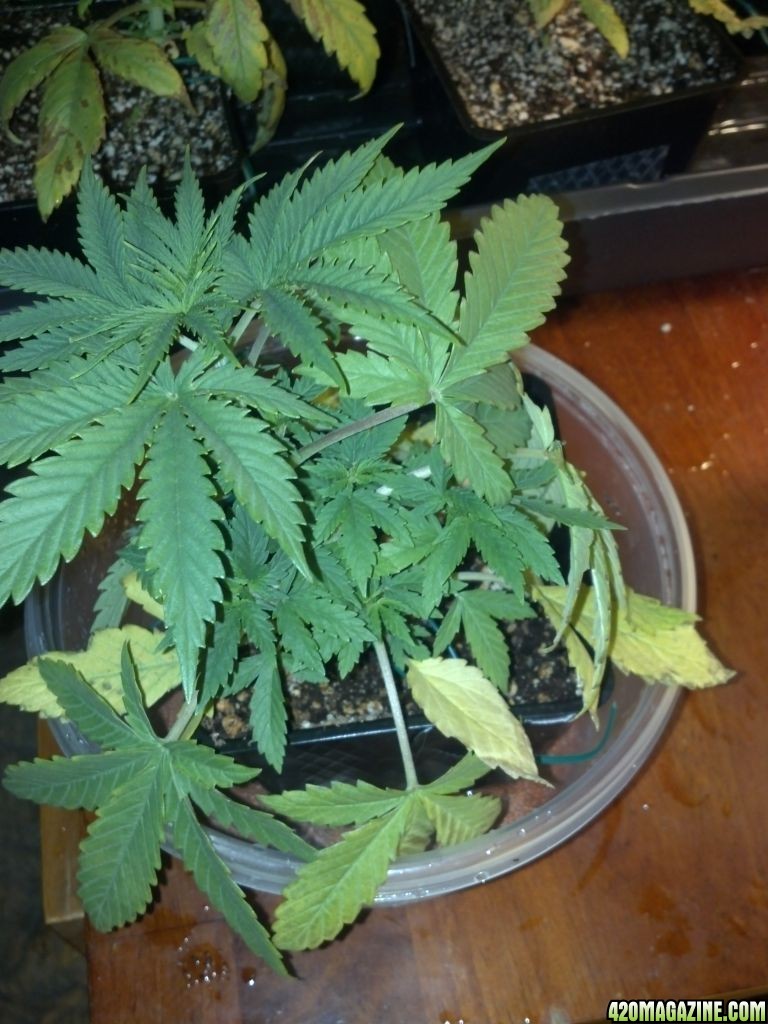
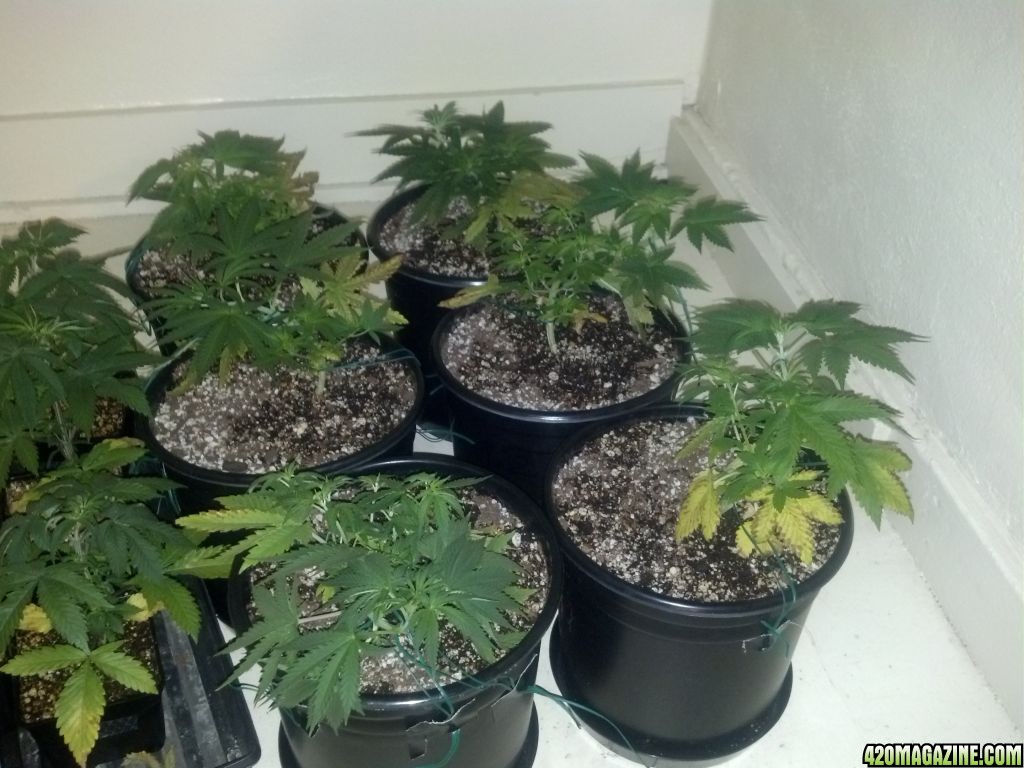
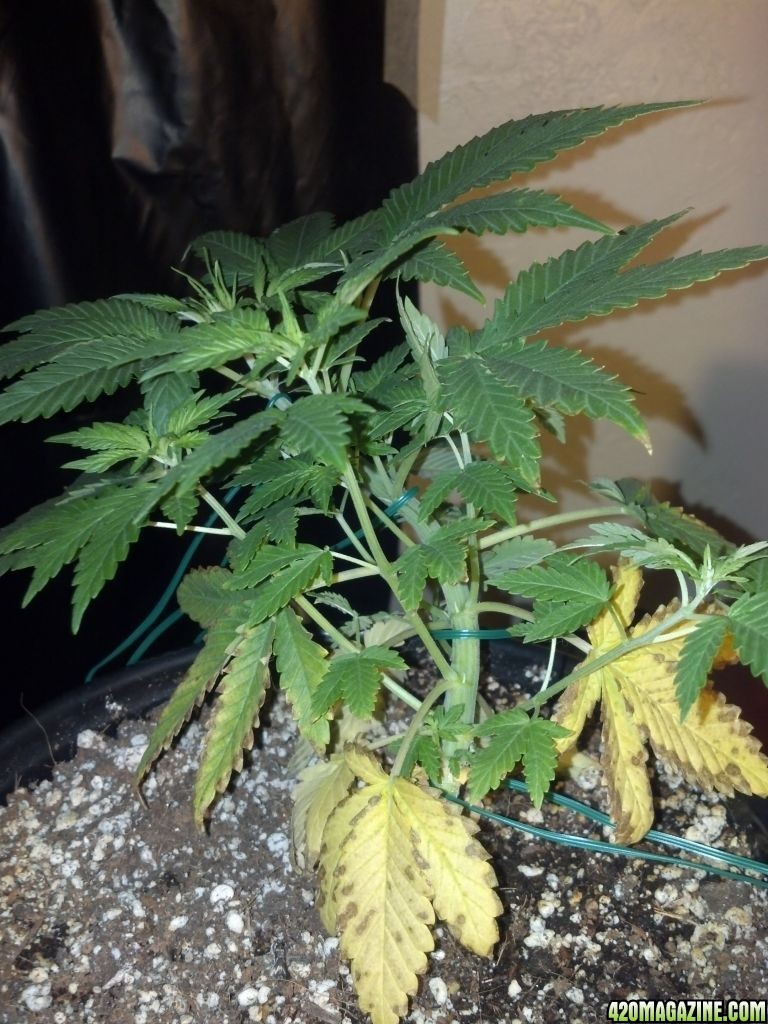
Here is after the LST (low stress training).
In case you are unaware, when you use LST and you tie down the main cola/shoot, it causes the plant to release auxins (hormones) that tell the other secondary shoots to grow large. You end up with a bushier plant compared to the usual christmas tree style.
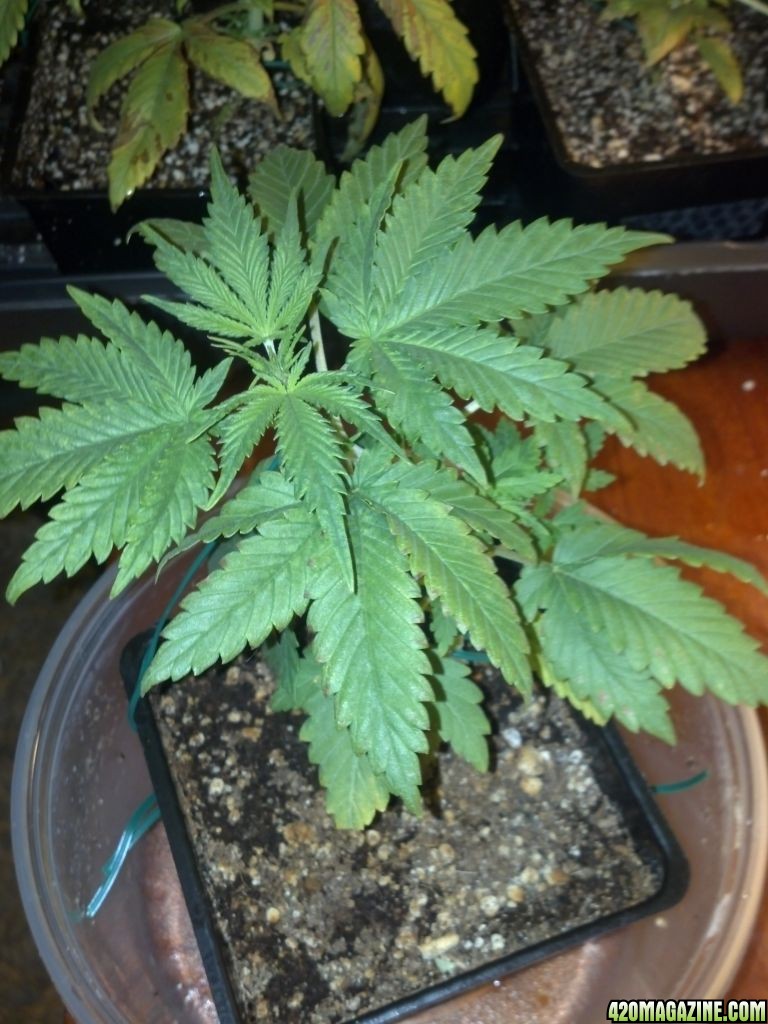
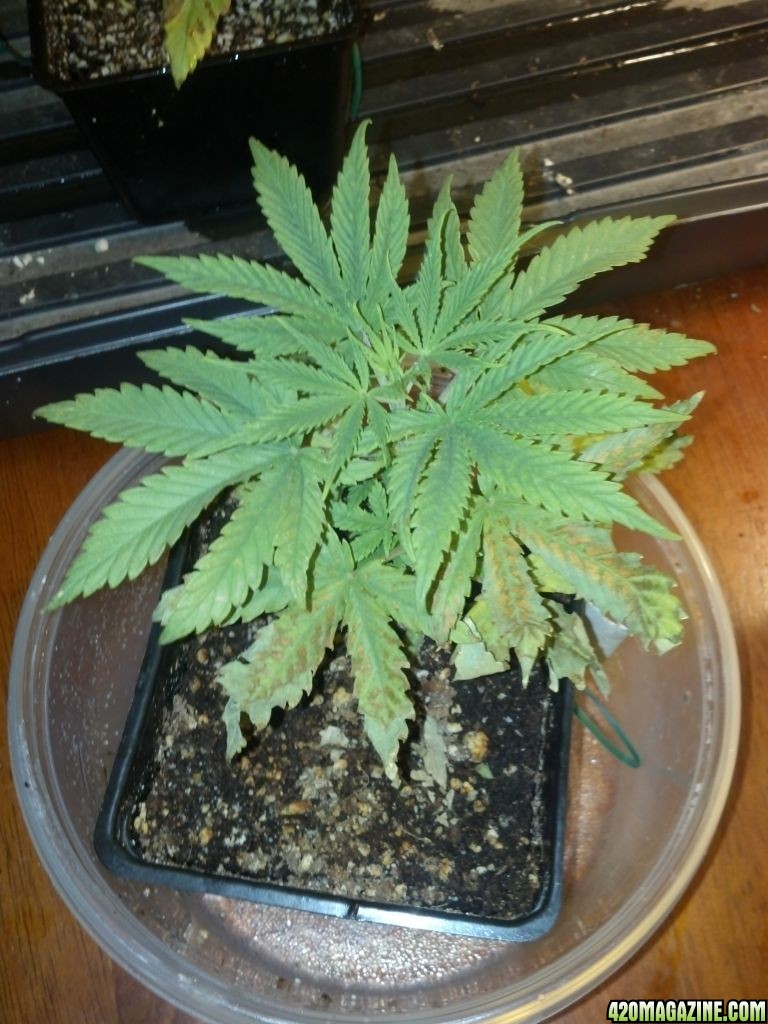
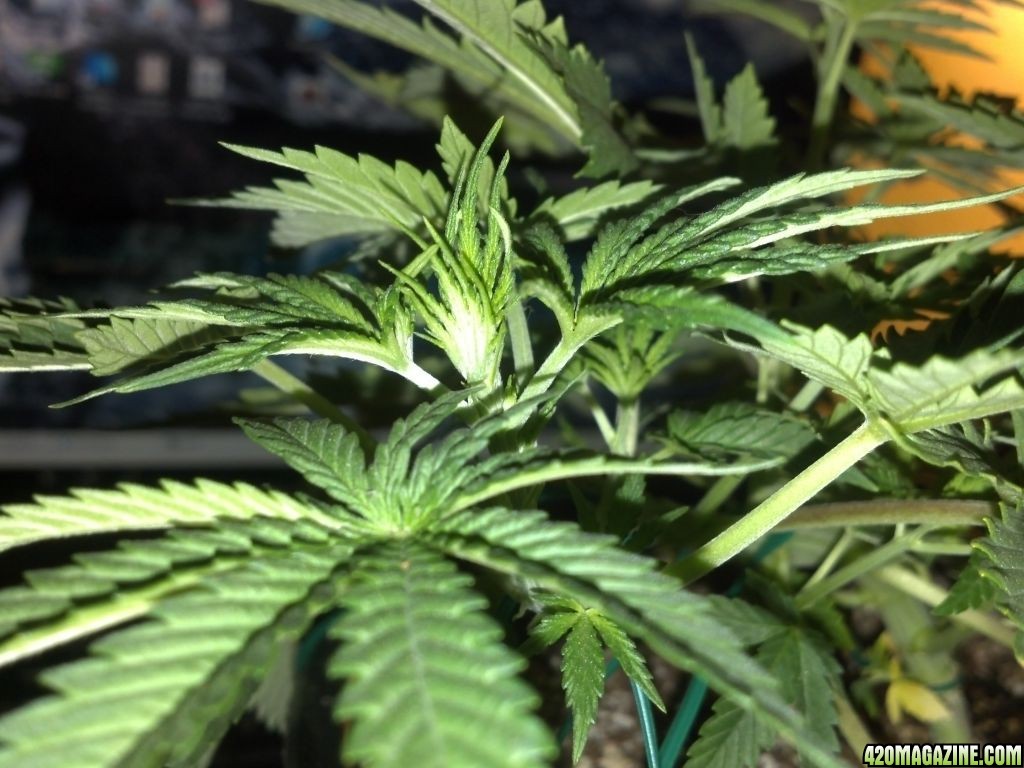
Here is the best looking Twilight on DAY 17

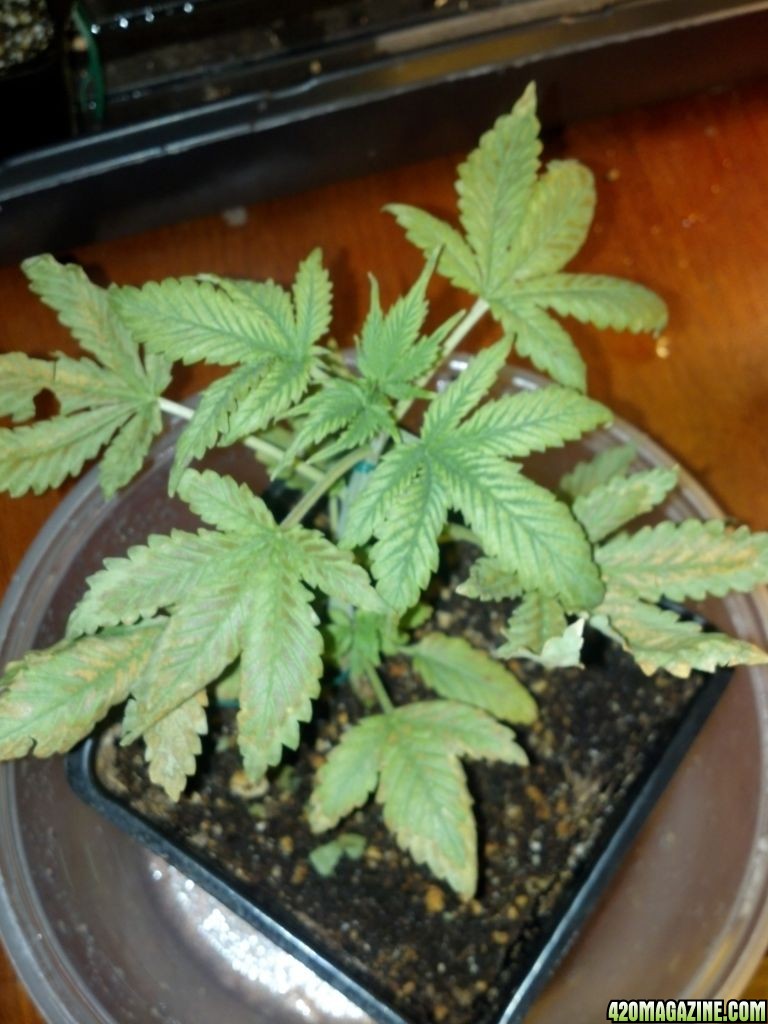
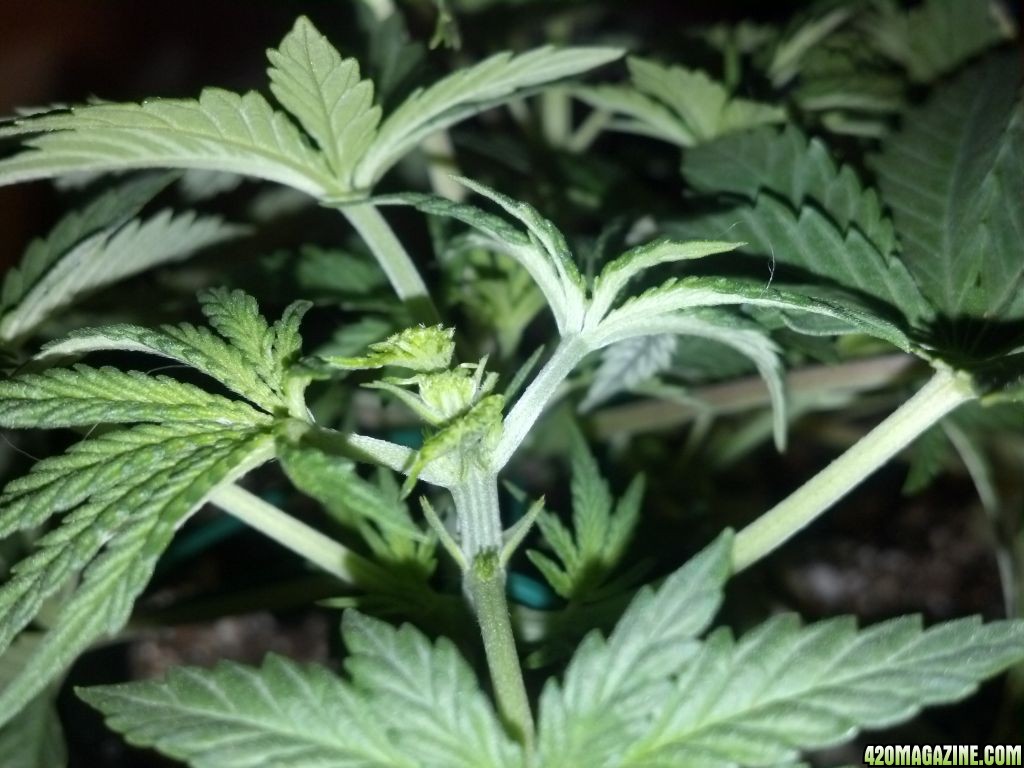
Take a look at this SLH, her first node was alternating, and a secondary hasn't and probably will not appear out of one of the nodes!! Never seen that before! You can see right in the middle of the pic, just above the cotyledons.
I will tie down and top the 3 bagseed on Monday, I will also top the other 7 feminized girls on Monday as well.
Here is a shot of the upper area of the closet with the new hardware installed:
You see the gorilla tape sealing the flange I mentioned earlier. I have a 6" Active Air Intake, it is rated 400cfm, with my room being about 135 cubic feet, the fan is more than enough. I have it hanging on rubber bungee cords to reduce any sort of vibration. I went ahead and purchased a Speedster Fan controller for the intake as I do not believe I will have to run the fan at full power during any part of the grow.
You can also see the carbon filter, it is a Phresh Filter 4x12 - 200CFM. I have little doubt it won't do the job, but if for some reason it does not, then I can simply get a 400CFM filter and that will take care of things. I am not 100% happy with how the filter is hung at the moment. I need to fix the filter and how it is hung, it isn't a hazard right now, but I want to clean it up a bit, and use some different chain.
Finally, here is a pic of the aircooled hood. Excuse the lines, I will have to get a real camera to get better pictures as my camera phone cannot handle the magnetic ballast.
In case someone is curious, the proper way for a 1 light setup is to have the the airflow go like this:
carbon filter > bulb > intake fan > exhaust hole.
You want your intake sucking air THROUGH the hood... if you have your lone intake pushing air through the hood, you are doing it wrong!!
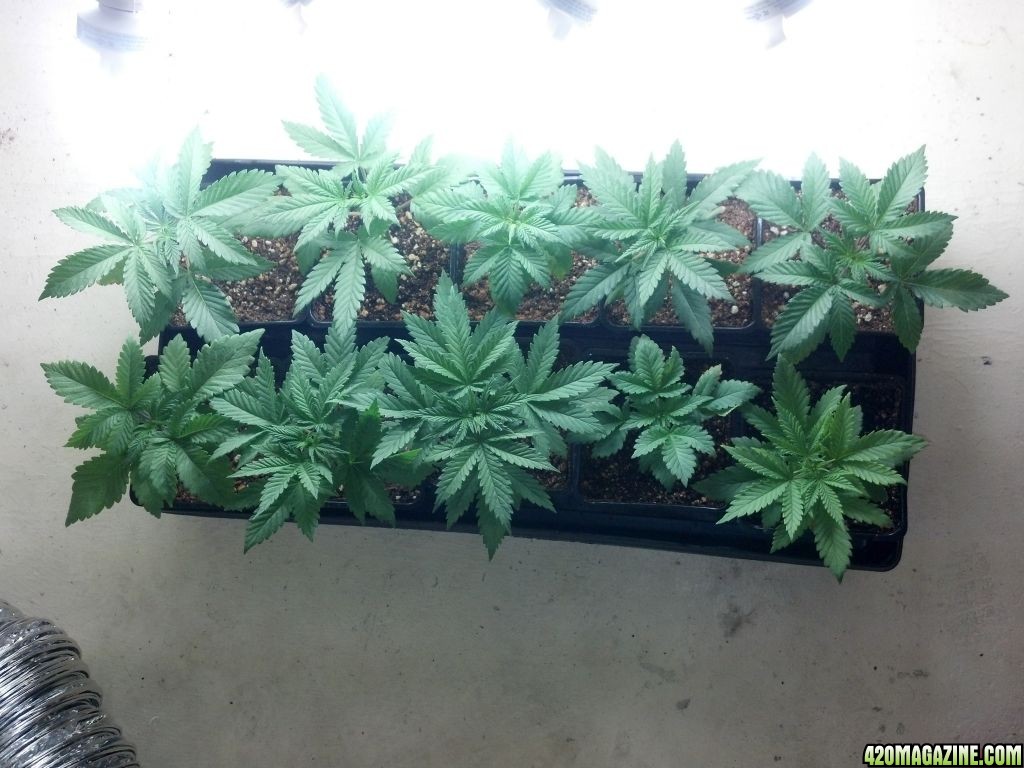
Here is a closer pic of the girls under their new 600w light. I forgot to mention, I am currently using a maxlume 600w HPS bulb. It is 90k lumens... a couple days before flower I will have a 600w Hortilux Super HPS running in there, you can count on that!!
They are sitting a little less than a foot under the bulb.
I do not have a temperature gauge yet, but right now, with my intake running at half speed I can put my hand on the glass and its only slightly warm. Air cooled hoods are awesome!!! I estimate the room to be about 77 degrees with the door closed, which is perfect. Right now, I have a passive intake going as the edges of the door are not flush/sealed with the door frame. Being that the door is not perfectly sealed (with a lightproof intake valve) at this point, I would not feel comfortable flowering as I am sure a tiny bit of light can leak through, so I will have to fix that before flowering. I already have a plan for that so I am not worried at all.
TO DO LIST:
-get bigger drip trays for my plants as I will have to keep them on this stand for a week or so and
-buy great white myco
-top all plants 7/9
-tie down bagseed 7/9
-fix phresh filter fixture
-fix door seal/light leaks.
I plan to update this almost every other day, to keep track of my feeding, and rate of growth among other things. Still a lot of work to be done, and there will always be work to do on this, but that is my favorite part!!
In my next update I'll talk about clones, nutes and other plans I have for this.
Also, if you have been living under a rock, venture on over to this journal:
Aberration Goes Ker Bloom! - Perpetual
Abberation has been running a grow for a little over 3 years now and I have been following it from the beginning, the journal is a freaking encyclopedia on how to grow top quality organics indoor. The guy is a genius and someone I look up to as a grower. If you are on this site, and you haven't seen his journal I am unable to describe what you are missing.
Feel free to ask any questions!! Enjoy!

On 6/19 I had 10 seeds at DAY 1
I was 10/10 on
3 - Twlight by Dutch Passion (feminized)
2 - Super Lemon Haze by GHSC (feminized)
2 - Super Skunk by White Label (feminized)
3 - Bagseed from an ok bag
Here is the closet!
The closet is 3.5' wide x 4.5' deep and about 8.5' tall... height will not be an issue.
I had them under 8 - 23watt 6500k CFLs. I totaled it up to be about 12k lumens. More than enough for 10 babies for about 15 days or so.
Here they are on DAY 6
The bottom middle is 1 of the superskunks... she is a runt for sure.
They get watered to saturation when they are about bone dry with pH ~6.3 water and SUPERTHRIVE.
The medium I chose, as you can see above is Sunshine Advanced Ultra Coir.
Here they are on DAY 11
I added 5ml per gallon of Botanicare's Cal-Mag to the watering now, and will continue with it. I already began to see small Mag issues with 2 of them.
Here they are on DAY 13
Here they are on DAY 16
The key to early vegging from seed: KEEP THAT CFL/T-5 CLOSE!!!
In my situation, it is important I keep the nodes tight and the plants bushy. NO STRETCHING ALLOWED
I do not have a giant room, which is a good and a bad thing.
They also received their first dose of nutrients on DAY 16. A half strength serving of AN's Iguana Juice Grow. One of the more expensive blends of veg nutes, I have heard nothing but good things about it and I have wanted to use it for quite some time.
I will talk about what nutes I will use for flower as time goes on, but as of now, they will be fed Iguana Juice Grow, Cal-Mag and SUPERTHRIVE. I will probably pick up some great white mycorrhizae on monday and begin with that as well, but I don't see me adding much more than that in veg. AN has a number of products I'm very excited to try for flower though, so stay tuned to that!!
So Day 17 is here in a flash and it is time to get my exhaust hole cut out, and to get the real hardware going!!
First, the hole is drilled with a 6" flange attached.
Notice the hole was not perfect, and there was a slight opening... no big deal, nothing a little GORILLA TAPE can't fix (you will see later). The hooks were also installed.
And the mess that was created from the hole
Don't worry, the girls were not in there when the hole was drilled.
I did not mind the debris at all... I wanted to give the closet a quick scrub before I setup the hardware anyway.
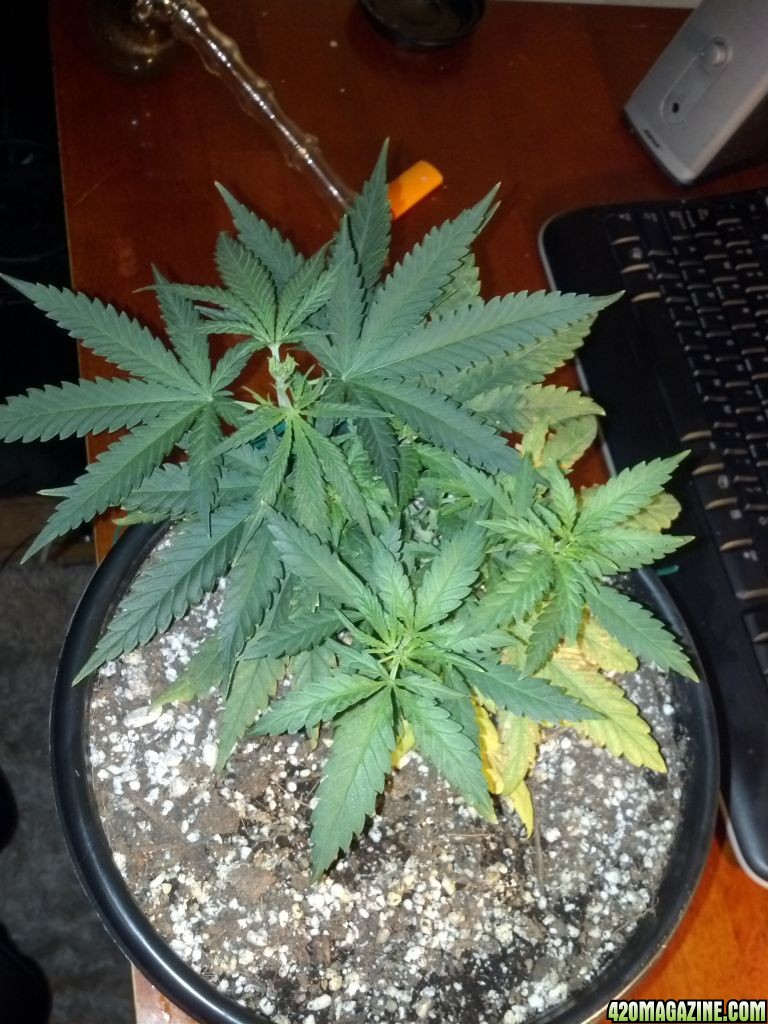
Here they are on DAY 17
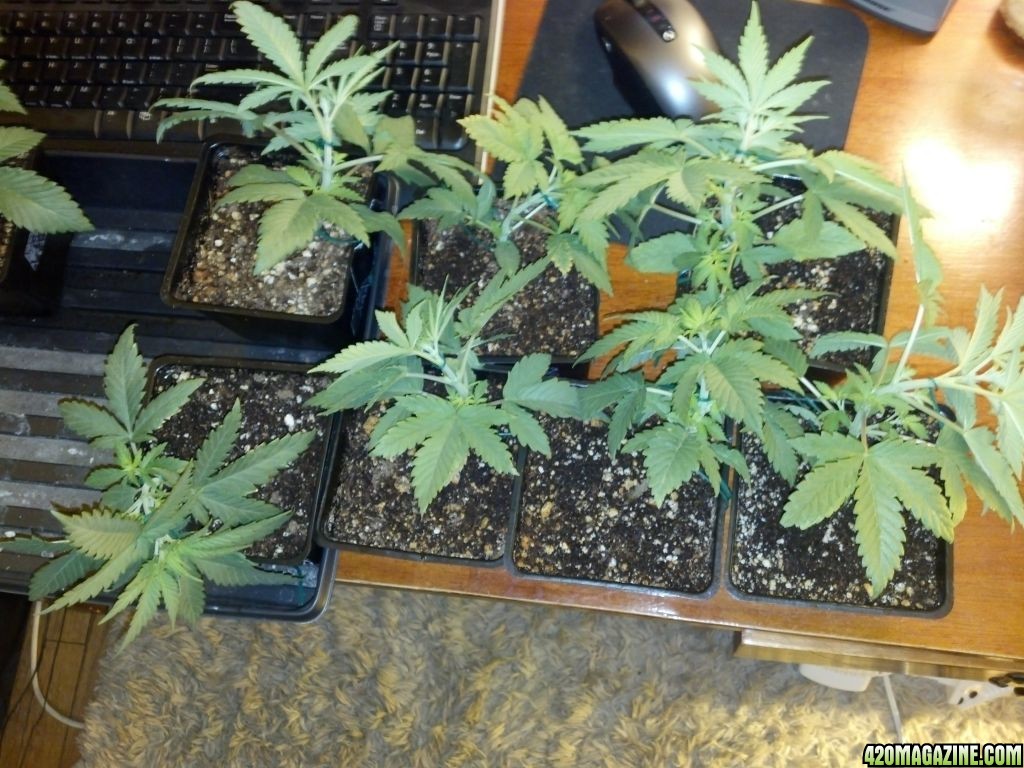
This is right before I tied down all of the girls but the 3 bagseed.
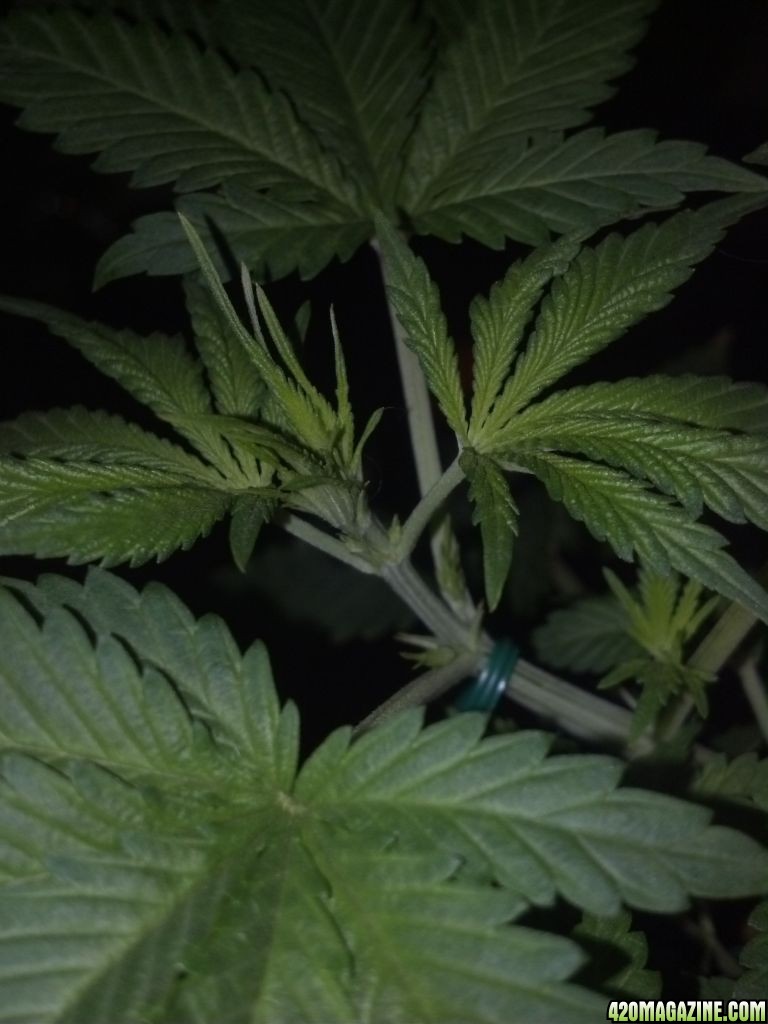
Here is after the LST (low stress training).
In case you are unaware, when you use LST and you tie down the main cola/shoot, it causes the plant to release auxins (hormones) that tell the other secondary shoots to grow large. You end up with a bushier plant compared to the usual christmas tree style.
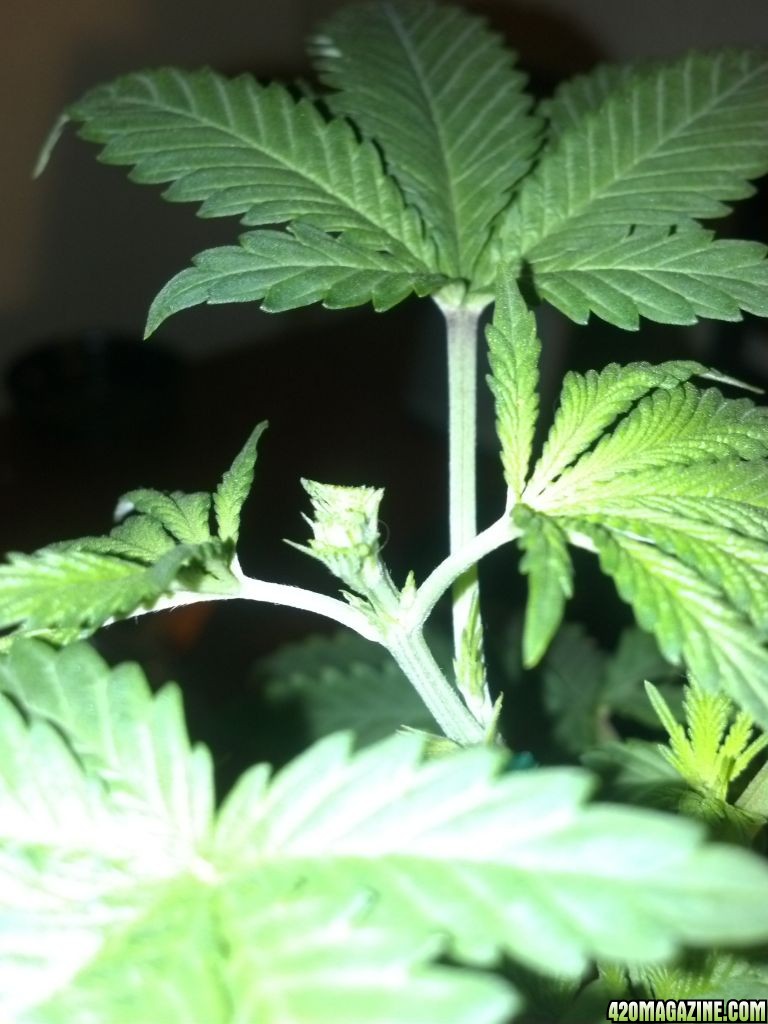
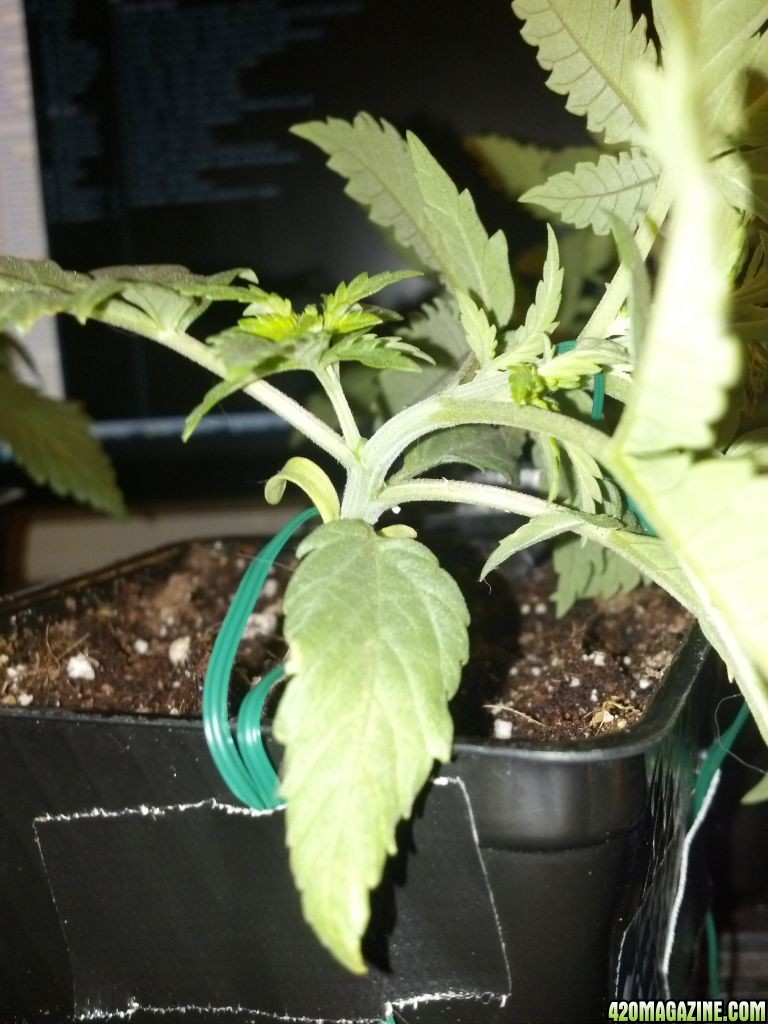
Here is the best looking Twilight on DAY 17
Take a look at this SLH, her first node was alternating, and a secondary hasn't and probably will not appear out of one of the nodes!! Never seen that before! You can see right in the middle of the pic, just above the cotyledons.
I will tie down and top the 3 bagseed on Monday, I will also top the other 7 feminized girls on Monday as well.
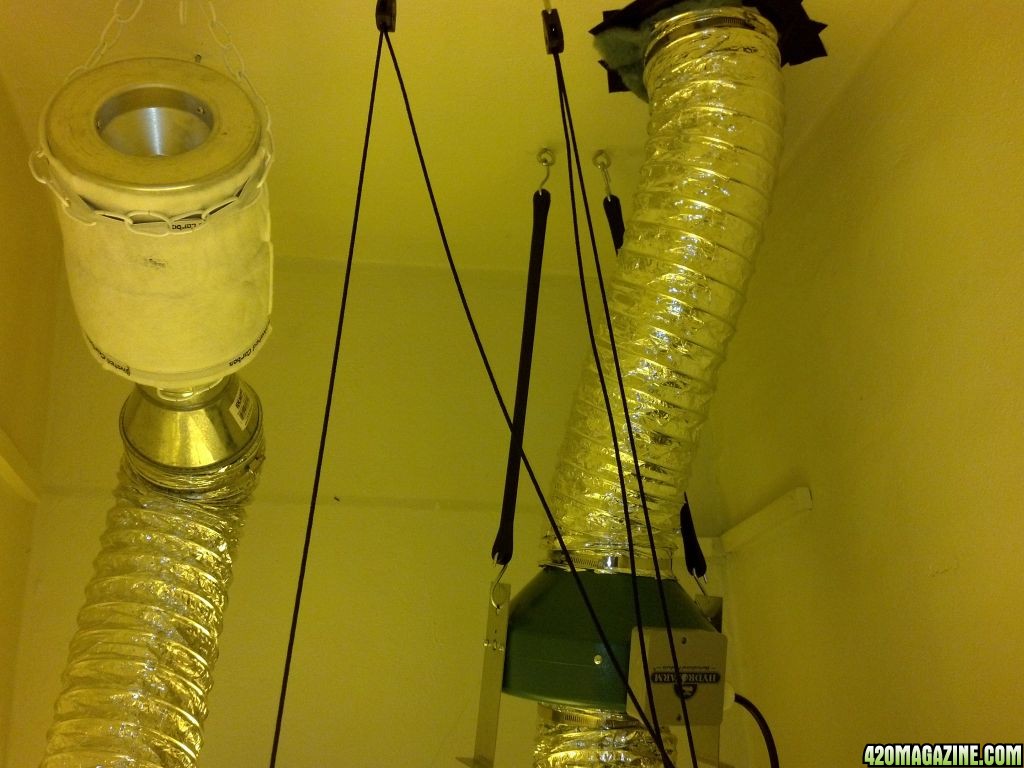
Here is a shot of the upper area of the closet with the new hardware installed:
You see the gorilla tape sealing the flange I mentioned earlier. I have a 6" Active Air Intake, it is rated 400cfm, with my room being about 135 cubic feet, the fan is more than enough. I have it hanging on rubber bungee cords to reduce any sort of vibration. I went ahead and purchased a Speedster Fan controller for the intake as I do not believe I will have to run the fan at full power during any part of the grow.
You can also see the carbon filter, it is a Phresh Filter 4x12 - 200CFM. I have little doubt it won't do the job, but if for some reason it does not, then I can simply get a 400CFM filter and that will take care of things. I am not 100% happy with how the filter is hung at the moment. I need to fix the filter and how it is hung, it isn't a hazard right now, but I want to clean it up a bit, and use some different chain.
Finally, here is a pic of the aircooled hood. Excuse the lines, I will have to get a real camera to get better pictures as my camera phone cannot handle the magnetic ballast.
In case someone is curious, the proper way for a 1 light setup is to have the the airflow go like this:
carbon filter > bulb > intake fan > exhaust hole.
You want your intake sucking air THROUGH the hood... if you have your lone intake pushing air through the hood, you are doing it wrong!!
Here is a closer pic of the girls under their new 600w light. I forgot to mention, I am currently using a maxlume 600w HPS bulb. It is 90k lumens... a couple days before flower I will have a 600w Hortilux Super HPS running in there, you can count on that!!
They are sitting a little less than a foot under the bulb.
I do not have a temperature gauge yet, but right now, with my intake running at half speed I can put my hand on the glass and its only slightly warm. Air cooled hoods are awesome!!! I estimate the room to be about 77 degrees with the door closed, which is perfect. Right now, I have a passive intake going as the edges of the door are not flush/sealed with the door frame. Being that the door is not perfectly sealed (with a lightproof intake valve) at this point, I would not feel comfortable flowering as I am sure a tiny bit of light can leak through, so I will have to fix that before flowering. I already have a plan for that so I am not worried at all.
TO DO LIST:
-get bigger drip trays for my plants as I will have to keep them on this stand for a week or so and
-buy great white myco
-top all plants 7/9
-tie down bagseed 7/9
-fix phresh filter fixture
-fix door seal/light leaks.
I plan to update this almost every other day, to keep track of my feeding, and rate of growth among other things. Still a lot of work to be done, and there will always be work to do on this, but that is my favorite part!!
In my next update I'll talk about clones, nutes and other plans I have for this.
Also, if you have been living under a rock, venture on over to this journal:
Aberration Goes Ker Bloom! - Perpetual
Abberation has been running a grow for a little over 3 years now and I have been following it from the beginning, the journal is a freaking encyclopedia on how to grow top quality organics indoor. The guy is a genius and someone I look up to as a grower. If you are on this site, and you haven't seen his journal I am unable to describe what you are missing.
Feel free to ask any questions!! Enjoy!


 Nice work!! Your growth from seedling is pretty impressive, i have 1 girl under a 400w MH and she been repotted once, but she has taken nearly 14 days to get to your growth at day 10 under your CFL's? But she is starting to settle now i think so hopefully she'll start to show bit better growth. What lighting where you giving your seedlings 24/0 or some dark? Anyways back to your girls.. They look really good and i m keen to see some of those babies bud up for ya! Goodluk and Happy Harvesting
")

 My plants don't bitch at me