Multi-Plant Recirculating DWC Test

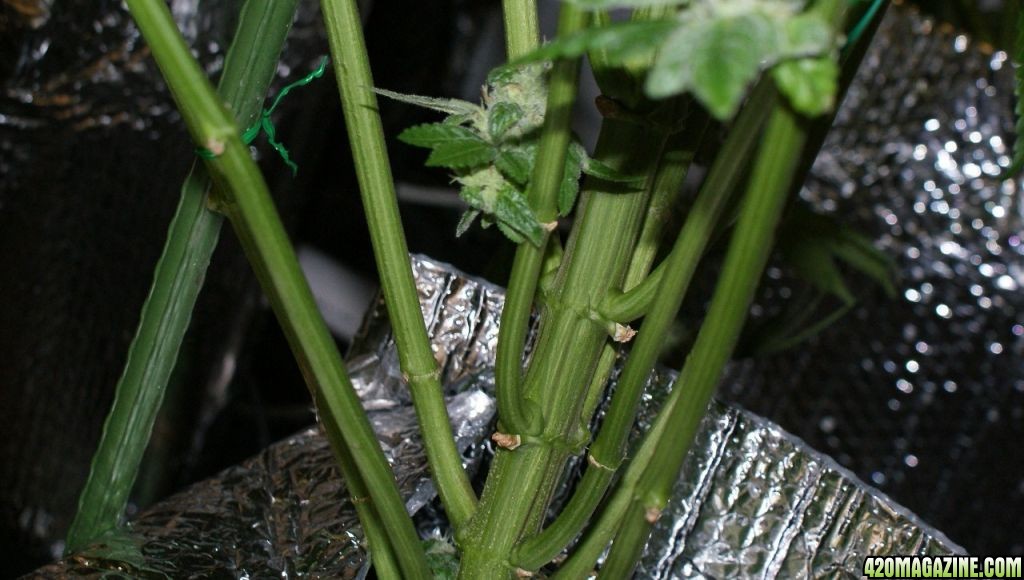
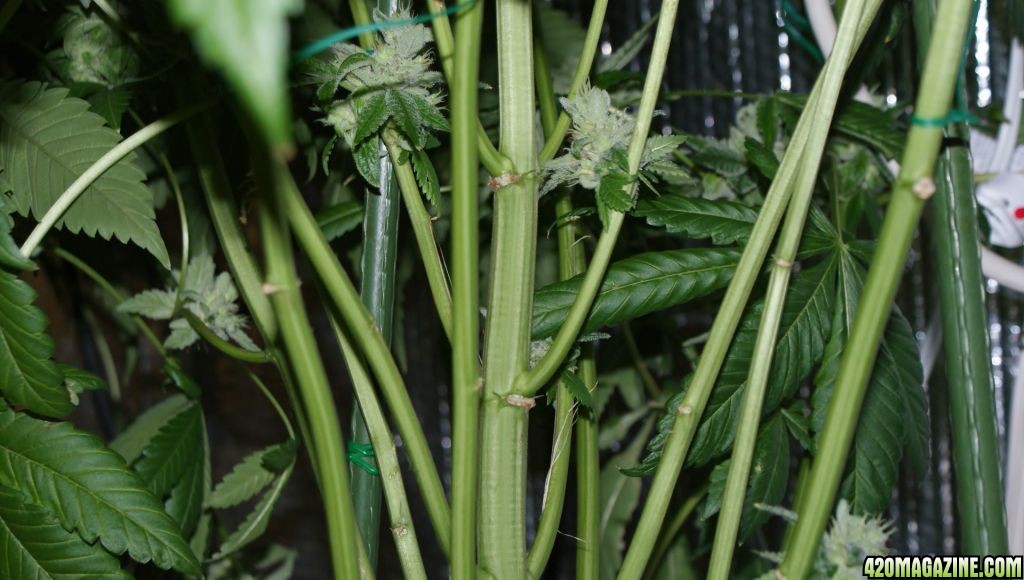
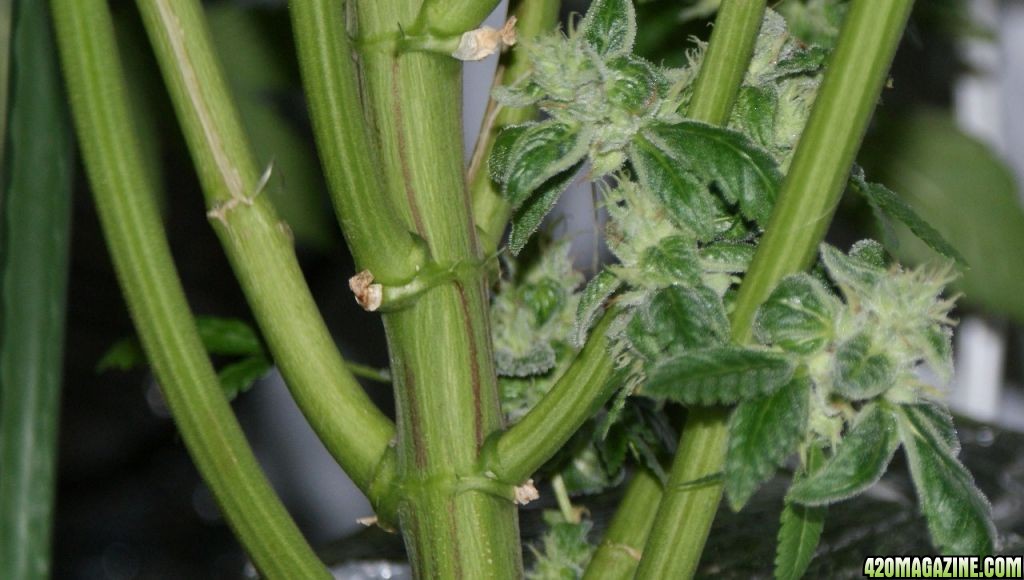
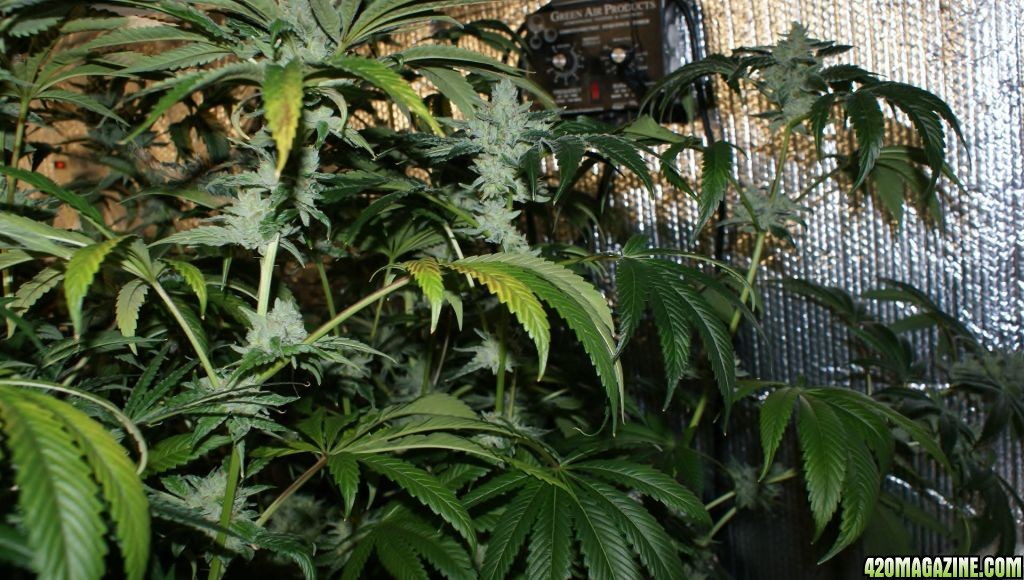
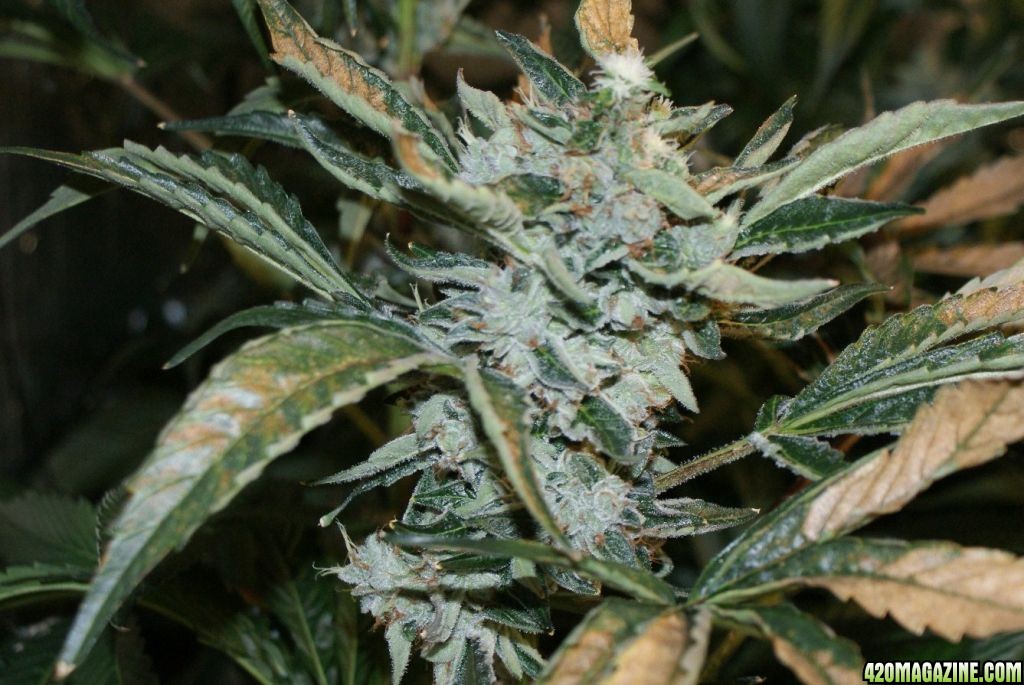
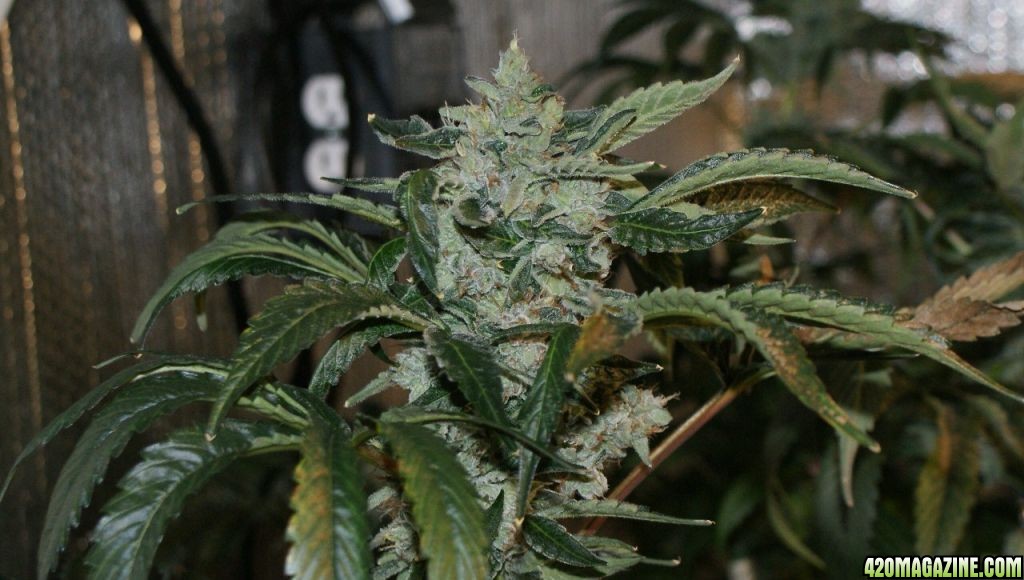
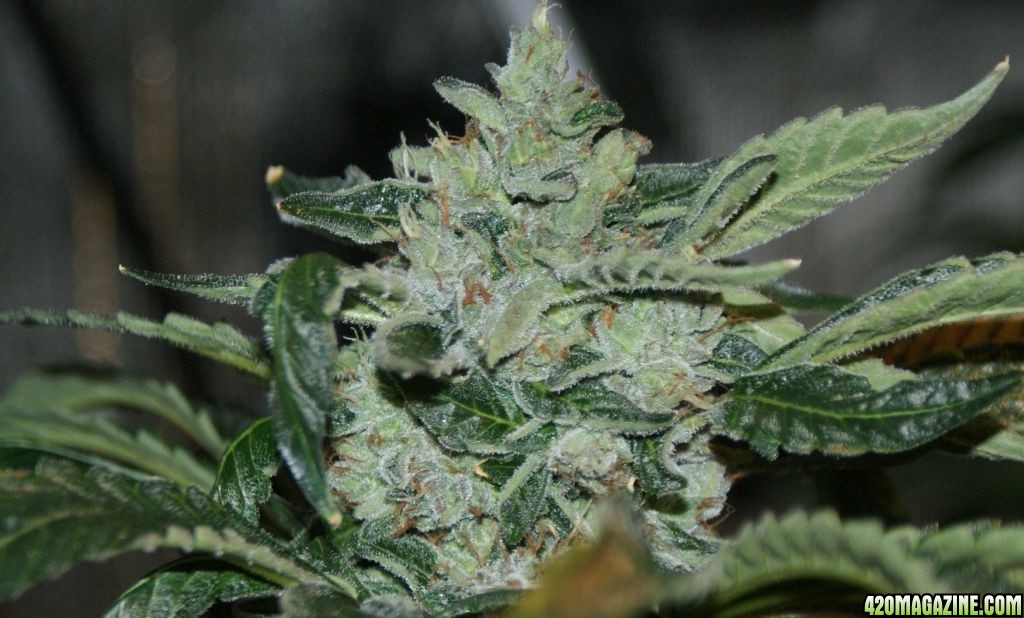
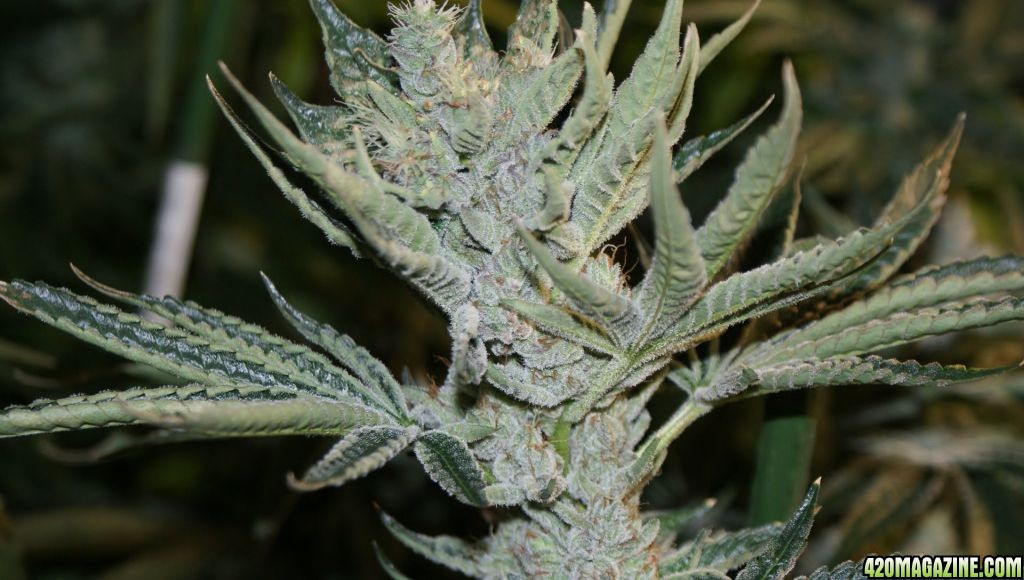
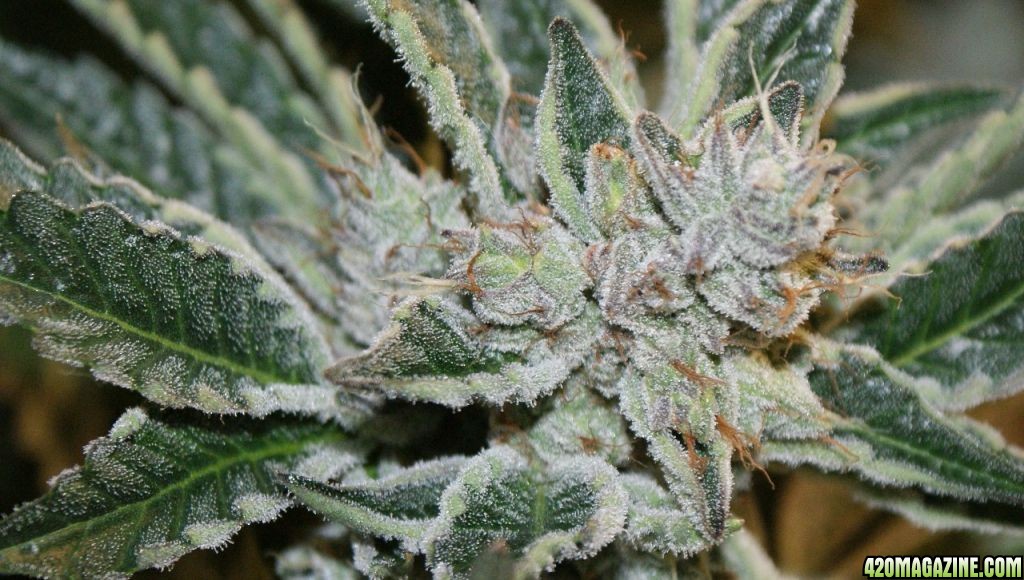
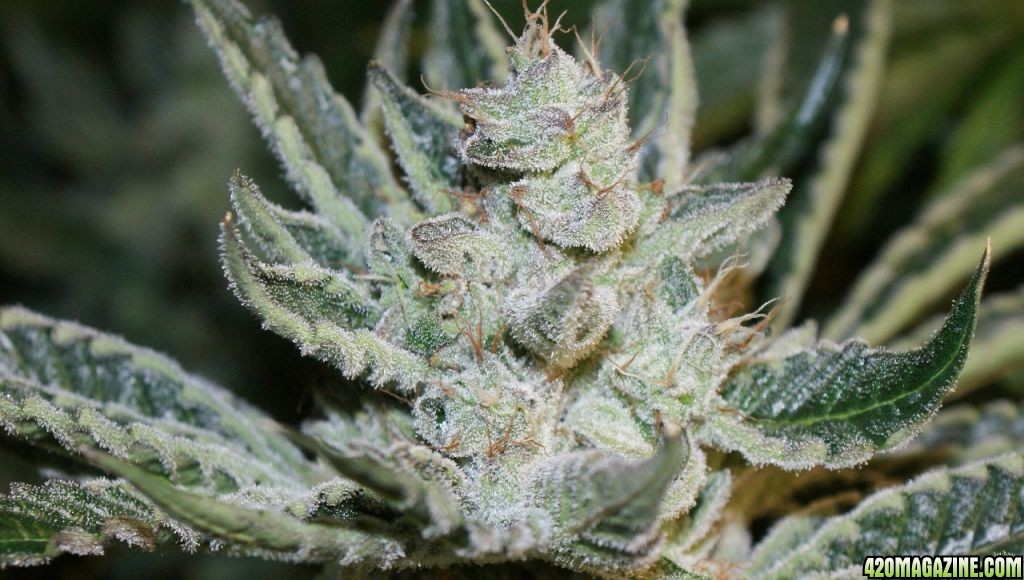
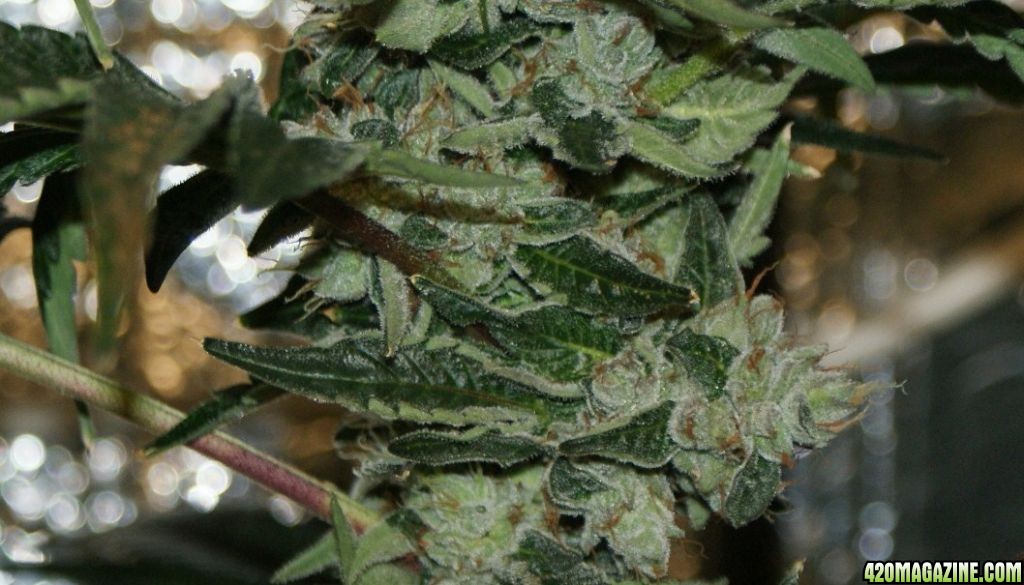
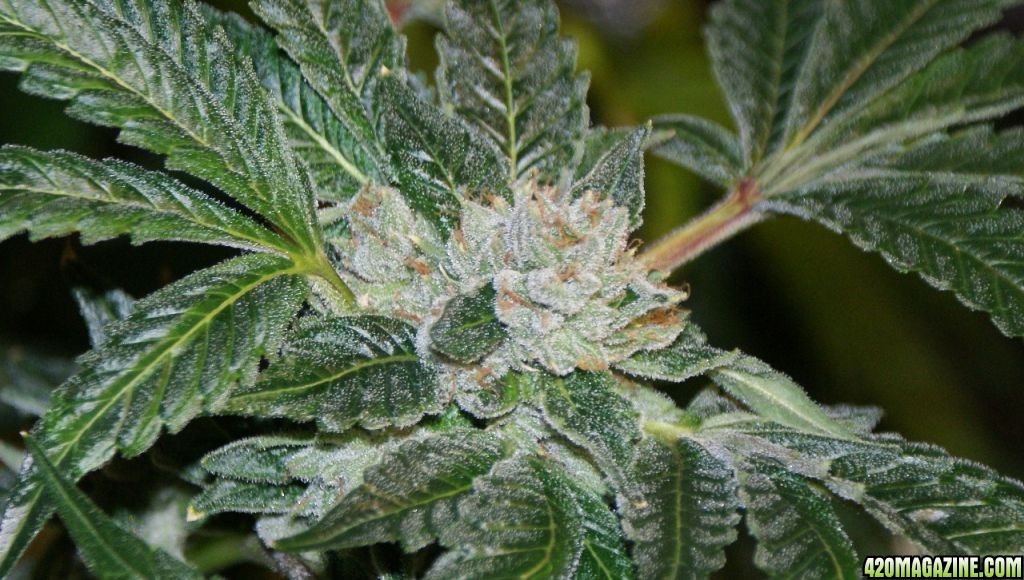
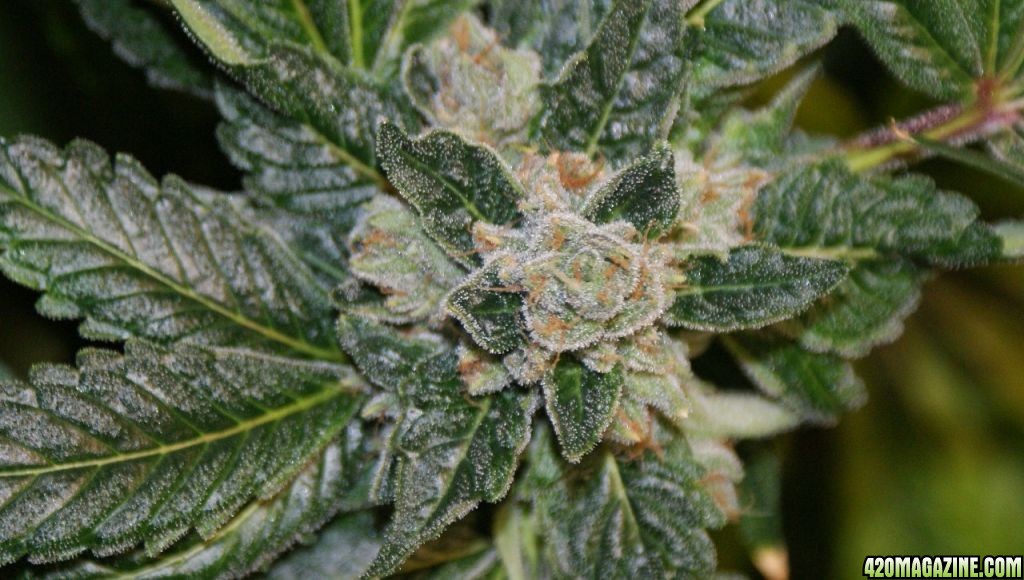
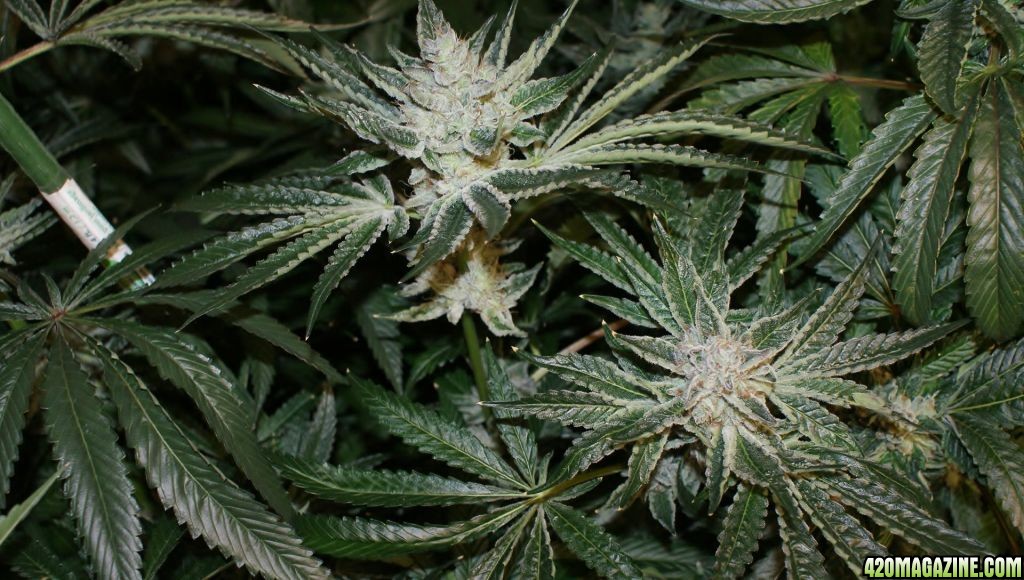
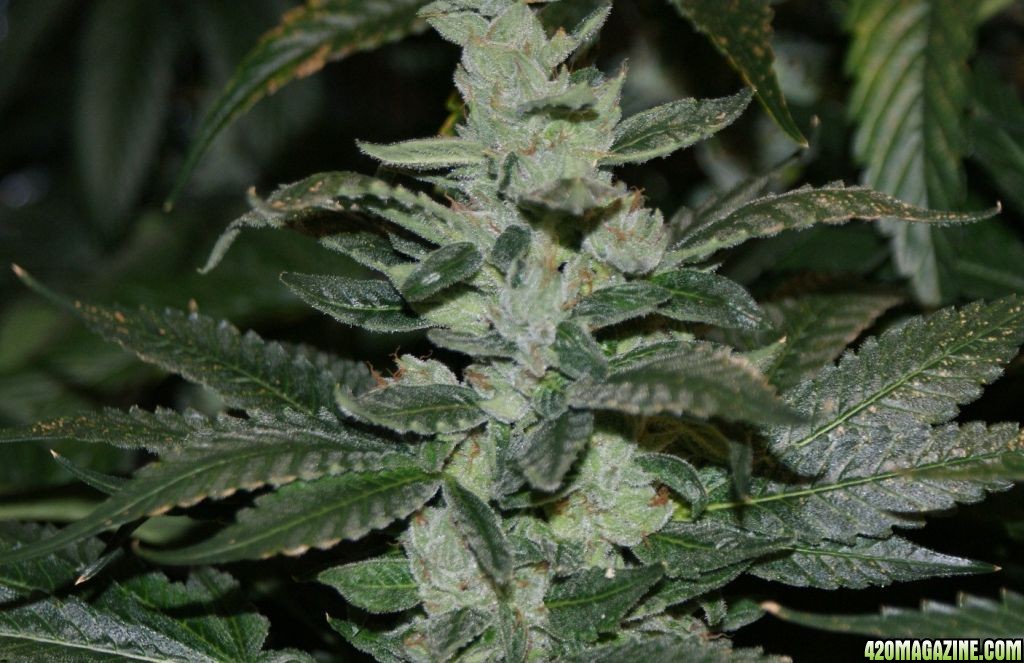
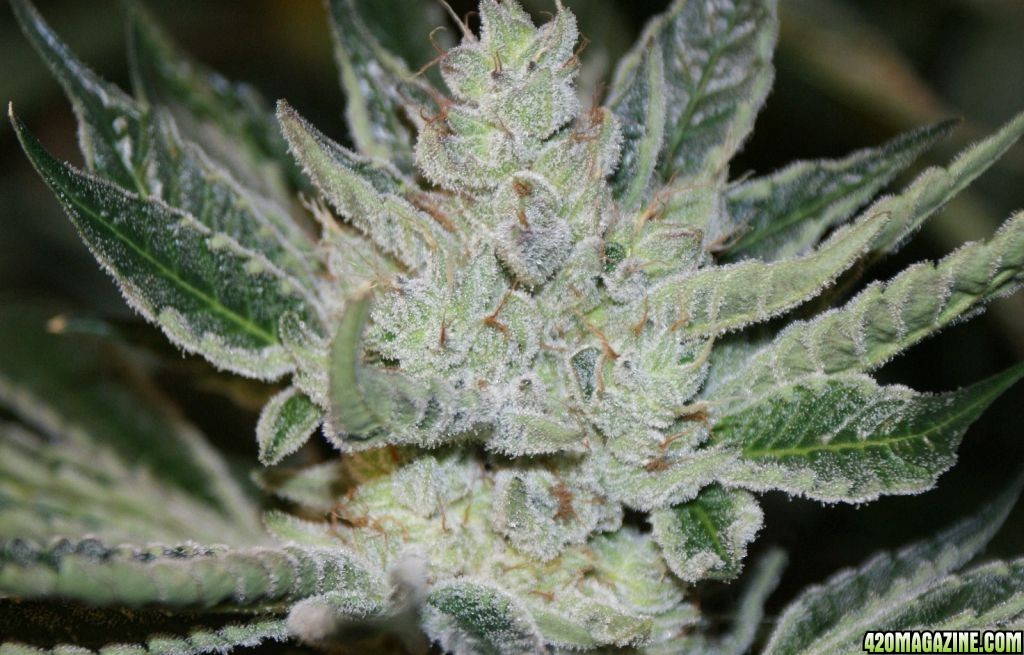
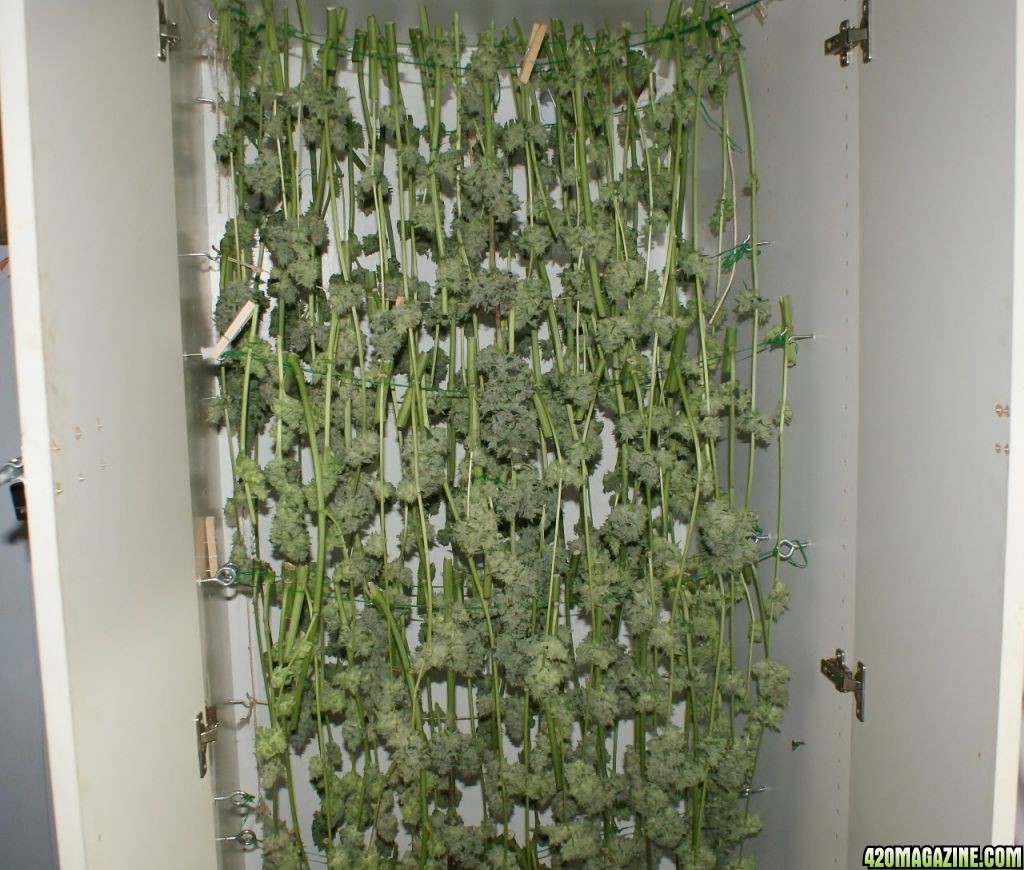
It's all about canopy penetration. More veg makes for longer, bare-stem legs.
The productive , lit layer would be similar. Shorter is quicker is better.

Not arguing with you in any way. You are the experienced one. But you have given me a goal. :bravo:
 
Stevehman,

I know you basically go straight into 12/12. But have you considered timing a veg to start at 4 weeks of flower and rotating into 12/12 upon harvest? I'm sure you would agree the 4 weeks veg would yield more. This isnt always possible for some people based on the type setup and area available to them. But it would be interesting to see the return on G/kwh, as well as G/$cost of grow between the two styles.

I'm obviously not set up for lots of plants to go immediate 12/12. To do so would be quite costly for me at this point.

That being said I am enjoying my clone-veg manipulation in grow #2. Hoping of course I yield a substantial amount more than grow #1.
My current tent grow, 6.5, is all about max yield, vegging for 4~5 weeks before the flip to 12/12. I am curious to see how much the cost-per-gram yield will be in terms of total KWH used, nutes, etc... I am with P.G. on this one though and think that shorter is better. Going straight 12/12 from clone with more smaller plants will produce a bigger yield in less time (even if it is less GPW). Vegging is adding an additional 50% to my timeline and that is at 18/6 so it is also adding significantly to my electrical consumption which in San Diego is pretty expensive--we have the highest rates in the country at about $0.24 a KWH.
 
. Vegging is adding an additional 50% to my timeline

yes but if you start veg (I dont know if your situation allows this) on new clones at 4 weeks into flower in main grow, then you dont even notice the 50% more time (except on your insane high cost elec bill).

Know what I mean?
 
In the space that you would be vegging, you could be blooming. There's no free lunch.
Absolutely! I can clone 60 cuttings in my ezconer in a 2x2 space and then put them directly into 12/12 once they are about 2~3 weeks old (from the day of taking the cut). I clone under a 2x2 four bulb T5 and I am able to get them to about 6 inches in the cloner. I don't count the cloner time as veg since they are still growing their roots. I move them directly into 12/12 and then only use the high-power/high-cost lights for productive growing.

I put together a spreadsheet modeling my grow and accounting for some basic numbers it shows that clone-to-bloom is a more efficient growing method when you break it down to Grams per KWH, Grams per Watt, Grams per Day and cost per Gram. You almost have to double your yield in a full veg cycle to come close to matching the grams per day and cost per gram.

I will put actual numbers into the model and post them on my journals with my Monday morning updates.

EDIT: I should say an increase of 50% on the full veg cycle, not double.
 
Mr. Smith! I've been away for a while and I must say that the heart grows fonder.... Your everything looks amazing and thank you..... I agree with your way to grow and if plant numbers were not an issue I would be 12/12 fight from cutting. I have proven great yields from an experiment I did but can not legally grow those plant numbers if you add them by even two lights. Keep it up, I love it!:adore:
 
Mr. Smith -

Sorry I've been away a few days, but you asked about Lucy... It's a Barney's Farm hybrid strain with a name of another drug - think Lucy in the Sky with Diamonds. (Can't mention the letters "Ell, Ess, Dee" on the site). Lucy for short, or Mazar/Skunk.

Seems to be a fave of a few people around here, and I'm definitely loving her already. Super resinous, high potency, and a nice daytime strain. It makes me want to jump into action and get stuff done - much different than the more couch-lock stuff I've been doing lately.

Great grow, and a great DIY under-current style system. Very attainable system for anyone to make I think. You are too hard on yourself - as Steve mentioned, you grow great plants by almost any standard. I really enjoy following them, and find your work inspiring. :bravo:
 
Hello Mr Smith and others. I am a new grower and this is the third journal of yours that I've finished. I am in the middle of building my own 9 plant rdwc/aeroponic hybrid with 5 gallon buckets that is somewhat similar to your system. I am planning a 700 gph inline pump outside the control bucket to run new nute solution to 2 aero sprayers inside the top of each bucket lid. gravity then will pull the solution from the bottom of the bucket through 1" pvc back to the control. it also has an 18 gallon top off res. connected to the control bucket with a float valve. from reading this journal i have thought of 3 questions you may be able to answer:
1. would a mesh strainer (the kind you put in a bath tub drain or sink) be sufficient to keep the roots from growing down the drain tubes? is there something else you would suggest?
2. i had planned on using 2" net pots for convenience because my veg system uses 2" and just staking them as needed. Is this a bad idea? (i know i won't be able to re-use them but they're only 15 cents each.)
3. i was planning on using a 70 liter/min air pump to run an air line to each bucket but after reading this thread think that may be overkill or even unnecessary. any thoughts?

thanks for taking the time to read this. i really admire your empiricle diy style of growing. you and others like your are so inspirational to us new guys.

sorry if this is an inappropriate place to post this. i thought about starting a thread but doubted i would get a response from someone as knowledgeable as you or others contributing on this post. thanks so much!!!
 
Hi Treez, I'll answer your questions as best as I can.
1.This has been a problem for me. I am running a 500gph pump and had the system clogged once. It only happened after a waterchange. I think a screen would cause it to clog faster, I haven't tested that option.
2.I am using 3 inch pot nets and the plants fell down once in early flower. I had add 2 stakes to each bucket to be stationary and to hold the laterals up. I think a larger pot net would have worked better. My roots have broke the nets up and they won't be reusable.
3.I really don't know anything about airpumps, I bought a big pump that has 4 air outlets and use them for 4 of the buckets and the 5th bucket has its own airpump that is rated for a 10 gallon aquarium.

I am not sure if that helps. I have no problems answering any questions but I don't always have the best answers.
 
A thought on the clogging:

Would having the pvc cut in a manner in which there is about a 3-4" upper overhanging lip prevent root clog? I would think it could certainly help. I'm thinking about a 50% cut-lip-overhang.
 
Angle cuts were made when the diy was made. makes it easier to slip pvc into grommets. Its only happened once so as of now its mostly attention to detail. I can judge by the flow of the pump or if it makes noise the system has develop a clog. Severe ph change is another indication. Repair is simply turning off pump, pull root out of tube and push it to the side. The primary mass does not get sucked down the tube unlees you drain the system so waterchanges is when I found the system clogging. As of now this how simple the system is maintained.
 
This grow test is finally coming to a end. At day 62 in flower I harvested.
I have alot of pics to share with a lil info to go along with them.

I want to start off with a pic of day 1 in flower. The plants are 8 to 12 inches tall.
007545.JPG


Now here is a pic of day 62 in flower. The plants are 4 to 5 foot tall.

002_catku_d62f.JPG


DNA Genetic's cateract kush is a very tall growing plant. Its listed in the breeder's description but it was easy to tell while growing it because of the large size of the fanleaves, the stockyness of the stalk and the long elongation of the nodes.

005_catku_d51f1.JPG


You might notice that there are alot of long lateral branching, a large number of cola tops but not much when it comes to a large main cola. This is because of the way I trimmed the plants during its early flower period. Once I was pretty sure that these girls will be tall and stretchy I removed the fanleaves from the main stalk to slow down vertical growth and promote the lateral branching to get as tall as the main stalk. After the lateral branching got as tall as the main stalk and tries to compete for dominance I removed there fansleaves to keep in pace and let the rest of the lateral branches catch up. Majority of the laterals that would not have made it to the top were removed and the lower section of the plants were stripped and thinned to promote light penetration. A light barrier of reflective material was wrapped around the grow to also promote light penetration. This is one of the reasons why people do so well with grow tents.

022_catku_d51f.JPG


As you can see with the next few pics the light penetration was good. What little popcorn bud I have doesn't even look like popcorn bud. They are small but full and dense.

023_catku_d51f.JPG

024_catku_d51f.JPG

027_catku_d51f.JPG

028_catku_d51f.JPG


I have nice size dense nugs from top to bottom so at first glance you might think that its a good grow but once you look further into the plants you start to realize these plants are hiding a very heavy dense yeild meaning its not good but a extremely good grow.


031_catku_d51f.JPG


021_catku_d51f.JPG


012_catku_d51f.JPG


Next group of pics are random bud shots. They are extremely frosted with trichomes and the frosting is heavy on alot of the leaves. You might notice that some of the leaves are thick and jagged, crowning upward and around the bud. This is how cold temps and low humidity can effect flowering plants. My temps during the dark period would drop to 58,60 degrees F. I should have installed a heater but I instead road it out because it was the end of a seasonal change. At least I was able to turn off the waterchiller half way through the grow.

007_catku_d51f1.JPG


008_catku_d51f.JPG


009_catku_d51f.JPG


temp damage
010_catku_d51f.JPG


011_catku_d51f.JPG


014_catku_d51f.JPG


016_catku_d51f.JPG


017_catku_d51f.JPG


018_catku_d51f.JPG


019_catku_d51f.JPG


020_catku_d51f.JPG


032_catku_d51f.JPG
 
6 to 8 hours after trimming and we finally finished. The trim was very easy so it was done by hand to give them that super clean look.

Its hard to tell in the pic but its 3 rows deep.
041_catku_d51fh.JPG


043_catku_d51fh.JPG


044_catku_d51fh.JPG


045_catku_d51fh.JPG


After harvest I went to bed and when I woke up I started cleaning the room and took apart and cleaned the machine. Here's a few pics of the roots before I threw them in the trash.

046_catku_d51fh_roots.JPG


047_catku_d51fh_roots.JPG


048_catku_d51fh_roots.JPG


After the room was cleaned I set up the next grow. This was a full long day venture because I had to take clones off the plant I wish to grow next in this room. Its part of my Dark Star Project.

050_dsM2_veg1.JPG
 
Very well done sir.

Hey I was wondering about curing..I have some of those big plastic planters jars. Made me wonder about curing in plastic. Anyone got a clue?

Seems probably a no-no because otherwise everyone would cure in their tupperware
 
Great job. I'm learning a lot following your journal(s).:thanks:
 
Back
Top Bottom