matticusss
New Member
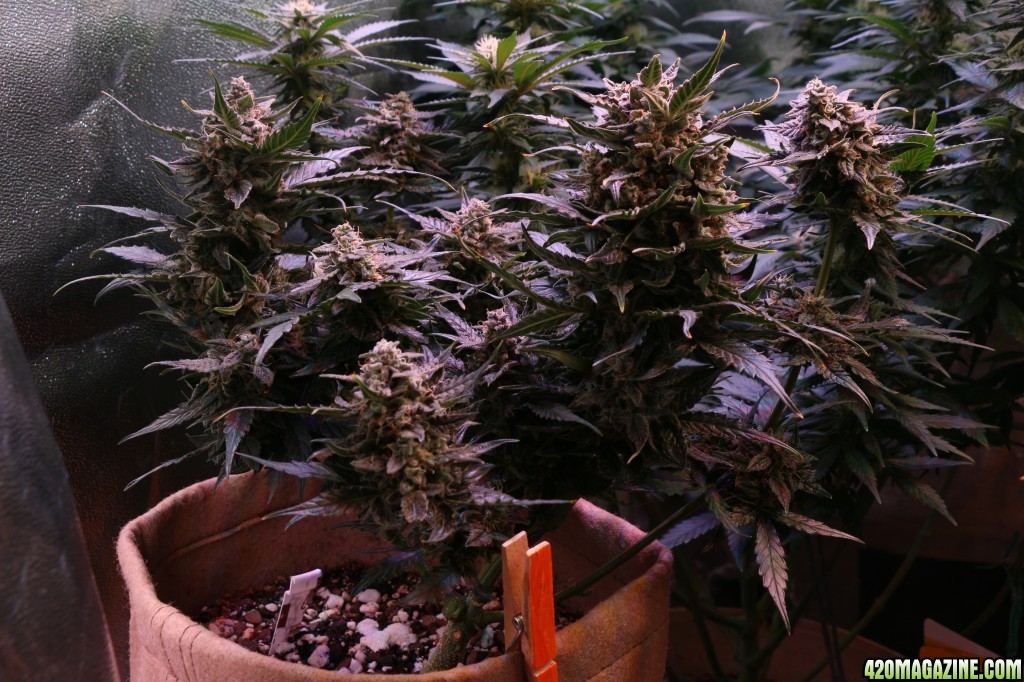
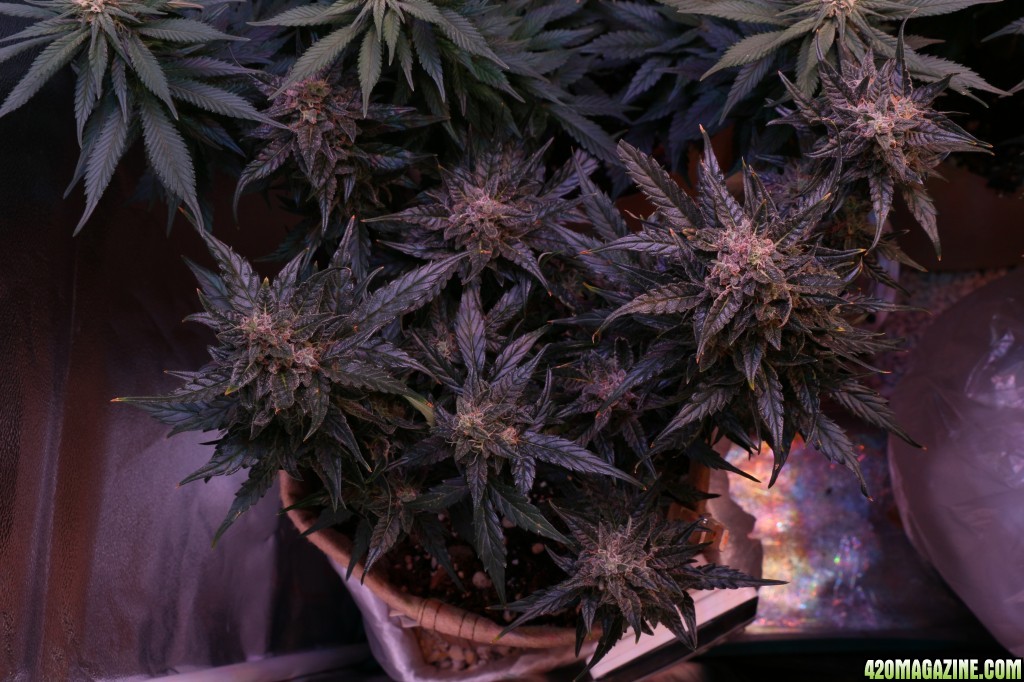
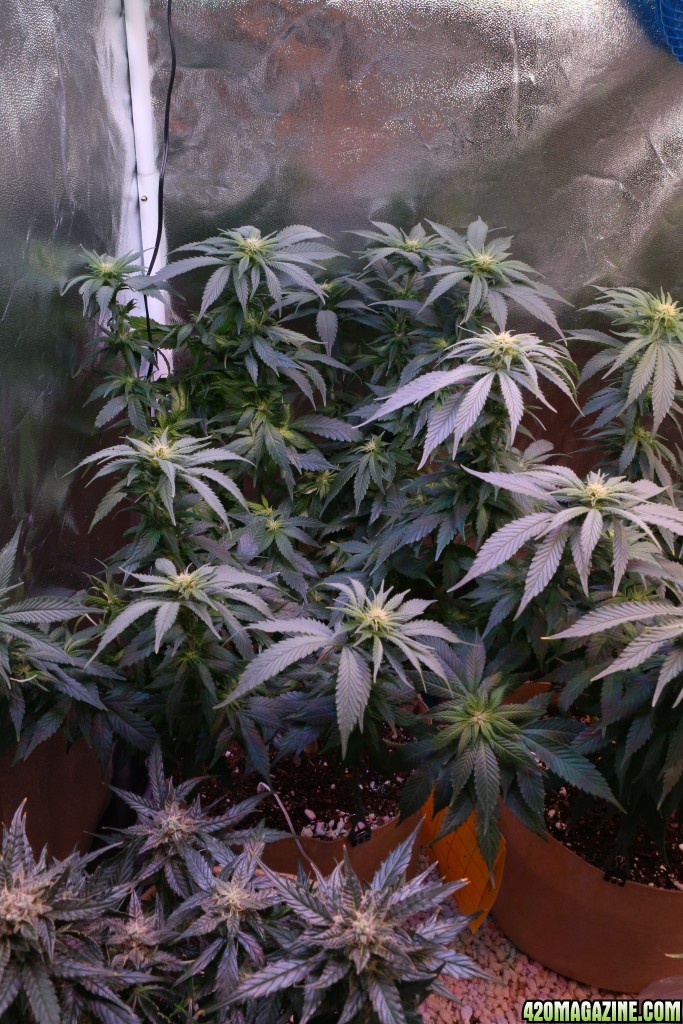
ladies look great  subbed
subbedHow To Use Progressive Web App aka PWA On 420 Magazine Forum
Note: This feature may not be available in some browsers.
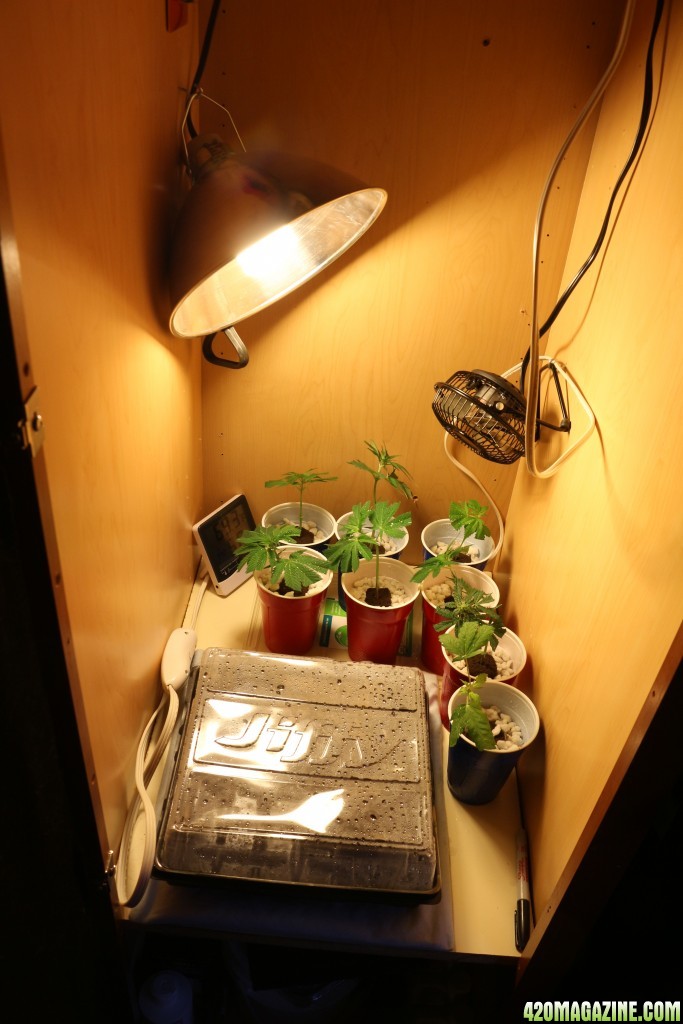
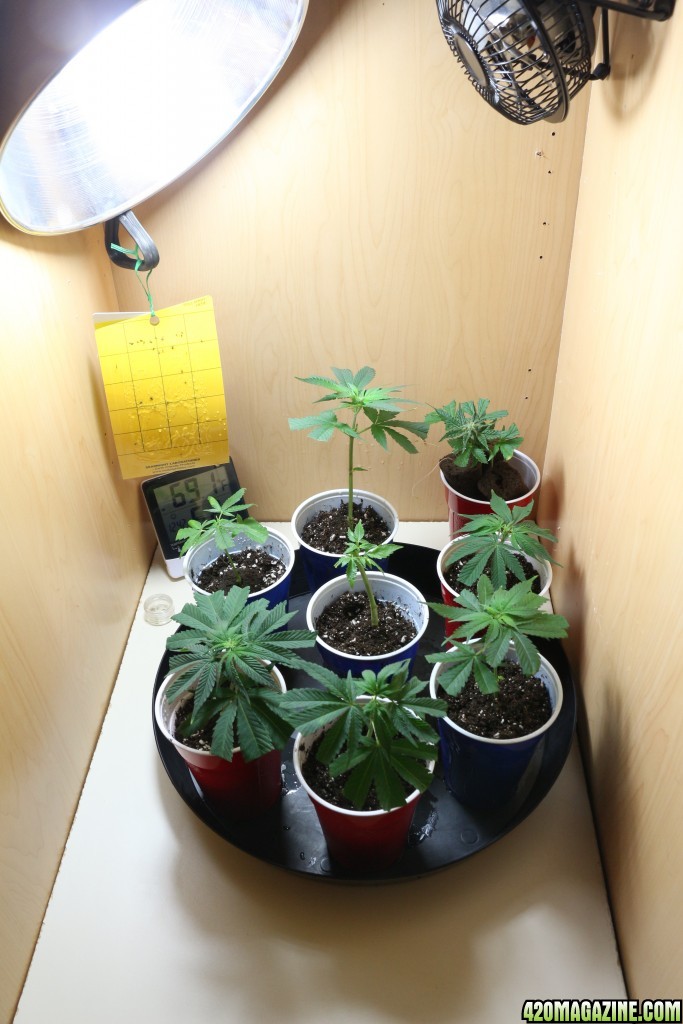
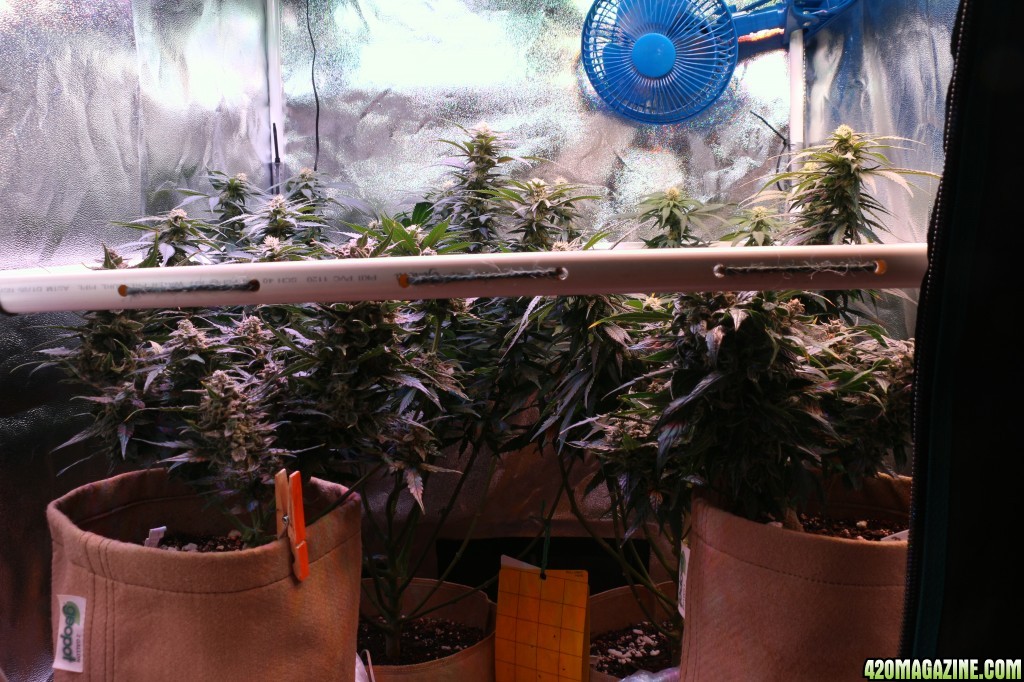
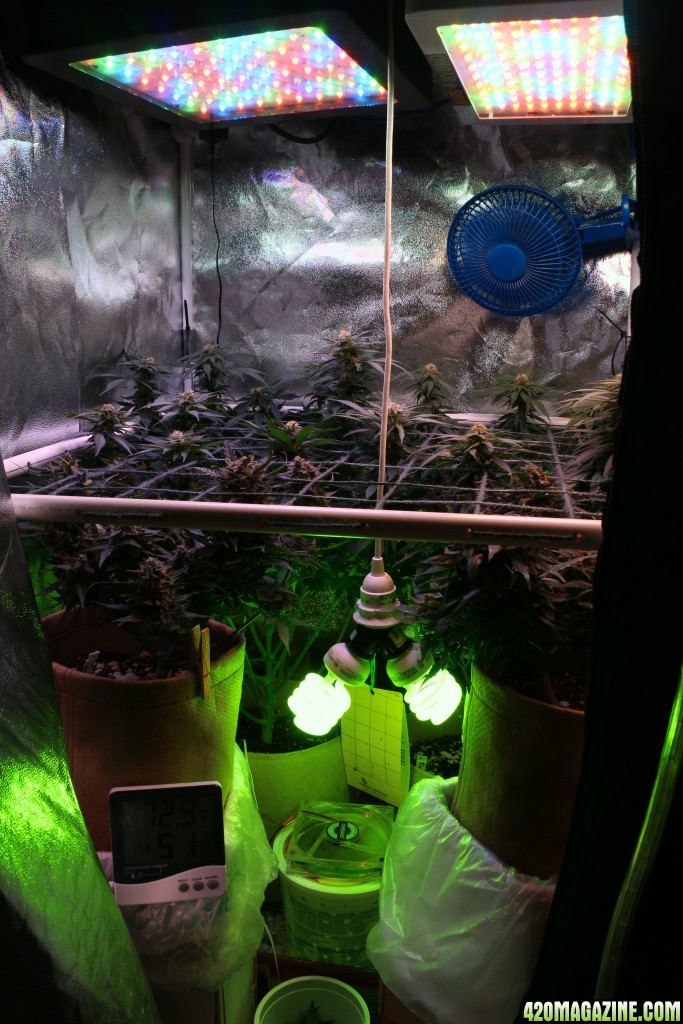
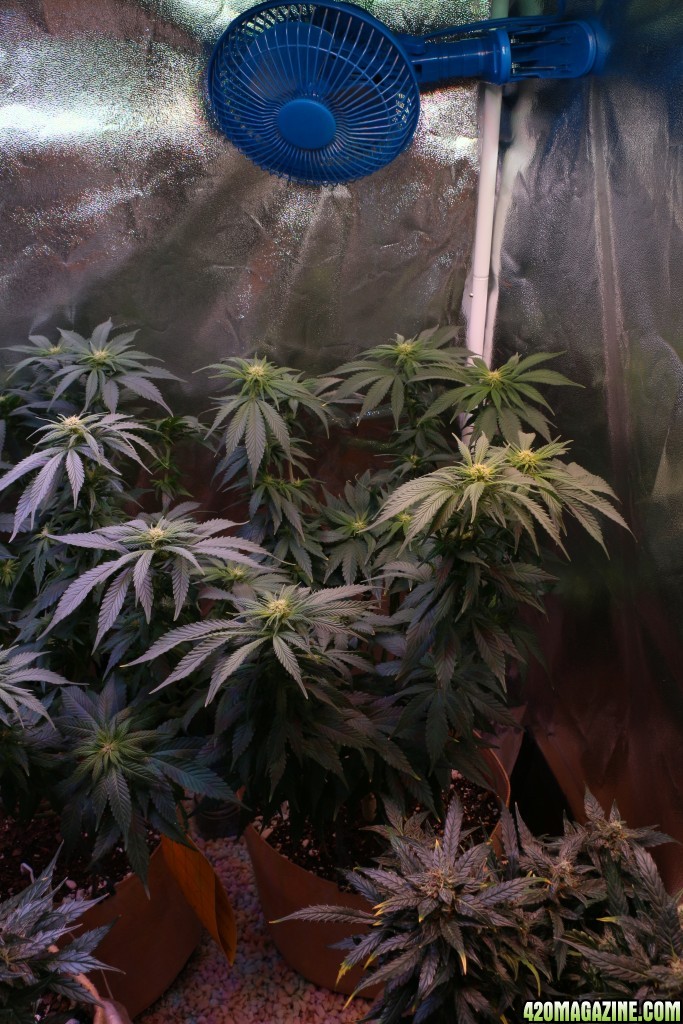
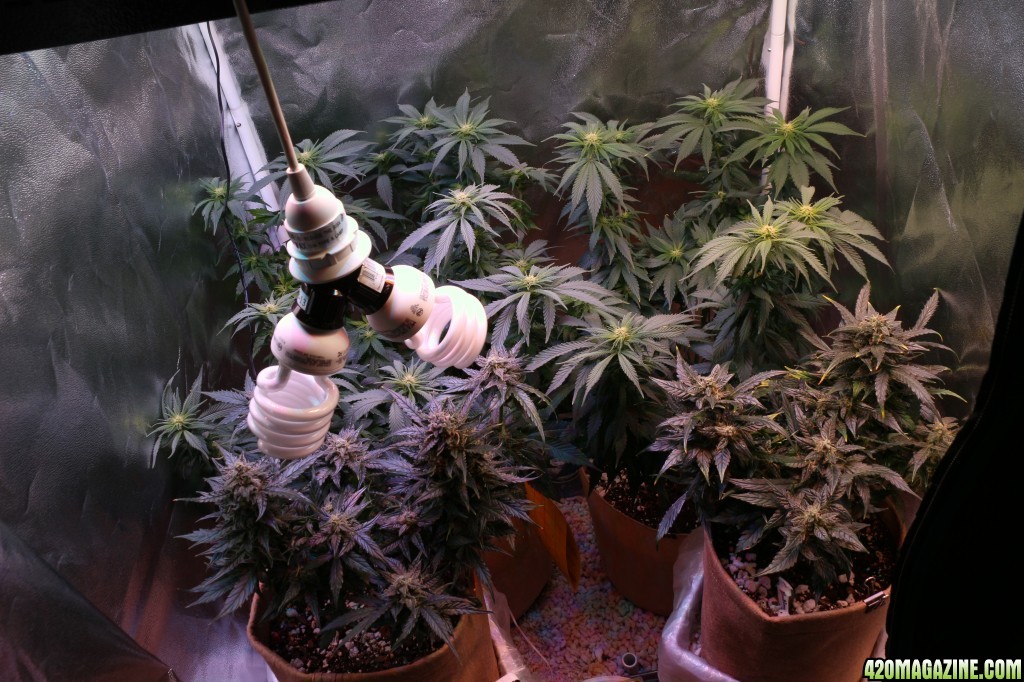
subbedmore light... is always better.
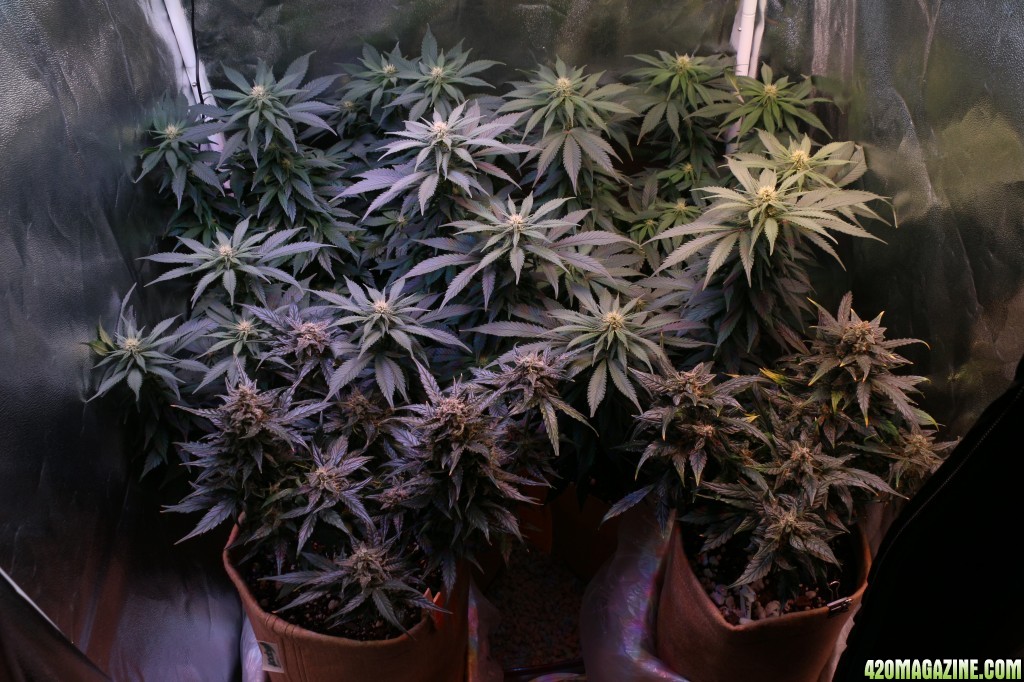
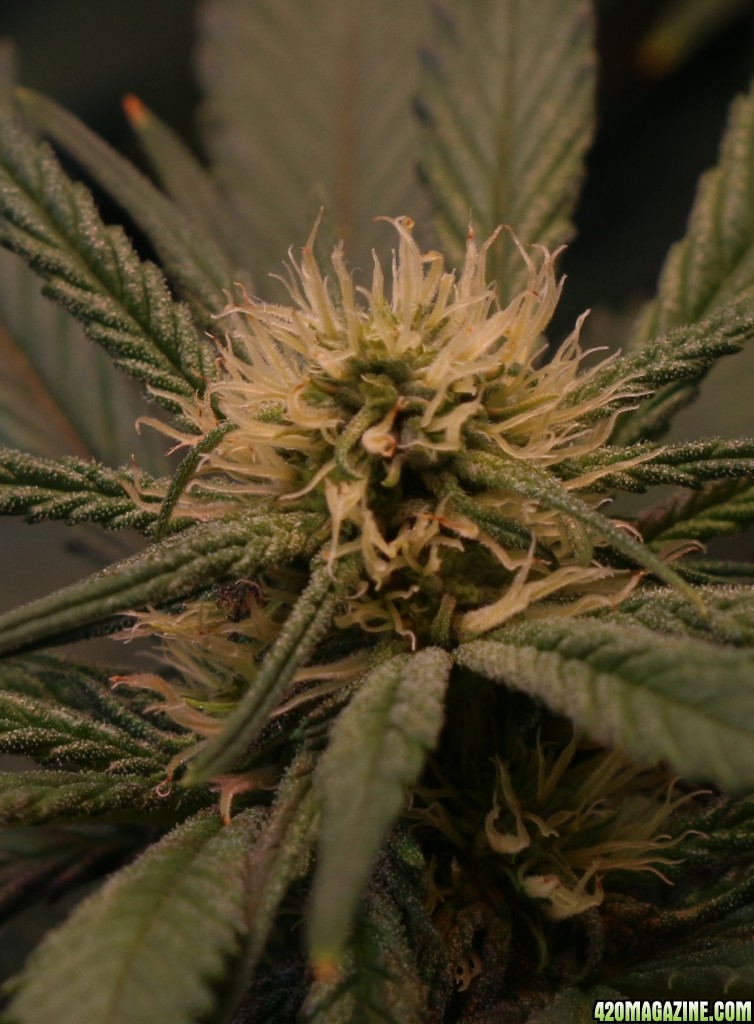
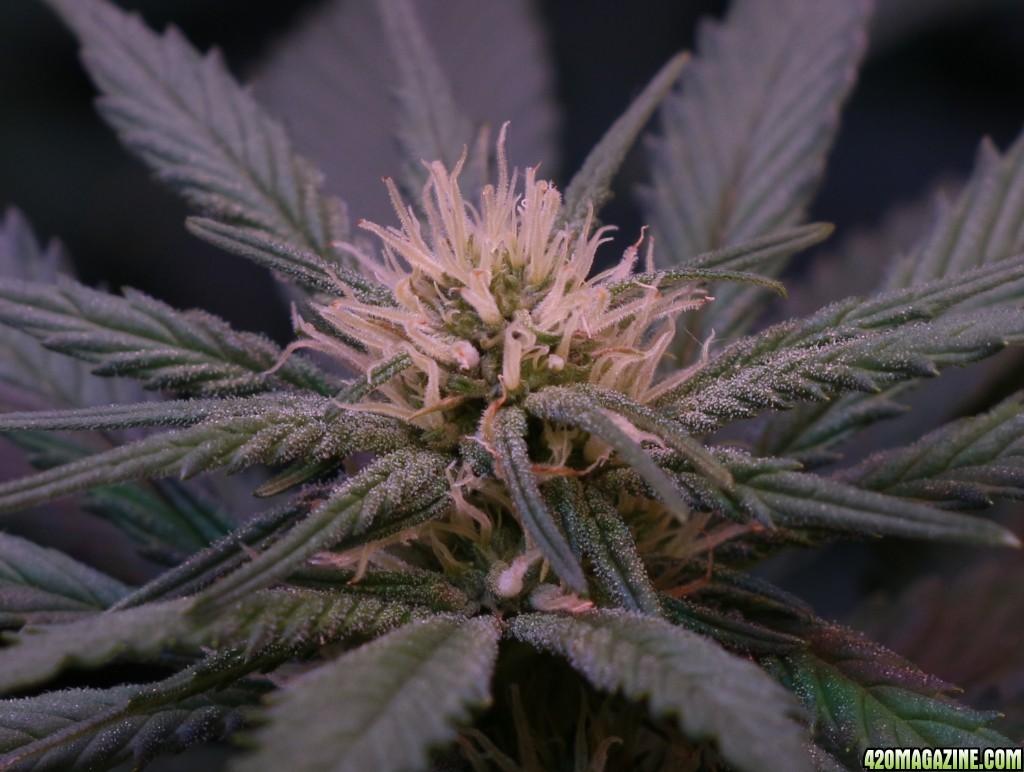
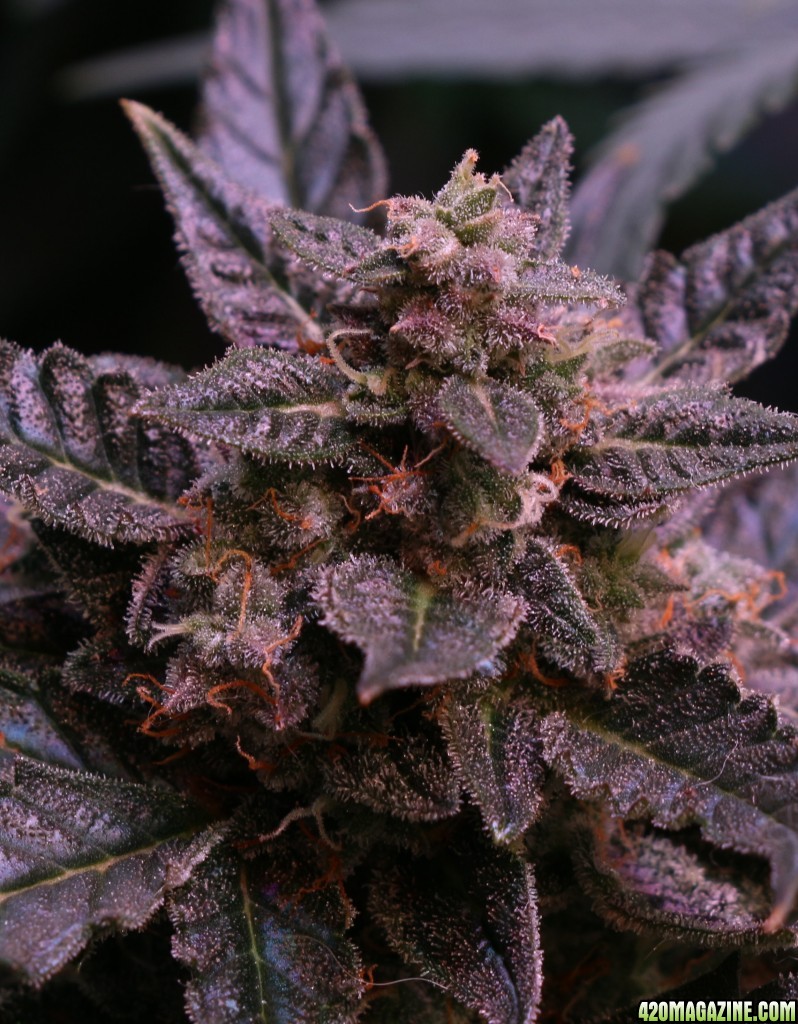
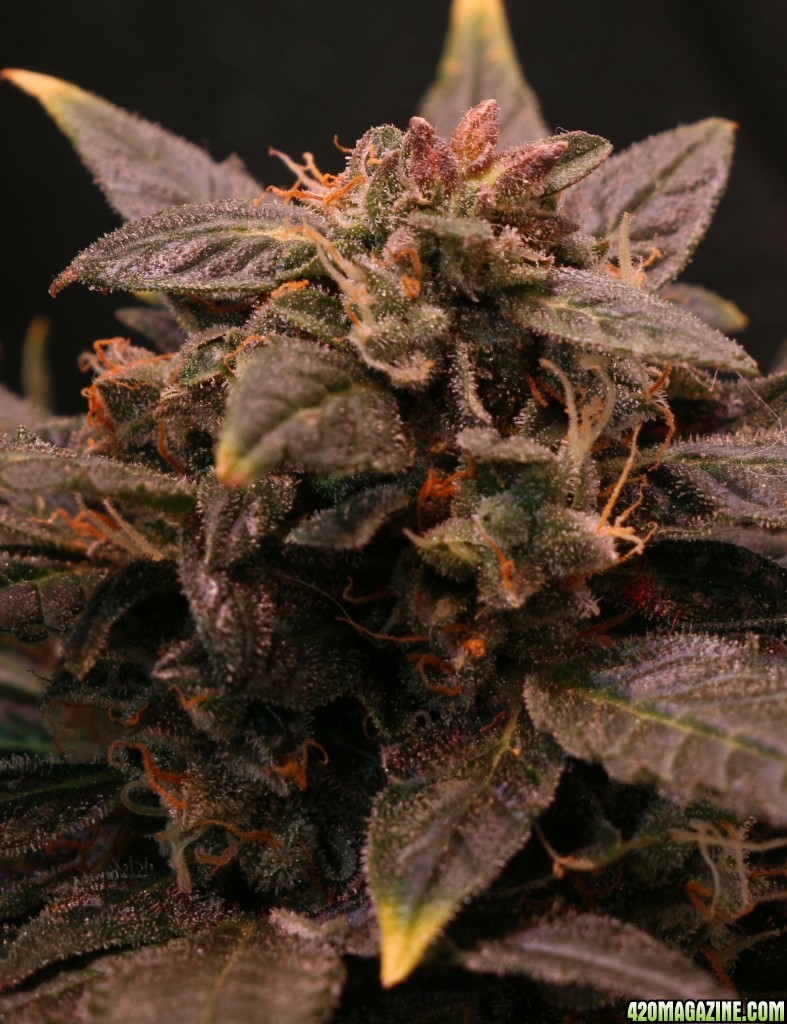
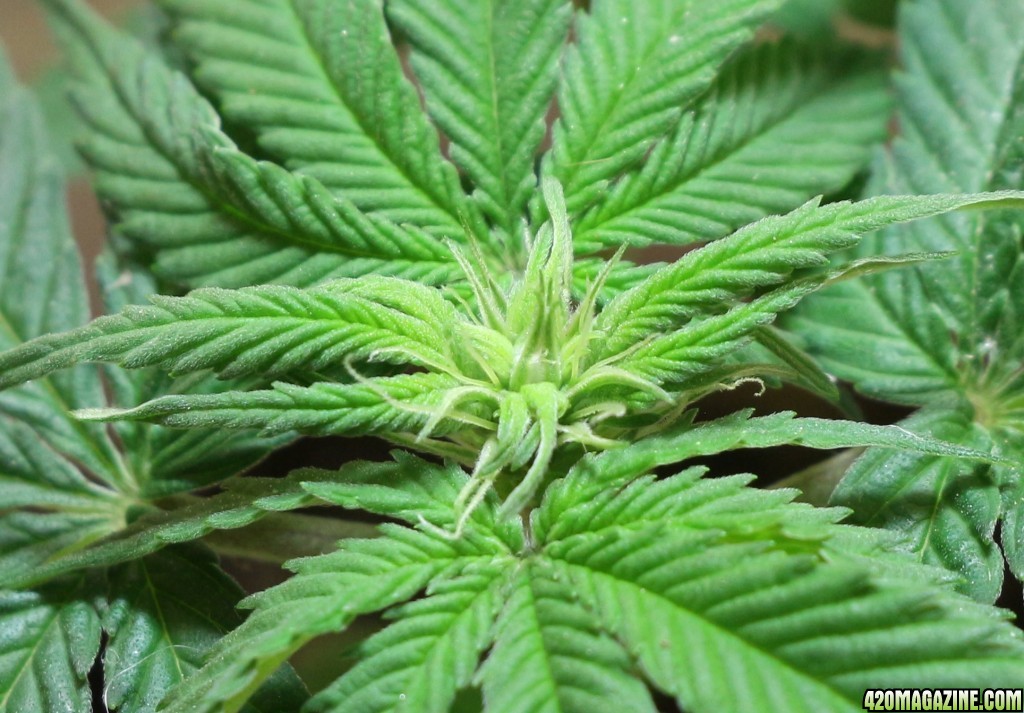
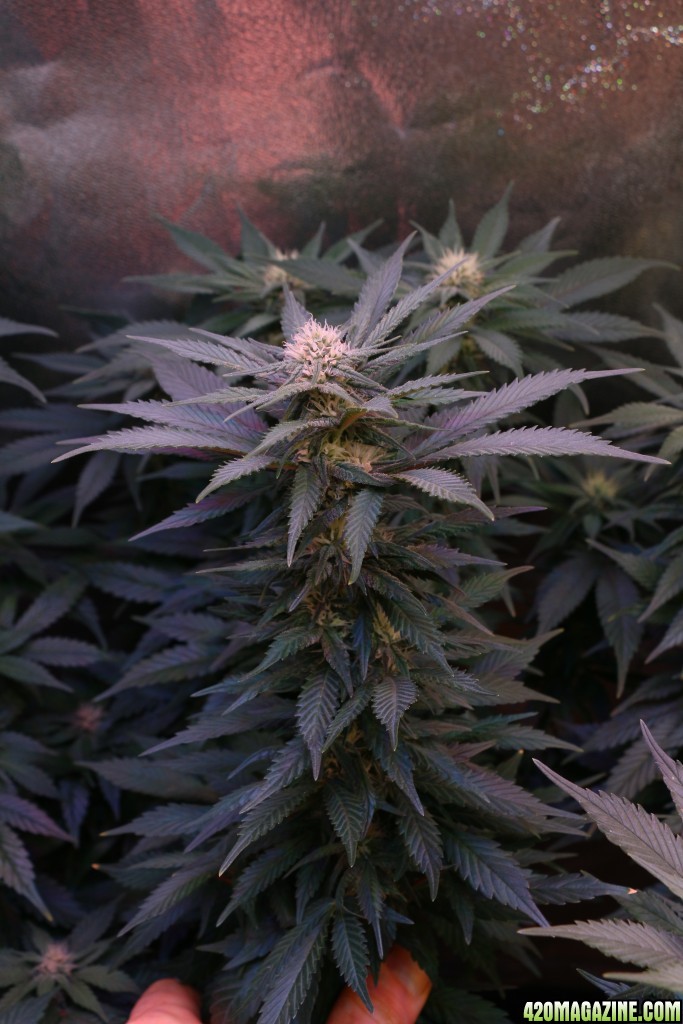
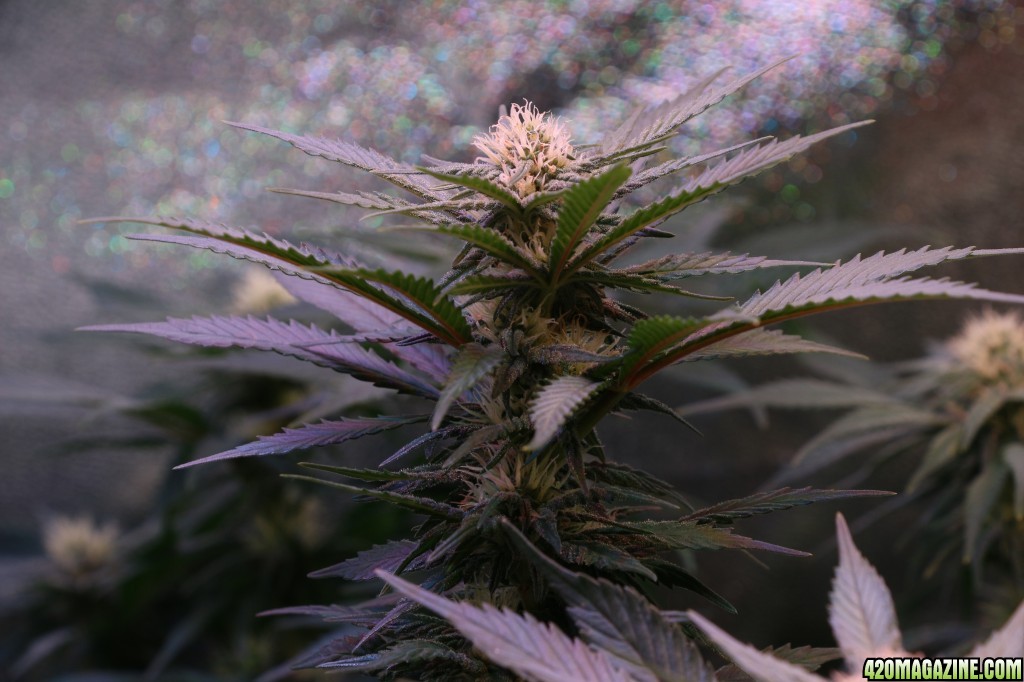
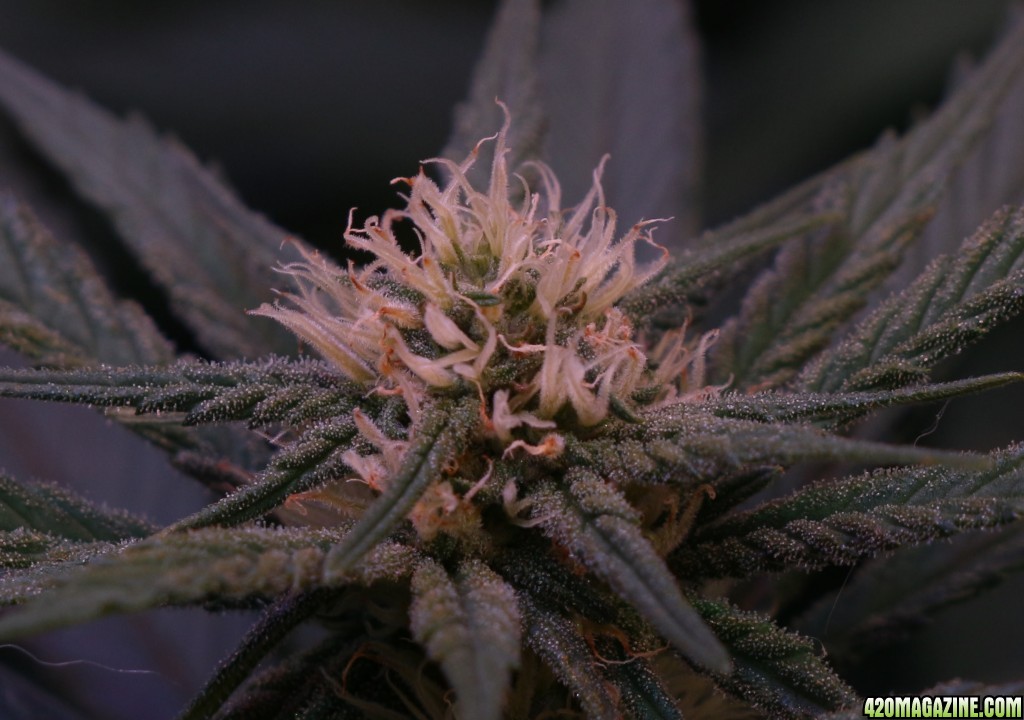
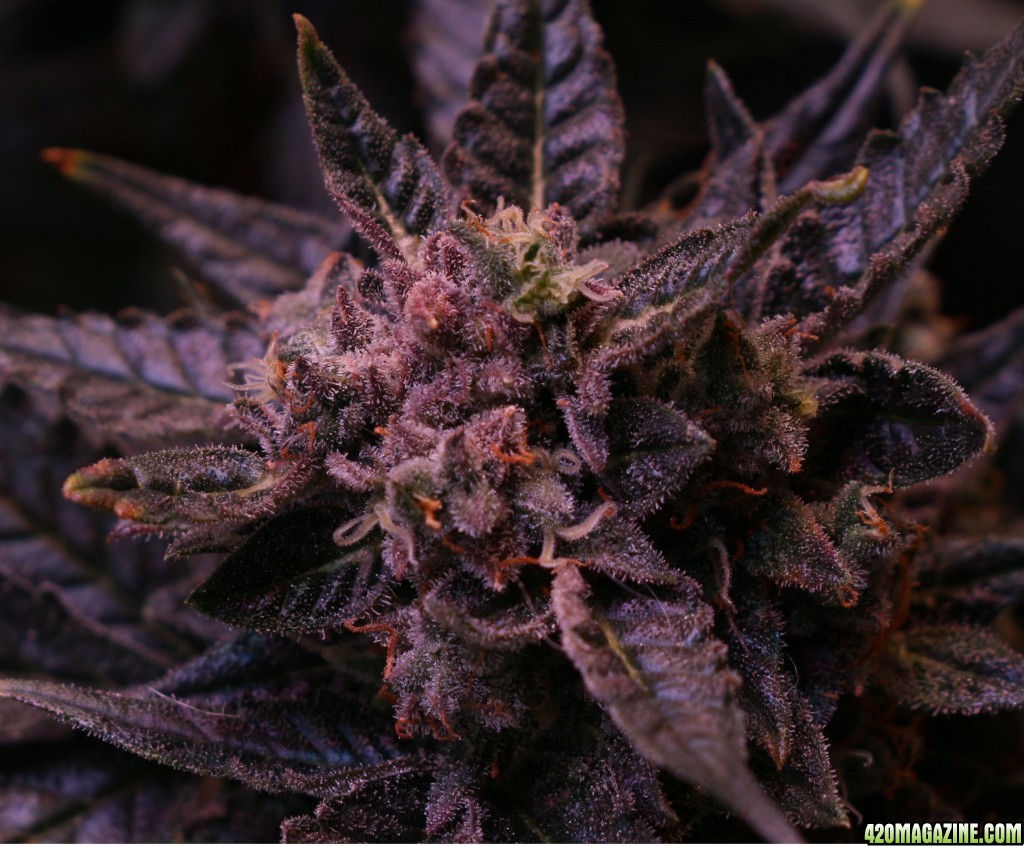
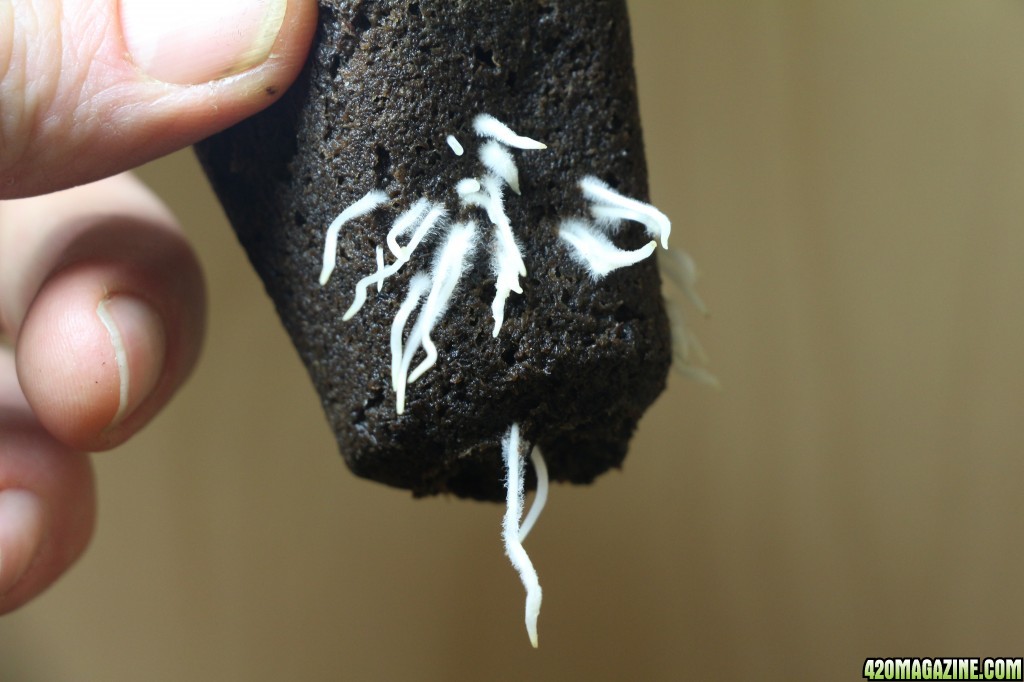
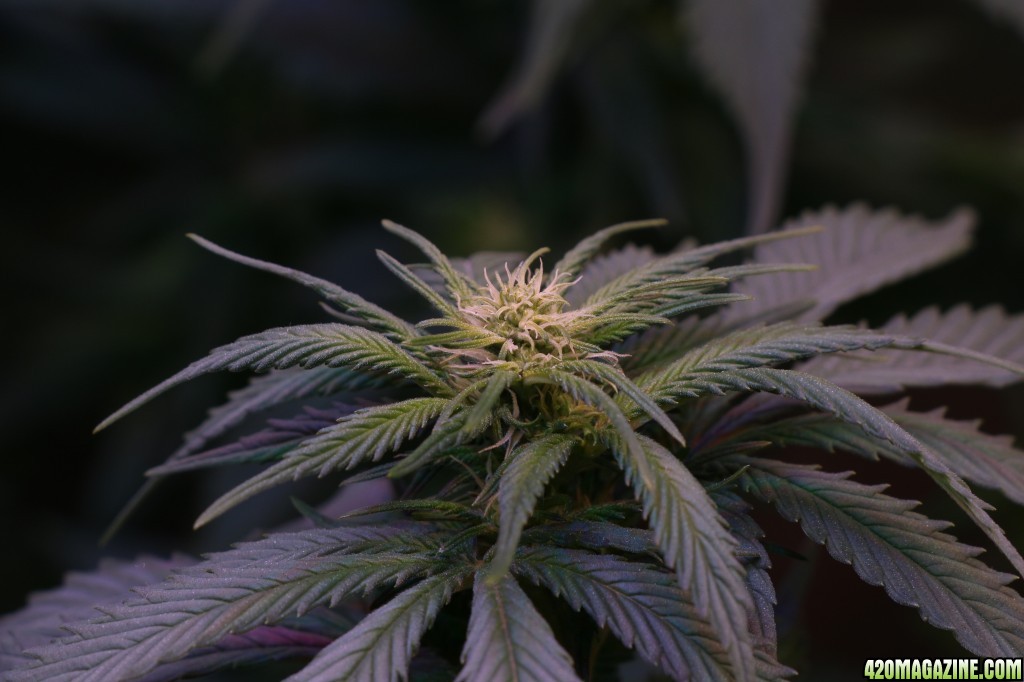
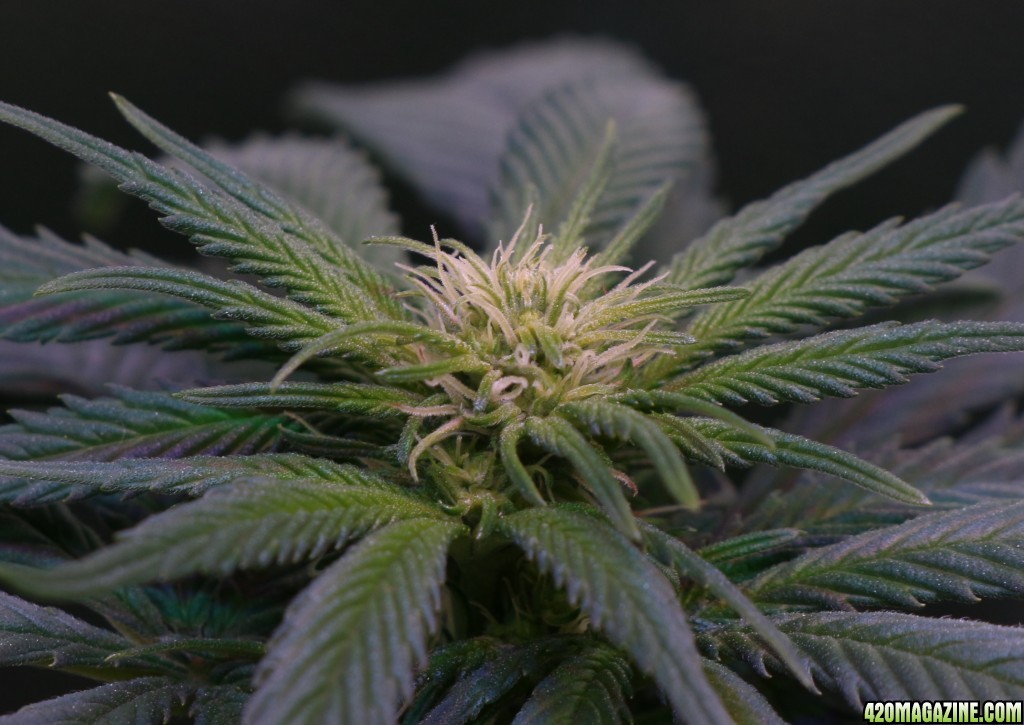
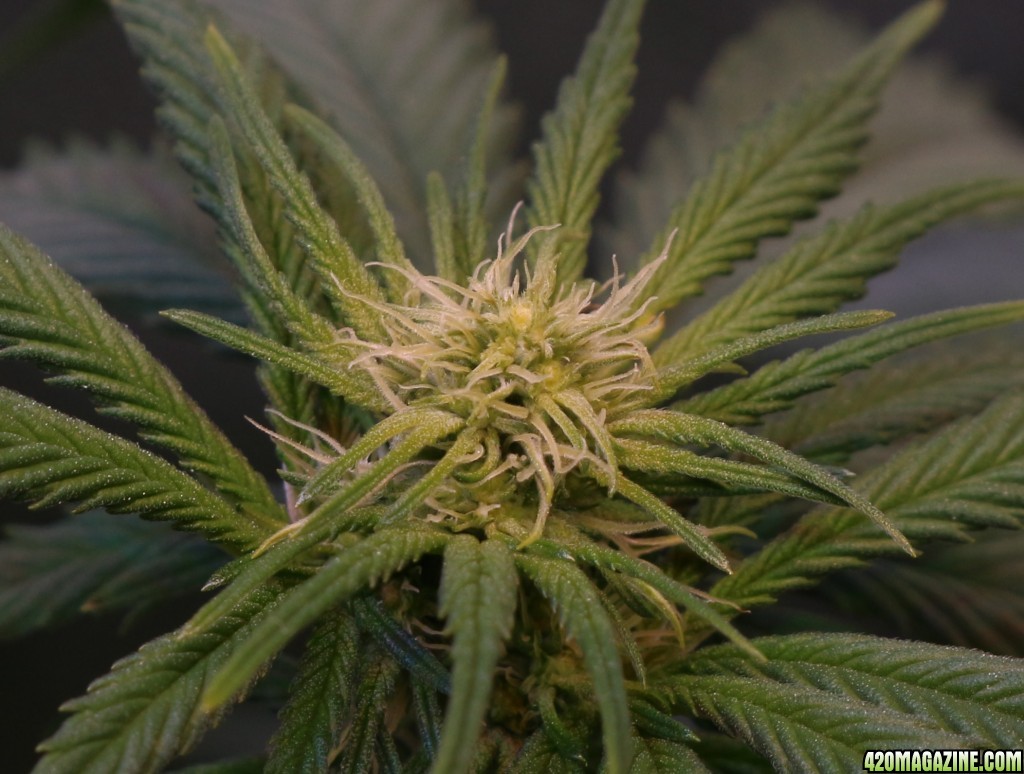
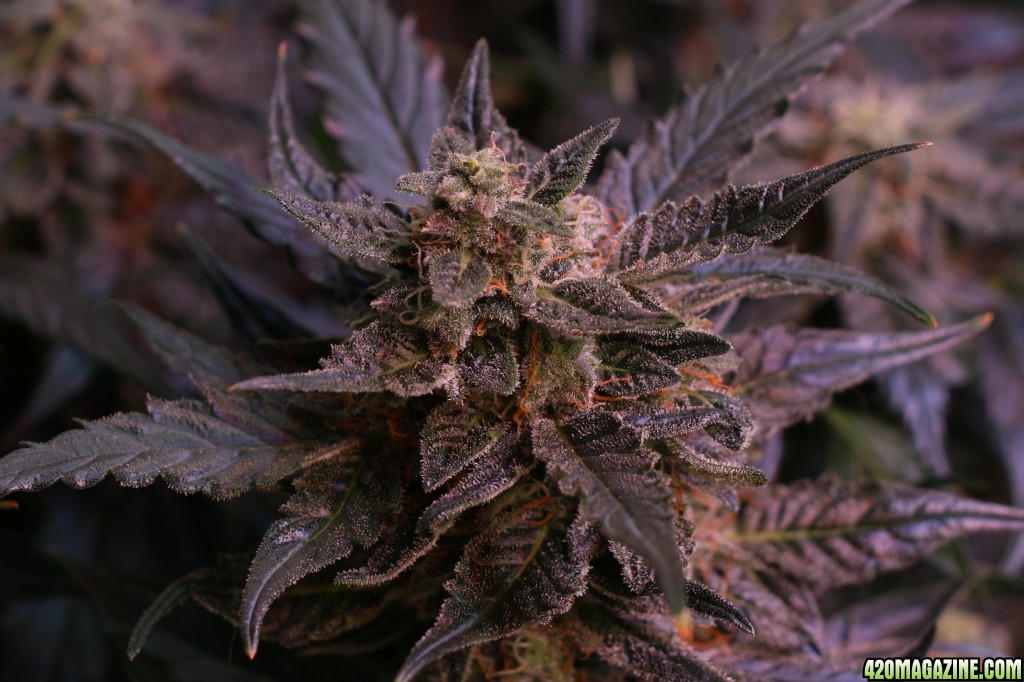
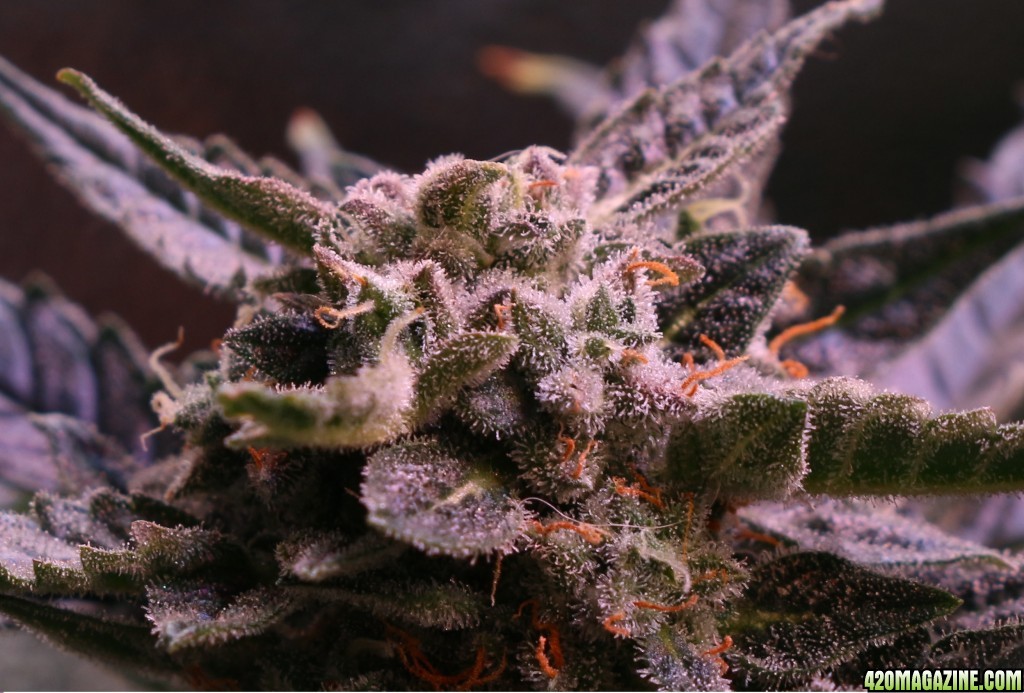
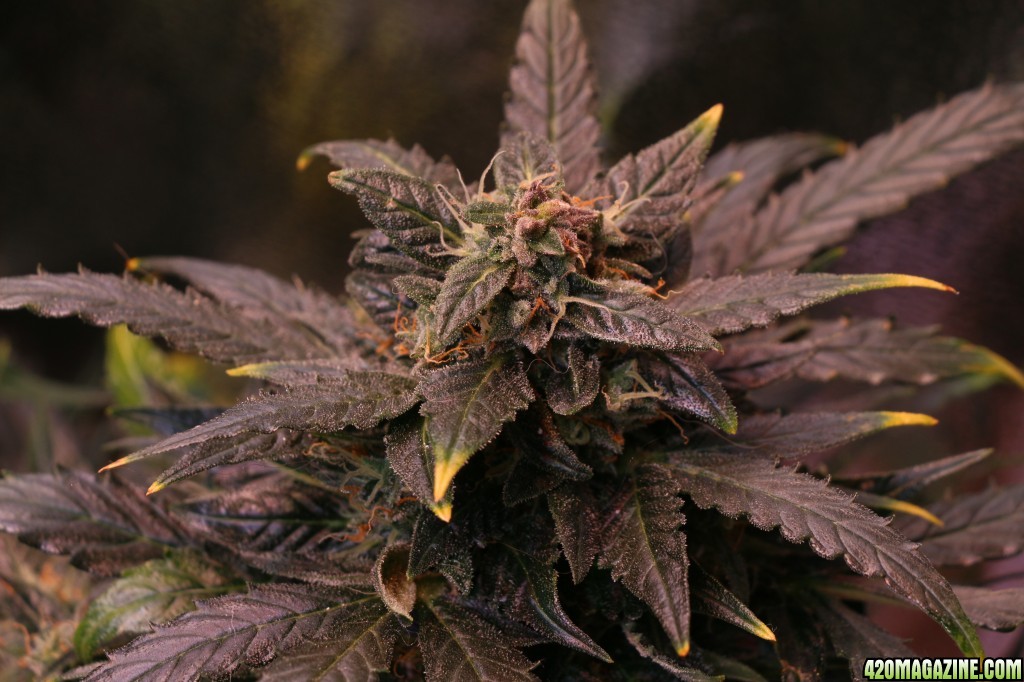
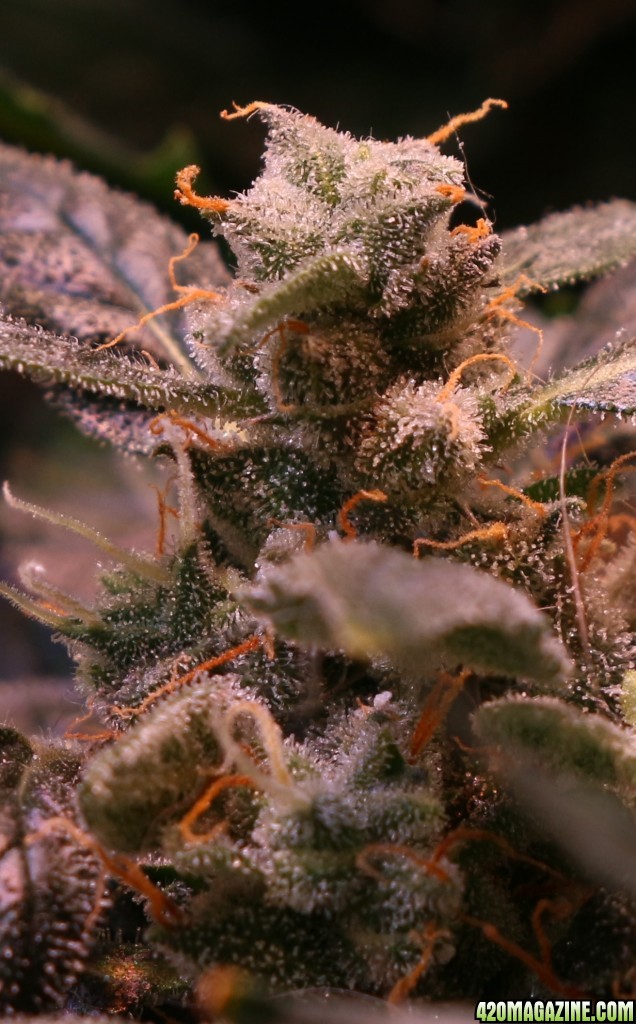
loving the hairs on the buds man!! and that camera is awesome, some really detailed pics
Nice grow.....Subbed
ladies look great

When harvest time comes, I'll probably pull out the tripod and drop the camera's ISO to get some really detailed close-ups.
What does ISO stand for?
Just started a journal myself. Check me out if you get a chance. LEDs are the way to go!!!
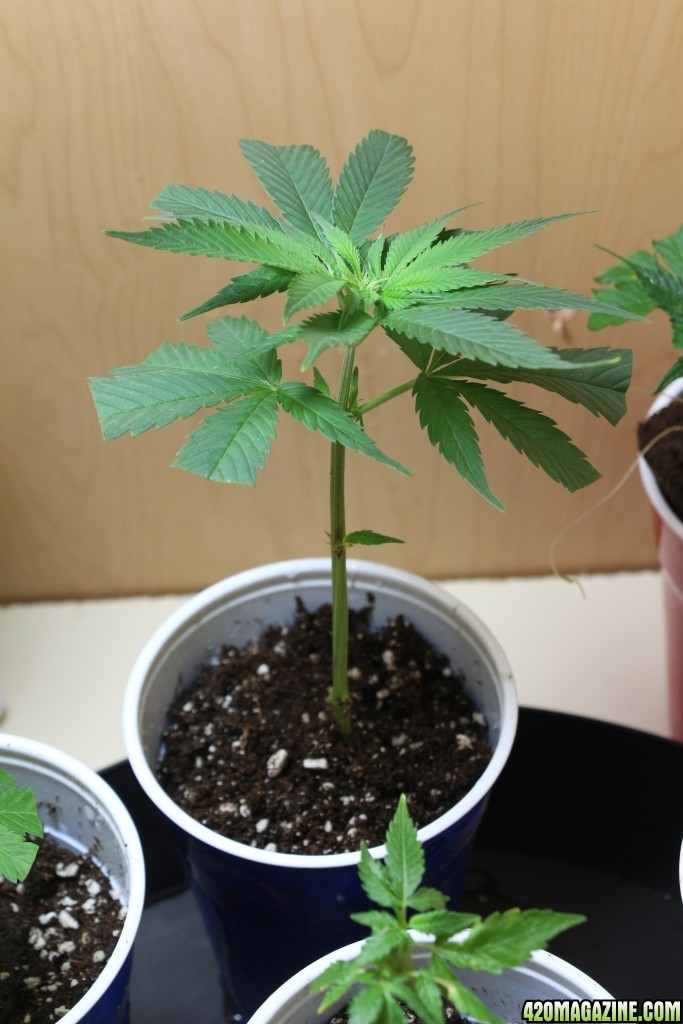
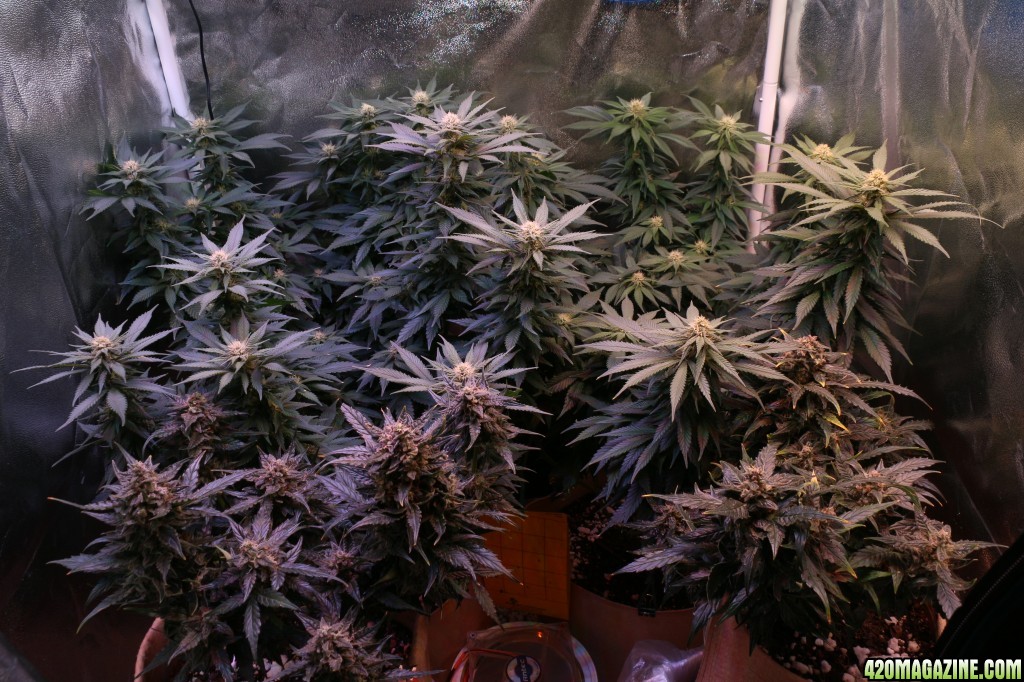
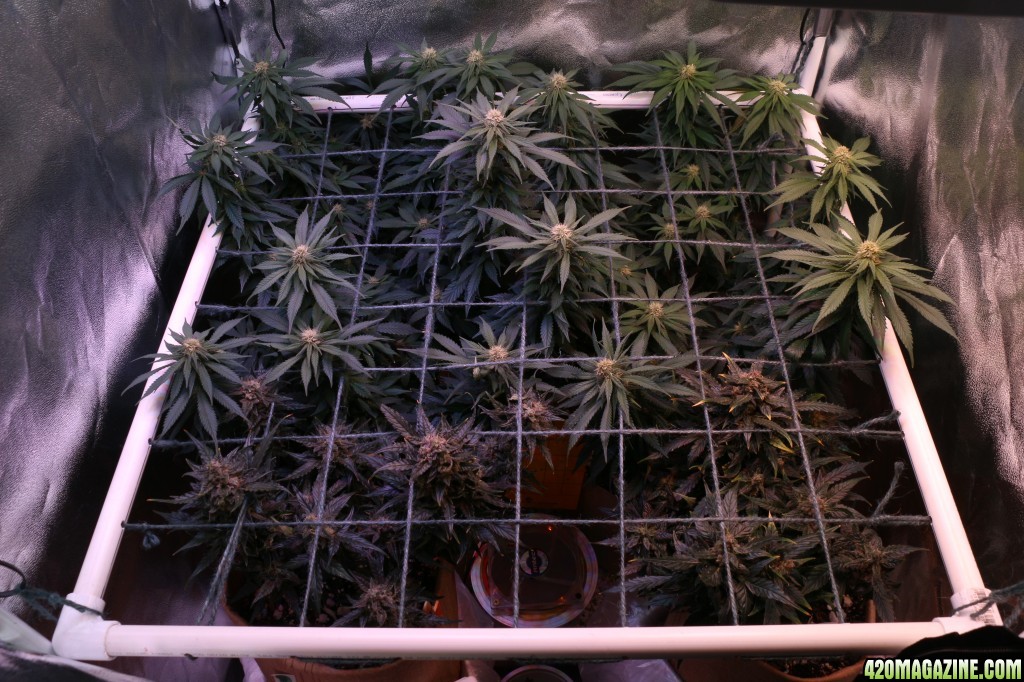
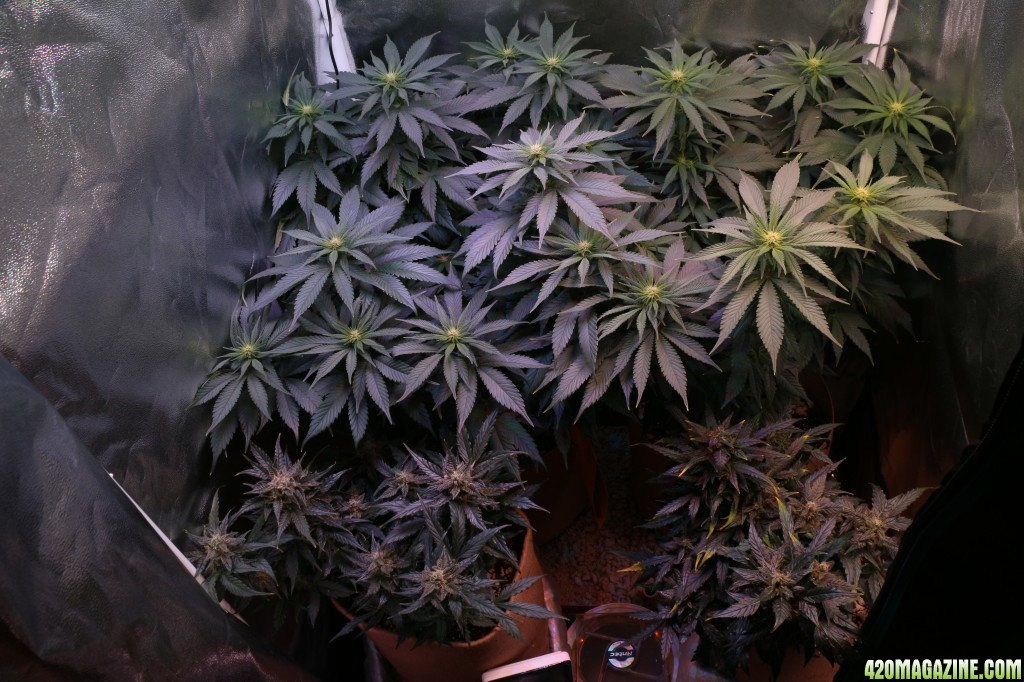
So much going on! Looks like you've got the hang of things.
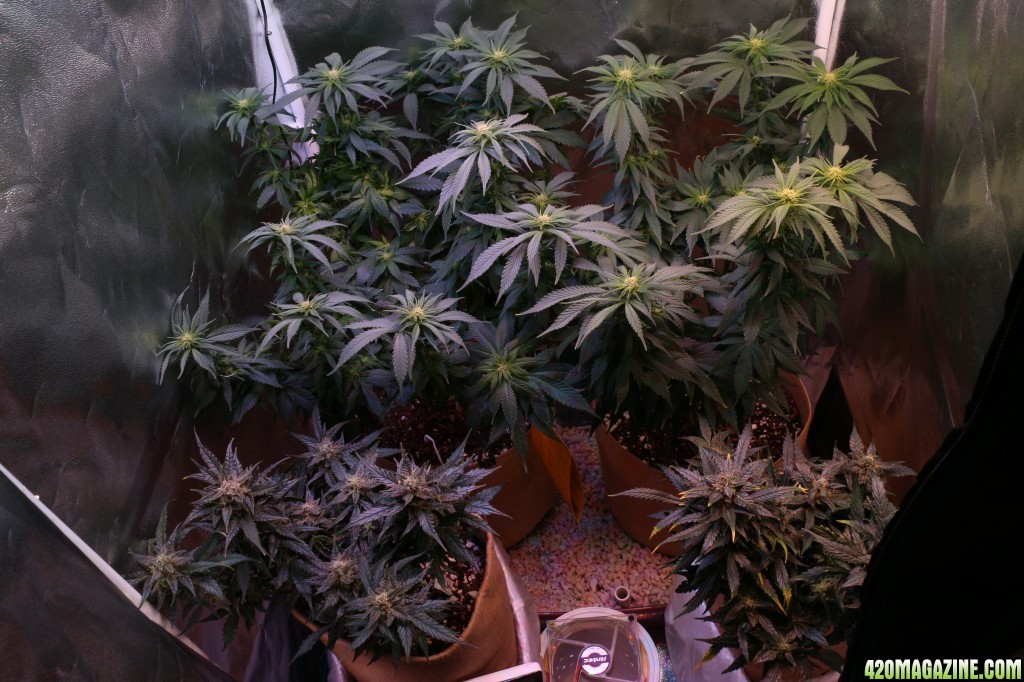
Damn I found this way to late..... better late then never I do suppose. Excited to see what this set up produces. Great setup and system!!!

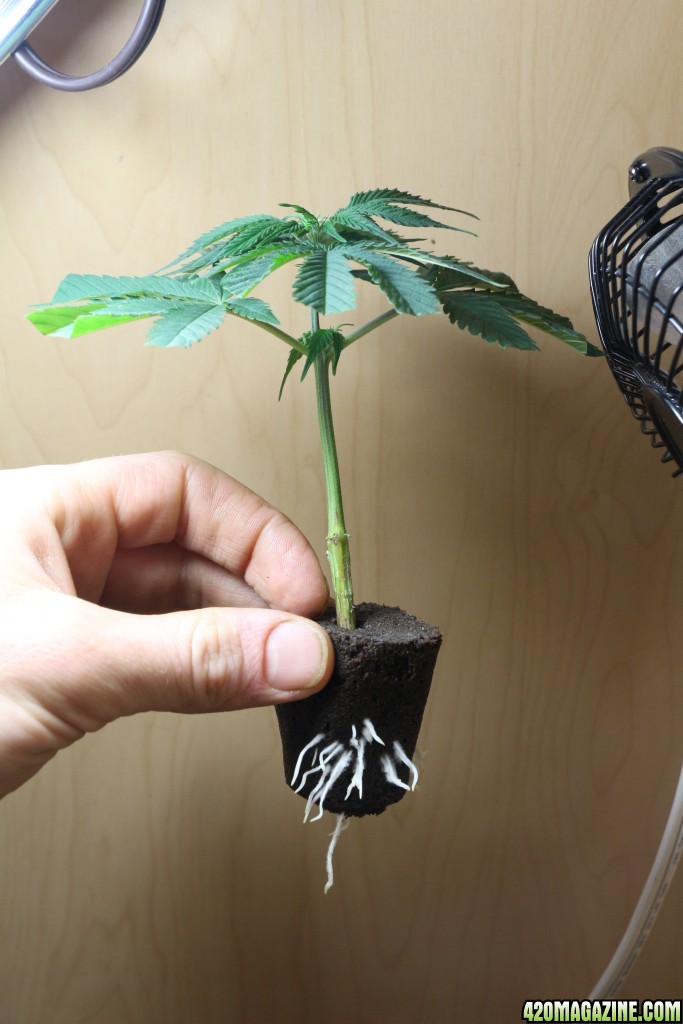
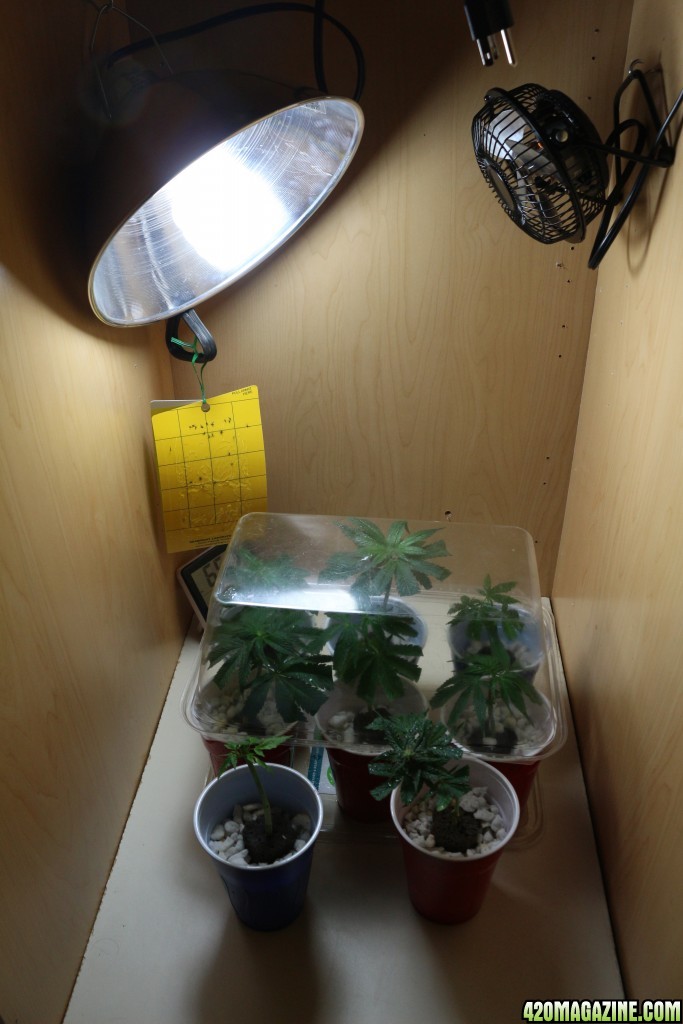
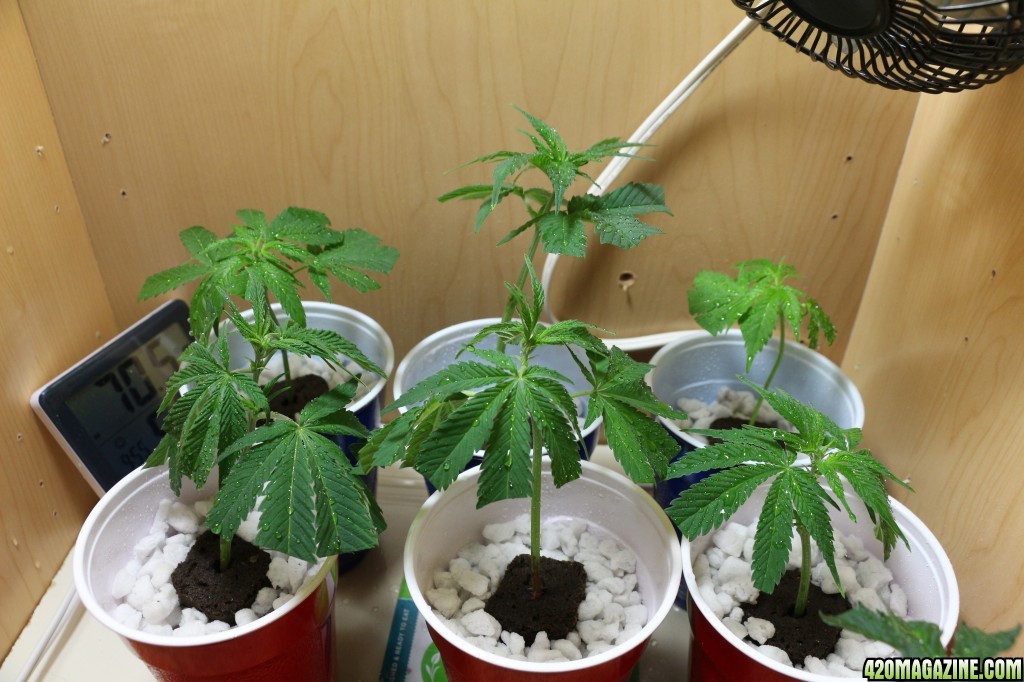
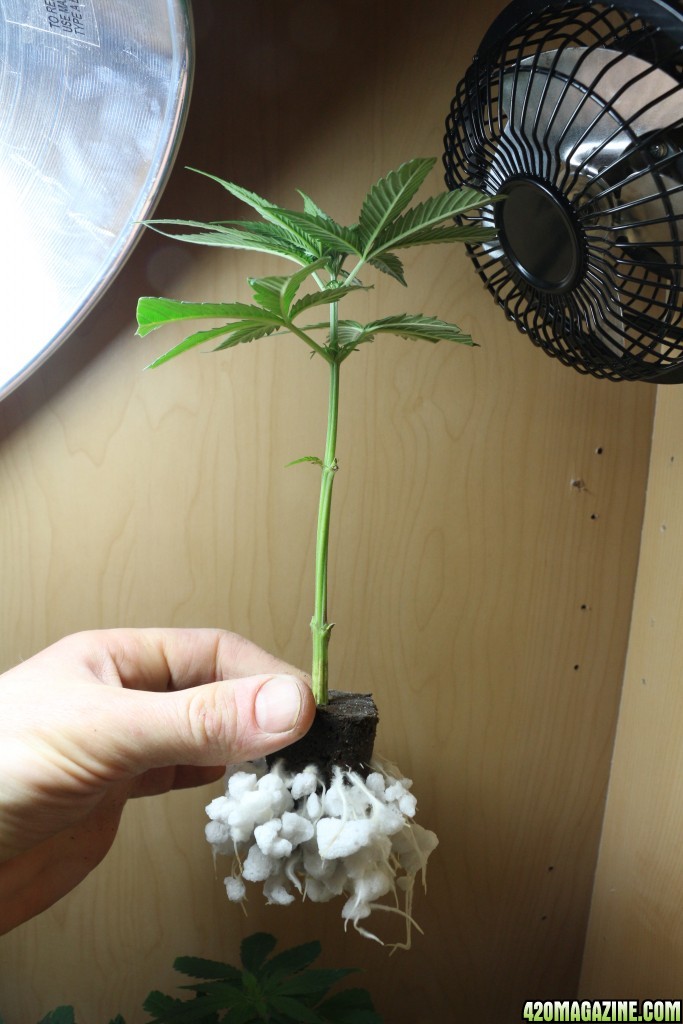
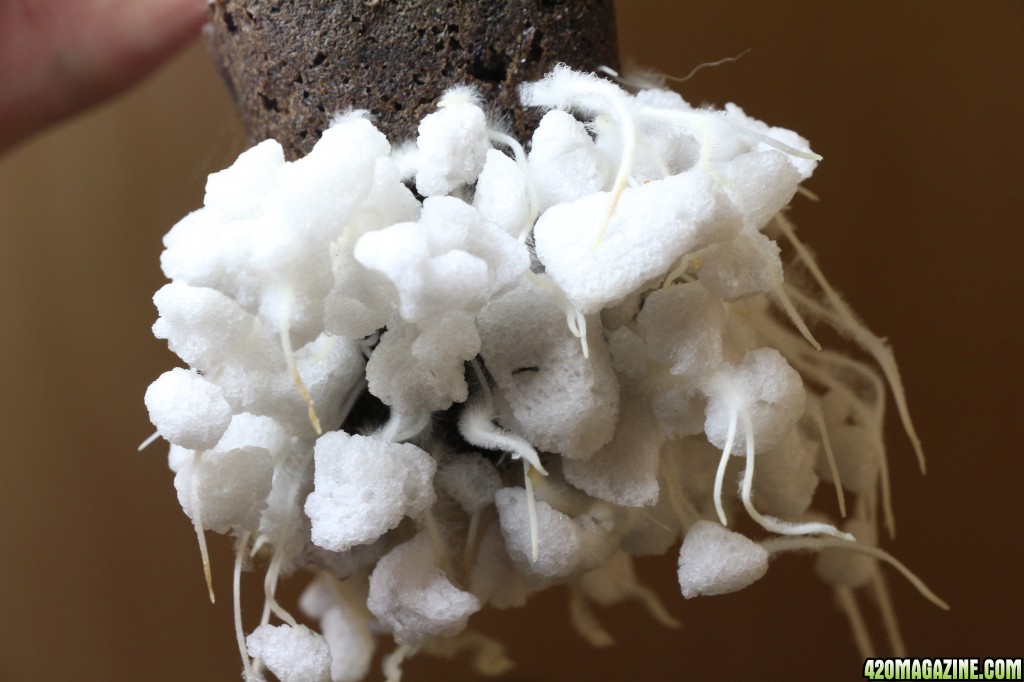
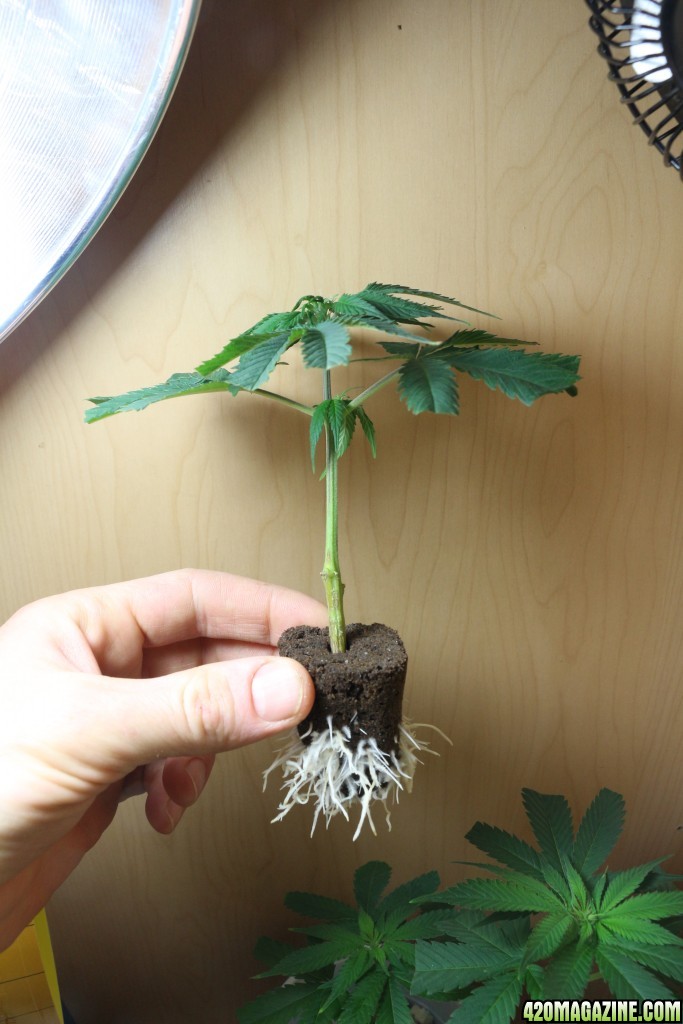
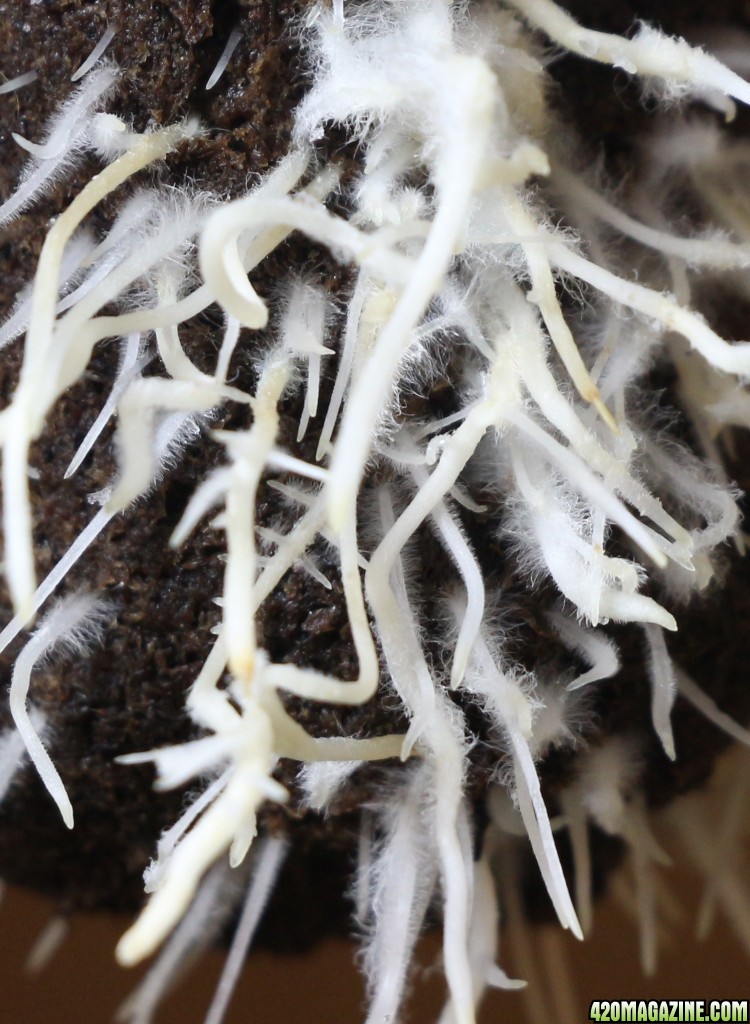
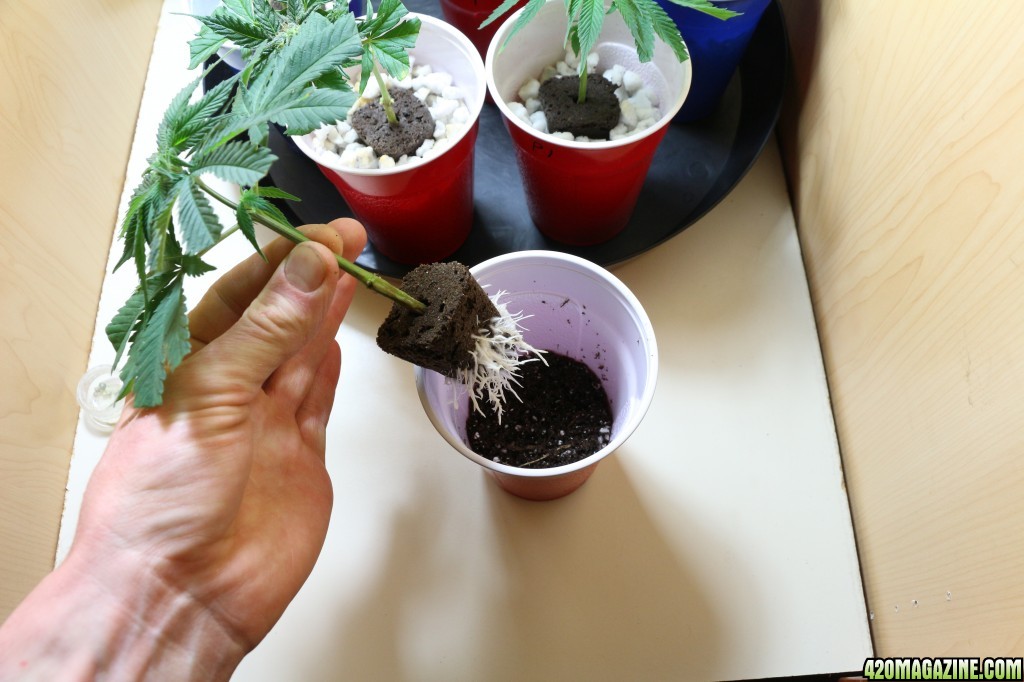
What did you use for your clones?