1970s' Blue Planet Organic Soil - Smellyberry - Super Lemon Haze - Vanilla Kush

No update... :( I have been so busy with work and fixing up the new grow room...

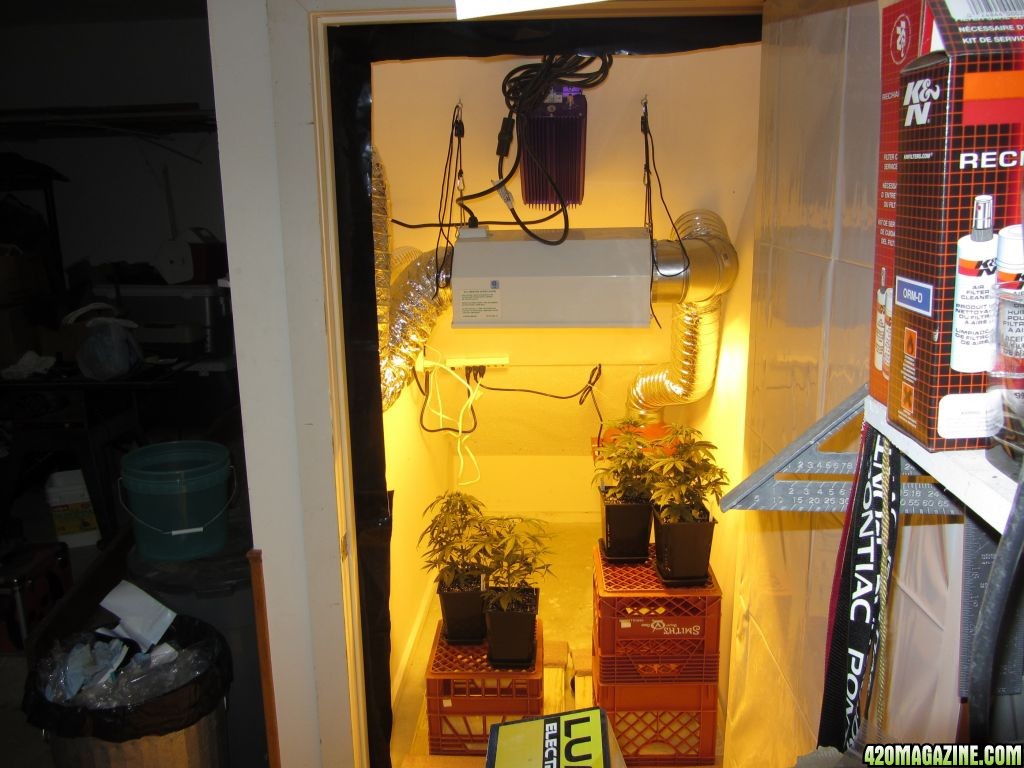
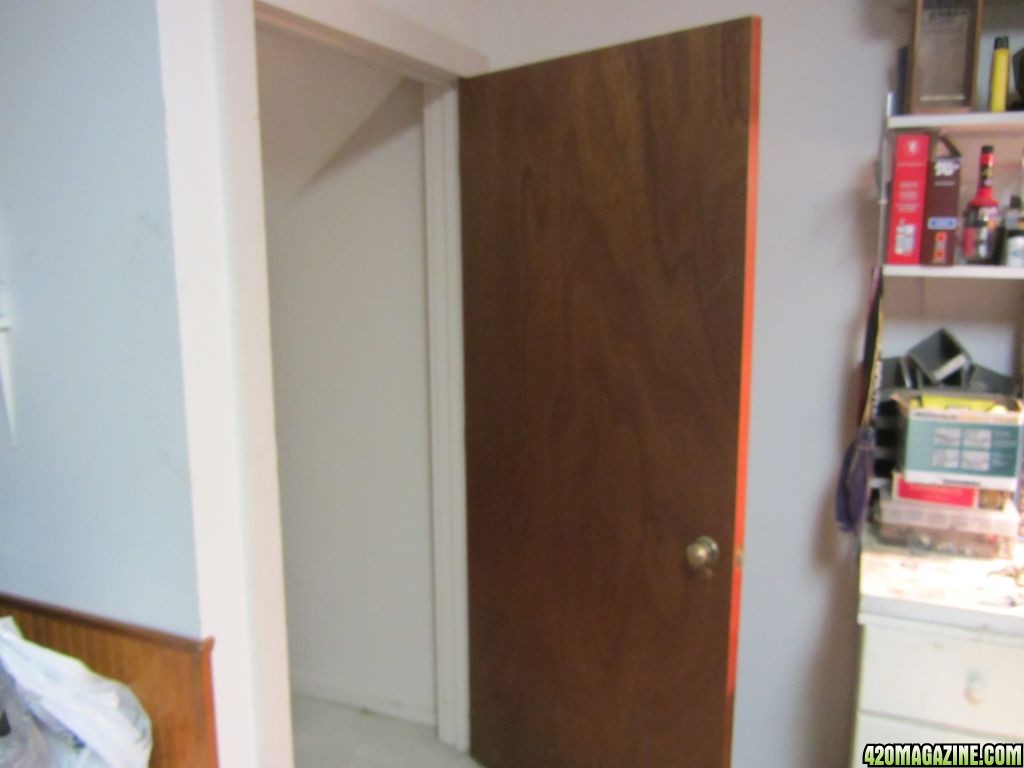
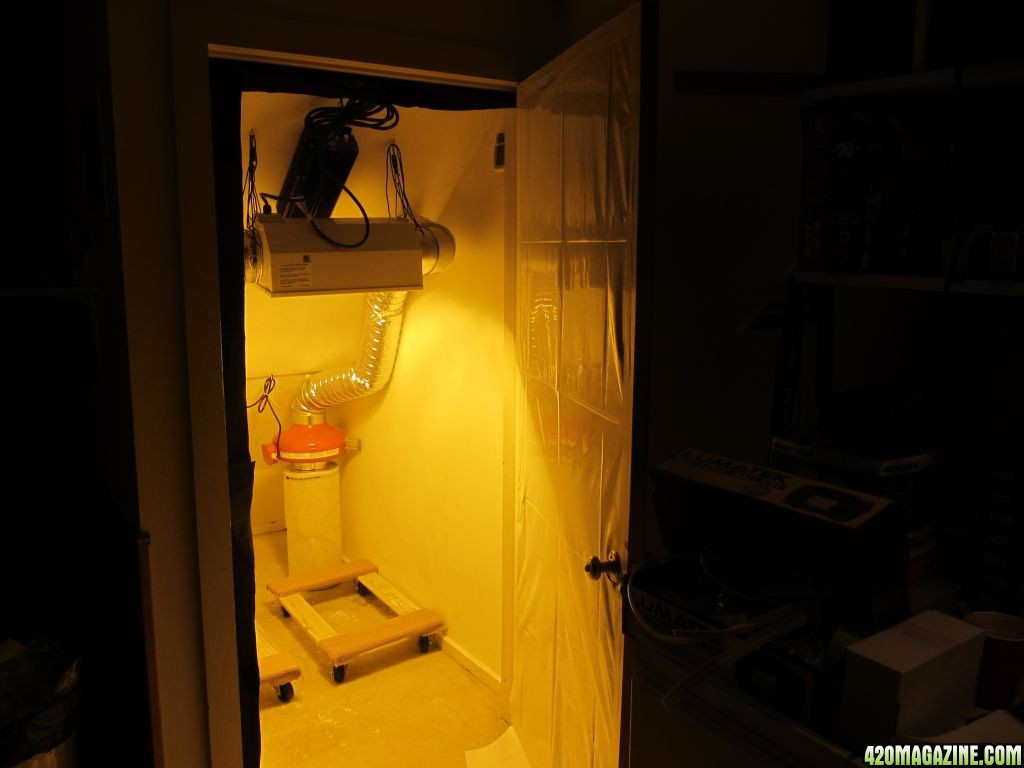
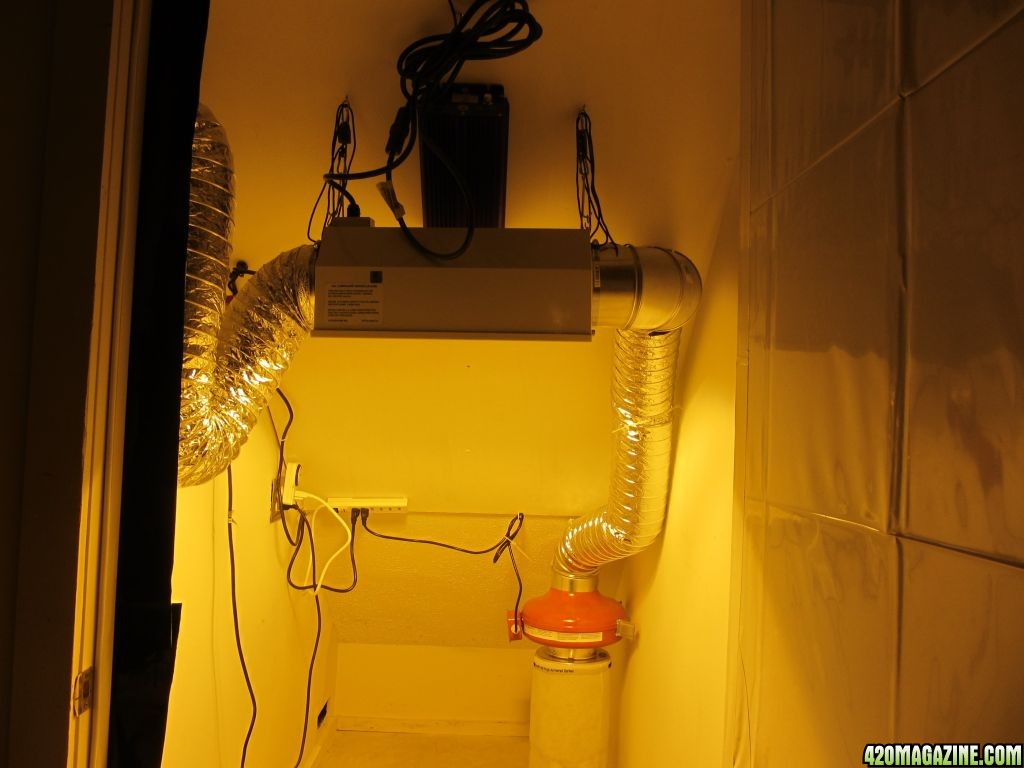
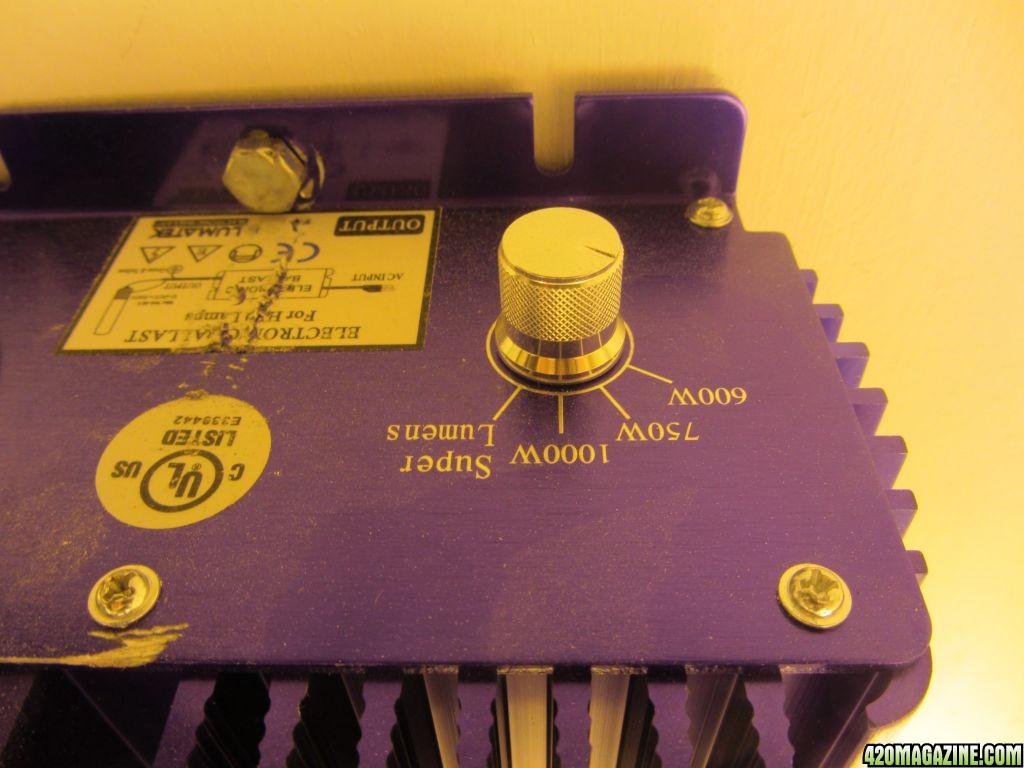
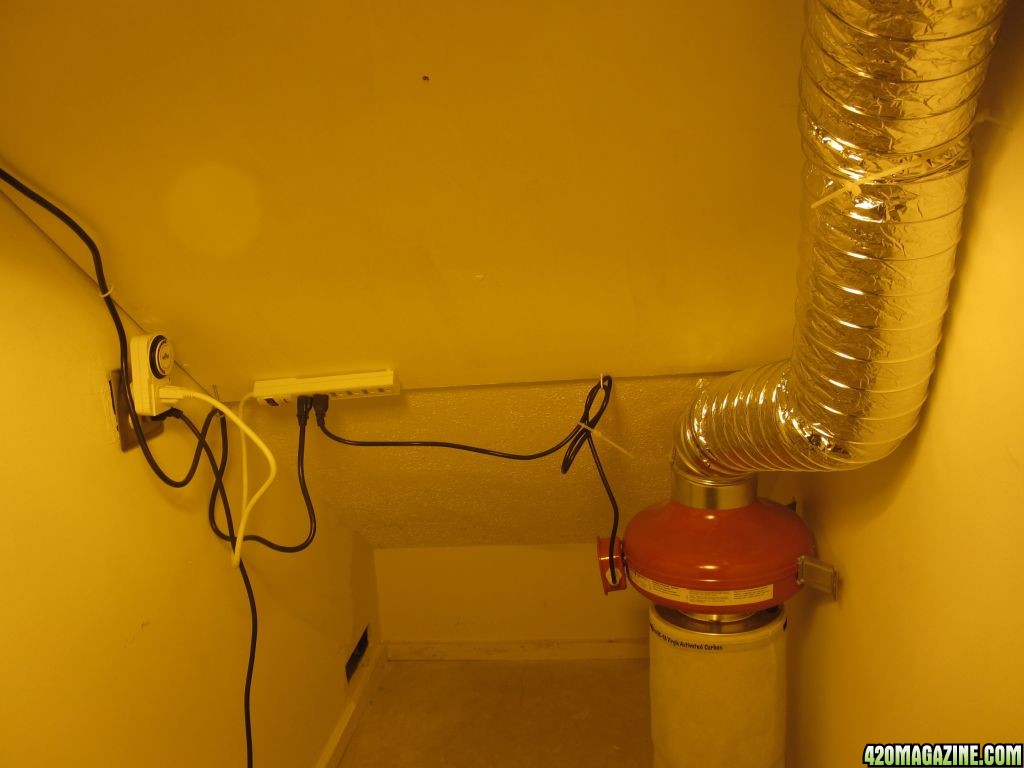
I ran my electrical Saturday and it was a pain. Sounds simple but getting wire where I needed it was not an easy chore. I need to keep everything professional and private.

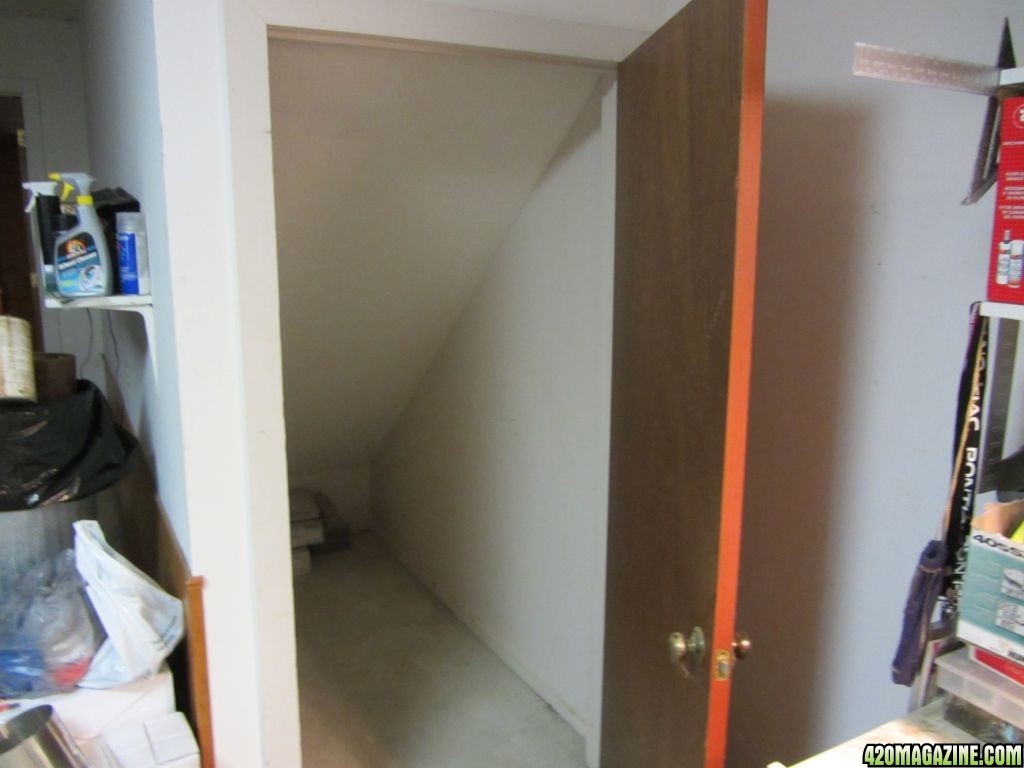
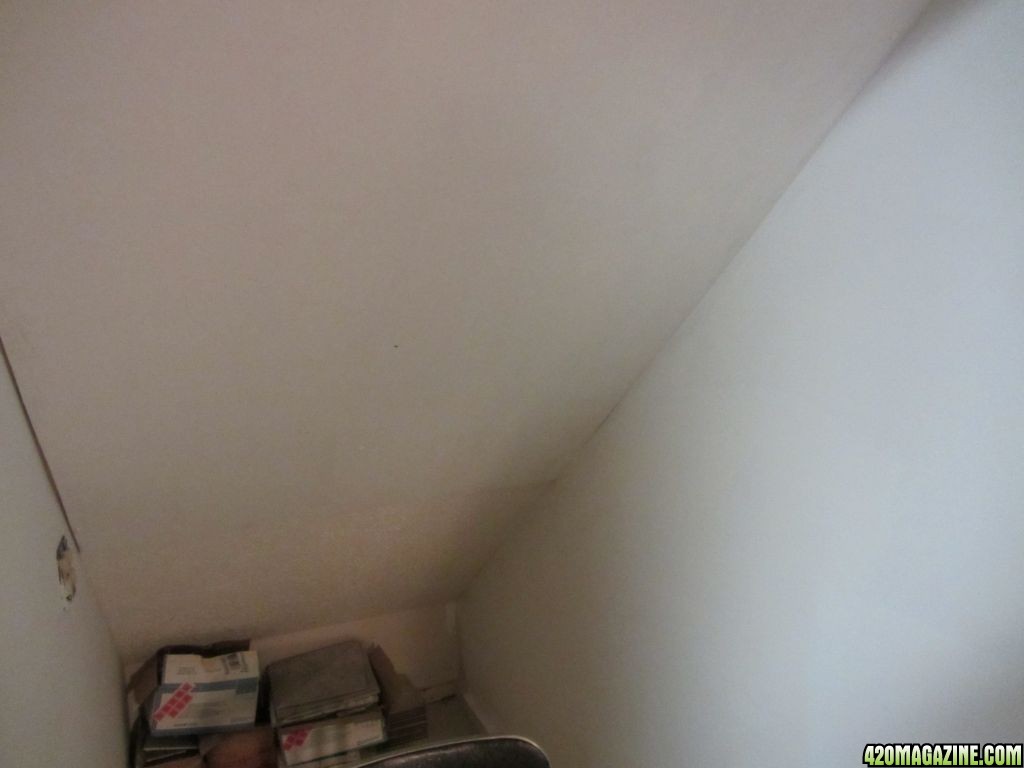
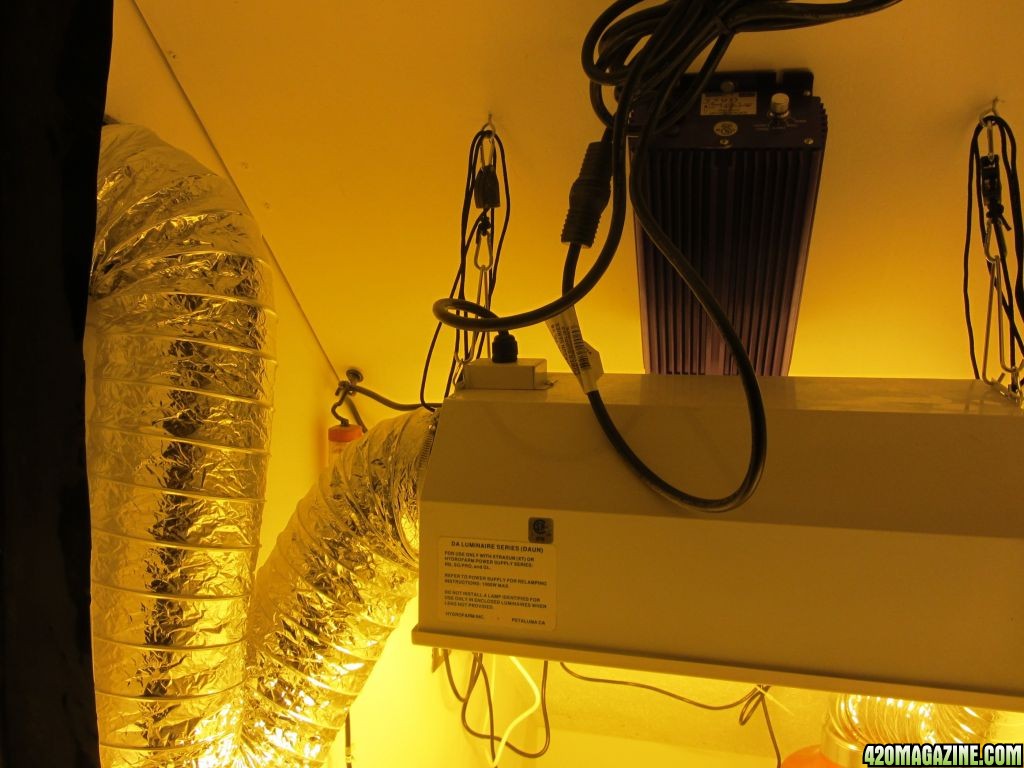
I also mounted a peice of plywood on the sloped ceiling to give me something to mount to at will. I only had drywall up on the cieling prior. Then I had to prime it and paint it and the walls flat white.

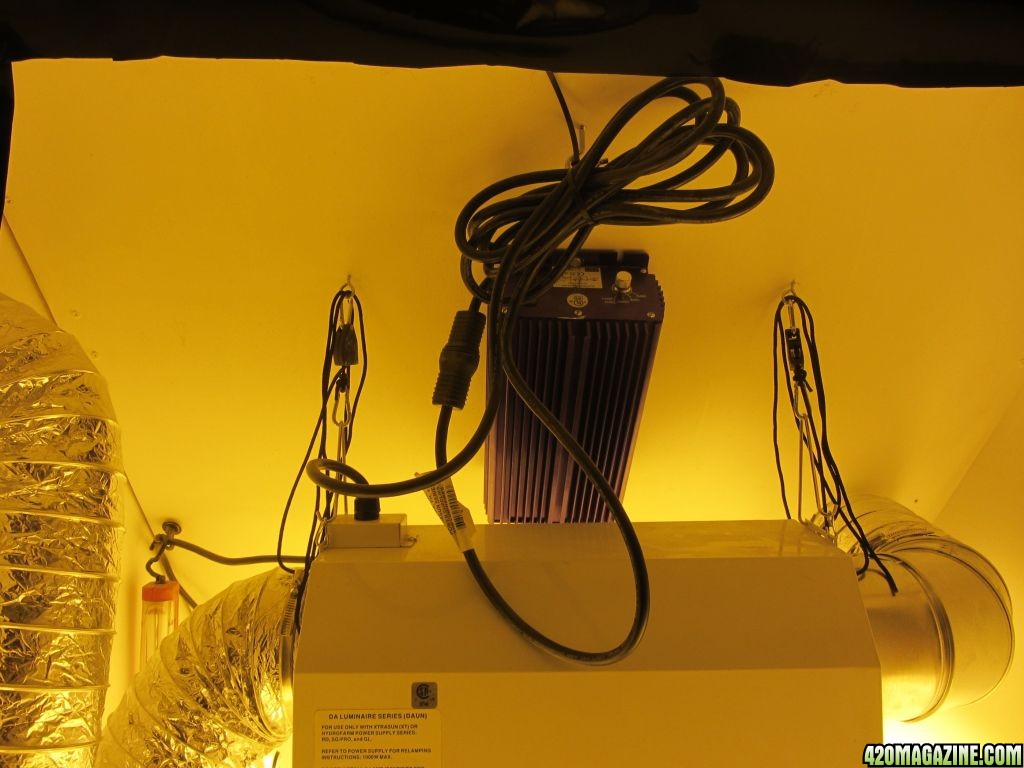
I am ready to start hanging stuff once I get some help to come over.

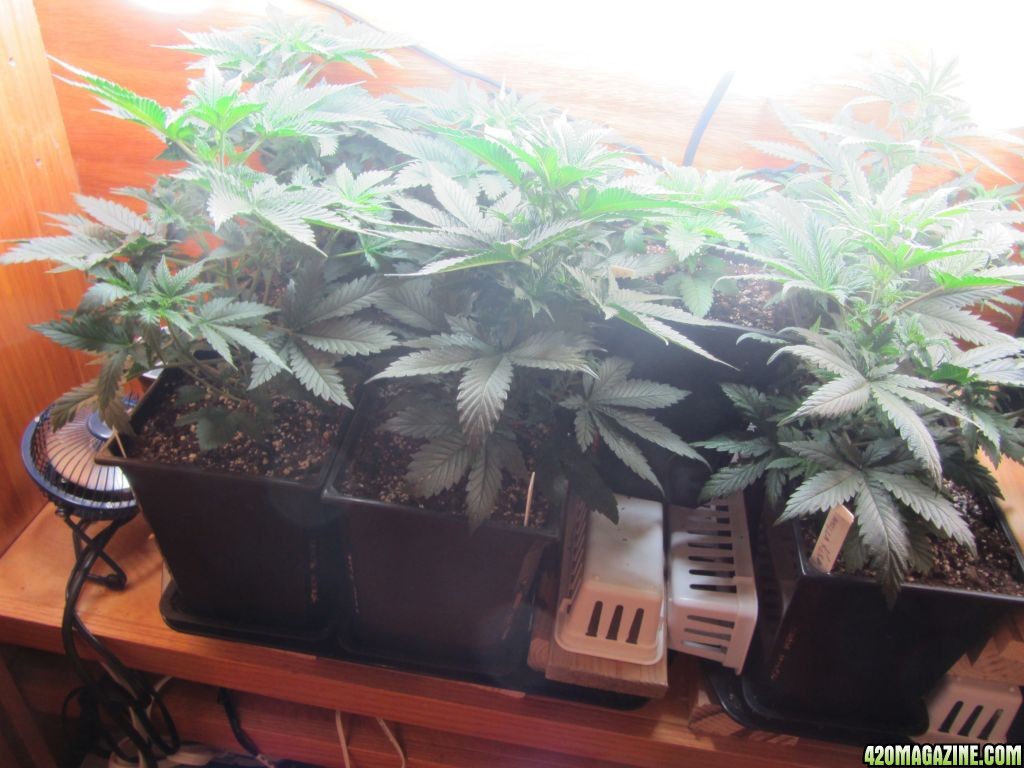
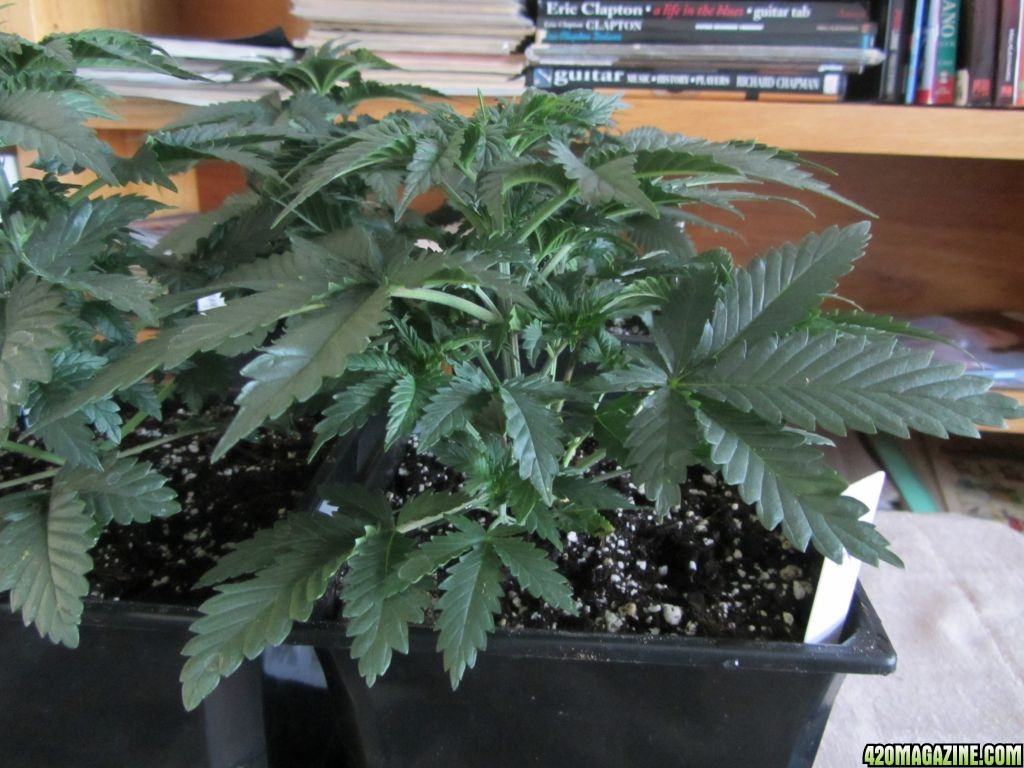
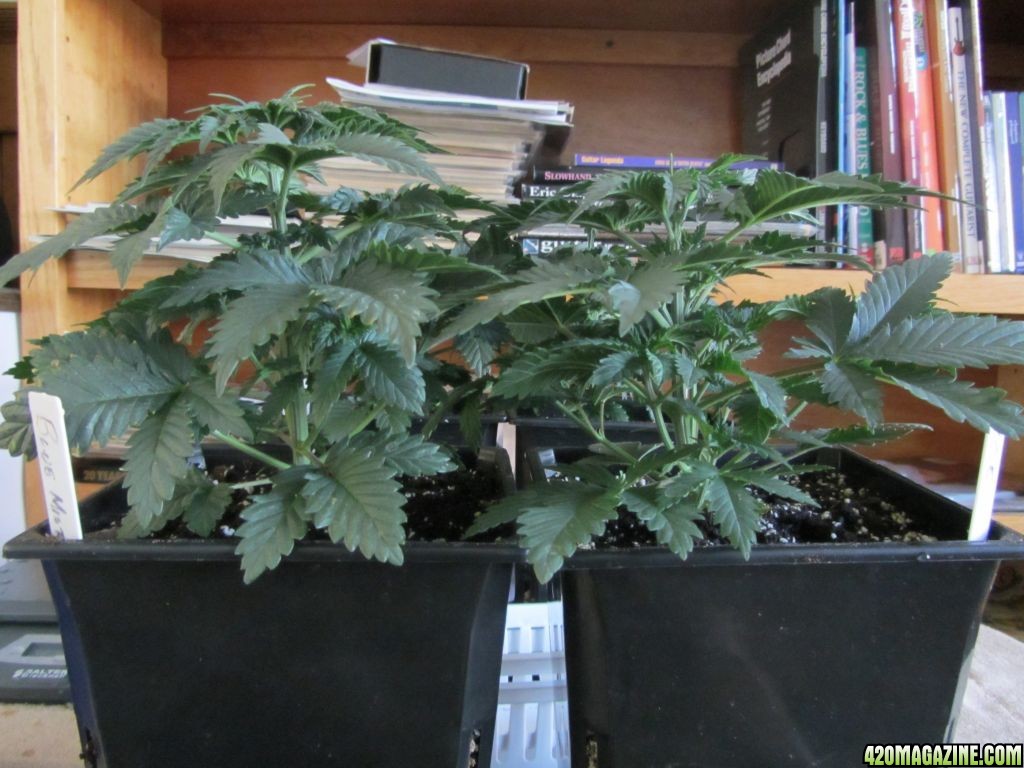
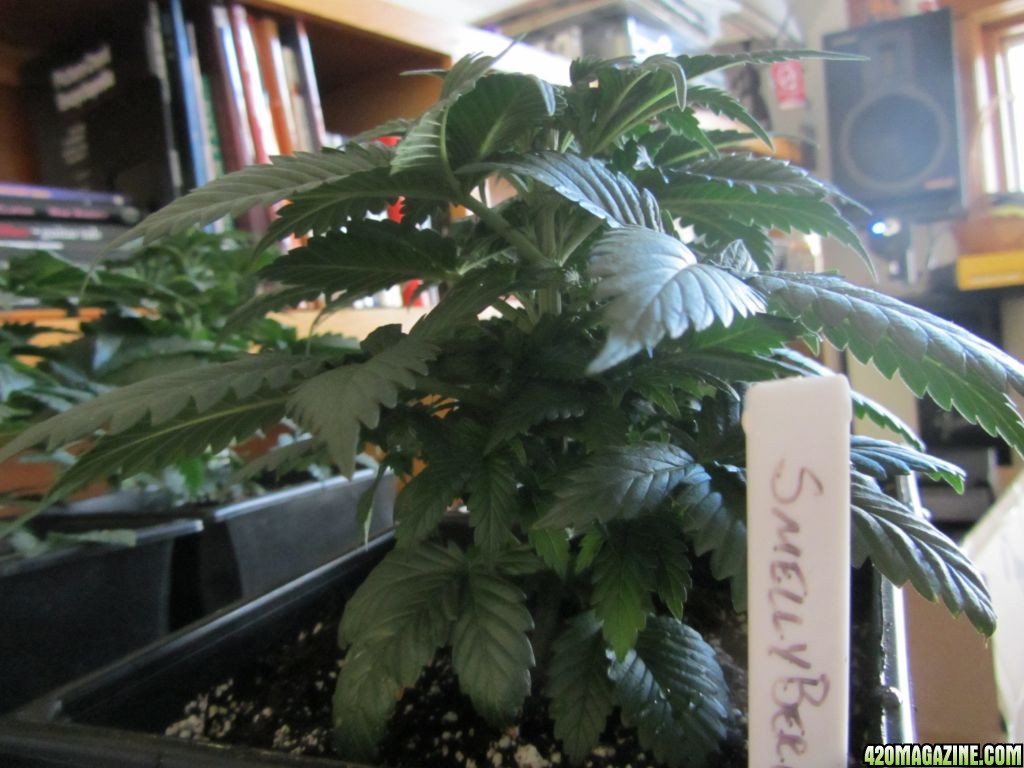
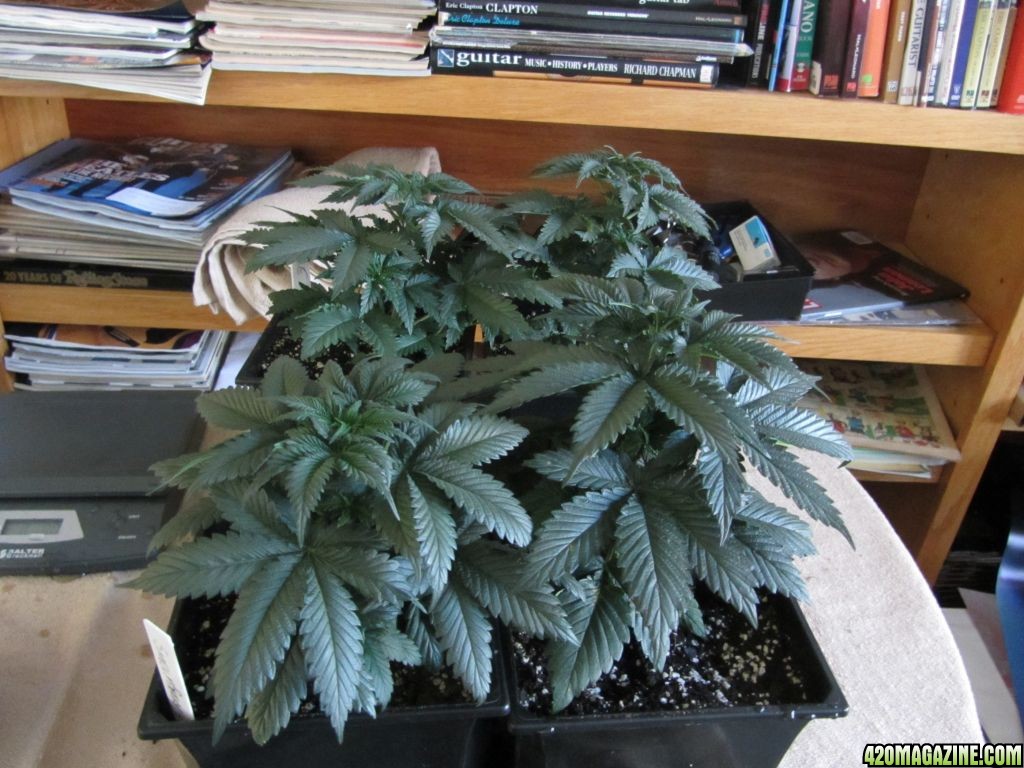
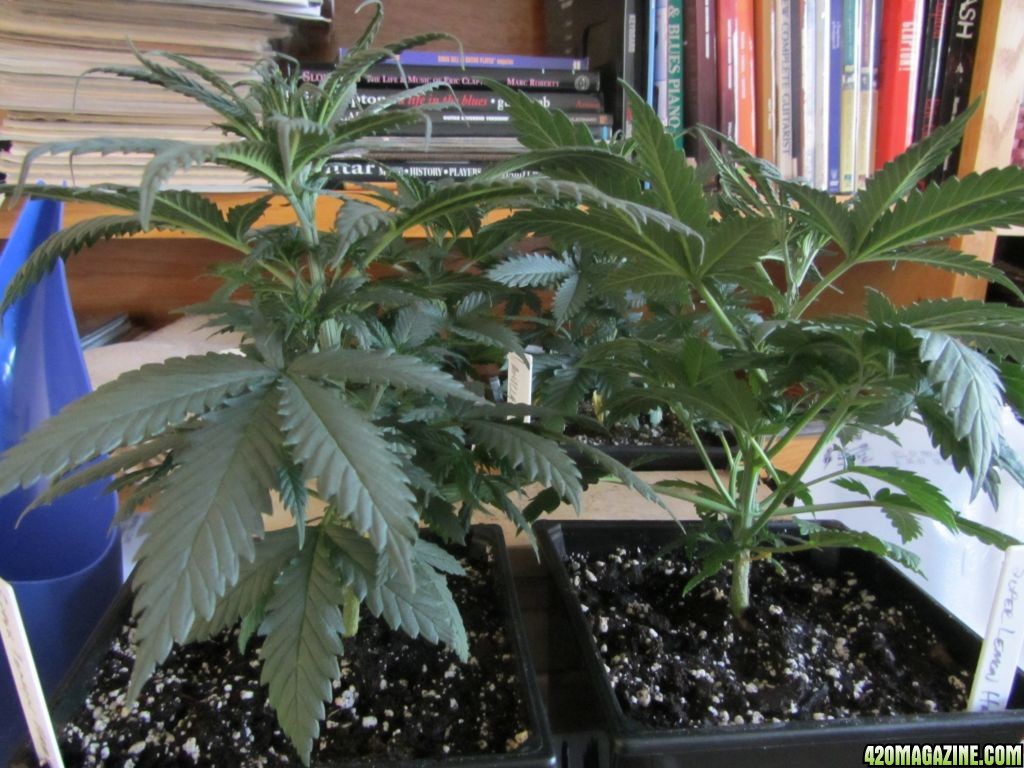
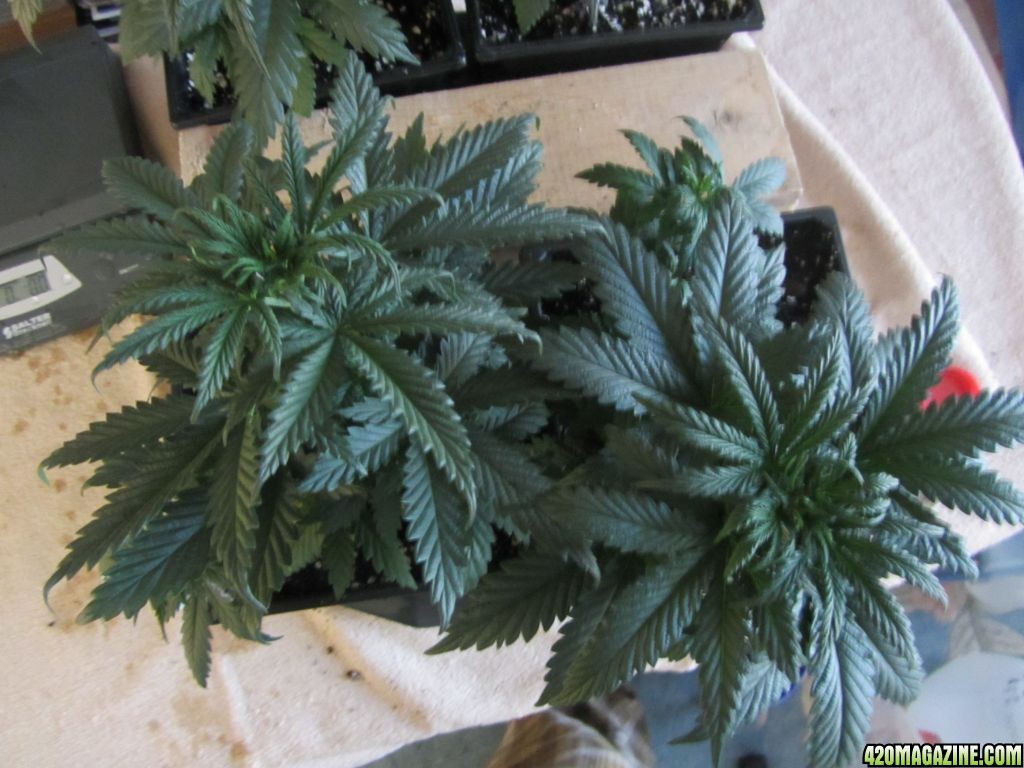
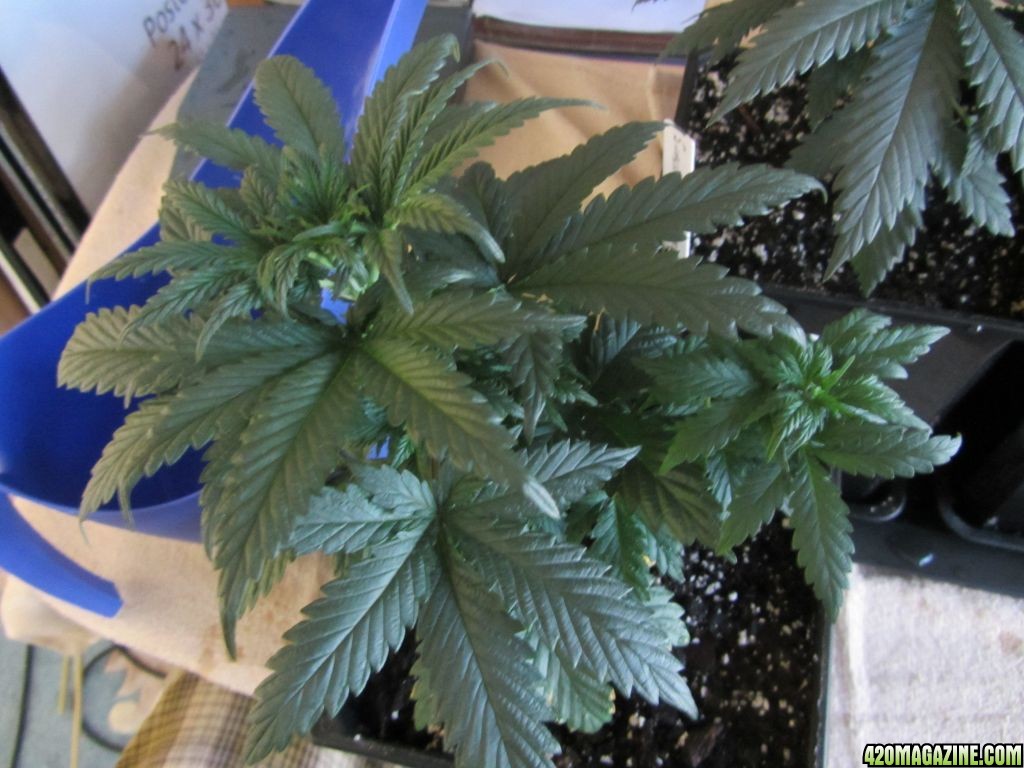
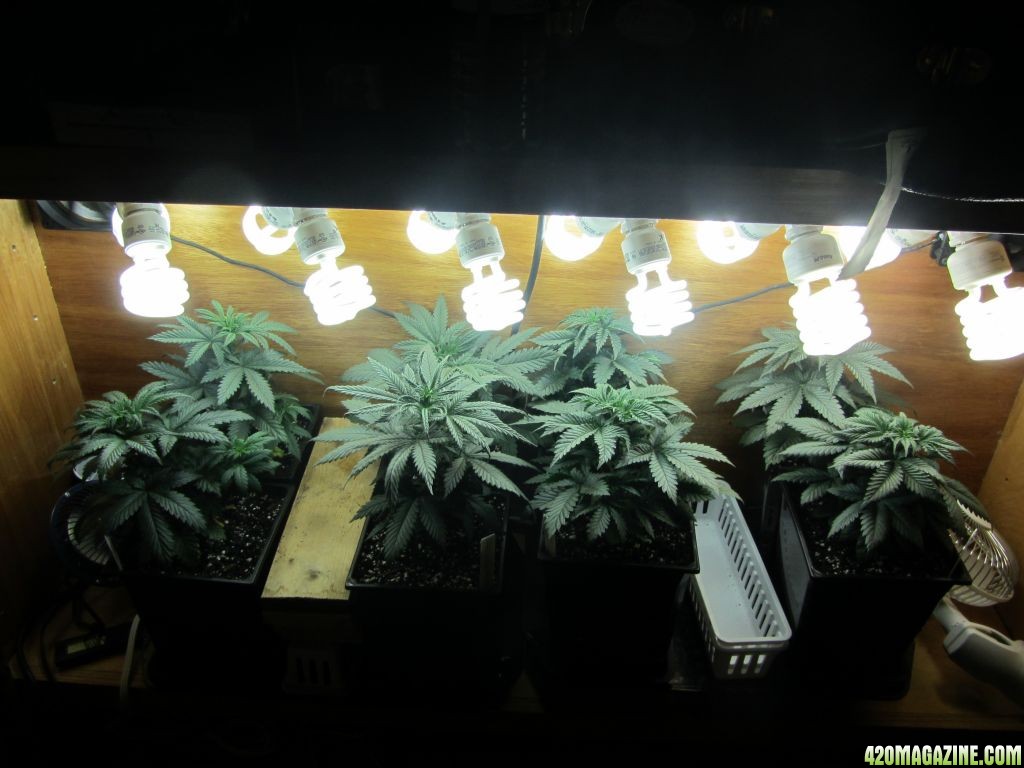
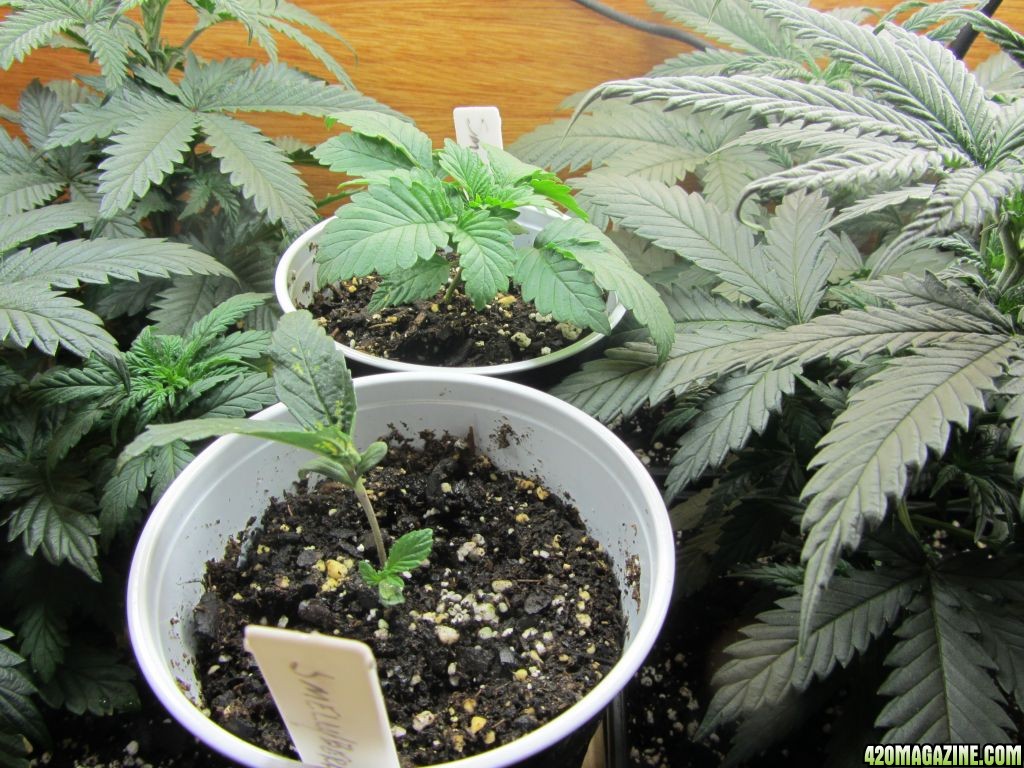
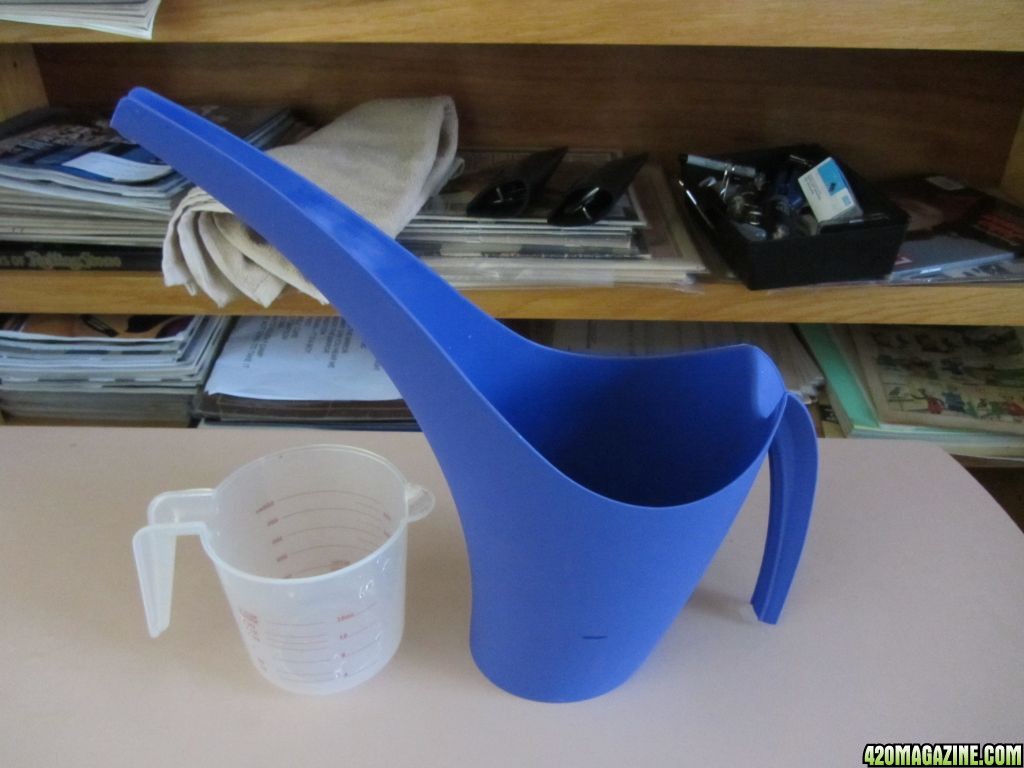
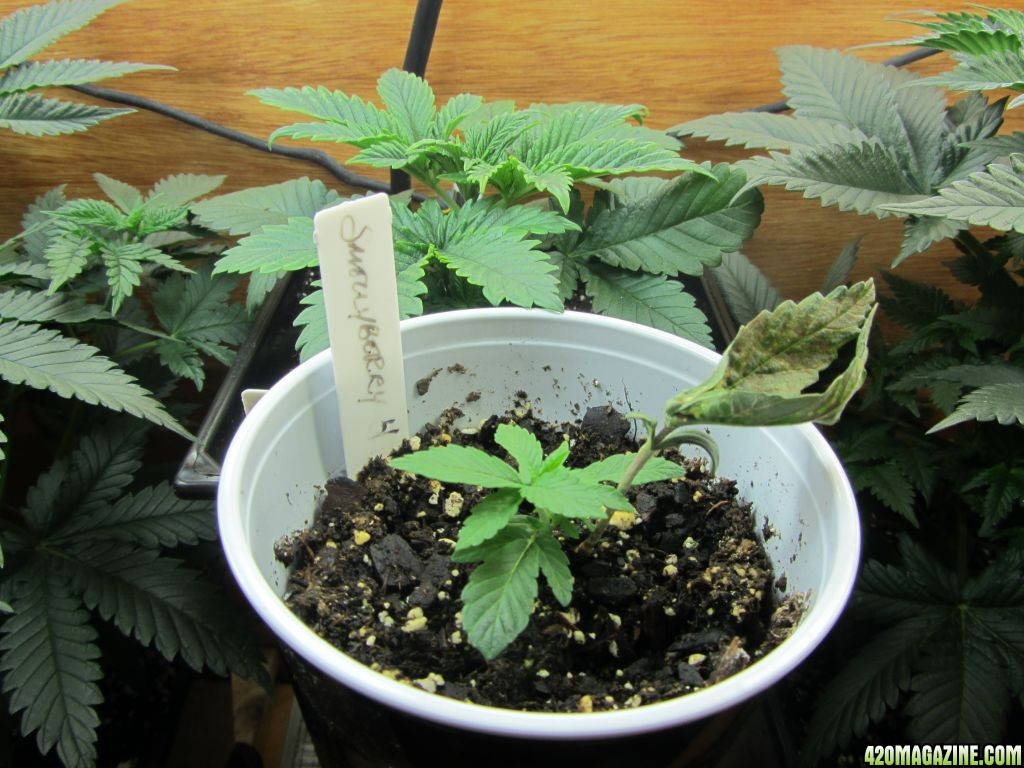
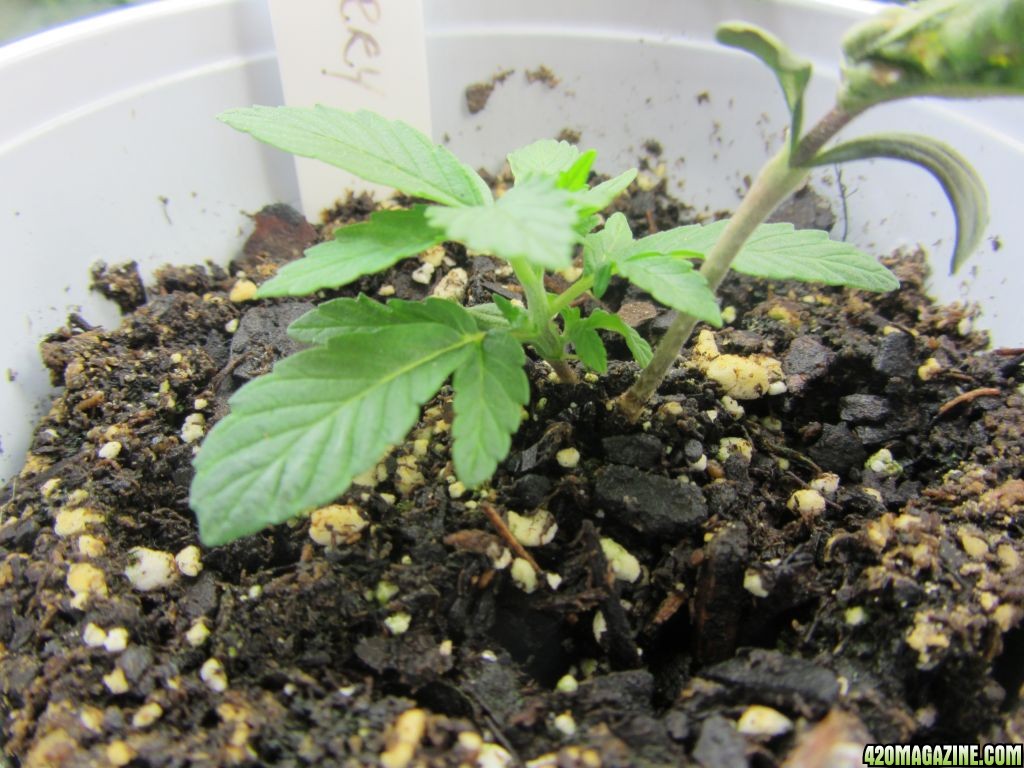
THe plants are doing great. Gave them their second dose of Blue Planet Farmers Pride Organic yesterday. I have had to lower the shelf twice now. THe Blue Planet Organic seems to really pump these girls out and up. THe side chutes are grow much faster and fuller than my previous grow.

I hope to get some pictures up as I get time. I have taken some and just have to get them into the gallery.

Thanks for all the comments in both my grows lately. It is appreciated much. I am just really short on time right now to give a proper update.
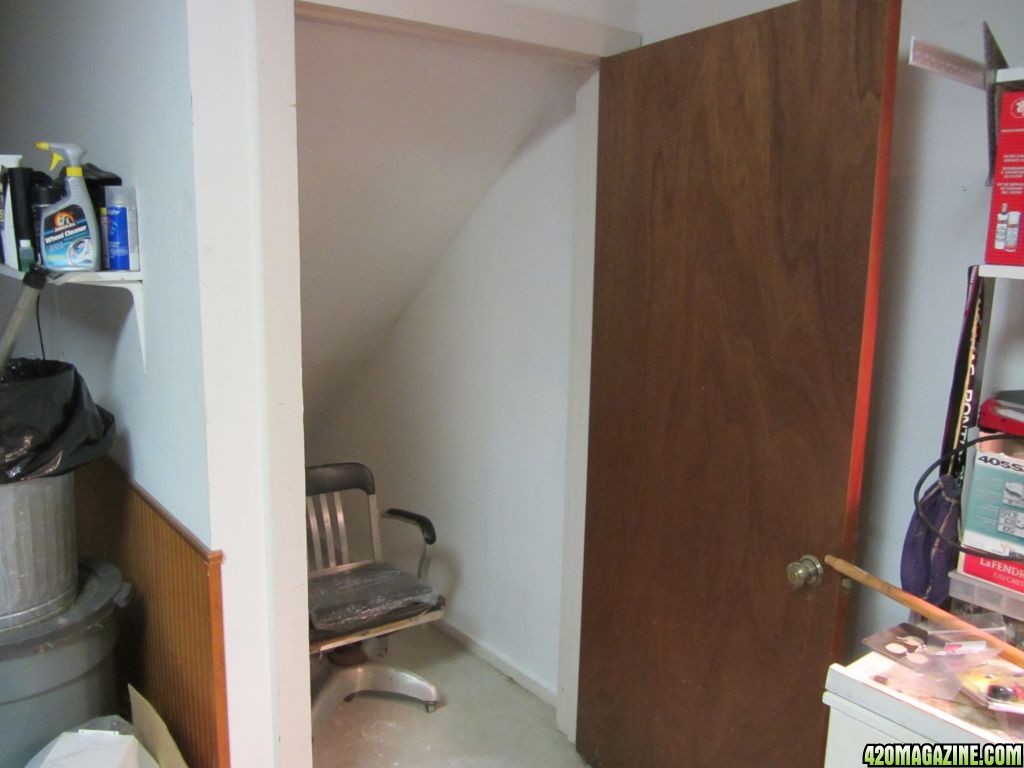
 
I know how that is my friend. I have been super busy lately myself. I have a lot of projects to do around the house and still make time for my plants and some other projects for my girls. So I am pressed for time. Can't wait to see how things are going on your end.
 
11/1... Day 25 from planting.

THis update is long overdue. I took some pcitures yesterday. I am really pleased so far. These plant are far bushier, and farther ahead overall than my previous grow. I am very happy with the Blue Planet Farmers Pride Organic. Other than the sweet smell of fresh hershey squirt they are just the thing my plants are asking for. I am very very pleased with the umph this stuff gave my plants. THey took right off. I am feeding every other watering per the schedule. These plants are sucking up about 8oz of liquid per day.

I am getting ready to top the Sativa dominants (Super Lemon Haze and Vanilla Kush) they are taller than the Indica dominants as you see in the pics.


This is ICE....
Royal Queen Seeds Ice feminized seeds have ancestors of four of the most famous old good marijuana strains: Afghani, Skunk, Northern Lights and Shiva. With Ice, cannabis breeders, once again, succeeded to bring quality and quantity together. Their success hasn't been left without attention - Ice is a winner of the 1998 Cannabis Cup.
Truly excellent growth of healthy plants, resistance to diseases and pets and strong hashish effect have always been the best Afghani qualities and now are taken over by Ice marijuana.
Good old Skunk is one of the most consistently performing true breeding marijuana strains in the world. Her feminized seeds passed these qualities to a new favourite in the cannabis market - Royal Queen's Ice.
Northern Light cannabis seeds have been favourite amongst marijuana fans for years for her easy growing characteristics and great narcotic values. Nearly all promising modern indoor cannabis strains contain NL genes. Ice feminized is no exception. High flower to leaf ratio, compact buds, good yields and exceptional resin production are NL characteristics passed to Ice.
As a typical indica, genes of Shiva marijuana give Ice a quality to remain a manageable size regardless where she grows, indoors or outdoor. They also make Ice a great yielder with large buds covered in THC glands.

Ice marijuana feminized seeds came up as a long awaited surprise. Having all of the above described abilities, she became highly adapted to outdoor growing, fantastic for gardens where smell is an unfavourable factor. Mostly sativa, Ice feminized delivers the finest qualities expected from that variety - a middle sized plant with a voracious stone and minimal smell. Yet, this lady became one of the strongest marijuana varieties in the world (THC - 20%).
The flowering time is quite good, just 8-9 weeks, and large flowers turning into chunky nuggets in just 45 days can be expected after a short maturing period. Harvesting when grown outdoors is September-October. Those who have already tried to grow an Ice feminized seed describe it as a great yielder - up to 500 gr. of dried product per m2. No particular difficulties have been reported. Ice flowers are richly covered in trychromes with a dense consistency usually along a main stem and a high flower to leaf ratio. Fantastic for hydro applications as well as soil cultivation. Royal Queen's Ice feminized seeds are highly resistant to mould and mushroom.
Marijuana smokers describe Ice as musky and sweet, heavy and stoned, a real knock-out.


I am very impressed with the interior growth... very little space between nodes.
Harvest_and_day_010.JPG


Next up is Blue Mistic.

Royal Queen Seeds Blue Mystic is another marijuana feminized seed we are pleased to offer from Royal Queen Seed Collection.
The original strain of Blue Mystic came from sunny California. She absorbed the warmth and head-spinning fragrances of the orange county and slowly released it with a heavy stoned finishing twist. Now she's available in a feminized version.
Mainly indica, Blue Mystic feminized cannabis seeds produce attractive healthy plants as high as 50-70 cm. They look happier when grow in small groups. Though, with a bit of extra attention (like not to let it dry out), she shows good results when grown as an individual cannabis plant. When grown indoors, this marijuana has a neutral smell compared to many other strains.

Blue Mystic marijuana is famous for her velvety blue hues that show up about mid-way into flowering. The flowering period is surprisingly short, from 7 to 9 weeks. As a typical indica, she produces heavy buds which get absolutely covered in crystals when matured. This cannabis is a very good yielder - 450 gr. of dried product per plant is not a bad result for an indica. She has an earthy smooth, somewhat fruity berry flavour with excellent shelf life.
Blue Mystic features many of the cannabis desirable qualities, along with an added colourful appearance, a light berry aftertaste when smoked and a heavy stoned effect.
Blue Mystic on the left with ICE on the right.
Harvest_and_day_012.JPG


Heres 1 of the Smellyberrys followed by a pick of both Smellberrys... I have already introduce the details of the Smellyberry on page 2 of this journal. THis is supposed to be one of the elite few strains that claim over 25% THC. The seeds are almost impossible to get and the success rate sucks (3/9) but if I can get one good female I am going to make it a mother. I can't get over how full and lucious these look. Maybe its because my other grow is ready to harvest and dying that these look so good to me. :thumb:
Harvest_and_day_016.JPG

Harvest_and_day_018.JPG


More in the next post... Stay tuned... Pics of the new groom room in progress are coming later.
 
Continuation of the 25 day update...

Here are my two Super Lemon Haze. As others who have grown this strain have pointed out it tends to claw. My plants are no exception. Its not pretty when they claw but I guess it is normal. I just wish I could figure out what its ask me for.:morenutes:
THe SLH is the tallest of the plants and I am ready to FIM them. I would love to have a 10' high room and just let these plant go to supply me 1/2 pound each.

Harvest_and_day_020.JPG


Now the Vanilla Kush plants.
Harvest_and_day_031.JPG


I tried a little transplant experiment with this Vanilla Kush Plant. I burried it with its stem at almost a 45* angle wondering if it would be easier to LST once it established itself. As usaul I got a result I did not expect.... THis plant has established a secondary cola just below the main top. I have done nothing but plant it at an angle. It would seem that planting the seedling at an angle when translpanting worked out well in this case. I am going to try it again when I transplant one of the baby Smellyberrys this weekend.
Harvest_and_day_026.JPG

Heres a shot of all 8 in the temporary cabinet. I have to finish my grow room soon.
Harvest_and_day_037.JPG


Now for the freak Smellyberry,
Both of the party cups below were germinated and planted with Smellyberry germinations at the same time. My freak shot two stems.. one with a webbed foot and another with 2 leaves in a triangle shape.

Harvest_and_day_043.JPG

The taller stem with the two leaves refuses to bear another set of leaves and in fact looks like it is feeding on itself. The short stem is now starting to sprout sets of leaves that are not normal but it is growth. I took a close up shot so you can get a better look and help identify this condition.

Harvest_and_day_044.JPG

I can't figure it out.. It did nothing until I gave it a dose of Blue Planet, then some action on the short stem started happening.

I also found a nifty tool for watering. It has an open end snout so you can see water in the snout. It makes watering in just the right spot very easy. I was watering with the measuring contrainer and bumping leaves and not watering all the spots evenly. I picked this up on clearance for $1. I just wish there was a clear one with measure markings. I marked 16oz with a sharpie as thats what I use for a 1 gallong container. It will hold a full 1/2 gallon at the rim which is perfect for a 3 gallon container.

Harvest_and_day_048.JPG


next post... new grow room progress...
 
Heres some pics of the new grow room. Clean, fresh flat white paint and 15 amps of power.

Harvest_and_day_005.JPG

Harvest_and_day_006.JPG

Harvest_and_day_007.JPG

I mounted a 6' long by 40" wide piece of 1/2" plywood to the ceiling so I can mount at will. I figure 6' deep is as far as I will be able to grow. I am going to use 3 12' wide dollys to wheel the plants in and out. I am making the dollys myself.
Harvest_and_day_009.JPG


My hope is to have everything mounted with lights working and temps tested this weekend.
 
I have the new understairs grow room almost operational. Electric is done, painting is done, the light is up... the filter, fan and ducting is in place. I have everything turned on right now. Before I move plants in there I need to get a feeling for what temps are going to do. The garage was 58F. I need to get the grow room to 70F. As I just turned everything on, I am going to wait a day and let temps stabilize.

My intake is passive under the door. I am running 440CFM from the filter to light and out and exhaust port to the garage. My hope is that this will heat up the garage enough as I am pulling garage air in under the grow room door.

I also need to block the light that shows under the door while at the same time keep enough passive intake. Anyone have any hints on blocking under the door light? The door swings out away from the grow room.

I will have pictures up later today or early tomorrow.
 
Great looking new addition to the grow bud! Honestly, I would just cut a 4" hole down low, somewhere relatively opposite the exhaust...You can buy one of those vent hoods, used for dryer vents, that faces down or toward the back of the space...Then just place something like a trash can or something in front of the vent to block any remaining light. Then, to seal off the door, you can buy weather stripping, OR, I remember Hoe Depo sells these really cool under-door deals, that slides with the door as it opens, insulated on bothe sides, should block most of the light....not too expensive either...
 
So far so good. Gonna be fun watchhin this one. That freak is a first for me. Had to harvest my first bagseed at 50 days flower due to mites. This is my first run in with them and they are a bitch lol. Trying tge habanero method it kills the live ones but not the eggs
 
Thanks for checking things out gator1. The freak is quite the plant. The larger sprout is being canabilized by the small one. I will get a new picture up.

Sorry to hear about the spider mites.
 
Sorry about my lack of activity 70sG! As you know I have been very busy with things on my end. I love how your plants are coming along. The grow room will be ace. As for the ventilation you can always use one of those dryer vents like Quix said but slightly modified. Install an intake fan with a light trap box. You can build it with little money. What it is, is a box with alternate walls that light cannot bounce off of. If you use a black material like foam board(The stuff kids use for school projects) create a box around an intake fan then alternate 2-3 walls it will prevent light from leaking through your intake. Make sure the material is black. If it is white the light will cause light diffusion and scatter it creating light leaks.

If my description doesn't make sense I will Draw something up and show you so you can better understand what I am talking about. Just let me know.
 
Great tips TOG, I will definitely keep that in mind. I just took some pictures and moved a couple plants in to see how things feel in the grow room. I am going to upload them. I still have a few light issues left to deal with but I have reduced the problem considerably. Using a black diffuser will no doubt be part of the final solution.
 
Grow room update.. I got lot done over the weekend but my arthritis is paying for it today. Definitely cashed a few health checks I couldn't cover this weekend.

Well here are some pics and some questions. I appreciate all the help and great ideas that people have passed along. I have rep'd everyone the system would let me rep. Everyone here has been very helpful.

grow_room_transition_023.JPG

As I am a big tall guy at 6'8" with arthritis, I have a hard time bending to the floor while getting under the lamp. To manage my plants, I will be using 3 two wheel dolly's. I will be wheeling them in and out to feed and water.
grow_room_transition_024.JPG

For $15 I picked up some ratcheting pully ropes. These things are just the ticket for raising and lowering to light. I need to cut off the extra rope.
grow_room_transition_025.JPG

grow_room_transition_030.JPG

THe exhaust side. I had to make sure I had enough 6" flex to raise and lower the light. I need to figure out a way to tap some of this air if I need to retain some heat in the grow room when it gets cold. Any ideas?
grow_room_transition_026.JPG

Exhausting out to the garage... as a side benefit my garage is now heated!
grow_room_transition_028.JPG

I took Quixilvr's idea about cutting a passive intake down low. The intake is under a ramp that leads into the house. I cut 20 sqare inches of opening. This freed up the under door passive air flow so I can block the light under the door without worry about intake air any more.
grow_room_transition_027.JPG

Temps are going to be trial and error. I live in a cold climate. The outside temps get down below zero about 10 times per year. My garage is insulated but not heated. Today was in the low 40s and I by the end of the day the room was in the mid 70s with a low of 58 over night.

grow_room_transition_029.JPG


Next... moving some plants in....
 
Freak update...

A couple quick pics of my Smellyberry freak. The orginal shoot is definitely dying. Take a look at the plant behind it. Both these Smellyberry seeds were planted the same day. The freak is like a plant at 1/10 scale.
grow_room_transition_048.JPG


grow_room_transition_050.JPG


I am not sure what this thing is going to do, but I am not going to kill it.
 
That Grow area is perfect! I seriously need some cash so I can mod my closet. My only concern is venting directly outside. I don't want it bring in extra into the room. I dunno I will figure it out. I will most likely do a Passive intake from inside my room into the closet and have the inline fan pulling air through my carbon filter over my light and directly out an exhaust.

One things for sure. I love your setup.

The freak is truly a freak. siamese twins with one acting like a parasite to the other. I am curious to see where it goes in terms of veg/flower.
 
I moved some plants out to the new room to see how they do. I am not sure what distance or wattage to use on on the light so I figure I will just bring 4 plants in for now and keep the rest in the cabinet for a day or so until I get the heat, humidity, light intensity, transition figured out.

I decided that the 4 girls on the left are to crowded in the cab and ready ready for flower in the new grow room. 2 Super Lemon Haze and 2 Vanilla Kush to start.
grow_room_transition_032.JPG

I used Panda plastic on the door taped on with white duct tape. I left an extra 7 inches on the bottom draped on the floor to block most of the light from coming out under the door. The extra just lays on the floor and moves with the door without catching or bunching.
grow_room_transition_037.JPG


To block light leaks on the top and sides, I used 4 inch strips of panda plastic with the black side out on the door edges. It makes a big difference.

grow_room_transition_040.JPG


grow_room_transition_041.JPG


The bend in the tubing keeps the light from showing in out the exhaust port.

grow_room_transition_042.JPG

I still have some light leaks I have to deal with. Stealth is key for me so I have to fix the leaks better than I have. You can see on the bottom corners where I have issues to deal with.
grow_room_transition_045.JPG


grow_room_transition_047.JPG
 
I like it alot 1970 your girls are going to be super happy.. boy you spoil them!

As for leeching some air when times get cold you could fit a 3 way piece on your ducting cover it up when its to hot and open when its to cold.

3 way ducting .

To restrict the amount of heat coming in.. reducer.

Here is also a lamp hight chart always good to know were your hid is best at.

MH
MH_Light_Distance_Chart.jpg


Hps

Love the trollys your girls are on it is hard bending down to tent to them you could screw a little hook in the trolly, put an eye on a cane and pull them out never need to bend down again!

This is going to be good

:peace::love:
 
^^^ Fantastic info. I have thought about the T or Y but can't figure out how to mount it. There isn't enough room between the light and the exhaust port to put any fittings. I am thinking that I would have to suspend the T or Y from the celing in a rigid position somehow and then flex duct to the fitting. Complicating this is the fact that I need to raise and lower the light at will. I need a bowl to inspire some creativity.
Heres a few more lihting gifs I came across but they arn't as good as what you posted.

Irradiance_Graph.gif


HPS_penetration.gif


sweet_spot.jpg
 
Back
Top Bottom