- Thread starter
- #241
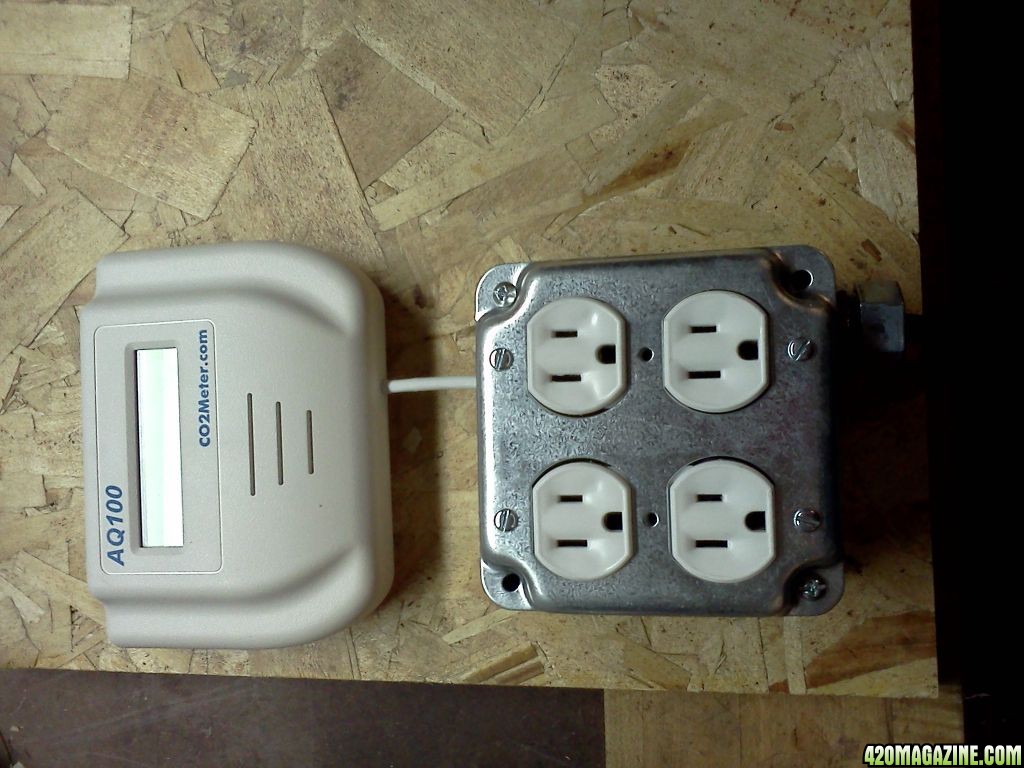
OG13
New Member
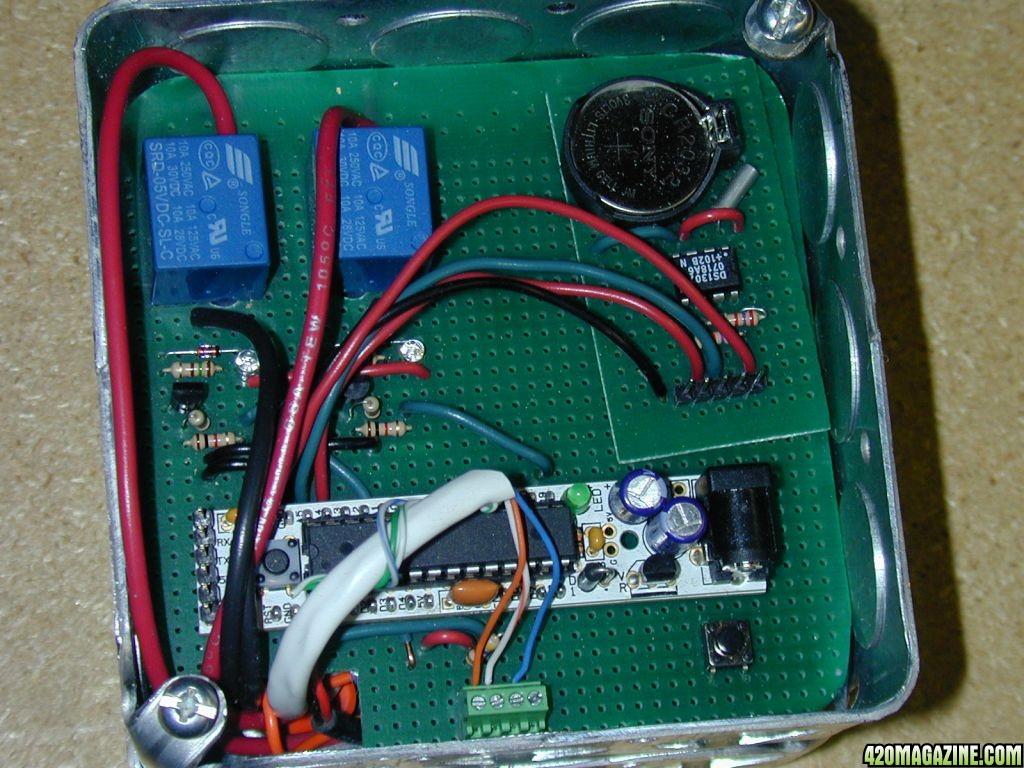
I don't know if the PST is isolated optically or not, that is a question for them, see my PM. Let them know their switch is causing issues w/ the computer driving it. I still think the kick is traveling through the 120 v house circuit and affecting the arduino, ie it won't matter how many "loops" of isolation you install. You should try running the arduino off battery to see if that fixes it. All you need is a 9 v, or use a filtered power supply like a desktop computer supply 12 vdc would work.